Guild Visits · PatternLite · Patterns by Elizabeth of OPQuilt

Flowering Snowball Block • New PatternLite

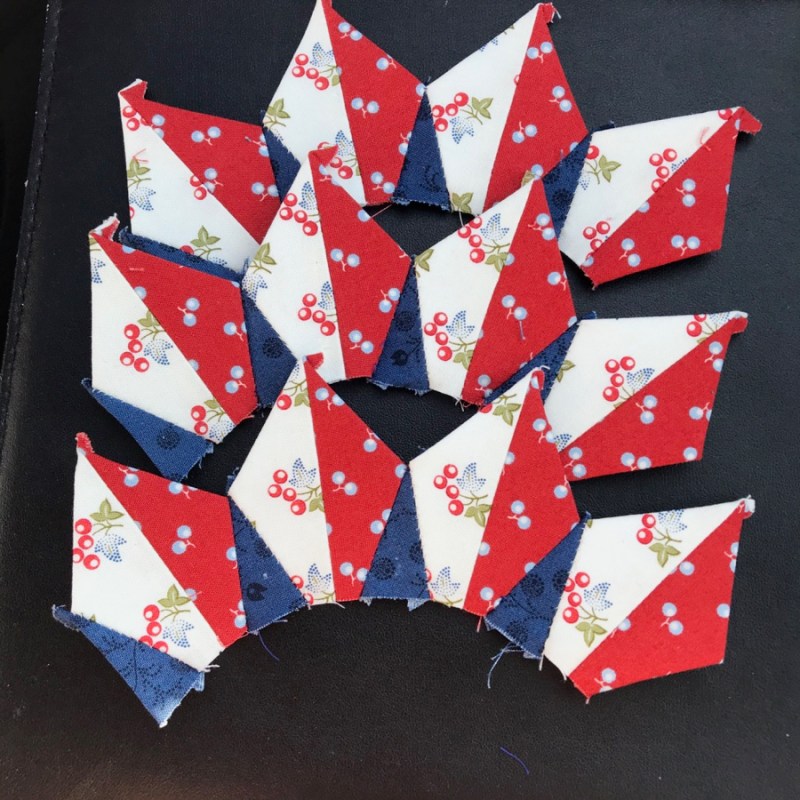
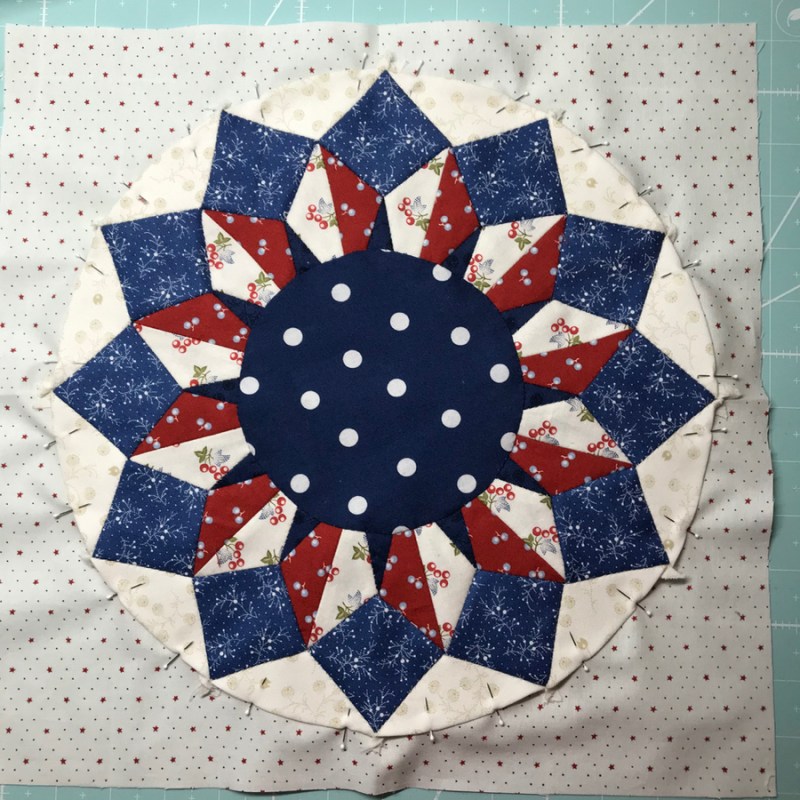
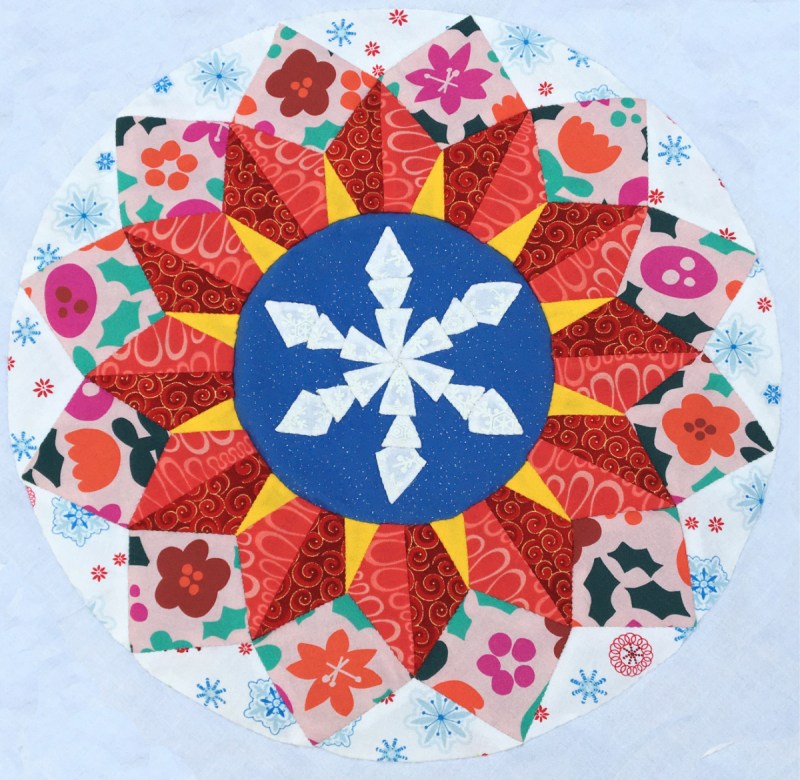
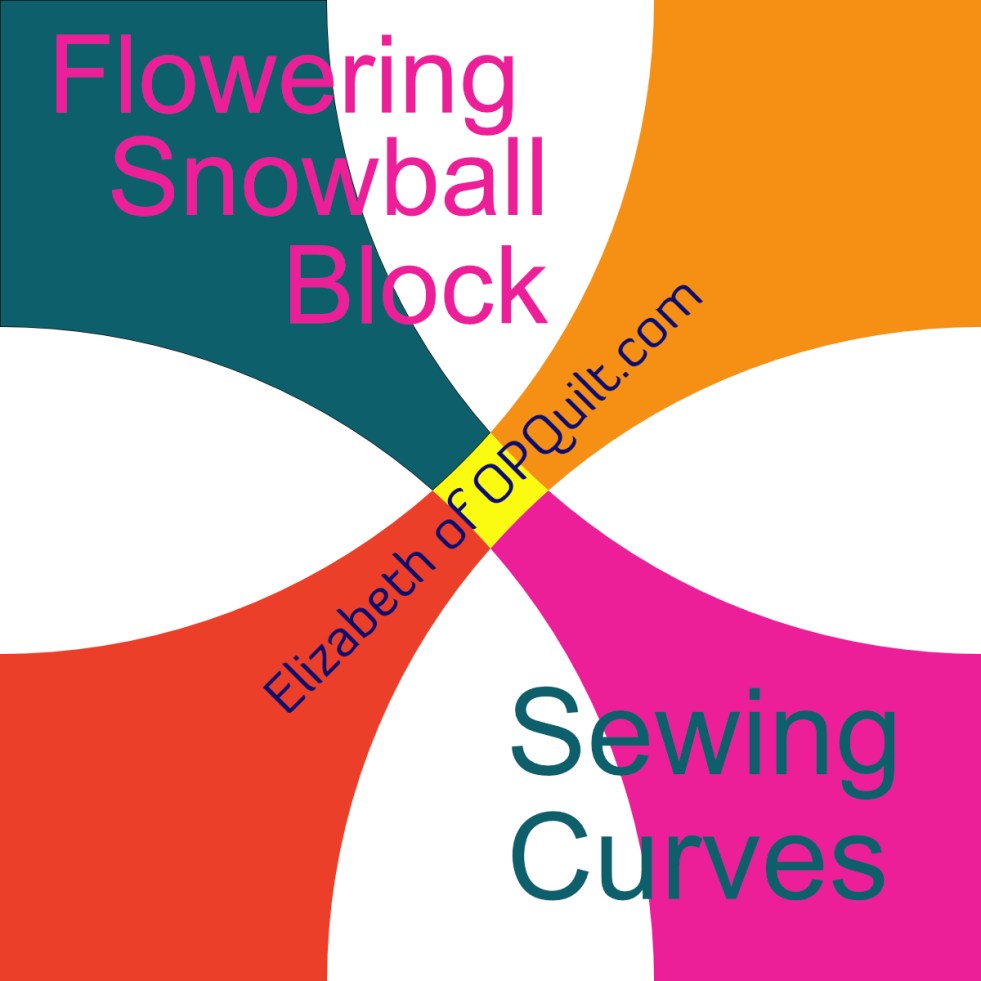
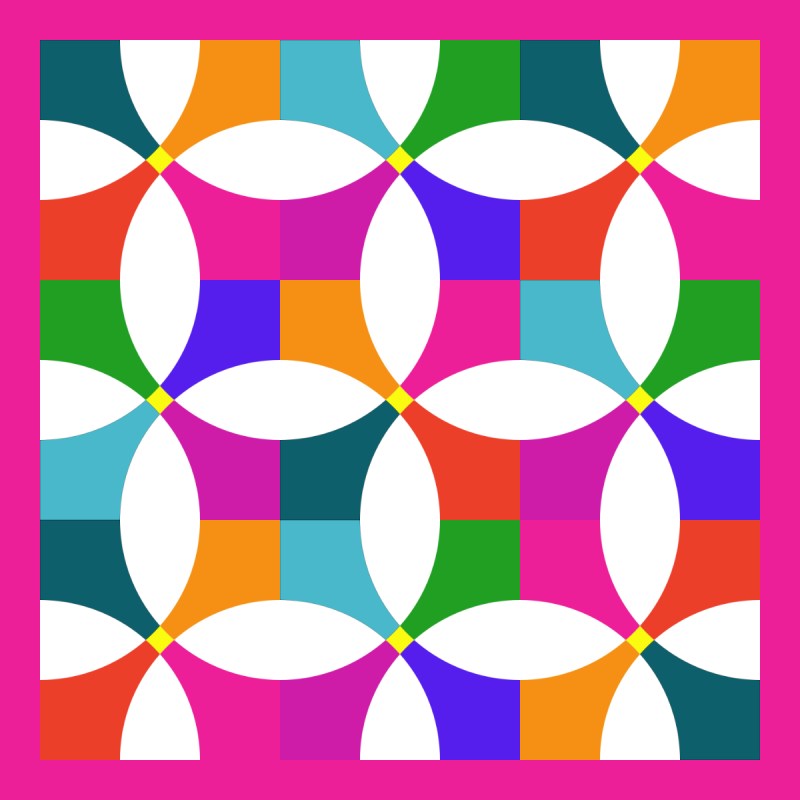
One of the members of the Gridster Bee chose the Flowering Snowball for her block this month, and I was sort of: hmmm, nice block. But when I started playing around with the sewing of the curves, I became addicted to figuring out how to explain it. Then I drafted it up in my Affinity Designer software — nine blocks’ worth — and then it was oh, WOW! I love this block!

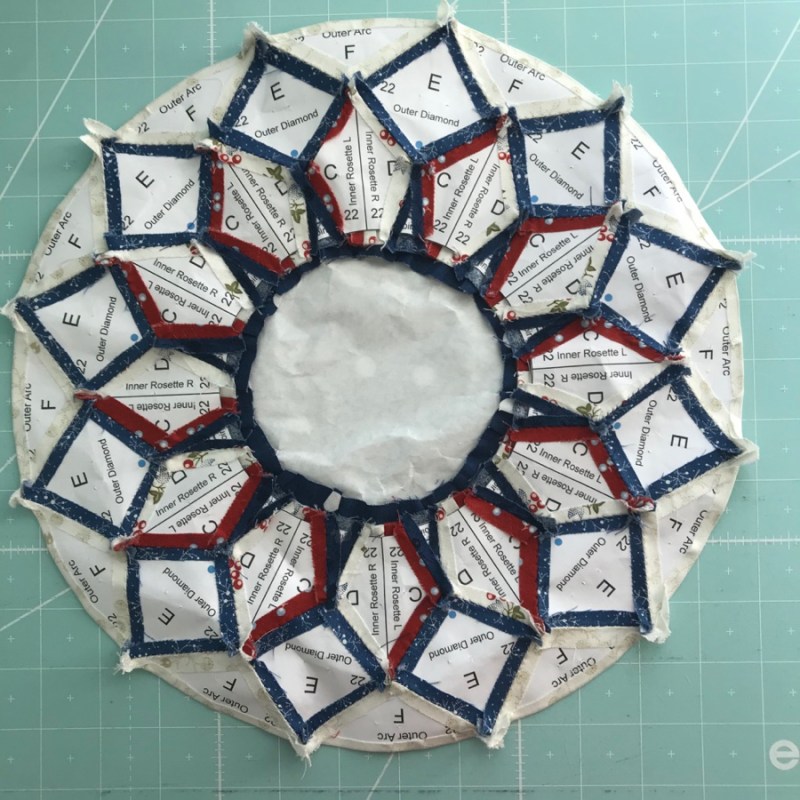
So here we go with a lot of things to help you, including a new PatternLite that has all the tips and tricks plus full-sized templates to make a 12″ block.

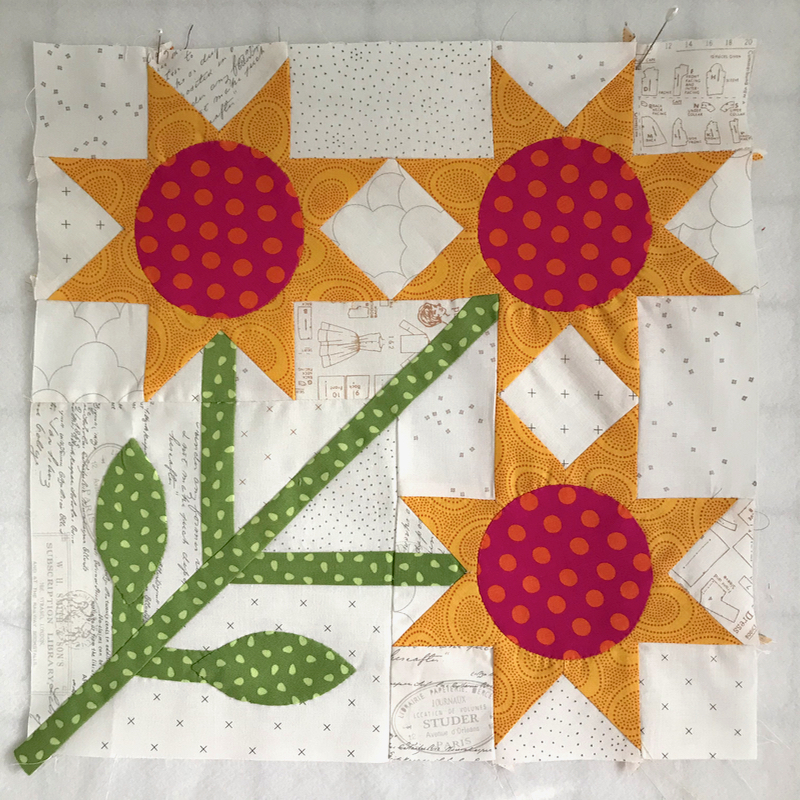
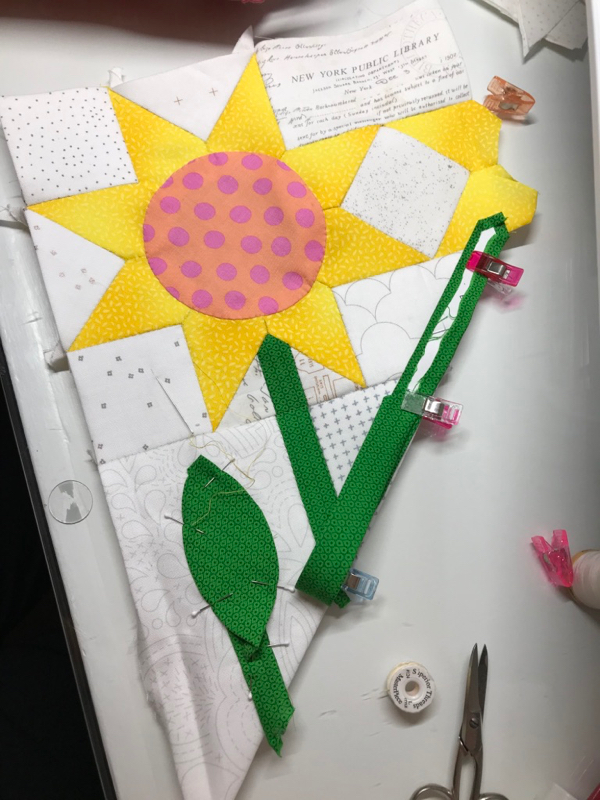
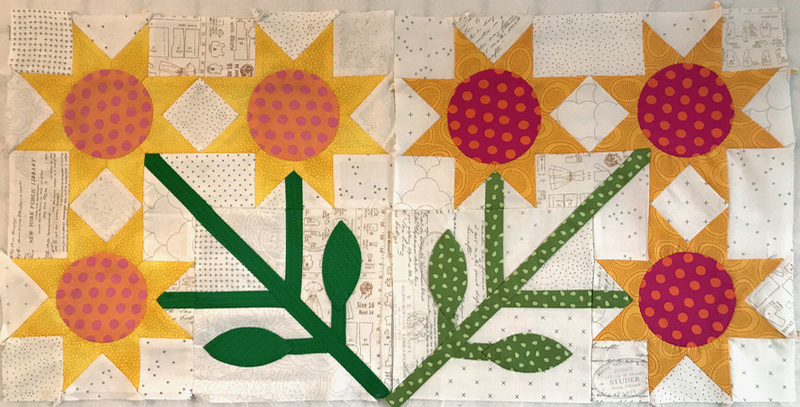
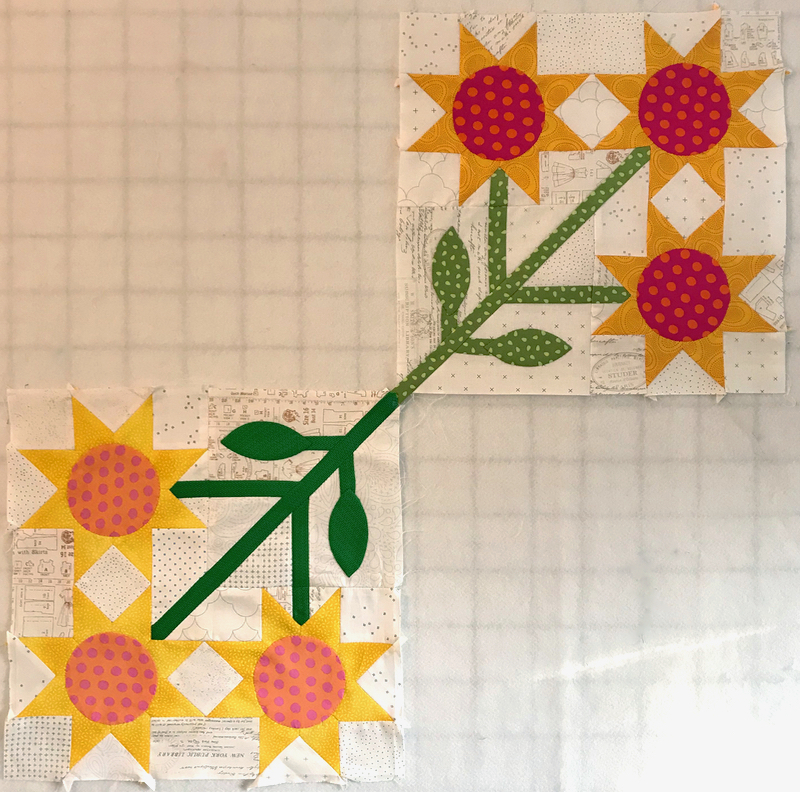
Kelley chose a range of colors for us to work with, but I also loved Patti’s idea to make them all up in Anna Maria Horner with low-volumes for the petals. So I got out my stashed fabric, some going back for years, and started playing. I chose a neutral for the “petals” but I think Kelley’s and Patti’s ideas of a rich color palette might work really well for this block. Stay tuned.

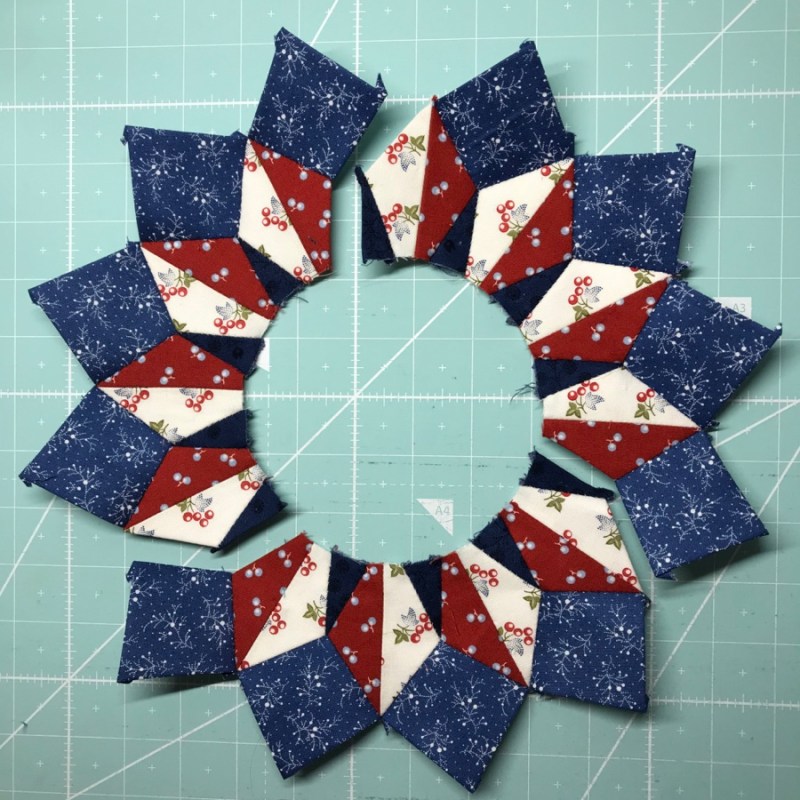
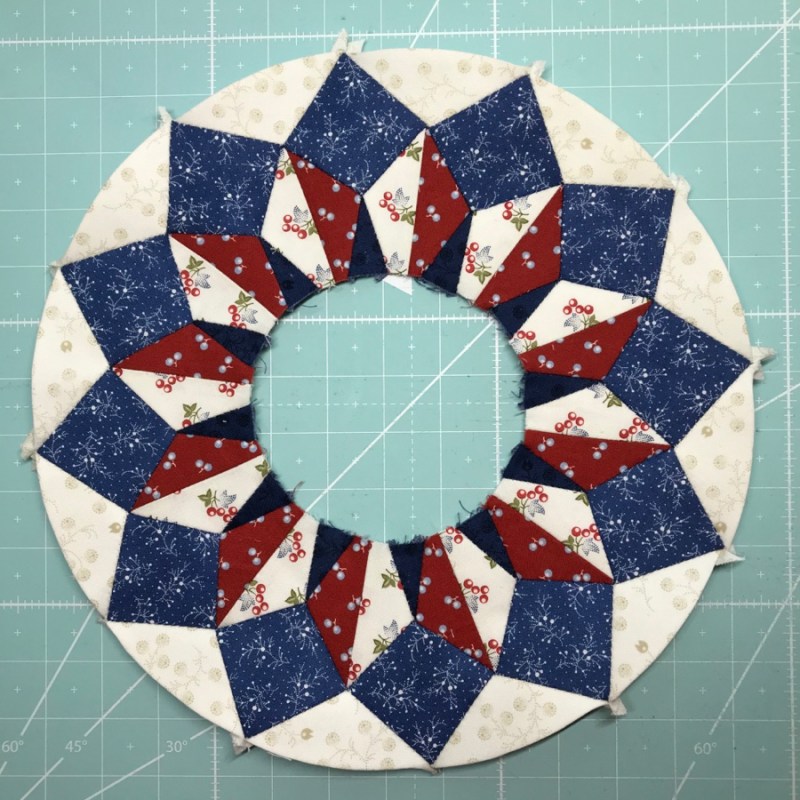
Laying it out. Kelley had warned us about getting the light-colored petals flipped around, so I figured out how to explain that. Then I just started sewing it together willy-nilly, which works okay. When I went to write up the PatternLite, though, I took a more systematic approach, which I think works better. You’ll see.

First up: here’s the video I made of sewing these curves without pins.

Caveat: I never went to film school. I am not 27 years old. I don’t live on my phone. Some parts are blurry, but the professor in me just kept on going and kept on explaining. Hey, it’s free, and it has some pretty good tips, and it’s under three minutes.

And I decided to get organized on an idea I had: some of us more experienced quilters don’t really want to buy a full pattern, but we either a) like the block/quilt, or b) want the templates. So I am trying to put together a series of what I call PatternLite publications, which often will have the templates, but sometimes will carry the idea forward and have some tips for construction and finishing.

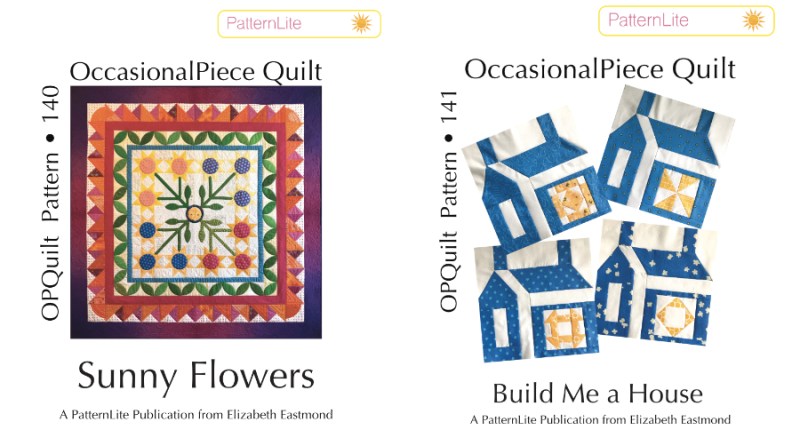
My first two: Build Me A House, and Sunny Flowers Quilt were like this. Or as I say on the pattern: PatternLite: not all-of-a-full-size-pattern for not-all-of-the-price. I still write complete patterns when I have a bigger idea, or I think the pattern might appeal to a quilter who wants step-by-step patterns. Most of my regular patterns have between 20-40 full-color illustrations and are very thorough; however, not every quilt or every quilter needs that. And rather than having them all different prices, I’m also pricing them all at one low price, which is less than the cost of a double-scoop ice cream cone (I checked).

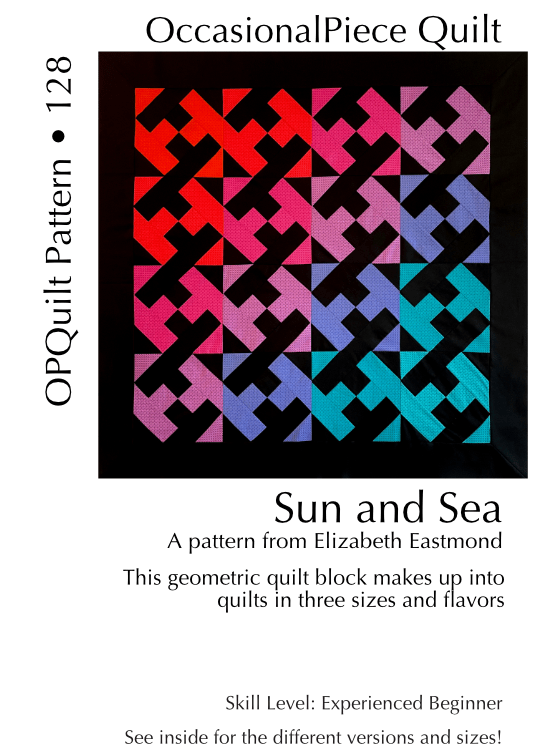
In case you want to get the Flowering Snowball PatternLite, you can find it in my PayHip Pattern Shop.

This week I spent a very lovely morning reading and thinking about all your summer experiences. Many of you have had similar ones to me, and others have been quite different; some were very poignant and some quiet and personal. But what they all had in common was a that feeling we all feel now (that we’ve been vaccinated) of freedom to do, to explore, to ignore the clock and to just immerse in the moment. I have contacted the winners; thank you all for entering my little giveaway.

Penultimate final note: This week I had fun learning how to make a sun filled with orange scribbles using Affinity Designer. They are a great replacement for Illustrator, if — like me — you hate subscription software; they are having a 50% off sale.

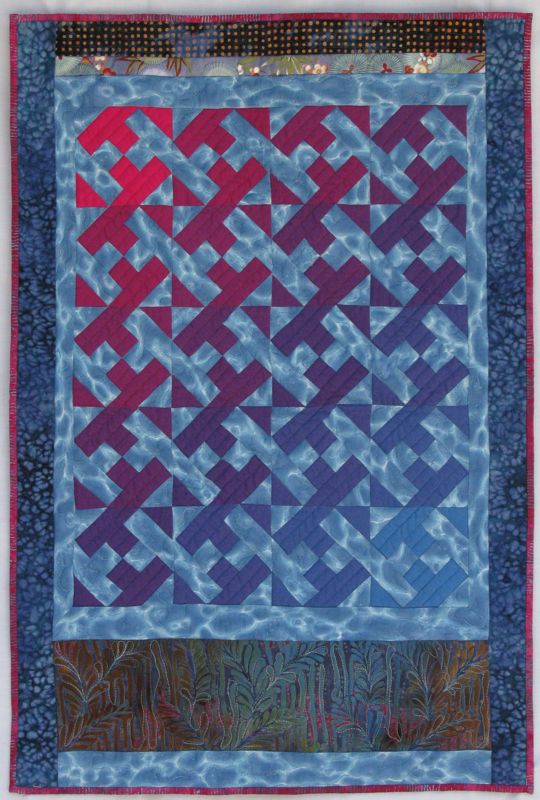
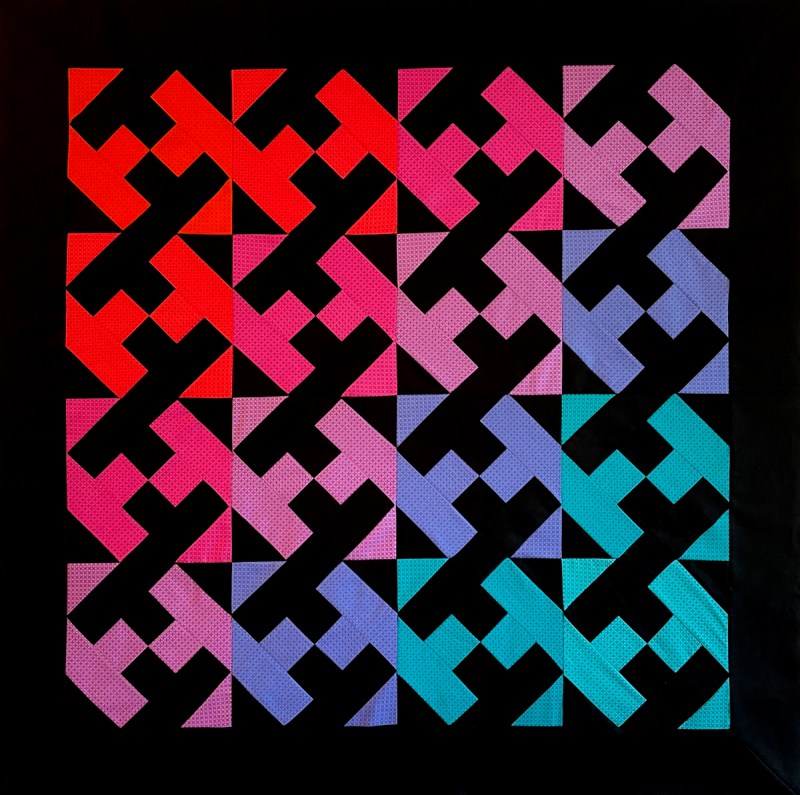
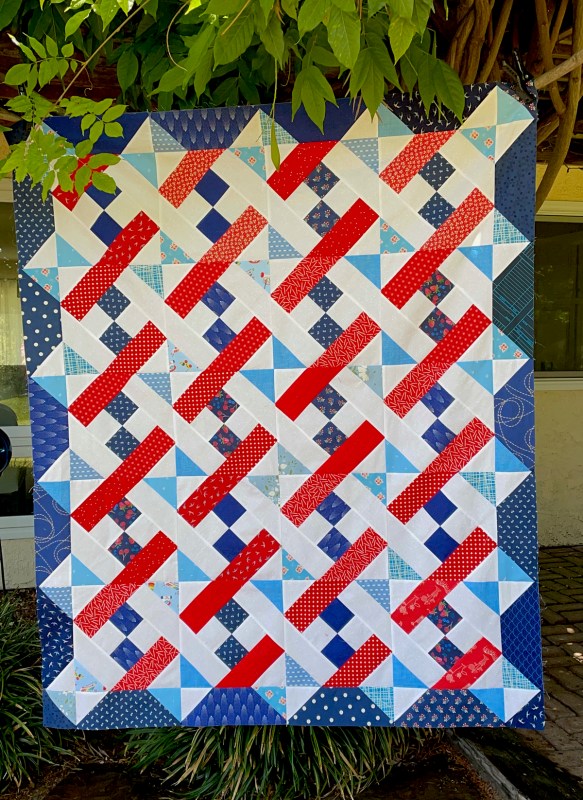
Absolutely final note: I am giving a lecture and teaching a workshop this week at Northern Star Quilt Guild. They let me know that if you want to join in this Criss-Cross Workshop, you are more than welcome to.

Head to their website and sign up, as they have made it very easy to do this through their website. My lecture, Abecedary of Quilts is Tuesday evening (East Coast Time) and the Workshop is Wednesday (beginning at 10 a.m., East Coast Time). As life moves on, it is probably the last time I will be teaching Criss-Cross, and really no prep is needed. So if you want to join in a fun workshop, go sign up and we’ll see you Wednesday.

May you have many more great summer memories!

300 Quilts · Patterns by Elizabeth of OPQuilt · Quilts

Sun and Sea • New Pattern

How long do you keep owing someone a favor? Do you give up after a month? A year?
About FIVE years ago, Michael contacted me for a pattern for one of my quilts: an older one called Sun, Falling Into Sea.

He didn’t say exactly what he liked about it, but he wanted a pattern for this quilt just as it was. I am not completely flakey: I had sent him the blocks for the center, but last month he contacted me (such patience!) again asking for the pattern. Those of you who know me long-term won’t even blink when I say, well, I should do a couple more different versions. First up is Happy Valley.

Happy Valley, with its limited spectrum of colors and a black background, is named for the place where I grew up. We all called it Happy Valley because it seemed like nothing wrong could ever happen. Or if it did, we’d deny it to our death.

I recently visited my childhood home, and that name was just floating around in my head, as I drafted the pattern in the car the long way home from that place. Ignore the red garage with the antlers. When I lived there, the garage was a falling-down thing in the back. My bedroom was one of those two upper story bedroom windows; there were seven children and we traded around a lot. We were the furthermost house up the hill, with those glorious mountains behind us. I could go on and on about my little childhood stories, but we’ll leave it here.

For this quilt, I dipped my toe into Reels on Instagram and had fun making this little movie. (Sound on!) It’s also on my feed a couple shots back, if you would rather see it that way.

This coloration is called Summer Snowcone, because — of course — with its red, white, navy and sky blue it just says summer fun. I added a different kind of border around this one, and you can make this as large (add more blocks and more border blocks) or small as you want to. I chose this size to be a little table cover for us this summer.

I posted this pattern up on my PayHip site, and within minutes the ever-patient Michael had purchased and downloaded it. I hope it works out for him, and that it was worth the wait. Those of you with sharp eyes may have noticed I set up a little discount for anything in my shop, with the launch of this pattern. Use this code to get 15% off:

I did put this up on my Index of Quilts, but it’s kind of cheating, I say, if its not quilted. Well, it will have to be a place holder until I do get it quilted. And that’s another reason to celebrate: Happy Valley appropriately puts me at the significant milestone of 250 quilts. Summer Snowcone is coming in at #251. Cheating, yes, but I couldn’t resist!

Here’s to your Happy Valley, and to the first Summer Snowcone. But let’s do a giveaway or two, too!

UPDATE: GIVEAWAY IS NOW CLOSED. THANK YOU TO ALL WHO ENTERED!

The first giveaway is a free Sun and Sea pattern from my pattern shop. If you are the winner, I’ll send you a coupon just for you to use to get your free downloadable pattern, plus, I will send you a gift card to Pineapple Fabrics, so you can pick up 1 1/2 yards of white Painter’s Palette Cotton Solids to help you get started on your Summer Snowcone quilt.

The second giveaway is a free Sun and Sea pattern from my pattern shop. If you are the winner, I’ll send you a coupon just for you to use to get your free downloadable pattern, plus, I will send you a gift card to Pineapple Fabrics, so you can pick up 1 1/2 yards of black Painter’s Palette Cotton Solids to help you get started on your Happy Valley quilt.

(If you head to my pattern shop to the Sun and Sea Pattern, you can click in the upper righthand corner to download a Preview file that gives an overview of the three different flavors of Sun and Sea quilts, plus yardage requirements.)

To enter: tell me your favorite memory from your childhood that involves summer. I love reading what you write, so enter to win!

(Happy Grandchildren)

Patterns by Elizabeth of OPQuilt · Software

Thoughts on Constructing a Quilt Block

Note: This post has been updated (March 2024), with notes on the pattern and the quilt. See below.


Recently I had a chance to do some beta-testing on BlockBase+, which is a revised version of Electric Quilt’s original software. I will write about the sofware next month when I host a giveaway for this software, but this post is about the process of making. In our beta-testing, we were asked to make test quilt blocks, check for spelling issues, functionality, etc. so I thought I would try out a new-to-me quilt block.

Every block in BlockBase+ has a name and a number, based as it is on the Barbara Brackman Encyclopedia of Pieced Quilt Patterns. I thought this looked cute, so I went for it.

I printed out the templates, labeled them as to the color I wanted, then got to work.

This whole thing was a little tricky, trying to get the petals seamed around the blocks and little triangles. But I really really liked the design I had cooked up (coming soon), so I persisted.

You can see the finished quilt block above, but all I could think was, how did this quilter in the early part of the 20th century put this thing together? But some early quilters did, as I found in a search online:

The blurb describing it says: “Antique Vintage Triple Sunflower Quilt Top in 1930’s prints beautifully hand and machine stitched.  This measures about 33 x 47.5 inches and is in very good as found vintage condition with 8 places that need to be resown.” NOTE: It sold for $26 this past September 2020.

I had not seen those antique quilts when I started this block. So on the second round, I decided to try using English Paper Piecing in putting it together. Many sections went together more easily, like the petals: crisp and sharp.

This long stem was less fun.

The back. I think it’s always fun to look at the reverse side of EPP.

Done. This took me about two days of pretty constant piecing, but I did get to watch a few episodes of Ted Lasso on Apple TV (colorful language alert).

Side by side, back and front.

But there was a clue! And what was the clue I garnered from the antique blocks?

Okey-dokey. This would have made things so much faster and easier. There is also a lot of variety on the stems and leaves, all hand-appliquéd after the four blocks were assembled. And I was able to really enlarge the green-bordered block to see the grain of the background pieces: the grain is not all straight of grain, so while I don’t know if they did a lot of EPP at that time, they might have. Or they might have used odd bits from their scrap bags.
(I don’t know about you, but I wish some fabric designer would do a replica of the lower right petals of the blue sunflower block at the bottom, with those cool alternating blue-white half circles.)

Overall: putting in a seam on the rectangles and the center squares would make it easier to construct. However, I do like the long stem in one piece…pieced-in, rather than appliqued.

Stay tuned for more updates.


March 2024: Thought you might like an update on the finished quilt.

I finished Sunny Flowers, and while it has always been available in my pattern shop as a PatternLite pattern, I recently did an major overhaul on the pattern, adding in bits that I hadn’t before (like the borders), and yes, I changed the pattern to include a seam between the flowers, as you can see in the blue-dotted block in the lower left.

If you purchased one of the earlier versions, you should be able to download the revised pattern for no charge. (If there is a problem, please contact me.)

Now, back to our originally scheduled blog post.


Regarding the giveaway for the Walk book: the Husband Random Number Generator picked a winner, and I’ve notified the winner by email. Thank you to all who wrote. I had the best time reading all your springtime descriptions, and felt like I was visiting different areas of the country and world. I laughed at many, and got warm feelings on others. You are all amazing writers and quilters. Thank you for reading.
Happy Quilting!

P.S. Happy Pi Day. Since I’m not making a pie, enjoy these random pie charts from The Internets.

Hotel California Pie Chart
Patterns by Elizabeth of OPQuilt · Red, White and Blue · Shine: The Circles Quilt

The Last of the Shine RWB Blocks: 22

Happy Birthday to this blog!
Fourteen years of blogging: writing, sewing, quilting, venting, writing-back-to-you, reading and I still love writing this. I still love reading your letters and with a few exceptions was able to write back to everyone. Like I said, there are a few exceptions, but I try to keep the conversation going, so comments are back on for this final post of Shine blocks.

Block 22: Double Rosette

This block was very nearly infected with a virus, but I made some quick switches, and saved the quilt from this fate. It starts at the beginning when I choose fabrics, not always seeing the end from the beginning.

First up, attach the teensy little blue points to the large two-color points, already seamed using the quick trick I’ve mentioned before. But it’s easier if you work from the back, aligning the lower edge, taking a stitch to tack it together, then work upward to the point/shoulders of the two:

I never glue down that lower edge, so if you have, straighten it out, then you can see the bottom of the patterns. Take a stitch while you are looking at them. No, take two stitches.

After sewing one teensy point onto the same side of all the Inner Rosette units, repeat the process to sew two of these units together: work from the back, tacking the alignment into place. Sew the seam.

Twos, the fours. Notice that I sewed my little point onto the LEFT side of all the Inner Rosettes.

The blue diamonds went on, keeping the little blue dot pointing towards the center (I’ll show you that in a minute). It’s easier to add the outer sections if you are working in segments.

All the outer wedges are on, units are sewn together and it’s time to go hunting for a middle.

Because this circle is so much larger than my templates, I trace it on to the dull side of freezer paper, but also add a row of dashes at 1/8″ away from the circle and 1/4″ away. As I tell you on the pattern, it’s best to make your circle a little bit bigger.

I went to the ironing board and with the shiny side of the freezer paper facing upward, I tack it in four places with the tip of a hot (cotton setting) iron, kind of melting the shiny side of the freezer paper to hold the seam allowance in place.

I then work my way around, smoothing it into place. I will smooth out any bumps when I hand-stitch it down. Notice that the seam allowance is closer to 3/8″ — I will trim it down after it’s sewn to the larger EPP circle.

I measure from the edges to the center circle to make sure it’s evenly placed in the center.

And even now, I didn’t see what was happening with that blue polka dot against those teensy blue points.

I carefully stitched the center circle on, flipped it over for its papers-in beauty shot. See the little blue dots in the Outer Diamond E piece? They are there to help you know which side goes towards the center.

NOW I see it. It looks like a giant virus. This just won’t do.

I dithered about what to do for a day or two, then took off the center circle.

I replaced it with a medium blue center. But after another day, I added the final dark circle in the middle. I kept thinking I should dream up some more EPP for the middle, but frankly, I was kind of . . . done. And so I called the last block of the series, finished. (See the photo at the top for the final version.)

So, at this point, the Shine Blocks are all a family: The first sixteen, the second batch of ten, making 26 blocks out into the world. I love it when I see other people’s blocks, so I’ll leave you with Linda’s final block of her quilt.

Shine on, everyone!

And Happy Birthday to me this week!
Illustration by @flora.forager

Because it’s my birthday this week, here’s a coupon code to get yourself a little present in my pattern shop!

The Fine Print: 25% off • Expires Saturday, January 9, 2020