Patterns by Elizabeth of OPQuilt · Textiles & Fabric

This and That • May 2022

I so appreciate you all: thank you, thank you! I was able to pass on the info to WordPress, my blog software company, a reliable source for writing these past fifteen years and three months. Bugs climb in everywhere and I’m hoping they get this one resolved.

And thank you also for all the beautiful things you wrote. I treasured and read them all–often out loud to my husband. I have the best readers!

Usually I write for a Sunday publication, but this week got tripped up a bit, so I’m late.

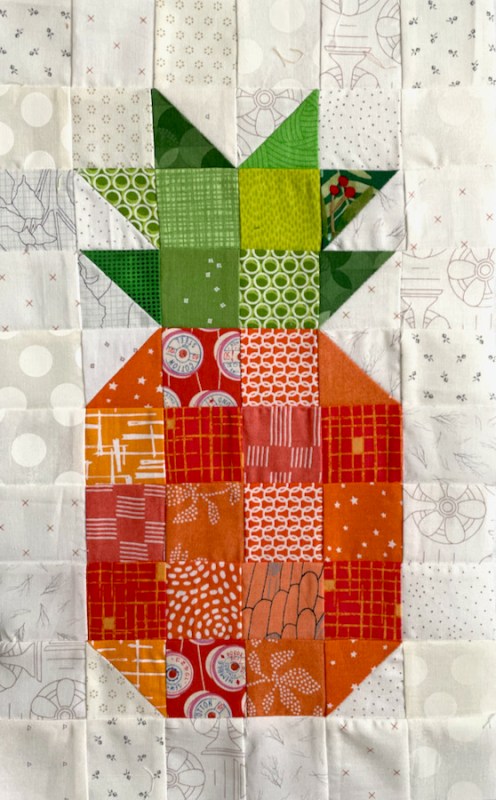
Laurie, our Queen Bee for the Gridsters chose a pineapple block, two if we didn’t mind, and she asked for them in yellow and orange. I had made these blocks once before, with a free download of the pattern here, but the crown this time is a little different, a little taller with an extra row of blocks. We also added an extra border of low-volume blocks that wasn’t on the pattern. It took me a minute, but if you treat the extra low-volume blocks as part of a row, it goes better. (The other way is adding strips of blocks when the pineapple is finished: that’s a not-so-great method.)

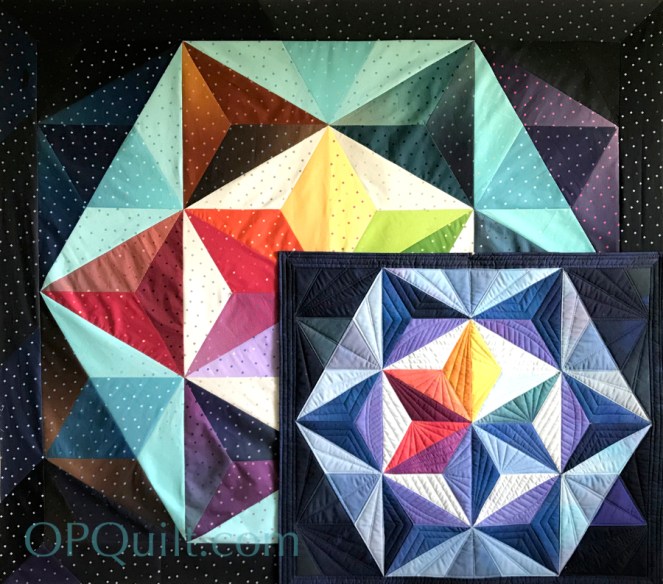
Started quilting one of my own designs: Triad Harmony. I’ve made several in ombre fabrics which are fun to work with. I picked out all the thread colors for the star points, then went a different direction, decided to quilt them as one unit, so only one color of Magnifico thread was needed. Then I quilted a wrong color (hence the seam ripper).

I like to date-stamp my quilting along with what was finished. Lovely night-time fluorescent-lighting photo.

Here’s a comparison of the two quilt sizes in the pattern. I originally had a working name of Spectral Light for the larger one, but I just changed it up today to Eris. I’ll explain later on, when it’s finished.

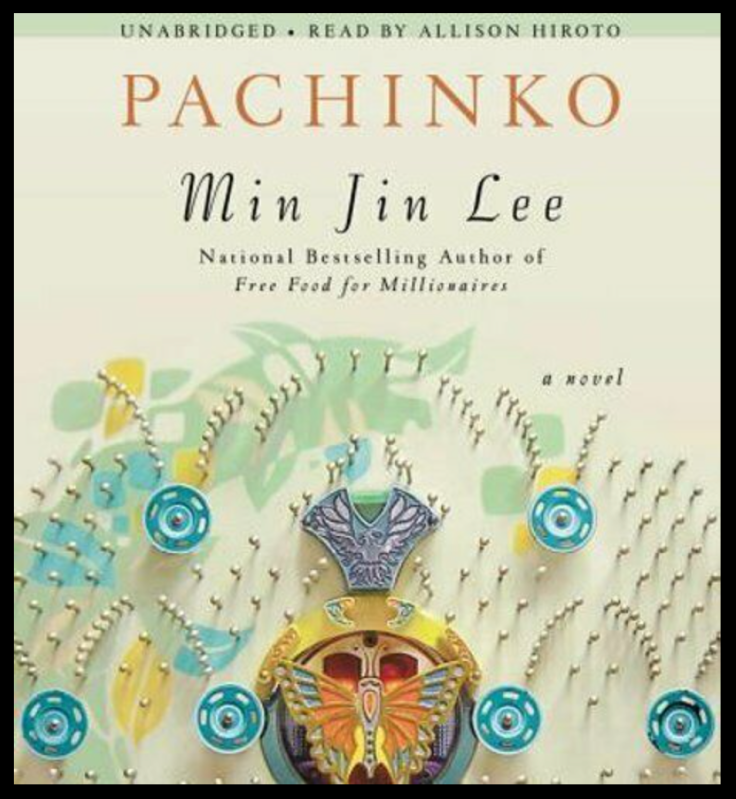
Now I’m working on the red stack of nine-patches for another Christmas quilt. There is something so lovely about occupying my hands with nine-patches. It leaves me free to listen to audiobooks like Pachinko.

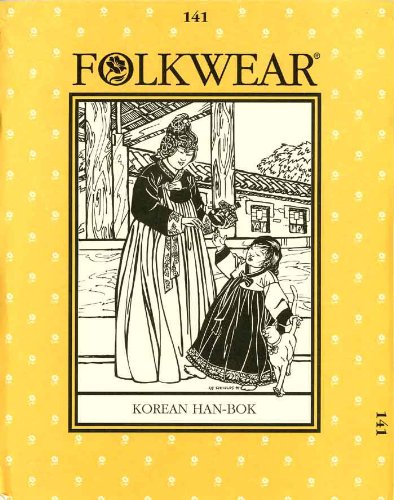
Those of you who are long-time readers of this blog, know that I am fascinated by and appreciate traditional clothing; the hanbok is no exception, having written about it when we visited the Chojun Textile & Quilt Art Museum when we in Seoul.

I was also interested in this article from the New York Times about the history of the hanbok.

You can make your own! Folkwear Pattern for Hanbok

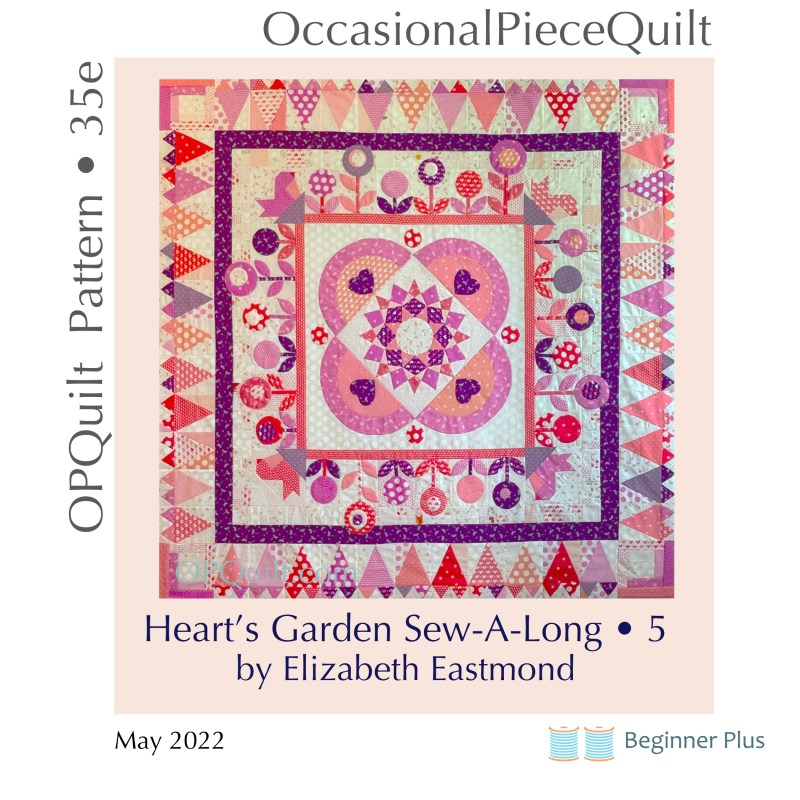
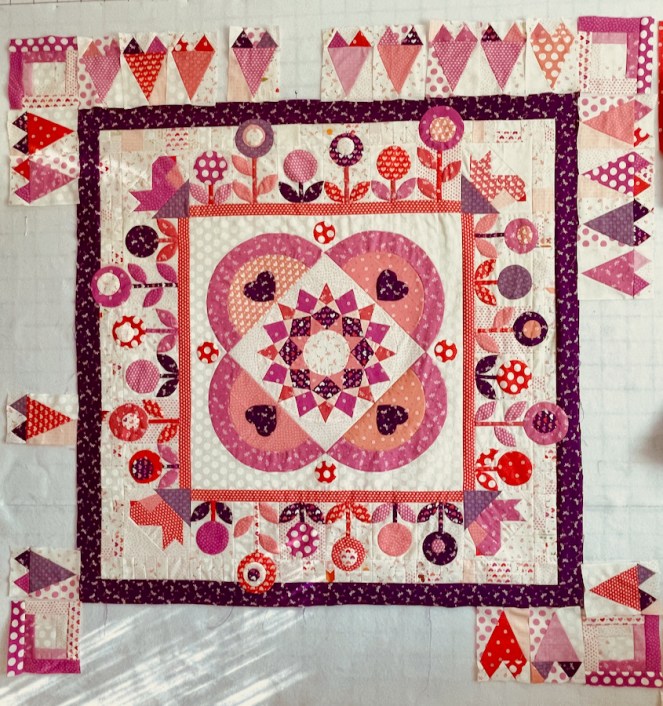
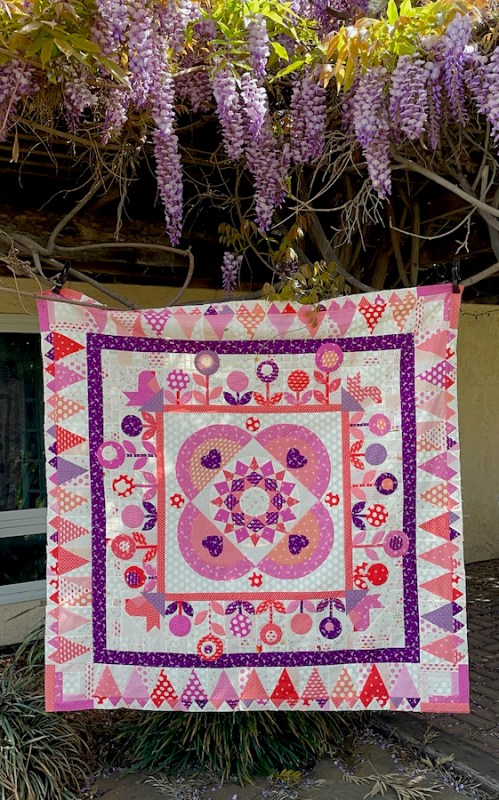
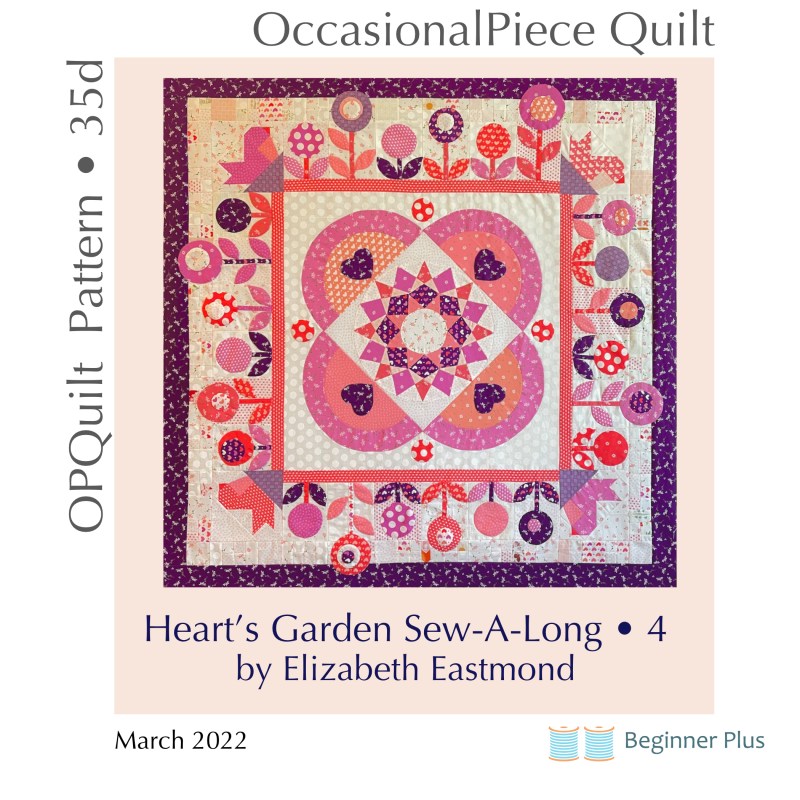
Mother’s Day is coming up, then the last part of Heart’s Garden will drop. Krista, who is quilting it, has sent me images of the quilt up on her frame, and I’ll be excited to show it to you when it is complete. So far there are four parts:

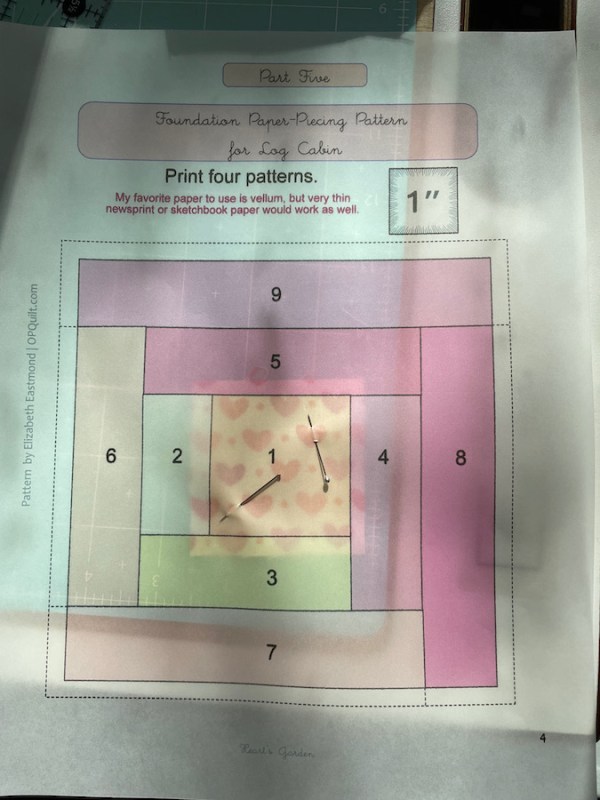
On May 15, 2022 Part 5 (free pattern) will drop. [UPDATE: Pattern is now available in my pattern shop.]

If you have missed any of the parts, Part 4 is free until May 14th, and Parts 1, 2, and 3 are available for purchase. Part 5 will be free until the pattern comes out. Soon I will consolidate all the parts and have one pattern for sale, but that will come closer to June. I will have one more: Part 6, but that will be a blog post. If you don’t have time to sew this now, be sure to grab the free patterns for later. I have three quilters who are sewing along with me, and I love what they have done. A couple have made changes to the pattern, which are also fun to see. As I remind them, they are not pattern testers, but quilt makers. Feel free to make it your own!

Happy Quilting,

Heart's Garden · Patterns by Elizabeth of OPQuilt · Quilt-A-Long

Heart’s Garden Mystery • Part 4

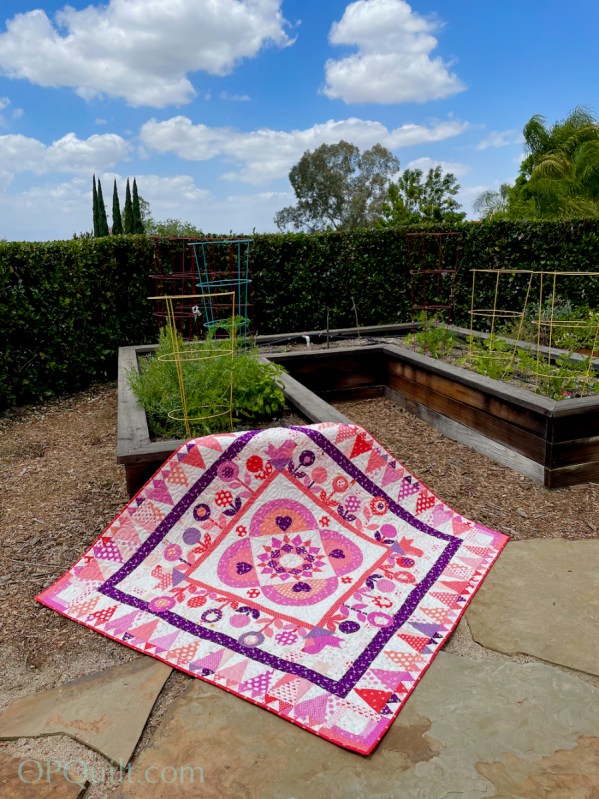
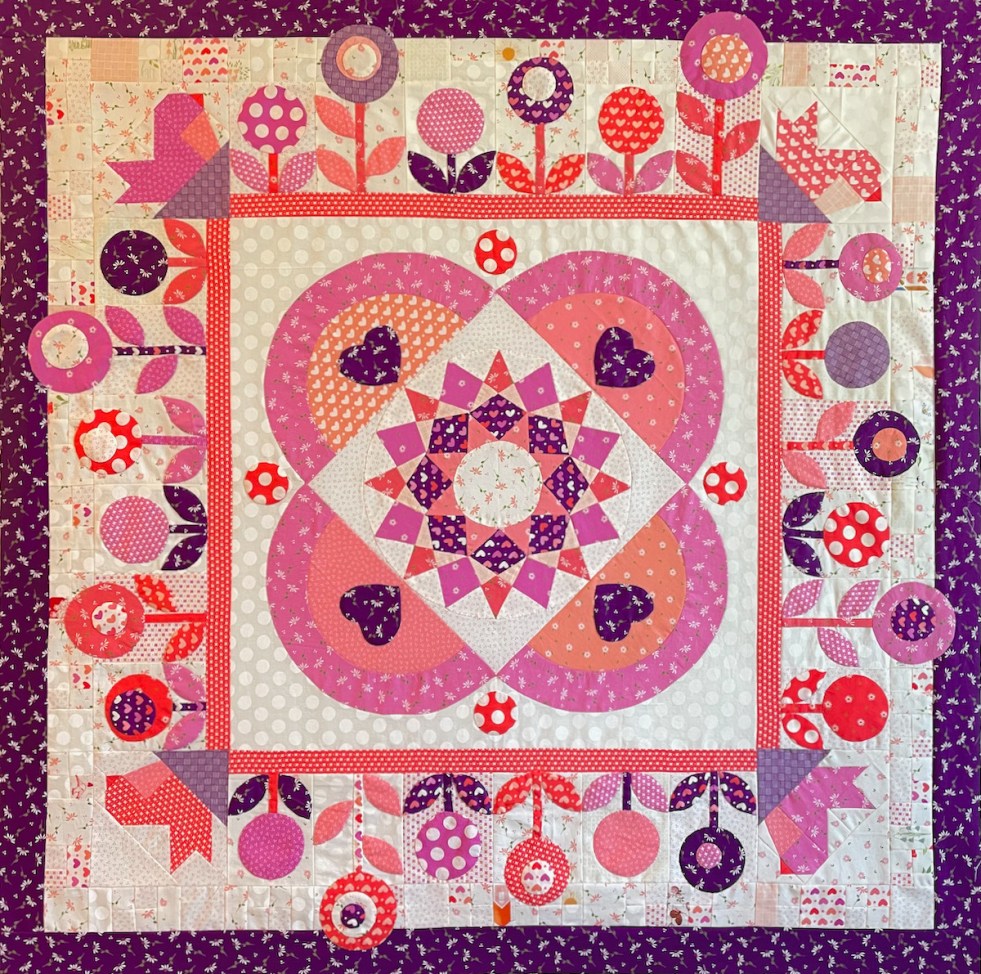
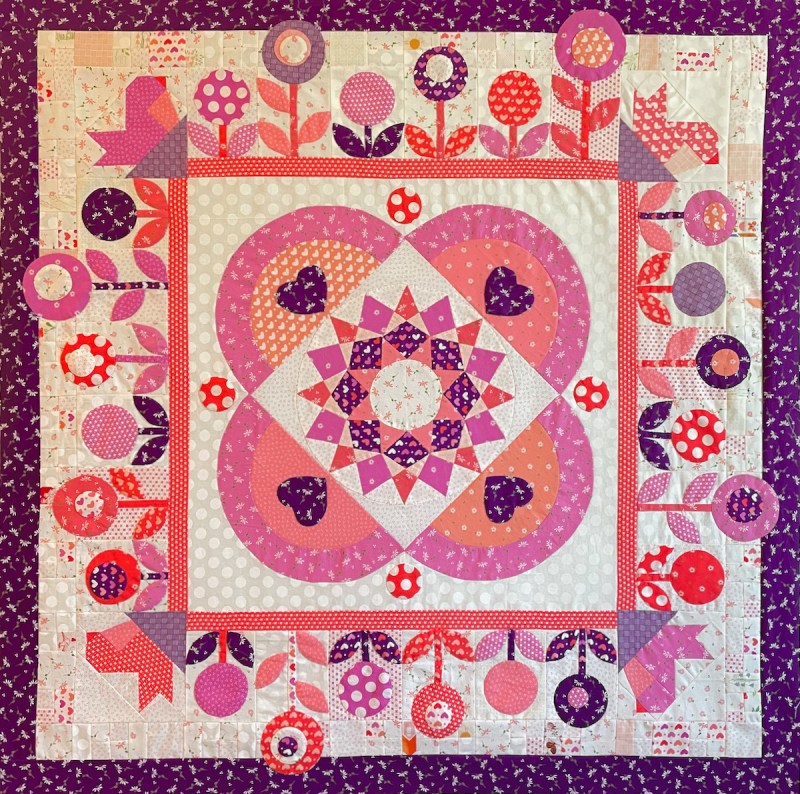
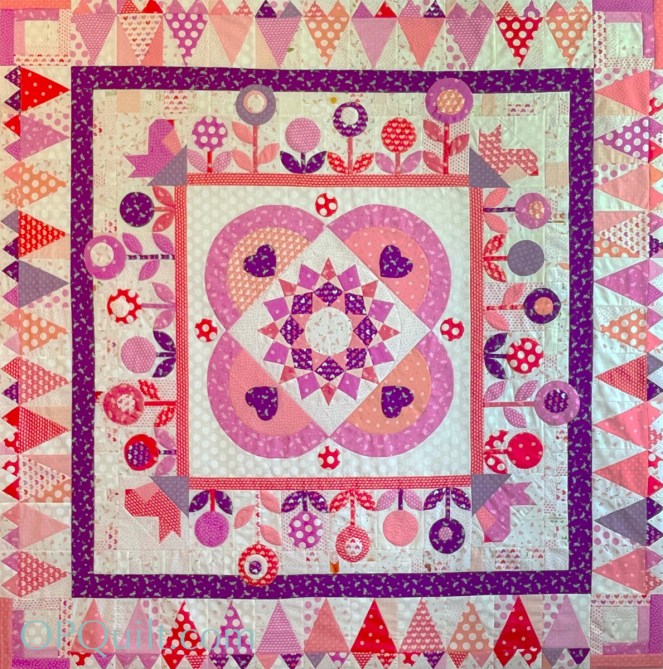
The Heart’s Garden has been planted.
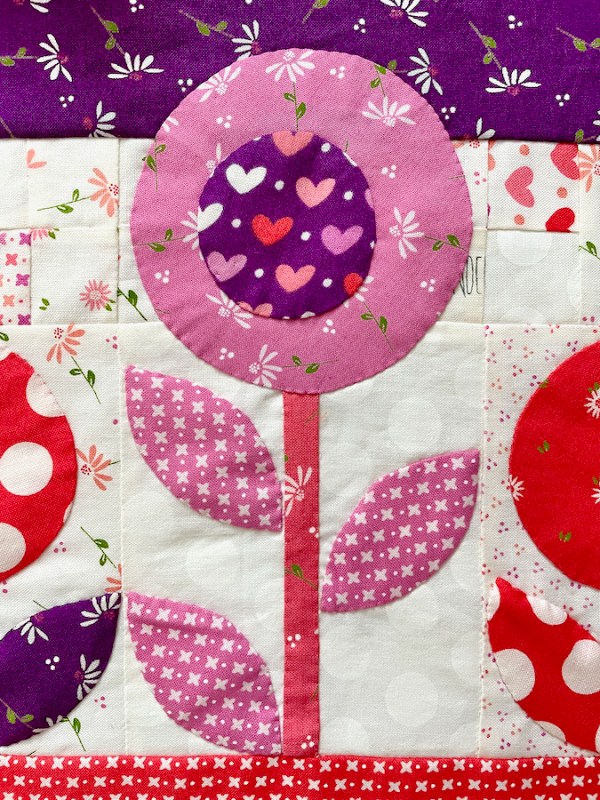
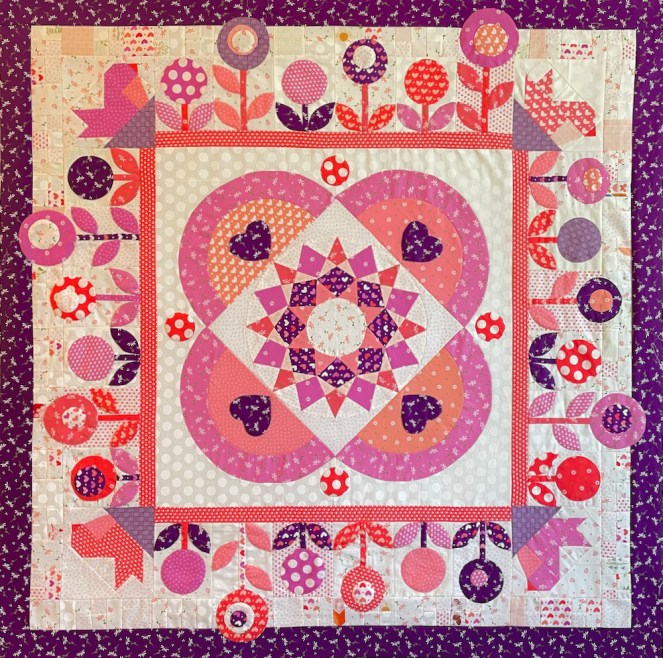
It is filled with flowers of all colors, and in many sizes. The birds are nestled in, the outer border acting as a fence for the blossoms to climb. Part Four is appliqué, but the appliqué can be done by hand or machine. Examples of appliqué are in this post.

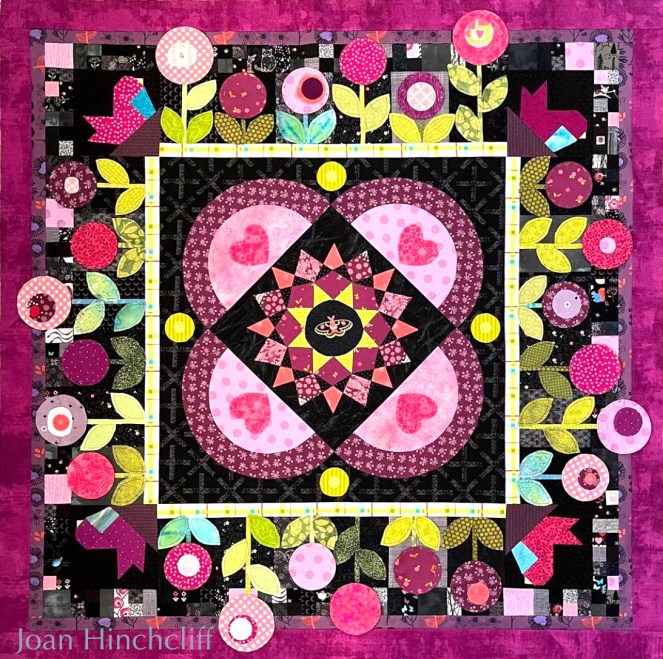
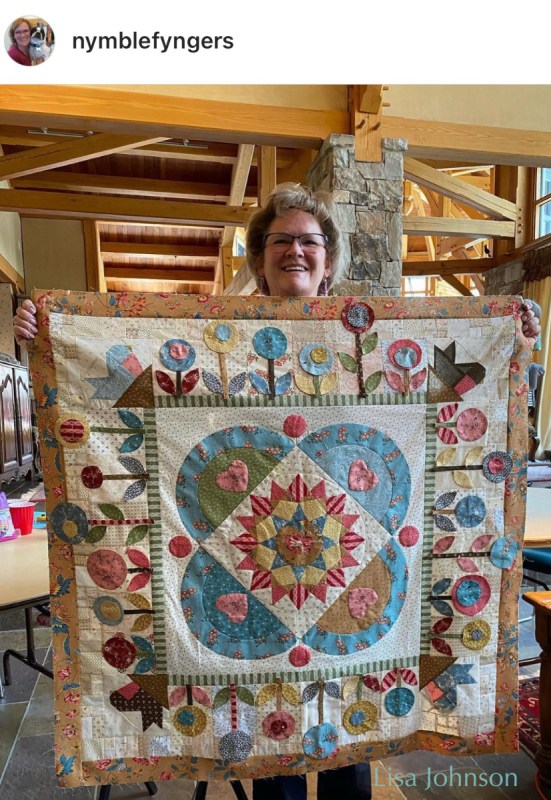
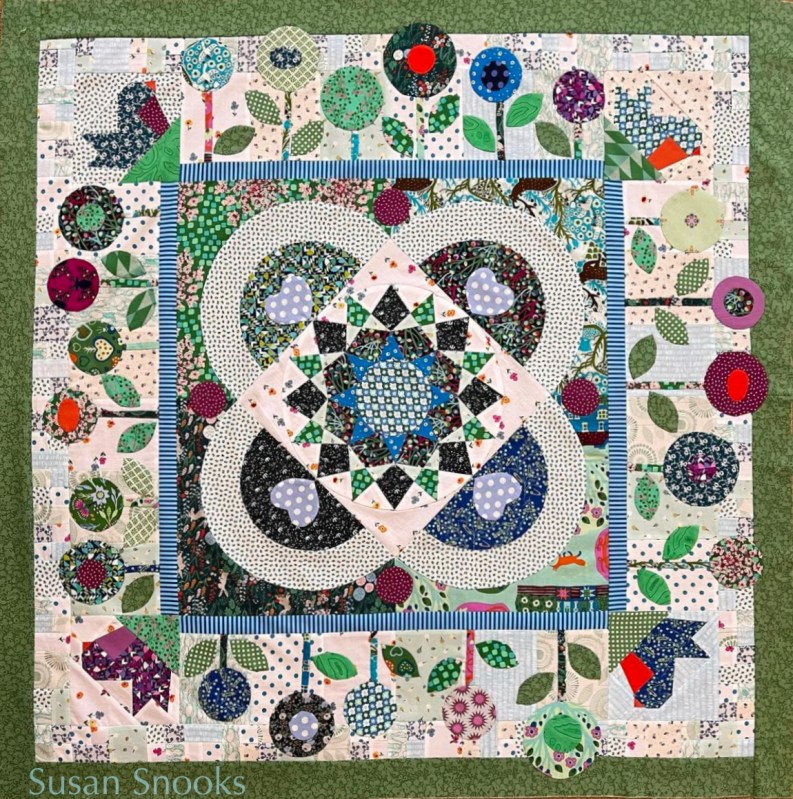
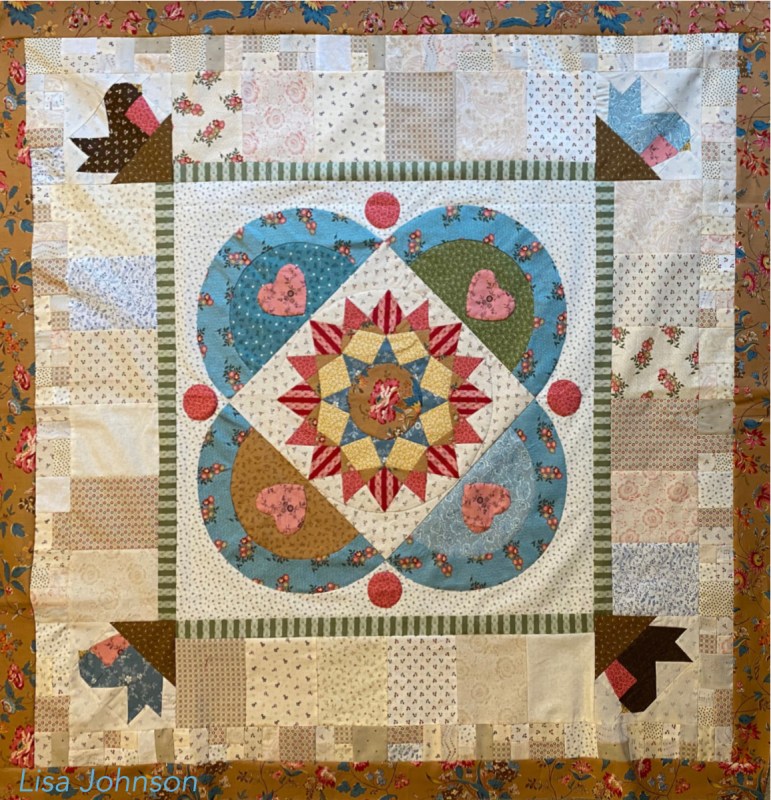
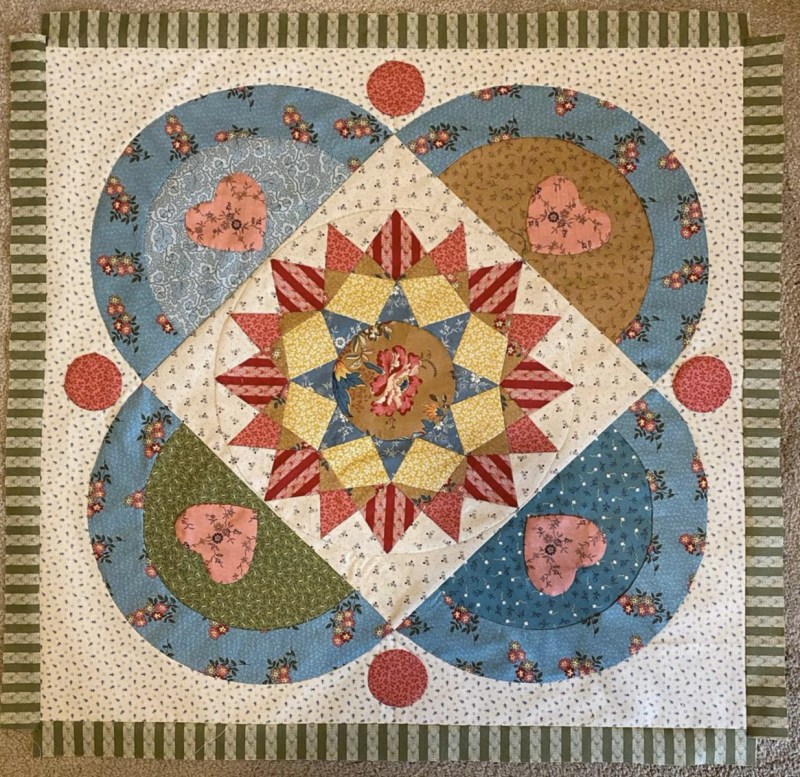
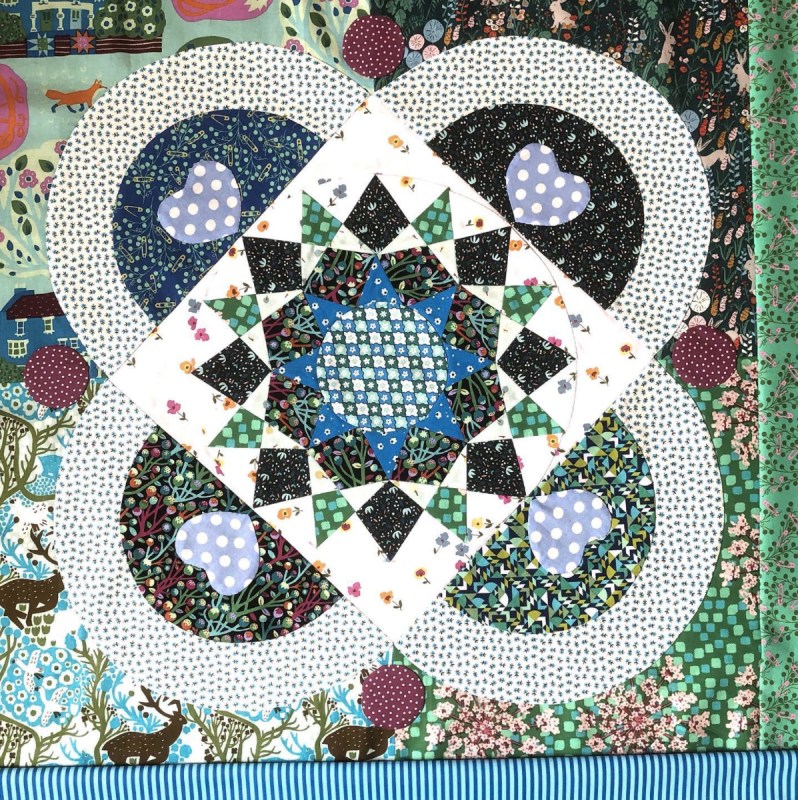
I always like to feature those quilters who are sewing along with us; and who have finished Part 3: Lisa Johnson, Susan Snooks, and Joan Hinchcliff. Their quilts are all so beautiful.

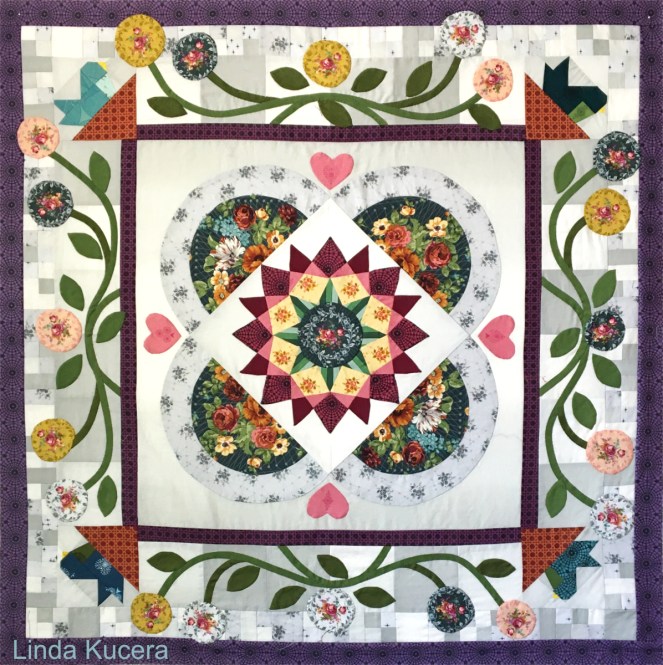
In looking at our home at this Instagram hashtag, I also found the beginning of Linda’s quilt:

I am fascinated by how different all the quilts are. (Linda was my roomie at QuiltCon in Phoenix, in February, and is an awesome EPP-er.)

As usual Part 3 will be switched to a purchased pattern, but if you are just starting in, all the earlier parts can be purchased individually, or you can wait until mid-summer when the full pattern will be available. More at the end of the post.

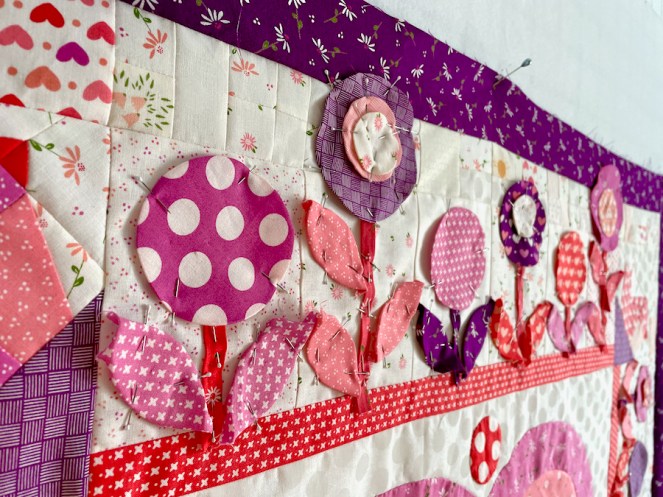
My first planting. I started by pinning the stems around the quilt, having them overlap the inner border by 1/2″ on the bottom, as shown.

I take a lot of process pictures, but in reality, everything changes all the time.

Flowers, stems, leaves are all pinned up. Some like to use the glue method, some like the machine method (I do too), some like hand appliqué. I give tips and tricks in the pattern, including how I “dig” that stem into the “dirt” of the inner border, so it looks like it’s planted. You might also want to watch a wee video showing the basic technique for Karen Kay Buckley’s Perfect Circles.

Part 1 can be purchased here.
Part 2 can be purchased here.
Part 3 can be purchased here.

Part 4 is now live and living in my online pattern shop and can be downloaded for free.

Hope you enjoy making this fourth part–post them so we all can enjoy them.  P.S. If you can’t manage another project, feel free to download for another time. I keep the posts organized on this page (also in the header at the top of the blog). A full pattern with all the parts will be available for purchase in mid-summer.

There is always the option to stop here, with the garden all planted, but there is a reason why it’s called Heart’s Garden. This will be obvious to you when Part 5 is released in May.

Happy Spring and Happy Quilting, and most of all, Happy Easter.

A short video for Easter: Because of Jesus Christ, All Things Are Possible

Heart's Garden · Patterns by Elizabeth of OPQuilt

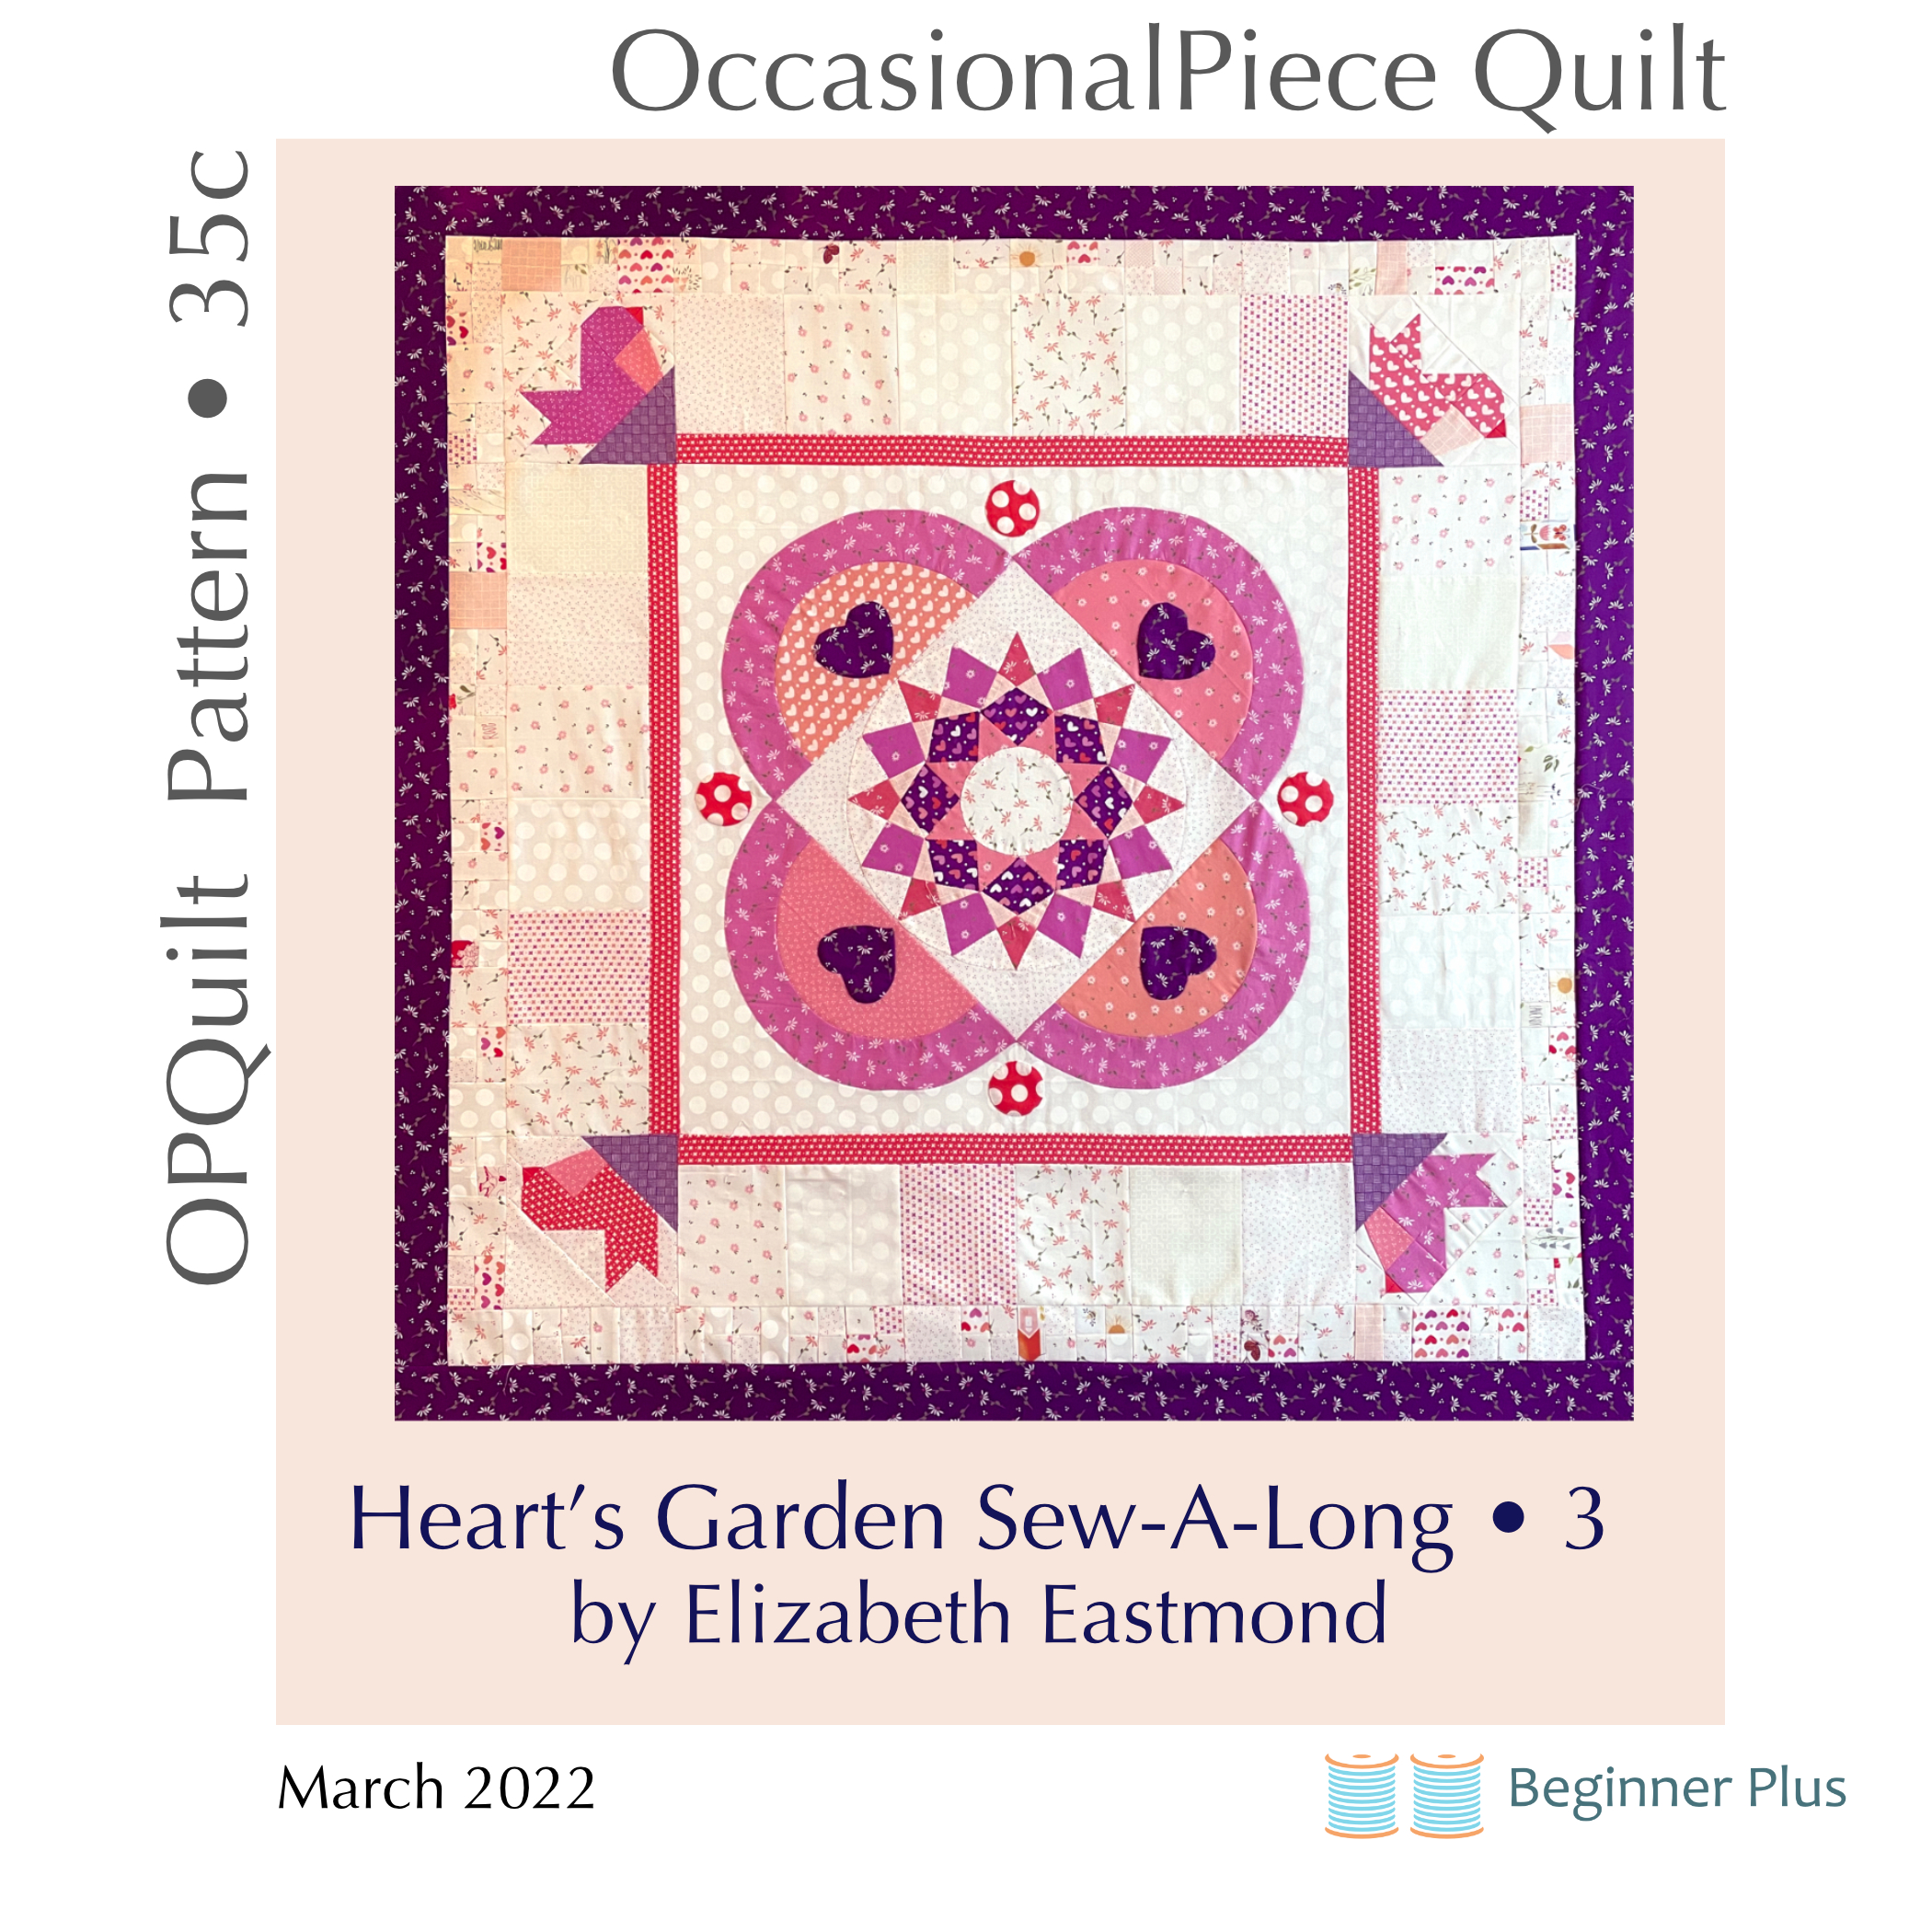
Heart’s Garden • Mystery QAL Part 3

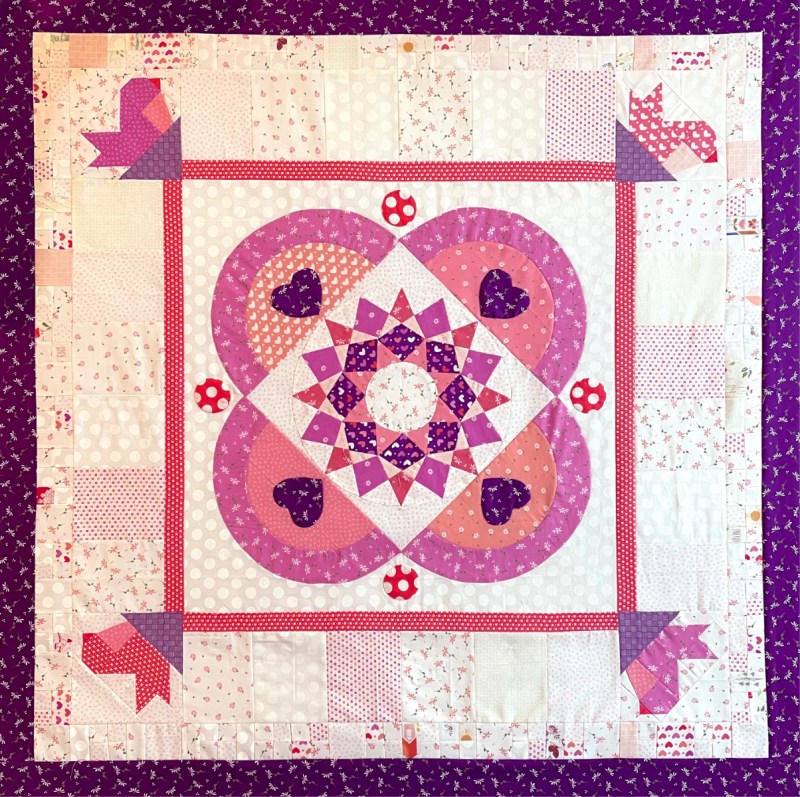
This month is what I call a supporting month in the Heart’s Garden Mystery QAL. Of course you can figure out that flowers will be planted here next go-round, and so you’ll keep that in mind as you create your garden beds for them to grow in. There are three borders: the first inner one with large blocks and corner birds; a second one of interesting bits; and finally, a third one for stability and delineation for what’s coming next. All things rest on your creation this month, but first! some eye candy from Part 2 from Joan, Lisa and Susan:

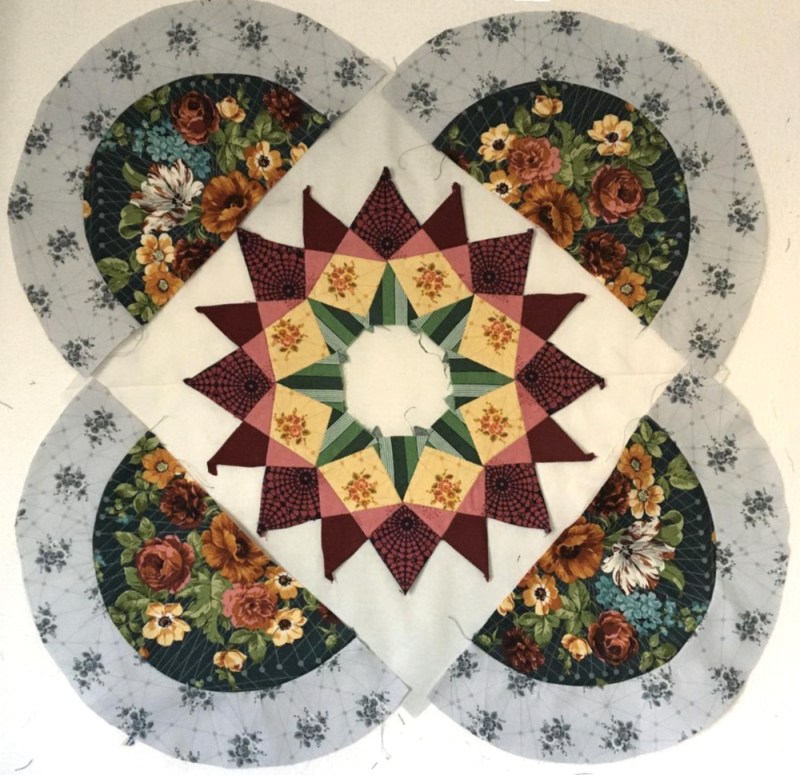
Joan has put a butterfly in the center. Lisa (middle) also fussy cut her center and the striped border is really perfect. Susan decided to create a four-patch in the background of her Part 2 as she didn’t have any one piece of fabric that she liked. I’m really enjoying the creativity of these quilters!

This month includes making four sparrows in the garden.

I made more samples out of scraps to refine the pattern, but most of the fabrics I’m working with are Sherri and Chelsi’s line of Sincerely Yours, with a lot of warm pinks, reds and fun neutrals. After seeing the quilters above, I now want to remake it in something different.

Then the rest is cutting small bits, creating a background for what comes in Part 4–easy, peasy, right? I know it’s hard to create without knowing the future of a design, and my hat is off to Joan, Lisa and Susan for giving this mystery a go. As I mentioned in the last post, it was a bit of a mystery to me, too, after I scrapped the design of what I’d been headed toward and reworked it into a medallion quilt, but now I’m full steam ahead.

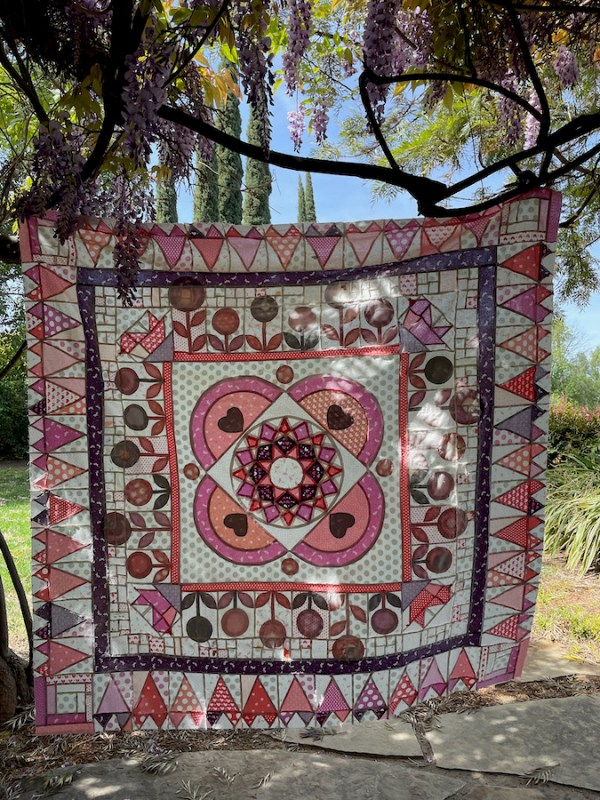
Here’s the front of this month’s installment. Parts 1 and 2 have come down, but all parts will be available in a stand-alone pattern, for sale in mid-summer. Our Instagram hashtag:

[UPDATE: The pattern is for sale in my online pattern shop.] Hope you enjoy making this third part. If you can post them on Instagram they will be fun to see! P.S. If you can’t manage another project, feel free to download for another time.

Happy Quilting!

P.S. This is how I feel about Daylight Savings Time.

Christmas Quilts · Patterns by Elizabeth of OPQuilt

Tannenbaum Top Finished!

Quilt Bio:

Not Yet Named or Quilted or given a number in the Quilt Index
Current size is roughly 84″ x 95″
Top only is completed; taking it to my quilter this week

Anguish Level–Center:

The center was pretty straight forward as all the pieces were pre-cut. A bit of heart-failure when cutting directions by the designer were off for one section of the tree. Pieced it. Did the bulk of it in two days with my friends. We started December 9, 2019 and made it to Block Four. Picked it up again on December 10, but the center wasn’t finished until a couple of weeks later. Lots of piecing, but having friends there made it fun. It was pre-covid, so we didn’t worry about anything.

Anguish Level — Borders:

Hard to gauge because now we’re two years into covid and everything feels harder (really) especially design (really really). It’s also been out of my hands for two years, so I have to re-acquaint myself with this. Anguish Level is also a bit higher because I’m trying to blend in the designer’s style with my style. My first draft is above, but I realized everything was pretty tan/beige/cream. I’m replacing a red/blue/green Christmas quilt (below) and wanted something traditional and something with RED.

Construction Report:

Flying blind, so that’s always interesting. Hardest thing is to figure out fabric amounts, so I ordered a jelly roll of greens, half yards of reds/creams, and then 3 yards of red for the borders. I ended up ordering 2 more yards of red; I just hope the approximated yardage in the pattern will be okay for most people. Fun to make Border One, really fun to make Border Two (sawtooth stars, she says!), and once I got the hang of the scale of leaves and vines and figured out how I could explain what I did, the appliqué went quickly. I am really happy it’s done, and it’s ten months early for Christmas!

More Photos/Illustrations/Yammering:

Border One is Double HSTs. I learned a nifty trick from Yvonne of Quilting JetGirl about how to cut these, which made things go more smoothly.

One of those lovely late-at-night photos, but the borders are on and the quilt is growing. I am not worried about all the piecing in the background of the tree part, but my very smart friend Laurel appliquéd down her tree onto a solid piece of fabric, instead of all those cuts. And yes, I did swap out the tan fabric in the kit for something a bit lighter.

I’m in my favorite sandbox now, with sawtooth blocks.

I like all the variety of the many fabrics in the same hue.

Moment of Truth:

It fits on the bed!

Final Border Photos/Illustrations/Yammering:

Heading deep into Vines and Leaves. I cut two template shapes for the leaves: one with seam allowances (see red line) that I use to place on the bias and rotary cut around. I also cut a massive amount of leaf shapes with NO seam allowance out of freezer paper.

Photo #1: I place the dull side of the freezer paper to the wrong side of the fabric leaf. I use the iron to press the seam allowance onto the shiny side of the freezer paper, where it mostly sticks. Photo #2: Repeat with the other side. Photo #3: Prepped Leaf. Yes, I do have to pin the shapes down and mess with them sometimes, but that doesn’t bother me.

Cutting circles. I used the plastic circles by Karen Kay Buckley; follow her directions.

I shape the bias-tape vines on an old piece of fabric atop my ironing board, so I could draw the guidelines, and pin into it while pressing the curvy shape into the strip. Worked pretty well!

See the creases pressed into the borders? I tell you how to measure these guides properly. I’m working on my design wall now, as the quilt’s kind of big and I’m trying to see how to shape these vines/leaves. It’s not hard. Just fiddly, as the Brits and Australians say.

After I arranged one set of vines/leaves the way I liked it, I used Becky Goldsmith’s plastic overlay technique. I unpinned it from the design wall and laid it on the ironing board. I had purchased the plastic by the yard from JoAnn’s, then laid it out over the first set. I traced it, and then used it as a template for the other two, working with them one by one on the ironing board, and pinning down like crazy using small appliqué pins from Clover. I nudged the pieces into place here and there; that overlay is such a great help.

Nighttime photo of all three!

The first two borders are sewn on the sides. I knew I was going to miter the lower two corners because they are more prominent on our bed. But the top border would just be sewn straight.

We took it out for a beauty shot one early morning. Thanks, dear, for holding it up!

The “snowy” photo. The only way we can look like a winter wonderland is if the spring popcorn blossoms are out on the trees.

Overall Assessment:

I’m now going to do some easy piecing for a while. Maybe even sew a skirt or two (had the fabric for longer than I care to admit). Keep working on Heart’s Garden. Enjoy Spring. Plant tomatoes.

Happy Quilting!

Other posts about Tannenbaum:

Many photos are on Instagram, and some are linked above • #tannenbaumquilt has a mix of photos

Purchased the kit at PIQF, October 2019

Christmas Reveal 2019 for the Center

Diving Back In after nearly two years

Small Updates

Note: I do have a pattern for the outside border, but the famous designer made me stop selling it (long story). I can send it to you, free of charge, if you are interested.