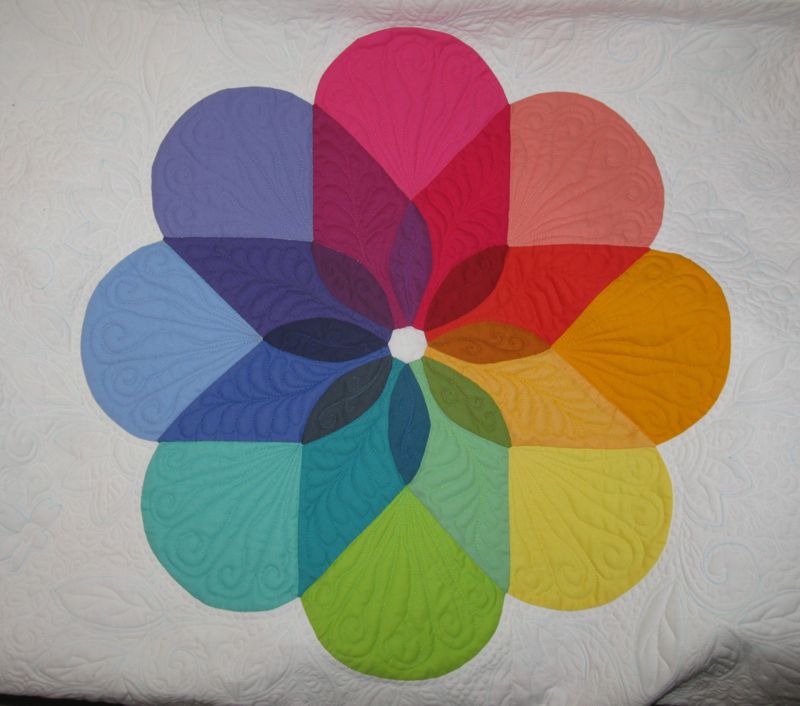
Because of all the wonderful and encouraging comments from last post, I kept going. This is an in-progress update. Inner blossoms quilted. Inner background quilted. Moving on today to small border, then final large border.
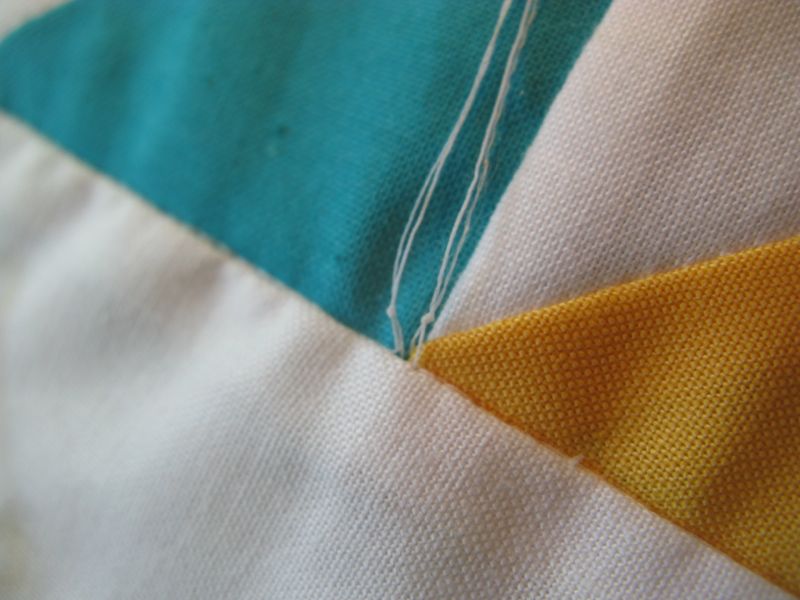
Some asked about how I knot the threads to bury them. When I begin stitching an area, I pull the bobbin thread up to the top, hang on to them and start stitching. When I’m done, I need to deal with these threads. Before, I used to tie a square knot and then thread the tails through a self-threading needle and bury them. There is a better way that I learned from Sue Rasmussen.
But first, there are two kinds of self-threading needles:

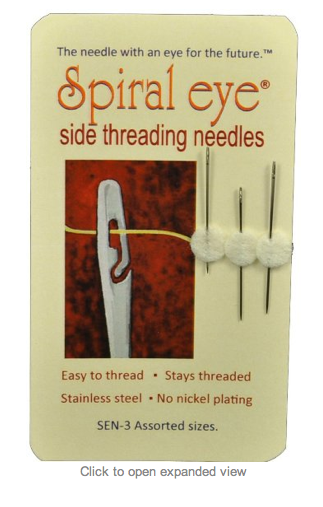 The top kind, where you snap the thread into place, is a more reasonable cost, but occasionally it will shred your thread. The side-threading needles retail for about seven dollars each (coming in a pack of three), but those who have them swear by them. I did a search on “self-threading needle” on Google to find these.
But now I tie an overhand knot leaving the knot about a 1/4″ away from where I want to sink it into the quilt. I grab the tails, put them in my self-threading needle, insert the tip of the needle where my threads originated and come out about 1″ away, pulling on the thread to pop in the knot. If your knot is too far away, it will come loose.
Thank you again for all your encouraging comments.
Linking up to Lee’s Freshly Pieced WIP Wednesday.
Discover more from OccasionalPiece--Quilt!
Subscribe to get the latest posts sent to your email.

Gorgeous! And great info on self-threading needles, didn’t even know they existed!
I use those needles too. They are wonderful even though a bit expensive. Great progress on the quilting!
Love those needles – have to go buy some. i really like what you are doing on your Colourwheel!
My grandma would have loved those self-threading needles. I remember that when I was a little girl, I would thread a dozen needles for her at a time, poking the ready needles into the corner of the quilt she always had up at her house. Good memories. I guess I’m glad she only had me to thread the needles for her!
I use the cheaper self threading needles (I haven’t seen the spiral eye type in Australia) but lately I’ve been using the Lasso method http://www.needlenthread.com/2011/07/plunging-lasso-for-sinking-embroidery-threads.html which works really well especially if you only have a small length of thread, it does take a while to get used to but once you’ve done it a few times it is quite easy.
This quilt is just stunning, your fabric selection is perfect! I use some cheapo clover(?) easy-thread needles and they kind of suck, so I’m glad you mentioned these other options for burying threads!
Very pretty!
Ohh, thanks so much for the burying info! Keep going girlfriend, this is just stunning.
I love what you’re doing! Thanks for passing on Sue’s tip. I’ve been tying my knots closer to the surface of the quilt, and they sometimes pop back out. I use the spiral-eye needles, and they’re worth the price. They’re made in the USA. But be warned, the American spiral-eye inventor licensed her design to a company in China which advertises on TV, and the Chinese-made needles are not good. A friend bought some, and said that they bent easily and had rough eyes. Be sure to get the American-made needles directly from the inventor at spiraleyeneedles.com.
Thanks for the thread tips, I tend to back stitch and trim, but it would be nicer if I didn’t always have to do that.
great tip, I will get me some needles, side ones, i have the other ones, so far I havent made a quilt that my machine doesnt mind a knot on the back or start and end in the batting.. lol
I love this blossom WIP and I’ve pinned it to my “Quilty Goodness” board on Pinterest (with proper credit, of course!). Feel free to follow me if you’d like: http://pinterest.com/lipglass/quilty-goodness/
(Also, great tips about burying thread ends!)
There seems to be a lot of advice about ending and beginning quilting. Some advocate doing about 4 very tiny stitches and swear they won’t come out and you don’t have to sink the threads. What do you think?