Can I squeeze just one more quilt in here?
I’ve made several quilts with prominent flowers in my tenure as a Quilter Who Just Keeps Making. Scroll quickly and you’ll have a flower show in deepest December.
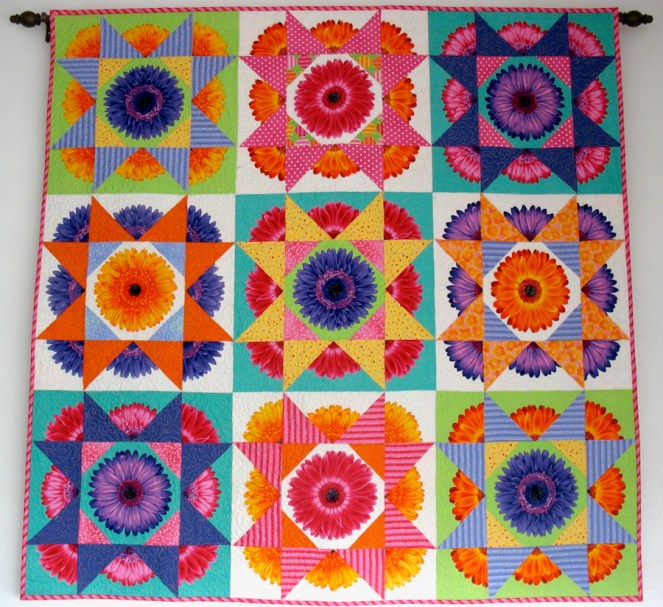
Daisy Star Quilt (#76) Whoa, that is Early Days (2009). Fabric from Lakehouse inspired this one.
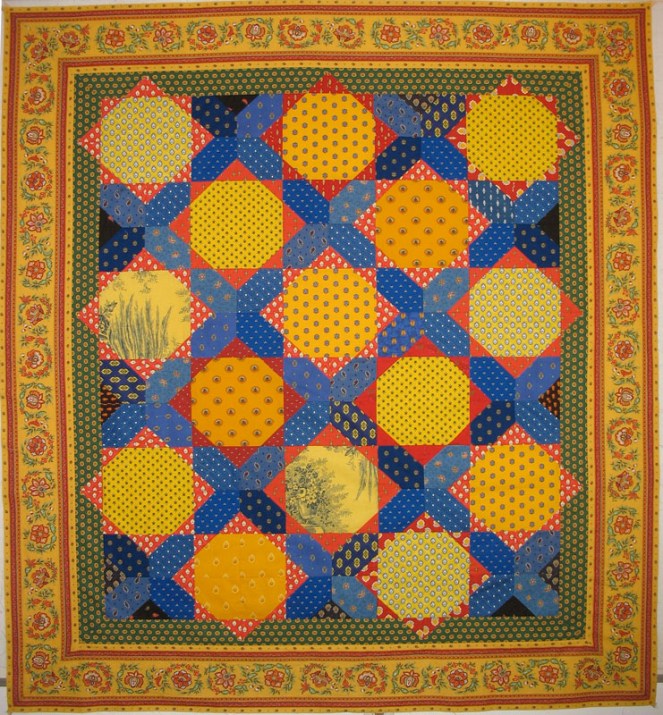
Lyon Carolings (#88) which is kind of flower-like.
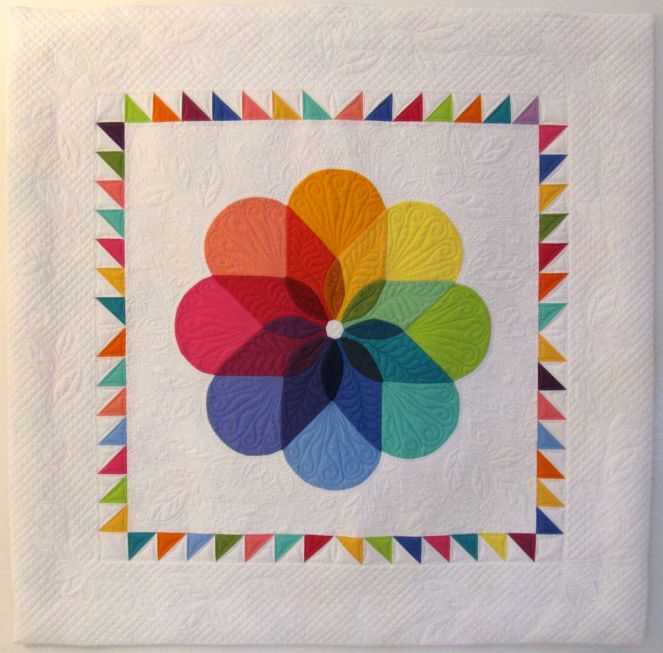
Colorwheel Blossom (#140) where I totally riffed on a popular image (on our phones).
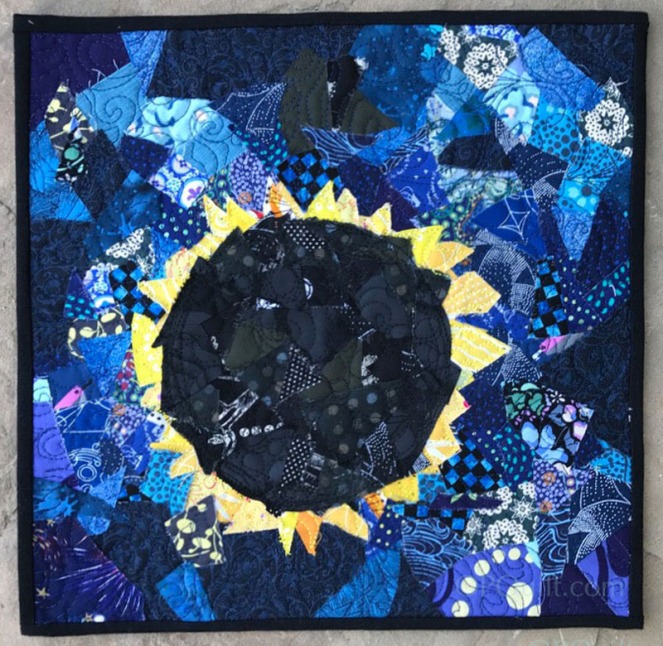
Tell me this little quilt (Eclipse, #189) doesn’t look like a giant sunflower…I think it does. But after it was pointed out to me once, I can never not unsee the pair of eyes in the upper right staring out at me.
And then I went big:
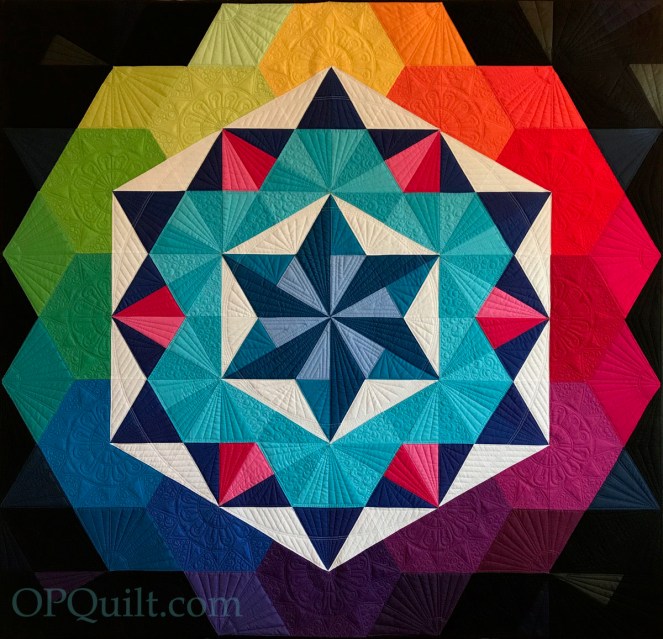
Annularity, #203, with rainbow petal-like structures around the outer edge.
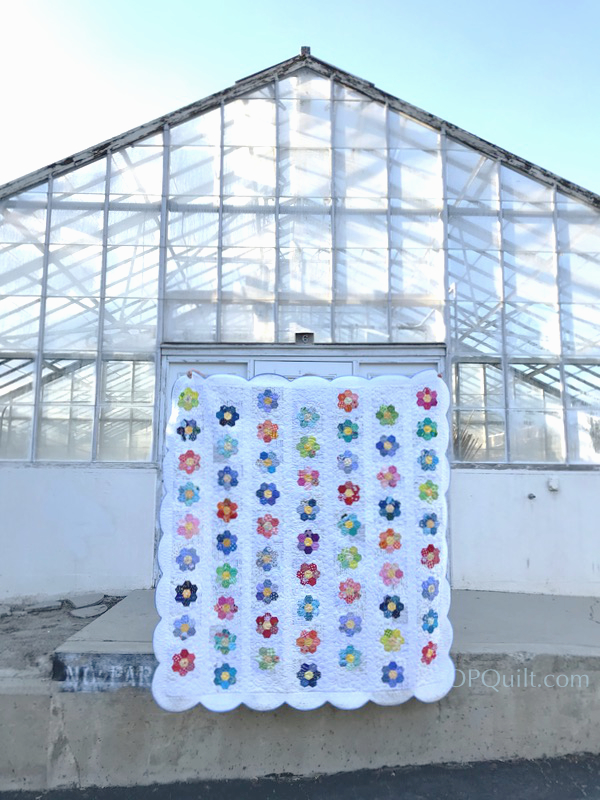
Serious little dainty flowers in #217: Field Flowers.
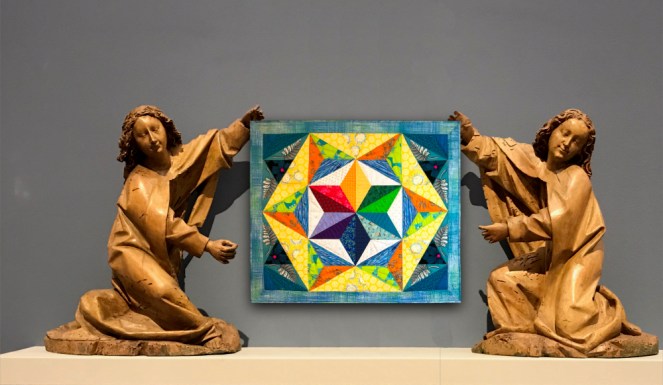
Okay, maybe this is technically not a flower (not even the title says so), but with those yellow petal-like pieces on the outside, I’m going to slip it in here. Choose Something Like a Star (#238) is held by a couple of angels from Berlin.
Sunny Flowers (#246) is still a favorite.
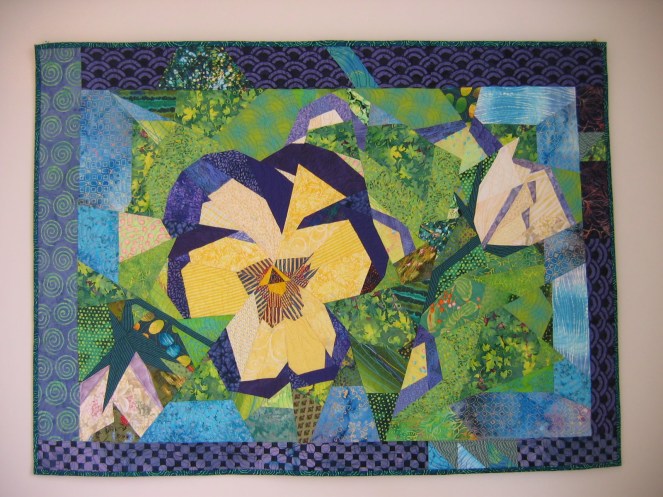
Heart’s-Ease #52 (went backward for this one). Made in a Ruth McDowell class, and if you know who she is, you are fortunate.
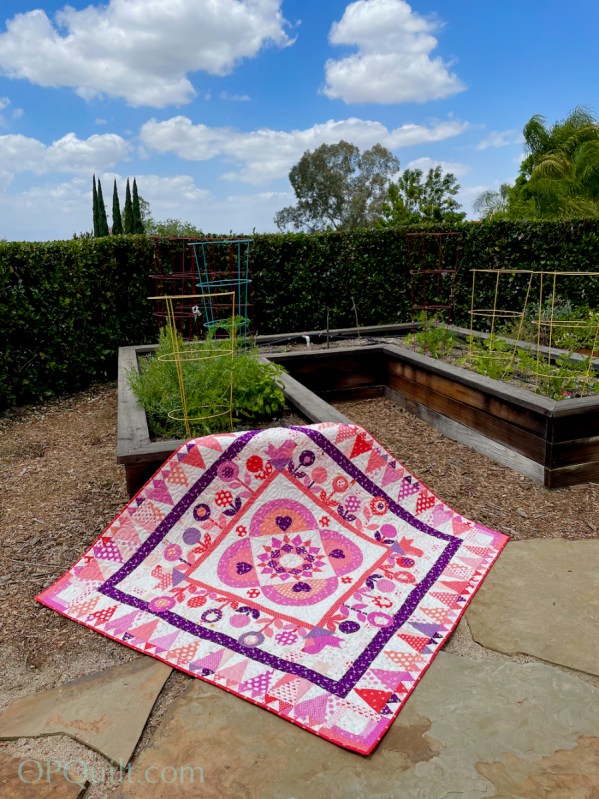
Heart’s Garden, #264, from 2022, when I ran a Mystery Block on here, because we were all going stir-crazy from being shut in for a year or two from covid. No worries, we are almost done with the flower show.

Blossoming, which I take naps under because it is just the right size (#267).
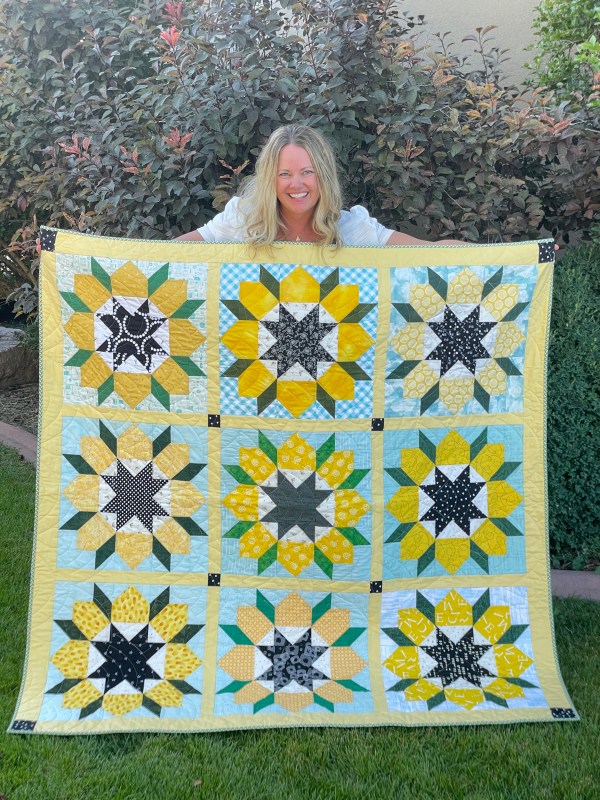
Sunflowers for Kim (#268) –guess who that is?
A pattern from Yvonne, which I titled Primula Ballerina (#274); made to keep me sane while we remodeled our kitchen.
Blossom (#276) but you also have to see all the variations together for a class I taught on Zoom, during the pandemic:
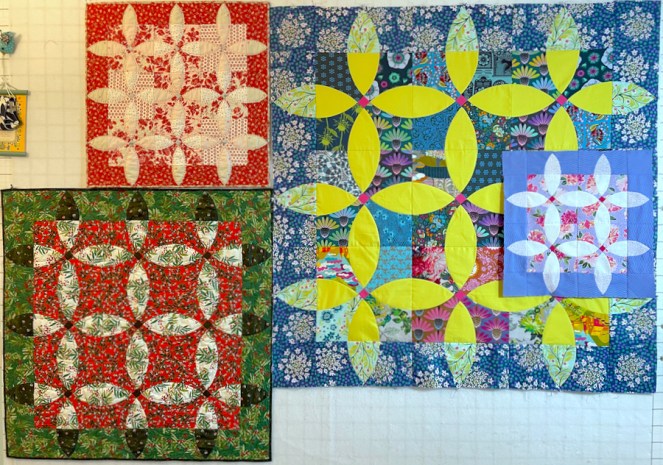
I think all of these have been given away.
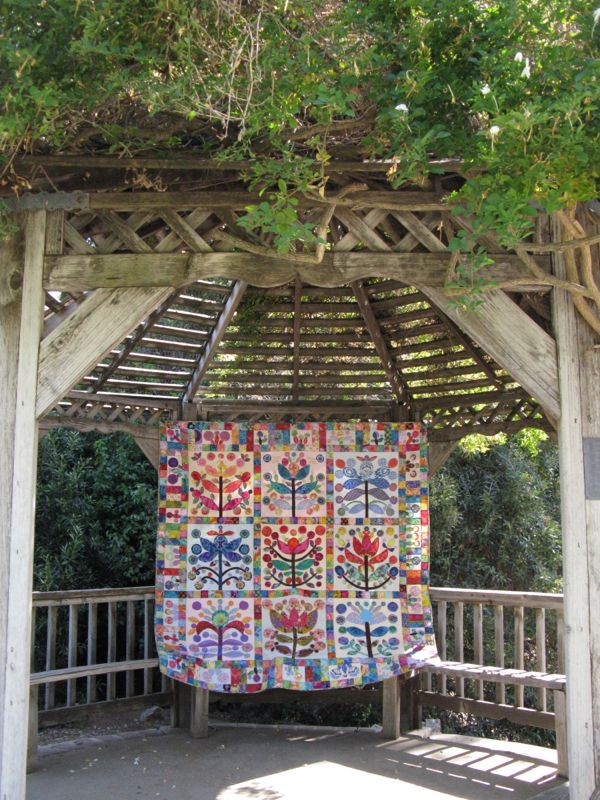
Lollypop Trees are definitely floral, with all those Kaffe fabrics. This is #132, from 2014.
Coquelicot (Poppy) which is #290, and has an earlier variation in just a simple layout.
Twilight Garden (#292) which I stitched while on the Total Eclipse Trip.
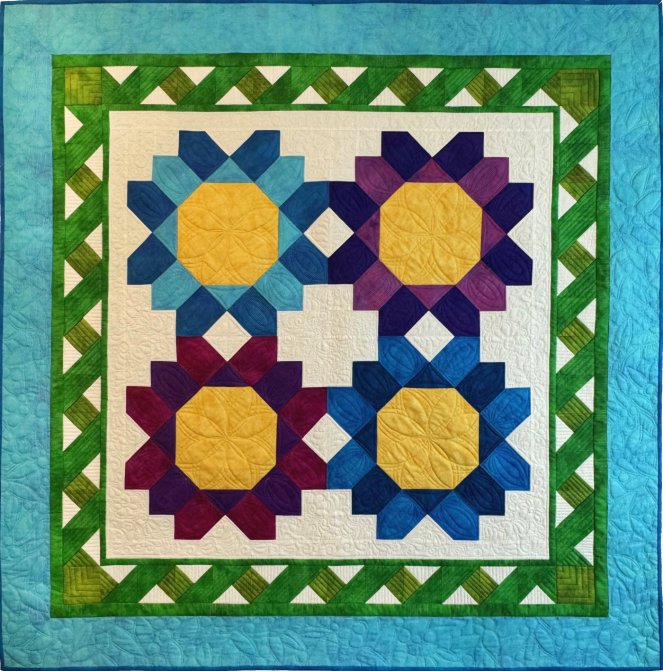
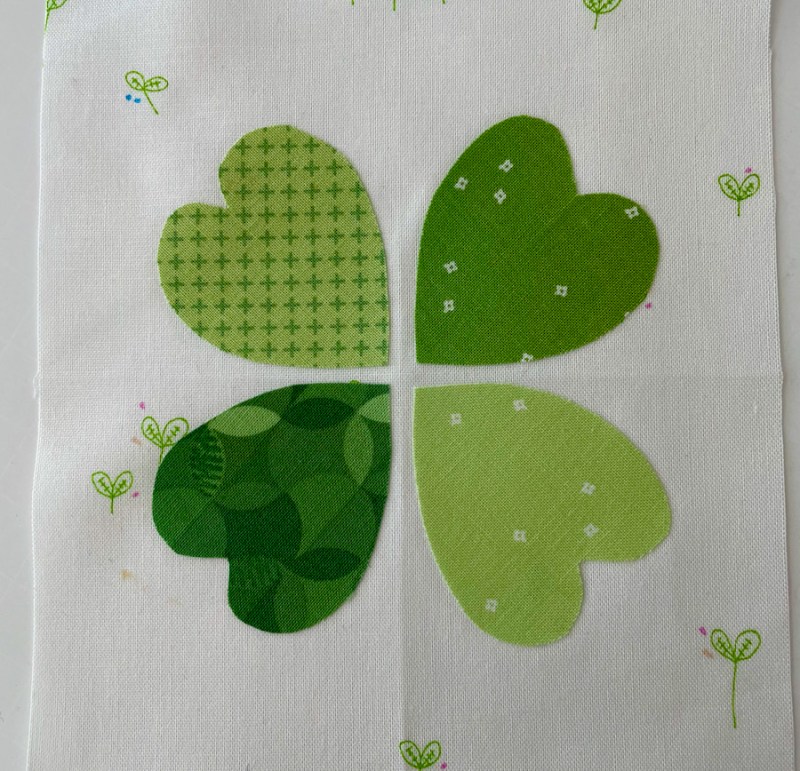
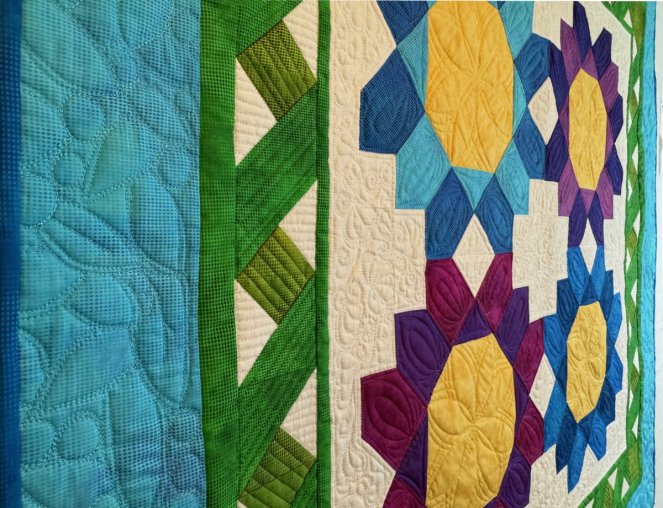
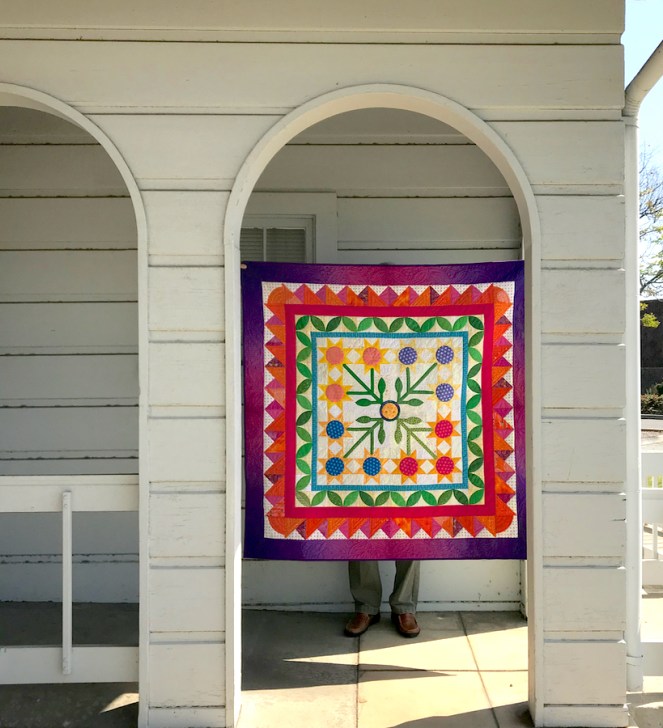
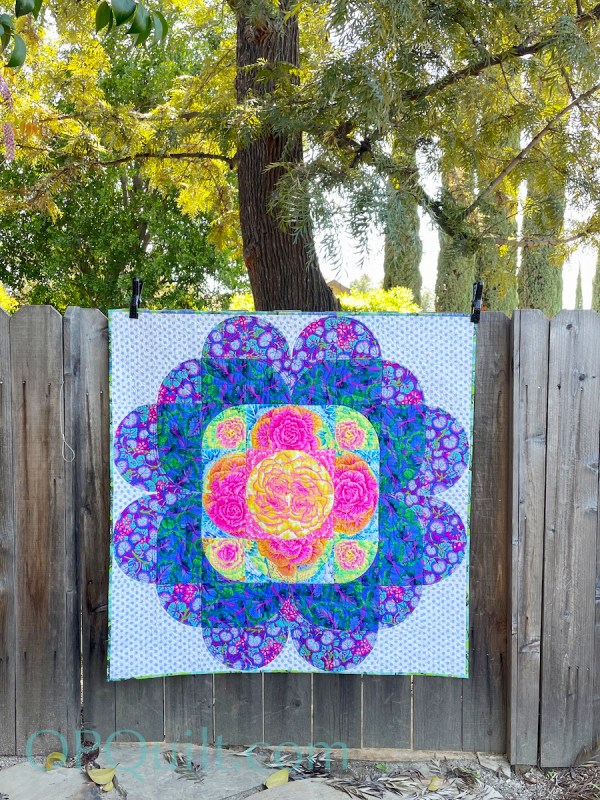
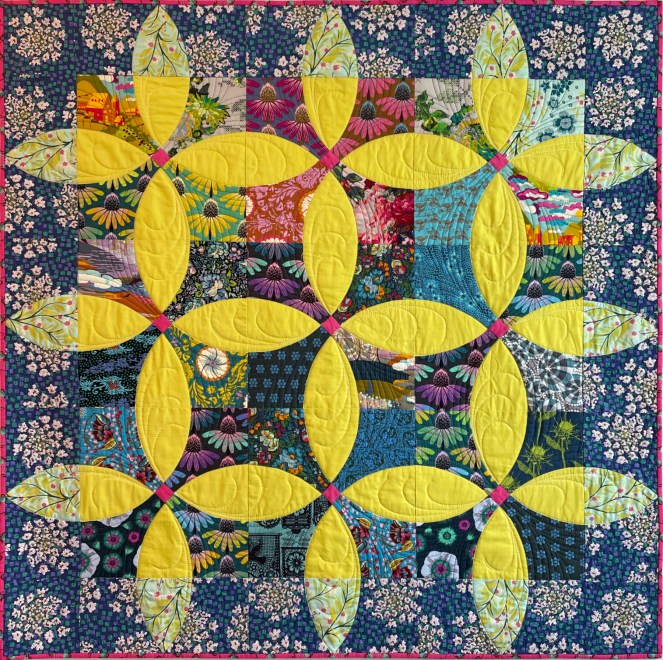
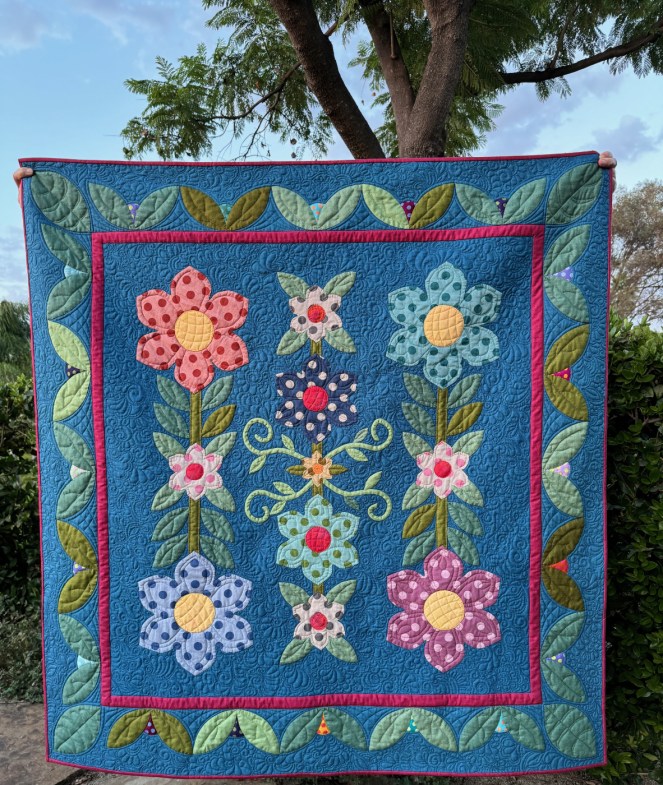
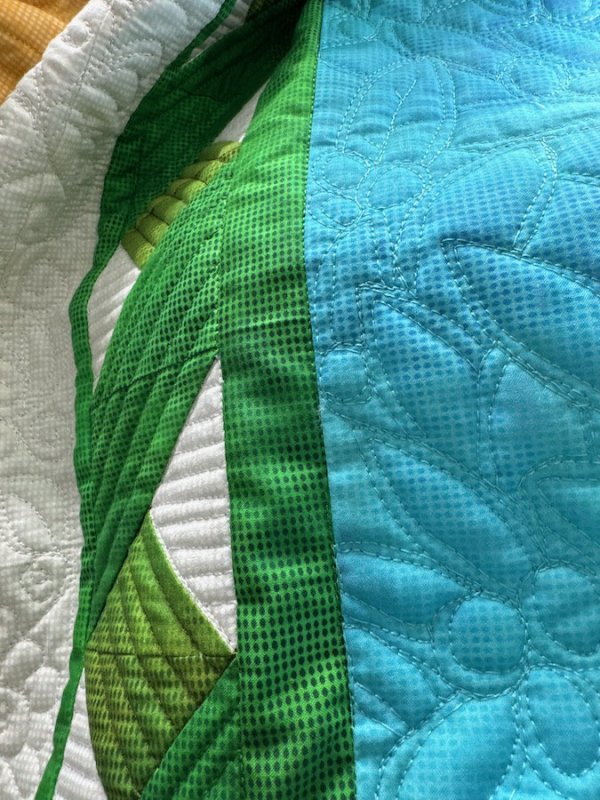
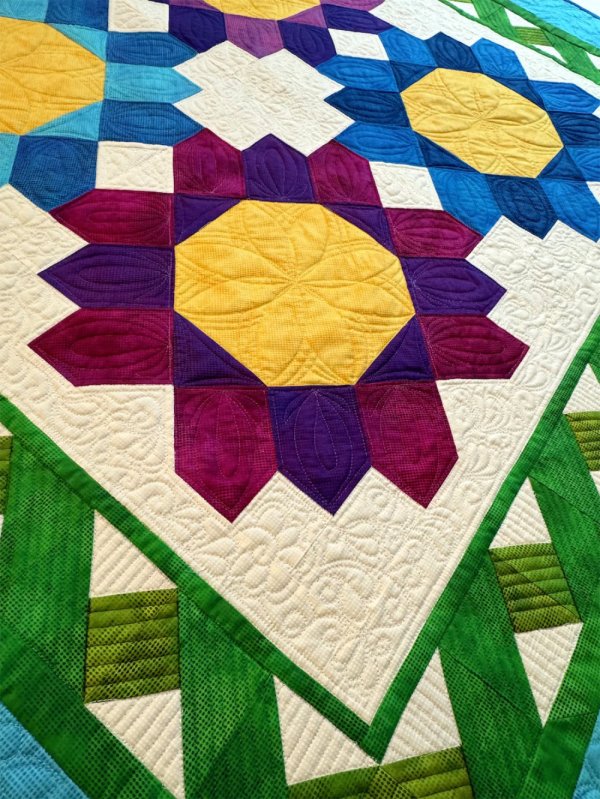
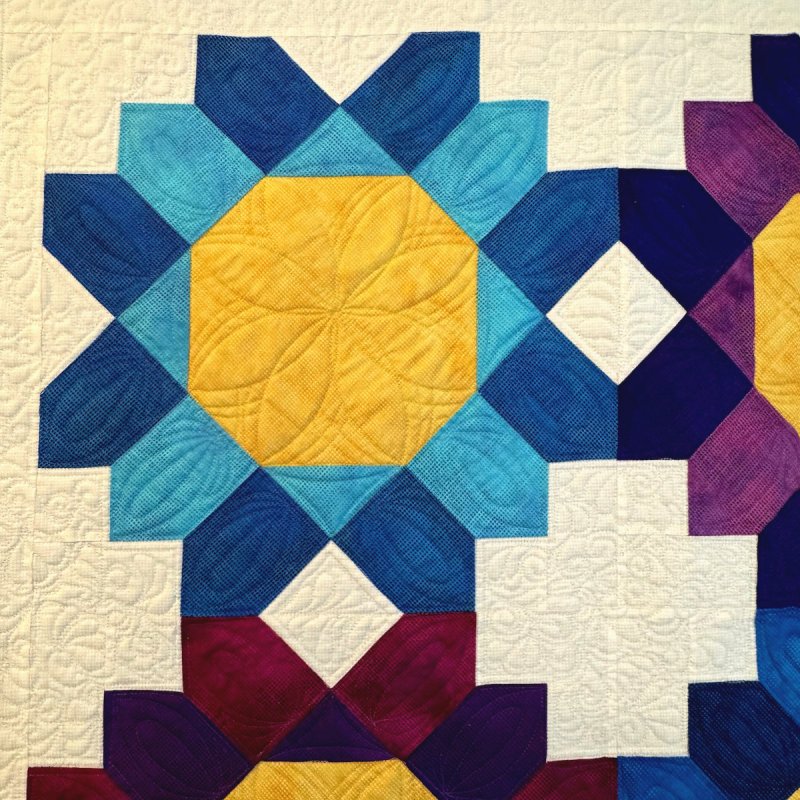
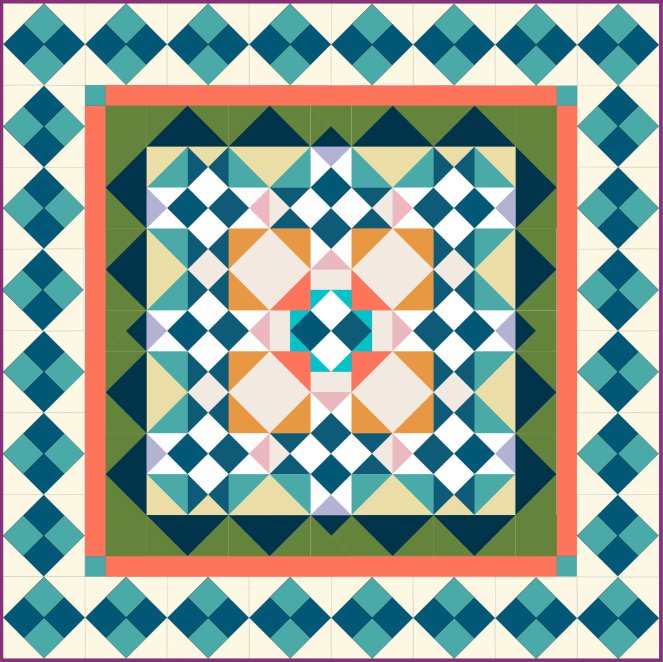
And now, of course, the last flower quilt in the parade: Giant Flowers, #299. It’s about 52 inches square.
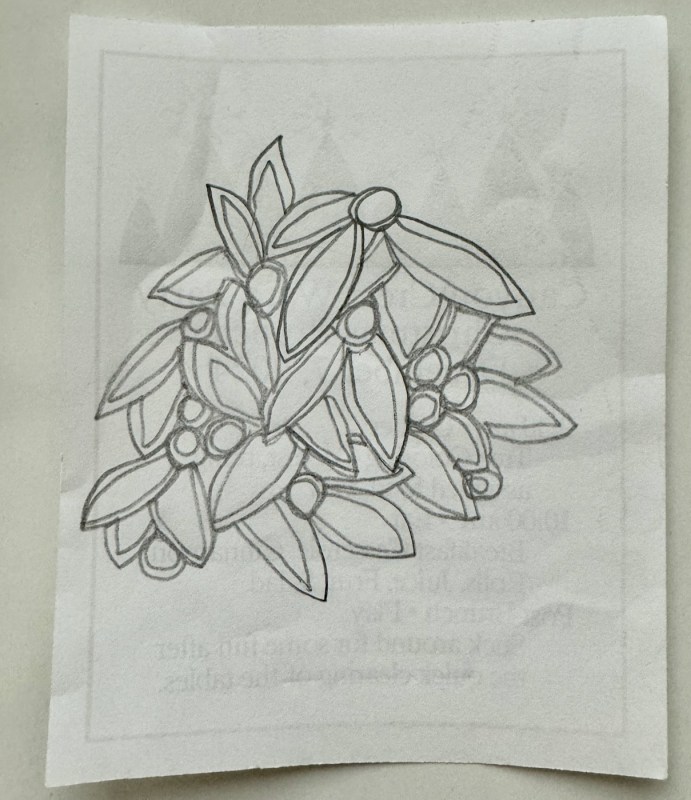
I had a fun time quilting this, moving from the radiant design I talked about here, to the lattice work of the garden fence, and then I got stuck on that outer border. I had something really ornate planned, but in a conversation with Yvonne I mentioned that while looking at #fmq and #customfmquilting and other tags, my eyes began to glaze over. I can quilt a thick carpet of flowers and vines and whatever on a quilt, but on that afternoon, considering this quilt, it all just seemed like #toomuch. So I paused. While in a church service a few days later, I began studying the carpet (tell me you’ve done this). I did listen, but was also trying to figure out how to replicate the flower-structures. Here’s my drawing, from when I got home:
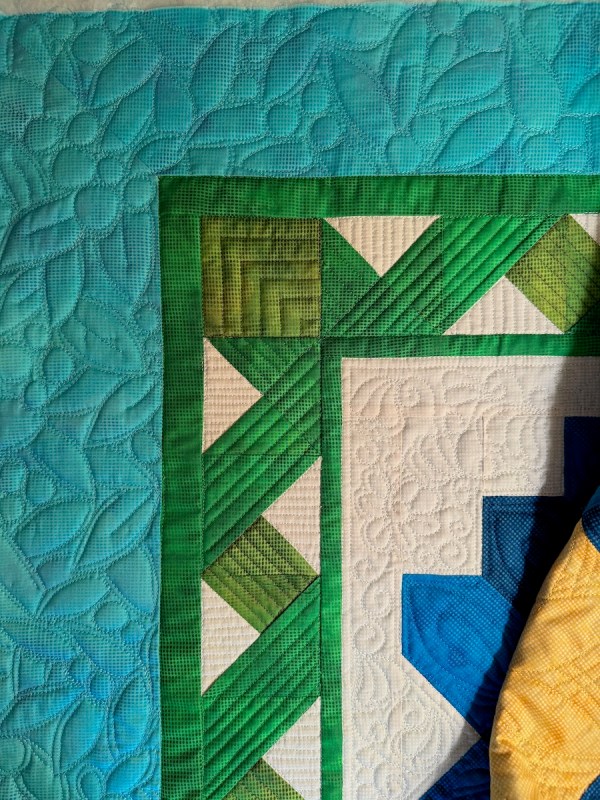
Yes, it’s still dense, but it’s a different visual than the tightly packed swirly vines and petals in the interior white section. I like the larger scale, but it was a bit of a leap for me. I have to ask: if our quilts aren’t a place where we can experiment and try something new, then why are we making them?
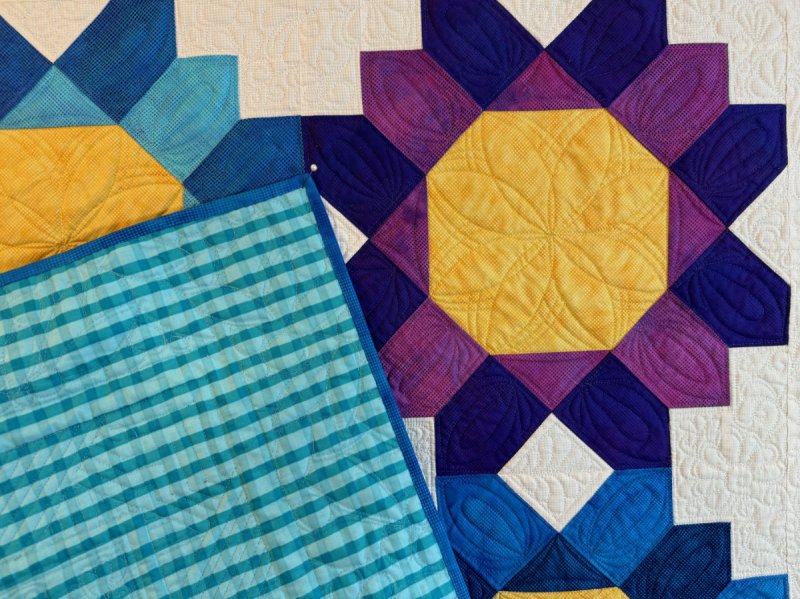
Giant Flowers, showing its checked backing, is quilt #299. I wanted to make it to three-hundred quilts this year, but didn’t quite hit it. Looks like I have something to look forward to at the new year.
I’ve been playing around with this one on the Affinity Designer artboard. Maybe this piece has legs, and can go the distance? I first heard that saying from a professor, when he commented on my short story we’d just discussed in class. I was getting my undergraduate degree in Creative Writing. That short story, turned into a novel, which is now hidden in my bottom drawer after my father said: Don’t Write About Me.
But we writers mine our lives for ideas, for stories, for the beginning strands of a narrative which will take us where? we don’t know. I should have said to my Dad, if you don’t want to be written about, don’t hang out with a writer, but he was my Dad and it wasn’t a command so much as a wish, so I listened. In the end, it turns out maybe I didn’t have the nerve to bring all the bits and pieces of my life — even if disguised — into a novel. Some of my classmates did, and I admired them. But writing can be hard work, and as you saw from the beginning of this post, I’m very happy to take a walk among flowers.
I can do it literally, or just in pieces of cloth and color. The title of this blog tries to capture this idea of staying curious and seeing where dabbling in pieces will lead: it could be a short story or a poem, or a quilt block, or a quilt.
Yes, I make all sorts of pieces, occasionally.
Happy Old Year Ending!

All of my patterns live on PayHip.