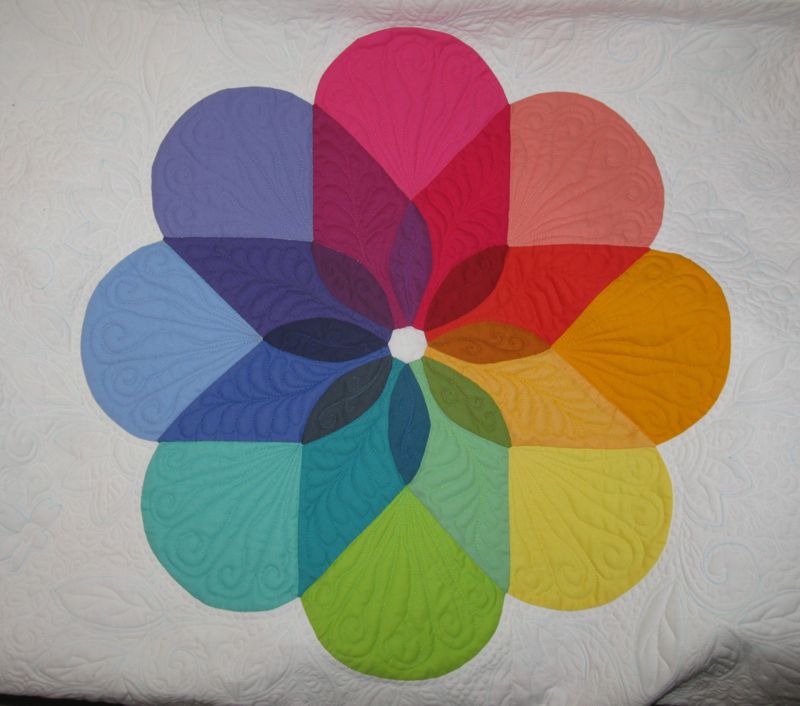
Because of all the wonderful and encouraging comments from last post, I kept going. This is an in-progress update. Inner blossoms quilted. Inner background quilted. Moving on today to small border, then final large border.
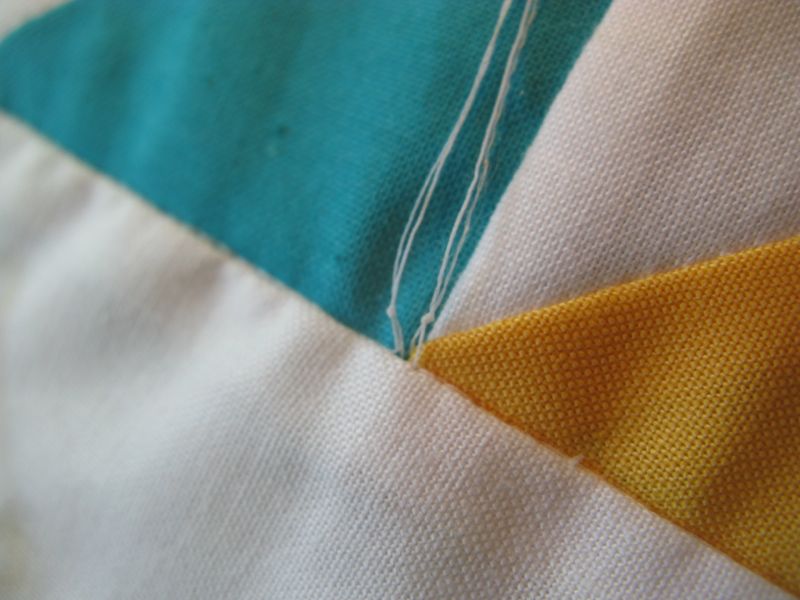
Some asked about how I knot the threads to bury them. When I begin stitching an area, I pull the bobbin thread up to the top, hang on to them and start stitching. When I’m done, I need to deal with these threads. Before, I used to tie a square knot and then thread the tails through a self-threading needle and bury them. There is a better way that I learned from Sue Rasmussen.
But first, there are two kinds of self-threading needles:

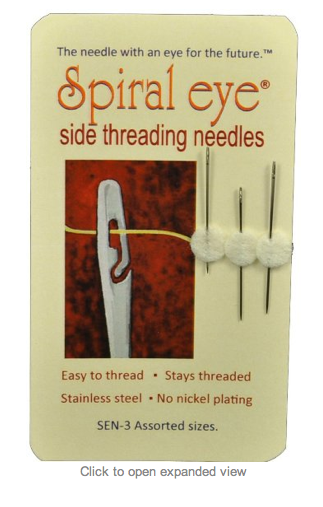 The top kind, where you snap the thread into place, is a more reasonable cost, but occasionally it will shred your thread. The side-threading needles retail for about seven dollars each (coming in a pack of three), but those who have them swear by them. I did a search on “self-threading needle” on Google to find these.
But now I tie an overhand knot leaving the knot about a 1/4″ away from where I want to sink it into the quilt. I grab the tails, put them in my self-threading needle, insert the tip of the needle where my threads originated and come out about 1″ away, pulling on the thread to pop in the knot. If your knot is too far away, it will come loose.
Thank you again for all your encouraging comments.
Linking up to Lee’s Freshly Pieced WIP Wednesday.
