Quilts

WIP–Bee Blocks (post revised)

UPDATE: I’ve revised this post, because this morning I realized that TODAY is Wednesday, not yesterday (when I’d originally written it: we’re a little foggy on life over here), so today I am linking up with Lee at Freshly Pieced for WIP Wednesday.

˙˙˙˙˙˙˙˙˙˙˙˙˙˙˙˙˙˙˙˙˙˙˙˙˙˙˙˙˙

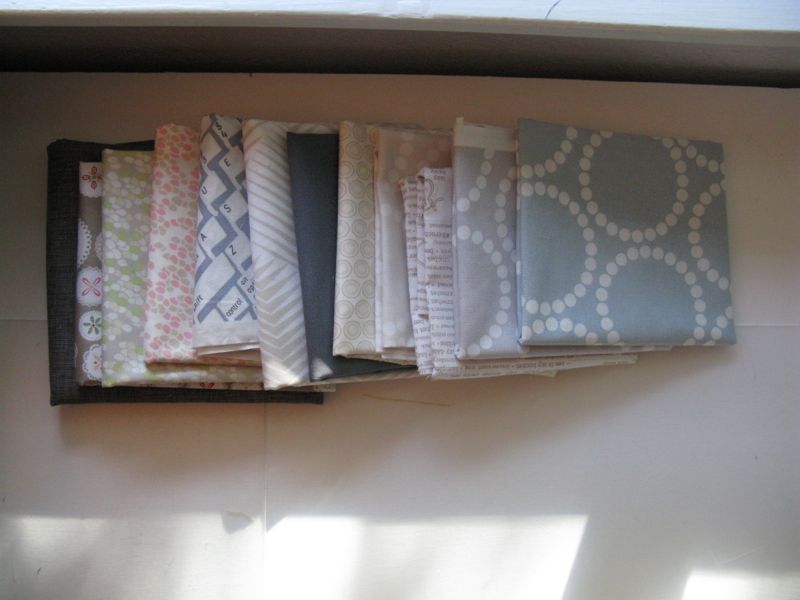
I joined a new bee (newby! newby!). I am honored to be included in the Always Bee Learning bee, and the first block’s fabrics have arrived to be sewn (they have different rules than the Mid-Century Modern bee).  But Linda’s blocks for the MCM bee still hadn’t been made, and I like to honor my deadlines.

sewing situation

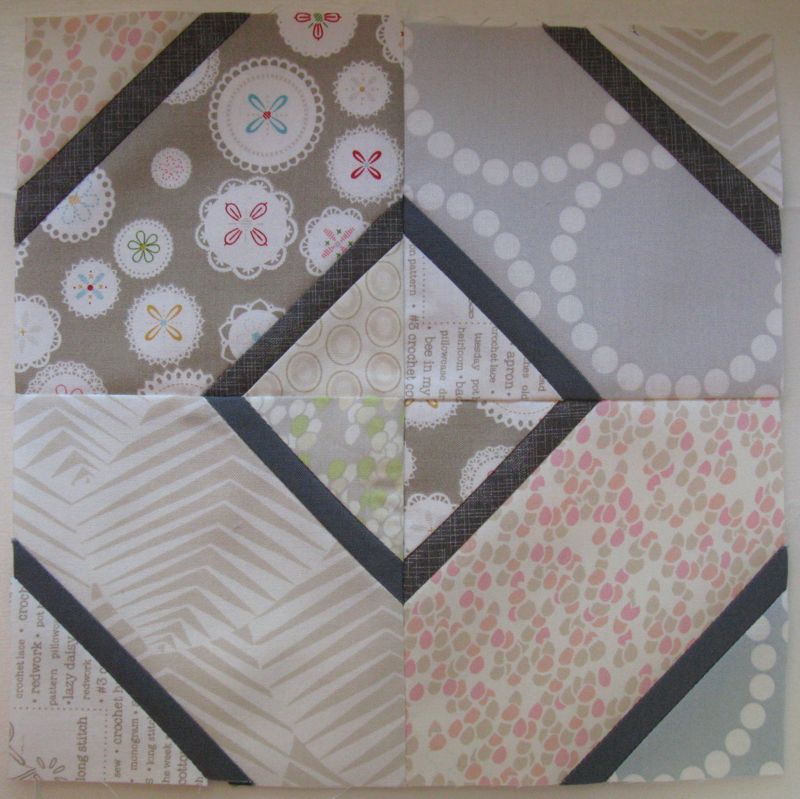
So I gimped down to the sewing room, pulled out a drawer and put a pillow on it for the left foot, got out my portable iron and pad and put it on the table on the right.  I figured it was good to be sewing as long as I wasn’t putting any weight on the foot, right?  (I’m really hoping that MY idea of “partial weight-bearing” agrees with the doctor’s).

Linda block 2

But had to stand for a few minutes on my right leg while I cut the strips, then I sat and sewed.  And twisted to iron, but finished up one block before dinner.

Lindas block signature

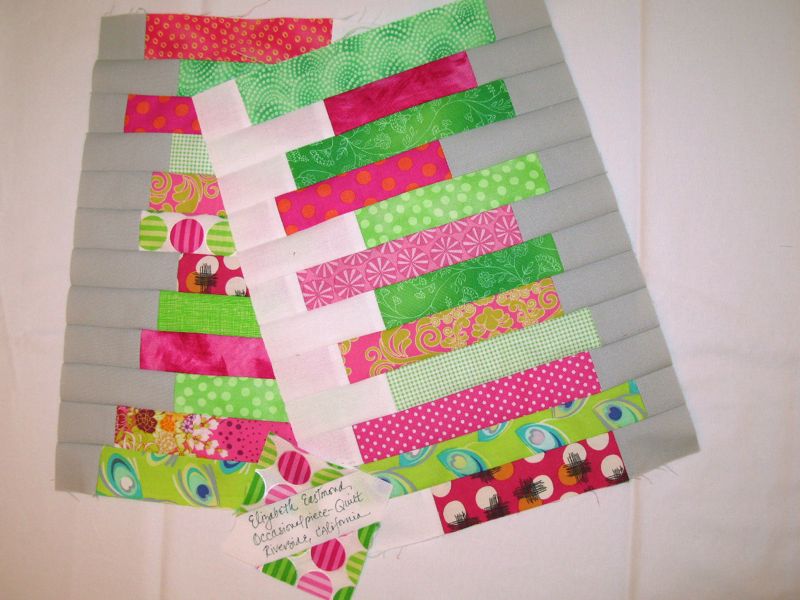
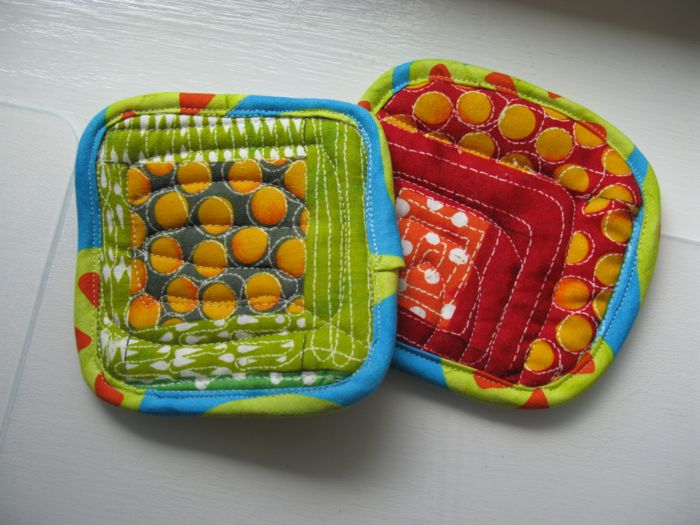
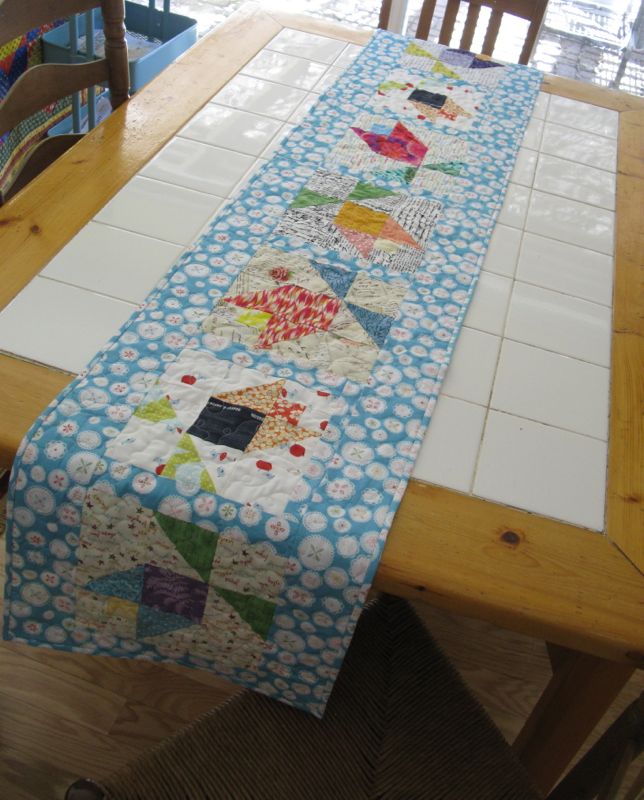
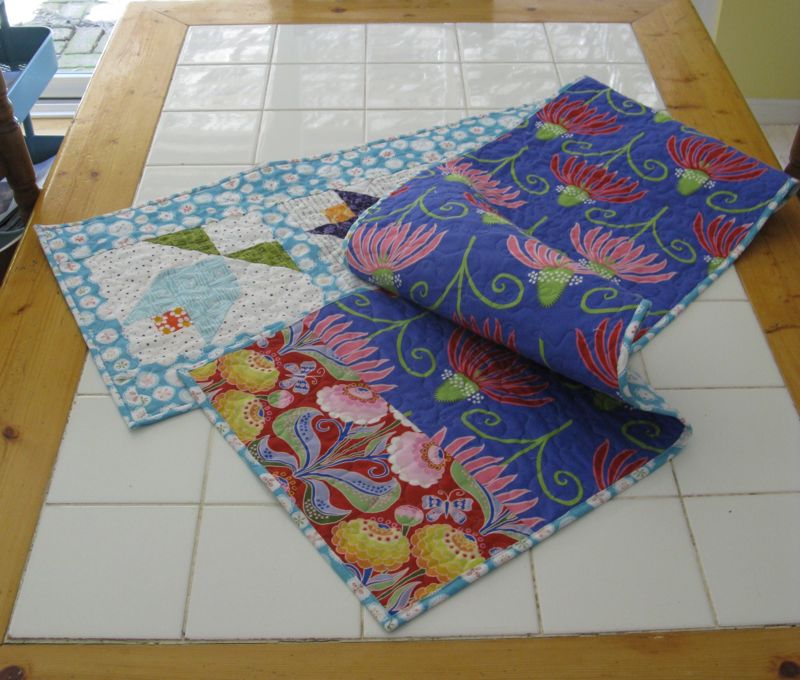
After dinner I finished the other one (normally we only do one, but everyone else was doing two and I didn’t want to be a slacker);  I packaged it to mail tomorrow, hopefully making it to Florida by July 1st.  That small block in the front?  We do signature blocks with our Mid-Century Modern (MCM) bee.

LindaQuilt

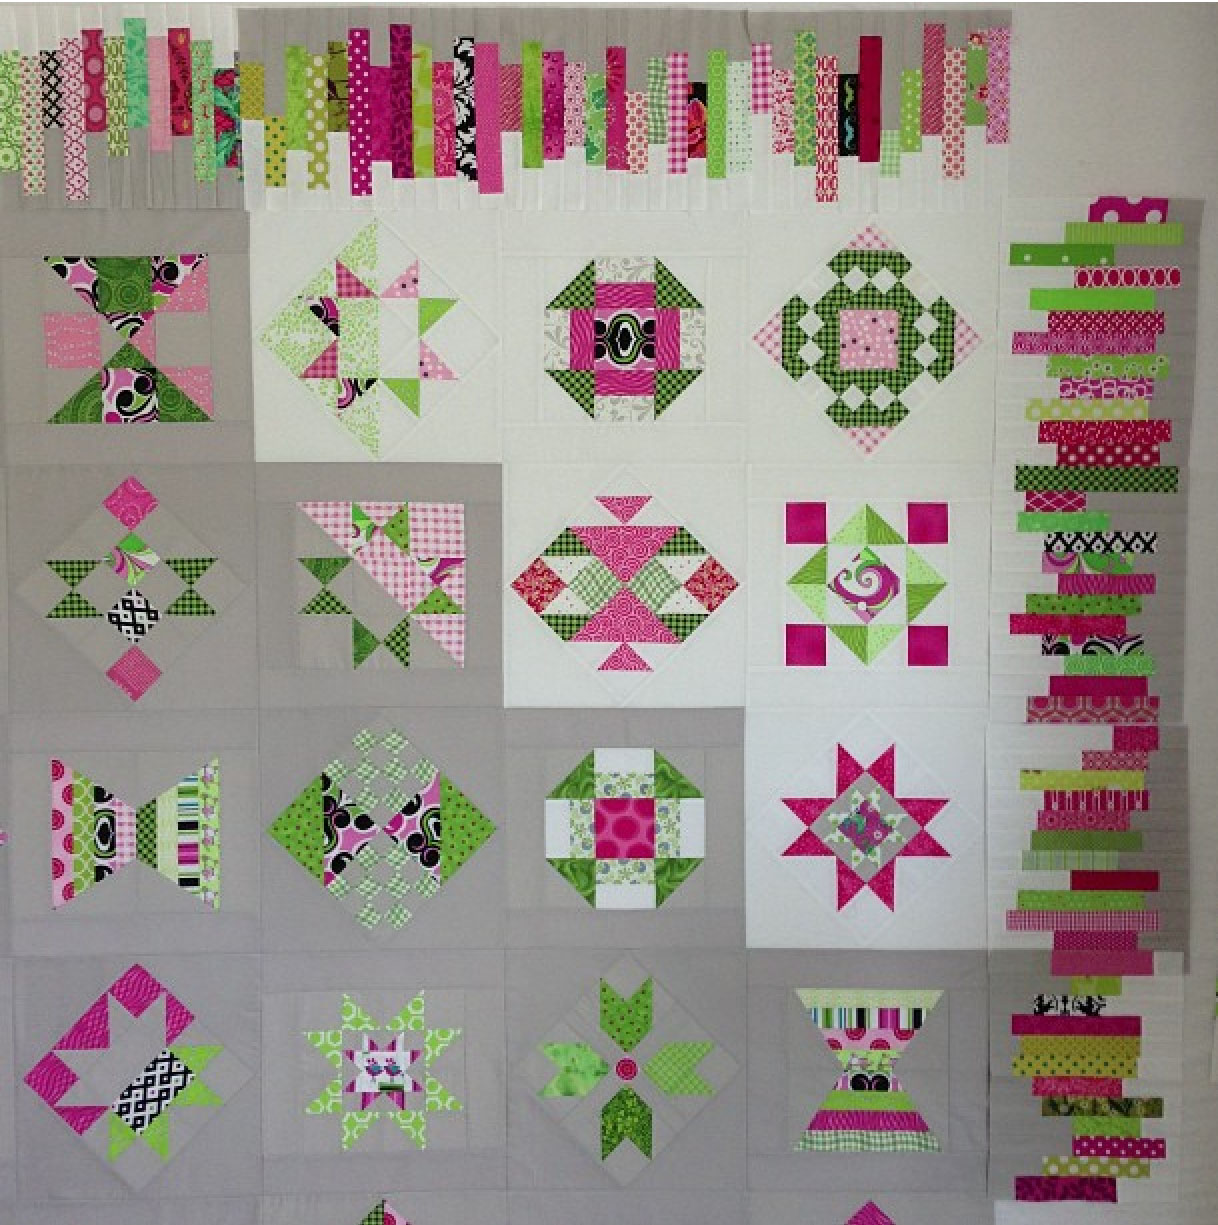
This is what Linda is doing with them: using them to border another set of blocks from another bee.  She says she’s stuck about what to do in the corner–maybe a rounded version of the stack?–so if you have any ideas, head over to her blog and leave her a comment. It’s always interesting to see our bee blocks being used.  Another quilter in this bee finished up her quilt (scroll down to the Mid-Century Modern quilt in neutral fabrics); I hope when it’s my turn I can be as successful.

As I lay in bed yesterday, I did make a button for that new bee:

AlwaysBeeLearningbutton

At least I can be somewhat productive when I lay around here.

Village Faire pinned

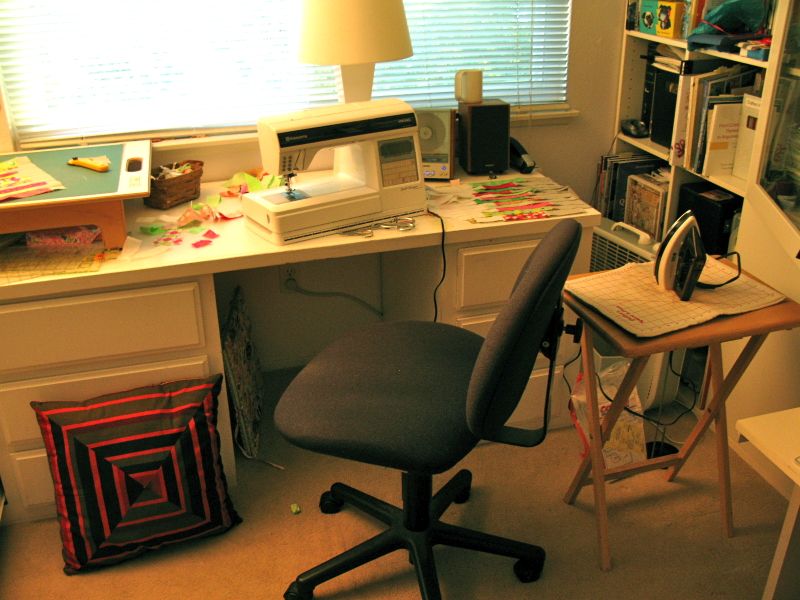
What else am I working on?  Well, another July 1st deadline is for this month’s Schnibbles quilt.  My husband brought up a camp chair (small chair we use when we go camping) and I could slide it in the cubby hole of my sewing desk, and yes, I did get some of that top quilted last night.  While I can only quilt for a short while, it feels good to be productive and to see a quilt take shape.

hanging Kaleidoscope Quilt

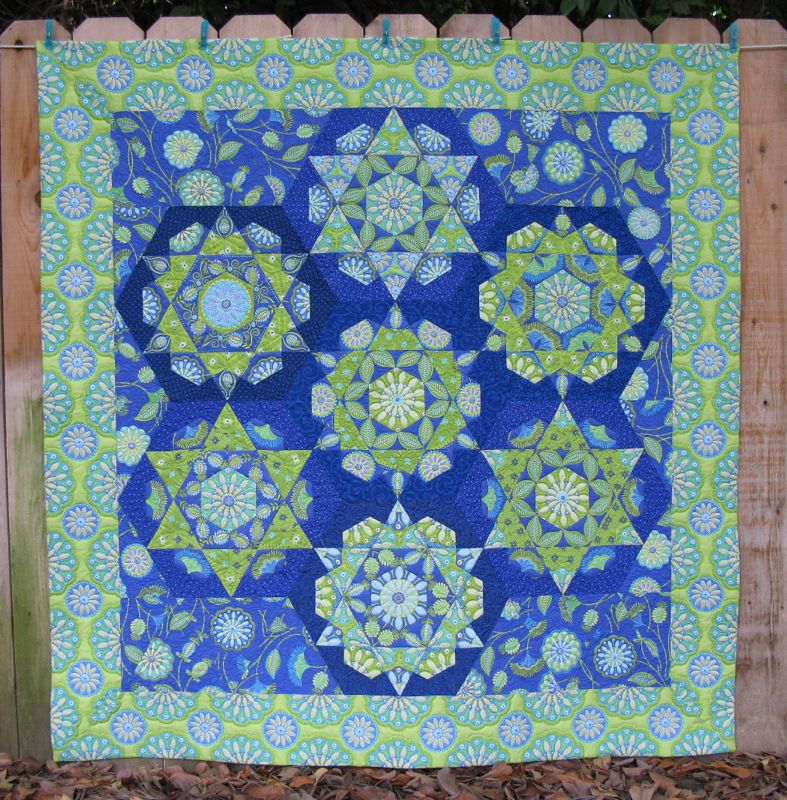
Thanks, all, for your nice comments about Kaleidoscope (in previous post).  My husband hung it up in the hallway this morning.  It brings a smile to my face as I slowly make my way up the stairs.  Here it is again:

Kaleidoscope Front

Final thought: Happy Birthday, Rhonda!  You are an inspiration, always.

Housekeeping · Tutorial

Hot Mitts

Hot Mitts

No, this isn’t a reference to our past election and Governor Romney.

Old Hot Mitt

This is in rereference to my hideously stained and abused and damaged kitchen hot mitts.  I went to buy some new ones and didn’t care for the ones at a famous cooking store and at Macy’s–where Martha has taken over everything in the domestic world–there were only hot mitts with ruffles.  Ruffles?  I knew they’d be disgusting looking in short order.  (Ruffles?  I’m still shaking my head.)

Old Hot Mitt1

So one day, I turned the ones I liked inside-out to see how they were made.

Old Hot Mitt 2

Then I traced it with a sharpie onto what was laying around on the counter–an ad from the car dealer.  Actually this ended up being a good idea because it was thicker than regular paper and pretty sturdy.

Old Hot Mitt 3

And after I cut it out, I had a pattern.  But I decided I should allow for shrinkage, because I wash and dry these over and over, so I enlarged it by 10% which yielded the pattern at the end of this post.  Print it out, match up the car writing and making sure your 1-inch guide on the side is really one-inch (every printer is a little bit different), tape it together and you’ve got a good pattern.  I’d actually purchased a pattern but took it back when I realized how easy this was going to be.

Insulated Fabric

Utility Fabric

Go the Big Box fabric store and buy some utility fabric that looks like this: a metallic cotton on the outside, cotton batting on the inside, already quilted together.  Use your coupon.  I bought one yard and I’ll get four mitts out of it. Get yourself some 80% cotton/20% wool batting or some 100% cotton batting, if you don’t have scraps laying around.

Bias Tape Maker

And throw a bias tape maker into your cart, too.  I chose the 1″ version and it worked great. I picked up the Dritz (on the left) and on the right, I show the full complement of Clover Bias Tape Makers.  Either work fine.  They have decent directions on the back of the Dritz.

Layer Up Fabrics

Layer in the following order: (1) Utility fabric, metallic side down  –  then –  (2) your cotton batting – then – (3) your chosen fabric.  I’m using some of Malka Dubrawsky’s first line.  I love it, but I have never figured out how to use it.  This will be perfect as it will brighten up my kitchen every day. Using pins, secure it in a few places.  Cut out what you need by placing your hot mitt pattern down and guesttimating: I think mine ended up about 14″ by 18.”  Roughly.  Quilt all layers together.  Don’t get too precious about it!

Cutting Out1

Now lay out your pattern and cut out one mitt.

Cutting out 2

Reverse the pattern by flipping it over, and cut your second mitt.  Match them up, metallic sides out, then pin in a few places so it doesn’t shift.  Sew from under the thumb all the way around the mitt STOPPING 2″ FROM EDGE.  Leave that edge flapping, as it will be easier to attach the bias tape.

Stitching Inner Curve Hot Mitts

Close-up of the curve of the thumb.  Carefully clip down to the curve, stopping short of the stitching line.  This will make it lay better when you turn it inside out.

Making Bias Tape

(You can click to enlarge this picture so you can see the writing better.)

Follow the directions on the back of the tape maker package for cuting a bias strip.  Basically you fold the corner down into the fabric, creating a bias edge.  Cut the strips 1 3/4″ wide for a one-inch bias strip.  Feed it through the bias tape maker tool, using a pin to help out the leading edge if you need to.  Then use your iron to set the folds.

Bias Binding

I put two pins on the tape, as I drew it out, and then pressed it.  It sounds WAY more complicated than it is.

Open Edge Hot Mitts

Beginning with one of the loose edges, fold the tape over the lower raw edge, and stitch the tape onto the mitt.  I found it easiest to stitch from the “inside” for some odd reason.

Stitching Bias Tape Hot Mitts

Again, don’t get too fanatical about this–just make sure that both folds of the tape are caught in the stitching.  I did one, and then decided I wanted to trim out that seam allowance under the thumb edge for about one-quarter inch up from the lower edge, just to get rid of some bulk.  The world won’t end if you don’t.

Hot Mitt inside

Finish stitching that last two inches, and backstitch to secure.

Hot Mitt binding joining

I also zig-zagged that last two inches to finish it off.  Given that it’s BIAS tape, it’s not going to ravel, but hey.  Just thought it needed it.

Hot Mitt binding finished

Flip your mitt right-side out, easing out the thumb and smoothing out the curve.

Coasters
I cut some scraps into squares with rounded edges, and used the leftover bias tape to make a couple of coasters.  Don’t examine my stitching, because like I said, it’s pretty obvious I went for sturdy over beauty.

Okay, below are the patterns.  Print them out and adjust your printer settings so the inch mark is true, then tape your two halves together.  I scanned my pattern so it’s pretty true; I’m hoping you don’t have to do too much monkeying around.  My hand size? Medium in rubber gloves, so if yours is smaller or larger, use your copier/printed to enlarge or smallerize your pattern.  


Hot Mitt Lower Hot Mitt Upper

Have fun making them!

Hot Mitts final

This is one of the projects on my Finish-A-Long list that I have completed, from Leanne’s Finish-A-Long!

FinishALong Button

Quilt Bee

Bee Projects, et al

I’d participated in the Far Flung Bee last year, and although one member never sent her blocks, I had enough to make a project for Spring.
FFB Tablerunner

I’d been to my local quilt shop (LQS, for you non-quilters) and picked up some cute button-like fabric from Riley Blake’s latest line.  When I got home, as is so often the case, I had another piece tucked away in the stash.  I needed both pieces to finish this off, even stitching the binding on by machine because I was just so ready to get those blocks sewn into a project.

FFB Tablerunner back

I used Jane Sassaman fabrics (from the stash) for the backing.  I was listening to a fascinating book and couldn’t stop (my mother had already finished and was waiting for me to wrap it up) so I had to find projects to keep my hands busy while the book took me on its adventure.  Read this, or better yet, listen to it while you quilt.

me_before_you

(P.S.  Because of this book, I finished the Lollypop Trees quilt top.)

MCM March fabrics

Next, I compiled this stack of fabrics, mostly new, to complete my latest Mid-century Modern Quilt Bee block.

MCM March block 13

Debbie of A Quilter’s Table had asked for “low-volume,” or neutral, fabrics using a tutorial she’d found online to make this block.

MCM March cut out

I took a photo to remember where I thought all the fabrics should go, then sewed it together.  I’m pretty happy with the result, and hope she likes it too.

Sofa Cushions

I’d finished the book, but kept going on some long-delayed projects.  We’d gotten a new sofa in November 2012, and I’d purchased some random fabrics to brighten up the room, but had merely draped the fabrics over the pillow forms.  It stayed that way all through the holidays until today! when I finally sewed all the cushions — with zippers, I’ll have you know.  As my daughter will attest, I’m no decorator, but she approved these fabrics before I sewed them.  I’ll probably re-arrange them 45 times in the next week, trying to find the order I like best.

And last night, I sat down and watched the old movie Possession (a favorite), then The Piano Guys concert (complete with TV pledge breaks) in order to finish all the hand sewing on my EPP quilt.  Hopefully today I’ll get the borders on, right after grading a stack of homework and prepping for class. I’ve been in a finish-it mode for a little while now. I like starting projects, but it’s also nice to finish some things up.