I’ve used QuiltPro software for about a decade now, choosing it first because it worked on a Mac as well as a PC (I’m a Mac user, and Electric Quilt has ignored people like me). I’ve been reading about another quilt software program that you rent monthly, and thought I ought to talk about an alternative to that, especially since QuiltPro is having a sale right now of 30% off.
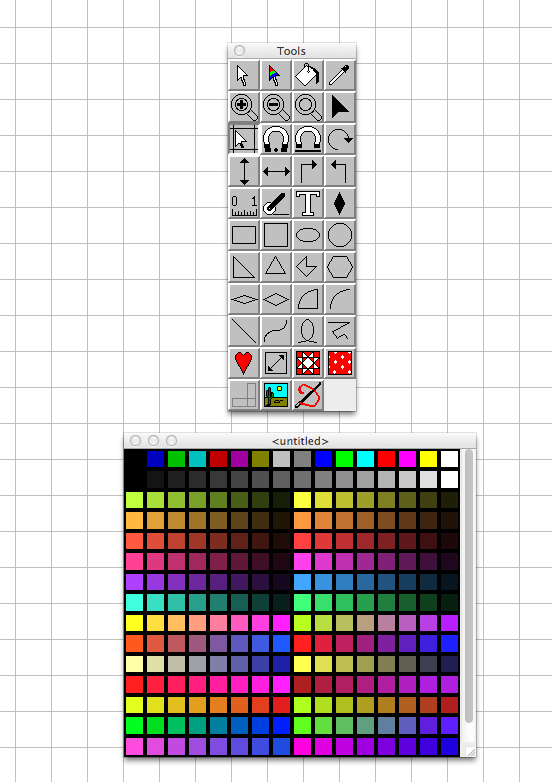
What I like about this program is its simplicity. It didn’t take me long to figure it out–click on the square icon and draw a square, click on the triangle (there are two kinds) and draw a triangle. Click on the paint can and color in your shapes. It does have a fabric library, but after a few times, I’ve skipped over that and just use the solids, coloring in what I want to show value and placement. (And sometimes I wonder if that’s not why we’ve had such a surge of popularity in using solids–we see them in our quilt software and then want to make those quilts? Who knows, but I’ve thought about it.)
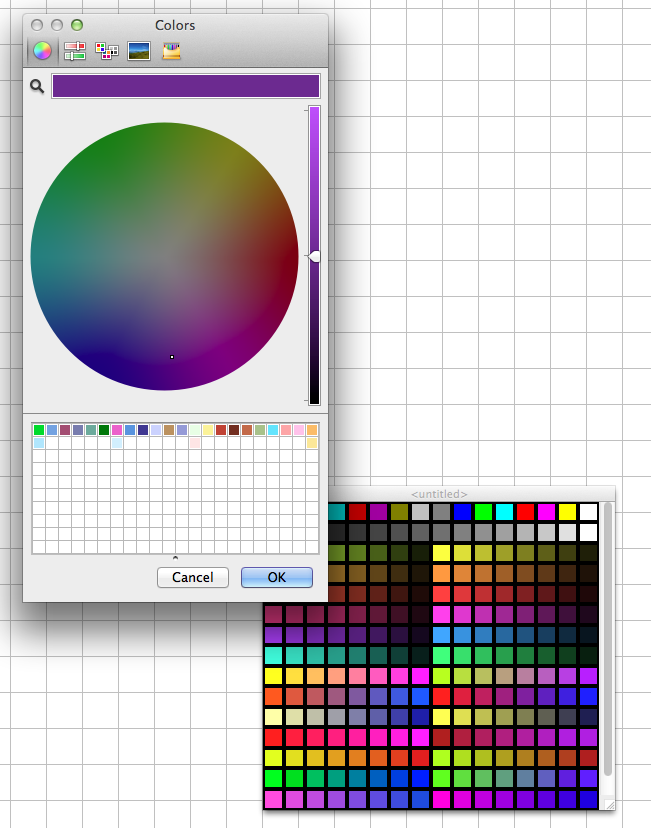
And if I want to, I can change the colors by double-clicking on one of the little squares.
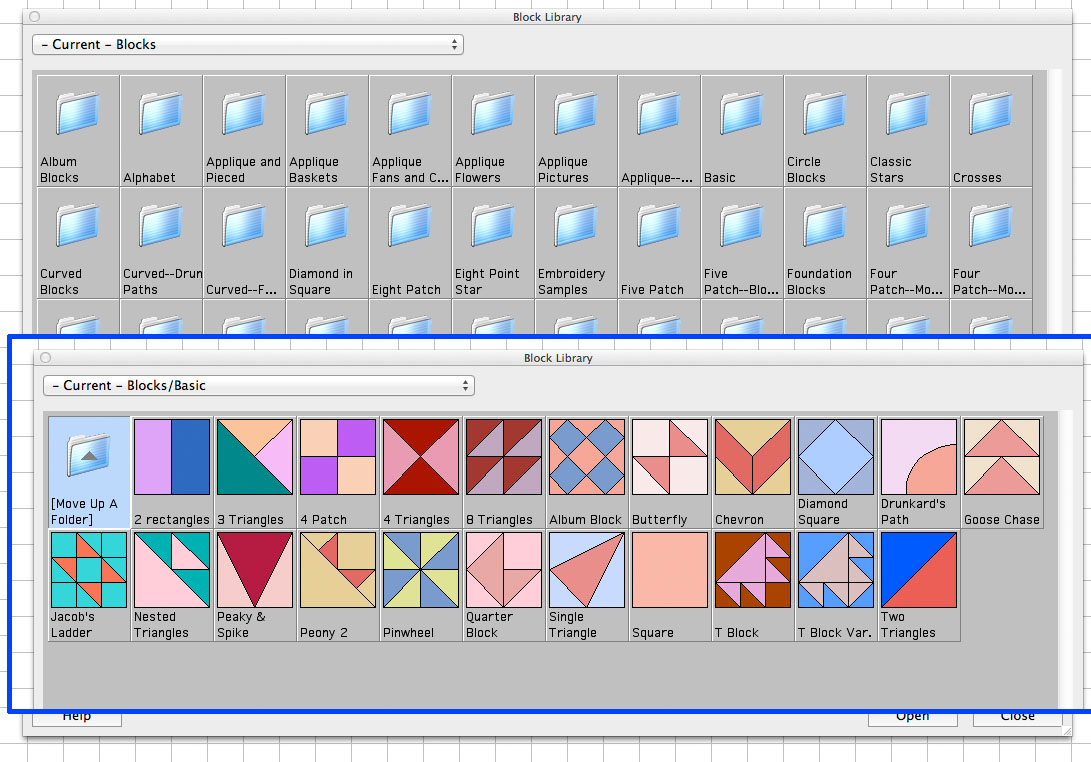
There’s a block library if you want it, but I use QuiltPro mostly to work up a design that’s in my head, like this one:
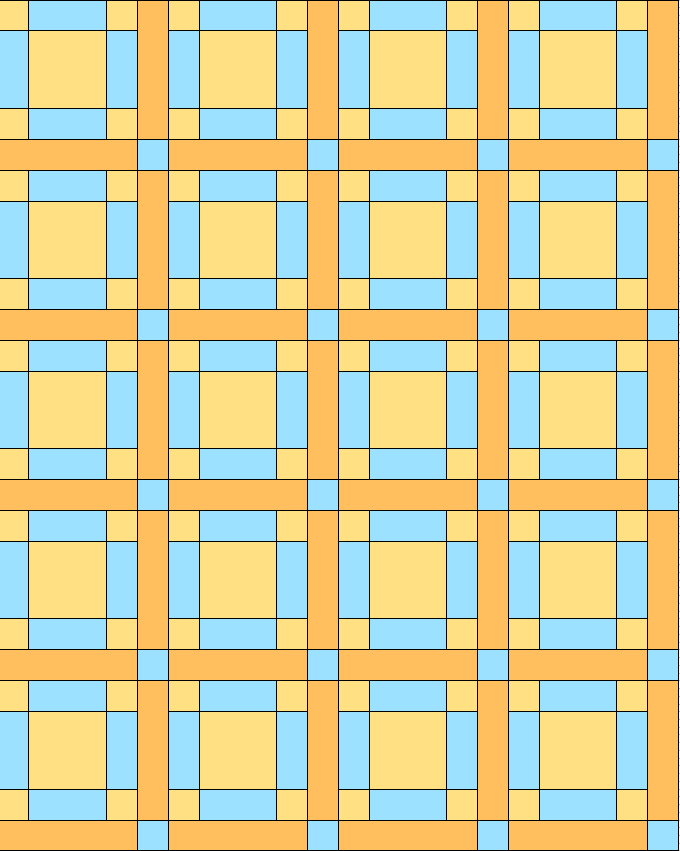
Which became this:

and this
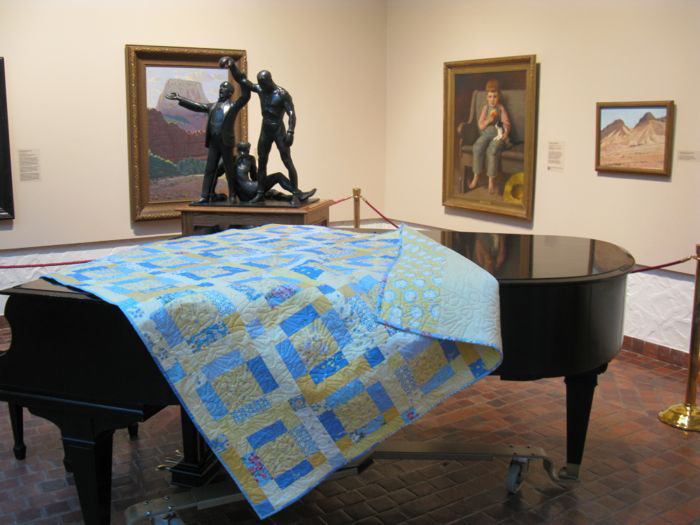

Or this design, to make use of some lovely bits and pieces from a cherished set of fabrics, which became this:

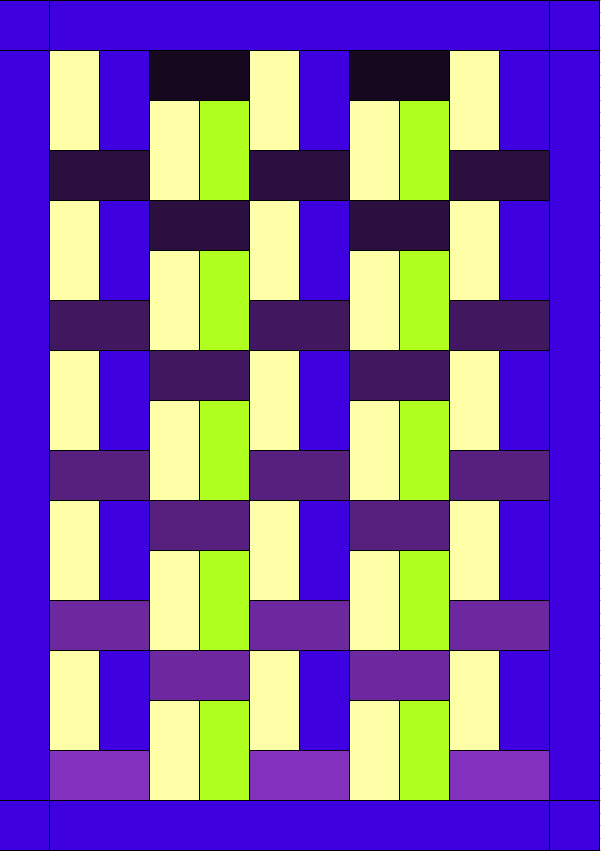
A quilt for a friend who needed some quilty hugs. And I’m now thinking about how to make this one, dreamed up recently:
Sometimes when I read quilty blogs, I get the feeling that whatever is being shown, or pitched, becomes an extension of that quilter. That is to say, that if you buy this, or shop here, then that’s like a ‘vote’ for that quilter, and you say you like her better. I don’t really care if you use QuiltPro or not. I do use it and I’ve had great success with it as a tool to help me get done what I really do love: quilting, so I thought you might want to know about it. I used to draft blocks using graph paper, pencils, rulers, drawing out the templates by hand. This program does all that for me (yes, it prints the templates too, so I can measure them to use with my rotary cutter and rulers). It’s my tool. I’ve used this tool in my little quilt group, Good Heart Quilters, when we do our block swaps, or someone needs me to draft up how their chevron quilt will look. It’s been very helpful in a lot of ways.

Here’s a photo of Congresswoman Tammy Duckworth, who lost both of her legs in combat. She was recently profiled in the New York Times–go read the article; it’s short and sweet and makes you want to cheer. But I liked what she said here:
“Q: When you wake up do you feel a sense of loss when you realize what happened to your legs?
A: Of course. But I have a different perspective for what my legs are now. Now they’re just tools, you know? If I still had my legs, I would be in line for a battalion command, and instead I’m flying a desk.”
I want to fly my version of a desk–my sewing machine–making quilts and sewing and playing with cloth and squares and triangles and designs. I love quilting and am happy to have my rotary cutters and rulers and yes, my QuiltPro software. It’s just a tool, you know, to get the quilting done.