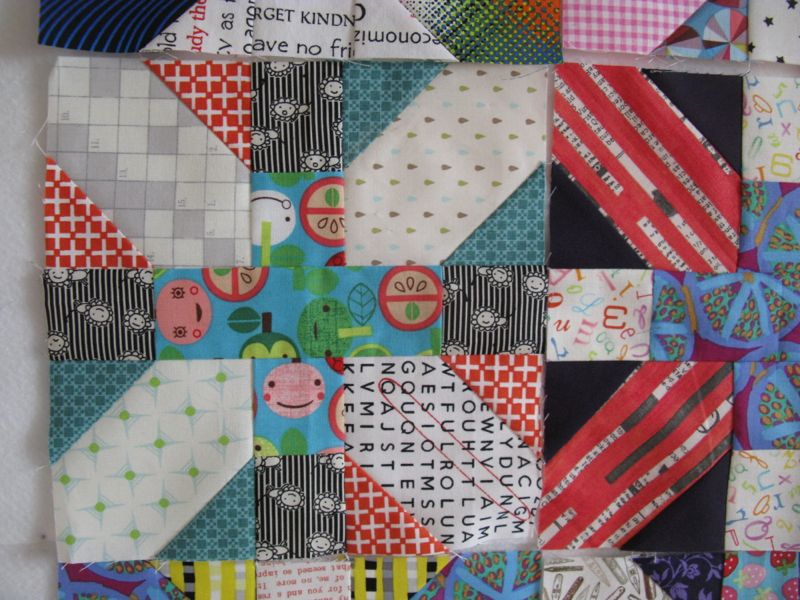
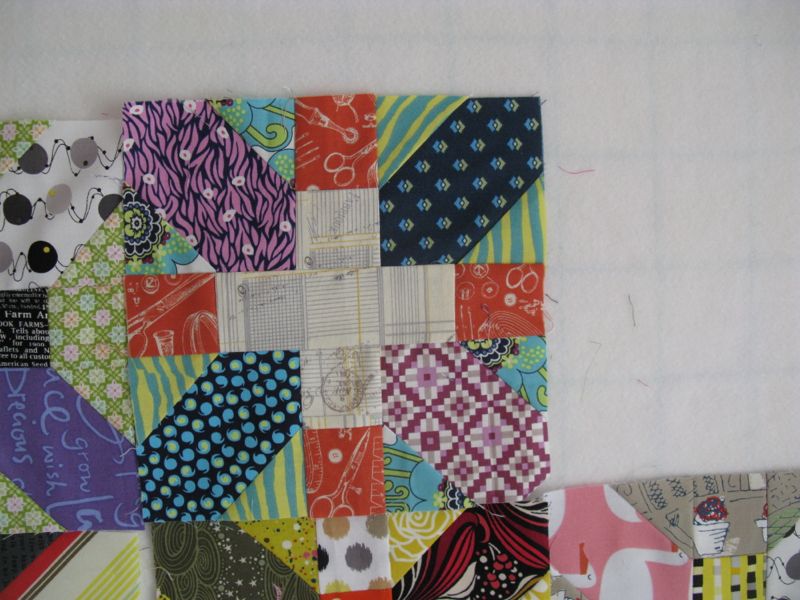
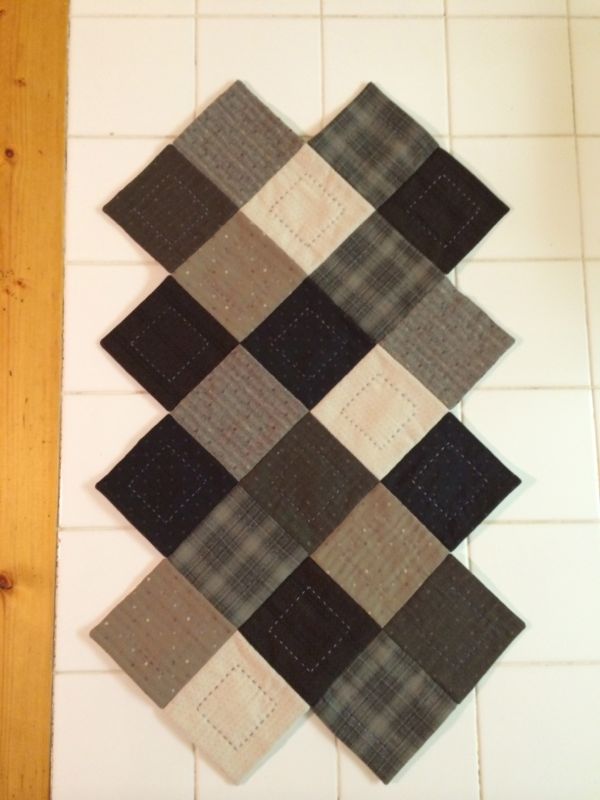
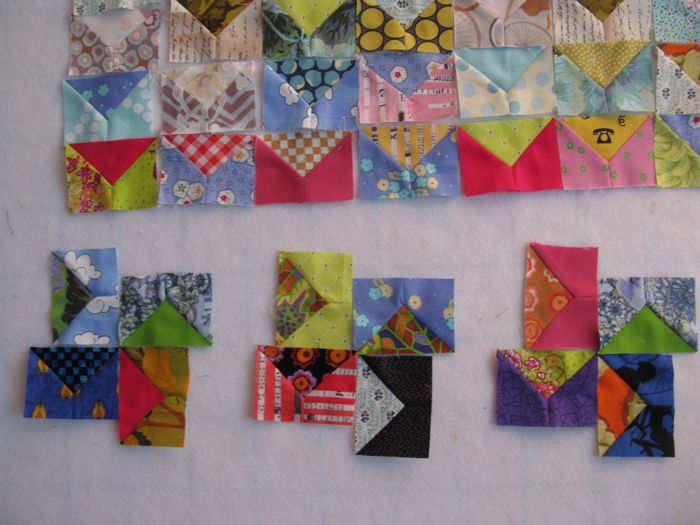
Tiny Envelopes
Quilt #129 on the 200 Quilts List
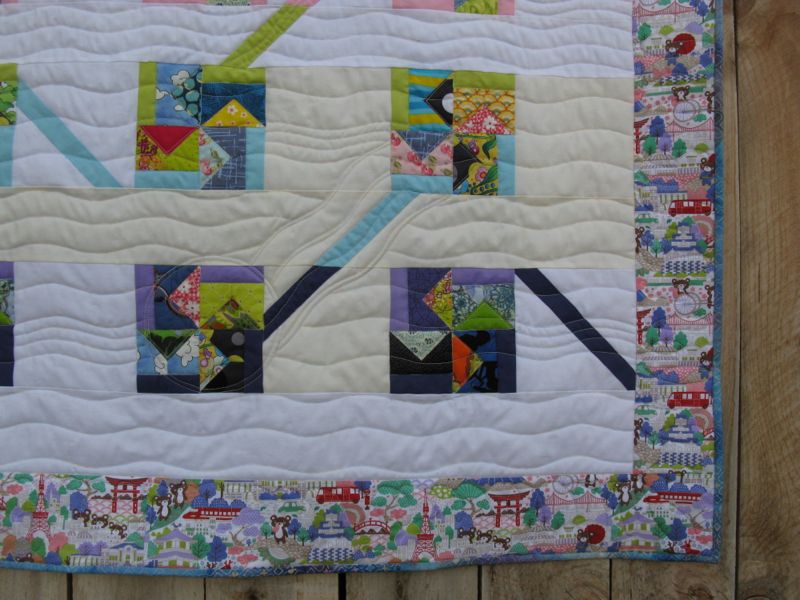
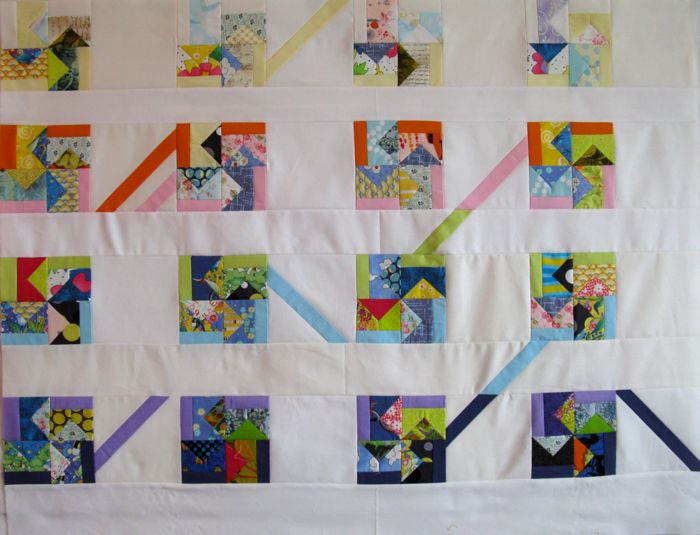
I was happy and pleased to hang this one out on my back-fence studio, and be able to see the shading of the Kona Snow and the Kona White in the background. I smiled.

This quilt had its origins in another, my most recent Four-in-Art, and instead of discarding the small envelopes, I let the fabrics and little squares and colors and strips guide me to another quilt, an interesting journey.

Usually, with me, it’s always a block in my head, or a pattern done up in my quilt software, or a photo of a quilt I’ve seen and want to make, but this one? It formed itself.

I quilted wavy lines, an occasional circle to designate a postmark, and loops in the borders.

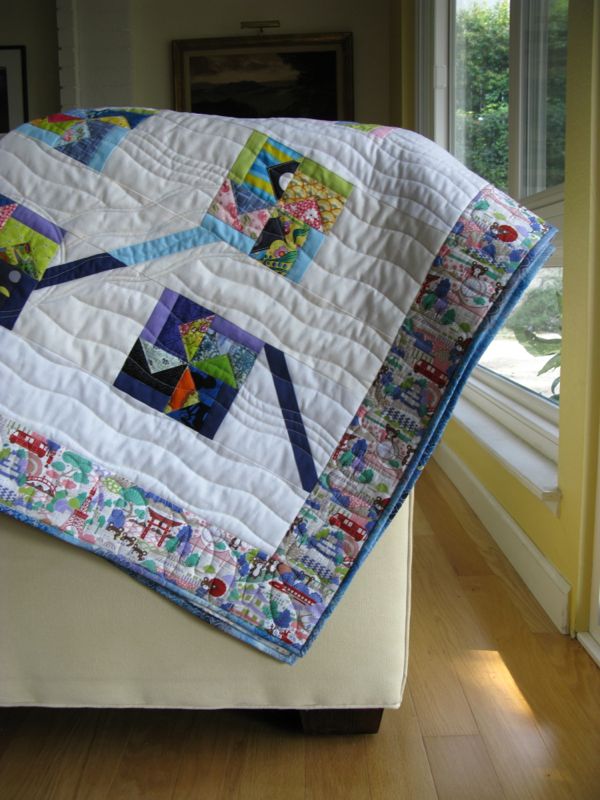
The backing is one of my favorites, with pictures of a samara, those little maple seeds you split apart in summer and affix to things — like your nose — little seeds destined to fly away, like a letter to a friend.

The quilt sleeve and binding, a batik fabric, shown close up.

It’s not so big, really, but it was the size it needed to be.

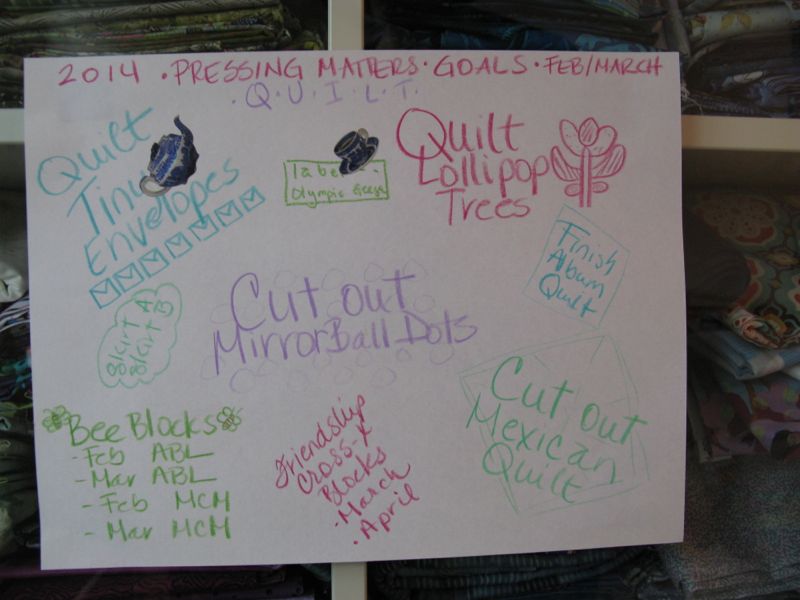
I put two stickers on my Goals Chart–two things finished!
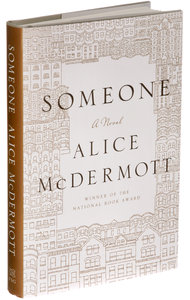
I’m listening to Someone, by Alice McDermott and find that I’ve worked for hours, swept away as I am in this tale. I’m more than halfway through, and need to take up another project so I can finish the novel. Recommended by my mother, but really recommended by my sister Susan, who told my mother about it.

Believe it or not, California is supposed to get some rain. So far right now we have about 1″ of rainfall, when normally it is 10.” We’ve contacted a garden designer to rip out our lawn in front and put in some xeriscaping–plants that are more native to our area and require little water.

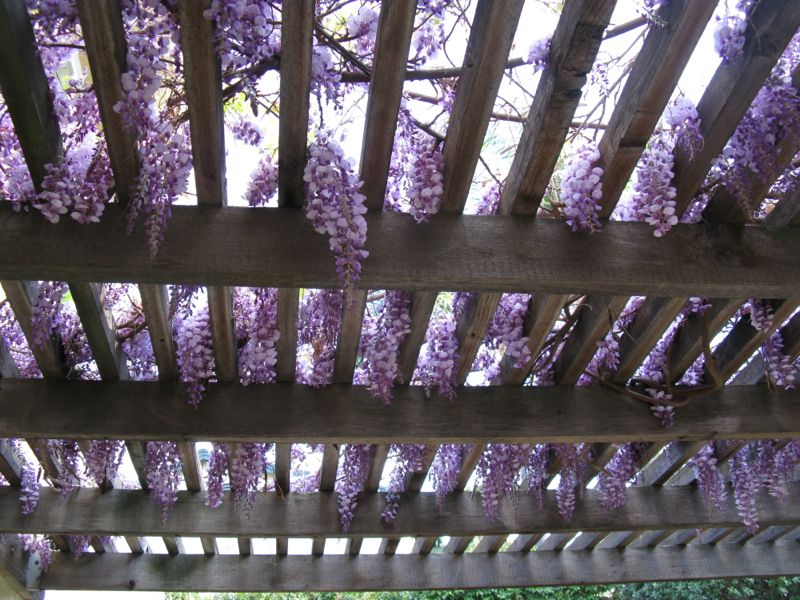
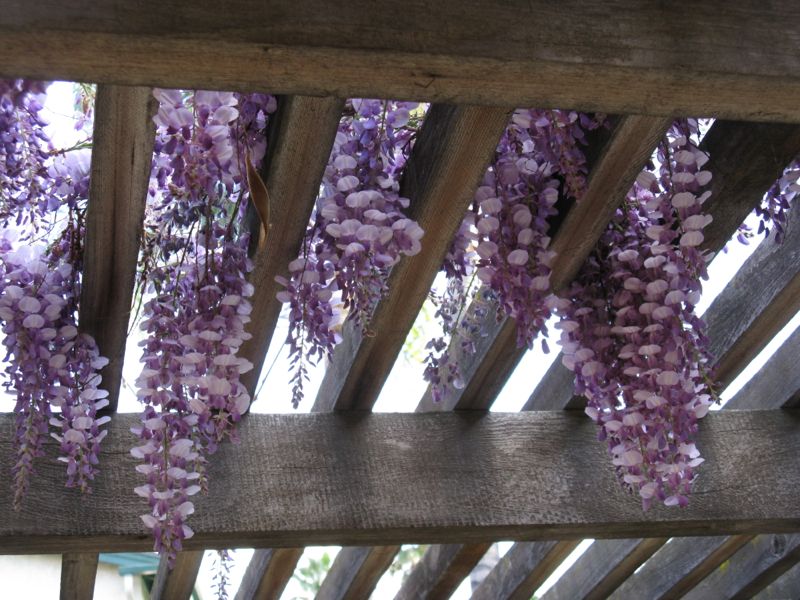
But this weekend? It’s supposed to pour, and I know it will knock all the blossoms off my lovely blooming wisteria, the heady fragrance a spring’s welcome when I walk outside to photograph quilts.


This is the view from the top of the trellis–a thick carpet of lavender and purple.


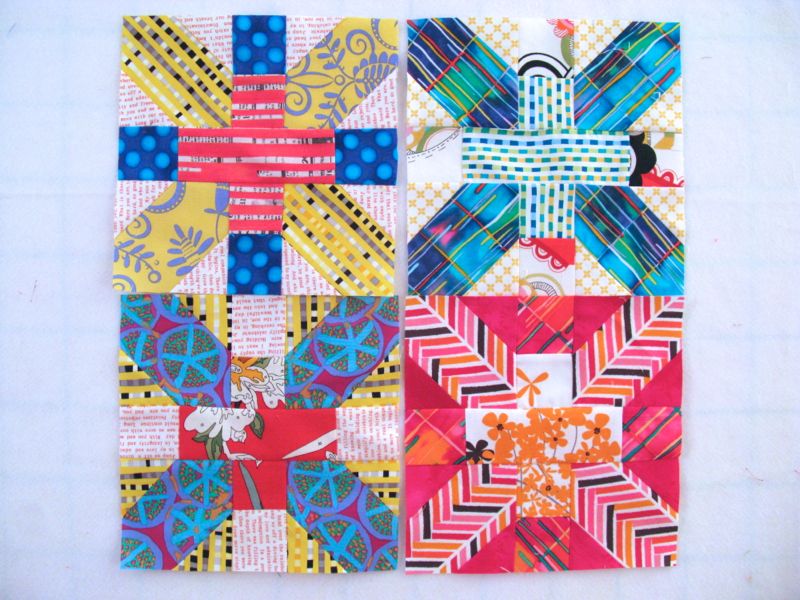
I hope that lovely blossoms are in your future, and that you receive some tiny — or large — envelopes in the mail, tiny, but with grand messages. Which reminds me that I need to get going on my Bee Blocks and my Cross-X blocks, and get those envelopes out in the mail!
Linking up with Lee, of Freshly Pieced on her WIP Wednesday.