Quilts

Home Stretch: an Illusion

final inner corner

I finished up the quilting on the inner white field (background to the petal part) and thought–“Good!  I’m in the home stretch!”  Au contraire, mon ami.

narrow inner border

The next morning I got up and marked the swoopy quilting on the narrow inner border.  Yes, I’m pathetic enough that I feel like I want to mark every stitch.  At this point I’m watching millions of hours of longarm videos, as well as domestic machine (DM) quilting videos and everyone makes it look soooo smooth when they quilt.  I am really trying, but marking also just in case.  I stitch this and as I round the final bend, I realize that my stitching is more fluid and even that in the first foot or two of where I started.  I stop, unpick that section and re-stitch it.

crochet hook trick

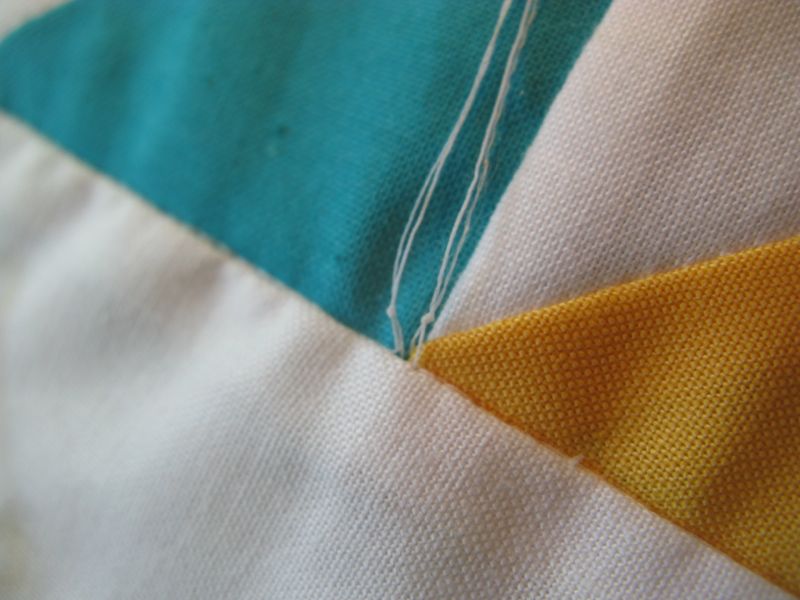
Migrating threads can be taken care of by inserting a teensy crochet hook in between stitches in a seam, and pulling the thread out the side.  I’m successful at this about 70% of the time.  When I try this, I vow to study the quilts at the quilt shows a little harder.  Do they have this problem?  Do they worry about it?  I go back to studying longarm photos, seeing how even their stitches are, if they have wobblies.  They do, just fewer.  Is it fair to compare?  Not really, but I do it anyway.
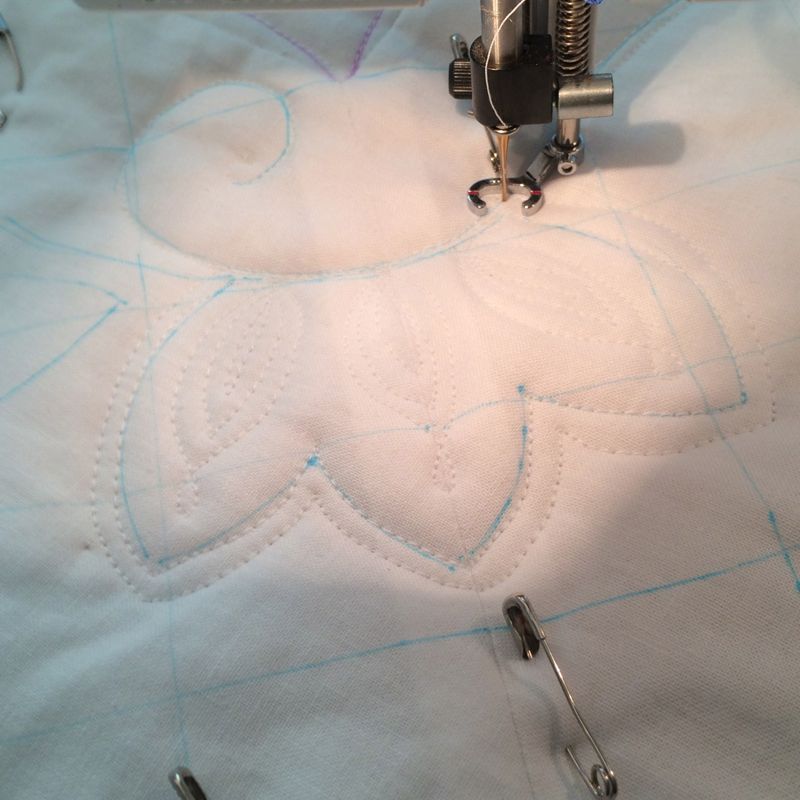
quilting Colorwheel Blossom

I like it best when I can just go and go and the thread whooshes through and the machine hums and the TED Radio Talks are on in the background, not making me concentrate on anything.  I hate it the most when the thread breaks, or the bobbin runs out, or I bobble too much and feel like I need to unpick it and restitch it.
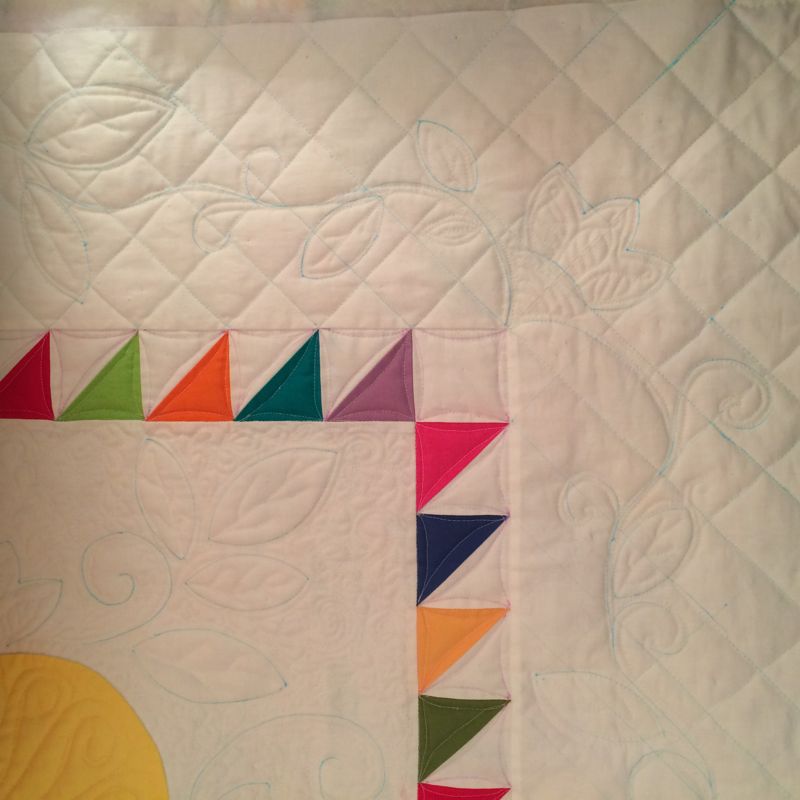
Quilting outer border

I take this photo before I go to bed that night and think “I’m done.” “Not so,” a little voice says.  Something’s just not right.
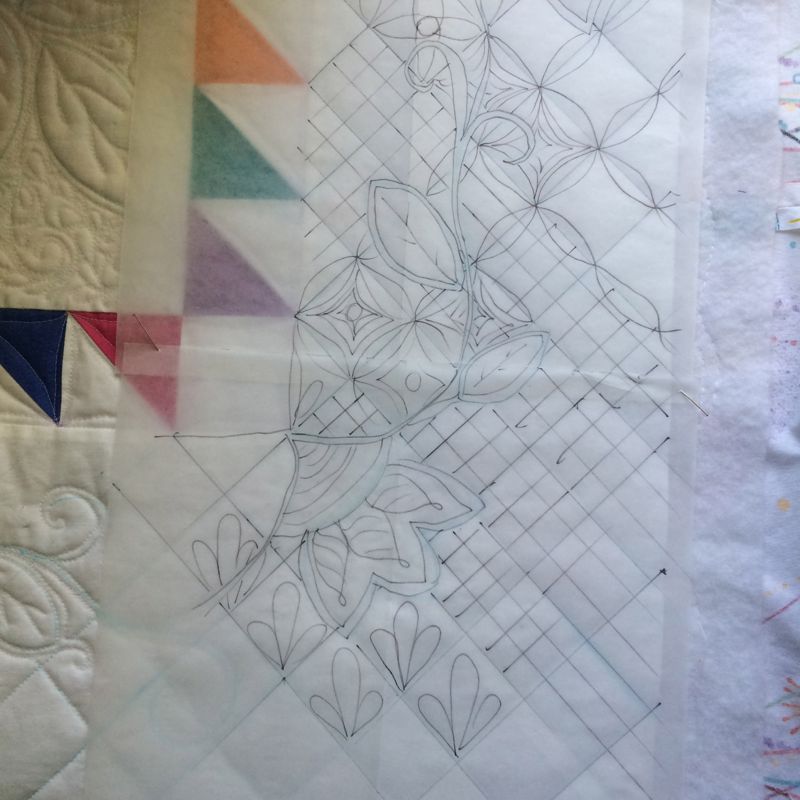
overlaying paper for ideas

I put that photo up on Instagram (IG) hoping for some feedback and the answer came back: the density of the quilting doesn’t match the inner field.  I knew that.  I just didn’t WANT to know that.  I overlay some transparent paper on the quilt and sketch in what’s been quilted, then try out some more bits and pieces.  I like the simplicity of the grid the best.
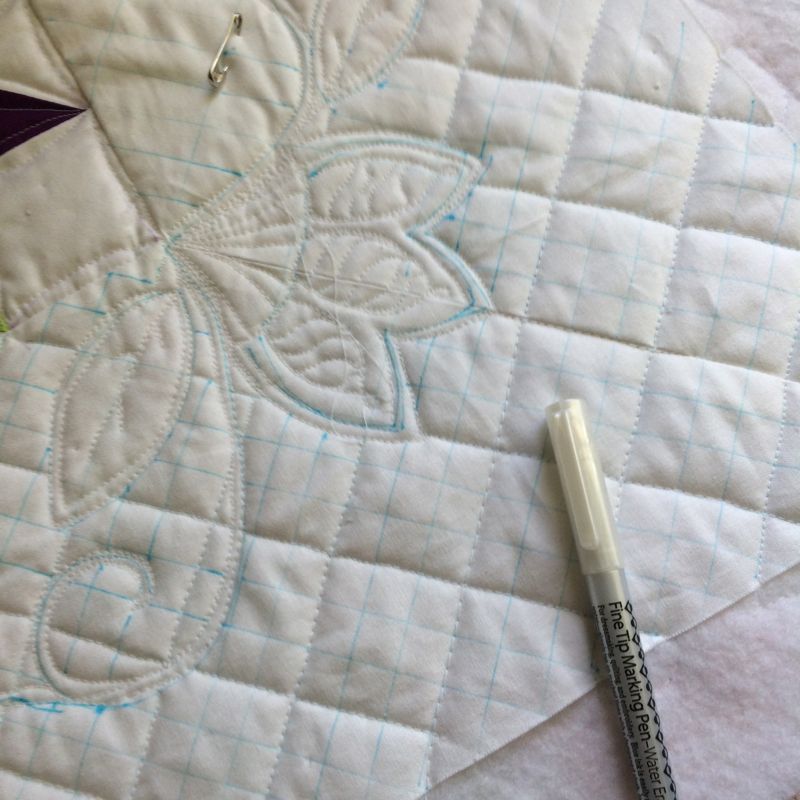
marking quilt again

More marking.

quilting done outer border

A ton more sewing.

colorwheel blossom beauty shot

And I finish.

Road Acceptance 2015

Somewhere in here I found about the acceptance of my quilts in the juried show of Road to California.  I’m dancing around on the bed, jumping around the house in complete and utter happiness.  For the last few years I’ve not gotten any quilt in and then to get all three??  I’m over the moon.

removing blue marker2

A very helpful Leslie, a quilter on Instagram, coaches me through the next step of getting out the blue marks.  I find a video on YouTube where the quilter uses a sponge and a cotton swab to get out the marks.  I follow her instructions.

removing blue marker

I’d done a teensy bit of grid right in the middle to tie into the outer border.
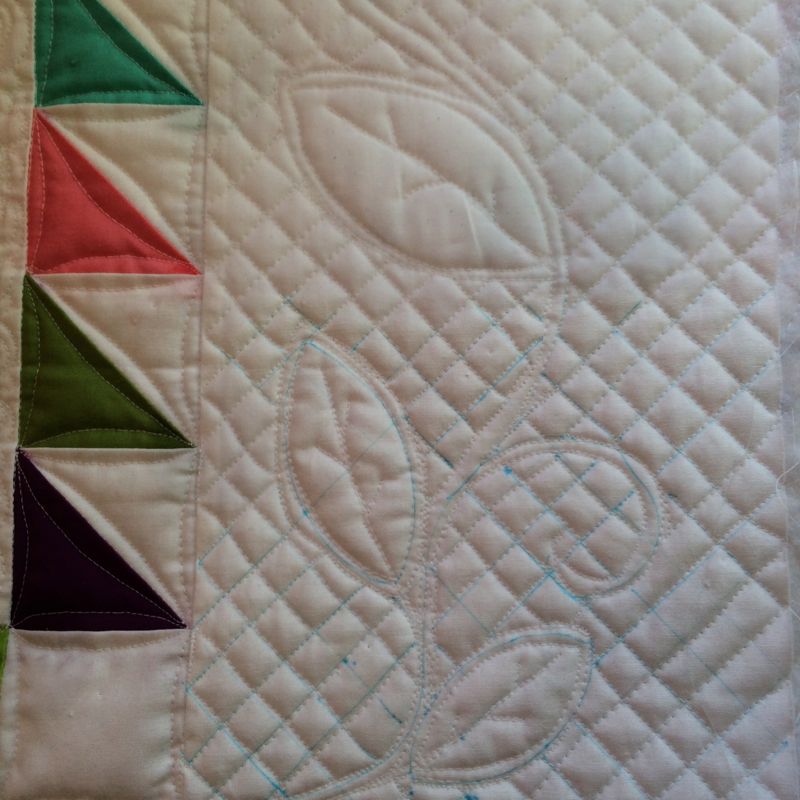
different between marked and not marked

As I take off the marks, I can’t believe how different (and better) the quilting looks!  I’m smiling as I swab. And then. . . of course.  I see all the areas where I’d missed stitching–there is one to the right of the vine in the photo above.

Colorwheel Blossom Drying on Bed

I checked my other expert I turn to for help: Linda of Flourishing Palms, and both she and Leslie suggested laying it out and putting a fan on it to let it dry.  So I put down my two cardboard cutting boards for a stiff surface, layered it with towels, then smoothed it out to dry.  Next up is finding and fixing all those missed sections of the quilt, and then the age-old question: how to bind this?  One of my quilty friends suggested a faced binding, and I’m leaning that way, for sure.

I’m pretty pleased with my work thus far, as I see it laying on the bed in the other room.  And I’ve really benefitted from a lot of encouragement from all of you here on the blog and in Instragramland.  But as I said to a friend today, why is it that I see all the mistakes?  And do I need to unpick them and re-stitch them?  I had the same experience with my Lollypop Trees quilt–and my uber-observant husband also found all the wobblies on that quilt (I’ve asked him to not do that again–one of me is bad enough!).  Leanne suggested living with it for a while before deciding, and after a couple of months, I didn’t notice the problems.  As much.

I’ve complimented others on their quilts and in return I get a litany of all the mistakes and the problems.  I don’t want — as Benjamin Franklin said — to look for the worm in the apple of my eye, nor do I want to see those flaws that others point out in their own work.  (BTW, my father always said the correct response when someone compliments you is”Thank you.”) So what is it about human nature that only sees the flaws?  Do you do this too?

All that being said, from the vantage point of the above photo, and my forays into the next room to check on the drying, I’m enjoying this quilt.  And happy to be at this (almost) home stretch.
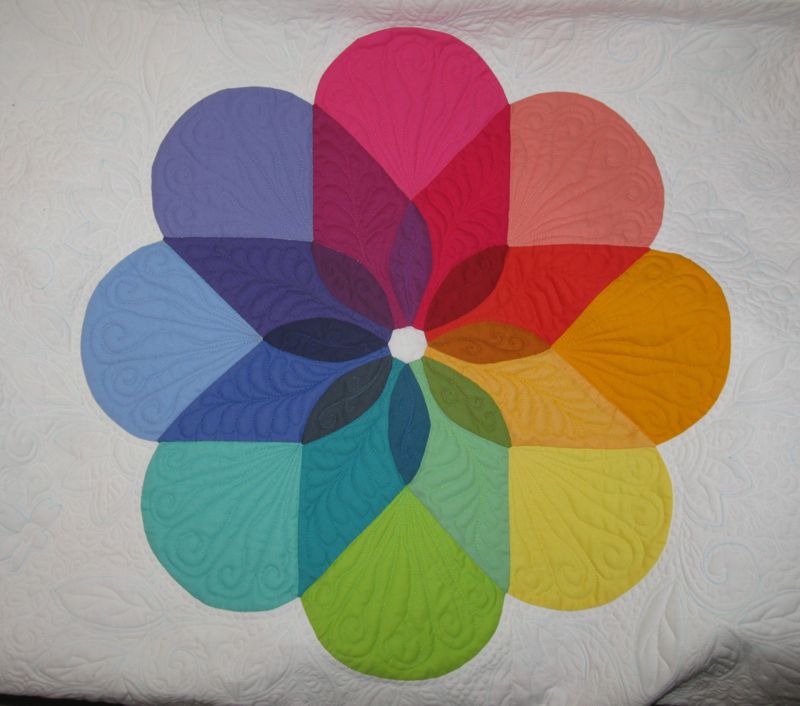
 

Quilts

Colorwheel Blossom in Progress

Colorwheel Blossom Quilt_in progress1

Because of all the wonderful and encouraging comments from last post, I kept going.  This is an in-progress update.  Inner blossoms quilted.  Inner background quilted.  Moving on today to small border, then final large border.

Making a quilty knot

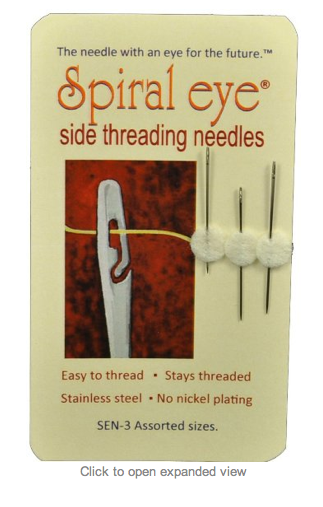
Some asked about how I knot the threads to bury them.  When I begin stitching an area, I pull the bobbin thread up to the top, hang on to them and start stitching.  When I’m done, I need to deal with these threads. Before, I used to tie a square knot and then thread the tails through a self-threading needle and bury them.  There is a better way that I learned from Sue Rasmussen.

But first, there are two kinds of self-threading needles:

self-threading needle 1 self-threading needle 2The top kind, where you snap the thread into place, is a more reasonable cost, but occasionally it will shred your thread.  The side-threading needles retail for about seven dollars each (coming in a pack of three), but those who have them swear by them.  I did a search on “self-threading needle” on Google to find these.

But now I tie an overhand knot leaving the knot about a 1/4″ away from where I want to sink it into the quilt.  I grab the tails, put them in my self-threading needle, insert the tip of the needle where my threads originated and come out about 1″ away, pulling on the thread to pop in the knot.  If your knot is too far away, it will come loose.

Thank you again for all your encouraging comments.
Linking up to Lee’s Freshly Pieced WIP Wednesday.


Quilts

Don’t Let the Process Overtake the Purpose

Narrow Mountain cliffside road

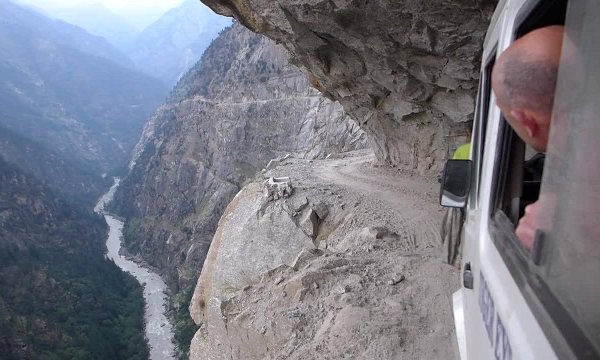
So here’s a dream story. I was driving someone home on a cliffside road, maybe it was the side of a dormant volcano or something–things are awfully hard to pin down in dreams.  The road was carved into the side of a mountain and kept getting more and more narrow until I felt I had only about two wheels on the road, but somehow didn’t fall down the mountain.  I could see the village in the valley below, and the person in the front seat kept yakking on and on like there was nothing unusual, and I’m like, “Hey! There’s no road here!”

Leap of Faith Indiana Jones

And as only dreams can do, it suddenly got worse when a car was coming the other way and I’m like “Are you nuts?  I’m not pulling over. . . I’ll grind right into the mountain.” And the oncoming car got closer and closer and I was sure I was going to be killed–because it was a dream, and that’s how dream things go.

crusades1

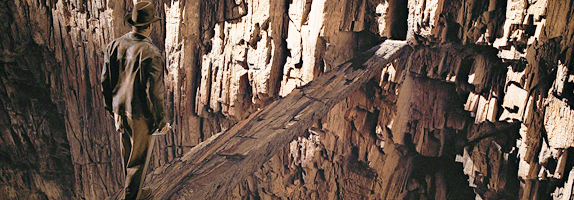
I woke into that lucid dreaming sleep place, where you are half in and half out, and thought of that scene from Indiana Jones, where he had to take a step of faith, and then discovers that the land bridge is there, only he couldn’t see it.  I focused on that, trying to stop being so frightened about there being no road, when it suddenly dawned on me that this was all about The Quilt.  The one that has been done since MAY and the one that’s been hanging in the closet, as I was too frightened to start quilting it.  I just didn’t know how, didn’t know if I was up to it.  I had already purchased all the thread in two separate trips up to Utah’s Superior Threads, so it wasn’t like I didn’t have my supplies.

Colorwheel Blossom Quilt Top

I did this-and-that all morning, still avoiding The Quilt.  And at lunch I was reading the New York Times and found an interview with Janet Elkin, with the words from this post’s title: “Don’t let the process overtake the purpose.”  She went on to say that when she motivates her employees, instead of focusing on the negative, she says “Let’s talk about how we’re going to get better.  Let’s get started.”  I ripped out that article and went right upstairs and pinned it to my design wall where I could see it.  It was time to get started.

Quilting Ideas

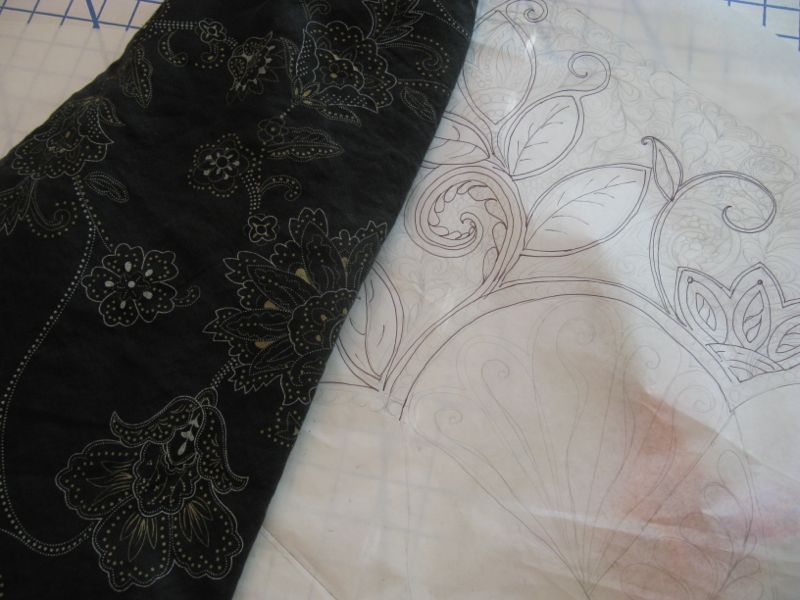
When I’d taken my class this summer at San Diego, Sue Rasmussen, the teacher, recommended finding ideas even in clothing.  I had drawn up a small sketch of an idea some time ago, and in another “ah, ha” moment, recognized it as being from the skirt I was wearing that day.  So I pulled out that skirt, traced a quarter of my quilt onto tracing paper and started sketching some ideas in pencil, going over them in ink when I liked them.

Colorwheel Quilt_sketch

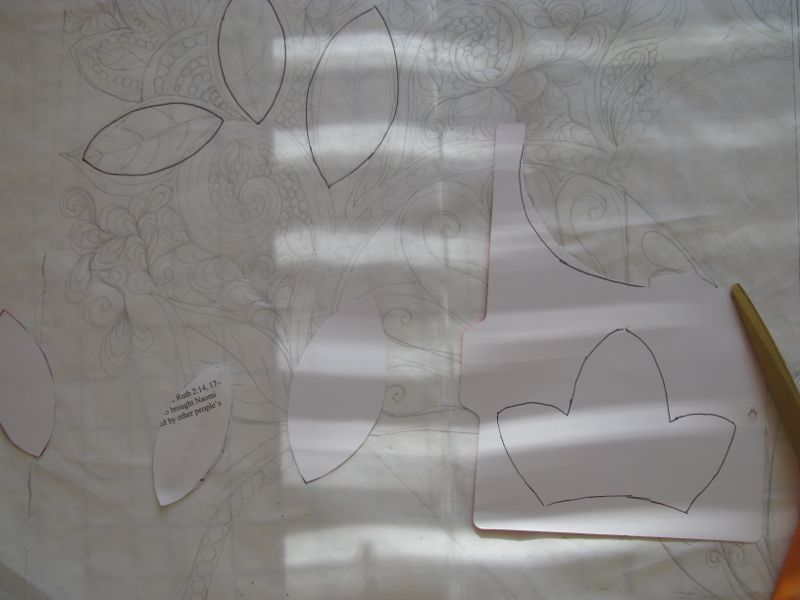
Although it took me a while to realize this, a lot of free-motion quilters use drawn shapes to help them get the quilting done, so I made some templates of repeated shapes and laid them out on my quilt.  I used a blue wash-out marker to trace them, as I wanted them to stay on the quilt for while, giving myself a road map. I kept saying to myself that I had let the idea of quilting this quilt — the process — get in the way of my vision of a finished quilt — the product.  The universe had delivered two strong messages to me, so finally it was time to get going.

Colorwheel Quilt_petals1

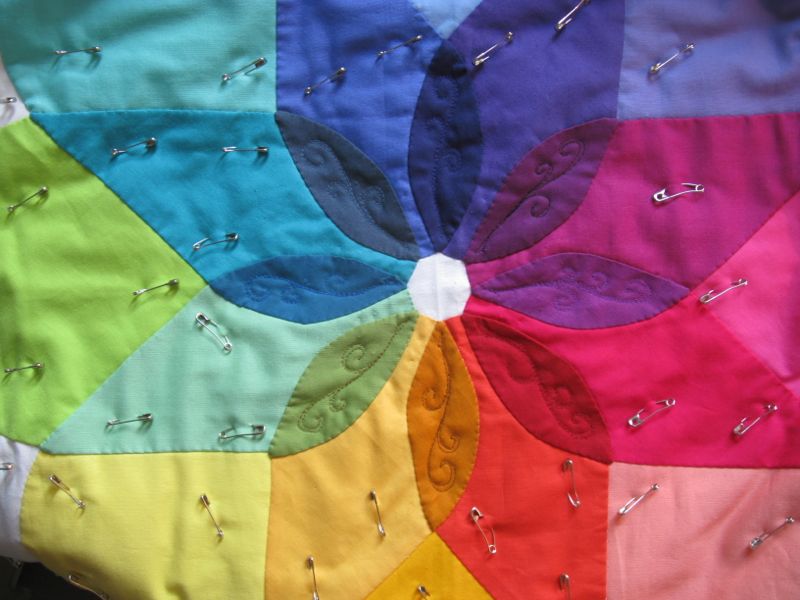
I drew on the design with a purple disappearing marker for the inner petals, found the threads, and stitched those.  Big breath. Keep going.

Colorwheel Quilt_petals1a

I have NO confidence whatsoever in my ability to free motion quilt feathers, even though I have drawn them out about a billion times.  So I drew on that next set of petals, found the threads and quilted those and before quitting for the day, I buried all my threads, using the new method taught to me by Sue Rasmussen.

Colorwheel Quilt_petals2

I matched up the colors for the outer petals this afternoon, but even though I’d made a sketch of what I wanted, I needed another road map.

Colorwheel Quilt_petals template

So I made  another template, and drew that on.

Colorwheel Quilt_petals3

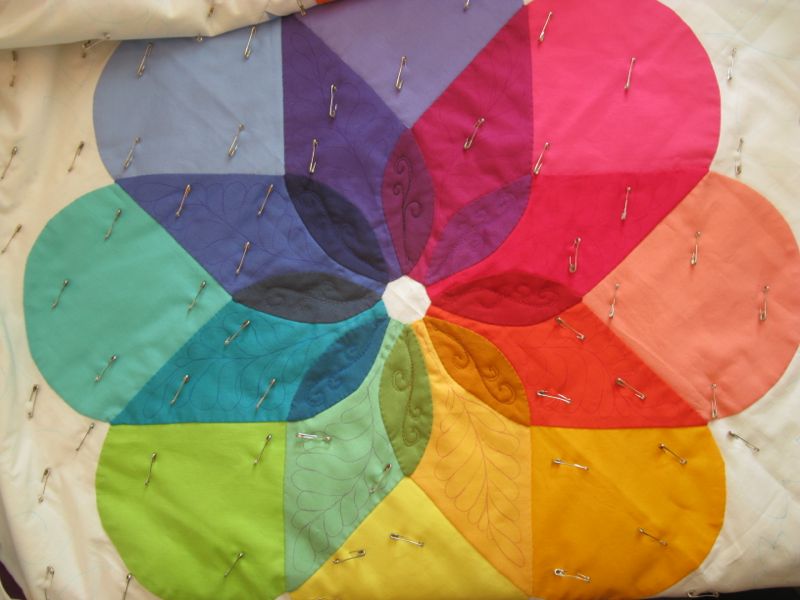
Tonight before I stopped, I had finished up all the colorful petals of my Colorwheel Blossom.  Of course, I’m not out of the woods yet, because I feel like another cliffside road is coming up for the quilting of the white part, but I will go forward in faith, trusting that I’ll figure it out as I quilt.  I appreciate all the encouragement I’ve received from the IG crowd; their enthusiastic comments help to propel me forward.  Lastly, I don’t know if any of my quilts  will ever be “show-quilt” worthy, but I will have tried something hard for me, and traveled down a new road.

driving into the sunset

Sometimes that’s enough.

Quilts

Jazz, Light, Montreal, a Four-in-Art Quilt, November 2014

4-in-art_3button

JazzLightMontreal_frontJazz, Light, Montreal
#5 in the Urban Series

When the challenge theme was announced, of Light, I started looking and noticing urban light–both that which sheds or projects the light, and that which receives the light.  Multi-hued lights intrigued me, as well as light fixtures (as you saw before).  I was also interested in reflections of city lights on windows and in rain puddles.  But in the end, I went with a memory–the graceful arching lights of Montreal, swirling over the Jazz Festival that was in its final days.

montreal-street-lightsMontreal City Lights

Yet the artistry in that photograph comes partly because of the different widths of the light poles, changing from thicker to more slender as they were sited in the field of view.

JazzLightMontreal_construct1

I fiddled and widgeted my stuff, moving and trying to get that look but with my bias tape, I could not really manipulate the widths easily, although I tried.  So mine resembles a spider the day AFTER Halloween, squished beyond recognition.  How appropriate that today’s reveal date is November 1st. Since this little foray into representation is not one of my favorite art quilts I’m not going to do a deconstruction post.  I tried out multiple brown fabrics and thought about trying to mimic the interesting placement of windows as shown in the photo above, but in the end, went with one that conveyed the pane-pierced facade.  Okay, maybe not so much, but I gave it a try.  I fused it on, satin-stitched around it.  Sewed down the light posts, then used a zig-zag stitch to quilt clouds into the sky.

In fact, the more I write about this, the more I realize that not every art quilt will challenge me to learn a new technique, which is what I want to do.  Sometimes you come to the project tired and worn out and your brain cells look more and more like the spotted building in my art quilt, or perhaps that splayed spider thingie and pulling out the stops means Getting It Done and Moving On.

JazzLightMontreal_back

I do like the back quite well.  No complaint about that Anna Maria Horner fabric from eons ago.  And ever since Betty started putting labels on hers, I’ve copied her example and now have a lovely collection of art quilts, properly provenanced.  The quilt is 12″ square, and I used a fancy little bit for the binding (hoping it would redeem the front?).

Montreal-Jazz-Festival-DAE-ESE

But the best thing is the memory of that horribly hot night, sitting on the steps listening to jazz, getting photo-bombed by a tourist behind me who turned out to be a quilter, and we spent a long time showing each other quilt photos from our phones.  I look somewhat different now, but it was a great night watching people bee-bop to the doo-wap (try and find them!), sitting under that graceful swirling street light.

JazzLightMontreal_bylightNormally we only have four challenges a year (hence, the name: Four-in-Art), but this year we decided to jive up to the calendar year, and so added in this last challenge, making it a #5.  In the next cycle we’ll be back to four, and we’re trying something different.  Our overall theme will be Literature, but each quilter will think up her own quarterly challenge, instead of having a group challenge.  We’ll still reveal on the first days of February, May, August and November.  We have also had some subtractions and additions in the last few weeks, so won’t have a full compliment of eight quilters until next February.

JazzLightMontreal_label

Come see what other quilters in our Four-in-Art Group have done!
Amanda at www.whatthebobbin.com
Betty at  Flickr//www.flickr.com/photos/toot2/with/12251011196
Nancy at patchworkbreeze.blogspot.com
Rachel at rachel-thelifeofriley.blogspot.com
Simone at  quiltalicious.blogspot.com
Anne at SpringLeaf Studio

and please head *here* to vote for Anne’s Cascade quilt, a finalist in the Craftsy Pattern Design Awards!!

˚˚˚˚˚˚˚˚˚˚˚˚˚˚˚˚˚

Circles EPP Button

Coming in a couple of days. . .

Circles Block #6!