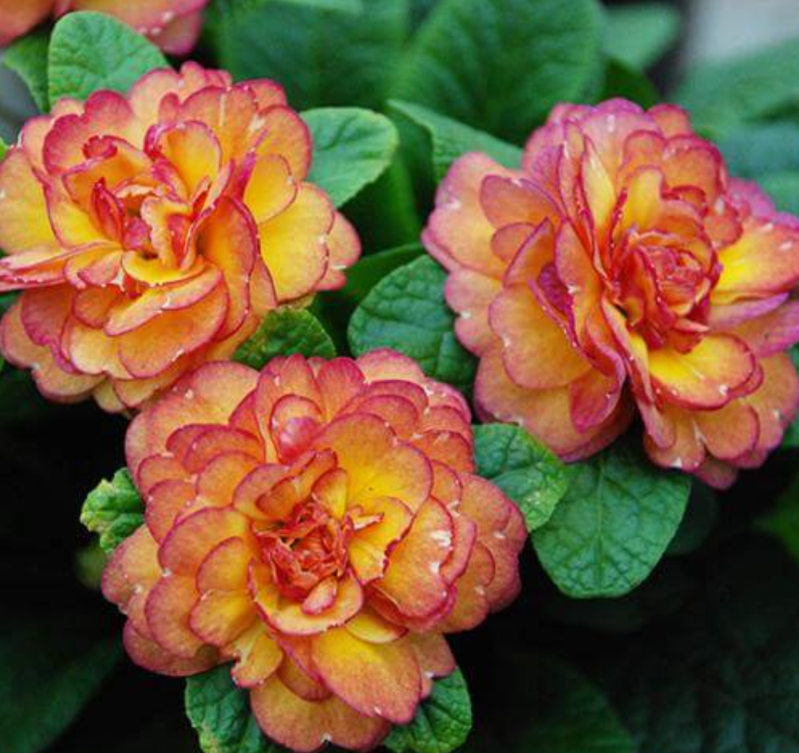
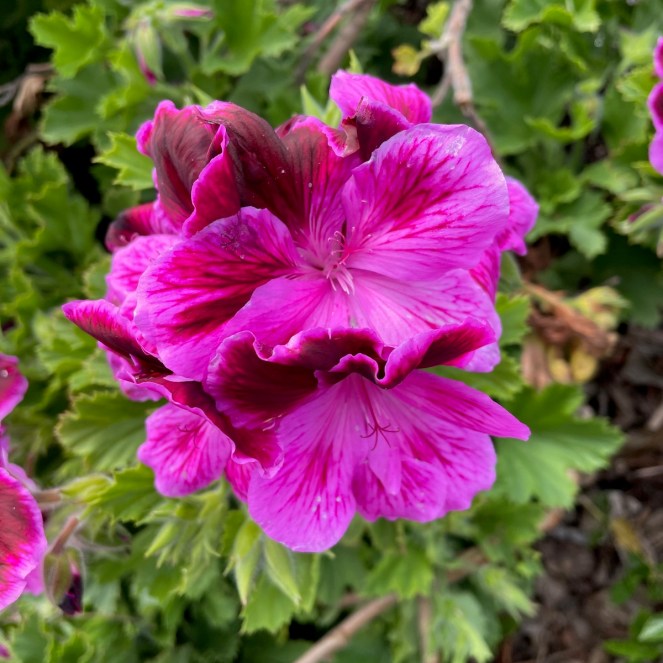
A hymn sung in our church begins with “Earth, with her ten-thousand flowers” and ends with the sentiment that all these things of nature “Have one chorus: God is love.” This was reinforced to me when I went hunting for a title for this quilt (not wanting to borrow from the original pattern — more info here), and fell down into a fun rabbit hole of internet blossoms.
In the end a ruffled primrose caught my eye, with a trademarked name of Prima Belarina. Not wanting to run afoul of the trademark police, I decided to call this Primula Ballerina, primula being the botanical name for Primrose, and the ruffles on that new flower resembling the tutu of a dancing ballerina.
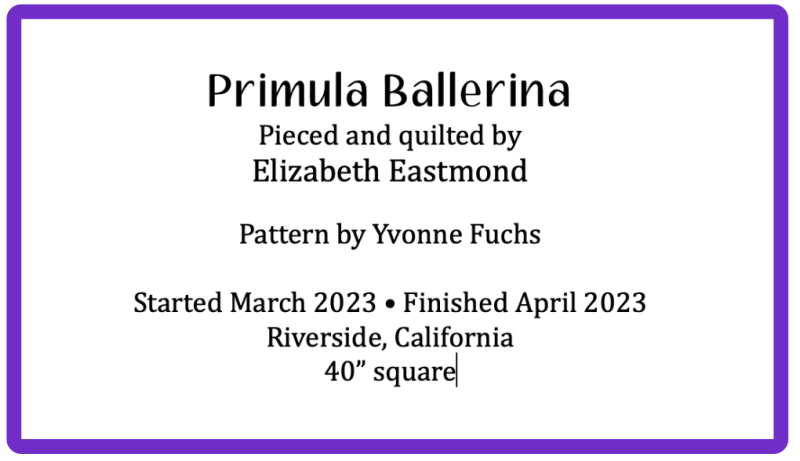
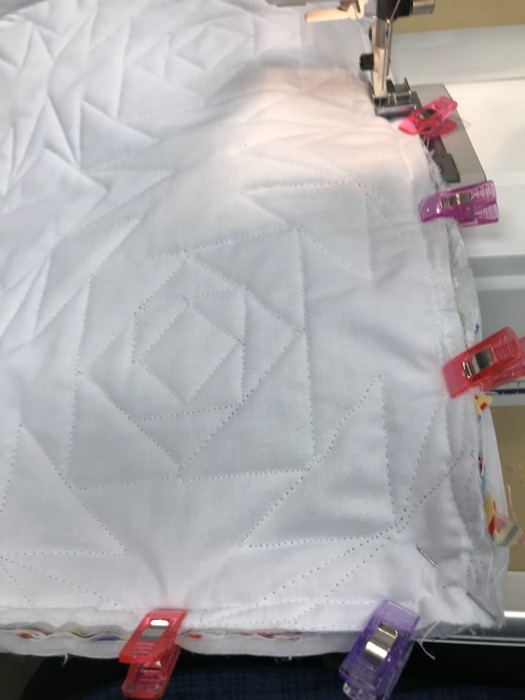
I quilted it on my Sweet Sixteen Handiquilter; this size is a fun amount of quilting for one SoCal quilter (me). Label mock-up:
And…that’s about all for today. I did have a profound post on the similarities/differences between our tools as quilters and the tools I see everyday in my under-construction kitchen, but that will have to wait. So will the post about Distraction (inability to concentrate when there is fascinating stuff doing on the house), the post about Best Uses of Doom-scrolling Instagram (really, there are none except seeing all your pretty quilts), as well a potential post on Guilt About Falling Behind in Most Areas of My Life.
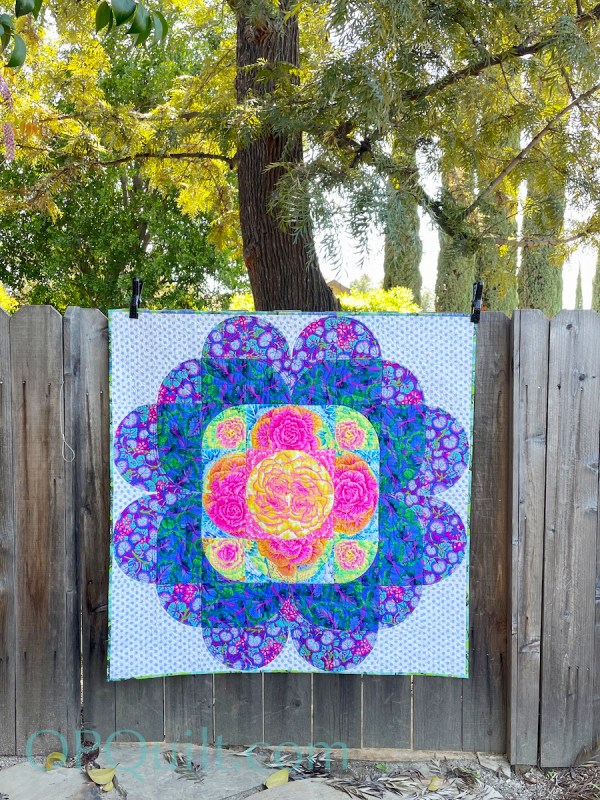
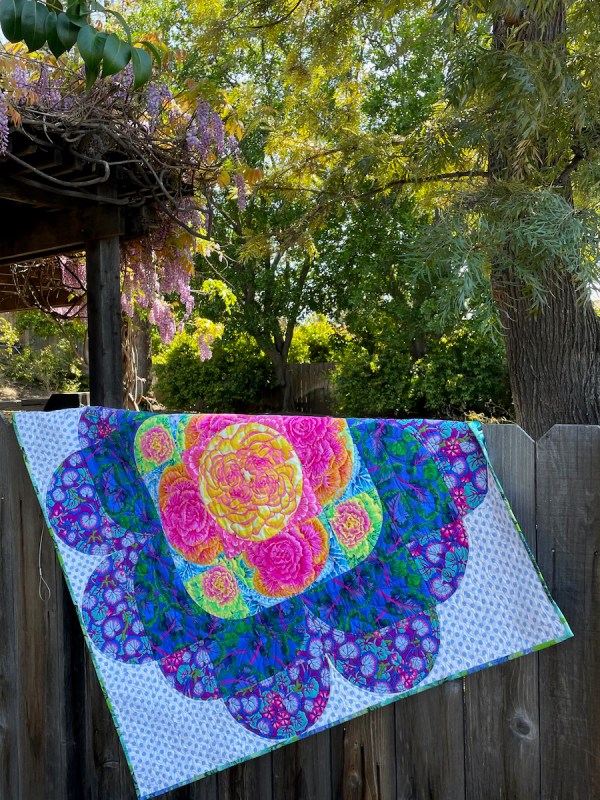
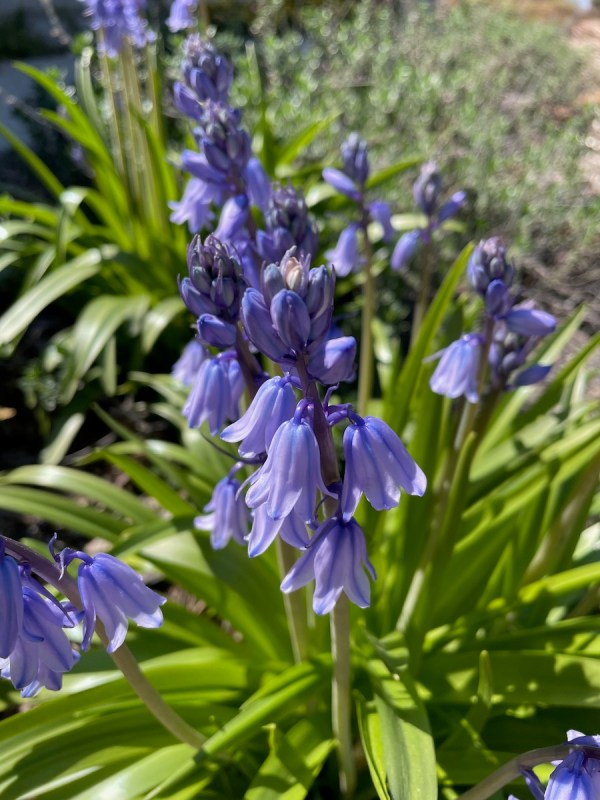
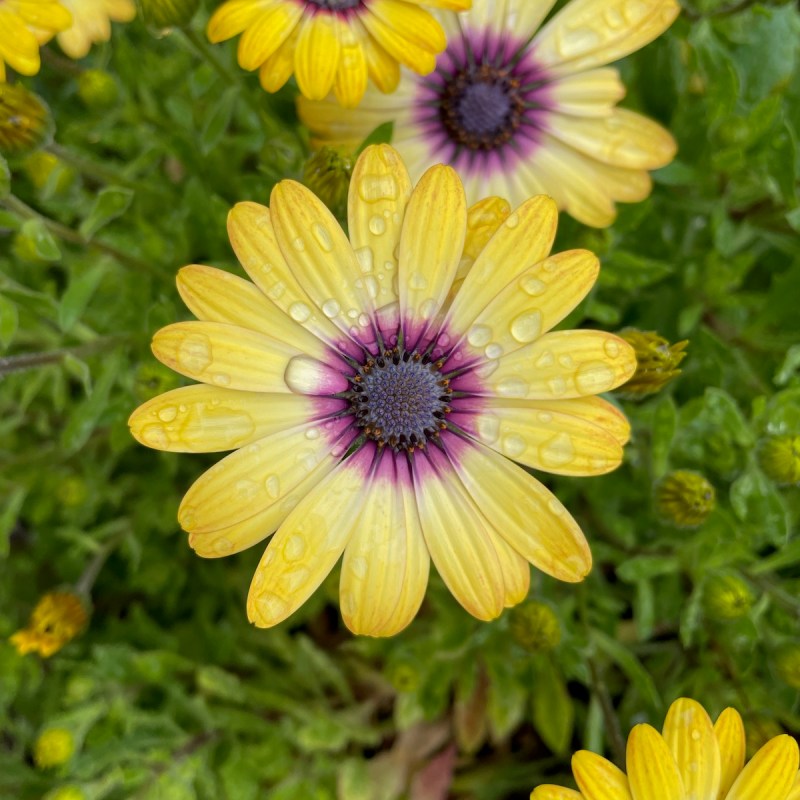
Likewise the post about Cooking with Cars, or the bit about Choosing a Particular color of Blue Paint in the changing seasonal light have to wait, too. Something for you to look forward to, I guess. But I will leave you with photos.
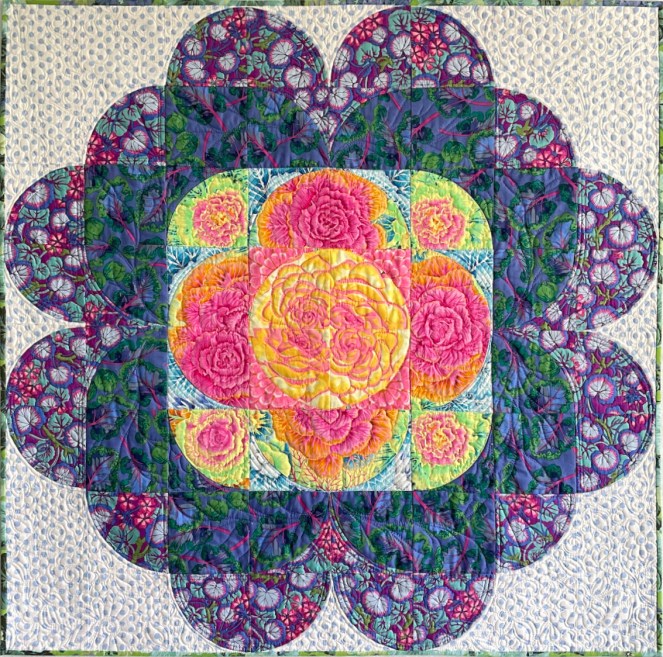
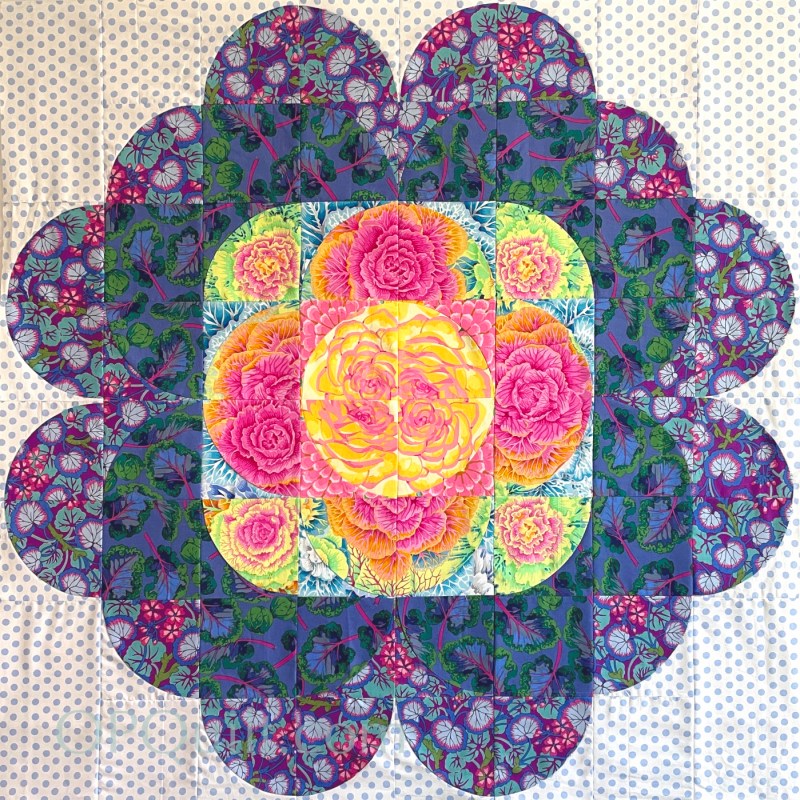
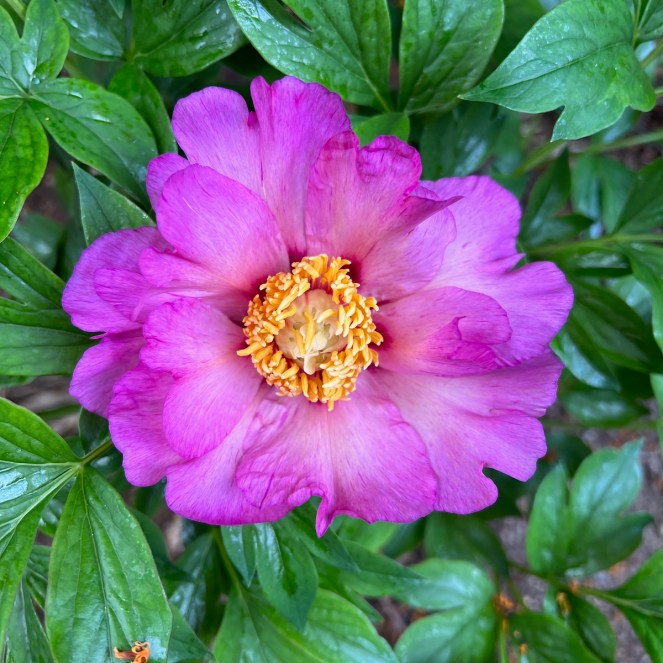
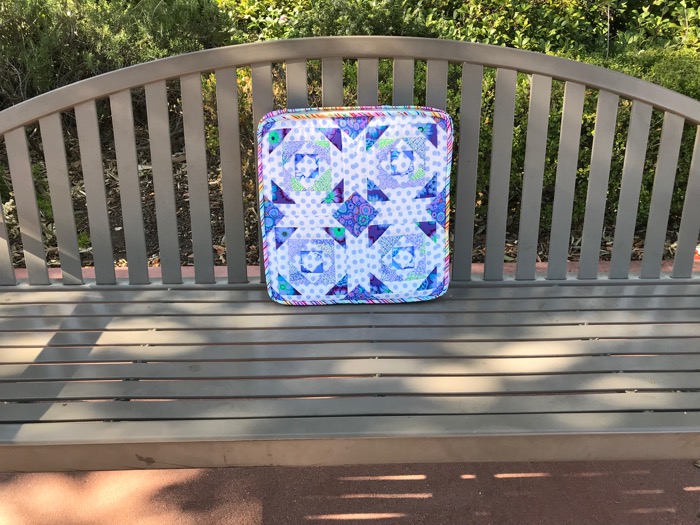
(That center sure is a flashy little thing, isn’t it?)
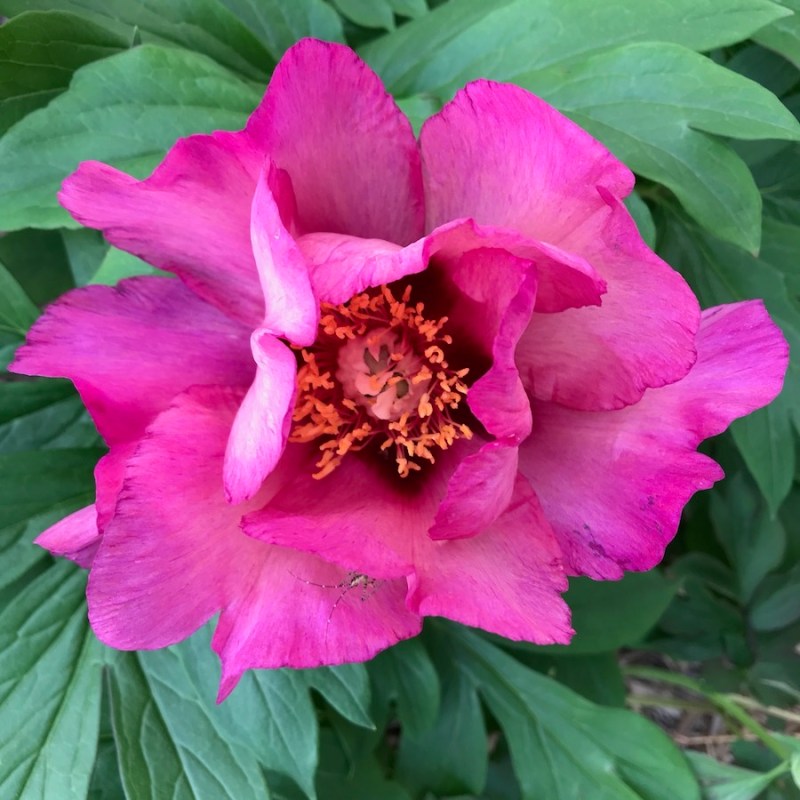
Floods! Snow! Storms! Rain! More Rain! That old saying about April Showers really doesn’t apply to California, because for us it’s March showers bring April flowers, so yes, my garden is overflowing with flowers which is where my latest quilt started.
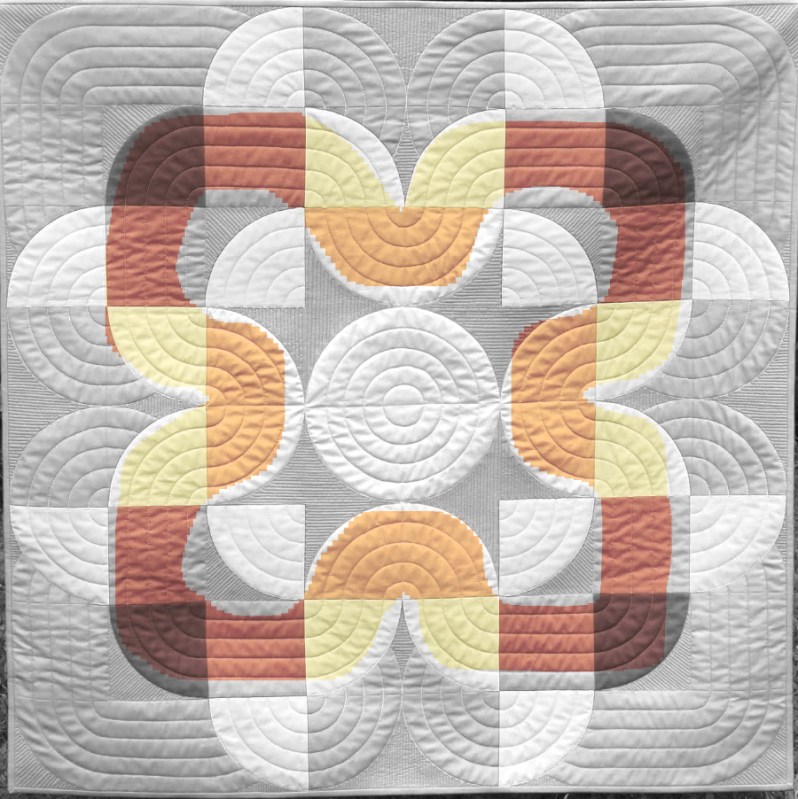
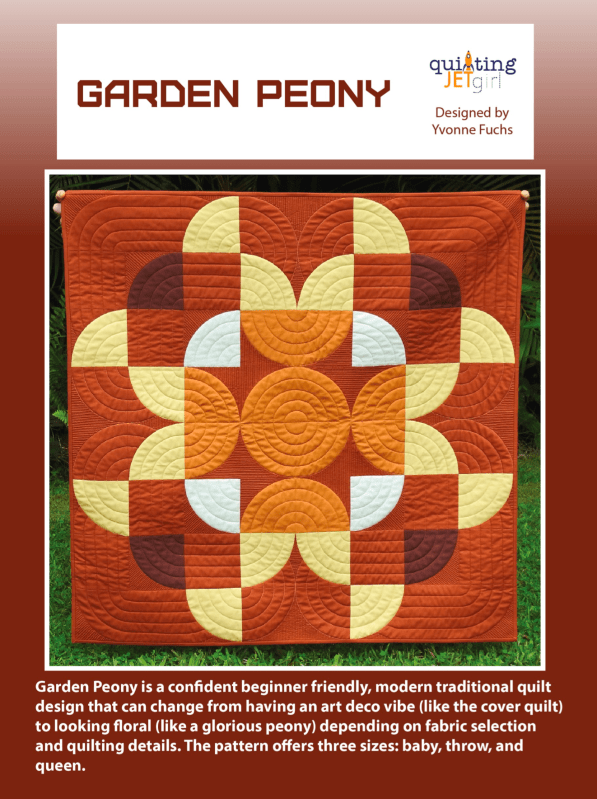
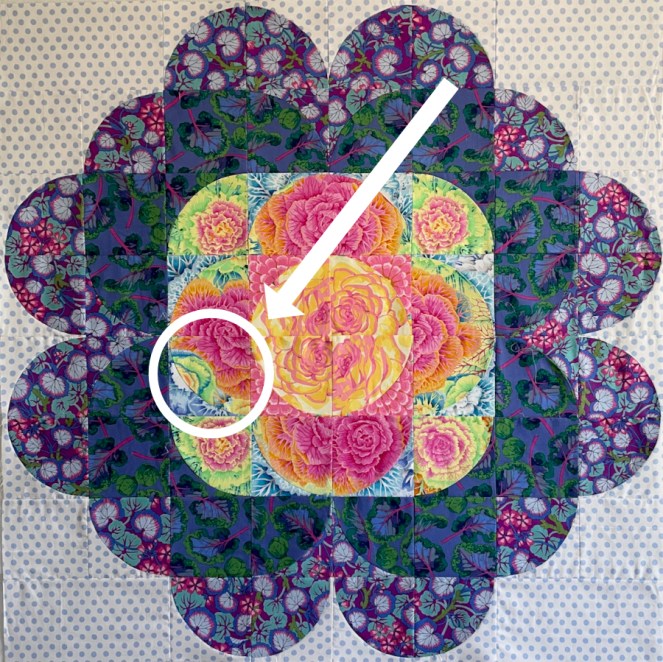
This pattern is also where the quilt started, with Yvonne’s wonderful Garden Peony quilt pattern. Yvonne is a master of shape and space (her handle is Quilting Jet Girl), and love how the inner path of this quilt mimics the ruffling of a peony blossom.
I’ve highlighted it here.
But I’ve always wanted to make this in Kaffe prints, just knowing it would make a wonderful big blossom. Luckily for me, Yvonne put out a new edition of her pattern, so I was in business.
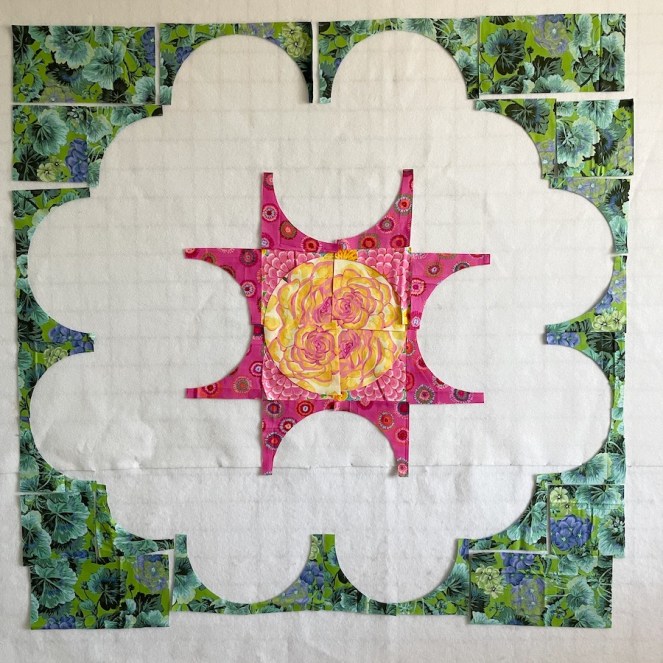
I busily cut out all the green I wanted to use (an old Kaffe geranium print) and then started mocking up the center. I remembered that our peonies had that brilliant yellow center, so that’s what I cut next. However, there wasn’t a blossom big enough for the solid circle Yvonne had in her pattern, so I ended up with four smaller blocks. I didn’t know it at the time, but I was already in trouble with this quilt:
Can we say Color Mush? Can we say Pieces Turned Awry?
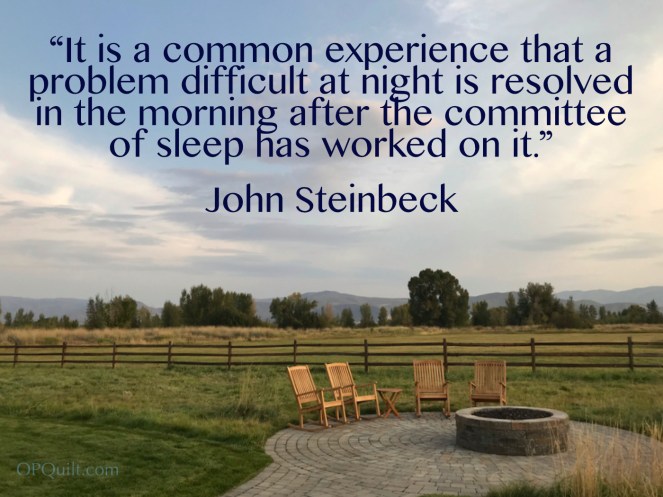
Admittedly, this was taken at night, but I couldn’t see any delineation between the outer three colors. I went to bed, dejected, as I just knew her design would be beautiful in Kaffes but couldn’t see my way there.
Thank you, Committee of Sleep. Out with the treasured geranium fabric. In with dots.
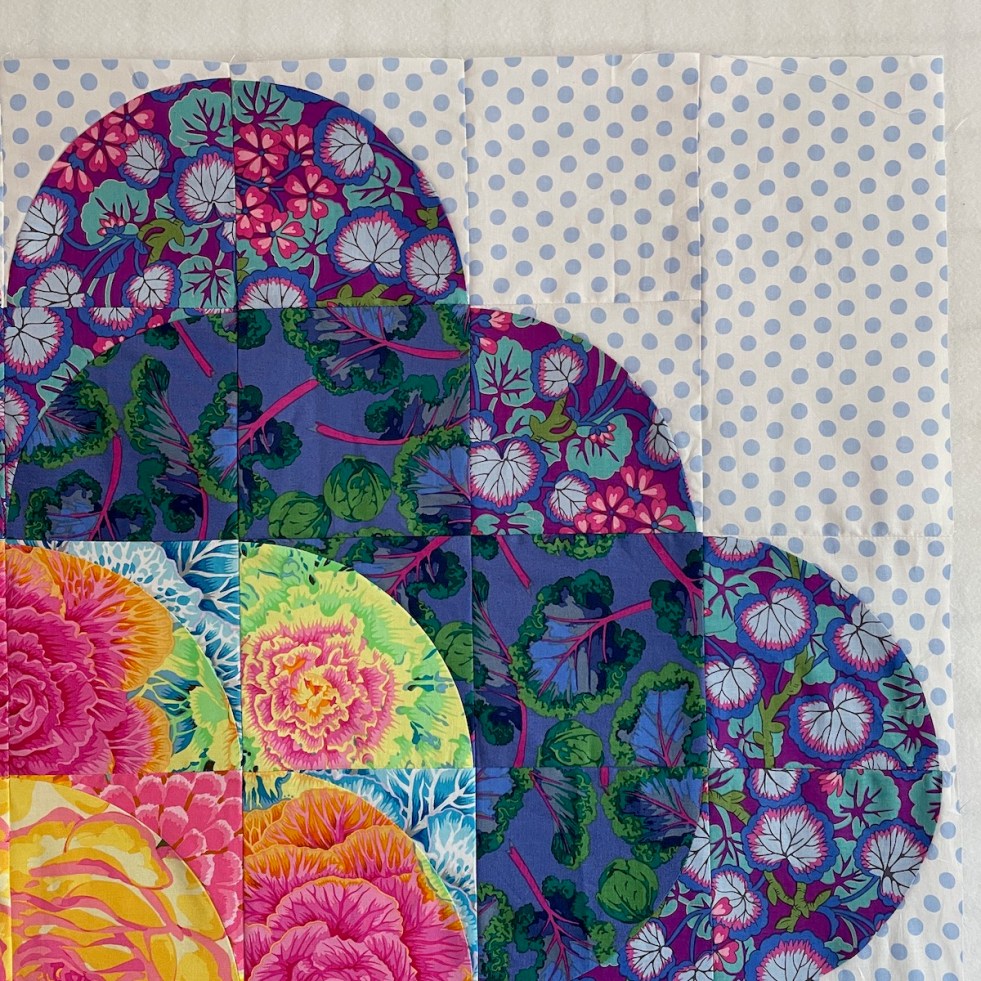
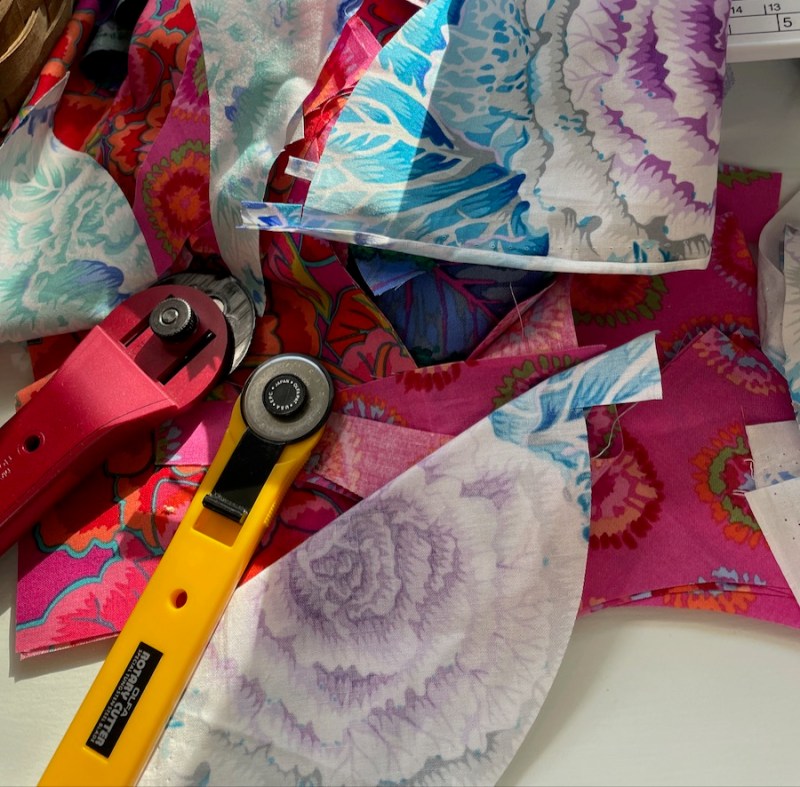
I tried three different pinks around that center yellow, and have a shopping receipt and the cut-out shapes to prove it (some fabrics were already in the stash). I had to make another hard decision about the 2nd ring: I inverted it, largely because the shape of the blossoms in the Kaffe were fighting the natural flow of soft scallopy petal shapes. It was a hard call, as I loved how Yvonne had the ruffle effect (see above). But now I was in new territory, and I was determined to make it work.
But apparently the quilt wasn’t done with me yet.
This just didn’t work. So I re-made a new one, with a better match of pink blossom and a stronger background, and pieced it in. I even rotated it a quarter turn for better balance.
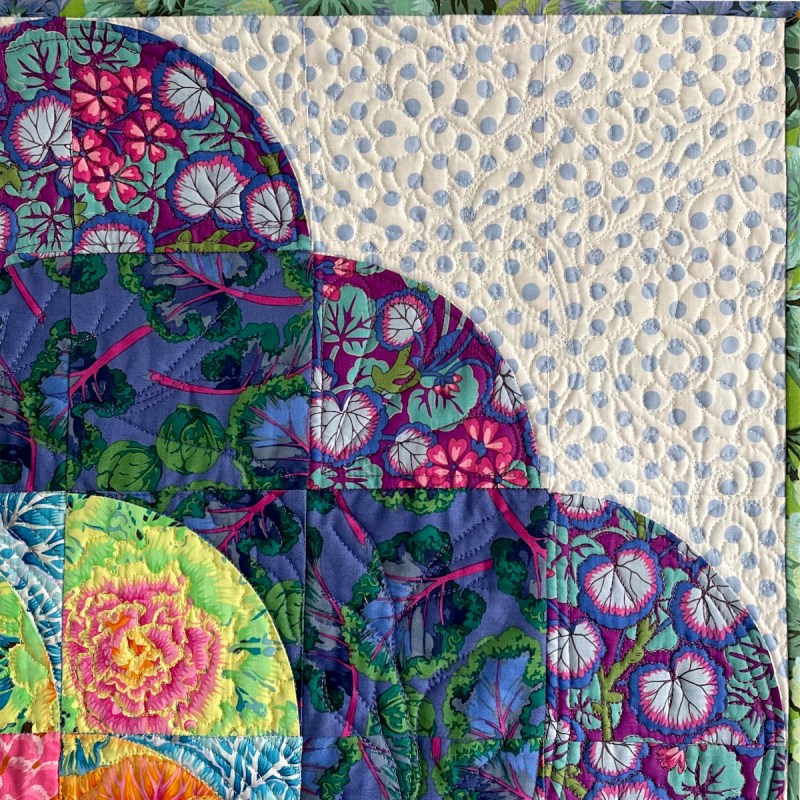
Admittedly the two outer rings are still very similar in value, even though one is Kale and the other Geraniums. I’m hoping the quilting will help fix that.
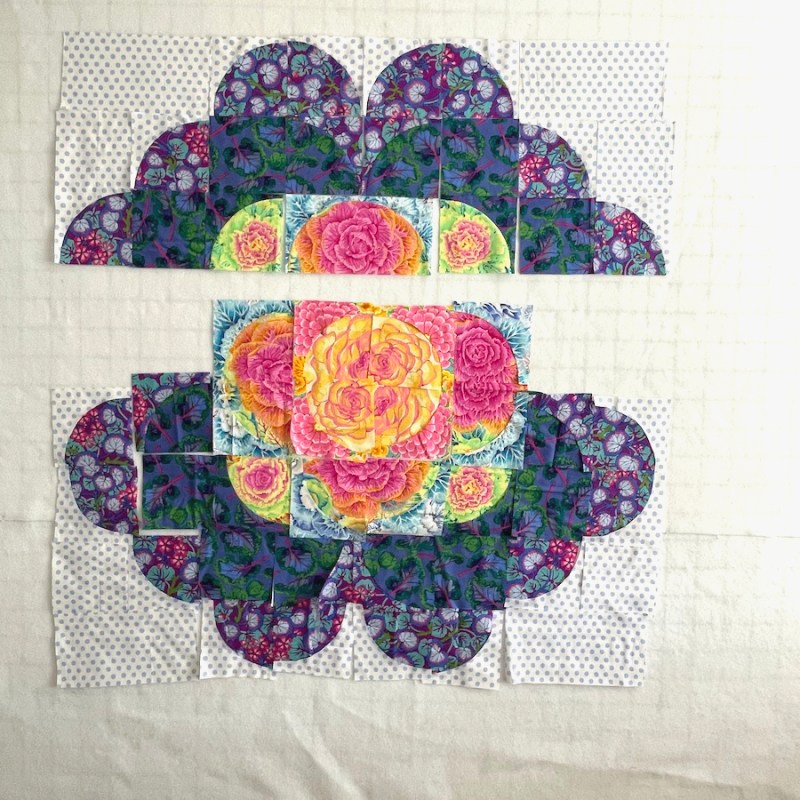
Yvonne has great directions. I was worried that I wouldn’t have enough big blooms to make full-blocks in one section, and I shouldn’t have. It’s one of my favorite parts. I wish I’d been braver on the other sections (this is a “before I switched it out” photo).
There are many good tips on construction in the pattern, so you shouldn’t have any troubles.
I printed out the pattern onto card stock, and put two loops of blue painter’s tape on the back to keep it in place when I was cutting. I set a ruler on top of the straight edges to help with cutting (large rotary cutter). I followed her directions for cutting multiple shapes, using my smaller rotary cutter on the curved edges.
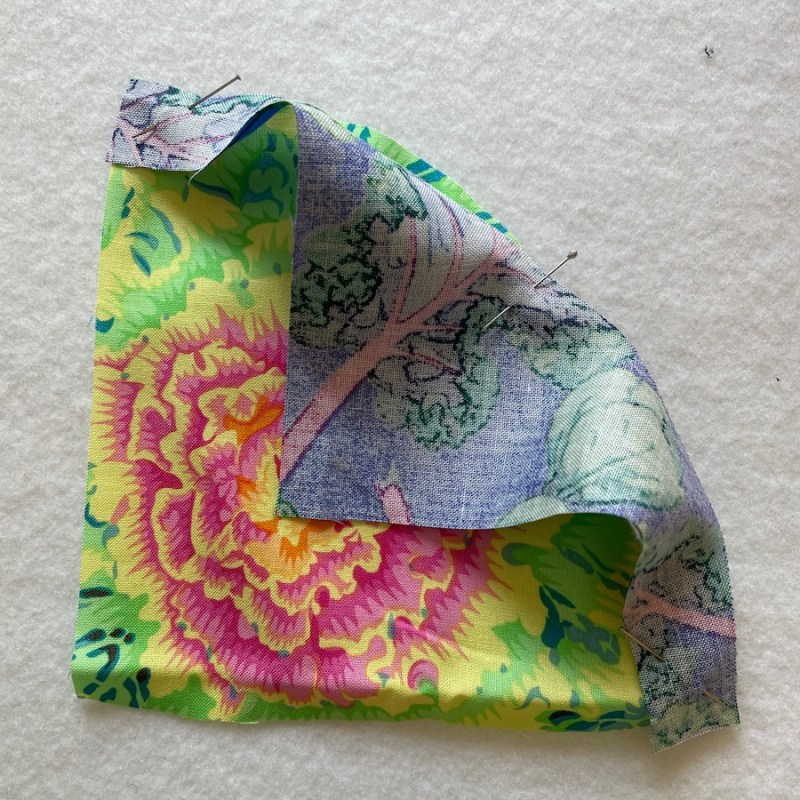
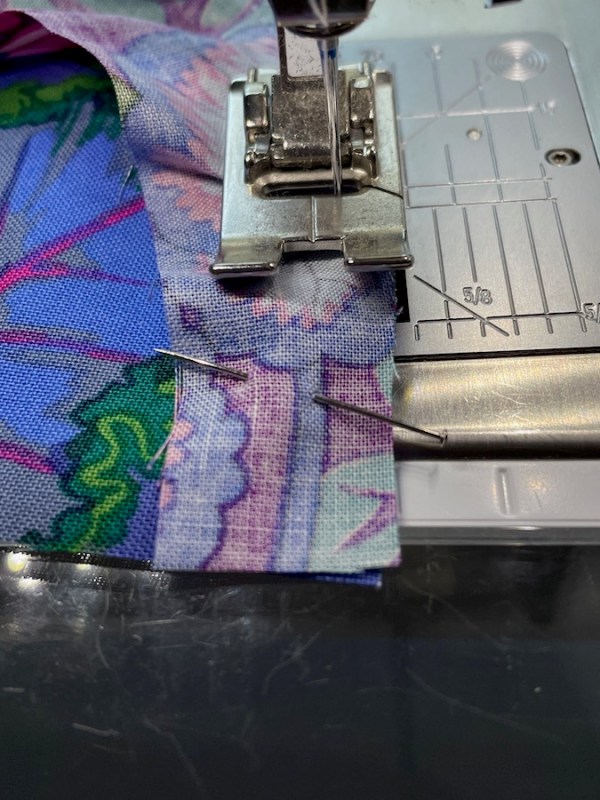
Put your sewing machine speed on slow, whether it’s you that’s on slow, or the machine. Pin the center of the arc. Then one more at each end. I always tried to use a scrap to start the seam before stitching that beginning edge, and used the natural flex and give of the bias to help align the edges.
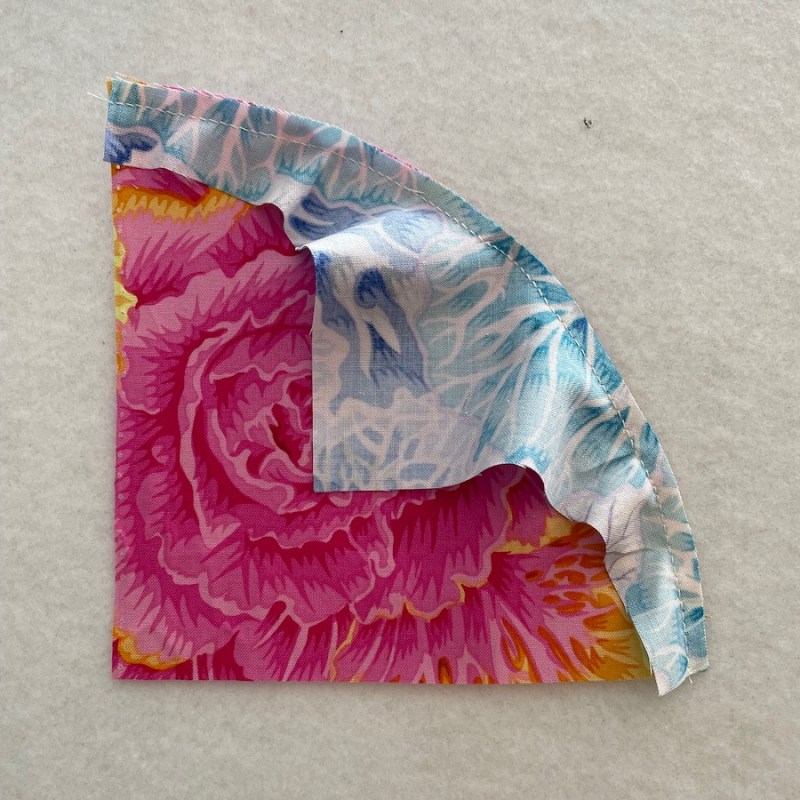
I pressed nearly every edge to slide under the larger arc piece, with the exception of the center circle. Then trim it up and put it on the design wall.
Sew together, pressing well.
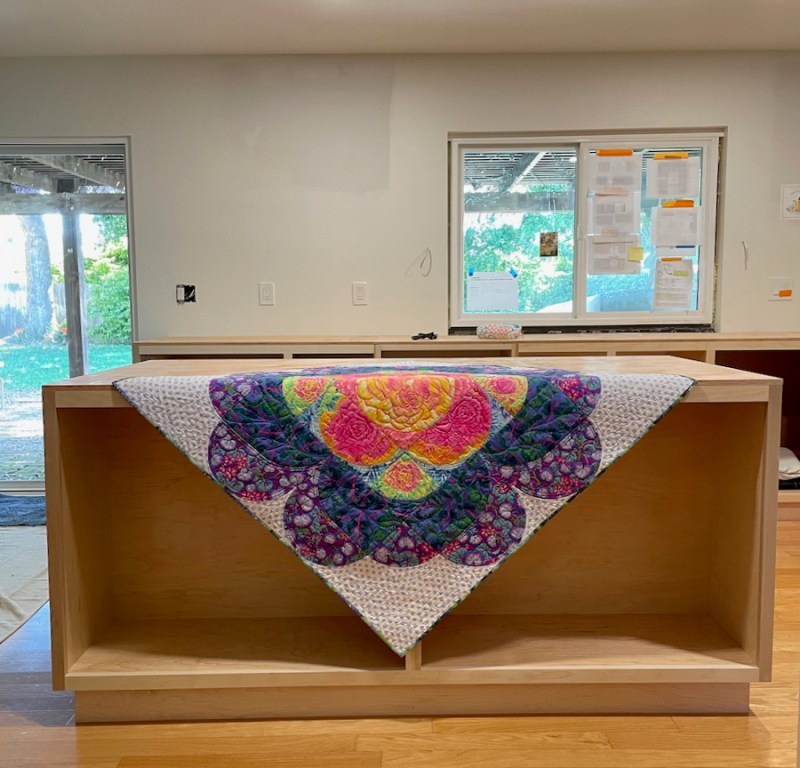
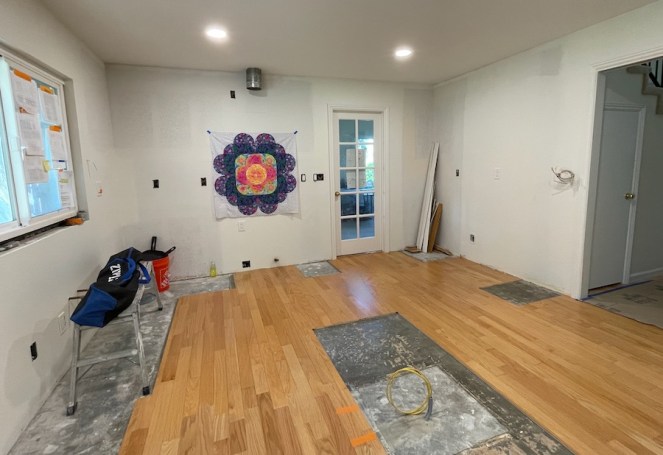
I had to do a last photo in our under-construction kitchen. This is the Day Six of Week Four, showing the floor all finished with its patching (sense a theme?). We’ve chosen our cupboard color (the Great Angst of the last two weeks), but you’ll have to wait to find out which one we chose. I woke up from a dream the other morning where I was being tiled: tiny pieces all over my face. Hmmmm, I thought, when I was fully awake. Better get on the tile stuff for our backsplash. And the stories! I’ve loved reading about painting, buying, kitchens, workers, counters, windows–your experiences have helped me be more sanguine about mine.
So just like making a quilt, from choosing a shape to material to color to size to revision, the kitchen is coming along. I had thought I’d just sit upstairs and sew merrily away for six weeks while they hammered and sawed downstairs. That was an illusion. The reality is we’ve spent nearly every day making some $ignificant deci$ion, or shopping to learn about that significant decision. But we think we’ve purchased just about everything, and now it’s just time and other people making in their workshops, sawing and planing and cutting wood.
If you could scroll down for just a second and locate on the right blog sidebar where there is a link to a video titled Create. This was taken from a talk from one of the leaders of my church, and if you are not a religious type, then substitute in your version of God for what Elder Uchtdorf says. I watch it everyone once in a while to remind me that what I do is more than stitching, or cutting up pretty cloth. Being creative is my connection to — and a conduit for — the divine.
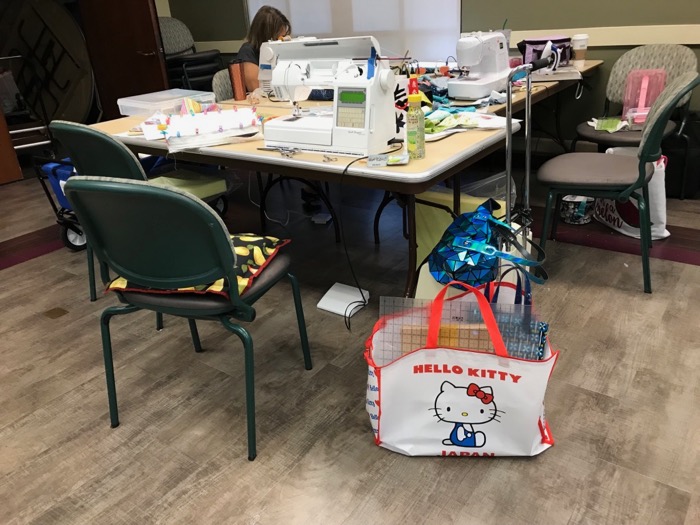
I had an inkling of the power of a lot of creative women, when I attended Becky McDaniel’s class for her Crazy Cushion pattern. Yes, there was fatigue and frustration, but there was also a spirit of wanting to create (above, watching a demo).
My workspace. I had a nice visit with the two quilters at my table, Sandie and Marie (absent), and was totally impressed with the women in the Nite Owl Guild.
Becky was energetic, funny and taught some new skills: like working with a light table while paper piecing, and we all promptly handed over our cash to buy her cool flat light table, while stories swirled around about the light tables we had at home.
Yeah, we weren’t in this room, but the ping-pong table was. The class was held in the Senior Center for a nearby town and was a great place to have a workshop. Below, Becky’s table of supplies.
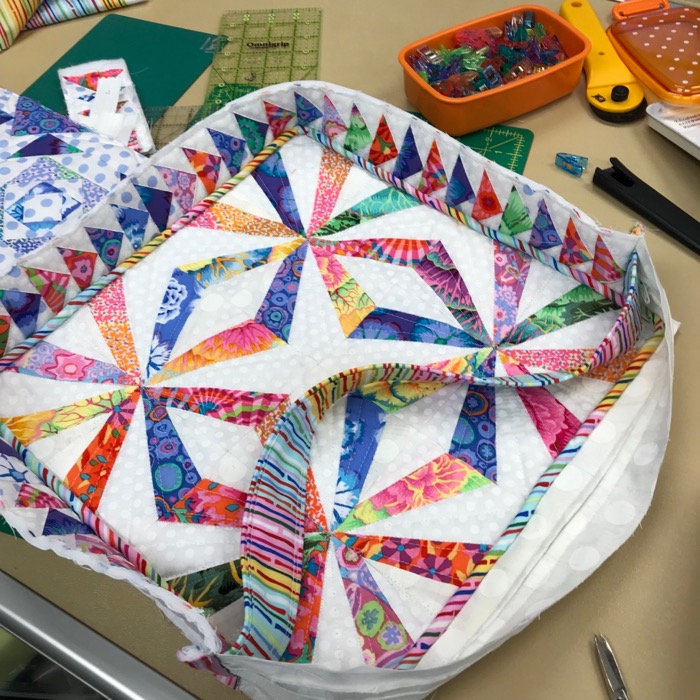
Even though I had all my sections pre-pieced, at this point I felt like I’d run a marathon, just getting that welting stitched in between the flying geese band and the cushion top/back. The band includes a handle for carrying (seen serpentining in the photo above).
More than one use for those binding clips.
Because of all my sewing beforehand, I was able to finish my cushion. Above, the photo with Becky McDaniels.
I posed my cushion with hers (the larger of each). Mine measures 14″ x 2″ and hers is 16″ x 3.” If you decided to take this class, do your homework beforehand, if you have done paper-piecing before, so you can have a finish, too.
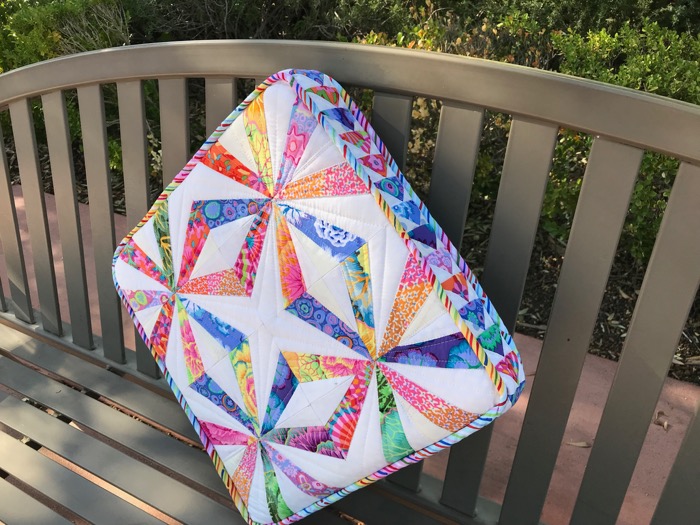
And then outside in their gardens, before leaving.
Now I’ll have something to sit on when I go to workshops!
The pattern can be found on her website, along with more information.
Kaffe Fasset fabrics recently purchased at Blue Bird Quilt Shop, near me, including that cool stripe.
I use transluscent vellum paper by Neenan for my paper piecing because I can see through it and it rips off easily. I purchased a ream about 10 years ago from Kelly Paper, and it cost way more than I wanted, but hey–10 years use? Not bad.
My Rainbow Gardens has made its way out into the world. I was contacted by the Victoria Quilter’s Guild in Victoria, B.C. (Canada) to ask if it was all right if they used my quilt for their poster. The theme of the quilt show and sale is the City of Gardens, which is one of Victoria’s names, according to the website for the city: “Victoria – otherwise known as the “City of Gardens” – is home to a number of spectacular gardens that range from formal to heritage, exotic to west coast, and multi-themed to mostly rhododendron.”
So, a quiet and reserved “YESSSSS!” was my response. I soon will have the poster in my possession, which I plan to tape up on the door to my sewing room studio.
While the real life poster should arrive here soon, I was sent this image of the poster by a an observant reader of mine, who saw the poster and sent me a photo of it. If you are up in that area, put it on your calendar — I would love to go to a quilt show that has live music.
Since we’ve all just finished watching the Olympics in Korea, I thought I would get you prepped up for the Tokyo 2020 Summer Olympics, by showing you their patchwork-like logos. Can we make quilts like this? They are auditioning their mascots now, because no matter where you are in or what you are doing in Japan, there is a mascot for it.
I think we need a quilt mascot.
I made this image in my very first Digital Art Class; the other students thought I was pretty much a nut-case, but I still like Lady Liberty draped in a quilt. But now as we are more international, we need a cute little quilty creature (I vote patchwork with some appliqué) to carry forward our message.