Since this link is out in the universe for a Poppy Block, and a lot has happened in those intervening years, let’s cut right to the chase.
The pattern has been updated, and the links below reflect that. Now you can find the pattern in my pattern shop on PayHip here.
While the original poppy block is in the pattern, I’ve also given different ideas for setting your blocks, so it’s not the same old thing:
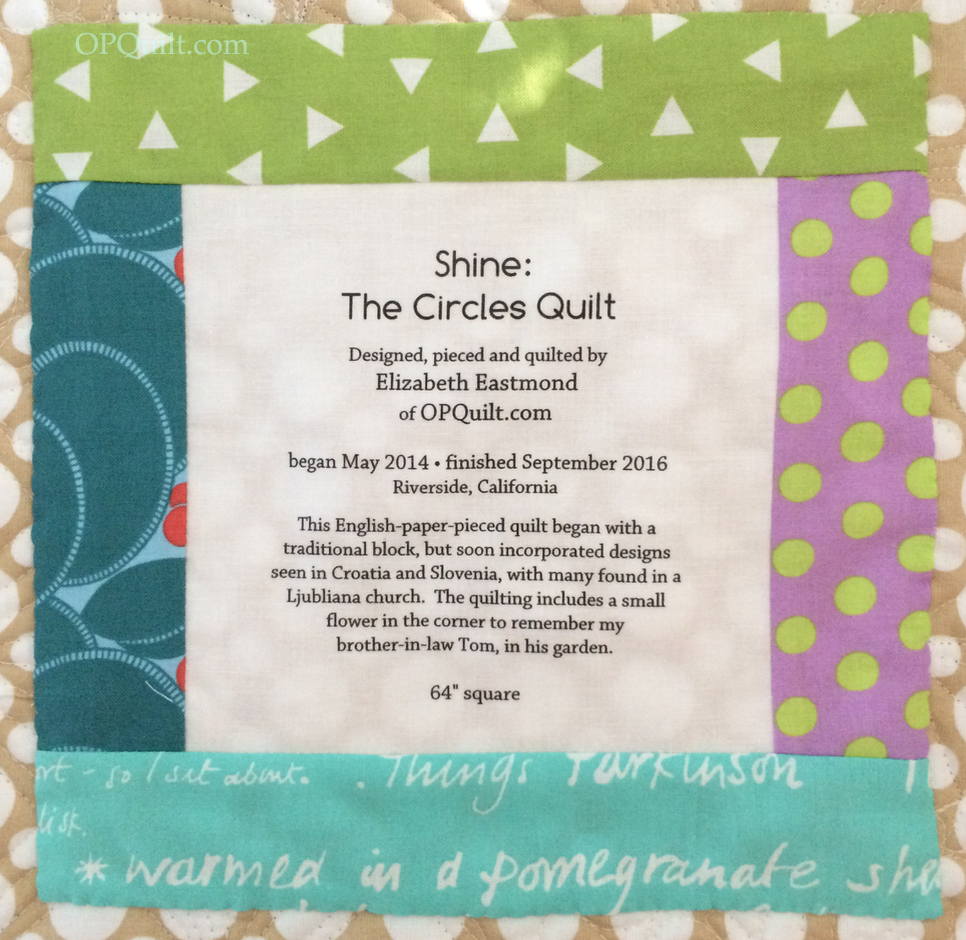
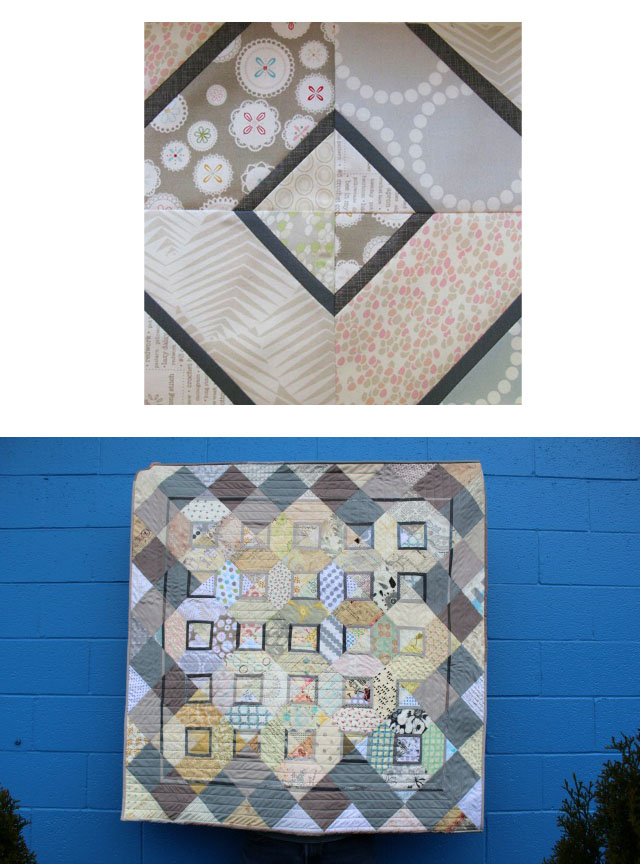
I wrote all about this quilt on this post.
Here’s some more flower/pattern information.
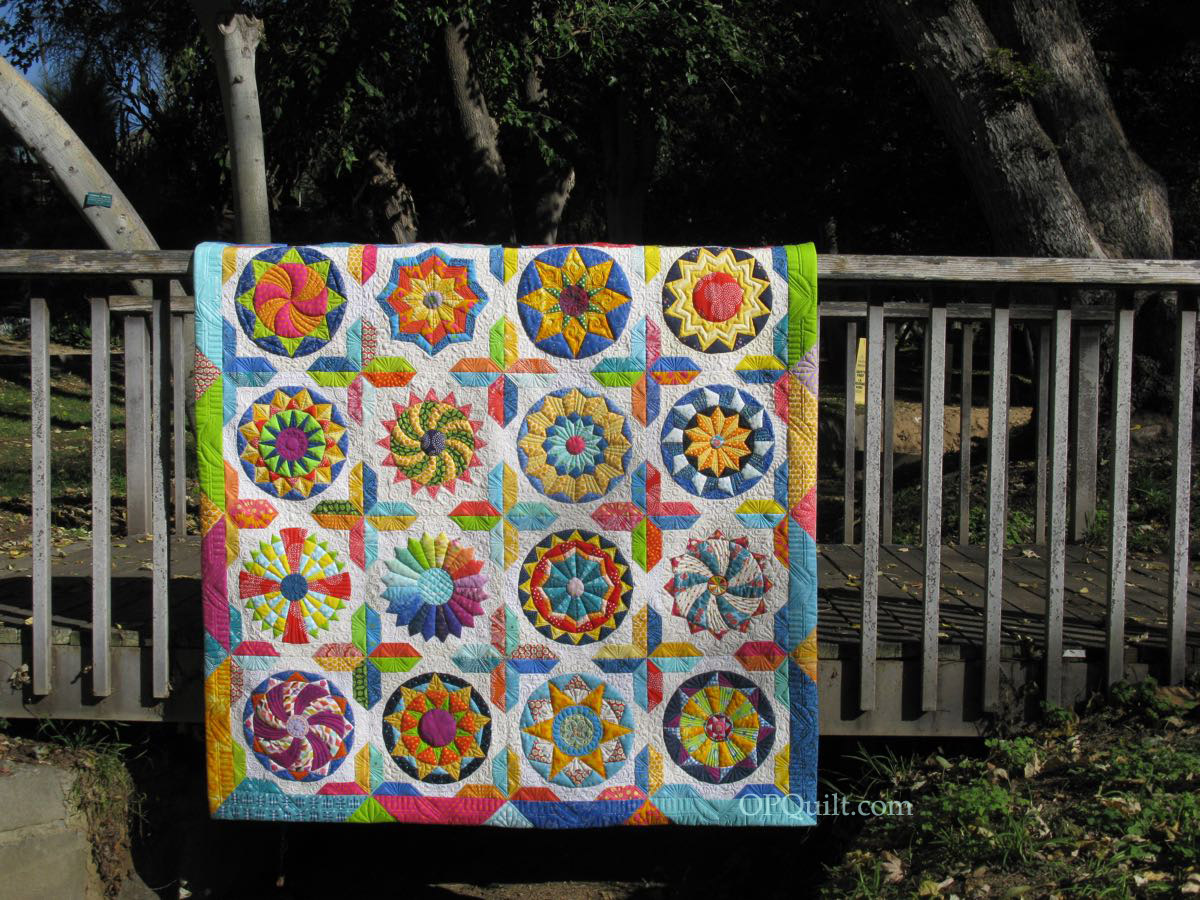
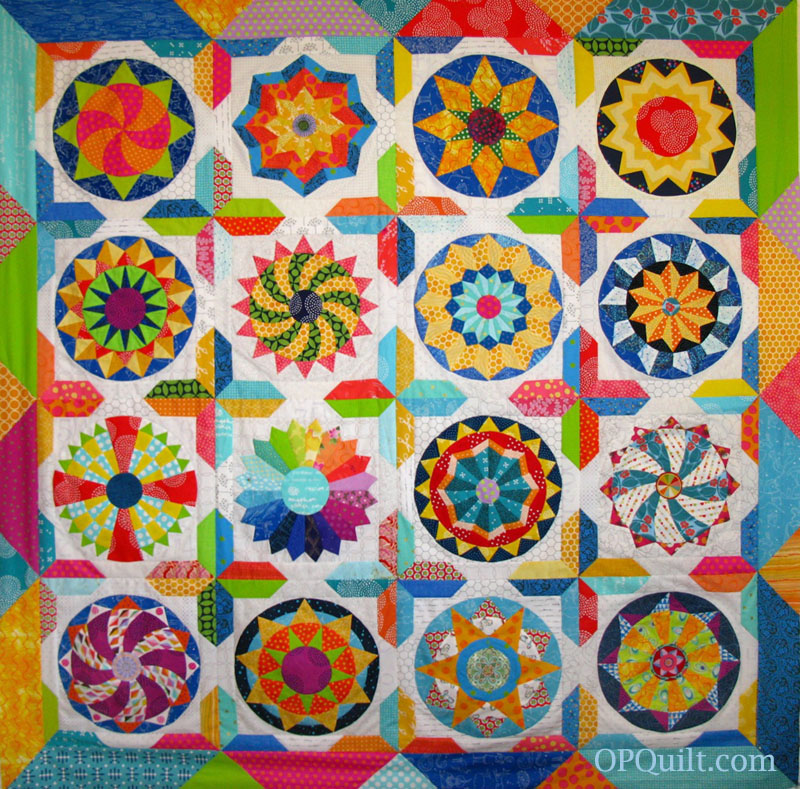
The Poppy shows up here, along with Sunflowers.
Okay, back to the originally written post.
Original Post
My nephew’s wife, Grace, wrote to me and asked for help. She is a young quilter, who makes awesome gooseberry jam (she shared a jar with me), so I wanted to help. The quilt was for someone close to her who had just been diagnosed with breast cancer, and she thought a quilt was needed. I agree.
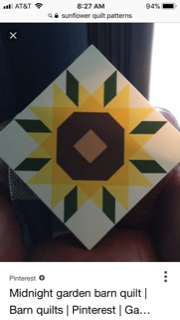
She sent me the screen shot you see above, and since it was on Pinterest…and you know how much I LOVE their search engines (NOT), I thought it was easier to draft it on my computer using QuiltPro than try to find the original design (I tried…and failed…but kudos to whoever dreamed it up). Besides, that was one of those “barn” quilts, painted on wood, not a cloth quilt.

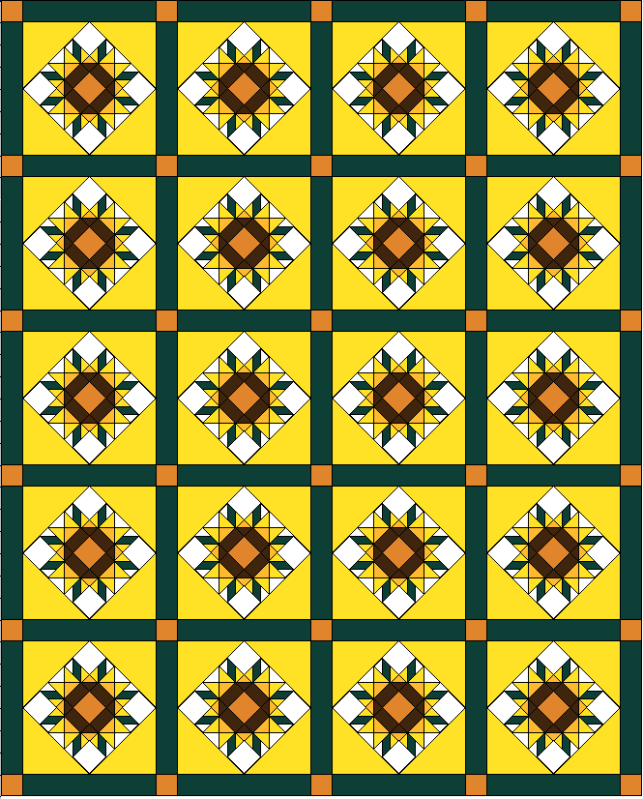
This is what I came up with. But I knew Grace wanted to move quickly, and yeah–all those pieces?

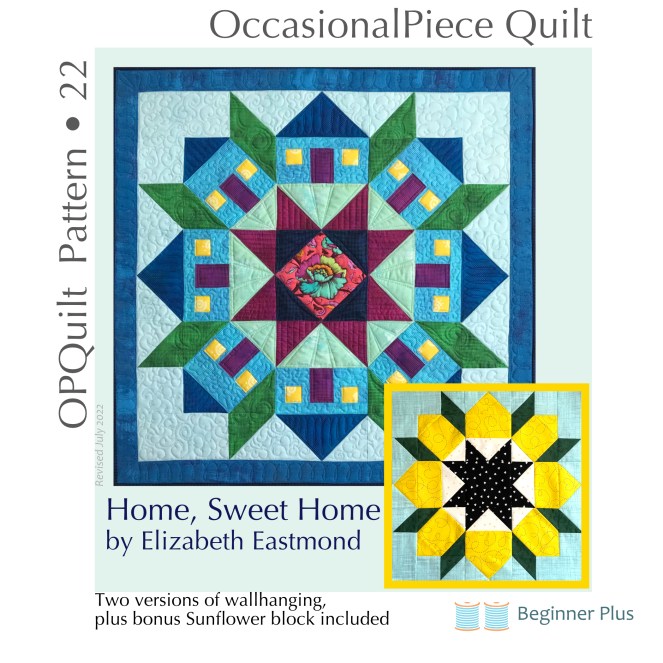
I thought about my Home Sweet Home mini quilt, and how she could make fewer blocks, but bigger blocks?

UPDATE: There is now a pattern for this sunflower quilt.
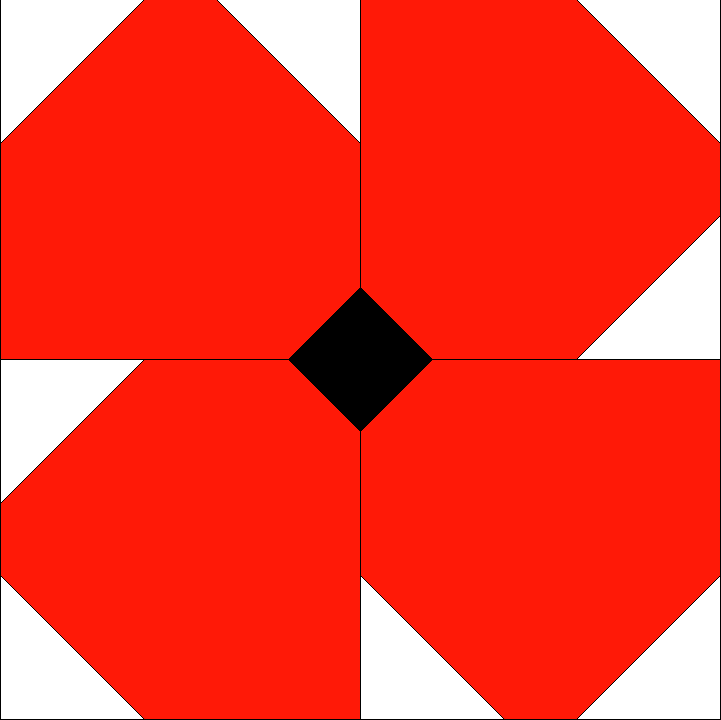

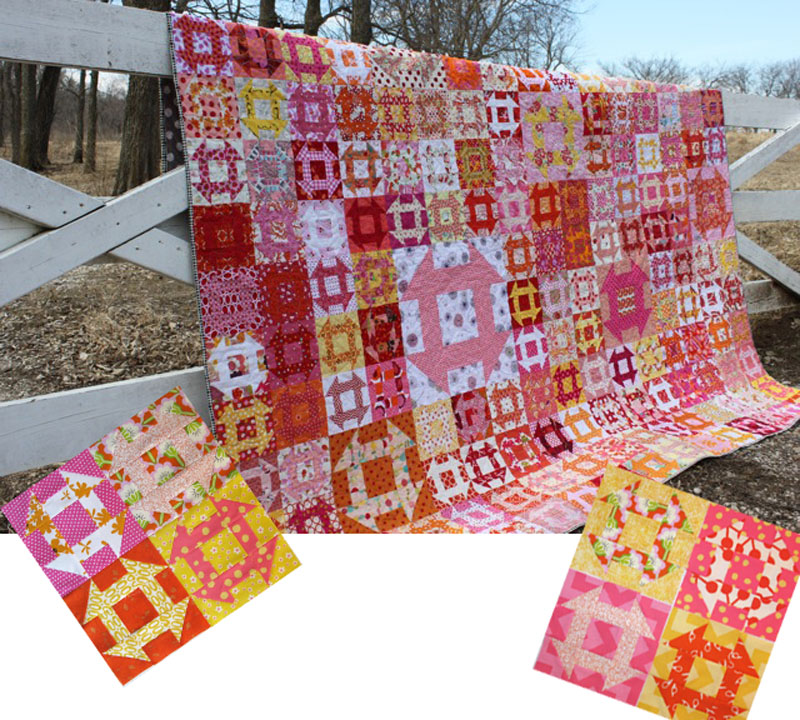
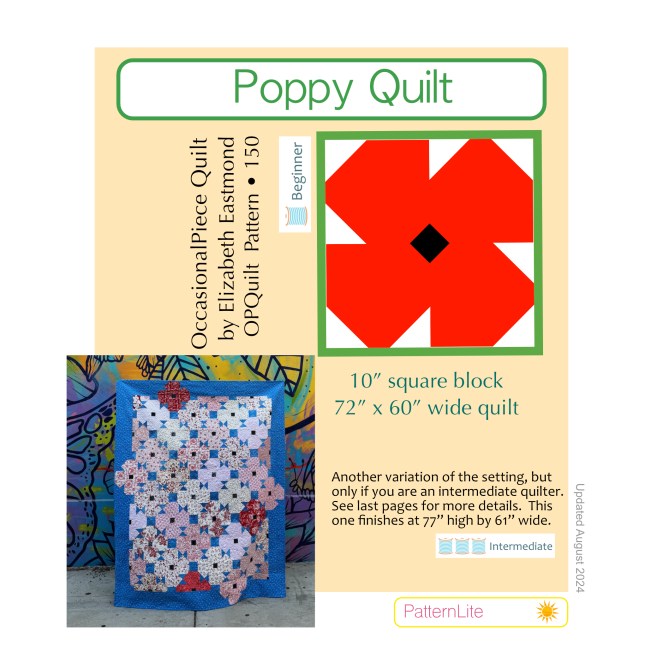
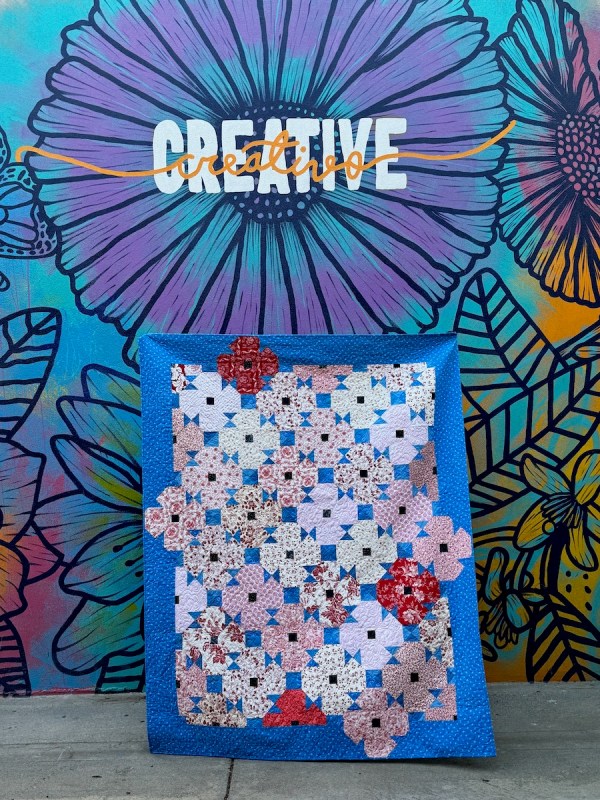
Grace wrote back. She loved what I’d done, but now they were thinking poppies. She sent me a sample of a quilt she’d seen. I drafted it up in my quilt software and drew up a quilt. But I thought I should test out my own pattern, so I made a Poppy Block:

I think it will be cute quilt.
It can be made in reds and greens and be thought of as poinsettias for Christmas. Or made to commemorate Anzac Day in April, for the Australians. Or red and white for a bouquet of posies for Valentine’s Day. Have fun, and if your friends want a poppy pattern–send them to my pattern shop to get their own PatternLite pattern. Thanks. PatternLite patterns were developed as they were simplified, and cheap — less than your drink at Starbucks.

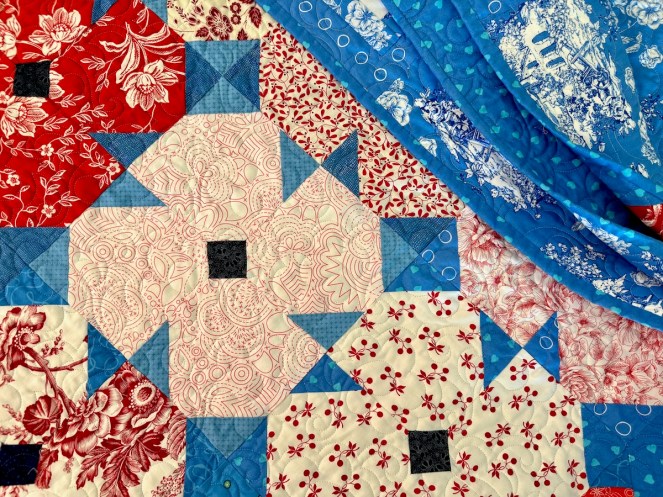
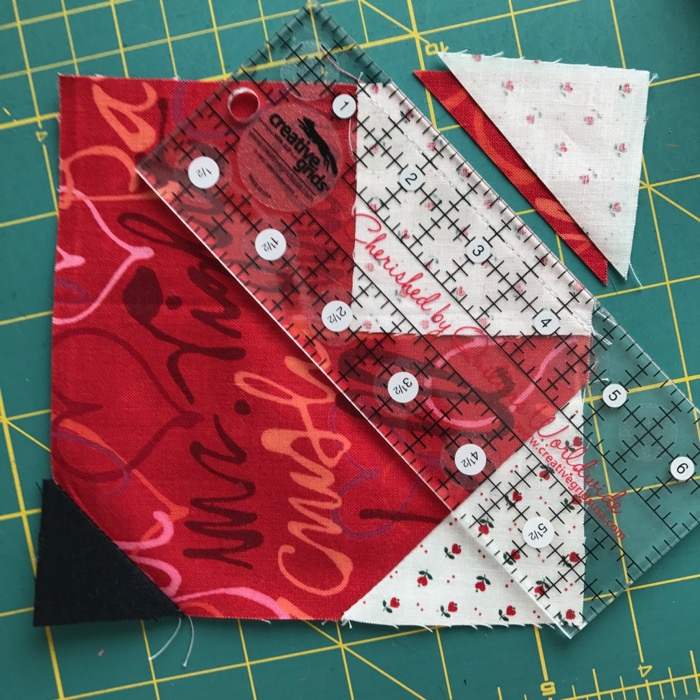
Making that block added to my collection of red and white triangles (ignore the interlopers in the upper right corner). I trim them to whatever measurement’s closest, without it being a weird number, and save them.
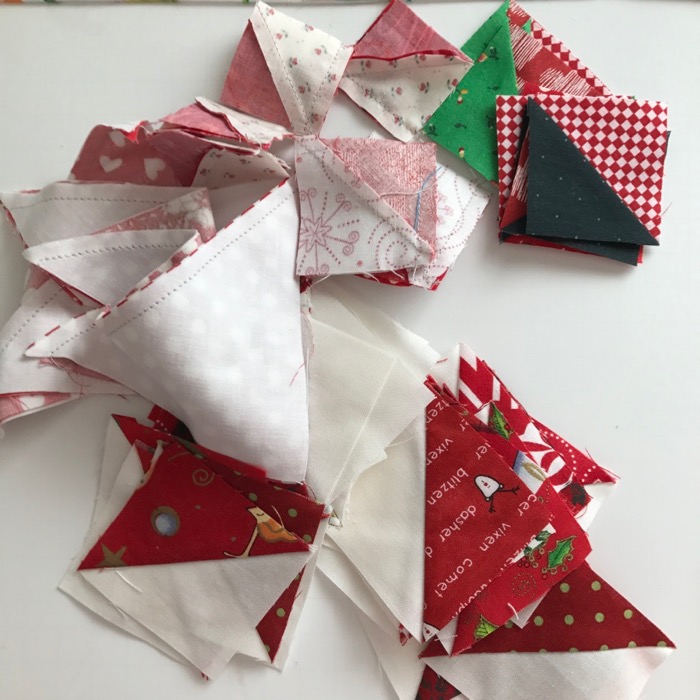
Every once in a while, I sew them into four-patches.
I haven’t decided yet what to do with them, but a couple of questions arise: do I include the Christmas prints? Or do they get their own collection? (I think so.)
Do you ever quilt with “rules”? It’s about all I remember from my beginning art classes, ages ago in college. The assignments laid out rules to create by — an edge to the sandbox — if you will, and went something like this:
- Take an old piece of clothing, adhere it to a canvas and paint it like something else.
- Use three shapes only.
- Create a composition by taking a square of black paper, cutting out some shape and using the negative and positive pieces.
- This assignment will use only two colors, but you may use any range of those colors.
And so on. There are many books out there in the marketplace for guided creativity, but they all start with a rule.
Sometimes I find little bags of treasures in my sewing room, with pieces inside that have been collected according to some rule. Like the red and white triangle rule. Or the 3-inch square rule, but I kind of think that last one’s a bit of a cheat.
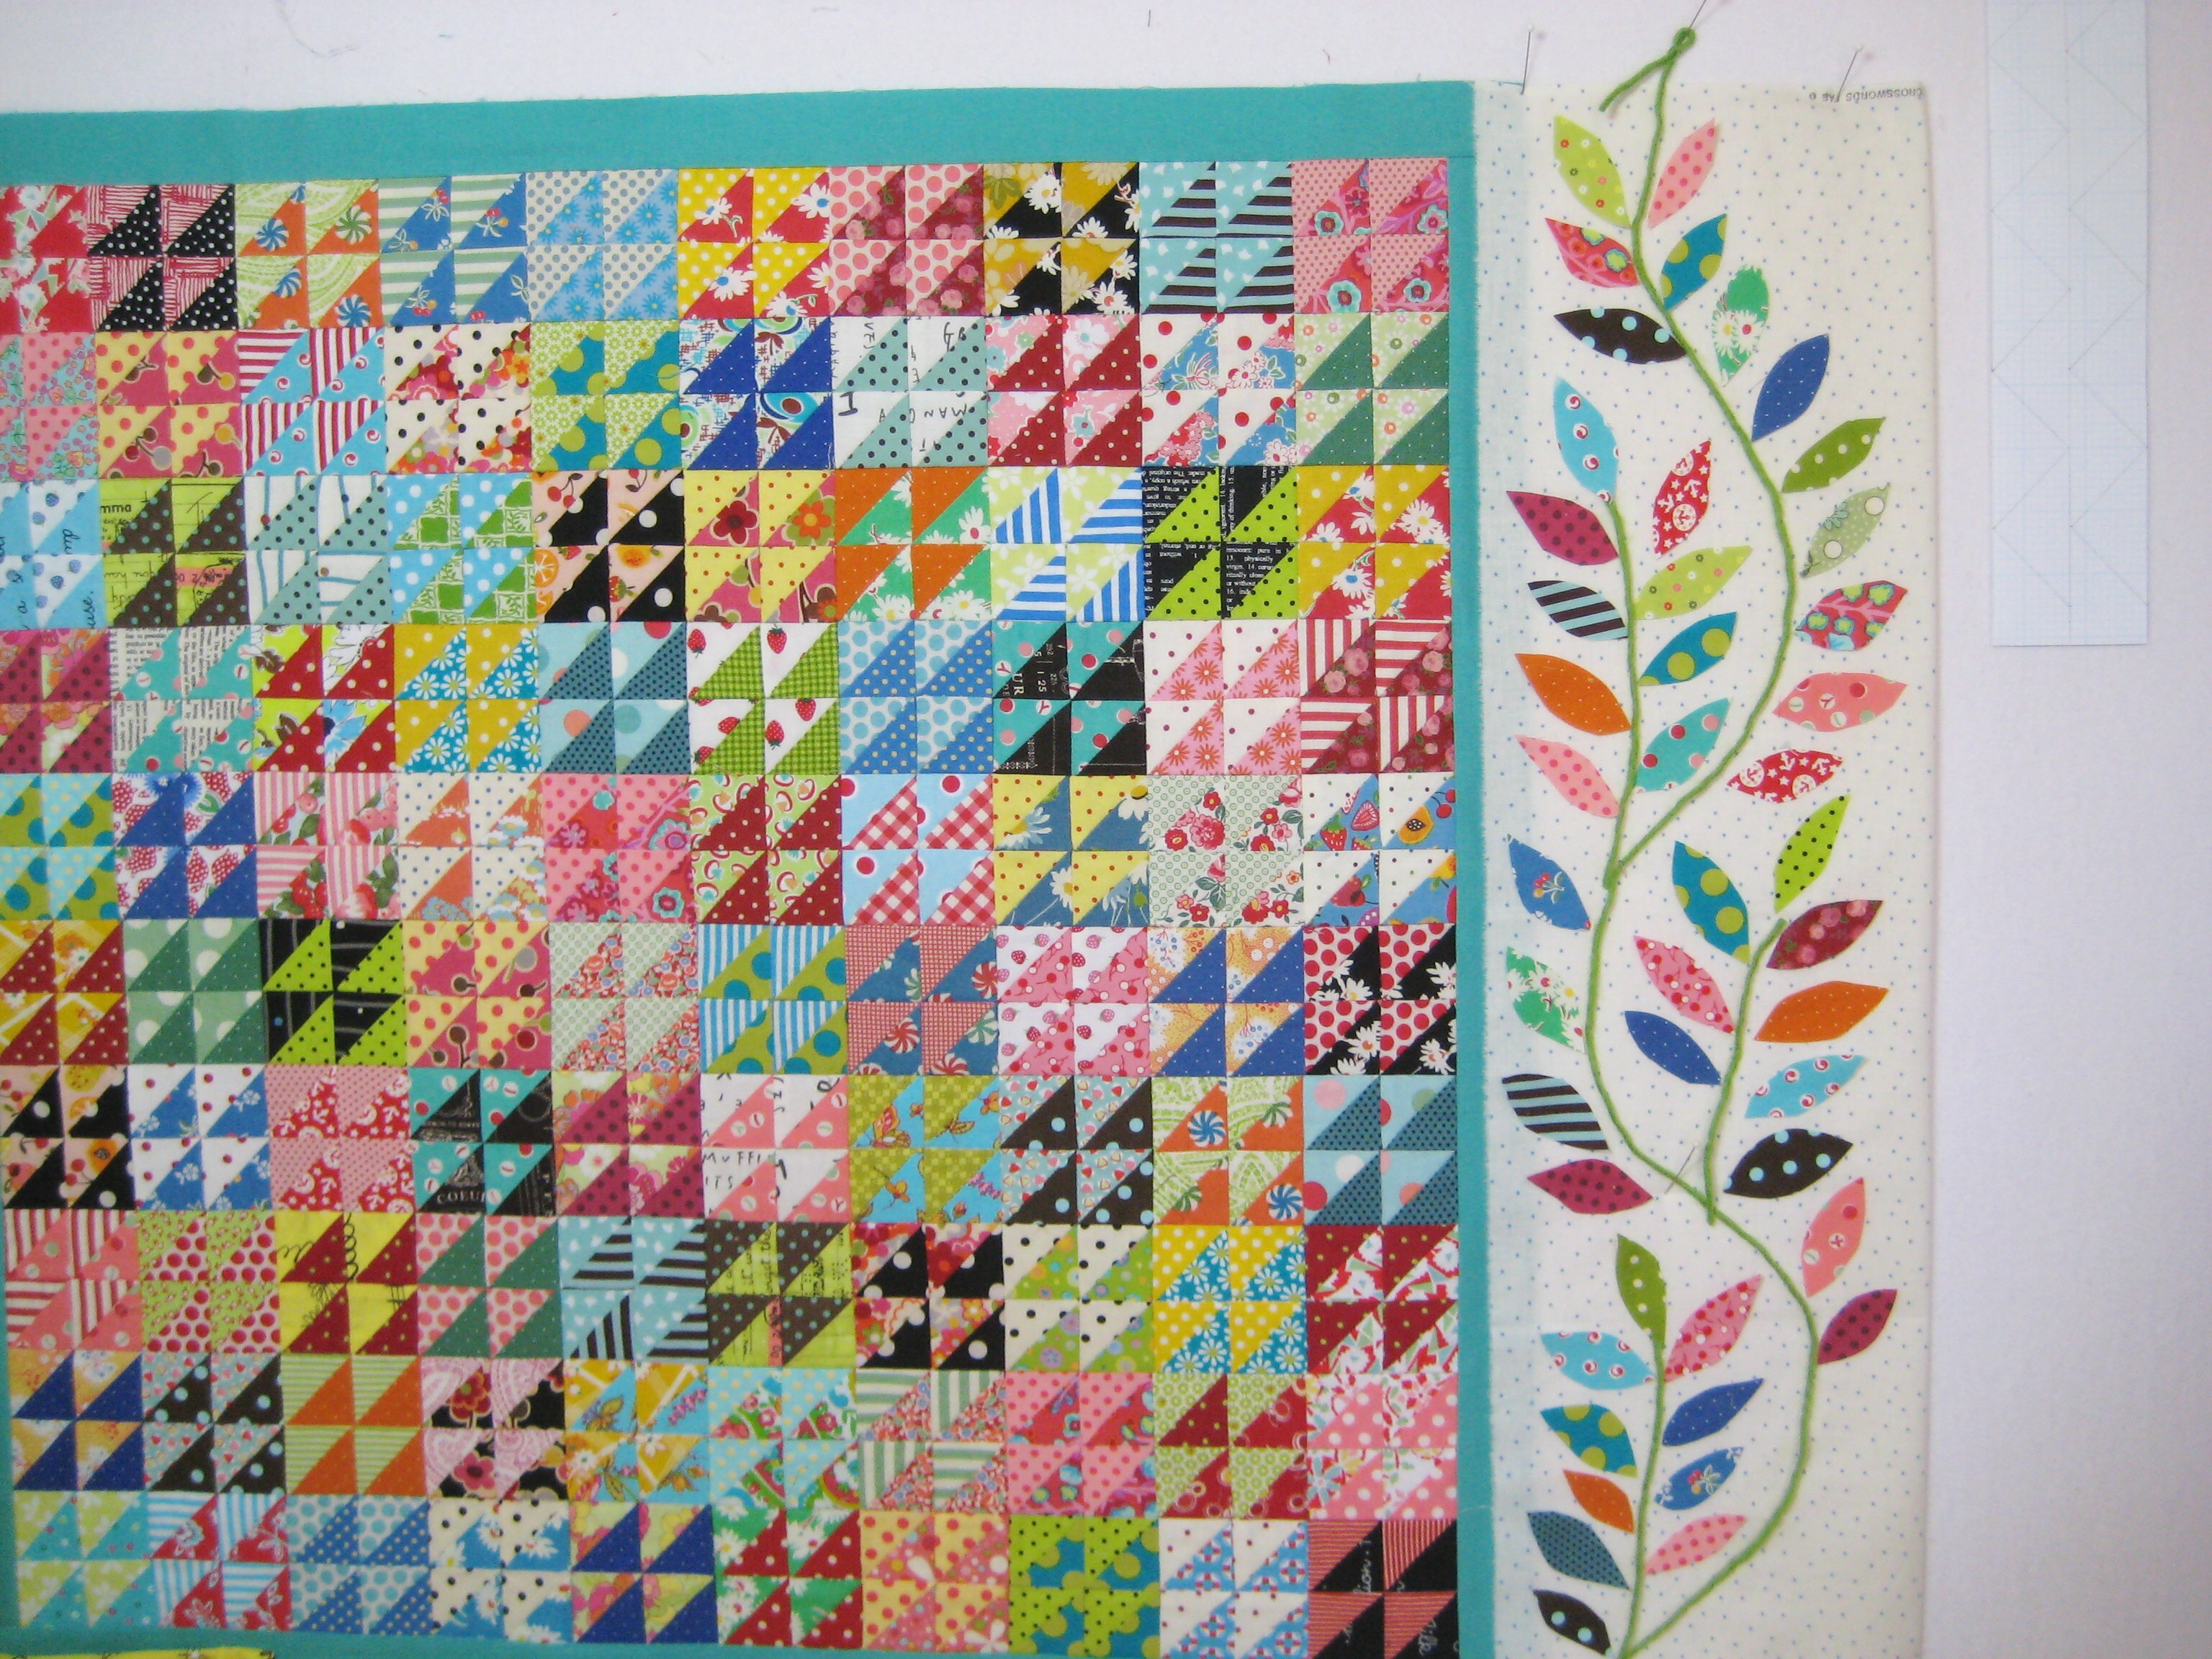
Several years ago, I saw this on Jan Burgwinkle’s blog, Be*mused, and fell in love with it. Maybe that’s why I started making little HSTs. (While she doesn’t seem to update her blog much these days, it’s still amazing to read through the archives.) So that’s my rule and I’m sticking with it: red and white triangles, although seeing this quilt again does make me wonder if I should break it.

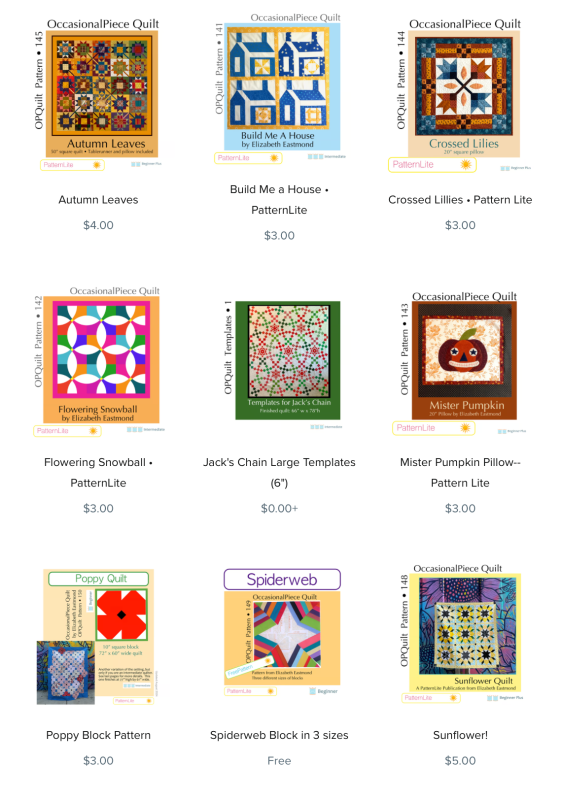
Round up of some recent patterns:


All the PatternLite patterns can be found here.