
I received the sweetest letter this week from Laurie, who makes regular quilts as well as paints barn quilts. She chose my Home, Sweet Home pattern to make her design, and thoughtfully included a photo of her barnquilt, featuring the local councilwoman, Ruby. Ruby, according to Laurie, “has made it her mission in life to spearhead a Community Outreach program to bring residents together for the betterment of our community.” This barn quilt was presented to her on her birthday. The website for Laurie’s group is Chatt Hills Barn Quilt Trail, if you are interested. Click on Tour the Trail to see them all. Can’t wait until mine is up there with all the others–thank you, Laurie!
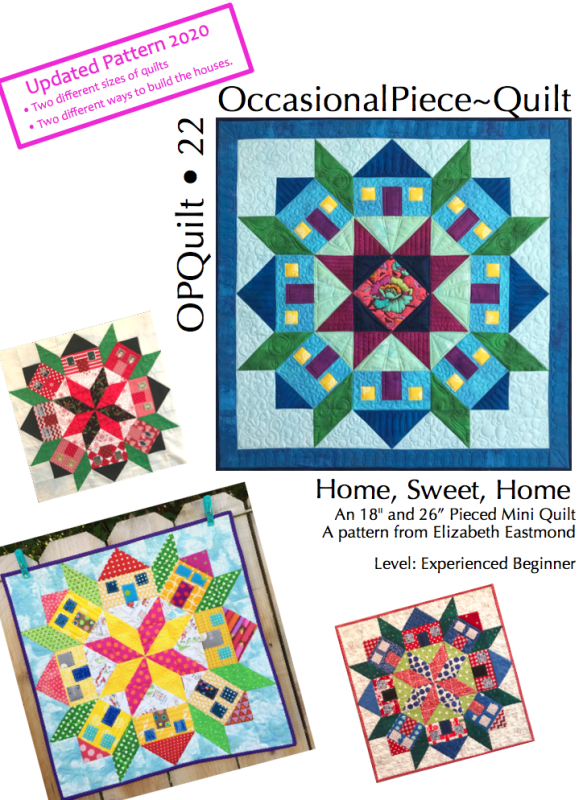
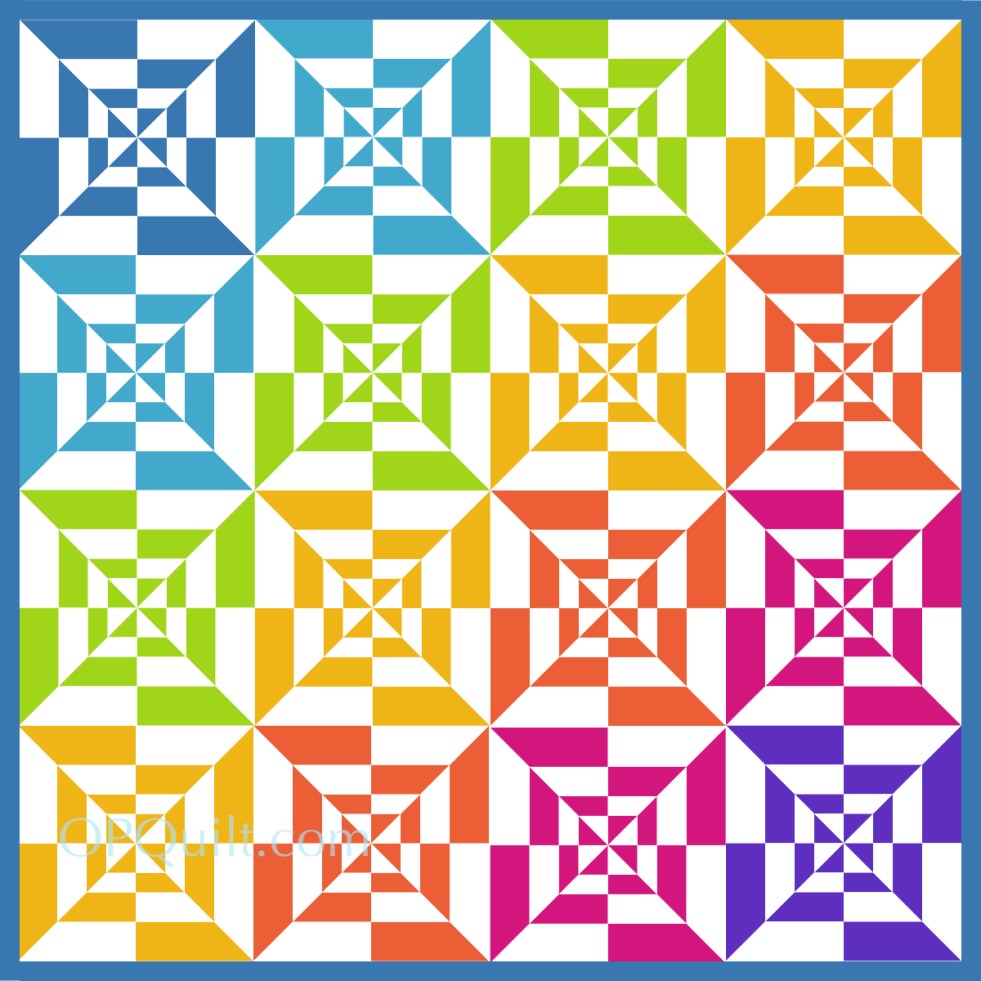
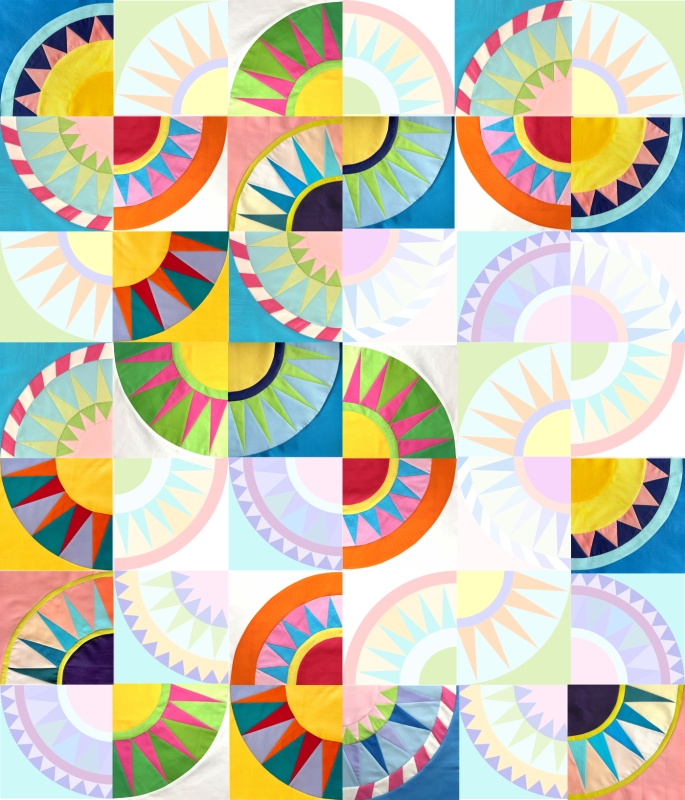
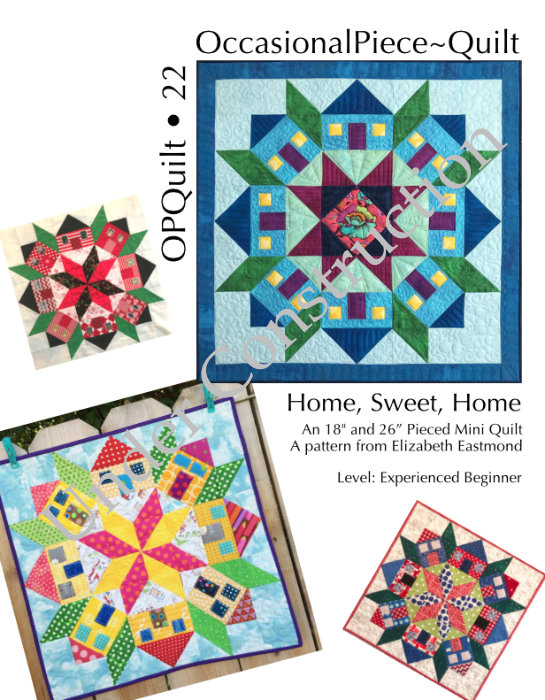
Here’s a rendition of the front of the pattern, with all its variations. I usually just make one, and oh, maybe another, and every once in a while I’ll go back into a pattern and rework the clockworks at the center to either improve the pattern, or make it into a more comprehensive pattern.

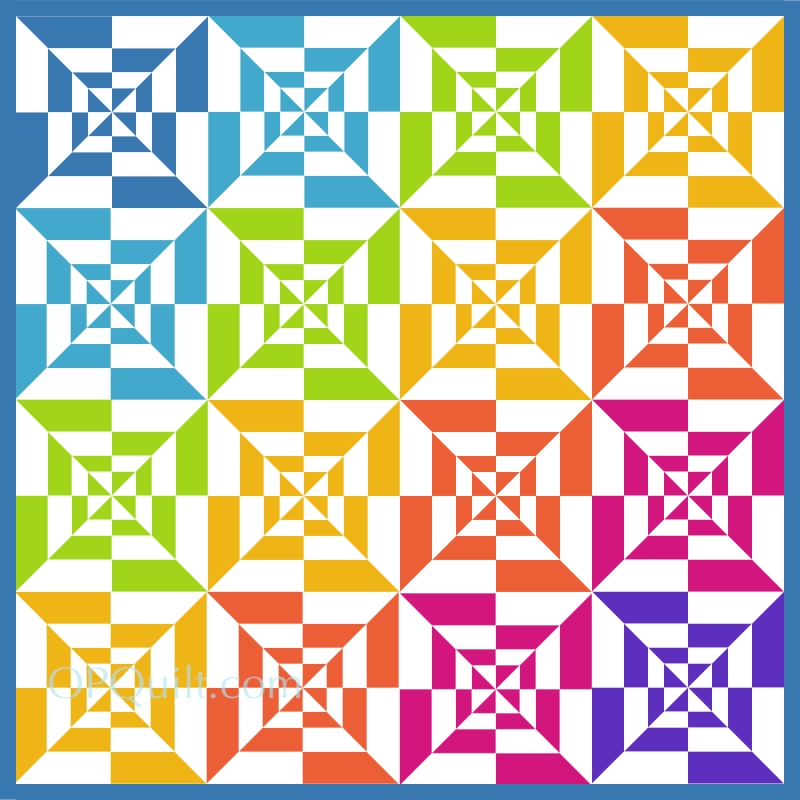
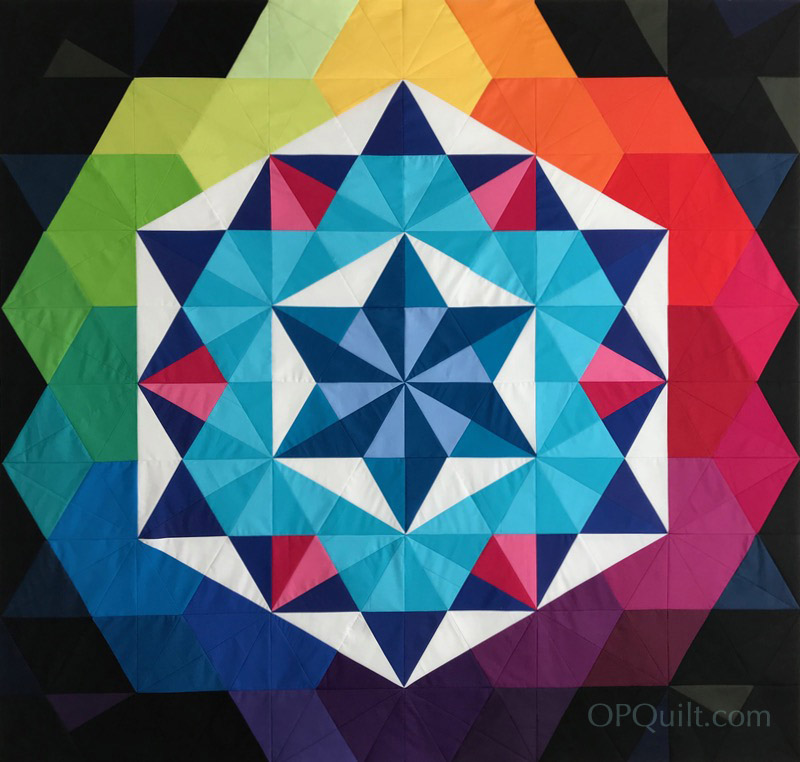
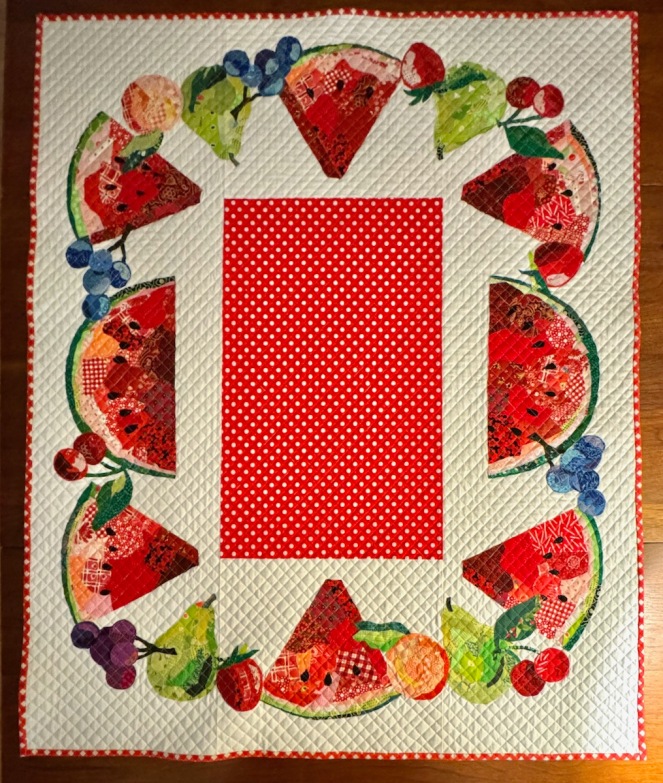
This is the one I’m working on now. For ages, it’s been a simple pattern/block, but when Anne sent me a photo of her Poppies quilt, I knew the potential was much much greater for this little block:

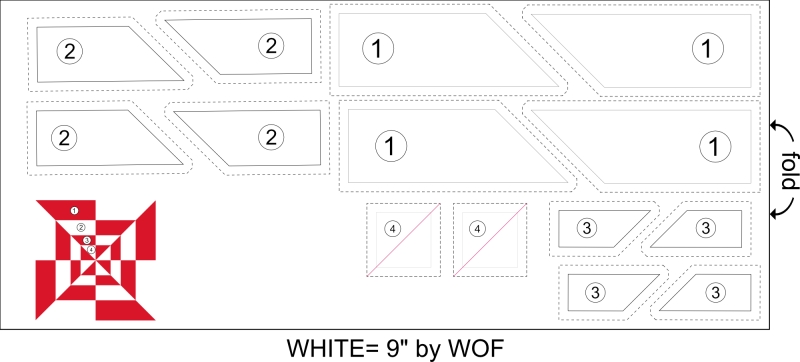
My sketch:

The software I use, Affinity Designer, added a few new tools so I could color in the blocks with “fabrics,” helping me visualize what it might look like. I woke up one morning, thinking of a fat-quarter short stack of red/white toiles I had, as well as stack of French blue fabrics, and spent some time drawing this out.

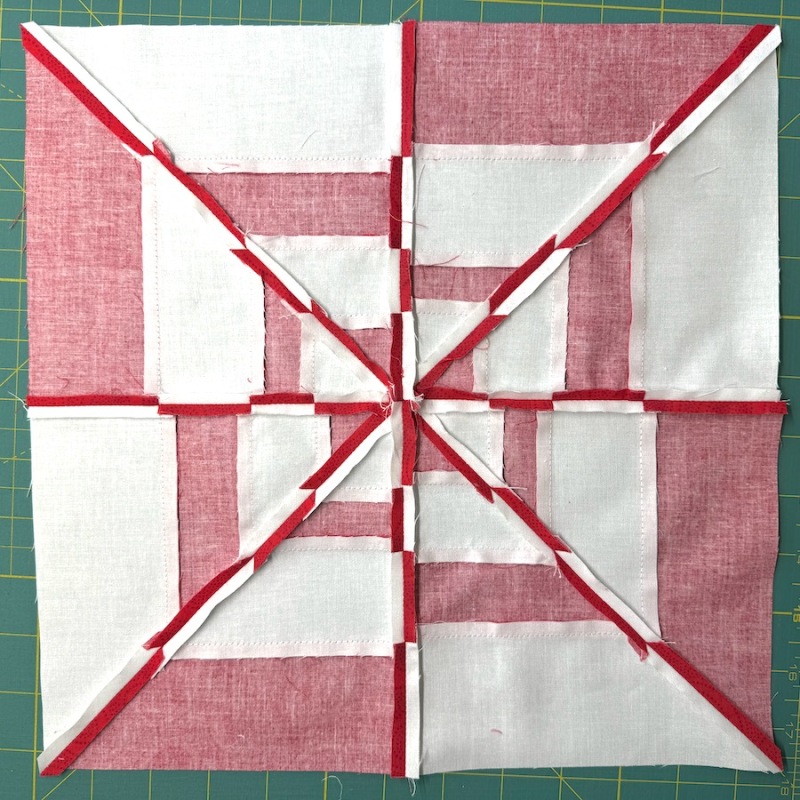
I have been struggling with this, though, because how do I draft a pattern out of this idea?
A block with several parts, cut in half on the diagonal, with seam allowance added on one side?
The quarter block was even messier.
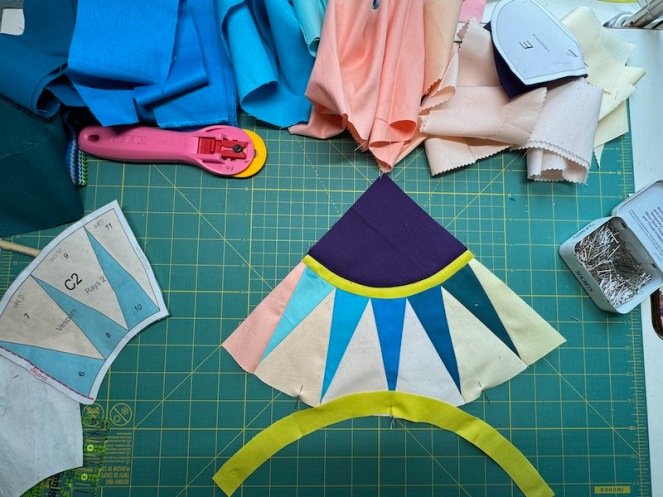
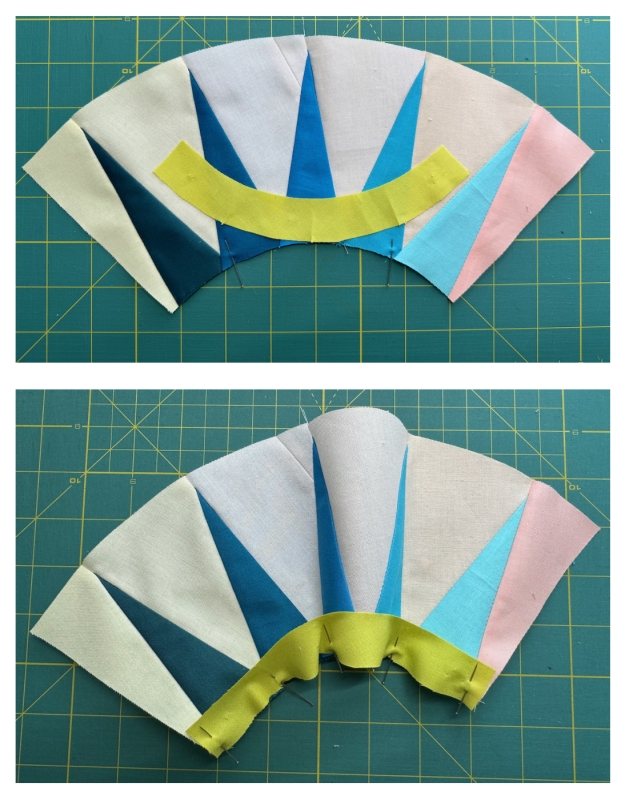
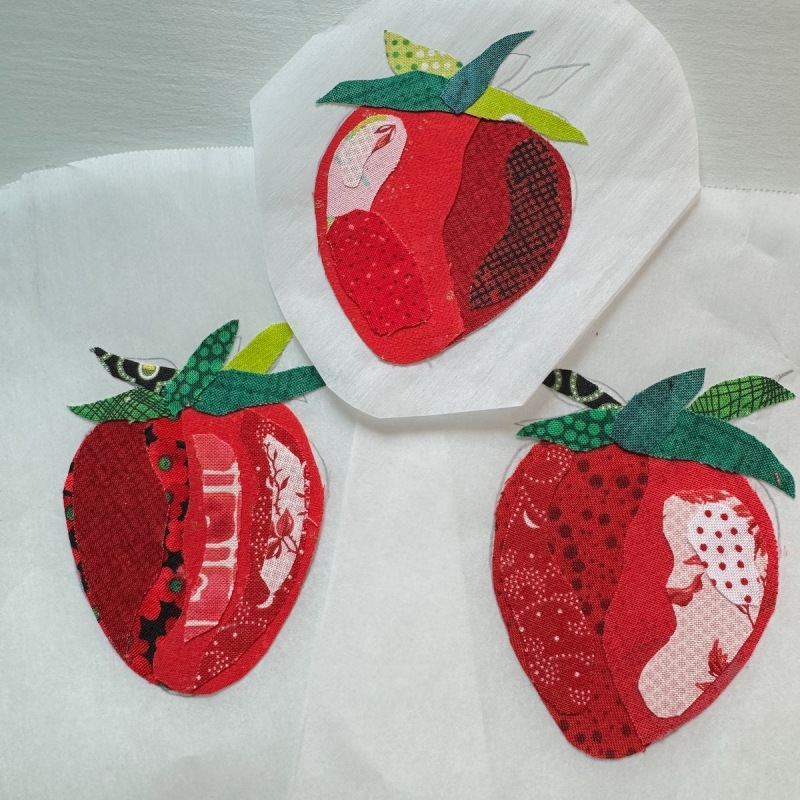
So I have resigned myself to just making a stack of blocks and then cutting them. I finished this week and am now playing the take-a-photo-rearrange-the-blocks game.


I have a small space for sewing, but it works for me, even though it can get a bit out of control on occasion.
I can already see I need to make one more to replace one that just isn’t going to work. I put these here so you can see I’m just like everyone you know: I stay up later at night, cut fabric, make a mess, try to herd cats (so to speak) while trying to put it together, all the while wondering– do I really want to re-do this pattern? It’s just that Anne’s is so inspiring. Sigh. You can find more of her brilliant work here: SpringLeaf Studios on ETSY.

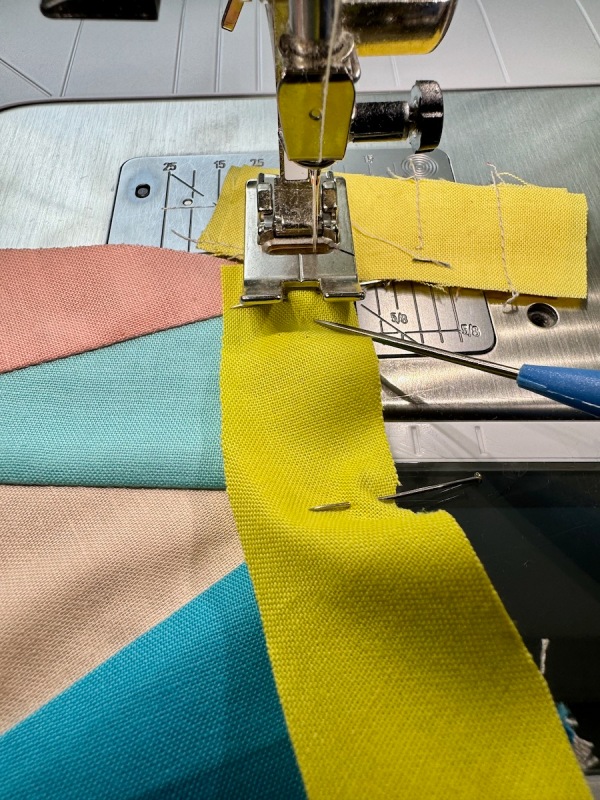
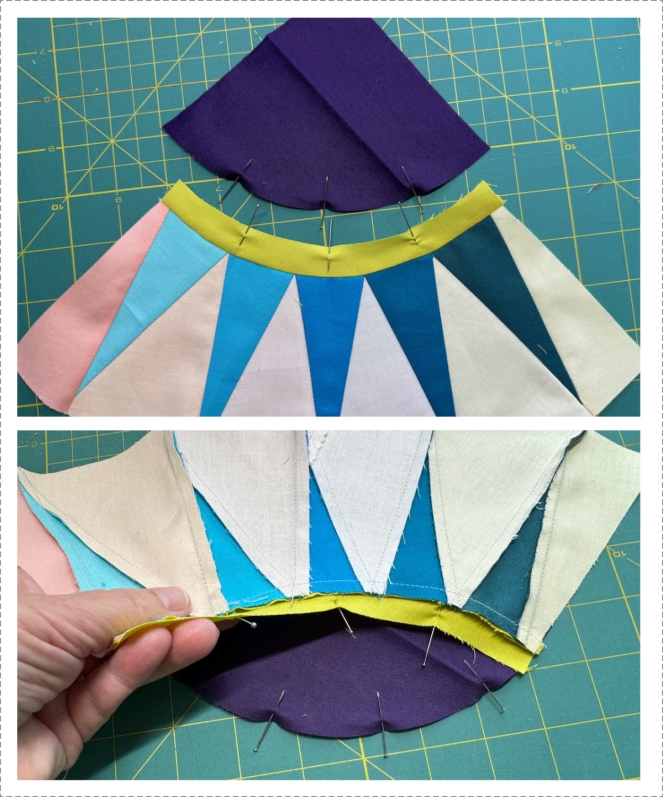
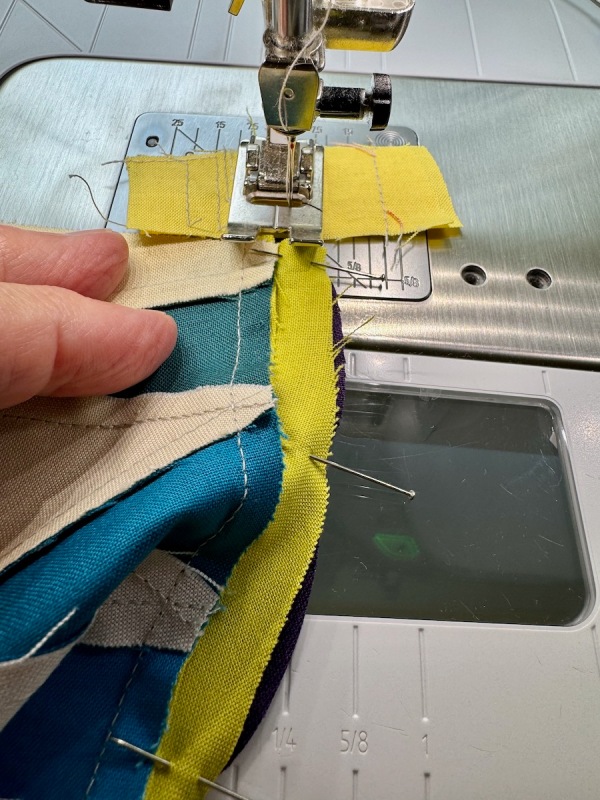
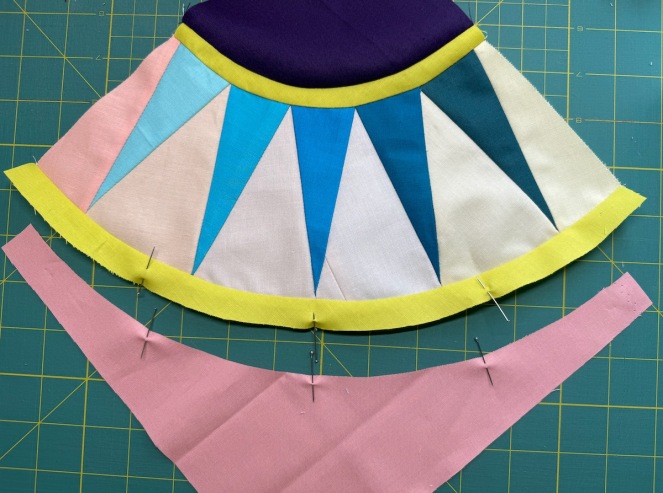
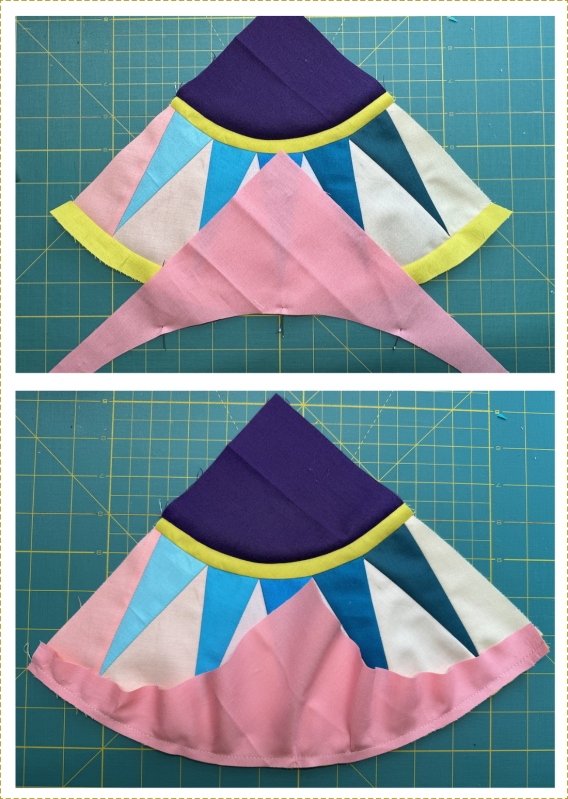
Finally satisfied — or just ready to be done — I started sewing the blocks together. Anne has already warned me about those borders.
Another pattern that started out just a pattern for a block, then morphed:


And another:


Is it because re-invention is sometimes easier than invention? I love all the traditional blocks, but think some could lend themselves to new treatments, just like when we replace the window coverings. Or choose a new hairdo, which I’m currently struggling with now.

Hot Tip: It’s easier to search in DuckDuckGo for a new haircut than in Google. Google’s search engines have some infamy now in techie circles as being too bogged down, too tied to ads and AI murkiness to deliver decent search results. I agree. There are some other tricks to getting past the inundation of ads on Google, but we are all still battling with the greed of our Digital Overlords on social media (which is why I still write a blog, and why I don’t have ads).
Today I read in a Washington Post article (link should allow you to read) about how our Master Overlord Google is training its Artificial Intelligence (AI) on any and all artists’ works online. Many artists are taking them down from Instagram, because the Master Overlord Meta (formerly Facebook) is also training its AI on what’s on Facebook, Instagram and other social media. Cara, the app, seems to be the landing site for many. Here’s WordPress’ statement on their AI policy, which is the software I use to write this website: clear as mud for non-techies.
Okay, that’s all pretty depressing: I guess eventually we’ll have AI fabrics and AI quilts and there will be nothing original or new. And all our designs (that take days to convert into a pattern) will be subsumed in the Great Quilt AI.
Sigh. Time to download Cara?
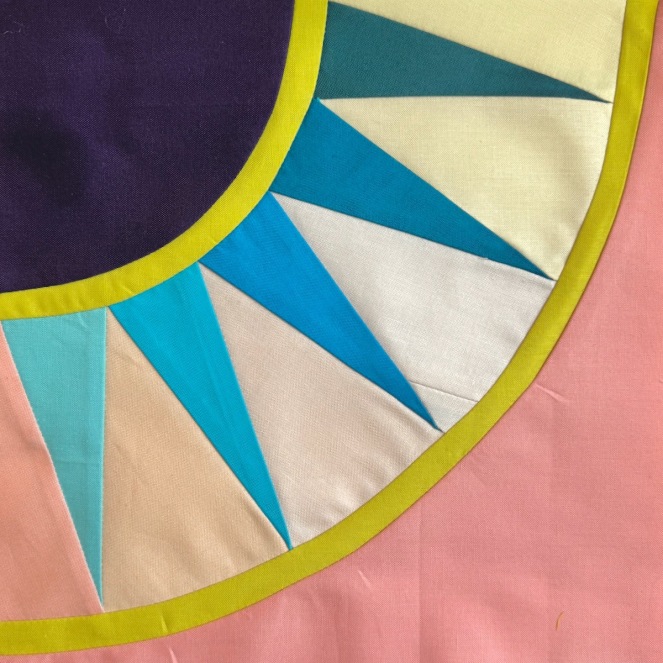
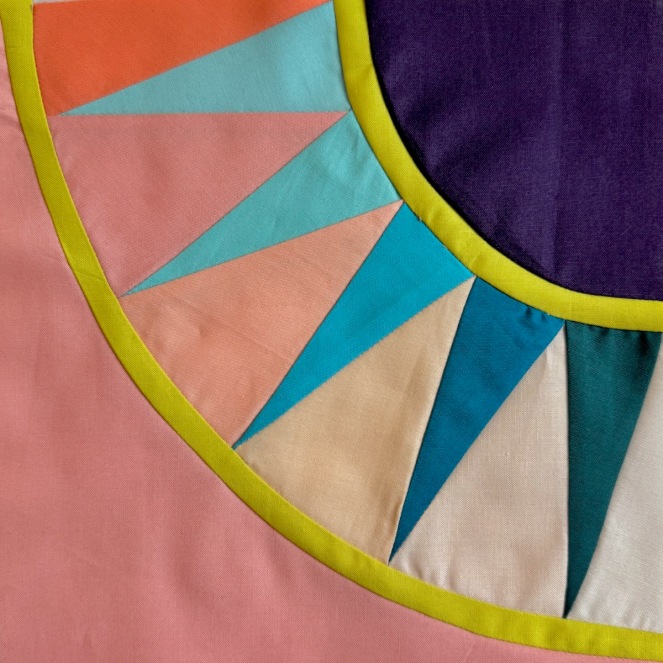
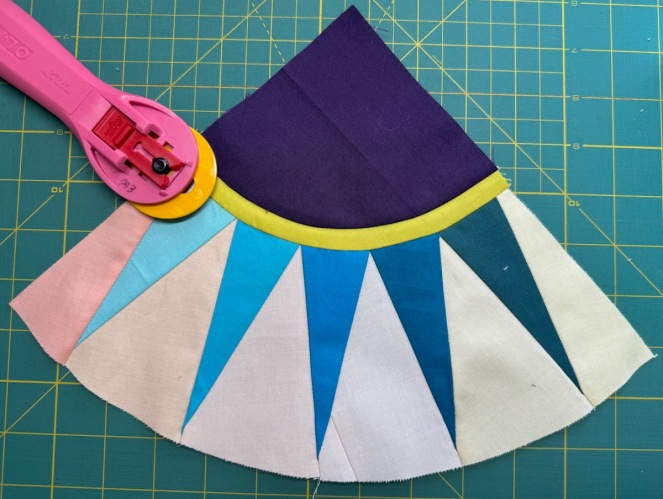
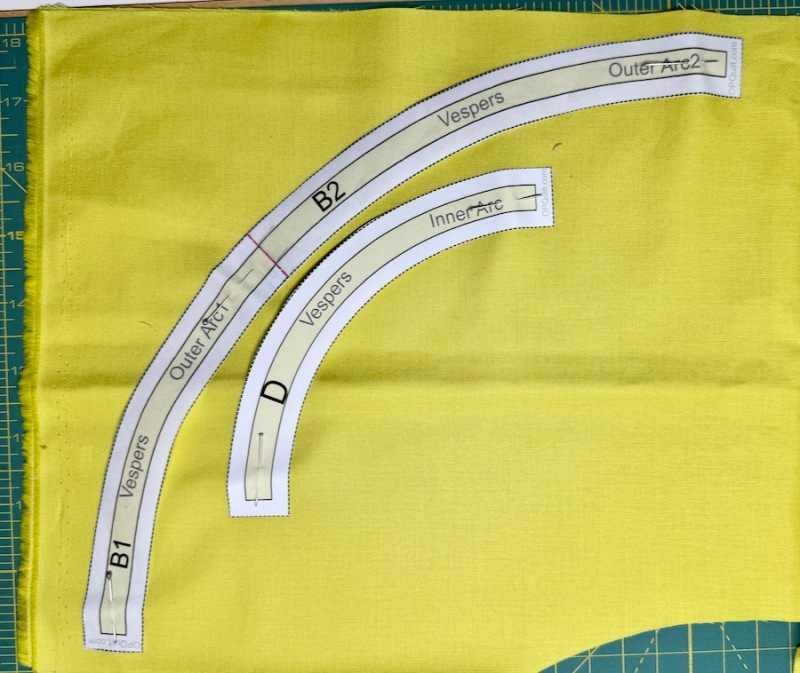
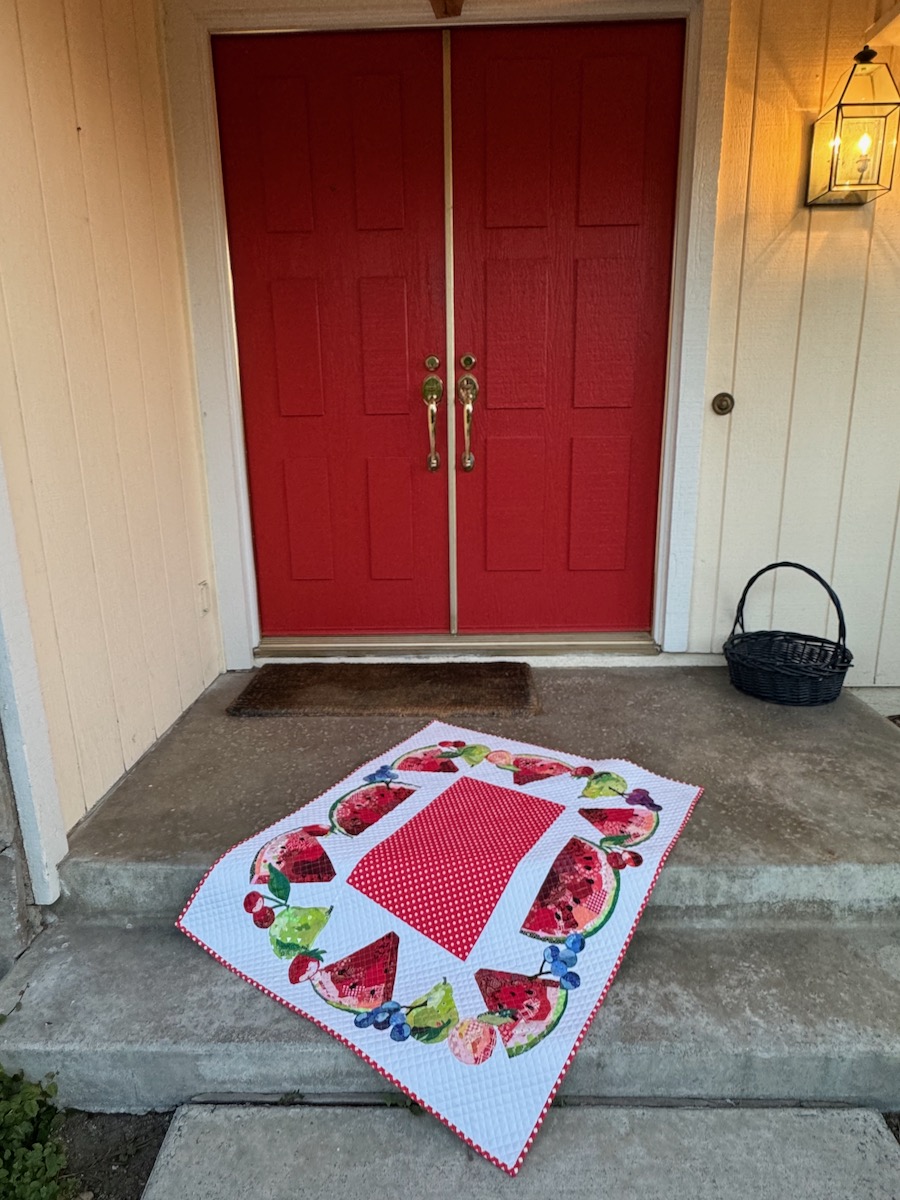
In other, hopefully happier, news, I received my latest batch of Painter’s Palette Solids in the mail, so I can proceed with another block of the New York Beauties. And I’m working on some reverse appliqué for this one, made out of Grunge fabrics:

This reminds me of Italy ‘s color-drenched houses. But back in Southern California, the summer heat has arrived, the air conditioner will soon be pressed into service, and maybe, just maybe, we’ll get some decent tomatoes this year before they all burn up.
Happy Summer Sewing!