I finished up the quilting on the inner white field (background to the petal part) and thought–“Good! I’m in the home stretch!” Au contraire, mon ami.

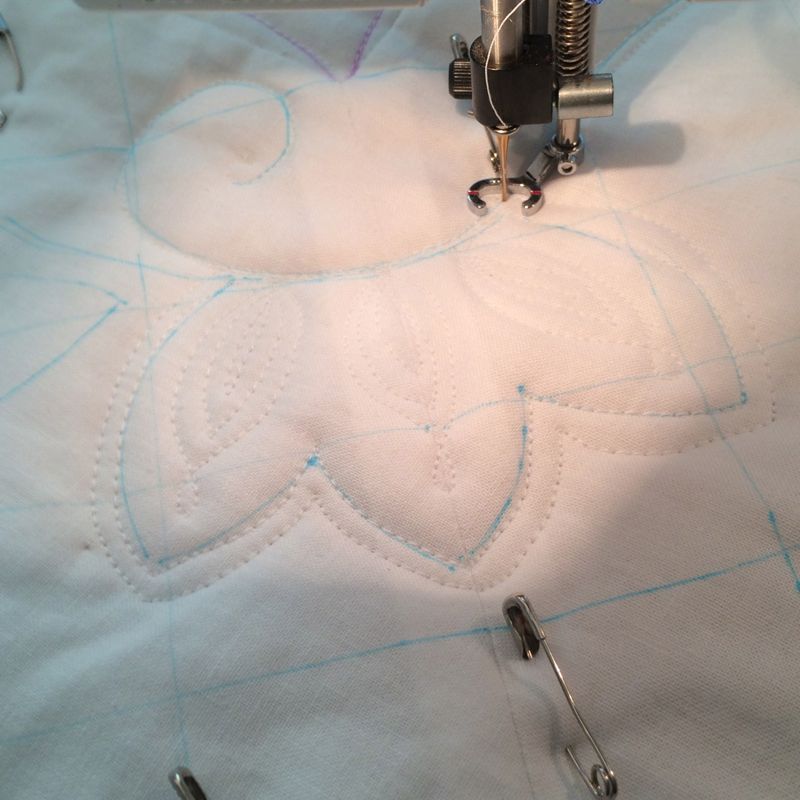
The next morning I got up and marked the swoopy quilting on the narrow inner border. Yes, I’m pathetic enough that I feel like I want to mark every stitch. At this point I’m watching millions of hours of longarm videos, as well as domestic machine (DM) quilting videos and everyone makes it look soooo smooth when they quilt. I am really trying, but marking also just in case. I stitch this and as I round the final bend, I realize that my stitching is more fluid and even that in the first foot or two of where I started. I stop, unpick that section and re-stitch it.
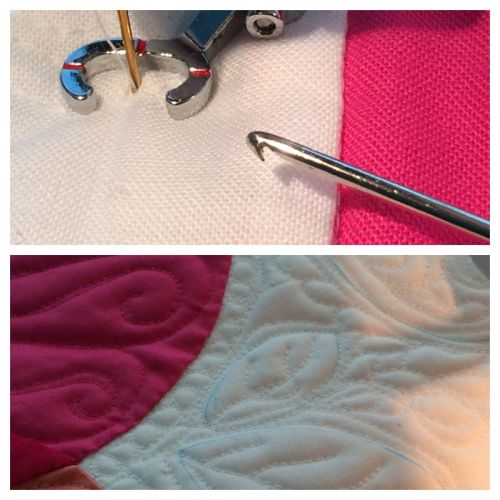
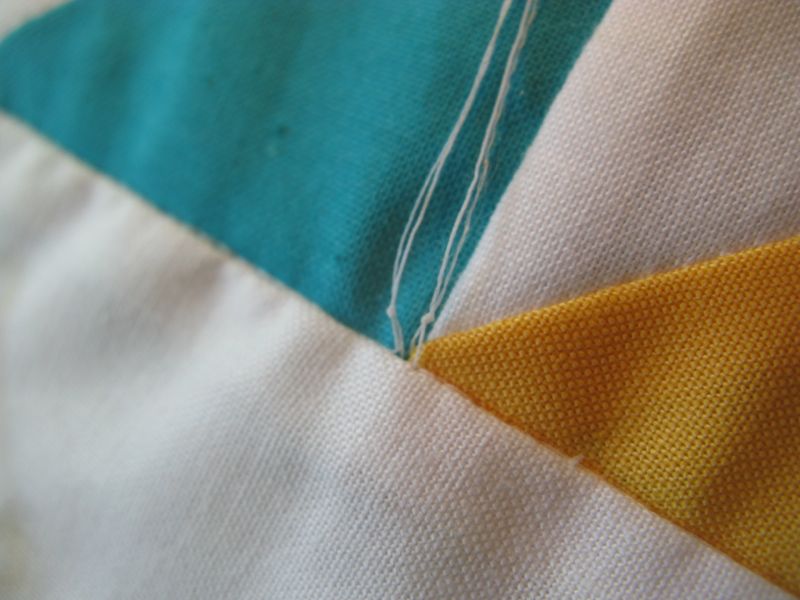
Migrating threads can be taken care of by inserting a teensy crochet hook in between stitches in a seam, and pulling the thread out the side. I’m successful at this about 70% of the time. When I try this, I vow to study the quilts at the quilt shows a little harder. Do they have this problem? Do they worry about it? I go back to studying longarm photos, seeing how even their stitches are, if they have wobblies. They do, just fewer. Is it fair to compare? Not really, but I do it anyway.

I like it best when I can just go and go and the thread whooshes through and the machine hums and the TED Radio Talks are on in the background, not making me concentrate on anything. I hate it the most when the thread breaks, or the bobbin runs out, or I bobble too much and feel like I need to unpick it and restitch it.

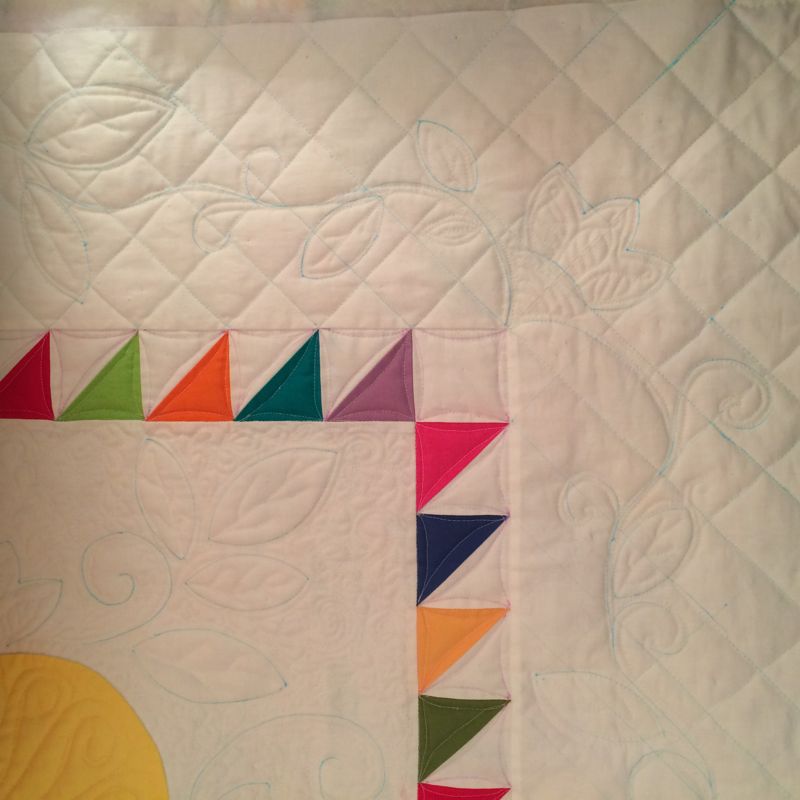
I take this photo before I go to bed that night and think “I’m done.” “Not so,” a little voice says. Something’s just not right.

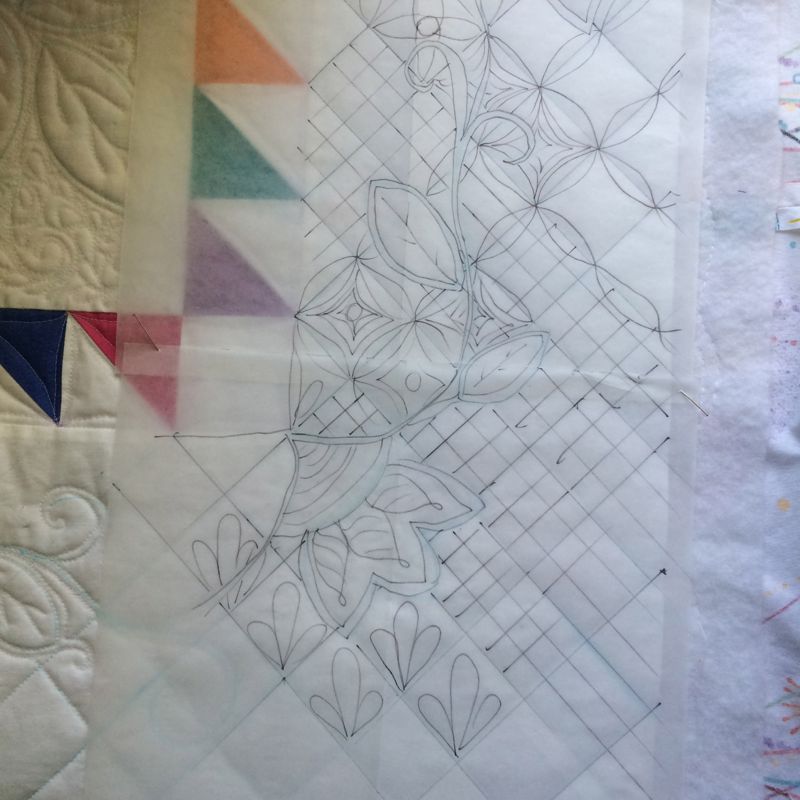
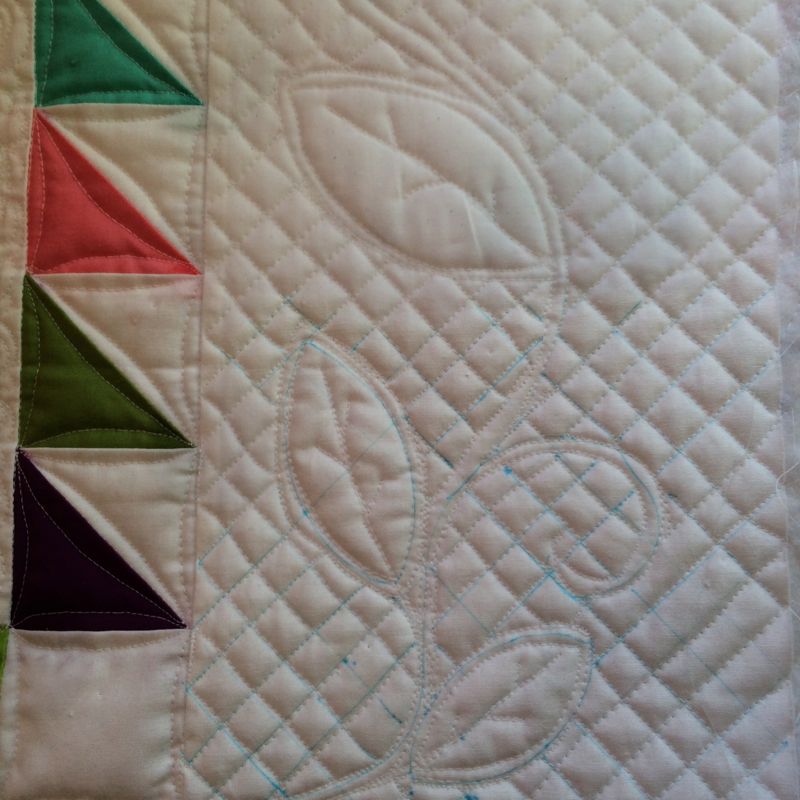
I put that photo up on Instagram (IG) hoping for some feedback and the answer came back: the density of the quilting doesn’t match the inner field. I knew that. I just didn’t WANT to know that. I overlay some transparent paper on the quilt and sketch in what’s been quilted, then try out some more bits and pieces. I like the simplicity of the grid the best.

More marking.

A ton more sewing.

And I finish.

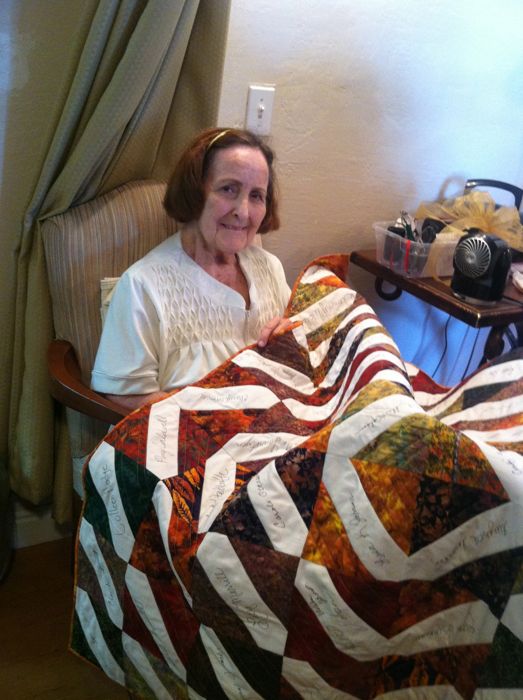
Somewhere in here I found about the acceptance of my quilts in the juried show of Road to California. I’m dancing around on the bed, jumping around the house in complete and utter happiness. For the last few years I’ve not gotten any quilt in and then to get all three?? I’m over the moon.

A very helpful Leslie, a quilter on Instagram, coaches me through the next step of getting out the blue marks. I find a video on YouTube where the quilter uses a sponge and a cotton swab to get out the marks. I follow her instructions.

I’d done a teensy bit of grid right in the middle to tie into the outer border.

As I take off the marks, I can’t believe how different (and better) the quilting looks! I’m smiling as I swab. And then. . . of course. I see all the areas where I’d missed stitching–there is one to the right of the vine in the photo above.

I checked my other expert I turn to for help: Linda of Flourishing Palms, and both she and Leslie suggested laying it out and putting a fan on it to let it dry. So I put down my two cardboard cutting boards for a stiff surface, layered it with towels, then smoothed it out to dry. Next up is finding and fixing all those missed sections of the quilt, and then the age-old question: how to bind this? One of my quilty friends suggested a faced binding, and I’m leaning that way, for sure.
I’m pretty pleased with my work thus far, as I see it laying on the bed in the other room. And I’ve really benefitted from a lot of encouragement from all of you here on the blog and in Instragramland. But as I said to a friend today, why is it that I see all the mistakes? And do I need to unpick them and re-stitch them? I had the same experience with my Lollypop Trees quilt–and my uber-observant husband also found all the wobblies on that quilt (I’ve asked him to not do that again–one of me is bad enough!). Leanne suggested living with it for a while before deciding, and after a couple of months, I didn’t notice the problems. As much.
I’ve complimented others on their quilts and in return I get a litany of all the mistakes and the problems. I don’t want — as Benjamin Franklin said — to look for the worm in the apple of my eye, nor do I want to see those flaws that others point out in their own work. (BTW, my father always said the correct response when someone compliments you is”Thank you.”) So what is it about human nature that only sees the flaws? Do you do this too?
All that being said, from the vantage point of the above photo, and my forays into the next room to check on the drying, I’m enjoying this quilt. And happy to be at this (almost) home stretch.
 To Lora, with Love