Thank you all for the lovely words of encouragement you wrote in response to my last post. I’m making my way through them, and will answer them. However, everything I have done lately…is done lately.
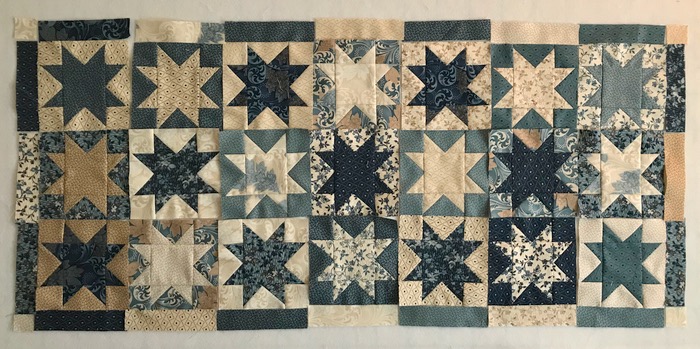
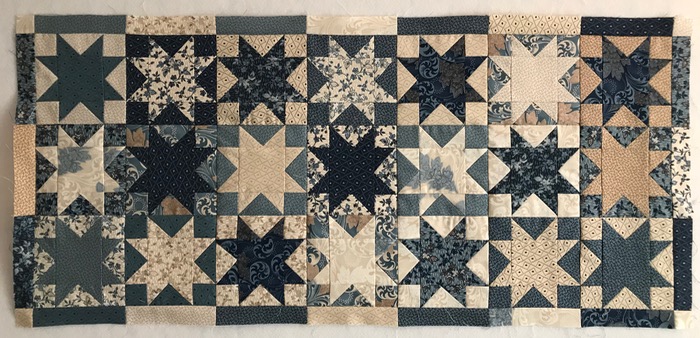
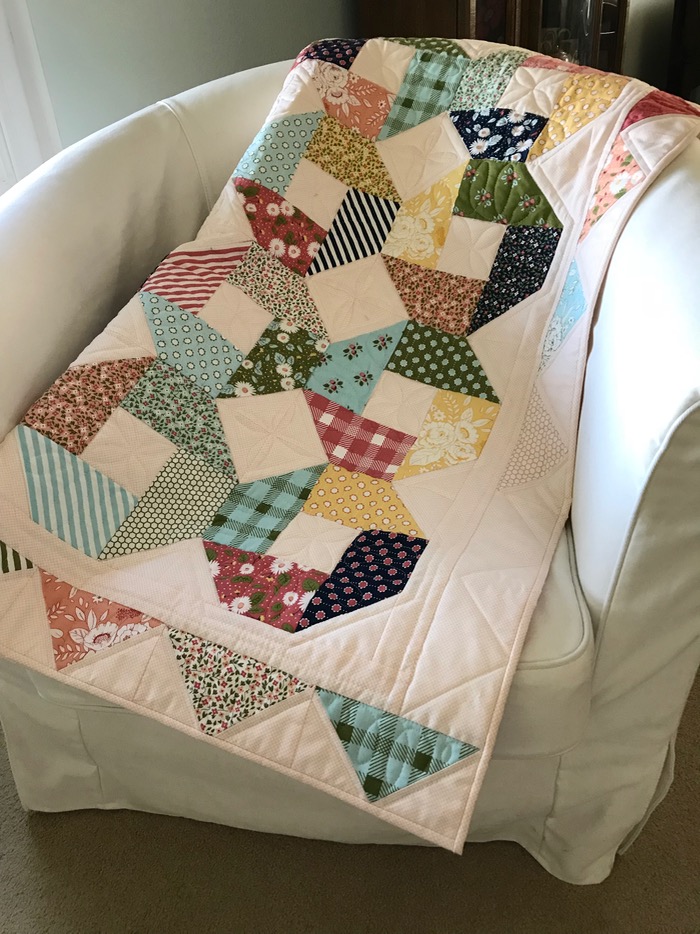
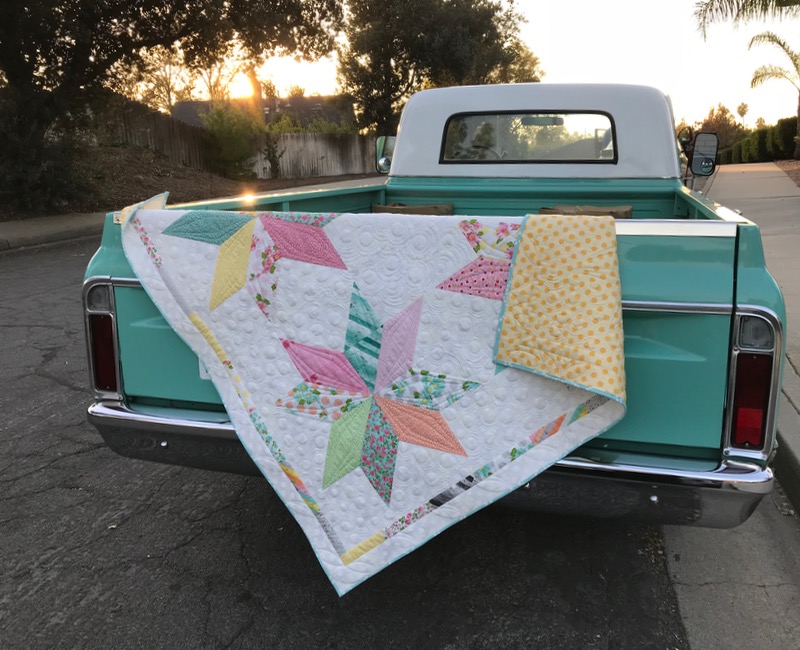
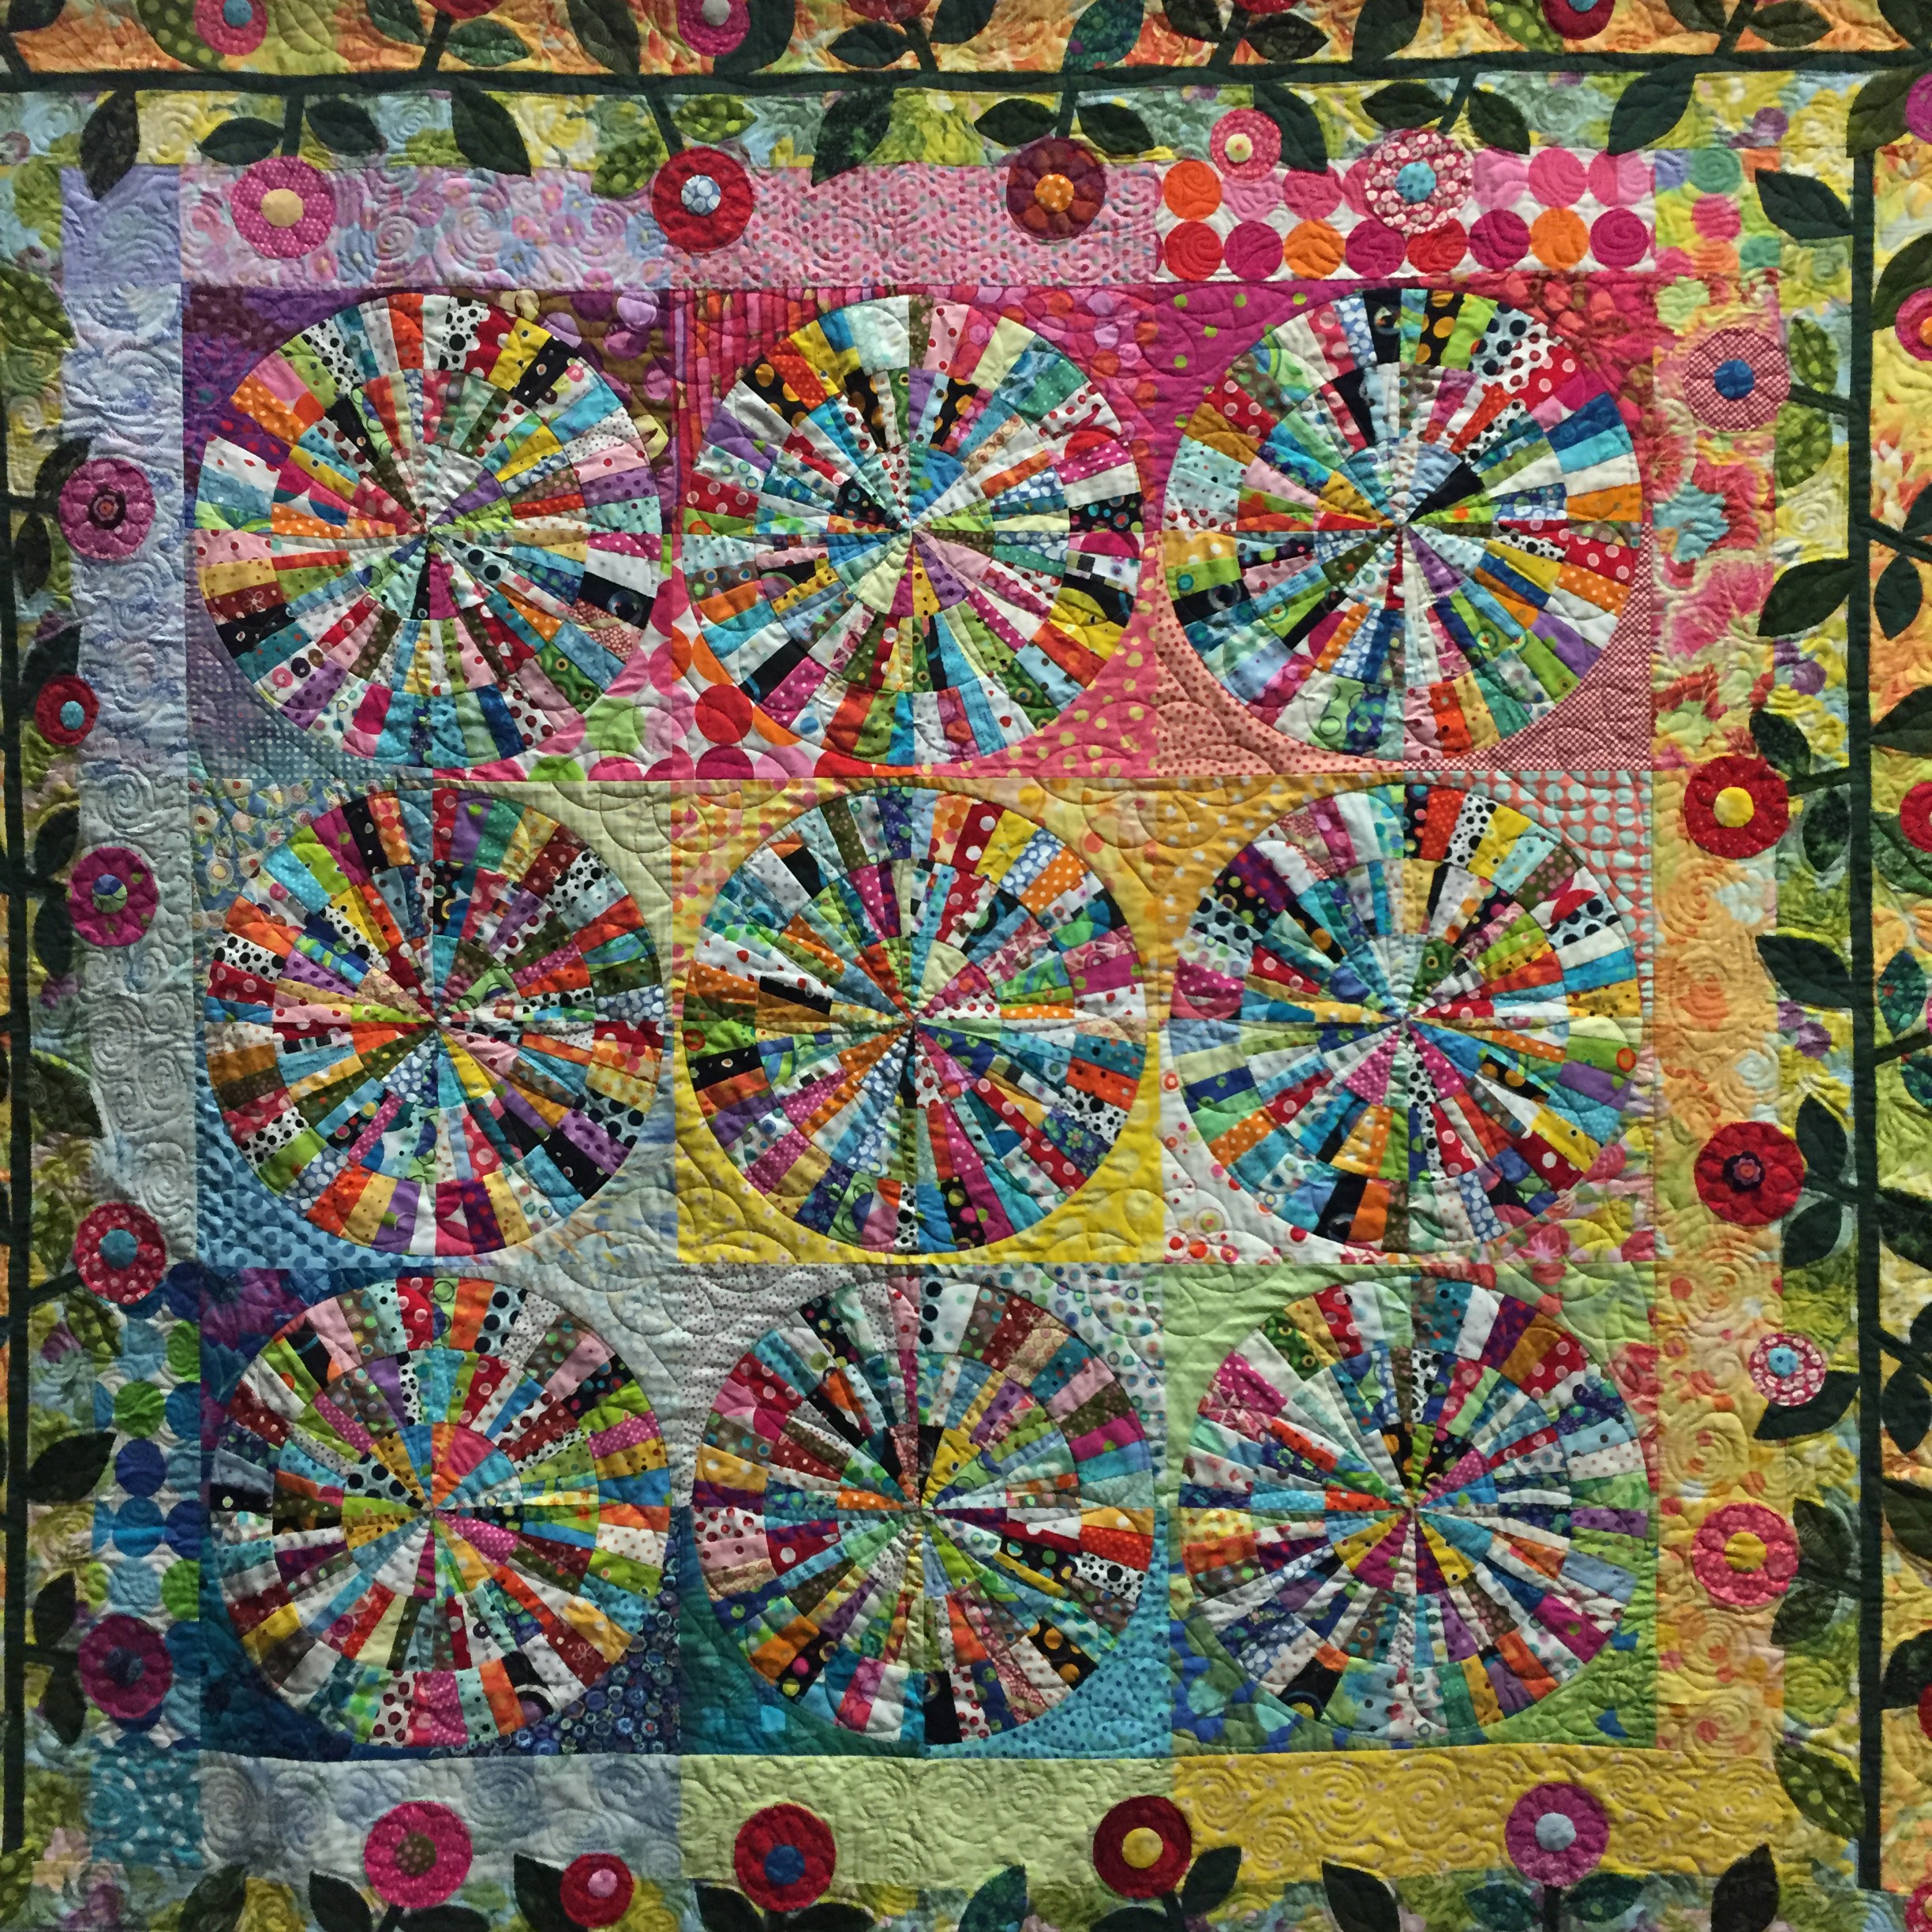
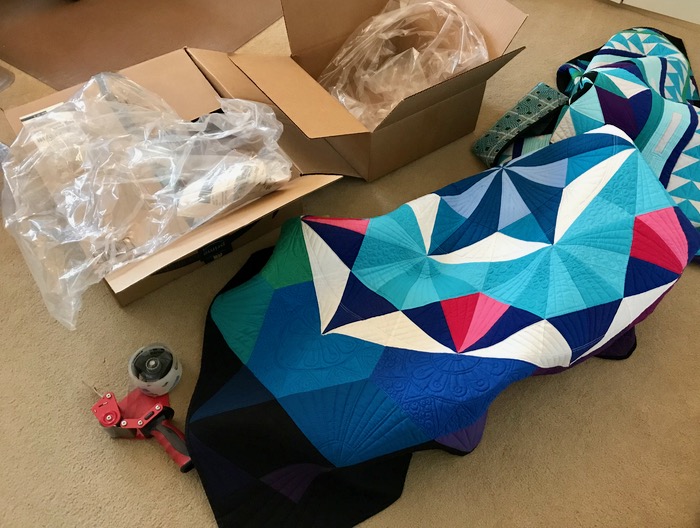
These two lovelies were juried into Road to California 2019, and so I spent a morning prepping them to head off:
Now you see the bit of errant blue quilting thread…
…and now you don’t…
…thanks to these trusty friends. This is an old quilter’s trick, mentioned in several older books I have.
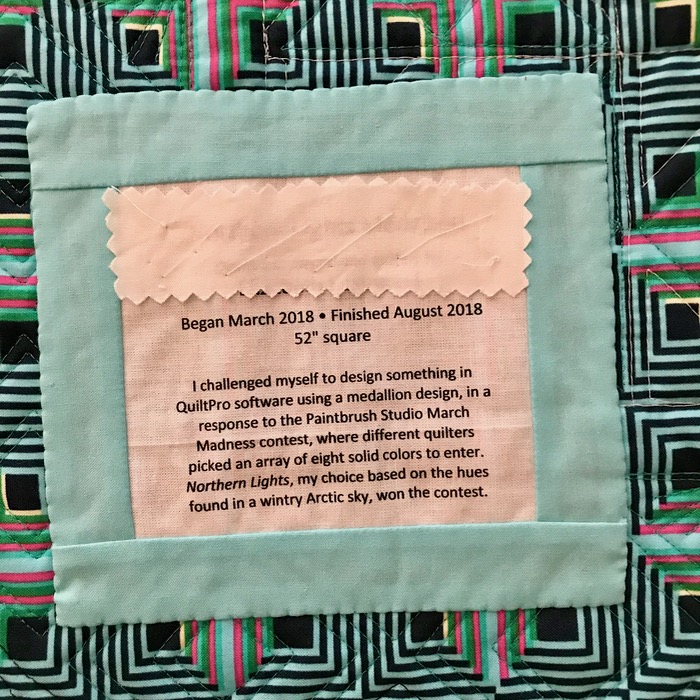
Names on labels are covered up. I also had to make sure my name and contact information are included on the quilt, and I do that in a label near the hanging sleeve, and that’s covered up, too.
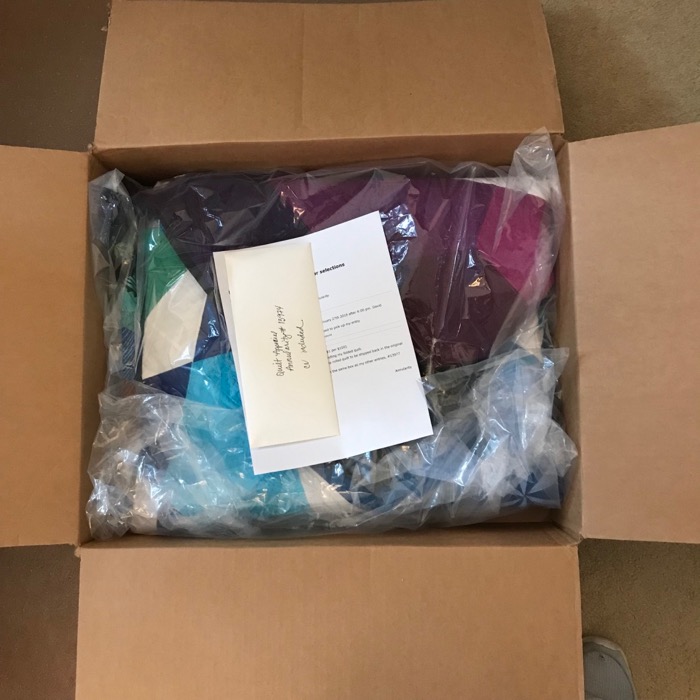
Quilts into a clear plastic bag, into their box, and off to Road to California, not to be seen until January 2019, in the show!
My friend Simone asked me what I was going to do now that the Frivols were all finished. “What do you have planned for 2019?” she asked, oh so sweetly.
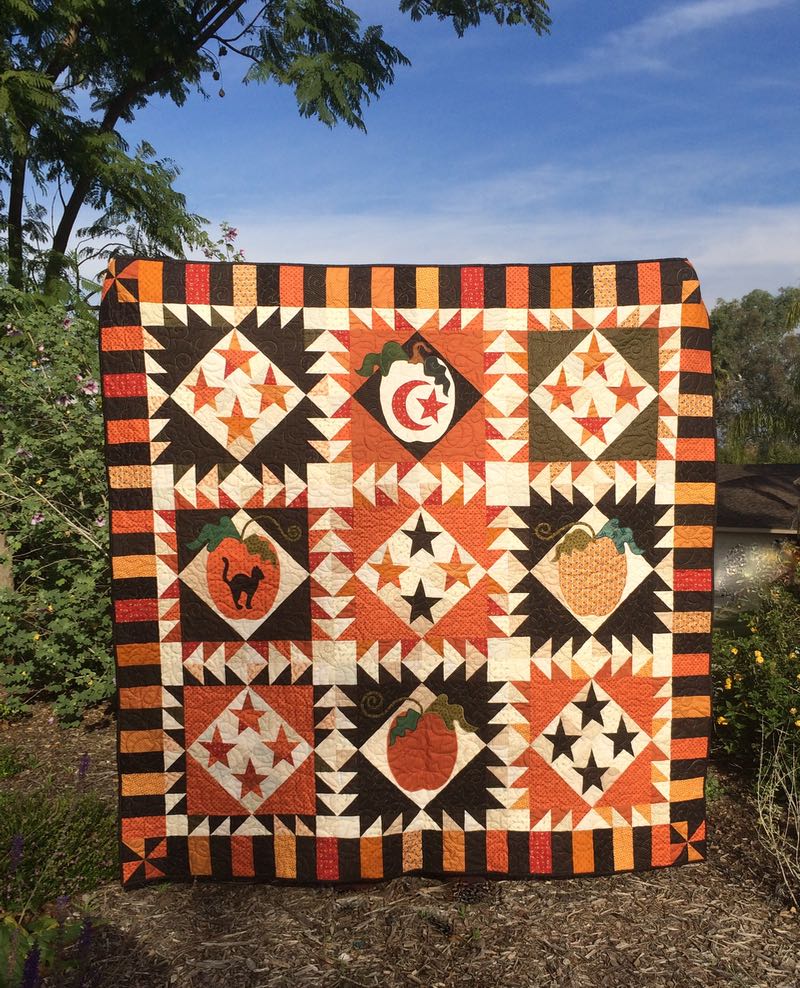
2016 I did not one, but TWO, Quilt-A-Longs (Halloween and Christmas).
2017 I had shoulder surgery and it seemed to be the year of small quilts.
2018 was the year of the Frivols, plus the year of working in Painter’s Palette Solids.
And 2019?
It’s time for a bit of introspection and reflection here.
I am feeling a bit bereft because I feel like I have nothing in the pipeline, nothing in the brain for creativity. I see everyone’s IG feed, their blogs, I go to quilt shows and there’s just no sparking going on. Awol Erizku, a contemporary artist, titled one of his paintings “When You See Too Much, You See Nothing;” perhaps this is what’s happening here.
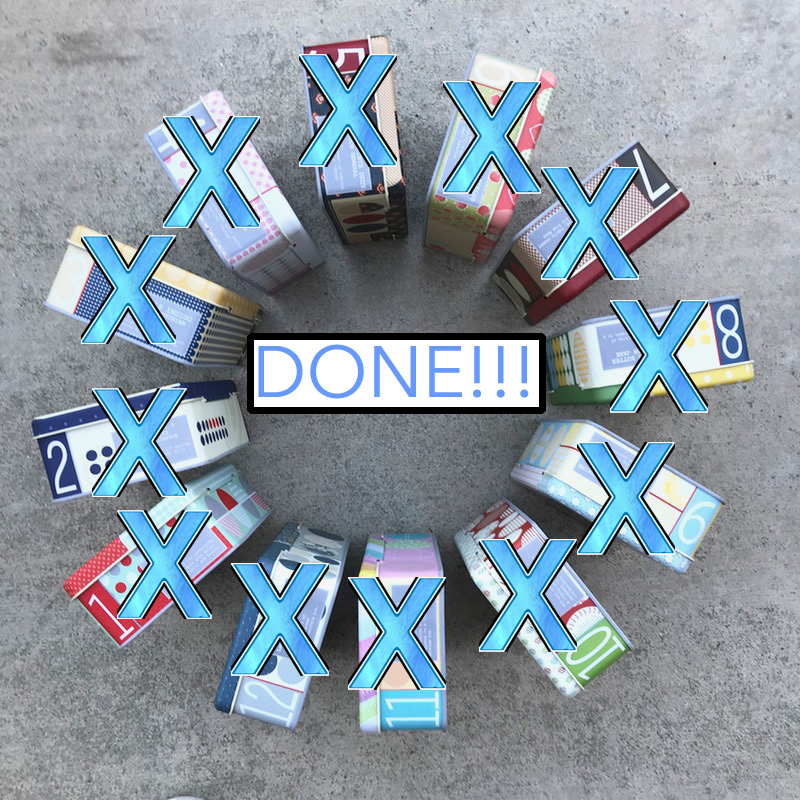
And so the “what now?” kind of morphs into “Nobody’s at Home in My Head” in spite of the fact that I have successfully slain the Frivols Tins that have been living rent-free in my closet for two years. I recognize that this “I-am-a-useless-cretin” thinking often crops up after an extended period of making, of pedal-to-the-metal.
I am happy that I finished my goal of making all those quilts, but really, I am mostly happy that I am finished with Frivols. It has been a year of learning, a year of exploring different palettes and fabric styles, but mostly, it has been a year of sewing someone else’s creativity and living in some else’s quilty head. That last part has been the hardest. I was pretty excited right off the bat to make these but after about the thousandth HST, or another tin of colored print fabrics to be augmented with a background of white…I had to dig deep to finish up this project.
It’s like when someone wants you to make them a quilt, and you agree, all the while thinking in your head I can do anything but one of those Star Wars panels, and then they show up at your house with Star Wars panels, it’s torture to get that quilt made. I wonder if this happens sometimes with our UFOs, if all of a sudden our interest or our tastes change, so what was once interesting, is now banal and you just can’t stand to work on it.
But I’m happy to be finished. I set a goal, I powered through it, and I appreciate all the cheering from my readers. You made a difference, as always.
I will donate some of these quilts to the Neonatal Quilt Project in our Guild and to the group that gives quilts to the foster kids who have aged out. I will gift a few more, and my favorites will live at our house.
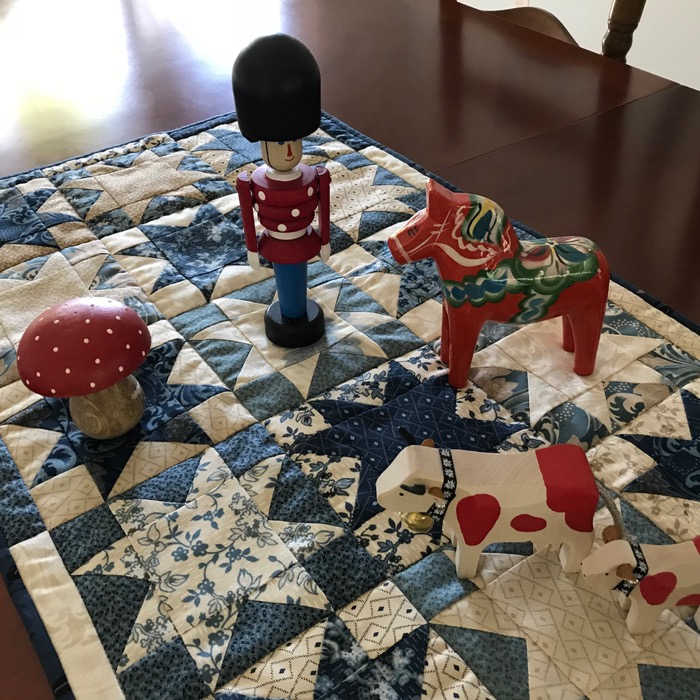
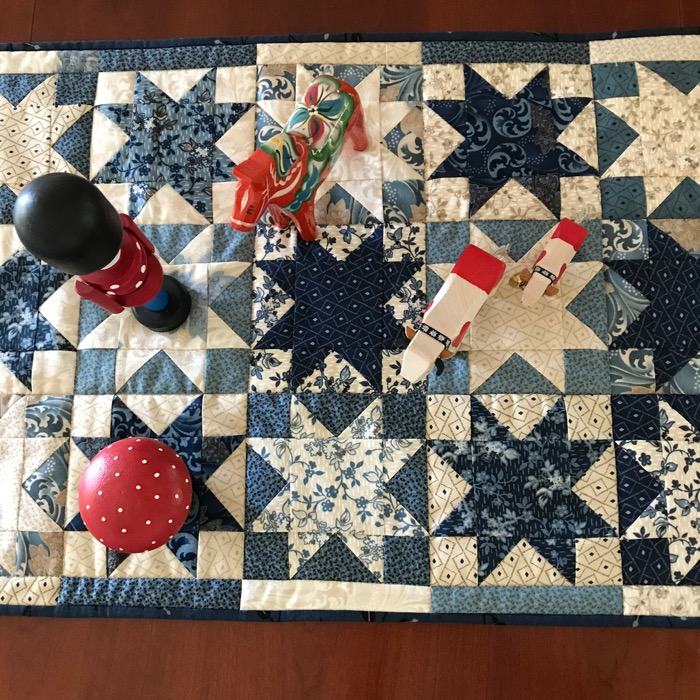
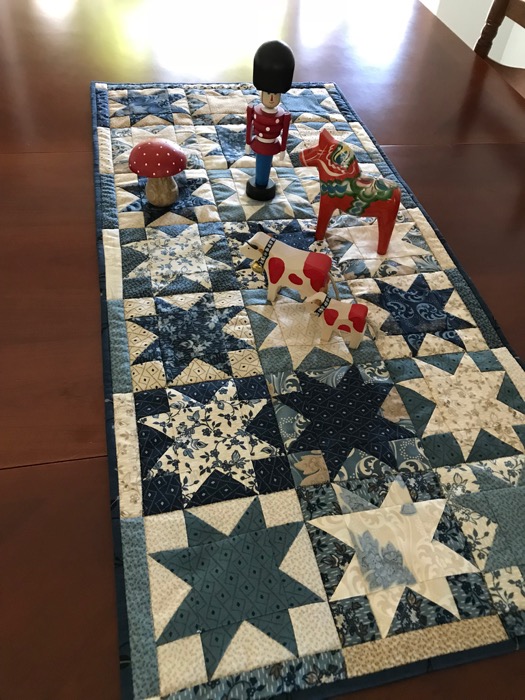
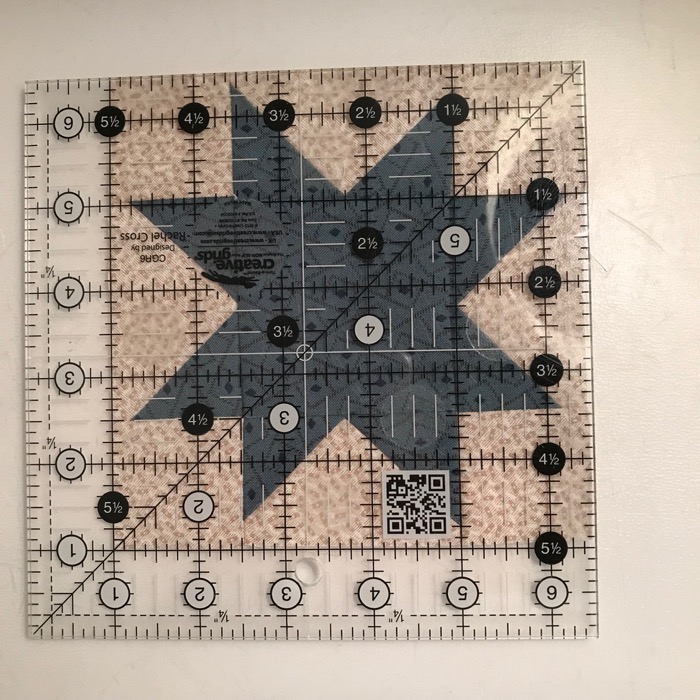
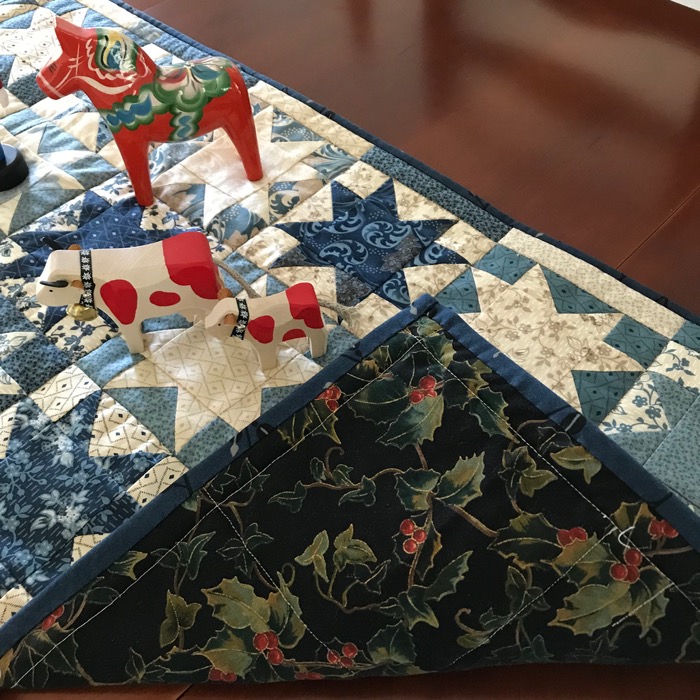
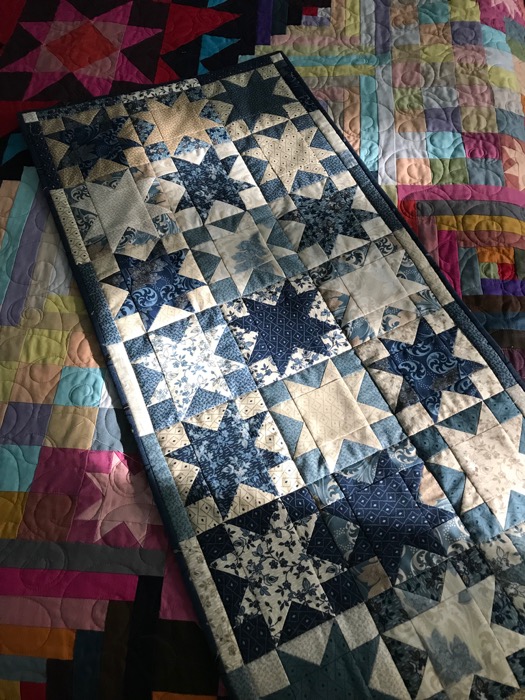
This is the final Frivols, a table runner for my holiday table, shown here with my wooden toys from Sweden, Copenhagen and Germany. I’m calling it Blue Stars. I almost called it Christmas Stars, but what if I want to use it in July? (Just trying to be practical here.)
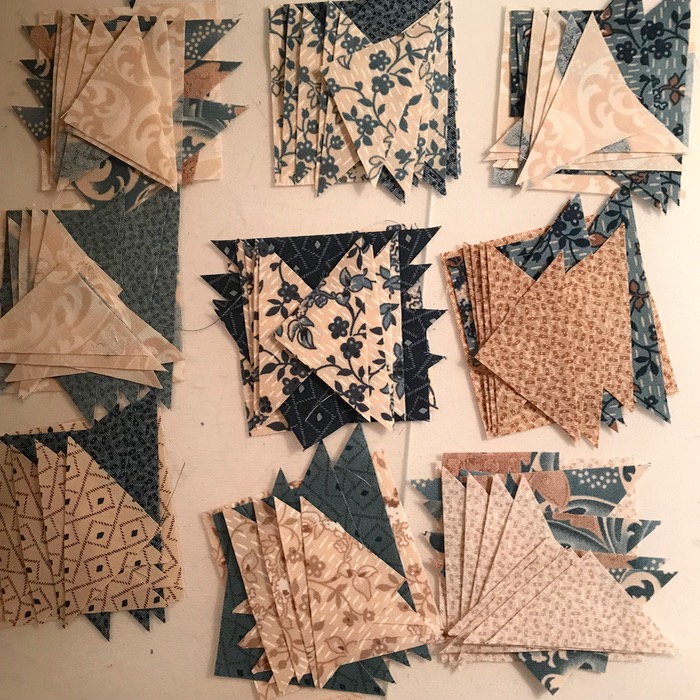
I left you in the other post with all the stars and their backgrounds cut out, and tucked away in their little tin. My first step when I got them back out, was to group them together, stars and backgrounds, making sure I had enough of each part to make the block.
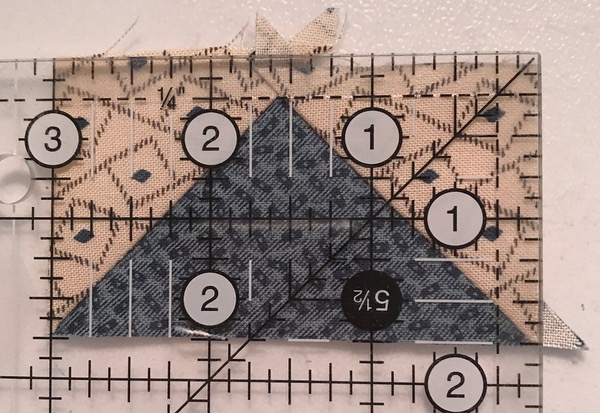
First up was to make the Flying Geese, then trim them up. I rarely make geese that aren’t slightly wonky. I’ve learned to live with this terrible character flaw, as when it is sewn up, no one knows.
(Apologies for the nighttime lighting.)
Trim it all up to 5 1/2.”
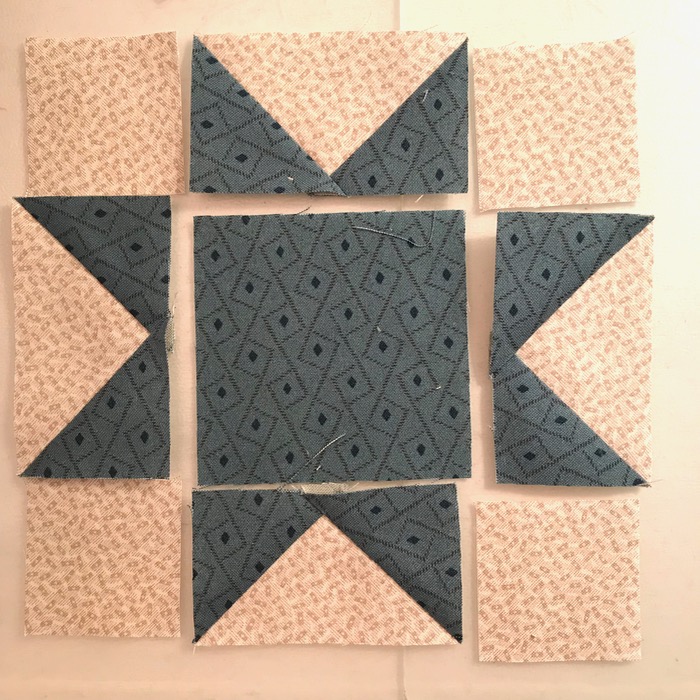
Arrange the stars, obsess. Decide it’s okay. Decide to add little strips of color around the outside edge so that some of that extra fabric in the tin is used up.
Sew together.
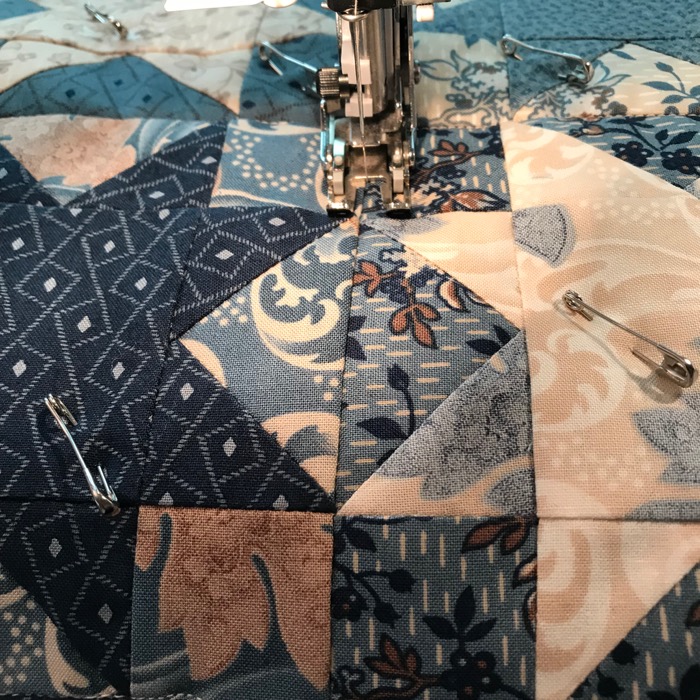
I layered the finished runner with some Christmas fabric from the stash, some batting, put on my walking foot, and stitched in the ditch. At some point I want to come in and do some echo quilting around all the stars, but hey–it’s December and I’ve got Stuff To Do, so that will have to wait.
The backing. More beauty shots:
Can I just say this again? Here they all are, back again for their encore:
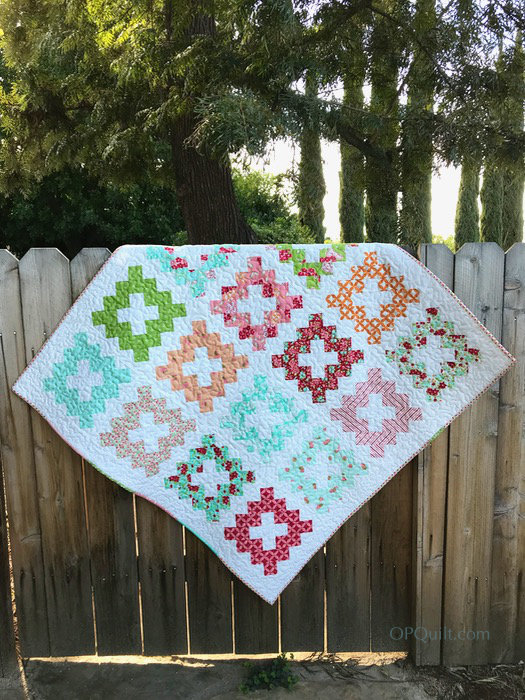
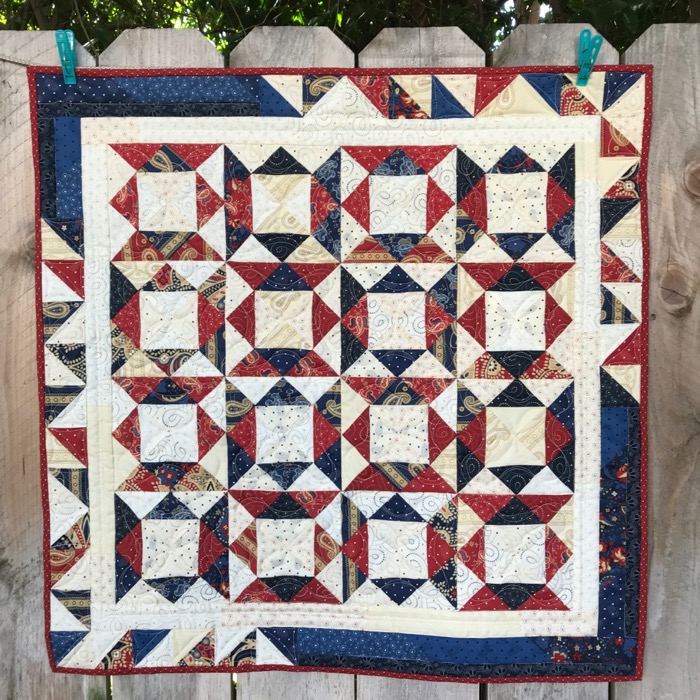
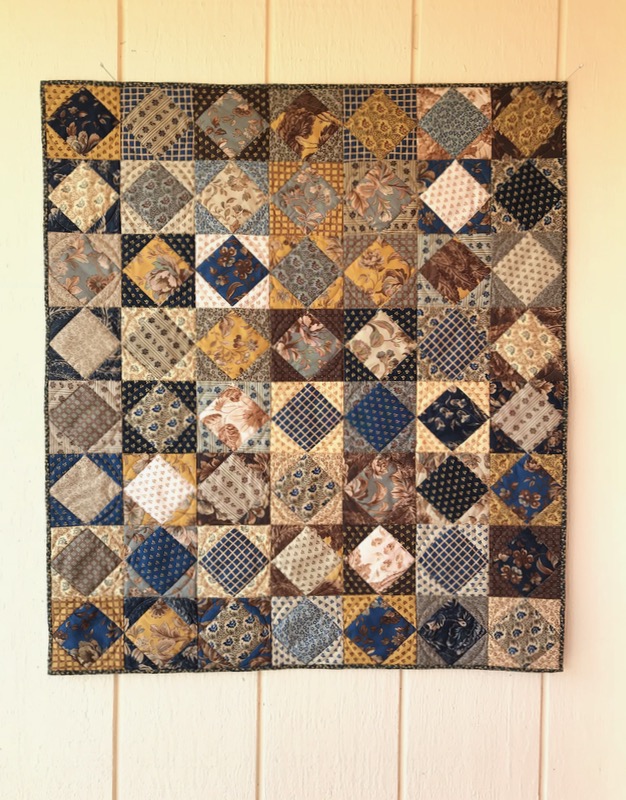
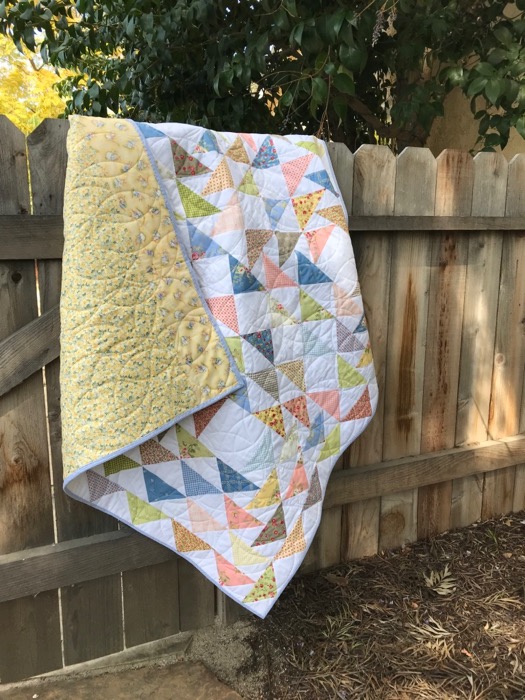
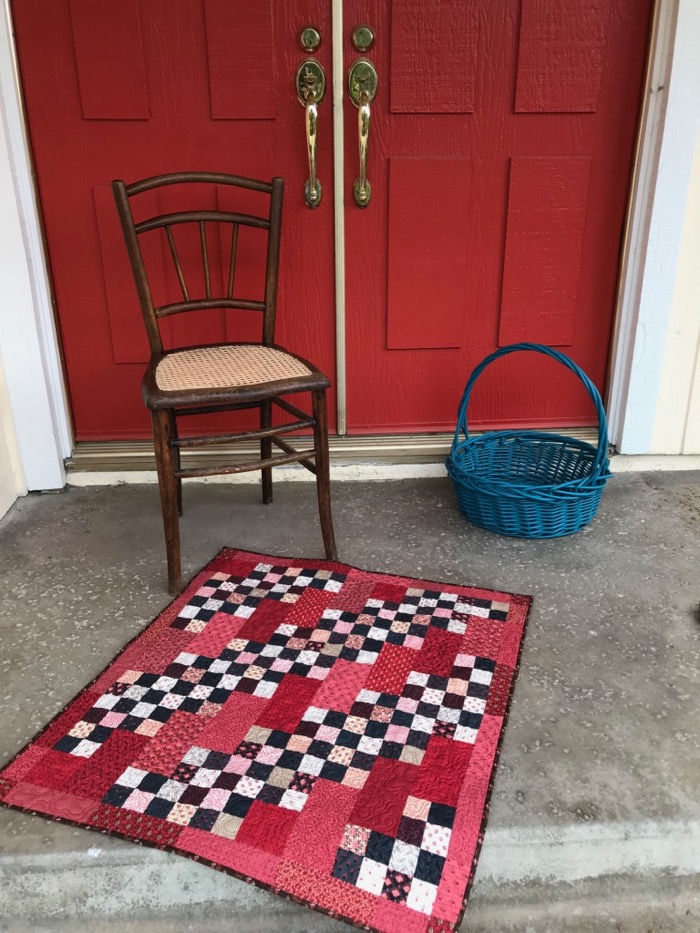
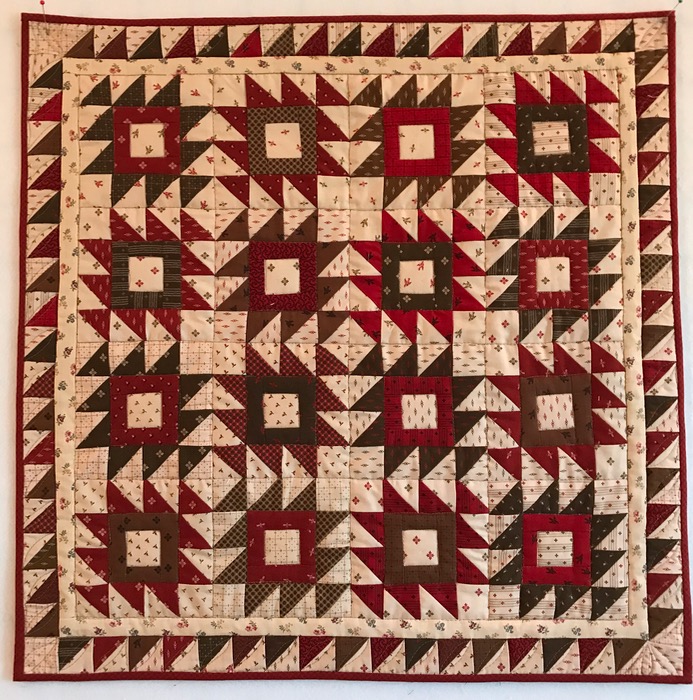
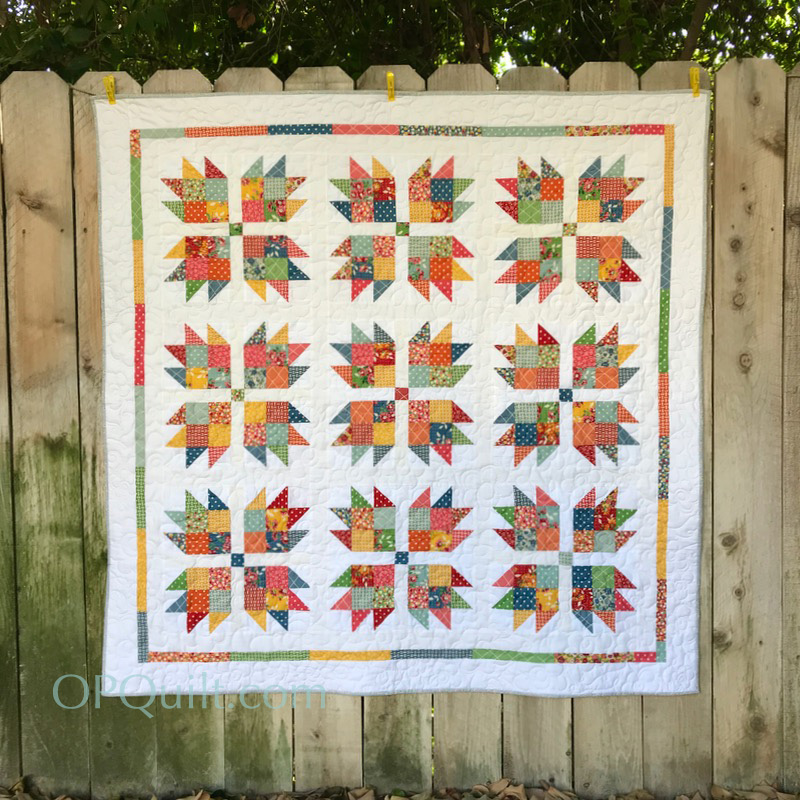
Frivols #1, Caitlin’s Baby QuiltFrivols #2, WindowpaneFrivols #3, Betsy’s QuiltFrivols #4, Life’s DilemmaFrivols #5, Child’s PlayFrivols #6, Practice Makes PerfectFrivols #7, Bread with Every MealFrivols #8, Baby BearFrivols #9, Walk Around the BlockFrivols #10, Christmas CornerFrivols #11, Stars of Night, Lend Their LightFrivols #12, Blue Stars
I have some thoughts on this experience (surprise!) in the next post.
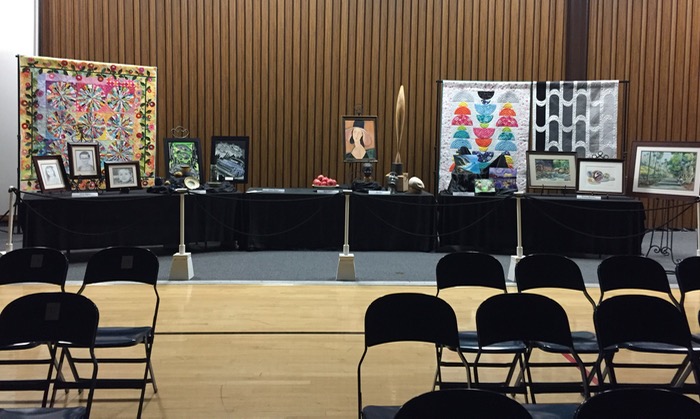
Simone recently encouraged me into the quilt-stand/frame-buying business, and since she’d done the bulk of the research, I joined her online (me, at my computer and she, at her computer) to figure out the final decision. She was in charge of the display for our church’s talent show (above) and asked to have one of my quilts displayed in it. But I had to have a quilt stand/frame to do so.
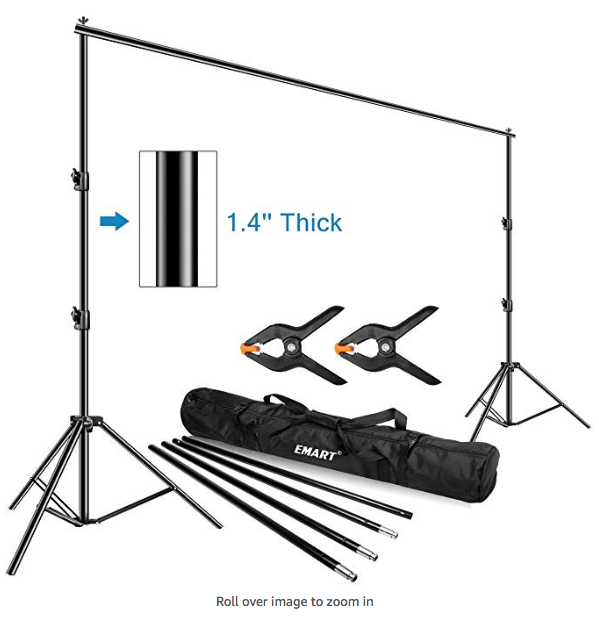
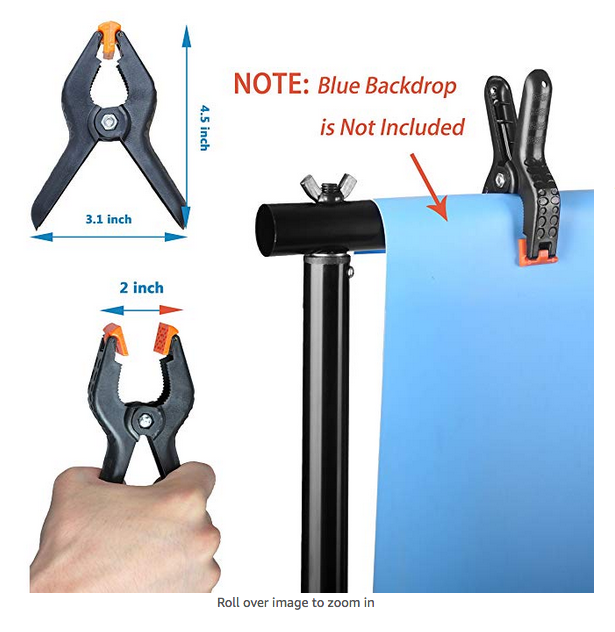
We both purchased the Emart Photo Video Studio Backdrop Stand, with a 10 x 12 ft dimension. We went for this one because the tubes were a thicker diameter than other ones checked, and we liked the clamps. (I am not an Amazon affiliate, so no pocket change is coming my way on this recommendation.)
I’m putting these for my husband so he knows the right kind of clamps to get to help out Santa with stocking stuffers. (Honey, I’d like about four, please.)
I was headed out of town, so I had it shipped to Simone’s house, and she sent me photos of the display. She’s lovely like that.
Simone and I have a running joke about photos. Both she and I have asked other people to send us photos of our quilts in different shows we couldn’t be to, and invariably the photos come back like this:
It’s our quilt, but cropped and showing no context of the show it was in. I always say thank you. If someone is nice enough to go and hunt up your quilt, and take the time and make the effort to send you a photo, you don’t say anything but “Thank you.” However, as Simone and I comiserated, we do know what our quilts looks like — we were hoping to see what they looked like in the show.
So when I was standing on the subway platform of the Wall Street Subway station, exhausted after a day of tramping around, feeling rather dour, I burst out laughing when she sent me the above photo, with this caption:
It looks awesome! Don’t you love it?!!!
My daughter was like, “What? What’s so funny?” and I tried to explain it to her, but I could clearly see she lost interest after the first nanosecond and however do you explain quilter’s jokes to a non-quilter?
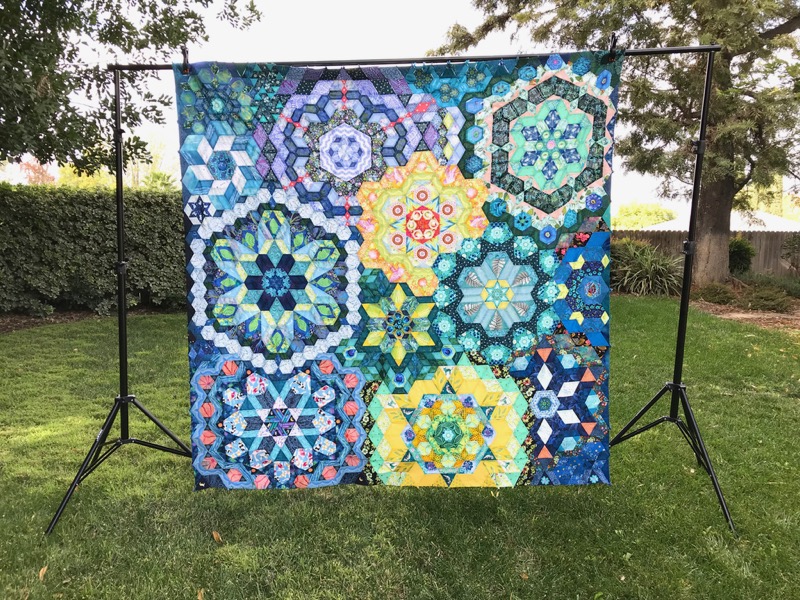
So anyway, the quilt stand/frame worked great, and I tried it out:
I put it up by myself and took it down by myself, and if you’ve never used a quilt stand, the trick is to set up the legs, then insert the side supports, then thread (or clamp) the quilt onto the cross bar, and only THEN do you raise the cross bar higher by means of the adjustments on the side.
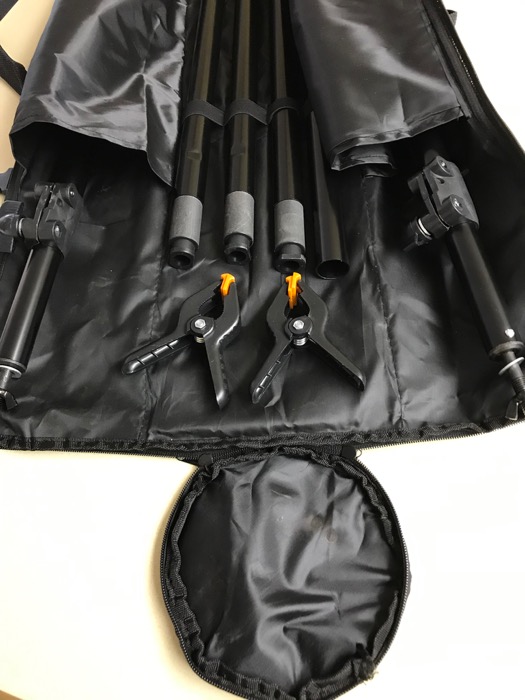
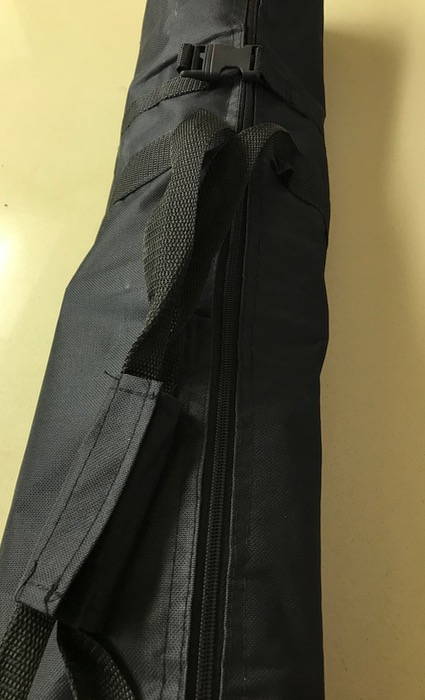
I like that the case has places for the two tripod-legs, and loops for each of the bars (you have four, so you can get that twelve-foot width; I only used three of the four today). The top really zippers open, so you can lay it out to unpack all the parts.
It’s also fairly lightweight and easy to carry in its own sturdy case. The best news is that it’s a reasonable price: $69.49 as of December 2018. I do now feel very grown up, with my very own quilt stand.






 2016 I did not one, but TWO,