EPP · Quilts · Shine: The Circles Quilt

Circles Block #11–EPP Sew-A-Long

Circles EPP Button

Circle Block #11_OPQuilt

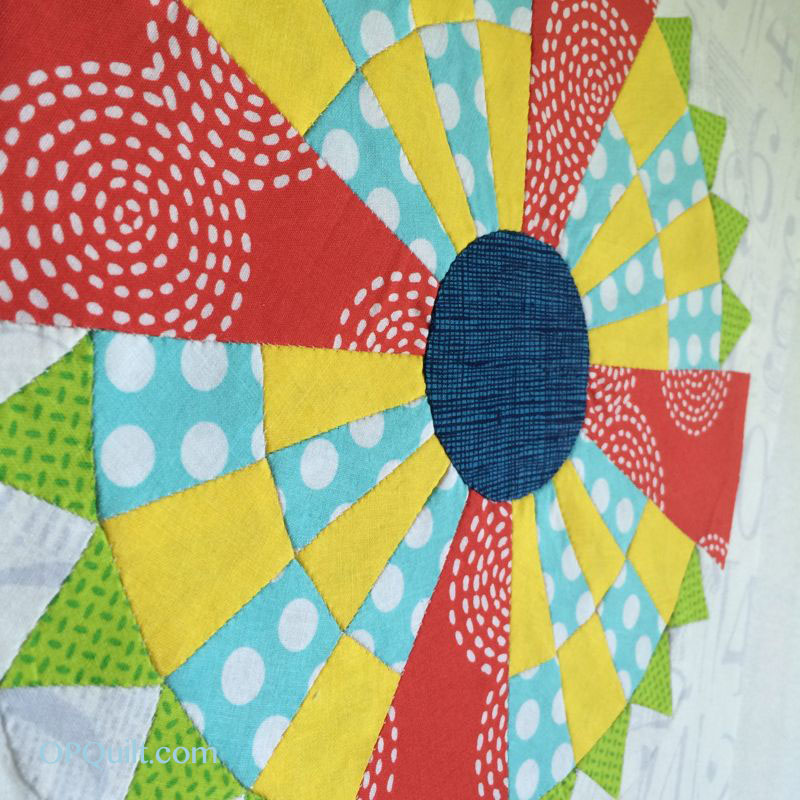
Circle #11: Vintage Test Pattern

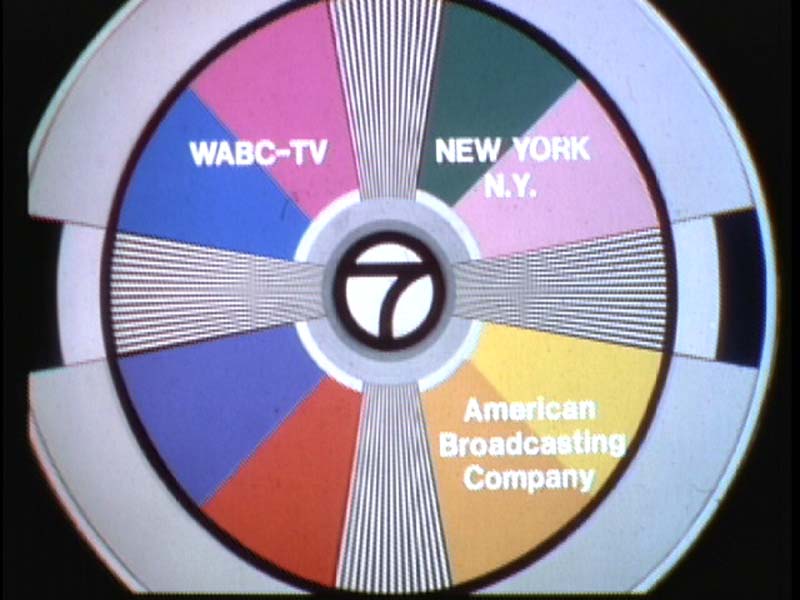
This is the eleventh block in a series of twelve circle blocks, conceived and created when I needed another hand-sewing project, and wanted something beyond hexagons.  I had several sources of inspiration for this one:

Vintage TV Test Pattern

TP-WABCcolor

2012-Ma-June-044

1960s-Color-TP-v1

As a child, I remember these “television test patterns” on the tube when I’d get up too early, before the station had signed on.  And I liked the Greek Cross reference, too, since many of these circles were designs taken from a Greek Orthodox Church in Ljubljana, Slovenia (from our vacation last year).  So I give credit to both sources of inspiration.

The free patterns are now returning (I did not do Red, White & Blue version of this block).  Again, I request that you not distribute them, but send people here to this website to get them.  Click to download a PDF file: 

SHINE Block 11 pattern_opquilt

Please remember to set your printer settings to 100% and check the little scale square included on the pattern.  It should measure 1″ in size. Illustrations below are with the OLD version of the pattern, so it may vary from what’s included now.
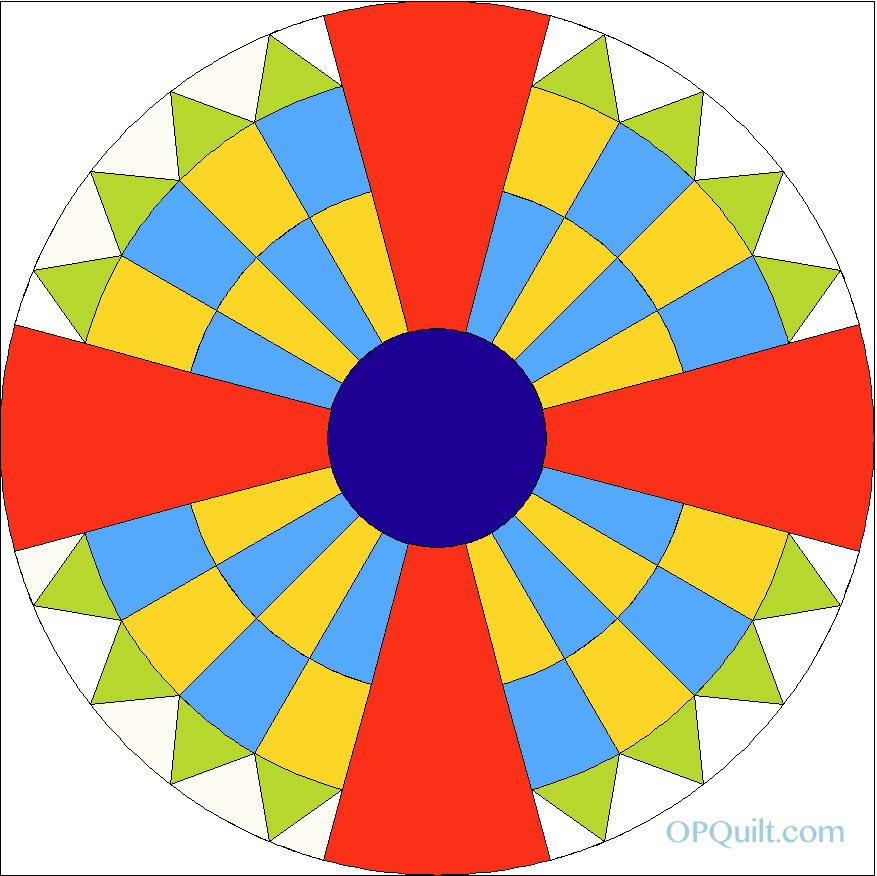
Circles Block Eleven

Here’s the circle drawn up in my quilt software.  I’ve taken to printing out this little color drawing and putting it in a small bag with all the glued-up pieces.  I like referring to the drawing as I work.

Circles 11_1Choosing Fabric

Picking fabrics–I always lay them out.  I jumped the gun and cut the cross-bars early, as I have another circle with that fabric and while I wanted these circles to be different from one another, I still wanted them to be able to have a conversation, so I repeat fabrics here and there.  When you cut out your center circle piece, cut it about 1/4″ bigger than it is.  See Circles #10 for some tips on the center circles.

Circles 11_2points layout

Once I got all the little points around the top of the circle printed out, I noticed that it would be hard to figure out where the “curve” of the triangle was, so I drew little arrows on every one of them.  As it turned out, I was okay about figuring out how they went, but if you think you might need the extra assist, do it now.

Circles 11_3glued points and rays

Kind of looks like a tomato with leaves.

Circles 11_4 pieces laid out

As is my habit, I lay out all the glued pieces for one final check before I start sewing them together.
IMG_4762

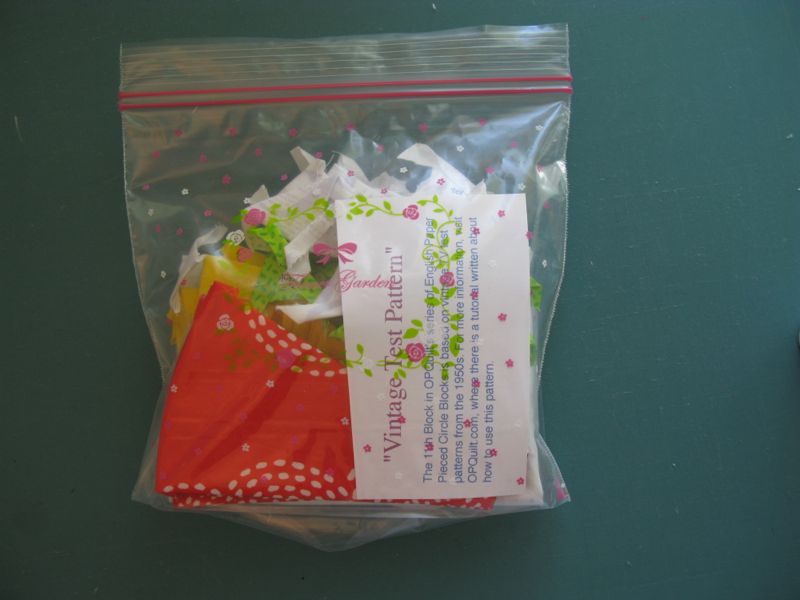
Then I loaded them all up in my little bag with the drawing and went outside to the patio to stitch, while listening to my audio book.

the-last-chinese-chef-cover

This time it was The Last Chinese Chef, and I was craving Chinese food by the time I finished listening to this.  But not Americanized Chinese food; I wanted the food in the book.
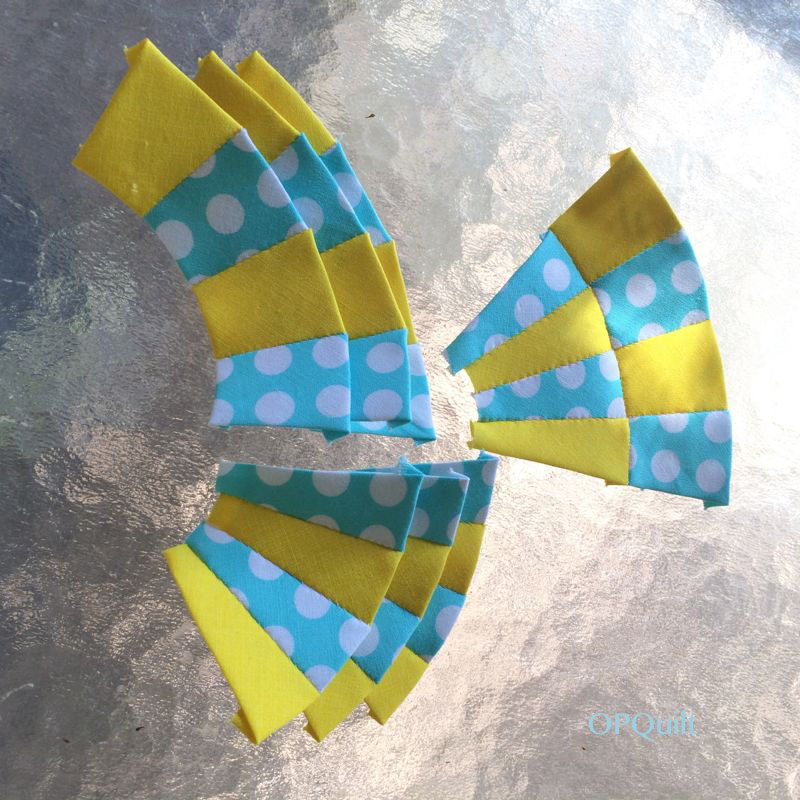
Circles 11_5 first units stitched

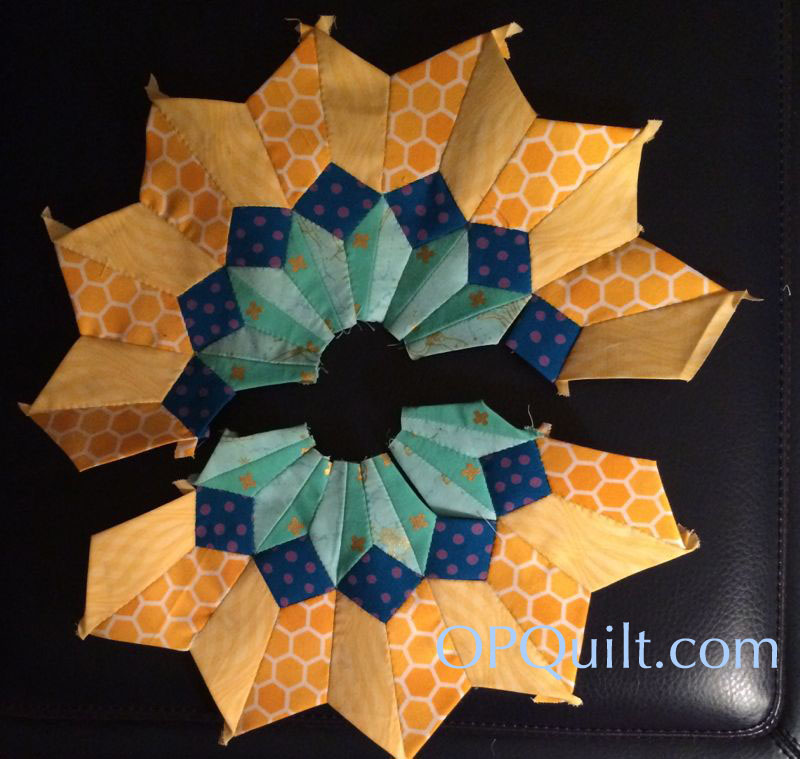
Stitch the upper row sections together, then the lower, then join them, keeping those seams aligned if at all possible.  Notice that I have not glued down the lower edges of the lower section to their papers (the innermost part of the circle), as I want to appliqué the center circle onto the piece, and it’s a lot harder if I’ve folded the edges and glued them down.

Circles 11_6 more bits laid out

Then, line up four green triangles with their curved edges at the bottom, and the points that go in-between them (three pieces). Lastly, lay the half-triangle on each side.  NOW sew them together.  You don’t want to be sewing on a full-triangle on those outer edges; ask me how I know.
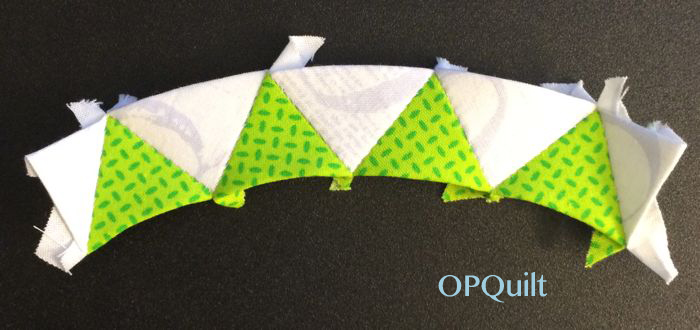
Circles 11_7 crown stitched

When sewn together, it should look like this.  It’s now after dinner and I’m inside, still listening, but sewing by lamplight, instead of by sunlight.  I couldn’t stop listening to that book, nor stop sewing.  These get addicting.

Circles 11_8 crown onto first unit

Join a checkerboard unit to the triangles unit.

Circles 11_9 rays to first units

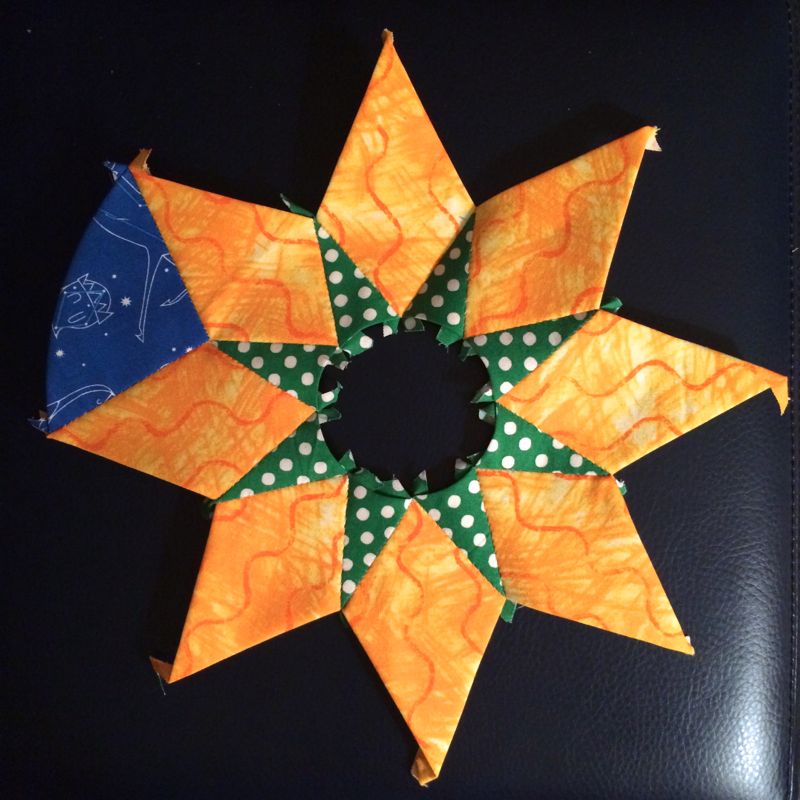
Then stitch one of those ray-sections to the checkboard units, making sure you are attaching it to the same side on all four units. In this photo you can clearly see the raw fabric edges of the lower checkerboard pieces.  Sew together two of these units, then sew those two units together to create a full circle.  At this point, you can remove all the papers, except any that are at that outer edge.  If the papers are hard to slip out because they are glued, use the tip of your small scissors or a stiletto to loosen the fabric (so you won’t have to tug and pull).

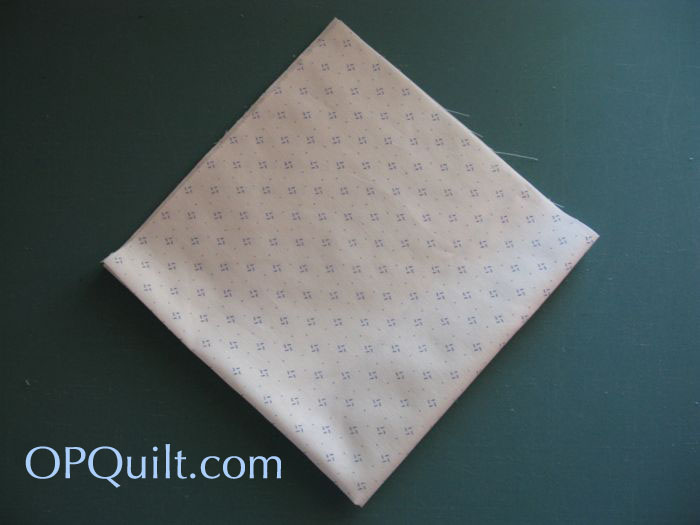
Cut a 14 1/2″ square of backing fabric.  Yes, it is bigger than the circle, but I want to make sure I have enough to work with when I figure out how I’m setting all these together.  (I have no clue at this point!)  Now it’s decision time.  This version, with the red rays arranged North-South-East-West, or. . .

Circles 11_10 OPQuilt

Circles 11_ 10aAlternate Circle

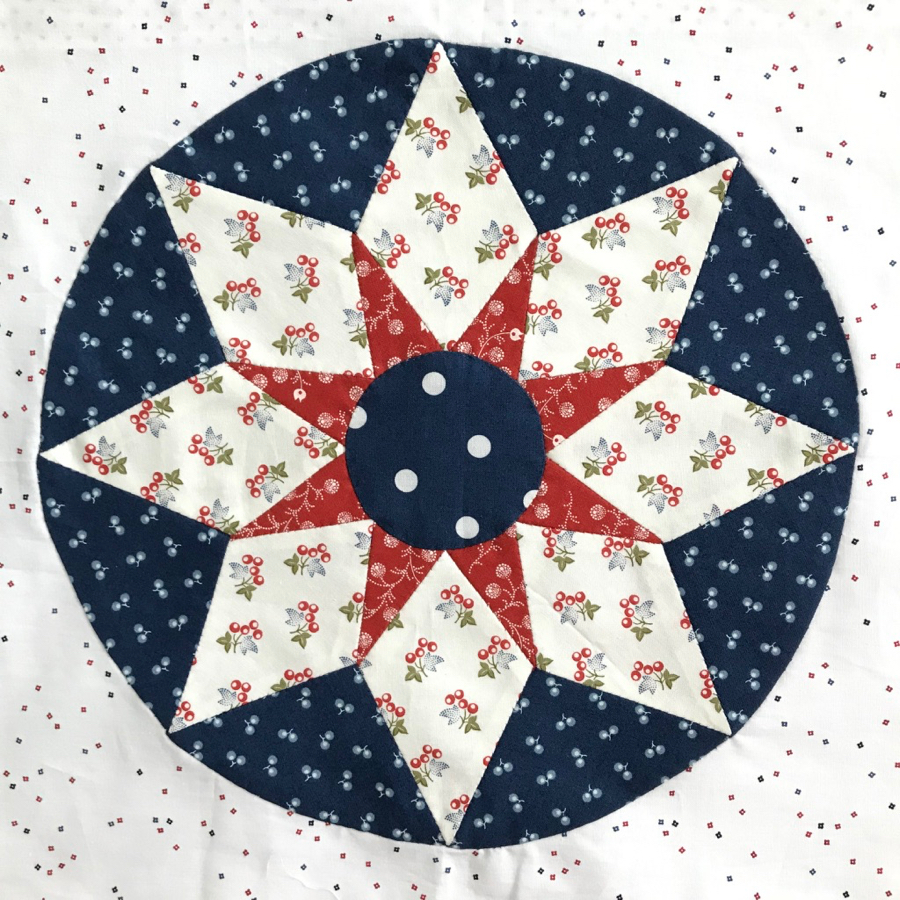
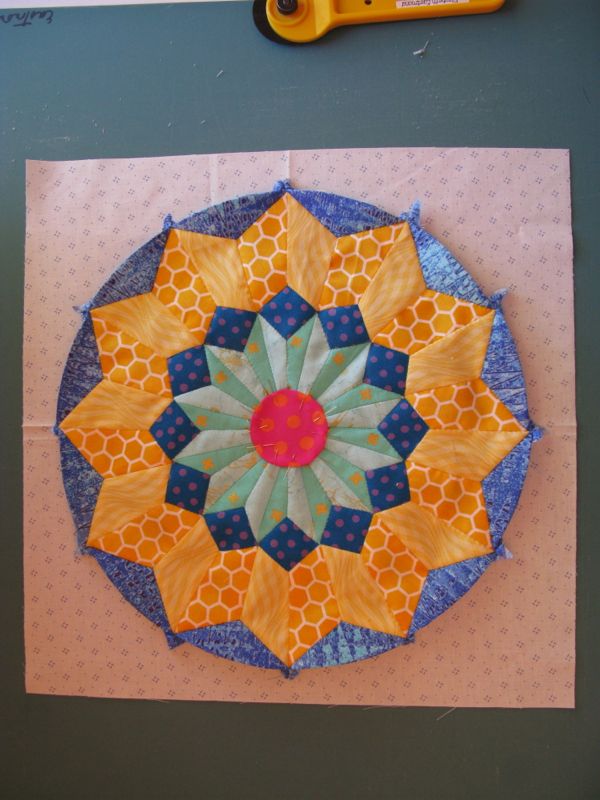
. . . this version, with the rays arranged like a flower?  I marked the centers of my large backing square, and set down the circle, pinning it for appliqué.  I went with the traditional version (North-South-East-West).

Circles 11_11 OPQuilt

Cut away the backing fabric, leaving a 1/4″ seam allowance. I love these little Karen Kay Buckley scissors, as the tips have little teeth that grip the fabric, holding it while trimming even the smallest bit of fabric.
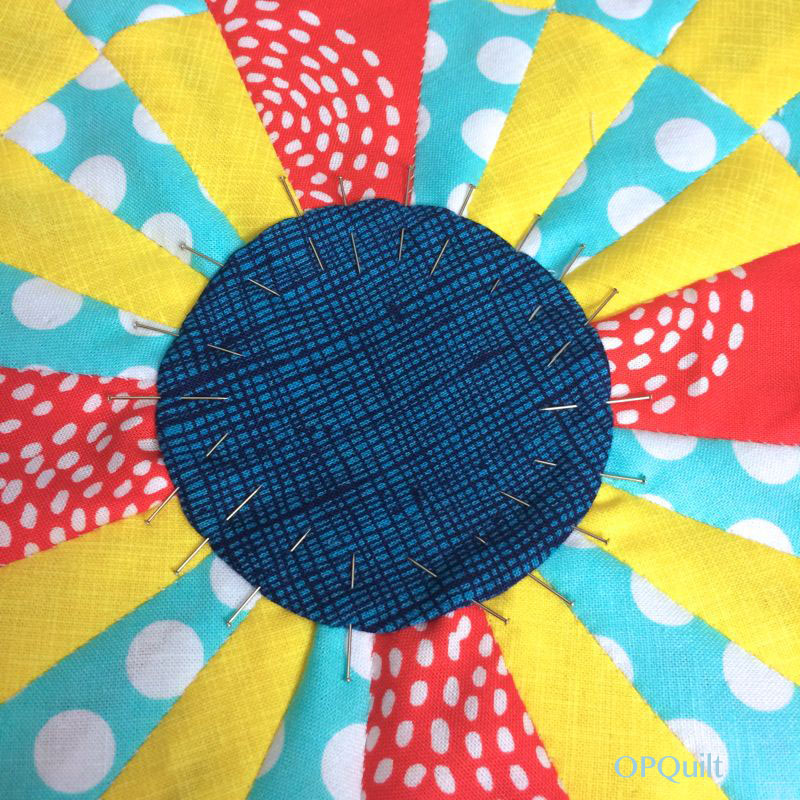
Circles 11_12 OPQuilt

Pin on, then appliqué the center circle.  See Block #10 for some appliqué tips.  I should have placed that “weave” pattern aligned straight up and down, but instead I just slapped it on.  As a result, I always want to tip my head to the side when looking at the center circle.  I’m sure no one else will notice (well, now you will) so I’m not redoing it.  Keeps it real, keeps it interesting.
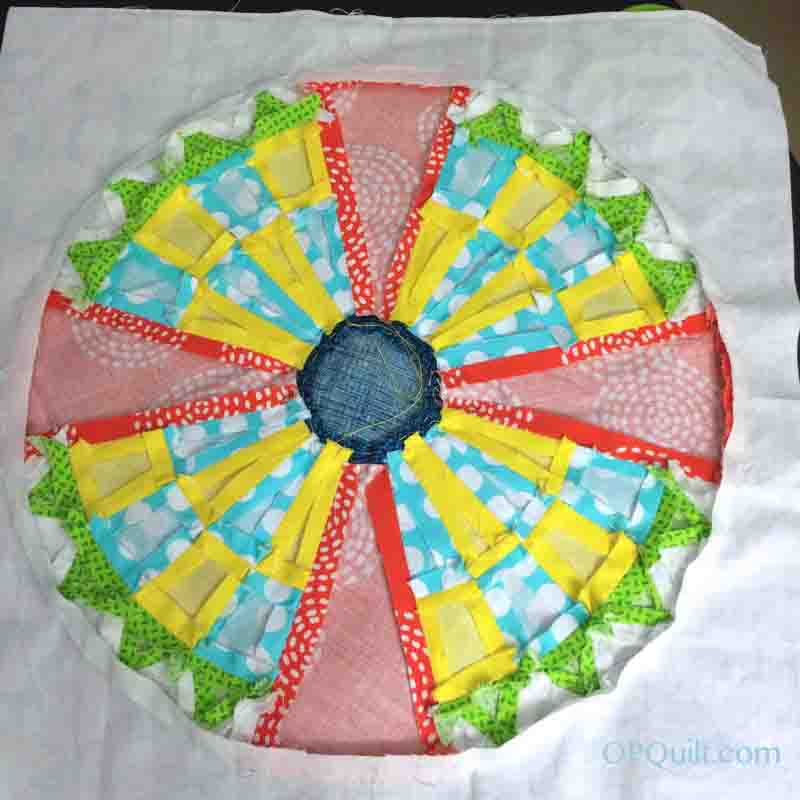
Circles 11_13 OPQuilt

Remove all the papers, and admire your work.
Circles 11_14 OPQuilt

Circles All Eleven by Ironing Board

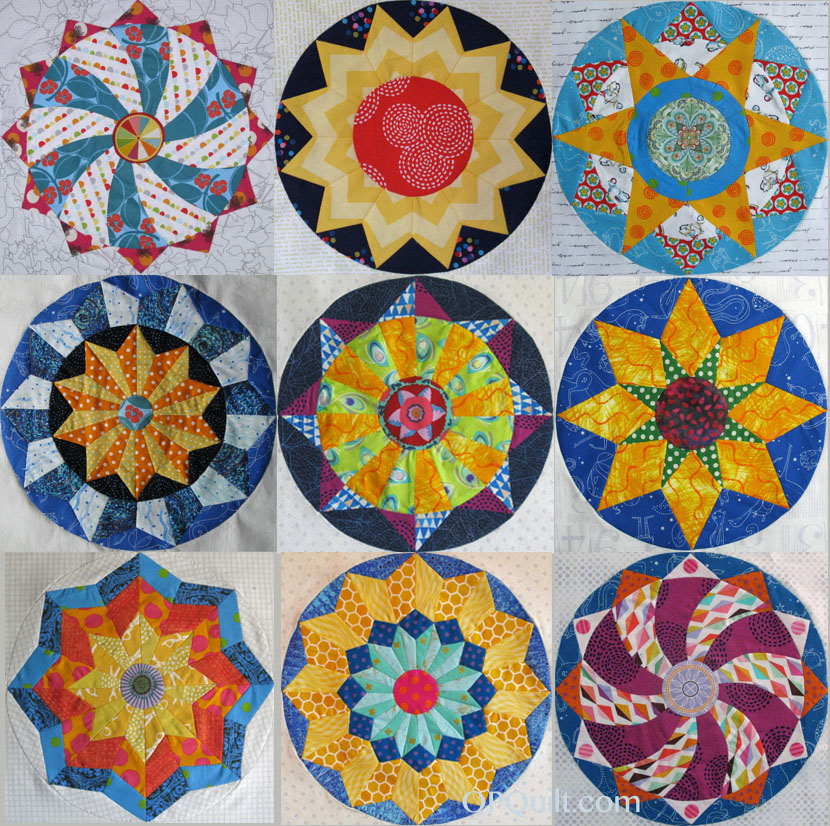
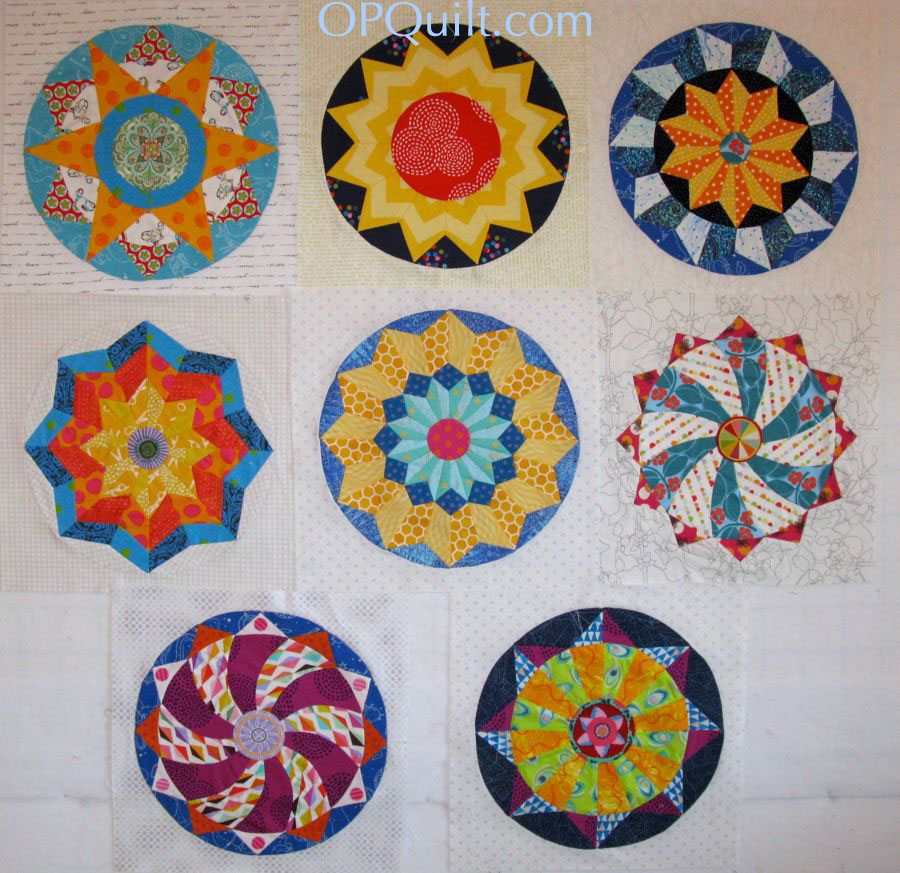
Here are they all are, lined up on an ironing board that is obviously used for other things than ironing.  (Anyone else have to clear off their ironing board in order to iron something?) I think they do play well together! I’m posting this circle block a wee bit early as we have our Quarterly Four-in-Art Reveal in two days, on May 1st.
4-in-art_3

I hope you’ll join me then for our little gallery of art quilts!
EPP · Shine: The Circles Quilt

Circles Block #10–EPP Sew-A-Long

Circles EPP Button


Circles Block Ten_OPQuilt

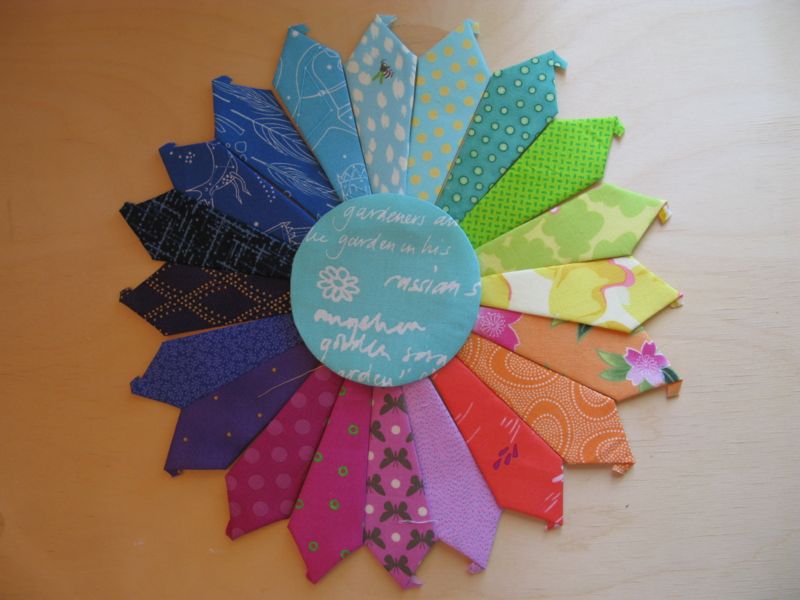
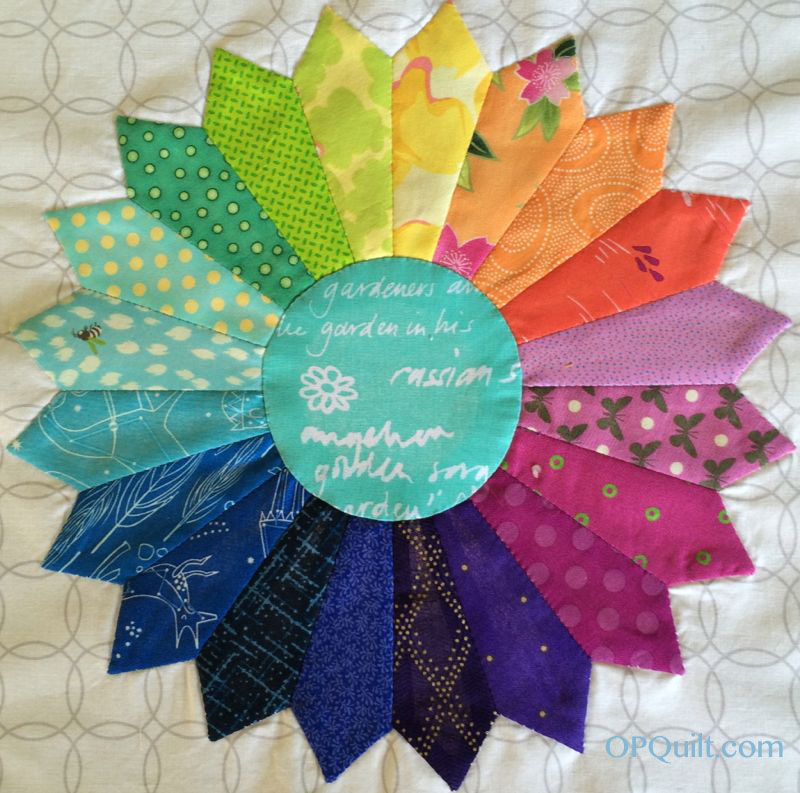
Dresden Plate, Rainbow Style — Circles Block #10

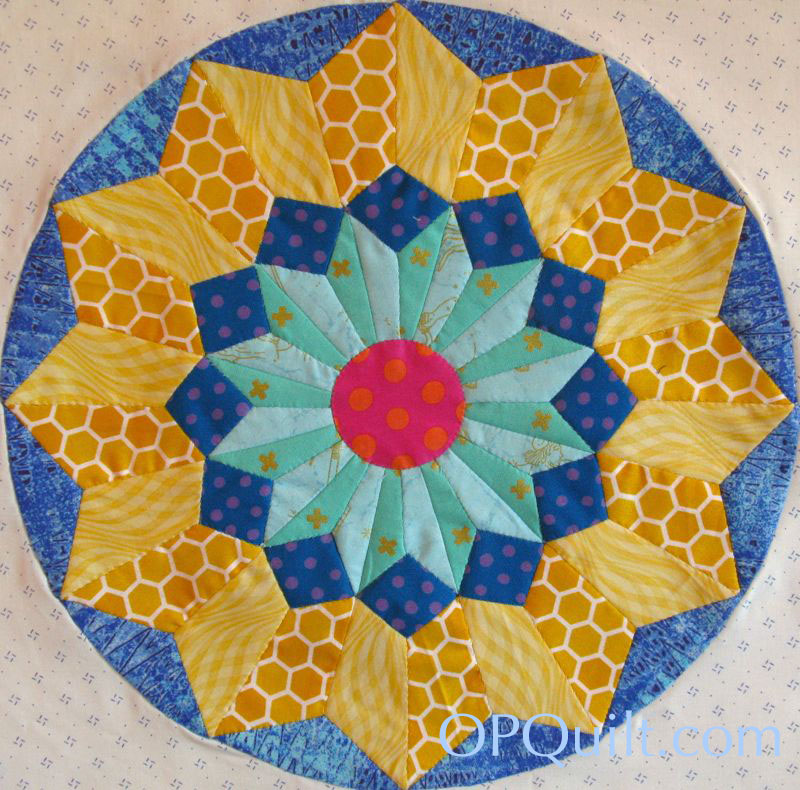
Here we are again, with block ten of the dozen or so blocks I have planned for this series, and I have to say it’s one of my favorites.

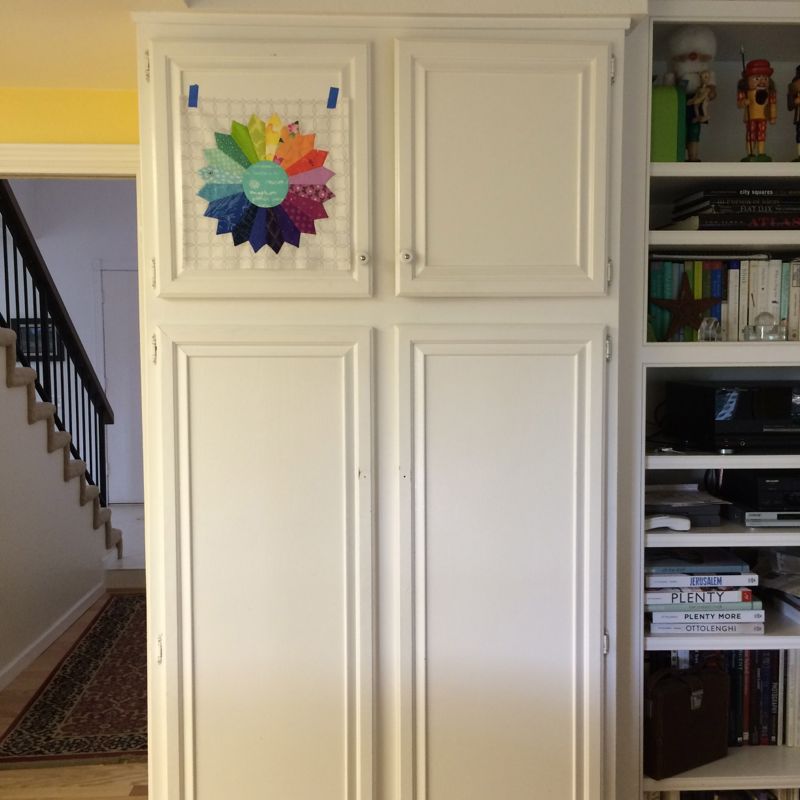
On Kitchen Cupboard

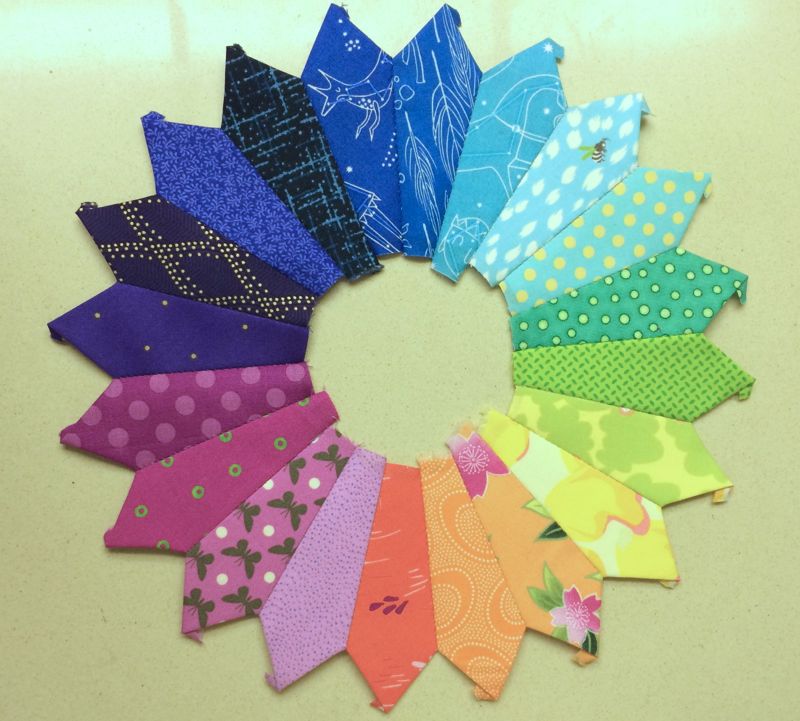
In fact I liked it so well, I taped it to my kitchen cupboard, where I can enjoy it.  My husband says it looks like a winking smiley face.  I just see a rainbow.

Circles Block Ten _Dresden

The free patterns are now returning (I did not do a Red, White & Blue version).  Again, I request that you not distribute them, but send people here to this website to get them.  Click to download a PDF file: 

SHINE Block 10 pattern_opquilt

Please remember to set your printer settings to 100% and check the little scale square included on the pattern.  It should measure 1″ in size. Illustrations below are with the OLD version of the pattern, so it may vary from what’s included now.

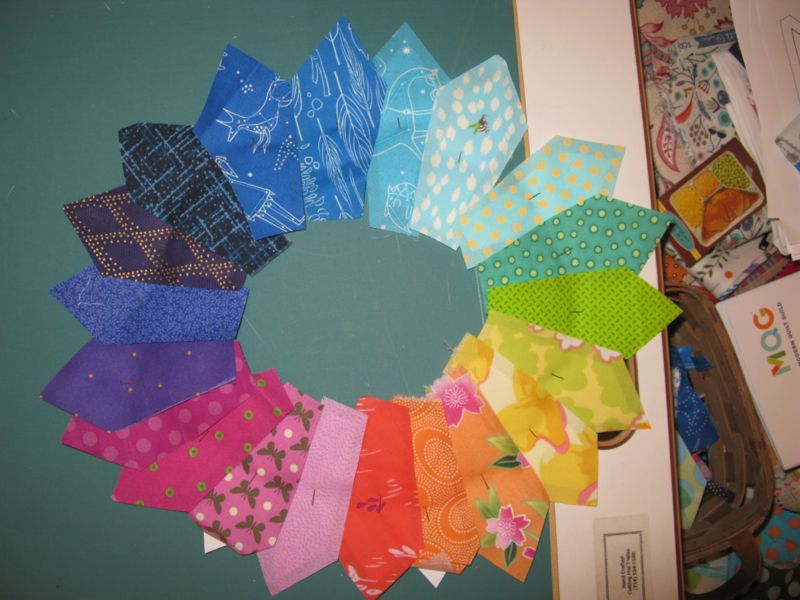
Cut Pieces Laid out

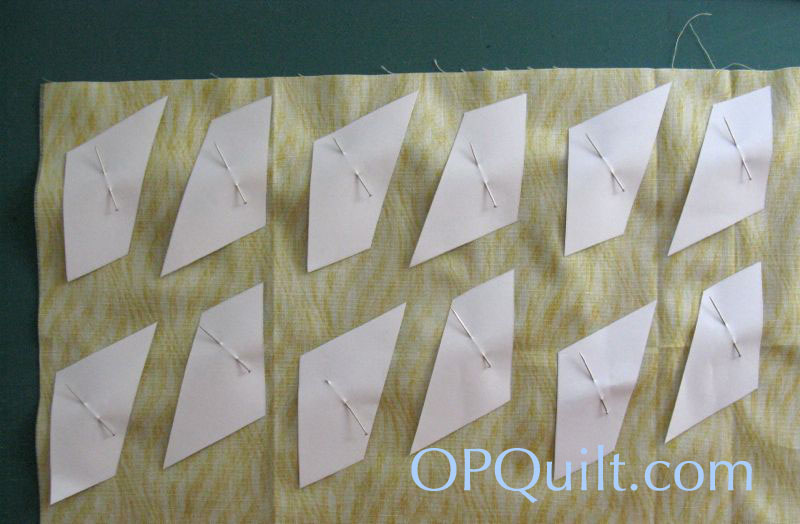
Here’s the blade papers pinned to fabrics and cut out.  I used pins initially as I was checking for a smooth gradation of colors for my rainbow.  Yes, I realized later I’d done the rainbow the reverse of what is normally shown.

Glued pieces laid out

After I liked the arrangement, I used a glue stick and glued them to the papers.  I talk about gluing vs. basting in an earlier circle post, so read back through those to learn about that technique.

Perfect Circles1

The one new thing for this circle is confessing my undying love for Karen Kay Buckley’s Perfect Circle templates.

Perfect Circles2

I have them in two sizes: smaller, and bigger.  It’s what I use for my circles, instead of cutting out the paper pattern. I have learned to punch 2-3 holes in the biggest circles when I take them to my ironing board, in order to let the steam escape.

I choose a circle a little bit bigger than the paper pattern, then lay it down on the wrong side of the fabric, and trace around it.  I then cut about 1/2″ away from the line.  I did talk about the construction of them *here;*  just scroll down to where you see me taking a gathering stitch and pulling it up around the circle, then read on.

Starting at Point

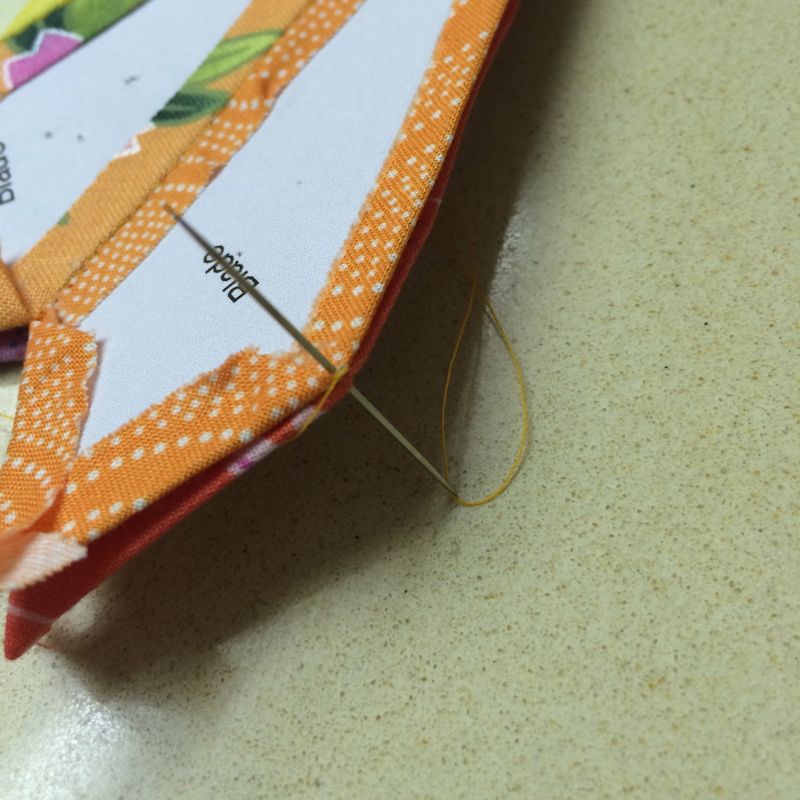
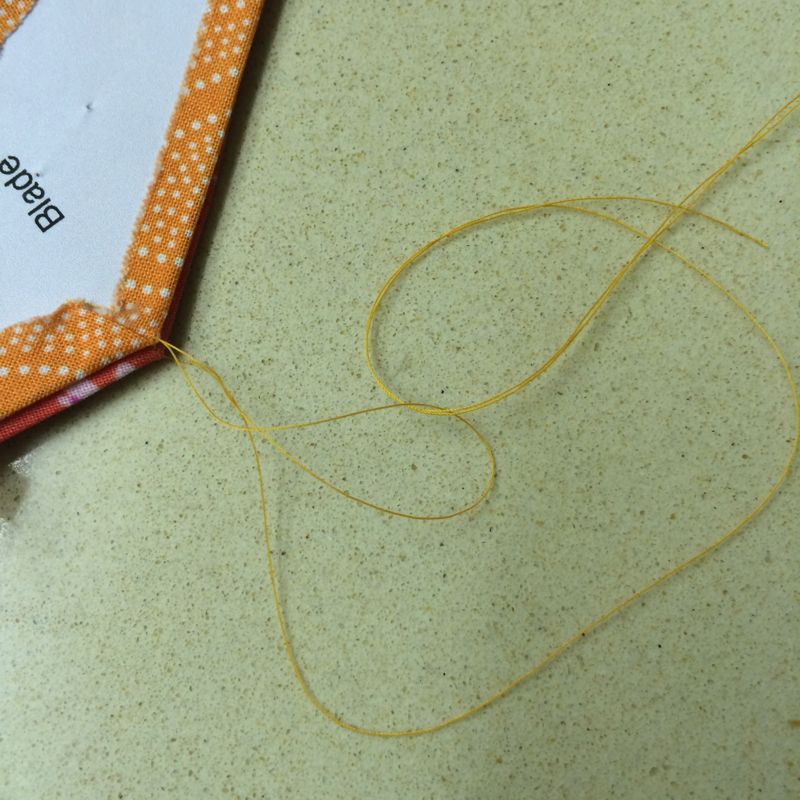
To construct this block, line up the “shoulders” of the upper edges, as shown.  Take a stitch, then loop through it to make it more secure, as shown in the next photo, pulling it snug.

Make an extra loop

EPP Stitching

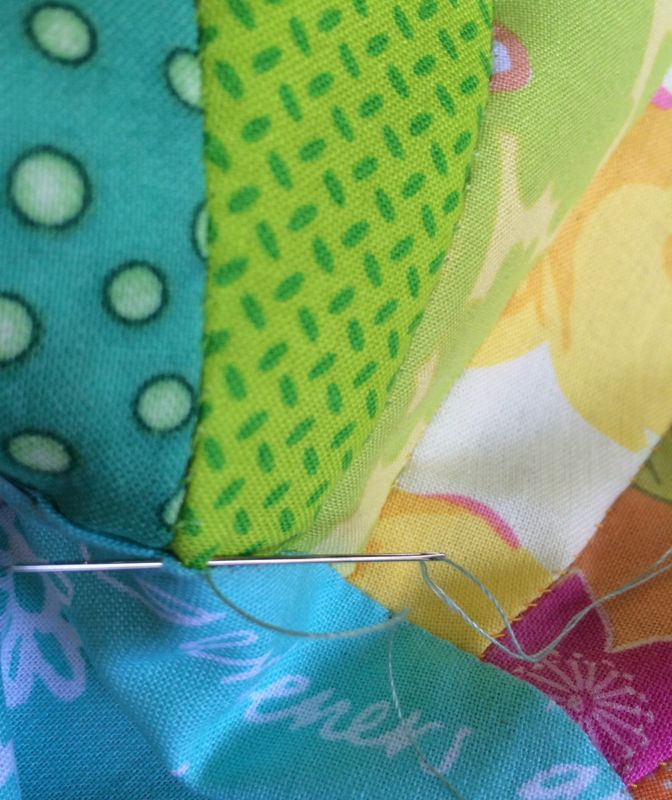
Then keep going, taking tiny “bites” of fabric of each blade, whip-stitching them together.  It goes really quickly.

Pieces of Dresden

I did mine in sections, depending on which thread matched, then sewed the sections together.

Stitched to backing

Cut a 14 1/2″ square for the background, and crease in the centers on all four sides; if you are not near an iron, just finger-press it.  Now it’s Decision Time: Point up, or valley up?  I went with the valley between the two points, but my friend Lisa, who was sitting beside me at quilt guild, preferred the point up.  I tell you this story to say that there is no right or wrong–just what you like. Applique this to the background using a neutral thread.  There’s a trick to good appliqué, and that’s to not have the thread come all the way to the top of what you are appliquéing, but instead kind of split the fold.  Then don’t pull the thread too tightly.  You want it to float on your background, not be nailed to it.  I have a photo below, when I appliqué the center, showing what I mean about “splitting the fold.” (At least I hope it does.)

Cut away backing

After you appliqué the rainbow Dresden Plate onto the back, trim away the underneath, about 1/4″ away from your stitches.

Loosen papers

Using either a pair of small, sharp scissors or the business end of a stiletto, loosen the glued edges, and pop out the papers.

Backing Cut Away

Like this.

Applique split the fold

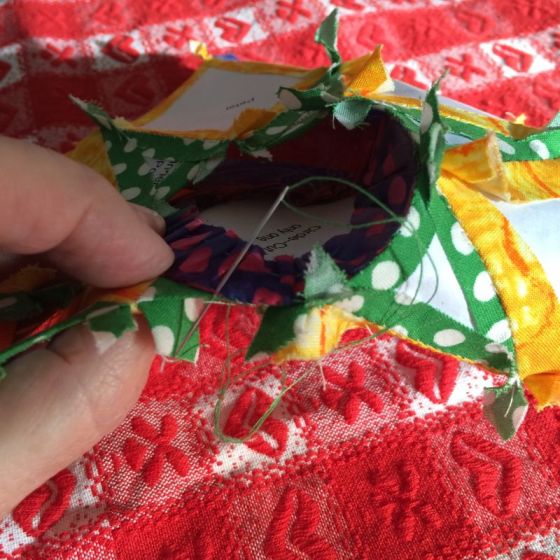
Arrange your circle on your Dresden, pin.  Now appliqué on.  I need to start making my circles a wee bit bigger, because it was a close call on some parts, so I sewed with teensy little stitches in a neutral thread (here: a grey-green).  See how the needle is kind of splitting the fold on that left-hand part of the photo?  You want to try to get a good bite of fabric, but not so the needle comes out on the top.  You want it at the “side” of the piece, if you can think about it that way, like if you were looking at a really flat layer cake–you’d want the needle to come out about where the filling is, not on top where the decorations are.  Don’t pull the thread too tightly. . . just snugly.

Circle on back view

Whew.  Some of those seam allowances are barely a quarter-inch, but my stitches are tiny and the center will hold. (Quick! which poem is that from?***)

Circles Block Ten_OPQuilt

Here’s your completed block.  Why a Dresden block?  Doesn’t every circle quilt need one?  I’d been making them for my bee groups.  We used *this tutorial* and sewed them on the sewing machine (although I used my version of the centers, and machine appliquéd them on), but truthfully, sewing them by hand didn’t take that much longer.

dresden plate_Opquilt

First, Rene’ had us make one in blues and greens.

2015 MCM March w0 label

And then Cindy had us make one in bright colors, so how I could I resist?

Ten Circles

And then there were ten!

˚˚˚˚˚˚˚˚˚˚˚˚˚˚˚˚˚˚˚˚˚˚˚˚˚˚˚˚˚˚˚˚˚˚˚˚˚

***  The poem is from Yeats, and he actually said the “centre cannot hold,” but your lovely hand-stitched center will.  Here’s the first part of his poem, and although I analyzed it to death when teaching it to my students, I still barely get the whole meaning, but it does have to do with the horrors of our twentieth century.  It’s pretty scary out there.  Too bad Yeats didn’t do English Paper Piecing.  He might have felt better about things.

THE SECOND COMING, by William Butler Yeats
Turning and turning in the widening gyre
The falcon cannot hear the falconer;
Things fall apart; the centre cannot hold. . . . .

EPP · Shine: The Circles Quilt

Circles Block #9–EPP Sew-A-Long

Circles EPP Button

EPP Circles Block 9_OPQuilt

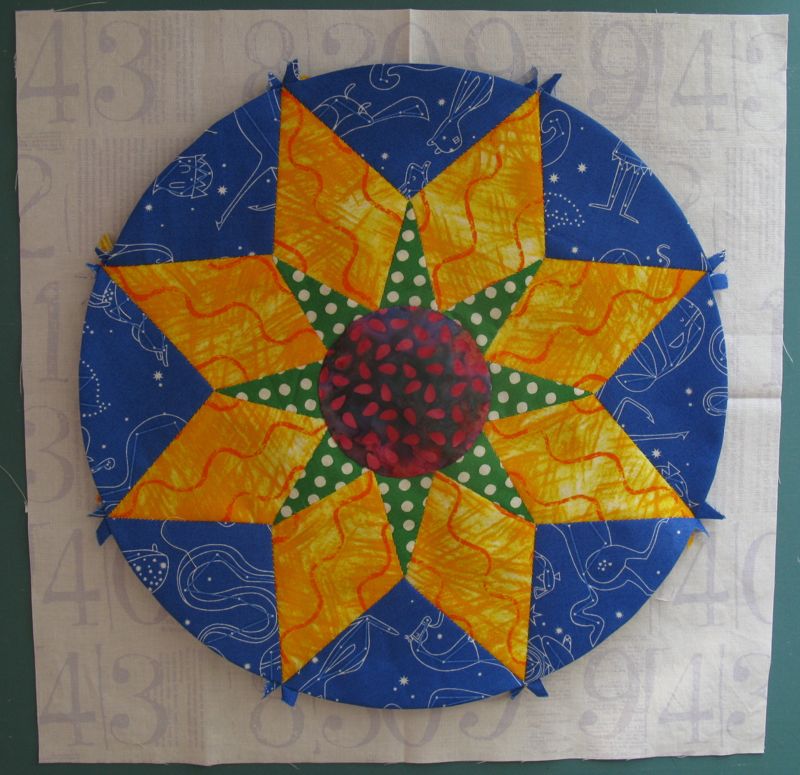
Sunflower, Circles Block #9

This is the ninth circle in a series of free English Paper Piecing (EPP) patterns available here, on OPQuilt.com.  I began the series because I needed another hand-piecing project and was tired from all the geometric shapes in the recently finished quilt, Kaleidoscope.

EPP Circles Block #9

RWB SHINE_9

The free patterns are now returning (Red, White & Blue version is above).  Again, I request that you not distribute them, but send people here to this website to get them.  Click to download a PDF file: 

SHINE Block 9 pattern_opquilt

Please remember to set your printer settings to 100% and check the little scale square included on the pattern.  It should measure 1″ in size. Illustrations below are with the OLD version of the pattern, so it may vary from what’s included now.

Print four copies of this page at 100% scale, then cut them out, but cutting out only one circle.  Sometimes I’ll staple them together and then cut them out, but they do shift slightly, if that bothers you.  Now that the business is out of the way, this was the easiest circle yet. . . and the hardest.  Easiest because there are fewer pieces, and they go together quickly.  Hardest because of that dumb center circle, which I tried to ease in a la EPP-style.  Mistake.  But remember that I make the mistakes so you don’t have to.

Circles9_Fabric Choices

Picking out fabrics.  Yes, these do change as you go, but since there are fewer moving parts to this circle, it was easier.  I always wait until the last minute to choose the center circle.

Circles9_layout

I print out on 24 lb. paper, which is slightly heavier than regular computer paper, so I have good luck with just gluing my fabric seam allowances to my pieces.  I explained this on Circle Block #8 if you want to take a look.  There’s something new on every circle block so far.  What’s new on this one?  Keep reading.

Circles9_piecing

I’d say this is the faster circle yet.  All these pieces went together lickety-split.

Circles9_center star

Circles9_piecing2

Adding the outer blue wedges was easy, too.

Circles9_stitching on inner circle

Now I’m starting to add the center circle.

Circles9_stitching on inner circle2

Circles9_inner circle FAIL1

Whoops. What a mess.  Now I’m taking out the center circle.

Circles9_inner circle basted down

Now I’m starting again to add the center circle, this time basting the circle into place.

Circles9_inner circle FAIL2

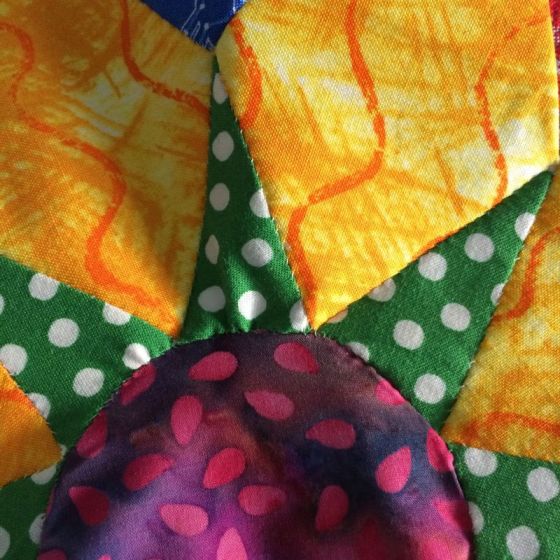
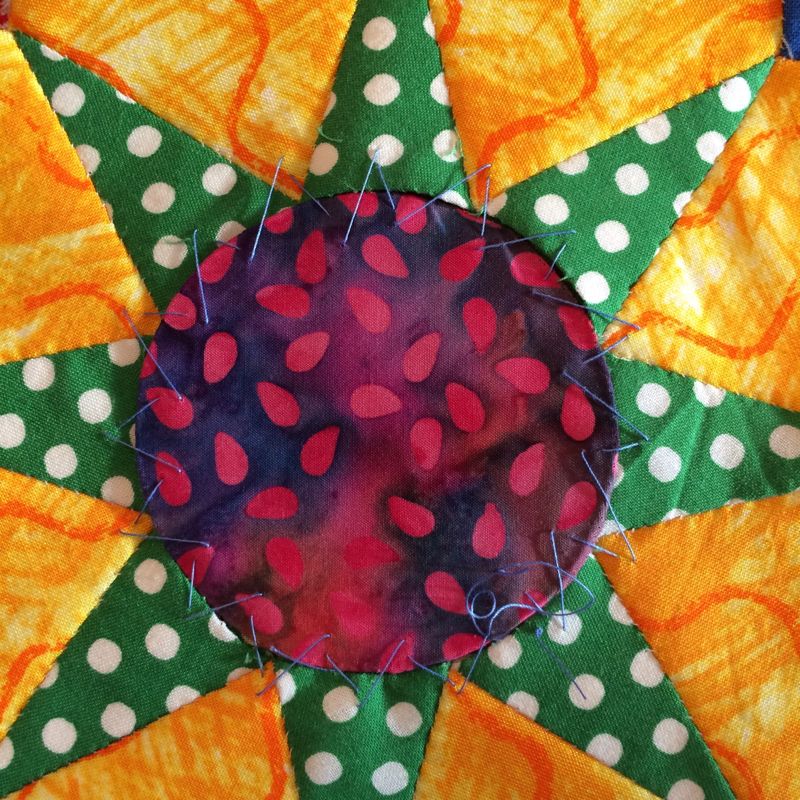
Now I’m taking OUT the center circle and doing what I should have done in the first place: appliqué the center circle onto the sunflower.  That’s the something new.  Don’t try and force your EPP.  If it’s not working, move to a different technique.  I had no problem with the Christmas Star block, but this one looks hacked-up, messy, bleh bleh bleh.  Sigh.  It looks much better now that I’ve appliquéd it on.

Circles9_Background markers

For the background, cut a 14 1/2″ square, then fold in half and half again to find the centers; lightly press the marks (shown above).  I love this fabric!

Circles9_AlignmentA
Circles9_AlignmentB

Decision time: Point UP? (top photo) or Wedge UP?

Circles9_loosening seam allow

Before attaching the circle, make sure you’ve popped out all your interior papers.  In the photo above, I’m using a stiletto tool to loosen the glue.  I leave in the outer wedges as it’s easier to appliqué the circle onto the backing with those outer papers in.  I take them out one by one, or you can just leave them all in until you cut away the backing, then pop them out.

Circles9_star pinned on

I decided Point UP.  I’ve pinned down the circle, and after hand appliquéing it on, I’ll cut 1/4″ away from the appliqué line, and cut off the backing to be used for another project.

EPP Circles Block 9_OPQuilt

And there it is!  Another fabulous circle.
Nine Circles

And then there were nine.  I guess you could stop here, but I do have three more . . . see you next month?

EPP · Shine: The Circles Quilt

Circles Block #8, EPP Sew-A-Long

Circles EPP Button

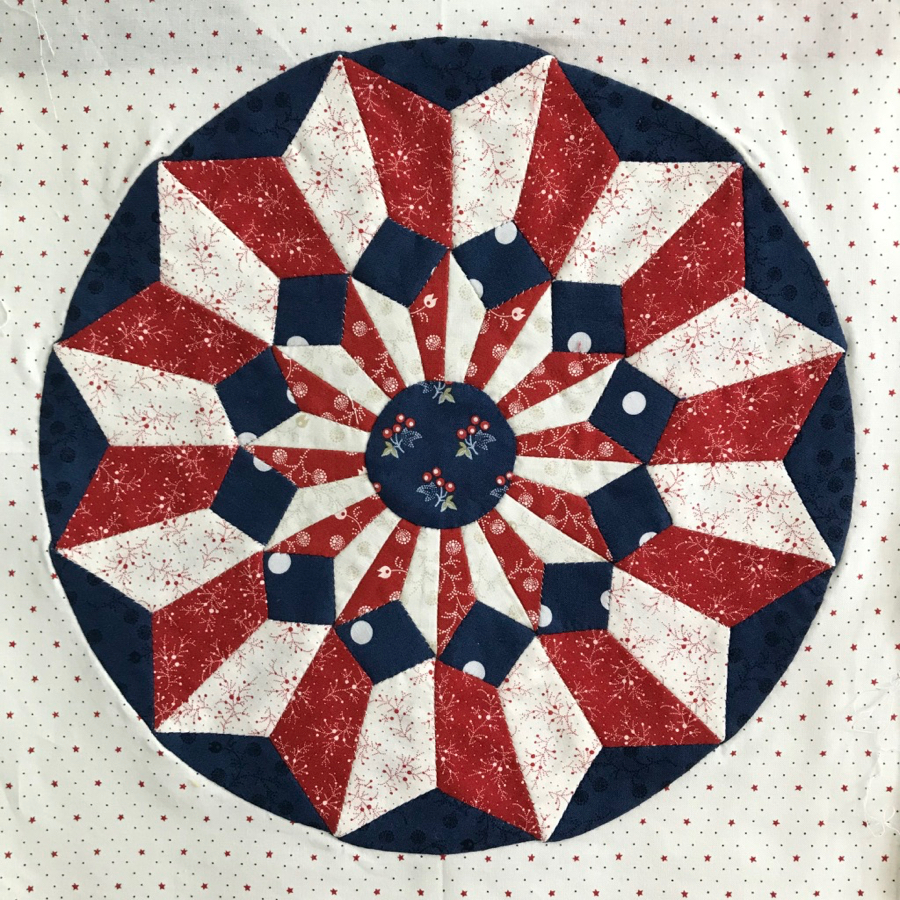
Circles Block 8_OPQuilt1

This is Circles Block #8 of my EPP Circles Block Sew-A-Long.

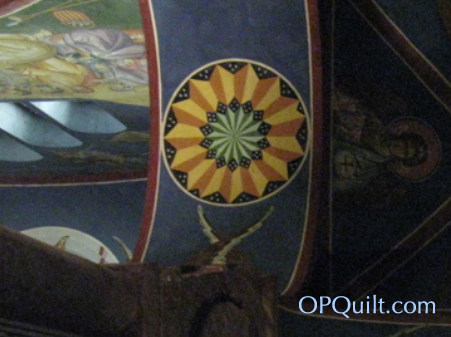
Circles

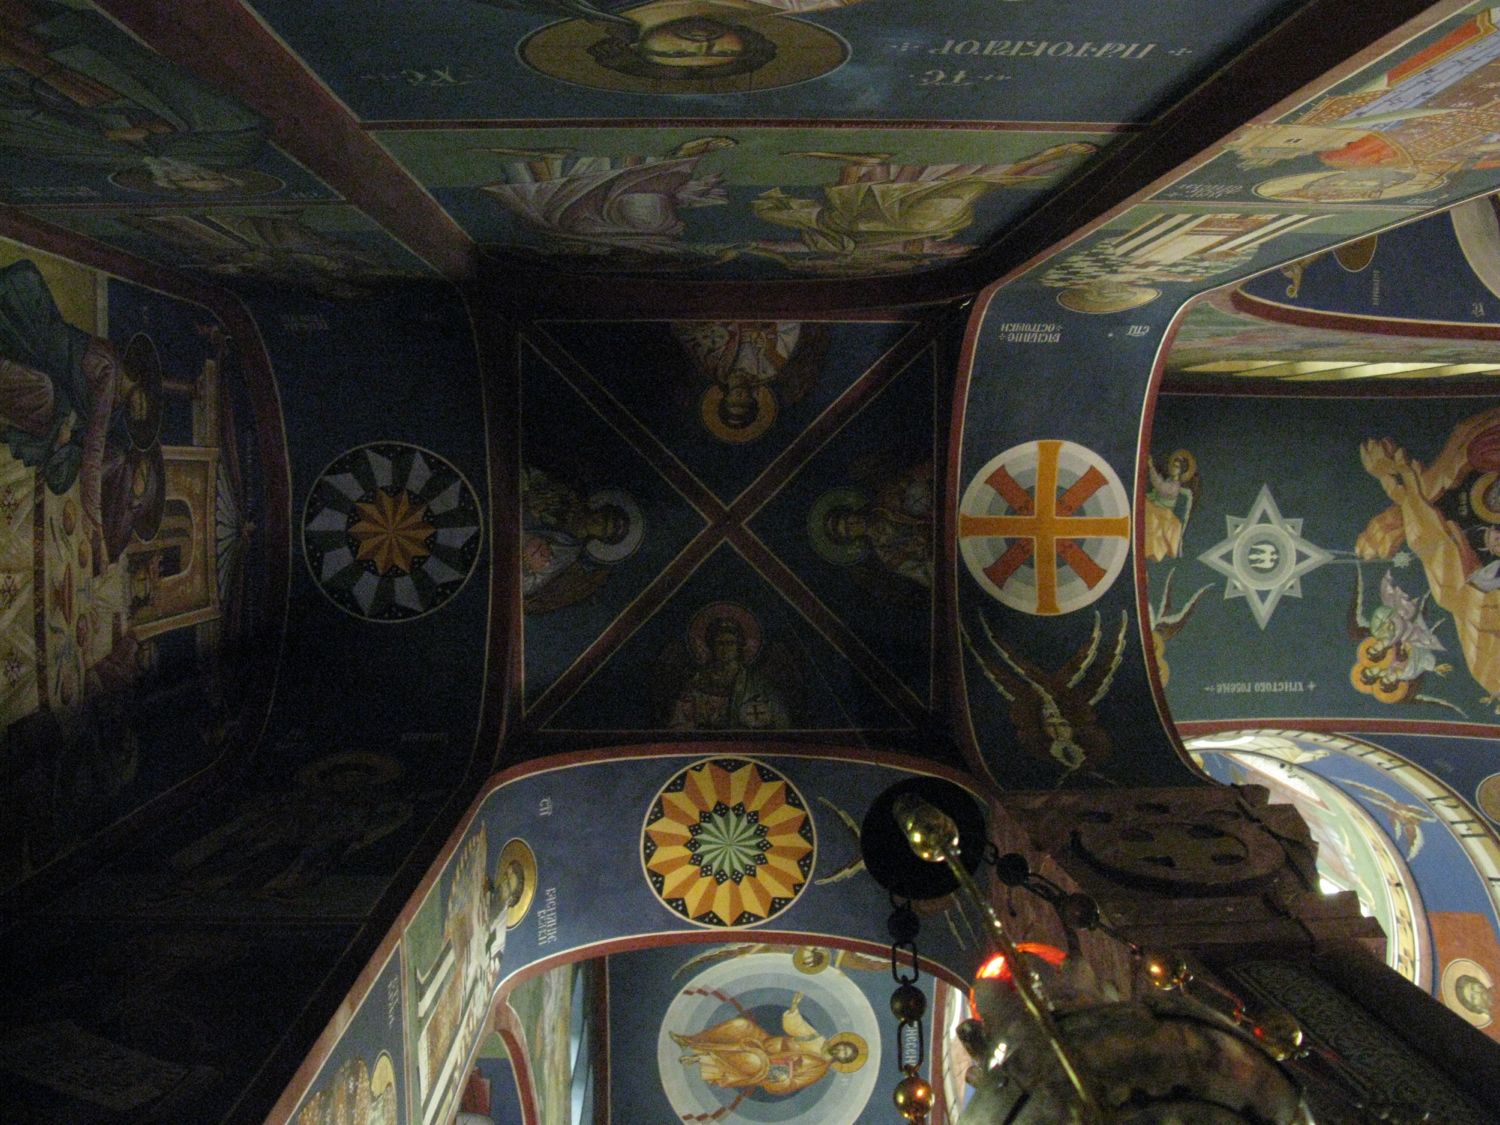
It all started way up there on the really tall archway in the church in Ljubljana, Slovenia where I first spotted this lovely circle.

Circles Block_Ljubljana

 I just had to have it.  And my sweet husband helped me out by giving me Electric Quilt 7 for Christmas–the version that works on a Macinstosh.

Circle 8 block_EQ drawn

I got to work and failed miserably.  Then I got back to work and learned a few more things, and a few more things after that and above is the result. Since I have a lot of experience on QuiltPro (which I still use) I didn’t find it hard to figure things out, Googling for specific instructions when I became stuck.  I went on to design all the rest of the circles, completing the set of twelve, but you’ll have to wait for them, as I haven’t stitched them up and I like to do that before giving you the patterns.

RWB SHINE_8

The free patterns are now returning (Red, White & Blue version is above).  I request that you not distribute them, but send people here to this website to get them.  Click to download a PDF file: 

SHINE Block 8 pattern_opquilt

Please remember to set your printer settings to 100% and check the little scale square included on the pattern.  It should measure 1″ in size. Illustrations below are with the OLD version of the pattern, so it may vary from what’s included now.

Circles Block 8_pattern fits onto circle

I must admit to being a bit nervous about this new process, so I drew up a circle and then tried to fit the pieces into it, making sure that they were all the same size as the other circles.

Circle Blockk 8_New EQ pattern

And then I didn’t like how the pattern looked, so I went and redrew it (you have the latest version).

Color Variation 2_OPQuilt

Remembering the nightmare of trying to get all those points to fit into the center on a previous block, I added a small circle, and changed the pattern to the one you have now:

Circle Block 8_cutting out pattern

For this project, I used 24 lb. paper, a bit heavier than the usual copy paper (which can either be 18-lb. or 20-lb)  Print off the patterns, then stack them carefully.  Staple the pages together around the pieces, not through them.  As you cut, using either scissors or an old non-fabric rotary cutter, the pieces will be free of the stapled background when cut out. I don’t usually staple more than four pages together.  Note: Even if the bottom papers slip slightly, and don’t appear to be cut exactly on the line, the patterns are still accurate.

Circle Block 8_layout of fabric

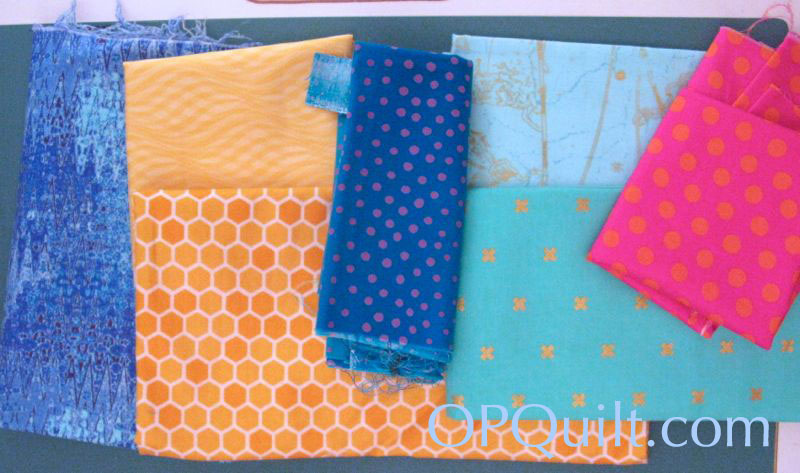
Laying out the fabrics. This was the easiest one yet.

Circle Block 8_small points trick

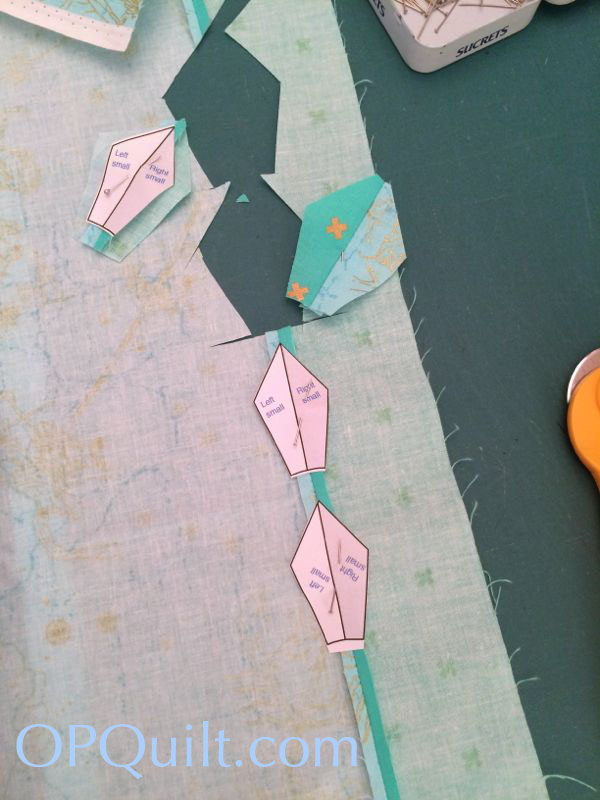
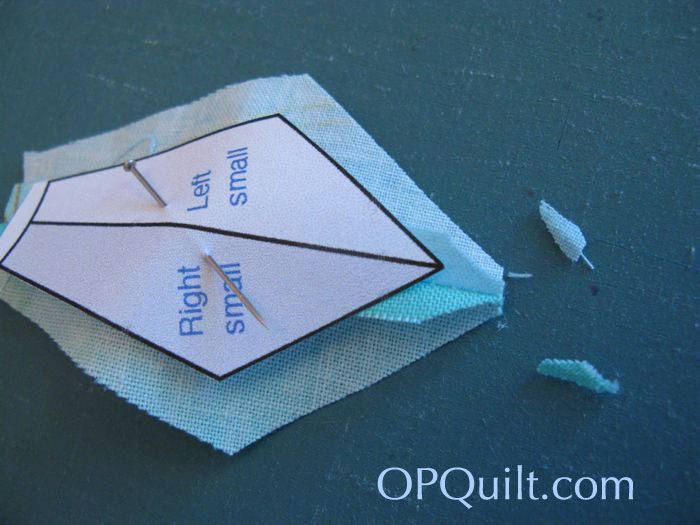
I also used the technique of seaming together my two fabrics, then cutting out the pattern piece, lining up the center lines.  I’m not a purist–I don’t need everything to be hand-sewn and doing this step this way will make your circle more accurate and save you a lot of headache.

Circle Block 8_trimming sa

Trim out the seam allowances at the tip.

Circle Block 8_layout of pieces

I sometimes get confused whether the pieces should go printed side up, or printed side down, so my usual recommendation is if they are bi-directional — meaning it doesn’t matter — then it doesn’t matter.  But if you need your yellow on one side and your gold on the other and you don’t want to have to figure it out, then put the printed side down, for that’s how you see it.

Circle Block 8_using a glue stick

I tried a new-to-me technique this time: glueing down the seam allowances.  I had purchased the narrow glue stick for the The New Hexagon Millefiore Quilt Along and thought it was time to learn a few new tricks.

Circle Block 8_glue tecnique

I’d read that it was not a good idea to go all the way to the edge of the paper when glueing, that it was better to leave a small bit unglued.  Then I just smoothed the seam allowance up over the glue.  It was easier to keep the pieces centered (sometimes I put a dot of glue on the piece before putting it down, but not always) and I love how they look.  (And it saves time and energy and my hands!)

Circle Block 8_pieces all glued laid out

I laid out all the pieces and I liked what I saw.  With the glue stick, I wasn’t too worried about re-doing any pieces as it was so quick and easy.

Circle Block 8_beginning piecing

I first sewed the gold/yellow together, then added the blue diamondish-square (I labeled it as a square, but it is slightly wonky).

Circle Block 8_middle of piecing

Then I added two blue sections to that one, then started joining them all together.

Circle Block 8_interim piecing

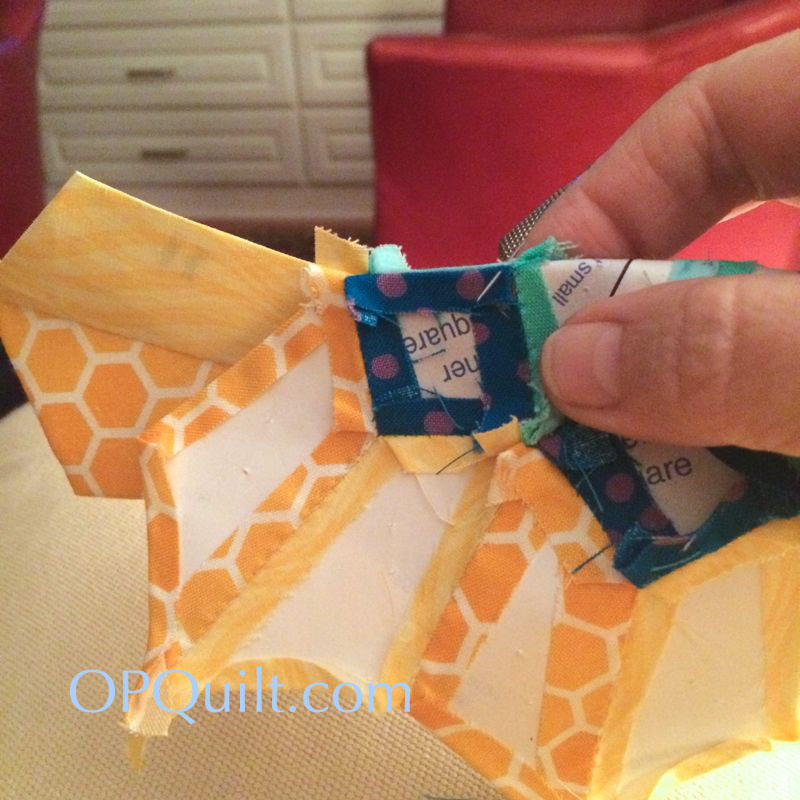
Sometimes there is some interesting bends that go on while working.  Every once in a while a seam allowance would work itself loose from the paper but I treated it like an envelope: I licked the paper and stuck back the seam allowance.

Circle Block 8_interim2 piecing

Circle Block 8_interim3 piecing

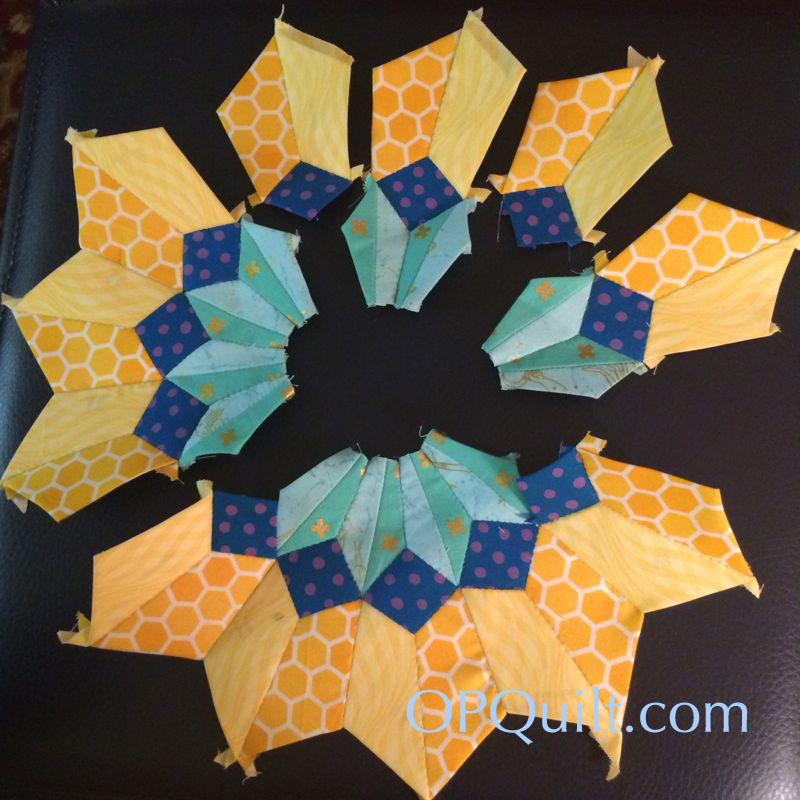
The above photographs show the steps in how I sewed this together: pieces, then small sections, moving along to the larger sections.

Circles Block 8_back with papers

Ah.  The best sight in EPP-land: all the papers on the pieces, from the back.

Circle Block 8_papers popping out

Time for the $64,000 question: can you get the glued papers off the circle block? Yes. Here you can see they are starting to pop off already.  Sliding a seam ripper or a stiletto point between the fabric and the paper can also help loosen stubborn spots.

In my new project, I am now working with the cardstock versions of the papers for the Millefiore quilt and I’m sure the answer is the same, but they do seem to stick more to the rougher surface of the cardstock, with no papers trying to escape, like mine are, above.

Circle Block 8_detail center circle

I like to appliqué on my center circle as I think it is a cleaner business (shown here from the back).  I use really teeny stitches and stitch length, putting way more stitches in there than I do for regular appliqué, as it stabilizes the whole block and anchors the center.

Circle Block 8_detail background

As usual for these blocks, cut a 14 1/2″ square, fold it into fourths and press lightly so the creases can serve as registration marks for centering your circle.  Here’s your choice: point at the 12 o’clock mark. . .

IMG_4418

IMG_4417

. . . or not?  Try them back and forth until you settle on one.  There is no wrong or right — just what is best for your block.

Circles Block 8_EPP_OPQuilt

The block looks more relaxed with all those papers out.  I loved fussy-cutting the X in the aqua, and love-love-love this circle.

EPP 8 Circle Blocks_OPQuilt

So here they all are–aren’t they fine looking?  Until next month, happy EPP-ing! If you finish any of your circles, send them over and I’ll do a post.

Circles Block 8_OPQuilt1