300 Quilts · Giveaway · Patterns by Elizabeth of OPQuilt · Quilt-A-Long

Heart’s Garden • Quilt Finish

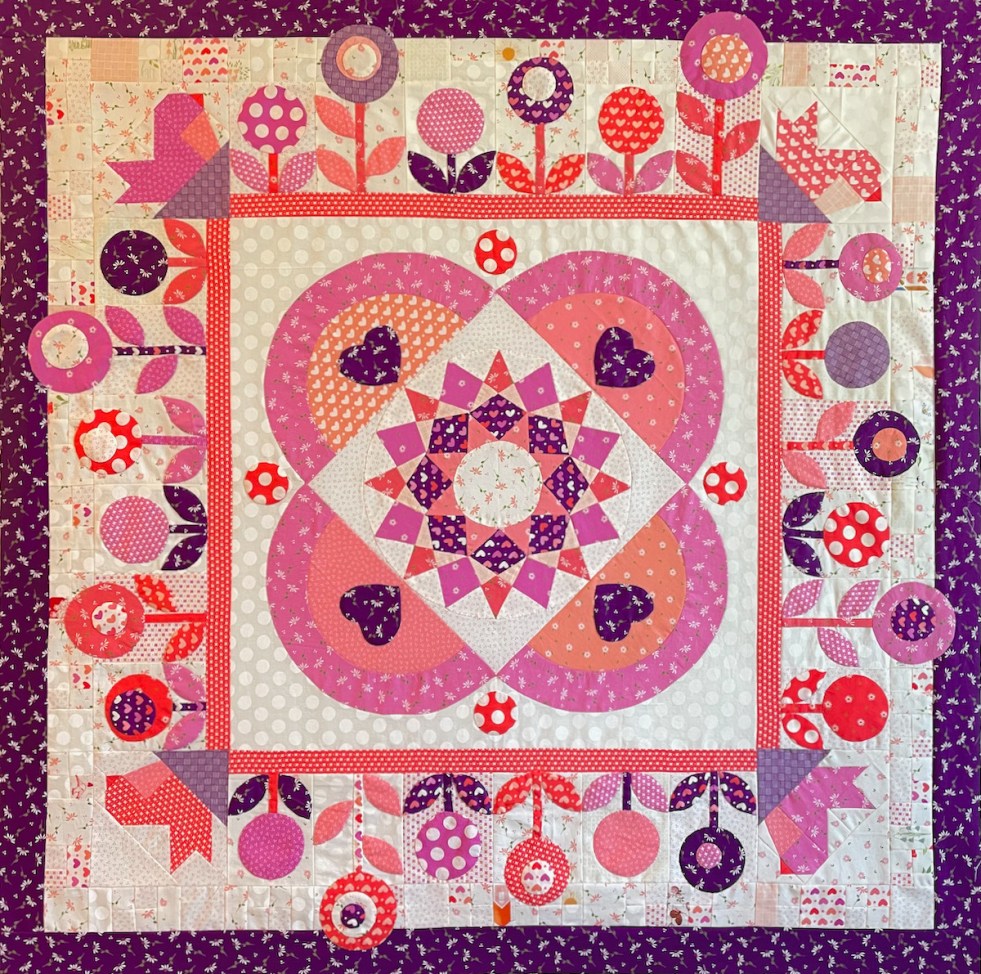
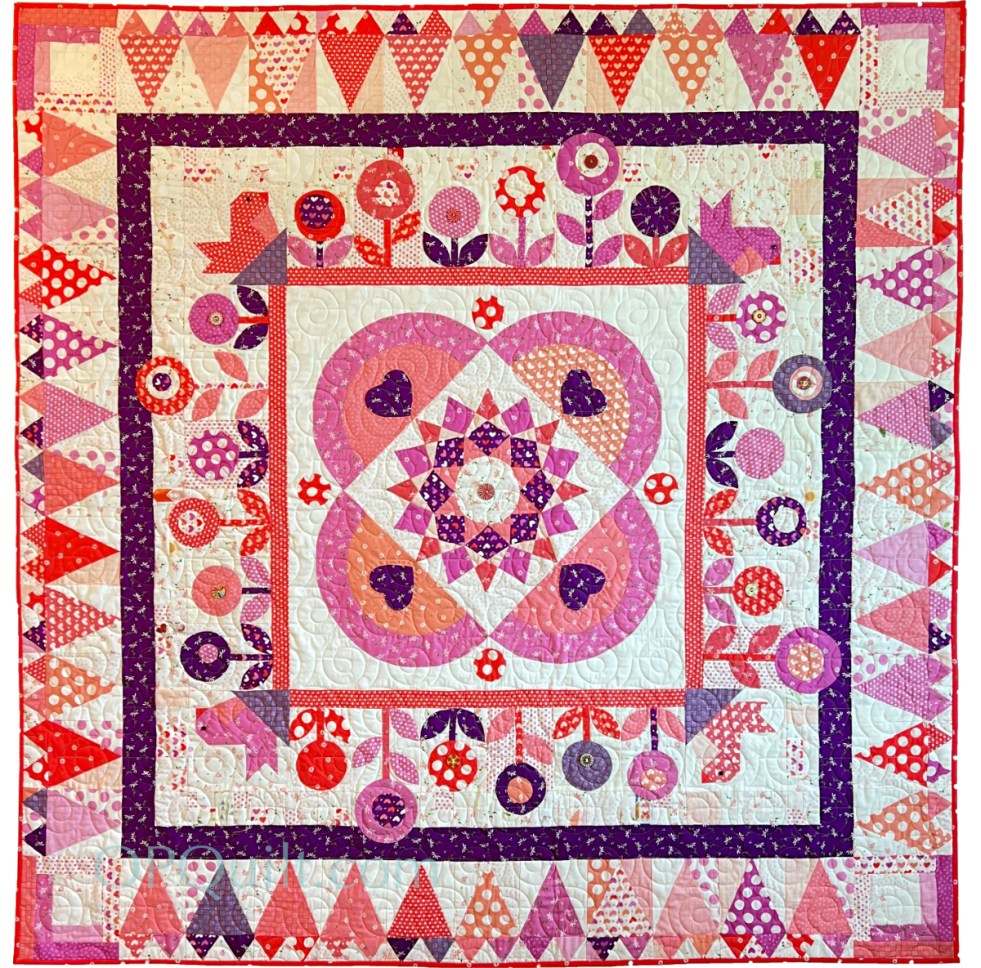
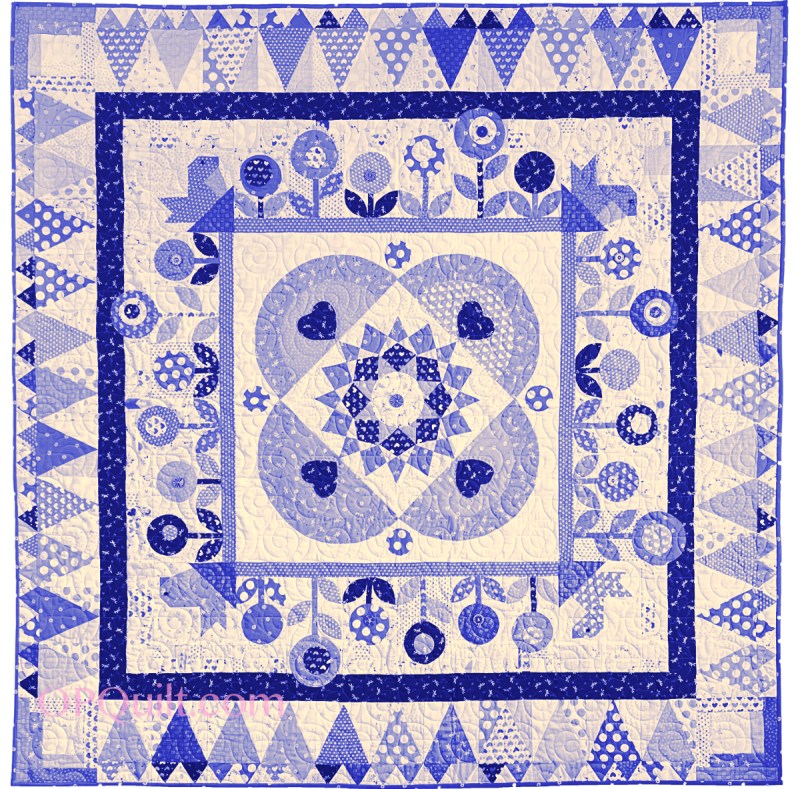
This weighty world needs a tender, light touch this week, so I thought I’d finish up my Heart’s Garden with you today.

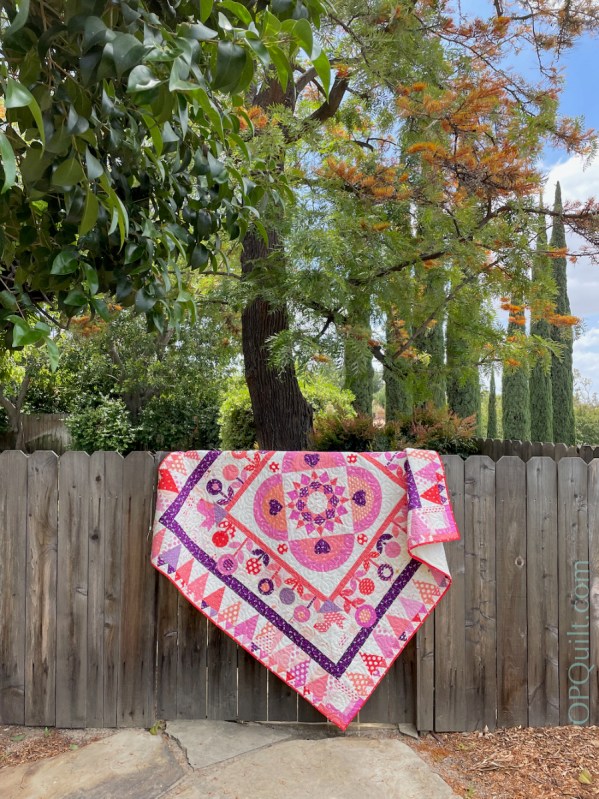
Heart’s Garden in my garden, with the flowers of the silk oak in bloom above it.

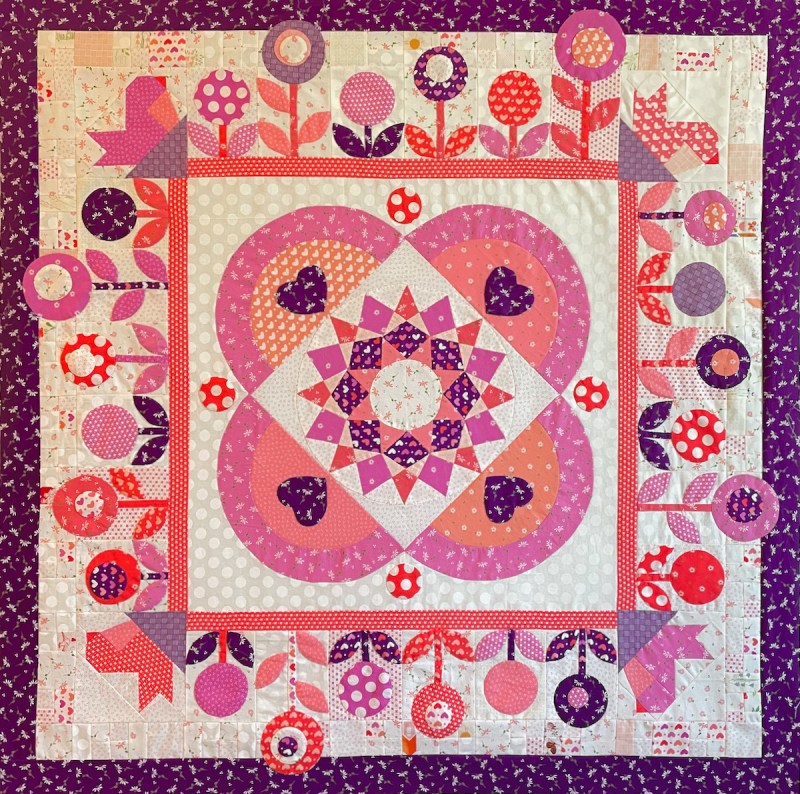
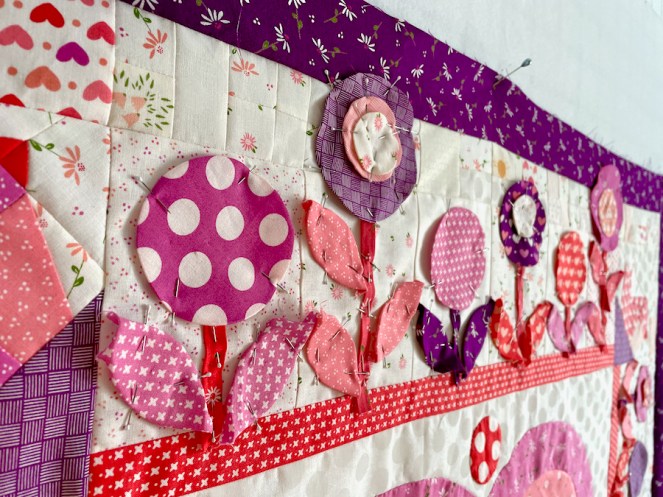
I thought this quilt might be a fun place to try some embellishments, including these wooden buttons I purchased at a quilt show from a booth with Japanese fabrics, patterns and notions.

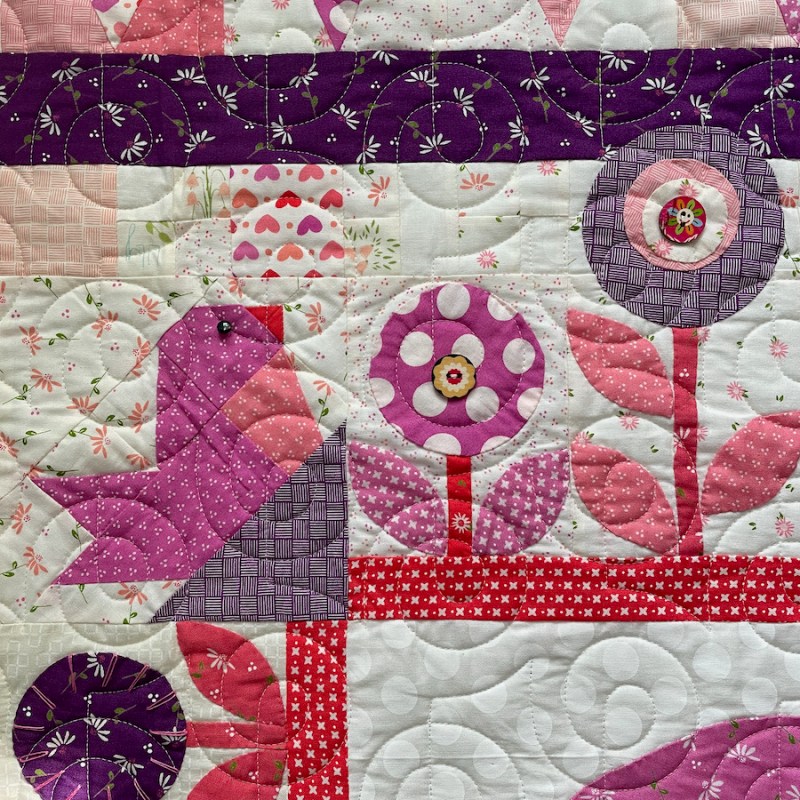
The birds now have eyes.

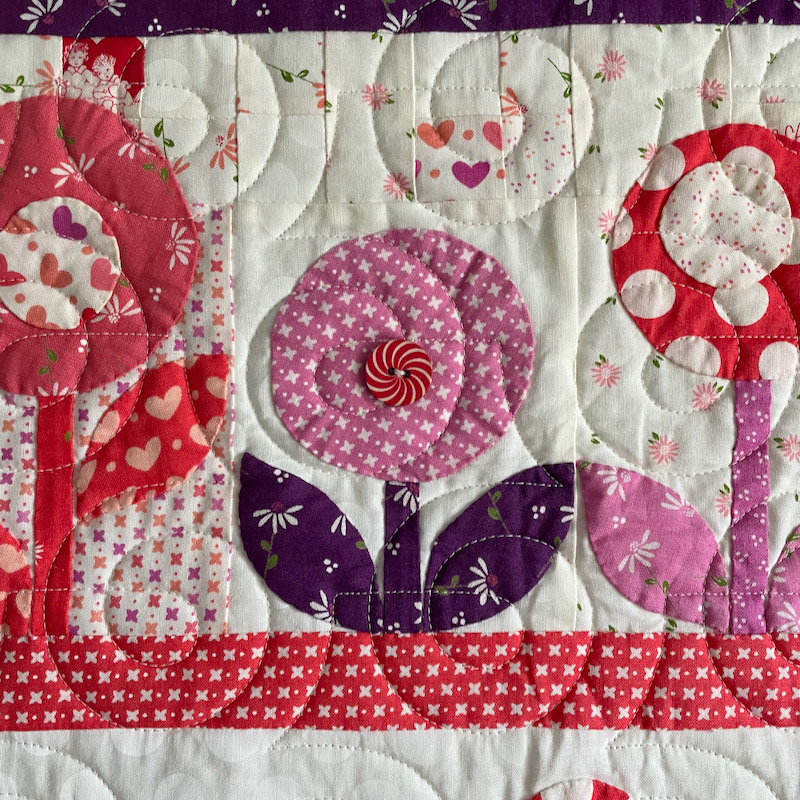
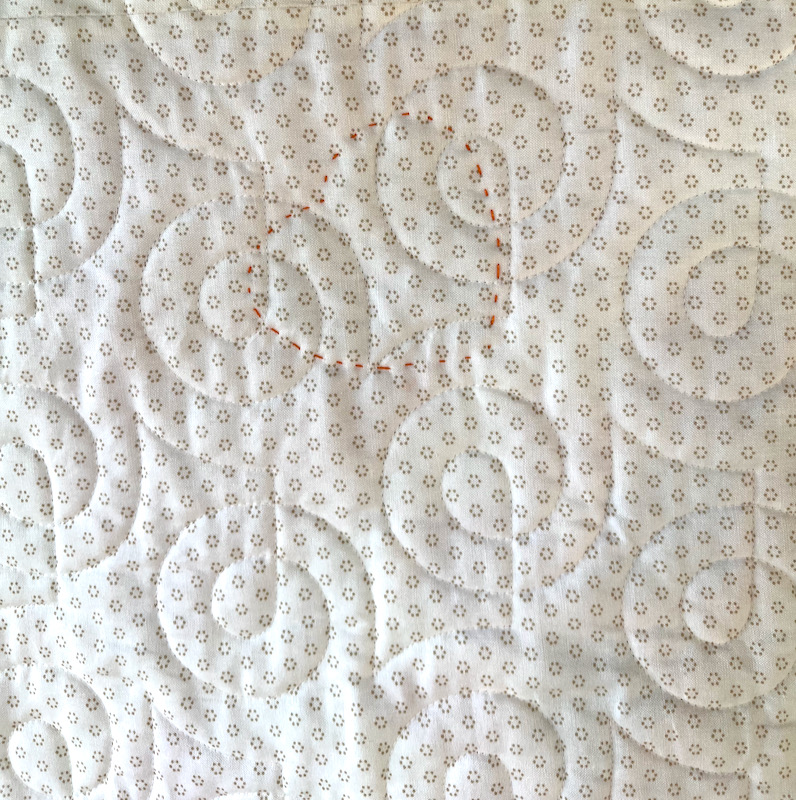
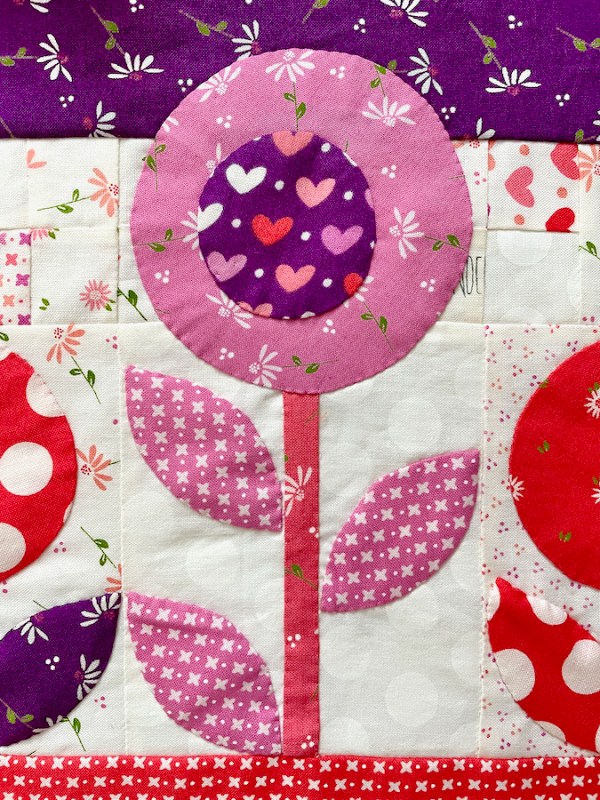
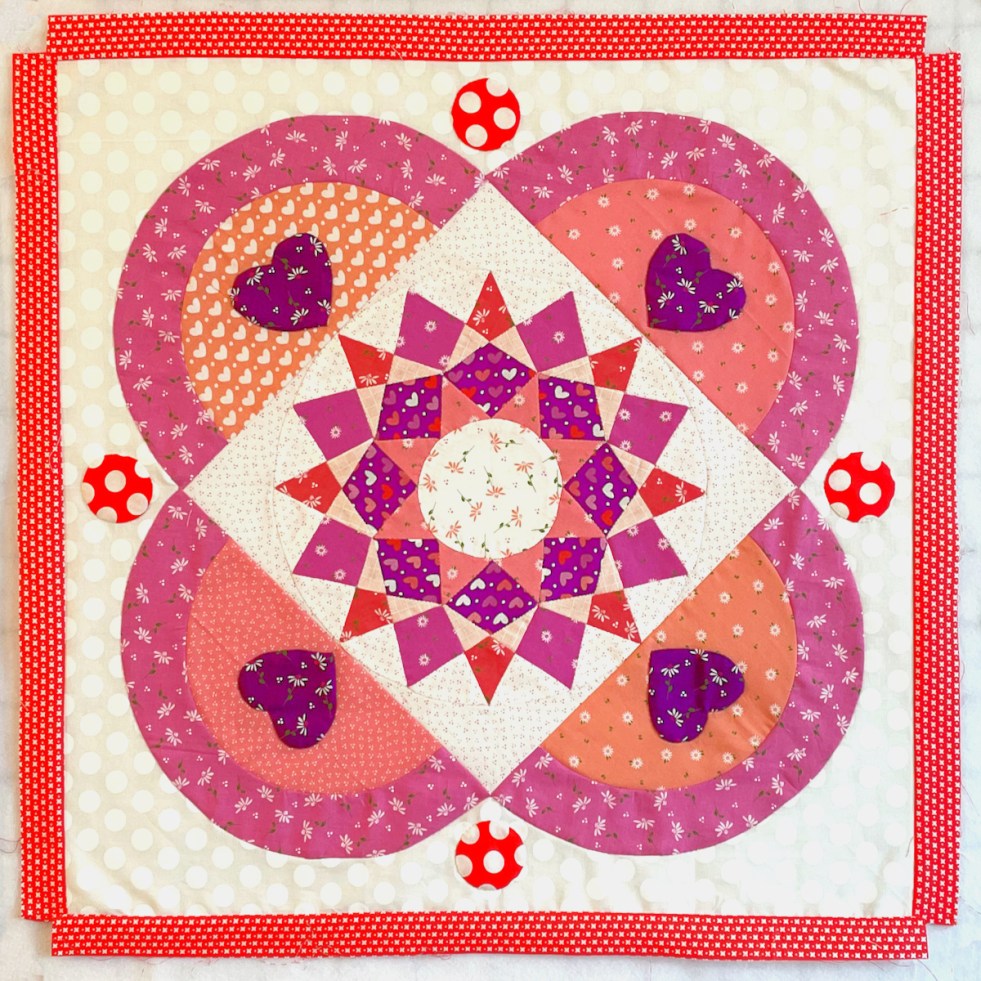
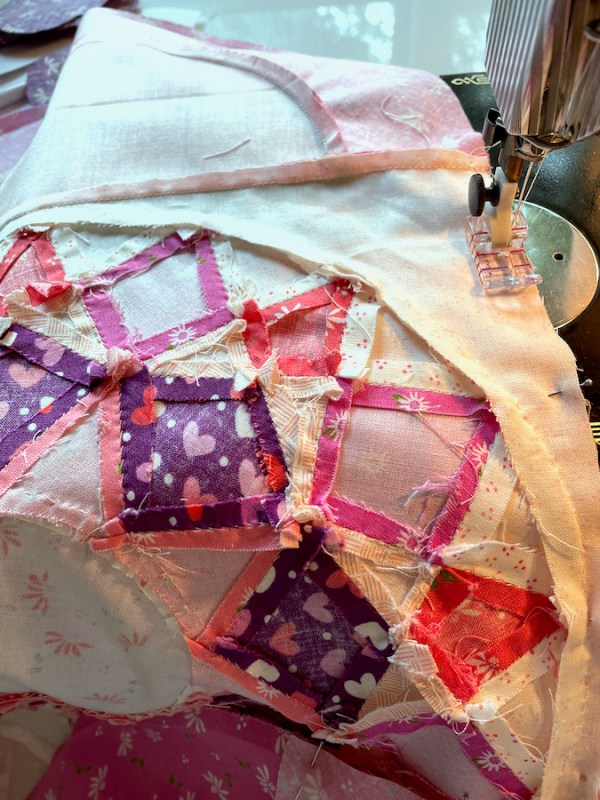
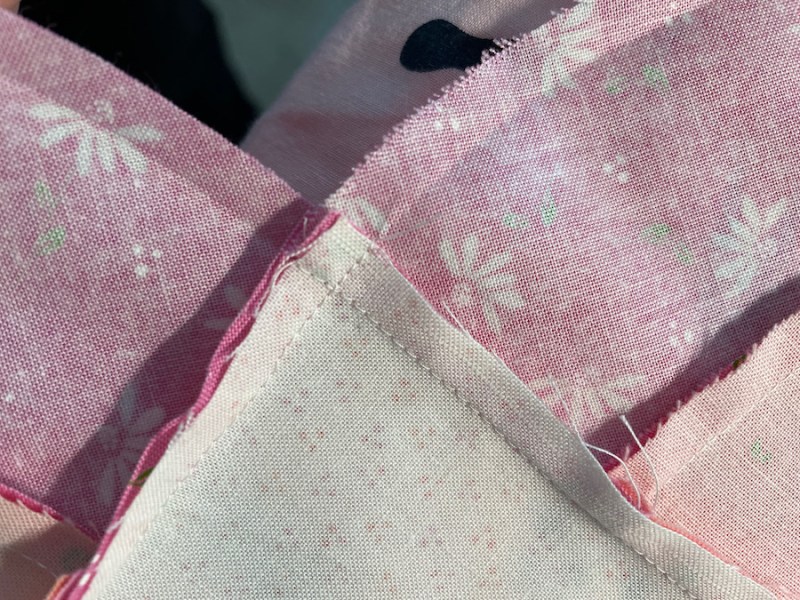
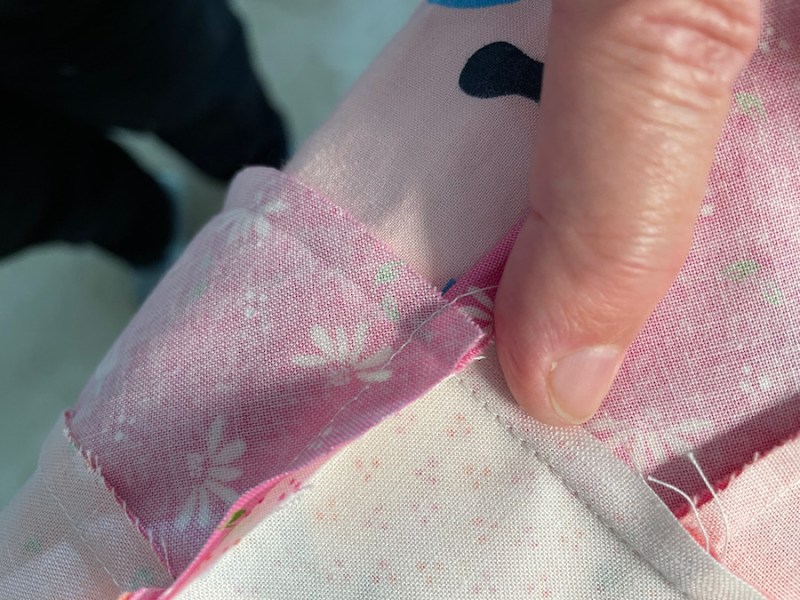
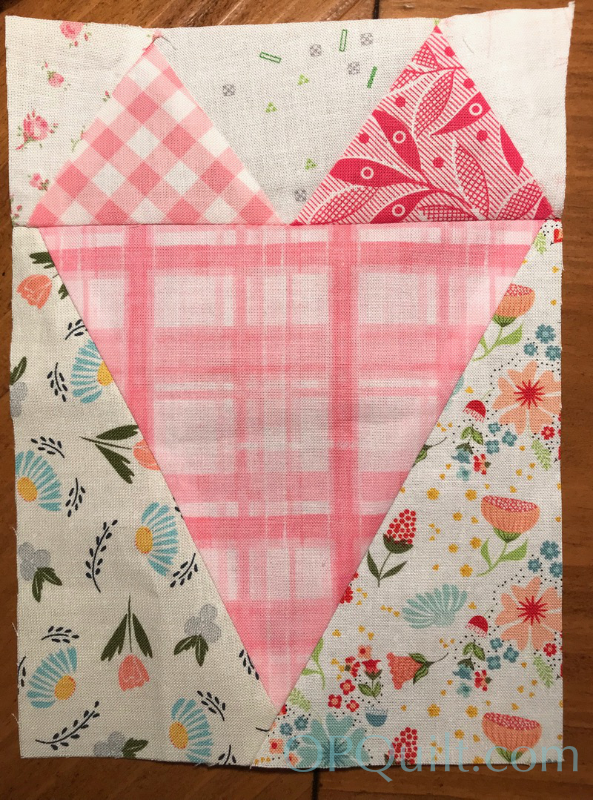
I quilted around a heart shape, trying this out.

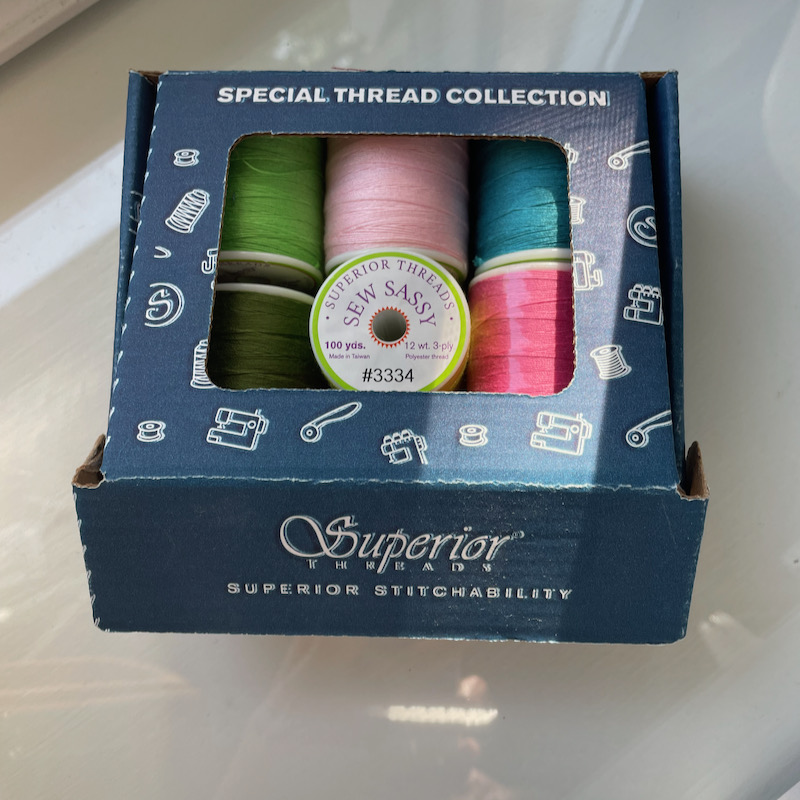
Sew Sassy thread is a quilting thread developed by Jane Sassaman with Superior Threads. Since it is polyester, it doesn’t fray out as badly as floss when I’m stitching with it, and leaves a line like 3 strands of embroidery floss.

This is me, ordering colors online (and on sale) so I can do some more stitching. I’ve picked up spools here and there over the last few years. Obviously I have a couple extra: one in pink and one in spring green. Leave a comment below and I will pick two winners from the comments and send them out.

One of my constant helpers at the computer. The other one is Totoro.

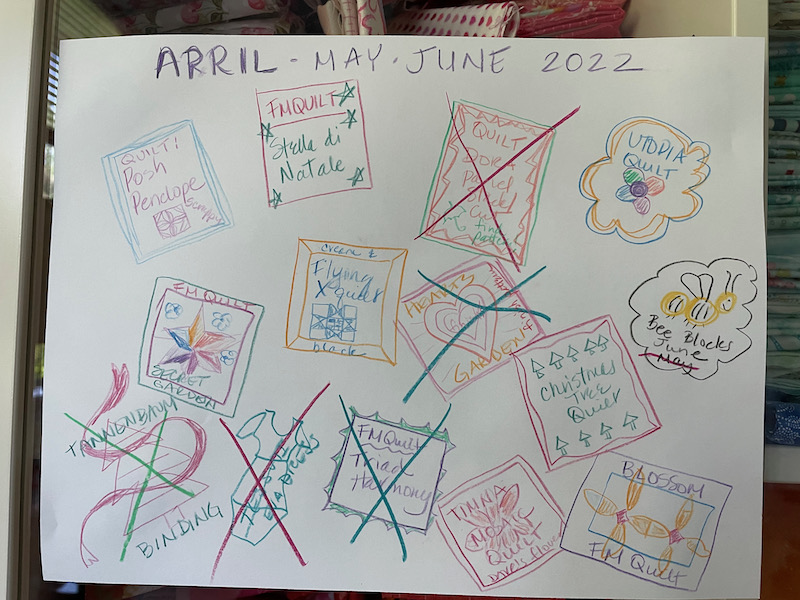
I was able to cross off a couple of more things this week. No way I’m going to get this all done by the end of June, but it’s okay. Time for good vibes to go out into our fragile world.

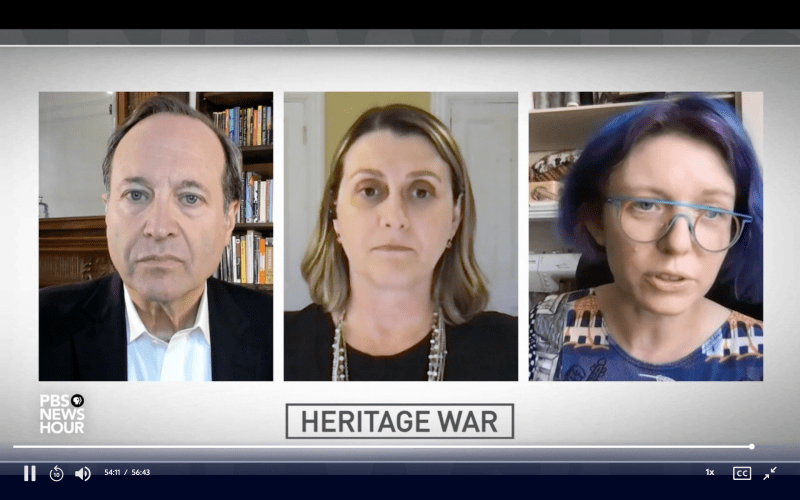
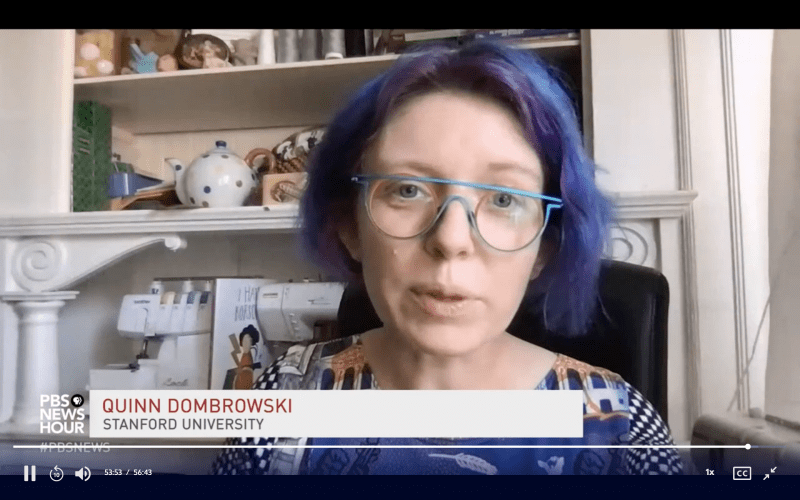
Recently on the PBS NewsHour, they had a discussion how many people are going online to try and back up Ukranian digital assets before they might be destroyed. In the middle of this serious business, I noticed that behind the librarian from Stanford was a Bernina sewing machine and a serger. Even in the hardships around us, we can find common ground.

I would be remiss if I didn’t let you know that Affinity by Serif is having a 50% off sale. I had my husband download Photo for his computer today (steal at about $27) and then had my daughter download both Designer and Photo for her computer. It even got a mention this week in the Craft Industry Alliance newsletter this week, as another way to get your digital artwork made.

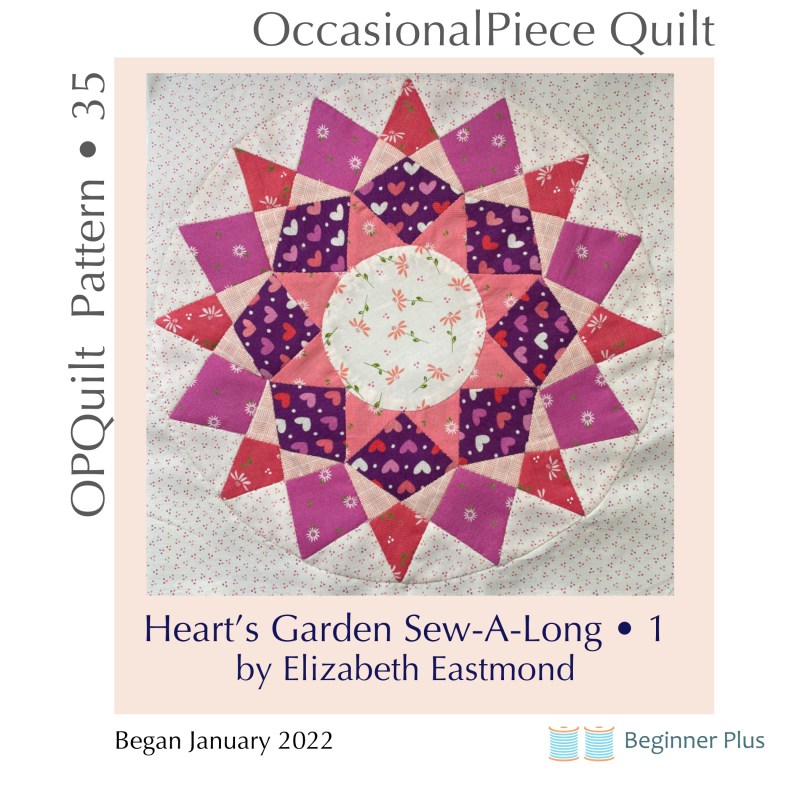
So, this is the last of Heart’s Garden. I will post photos from our other makers in a future post, as I so appreciate all the beautiful quilts they are making, and believe they are worth letting you know about. I’ll have some time in the next little while to do more hand-stitching on this quilt, so I decided not to rush for a blog deadline. It will evolve and change, but I don’t feel like I have to do too much. . . just enough fun stitches to make me happy.

The pattern is up on my PayHip shop. I will leave Part 5 (heart border) up in my shop for another week or so, but the other patterns have been merged into the full pattern (I hope you were all able to grab them when they came out). Since there are tons of photos and illustrations, and PayHip has a download limit, I broke the pattern into two parts. Be sure to download both segments.

Affinity Photo helped me try this out in a different color.

UPDATE: GIVEAWAY FINISHED. Leave a comment if you want to win a spool of Sew Sassy Thread (US domestic only). I’ll pick two winners this week.
Then take a breath, and quilt!

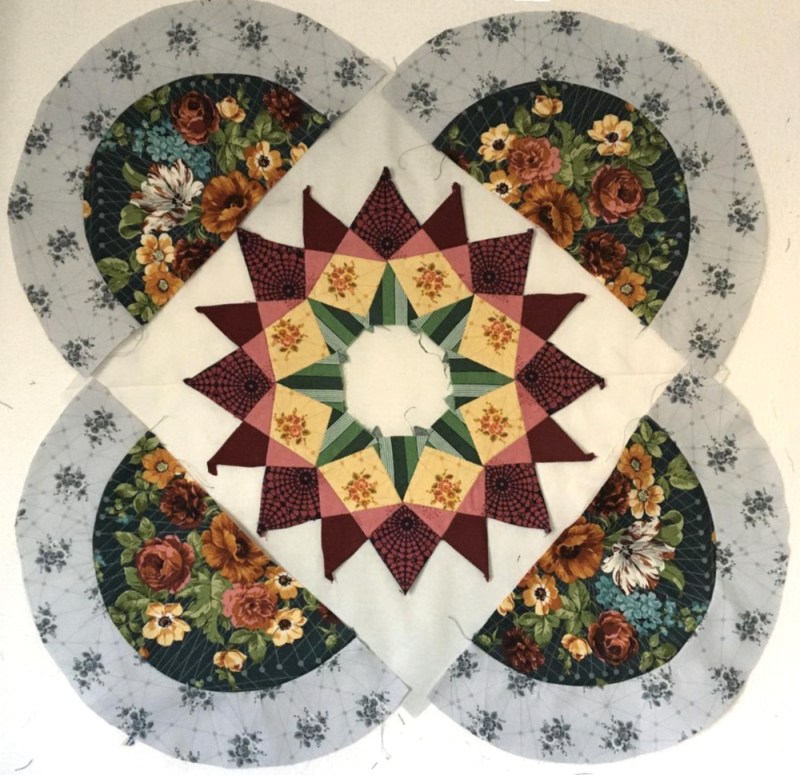
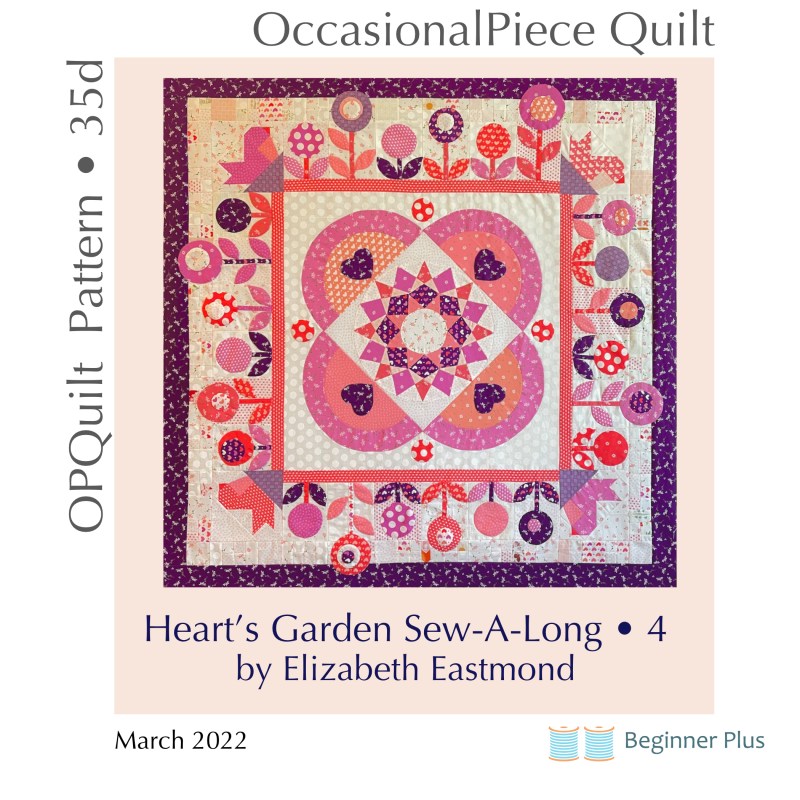
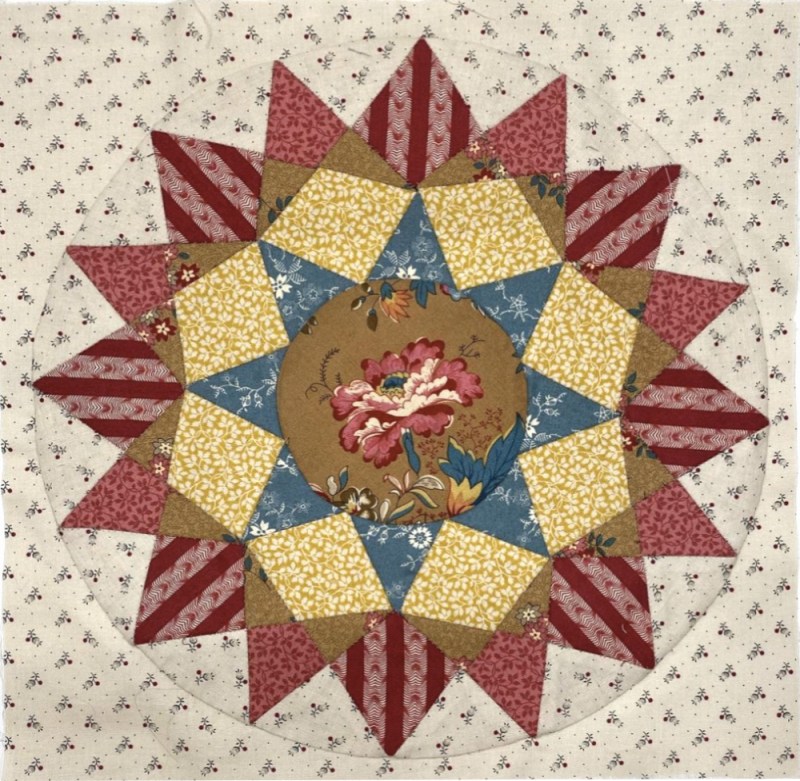
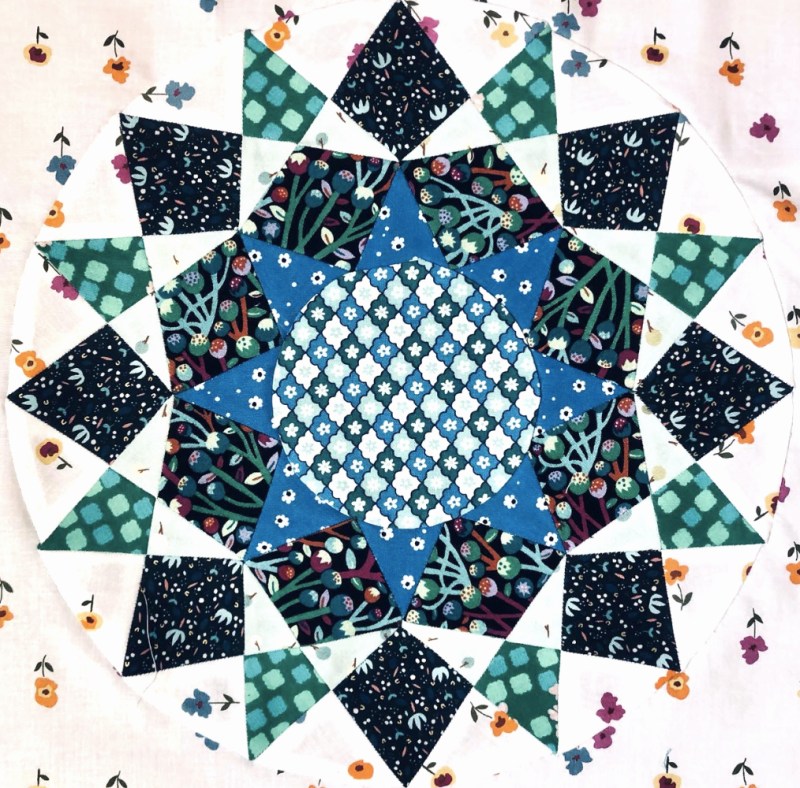
Other Posts About this Quilt • Quilt #264

All of the individual posts are linked on the Heart’s Garden Info Page
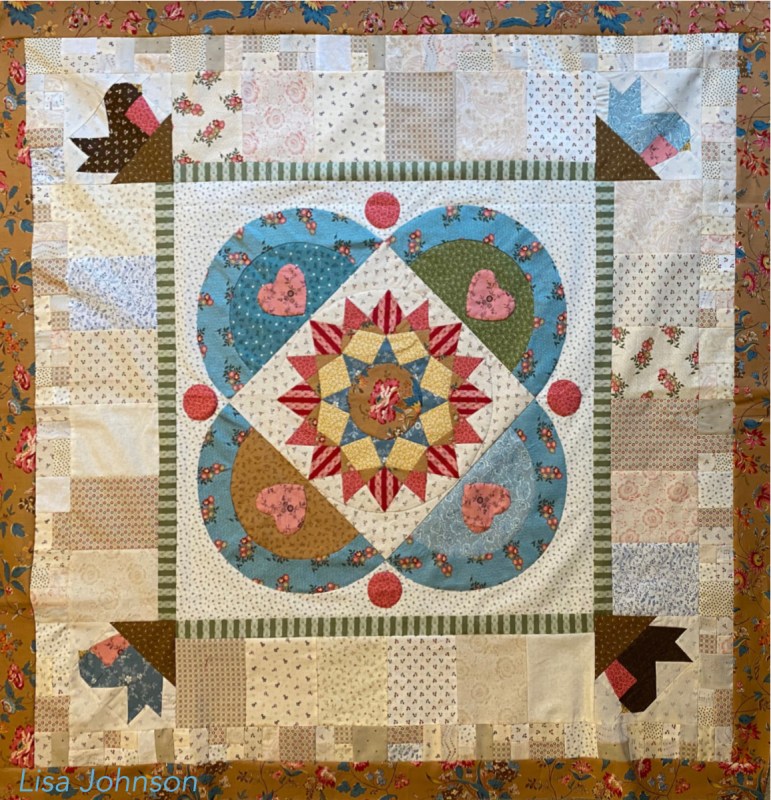
Did I mention who quilted this? It was Krista of KristaStitched. She is delightful!

Heart's Garden · Patterns by Elizabeth of OPQuilt · Quilt-A-Long

Heart’s Garden Mystery • Part 4

The Heart’s Garden has been planted.
It is filled with flowers of all colors, and in many sizes. The birds are nestled in, the outer border acting as a fence for the blossoms to climb. Part Four is appliqué, but the appliqué can be done by hand or machine. Examples of appliqué are in this post.

I always like to feature those quilters who are sewing along with us; and who have finished Part 3: Lisa Johnson, Susan Snooks, and Joan Hinchcliff. Their quilts are all so beautiful.

In looking at our home at this Instagram hashtag, I also found the beginning of Linda’s quilt:

I am fascinated by how different all the quilts are. (Linda was my roomie at QuiltCon in Phoenix, in February, and is an awesome EPP-er.)

As usual Part 3 will be switched to a purchased pattern, but if you are just starting in, all the earlier parts can be purchased individually, or you can wait until mid-summer when the full pattern will be available. More at the end of the post.

My first planting. I started by pinning the stems around the quilt, having them overlap the inner border by 1/2″ on the bottom, as shown.

I take a lot of process pictures, but in reality, everything changes all the time.

Flowers, stems, leaves are all pinned up. Some like to use the glue method, some like the machine method (I do too), some like hand appliqué. I give tips and tricks in the pattern, including how I “dig” that stem into the “dirt” of the inner border, so it looks like it’s planted. You might also want to watch a wee video showing the basic technique for Karen Kay Buckley’s Perfect Circles.

Part 1 can be purchased here.
Part 2 can be purchased here.
Part 3 can be purchased here.

Part 4 is now live and living in my online pattern shop and can be downloaded for free.

Hope you enjoy making this fourth part–post them so we all can enjoy them.  P.S. If you can’t manage another project, feel free to download for another time. I keep the posts organized on this page (also in the header at the top of the blog). A full pattern with all the parts will be available for purchase in mid-summer.

There is always the option to stop here, with the garden all planted, but there is a reason why it’s called Heart’s Garden. This will be obvious to you when Part 5 is released in May.

Happy Spring and Happy Quilting, and most of all, Happy Easter.

A short video for Easter: Because of Jesus Christ, All Things Are Possible

Heart's Garden · Mystery Quilt · Quilt-A-Long

Heart’s Garden • Mystery QAL Part 2

Here we go again, this time for Part 2 of Heart’s Garden.

How did I arrive at this design? I thought I was going to go for a whole quilt of EPP circles, yes I did. But I became increasingly unhappy with the quilt that was up on my screen, so I scraped all the pixels off the computer and threw them into the trash. I wanted to expand, yet honor, the circle but leave enough room in the design to go where I wanted it to go.

First, some eye candy:

Lisa was the first to send me a photo of her completed circle. I love this group of fabrics, and Lisa’s placement of colors.

Susan’s was next, a photo grabbed from her IG feed. Can hardly wait to see how this one evolves, as I love those deep colors playing all together.

I’m keeping to one bundle of Sherri and Chelsi’s Sincerely Yours fabric line, so that helped determine what I chose next. I went with one fabric for all the arcs, and a variety of fabrics inside the arc. I’m keeping in mind how I want the quilt to flow outward from the colorful center circle, and this made the most sense to me.

back of the first part of the assembly

The arcs are sewn together, then the seam allowance on the outside large arc pressed under. I made a template of the large arc pattern out of freezer paper, and used that to help me get that pressed edge, but you can also eyeball it. Don’t burn your fingers with the iron!

I put the arcs to the feed dogs, so I can help manage everything from the center circle side, keeping a straight seam when the presser foot hits the center circle and wants to wobble.

The twidgiest part is where the arcs meet the corner. You can just stop sewing at the larger arc’s pressed outer edge, or you can sew the seam (photo #2 and #3) and then unpick those four stitches later. I did that method. Both methods work.

Then you’ll appliqué the whole unit to a larger square. Tips are in the pattern.

Cut out the back and save it for more uses.

(Hint: Yes, there will be more uses–coming in March!)

I had a pretty good idea of what colors I wanted for the inner appliqué hearts (pinned on here), but I dithered on the outer circles, ending up with red. My advice: wait until you choose the border before you decide on those circles.

I have had fun working with this group of cheery fabrics, but after seeing Susan’s and Lisa’s I’ll want to try some different fabrics, too.

I have a hashtag going on Instagram (yes, with the heart on the end):

If you are making this, please tag it when you post, and I’ll draw from there for some photos next month.

[UPDATE: The entire pattern is now live and living in my online pattern shop.] Hope you enjoy making this second part–post them so we all can enjoy them. P.S. If you can’t manage another project, feel free to download for another time.

Happy Quilting!

EPP · Heart's Garden · Patterns by Elizabeth of OPQuilt · Quilt-A-Long

Heart’s Garden Sew-A-Long

I received a stack of fat eighths as a gift from my friend Sherri last fall, from her new line of Sincerely Yours, and the question of what to do with this yummy range of fabrics has been percolating in my head ever since.

A Sew-A-Long? A Mystery? A Freebie Pattern? How about all three? So yes, this is a sew-a-long, mystery, free pattern that should run for several months. I thought it was only four, but then I had another idea, so I had to add an extra month. I will put the patterns up on my pattern site, one month at a time. The usual caveats apply: Don’t print them off for your mother or eighteen of your closest friends; instead send them to my pattern shop to download their own.

The pattern is found here. (The free pattern timeframe has elapsed.)

Follow the directions and print off four pages of Page 4, then cut them apart on the lines. Prep them for English Paper Piecing {see this post (which uses thread basting) or this post (which uses glue basting) for some tips}, then start stitching them back together in the units.

I’ve placed small colorful dots to help guide you in getting the pieces sewn. Follow the guidelines on the pattern.

I like to sew it in two sections, as it is easier to hold it. I also like to take stitches across the seam points on the outside curved edge, for stability. For example, I join one G1 to the F point, then add the G2, taking an extra stitch at that outer point. It will make more sense as you sew it.

Once I’ve gotten this far, I sew those last two seams.

I always love the look of these from the back. One trick I use for the inner circle is that I don’t glue down the inner curve, instead leaving it flat. This helps when you go to stitch on the center circle.

I write about how I do the center circle in this post, and I will again express my undying love for Karen Kay Buckley’s Perfect Circles: both sizes. Sometimes I put the circle on first, then appliqué it the background. Other times I appliqué it to the background square, then sew on the center circle.

For this round, do the center circle first.

Then cut a large square the size mentioned in the pattern. I always iron creases: fold in half, iron; fold in half the other way; iron. You’ll have a giant cross so you get your circle centered. Pin it evenly around the circle while on a flat surface. Then start to sew it down.

I give you the tips in this post.

Yes, I’ve been doing the EPP-circle-bit a while now, and there are lots of tips and tricks under the tab SHINE: The Circle Quilt (found above). And yes, I’ve probably made millions of mistakes, but after sewing over three dozen EPP circles, I’m getting the hang of it.

Here it is, sewn to the background. Don’t trim this yet. If you are curious, your circle will probably measure about 12 1/4″ in diameter, largely due to the thickness of all those fabrics spreading it apart. We will deal with any variations in the next post, coming mid-month February.

I use several methods of construction: piecing, appliqué, English Paper Piecing for starters. While the theme is Heart’s Garden, there aren’t a billion hearts on this quilt, so you could make it in other palettes or groupings of fabric or from scraps. I started with one fat-eighth stack of Sincerely Yours, from Sherri and Chelsi, then purchased four one-yard lengths of the lights (always good for the stash, if I don’t use them all). I also bought two half-yards of the strongest colors; perhaps that is overkill, but I didn’t want to let this line get away from me. I am happy to have this great inspiration, so thank you Sherri and Chelsi!

So head over now to my pattern shop on PayHip, and download your pattern. At the end of this series, I will combine all the sections into one pattern, and will list it for sale in the same place. Feel free to stash the pattern until you see the end, or to just pick up a little piecing here and there as we go. [UPDATE: Pattern is now available.]

Happy Heart’s-Garden-ing!