I have so much to share from my trip to the Carrefours European Patchwork Show in Alsace, France last month, but first…strawberries.
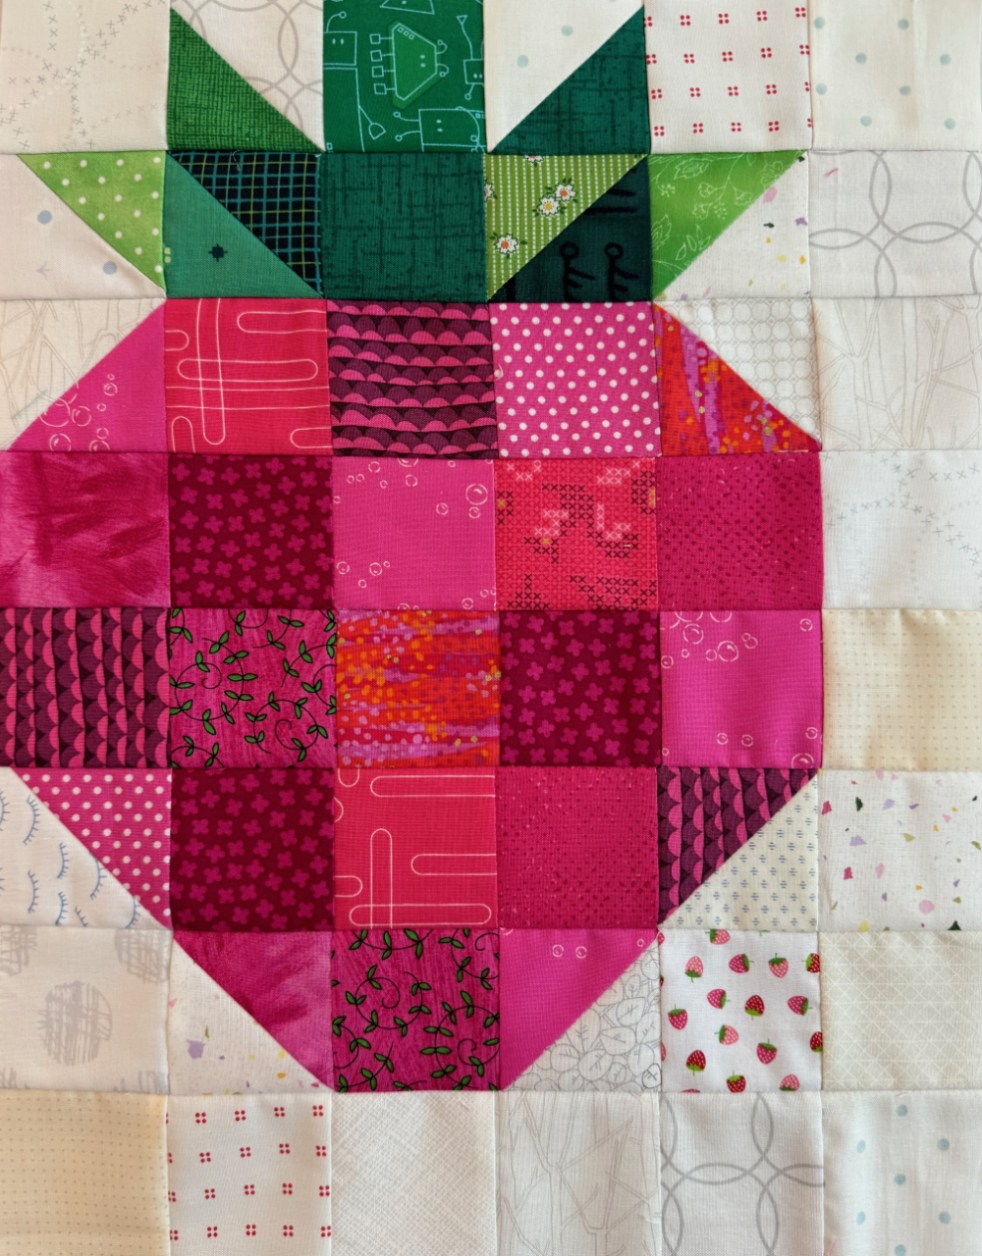
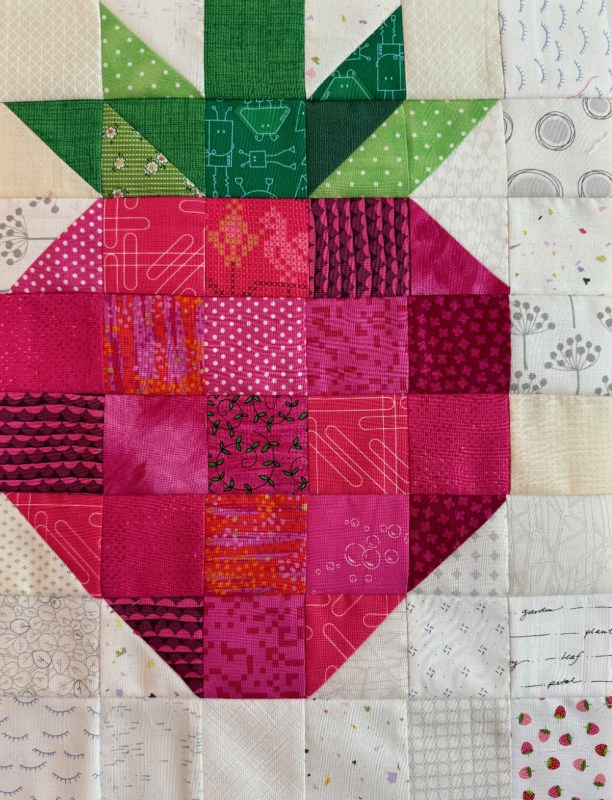
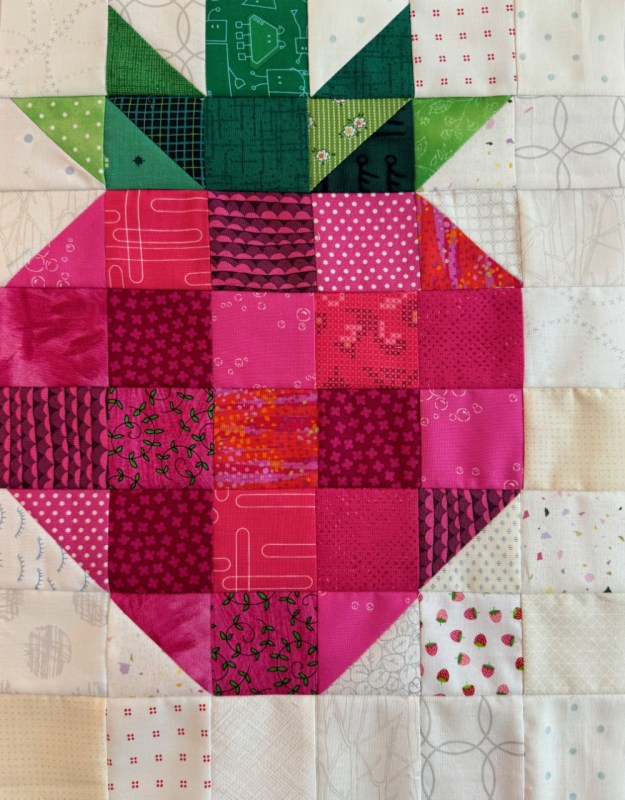
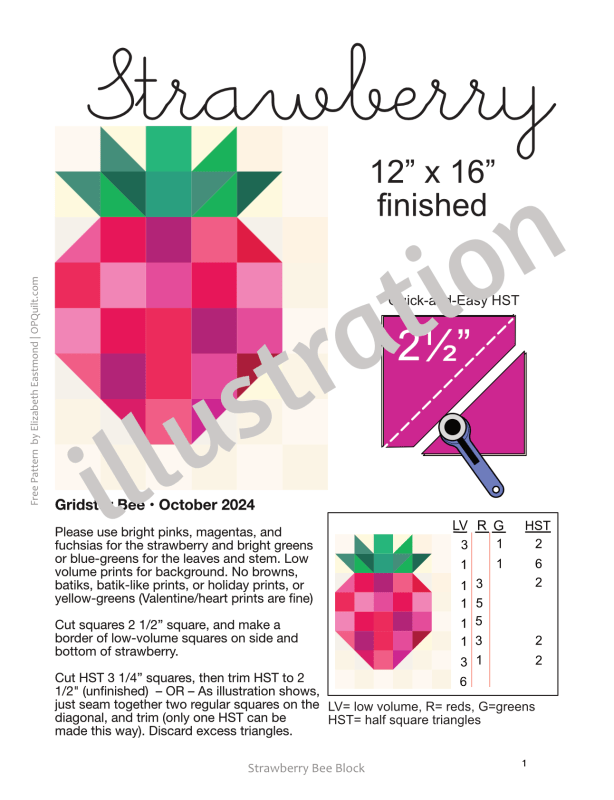
I know we just did Halloweeeeen, but when my beemate asked for strawberries for her block in October, I couldn’t resist drawing up a free block guide for you to download.
Almost as soon as I got my suitcases cleared out then I came down with a case of covid, which meant Paxlovid (cue: grimace, for the taste it leaves in your mouth, but cue: happy face, for having this drug). I’m just now coming up to the top of things and curating my photos. All is coming, but here’s a taste of things:
Yes, it really is in a series of small villages set in the beautiful Alsace region of France (just below Strasbourg), and there really were amazing quilts to be seen in beautiful venues, but it’s coming, I promise!
El Niño, by Brazilian artist Sarah Luise Kaminski. Done with various fabrics, thread painting and free-motion quilting and layers of metallic thread.
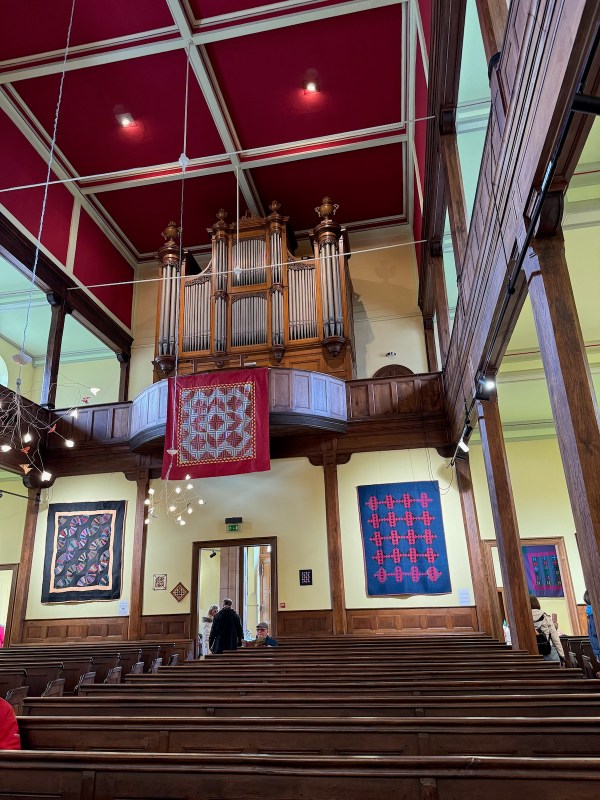
One of the many sites where quilts and art were displayed: this was an old church filled with Amish-style quilts, honoring the early emmigrants from this region to America.
This is what it looks like: four to page. Print it out on cardstock, cut it apart and pass them out with your quilts.
I did have an old Quilt Care Card, but when my sister Susan needed one for the quilt she was making, I rustled up a new one. Much better.
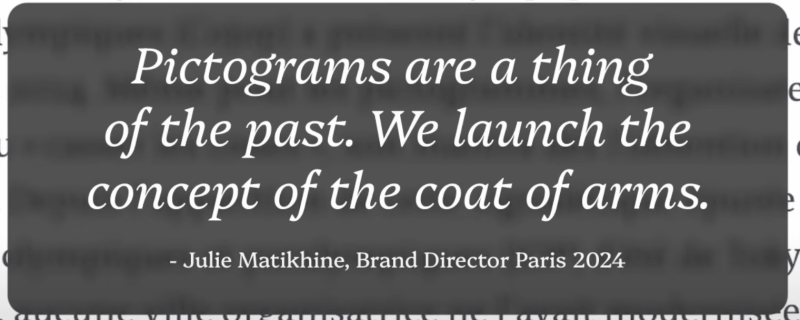
As a person who often wishes she’d studied graphic design (or as they sometimes reference it: surface design) in college, I’ve been amazed by all the graphics I saw on our nightly broadcasts of the Olympics. I want to do something with them all, like making a heart block seen above. Or that very cool half-circle in segments. Another color way is below:
Here’s some links to gaze at, if you’d like seeing some of the graphics in motion:
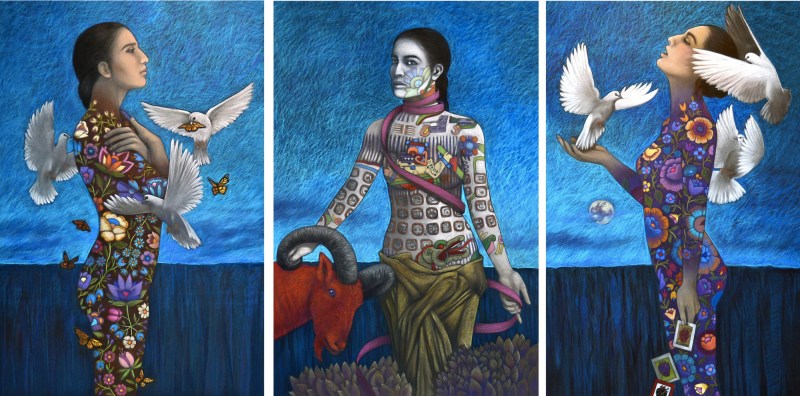
Dreams Between the Earth and Sky, 2018 by Judithe Hernández from here
We went over to The Cheech [museum] last week, on the last day of Judith Hernández’s exhibit, most done in pastel chalks. So many intrigued me, but the two ladies on either side of this triptych were “clad” in the embroidered designs from huipils, a typical dress.
Here’s a snapshot of the huipil I brought back from Guatemala in 2019, when I visited my sister Cynthia (she has since returned from her church mission), and she took me to so many interesting places that involved needles, thread, looms, cloth. I could have stayed a week, but we only had a weekend.
Here we are, clowning around in a woven shawl. Don’t worry; I bought a couple.)
Three women, one of them just crowned Queen of her Village, all wearing huipils (woven and embroidered tops).
Patchwork quilt made of woven scraps, with some embroideries here and there. Somewhere I have about 10 of these parches, tucked away (of course). This entire post has more information if you are interested.
But back to the tryptich, above.
In the linked video, Hernández explains the iconography of the red ram in the center image. It’s that thing that seems to come around and interrupt the smooth flow of whatever you are doing. Of course, I’m paraphrasing. I’m all too aware of red rams in my life, in the life of friends far away, in our families. I loved that this idea was put into a visual image.
My husband and I walked on the beach this last week, as we had a mini-celebration for our anniversary. The waves drawing out the different grains of sand into patterns fascinated me.
Celebrate the bits and pieces of surface design you run across in your lives–
Post Script:
One can never have too much paper or too many pencils. The pencil above is a quilt clapper made by Modern American Vintage, with the loot from the Field Notes most recent sale: I’m a sucker for small notebooks. The pencil below is a Blackwing, purchased last year. It glows 🙂 in the dark!
Wealth of Days underneath a poster of one of our town’s vintage packing labels
When I first starting making this quilt, I cut each flying geese block by hand because I was not able to rotary cut. I drew out the lines, cut a triangle, and piled up the cut pieces in bags for their corresponding temperatures. After constucting them, I found out how unstable the edges were, how inaccurate a method this was. Of course, it didn’t help that one arm was in a sling, but hey, a quilter’s gotta’ do what a quilter’s gotta do.
I’ve also done the snowball-on-the-square method, which is good for single Flying Geese.
But I’m a fan of the four-at-a-time, provided you use the Mostly-Magical-OPQuilt method of trimming them. I showed this trick to my friend Cindy of LiveAColorfulLife the other day and she said it changed her life. I took that with a grain of salt, considering the covid-lives we’ve been living, but I was happy it worked so well for her. Here we go.
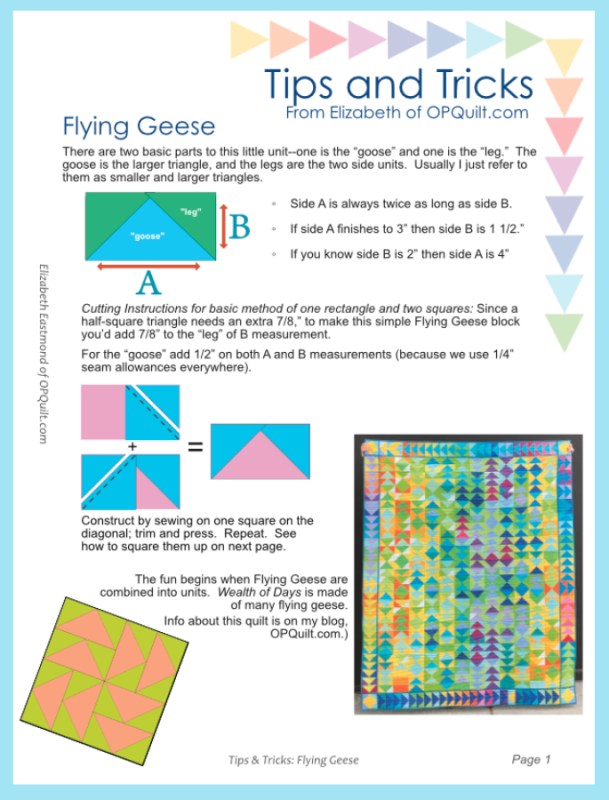
NOTE: In the free Tips and Tricks Handout, downloadable below, I give you a formula for figuring out what sizes the large squares and the small squares should be. No more charts!
I use a 4-inch ruler for smaller Flying Geese, and a 6-ish-inch ruler for larger. (Can we talk about Rulers?) It’s all in where you take your first cut, and the angle of that first cut.
Step One. Make your Flying Geese, and grab a ruler, preferably one that has a diagonal line.
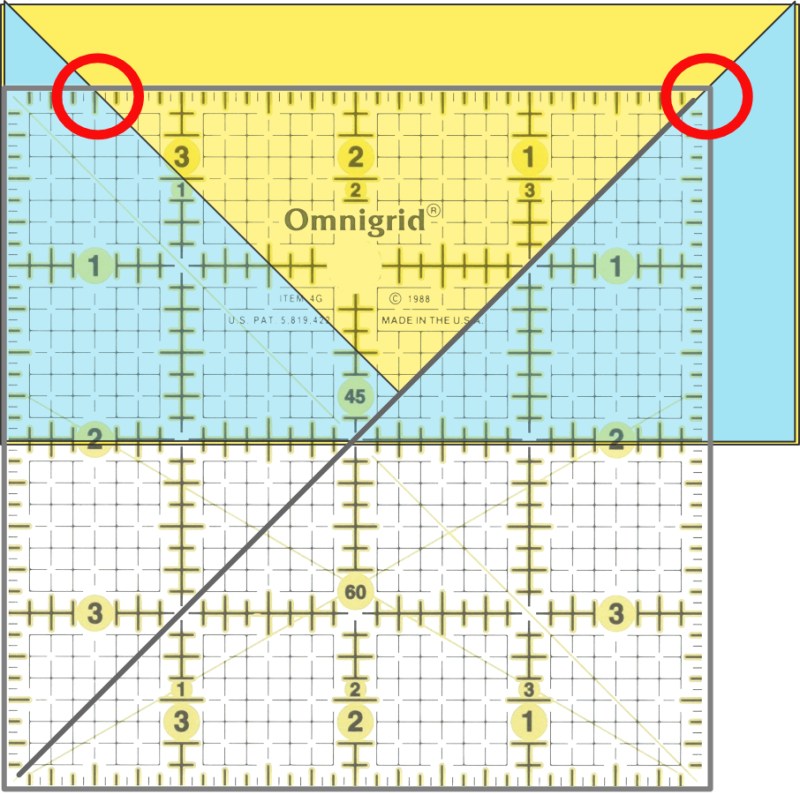
Step Two: With the flying geese point FACING TOWARDS YOU, line up the ruler’s diagonal line with that right-hand folded edge.
Step Three: Concentrate on where the r.h. tip of the ruler is, and where the measurement for your Flying Geese is. I’m trying to make a Flying Geese that will finish at 3″ by 1 1/2″ tall, so I’m concentrating on the 3 1/2″. If you have done your measuring and cutting correctly, don’t worry about the lower edge right now. Line up the r.h tip ON THE FOLD. Line up the target measurement on the LEFT-HAND FOLD, as shown. Note: I am now free to make Flying Geese any size I want, not just what’s out there in the manufactured acrylic cutting rulers.
Step Four: Trim the RIGHT excess and the TOP excess.
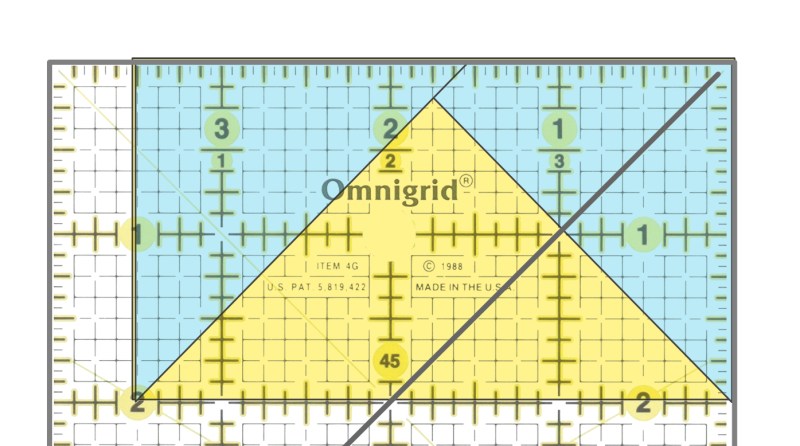
Step Five (and final): Rotate the Flying Geese block so the tip is pointing away from you. Line up the LEFT (3 1/2″) and LOWER (2″) side or the measurement at which you want the block to finish. Trim away the remaining excess (as shown).
I can crank through a ton of flying geese using the four-at-a-time and the Mostly-Magical-OPQuilt-method of trimming. So can you.
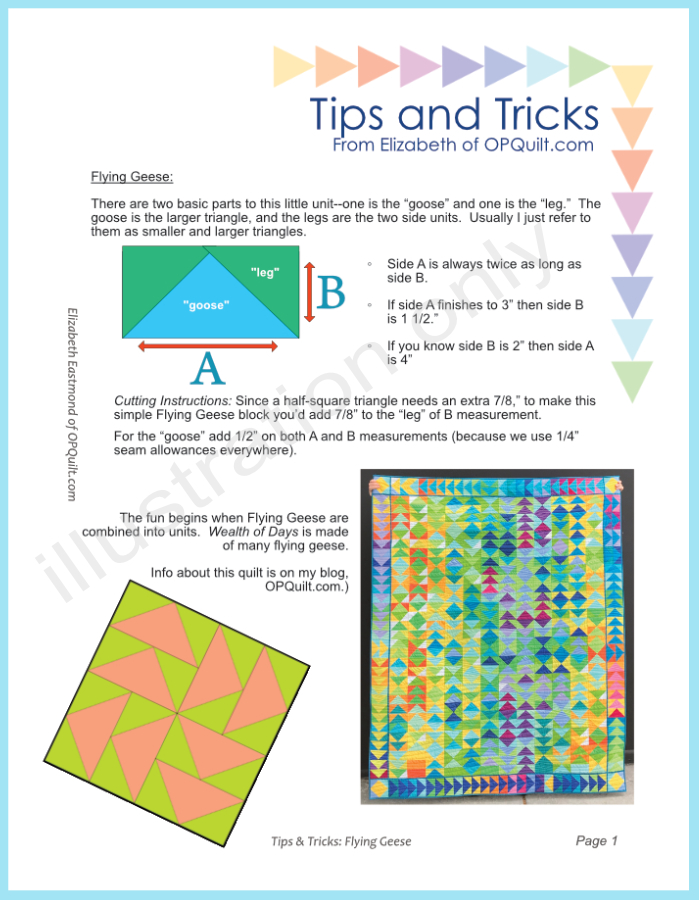
Okay, because everyone likes a free handout, here it is: Tips and Tricks from OPQuilt.com — Flying Geese.
A quilt in red and white and yellow and blue and all colors!
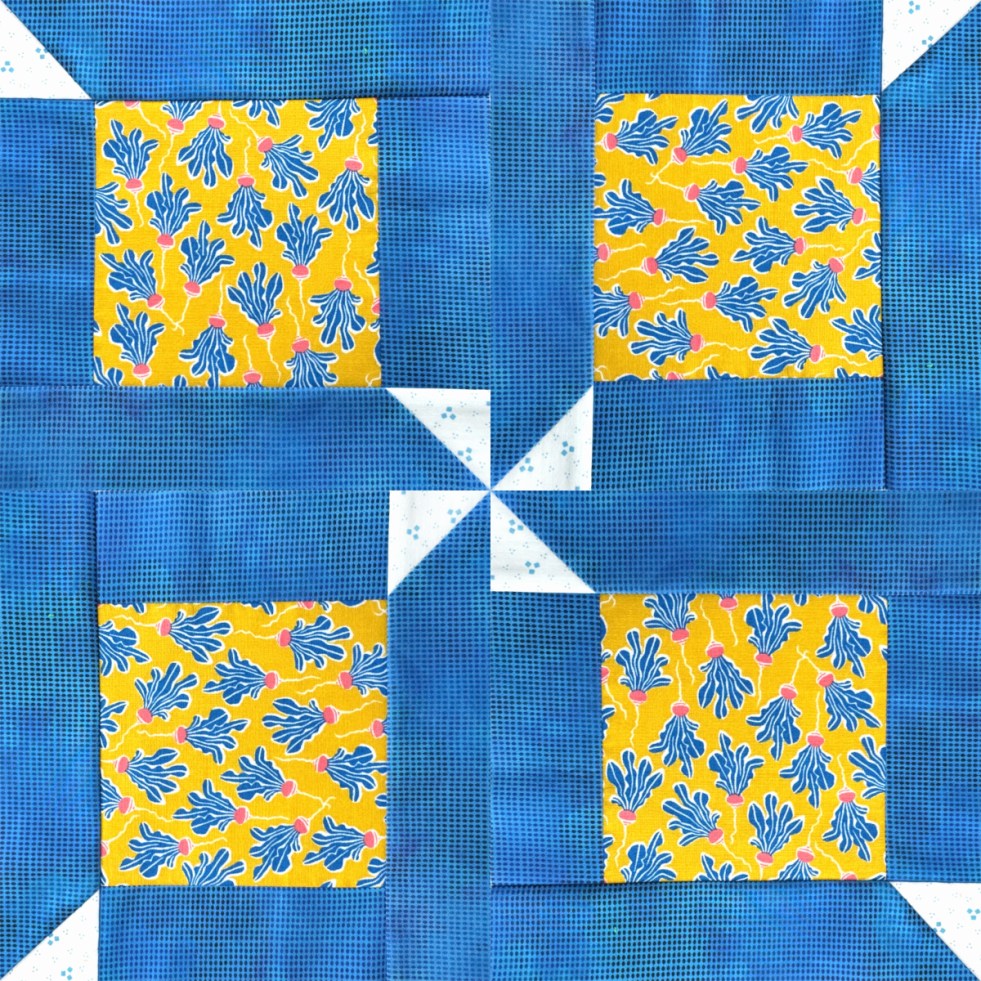
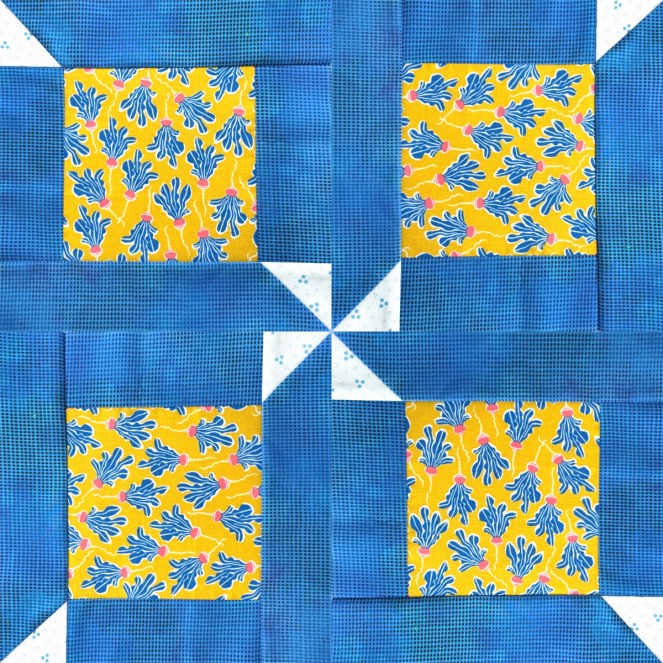
Interestingly, I get a lot of mail about this quilt. It must be on a boatload of Pinterest boards, but the pattern for this quilt has gone missing. It was originally published in a national magazine, but in searching for it (my old link to the pattern is kaput), it seems to have disappeared. The original was in a lot of different colors, but my friend Rhonda chose to make it in red and white for a class she was teaching seven years ago. I liked hers so well, I made one of my own. The original pattern was an 8″ block, but I made the pattern to finish at 7 1/2″ (mostly so I could get it all on one page).
I wanted to see it in blue and yellow!
Since it’s not my pattern, and it’s disappeared and I get a lot of mail about it, I decided to draw it up in my QuiltPro software, rework it in Affinity Publisher software, and have it here for you for download:
It’s not really a pattern, but more a loose set of instructions. It’s meant to be a scrappy quilt, and there are a couple of different views, a red-white-blue version and a Kaffe Fasset fabrics version.
So you don’t go away empty-handed, if you’re not interested in a pinwheel quilt, here’s a chart that came to me in a Guild newsletter. It shows how much yardage is in a particular precut, and what that costs per yard.
Happy Quilting!
(Post and free quilt pattern download was updated May 2026)