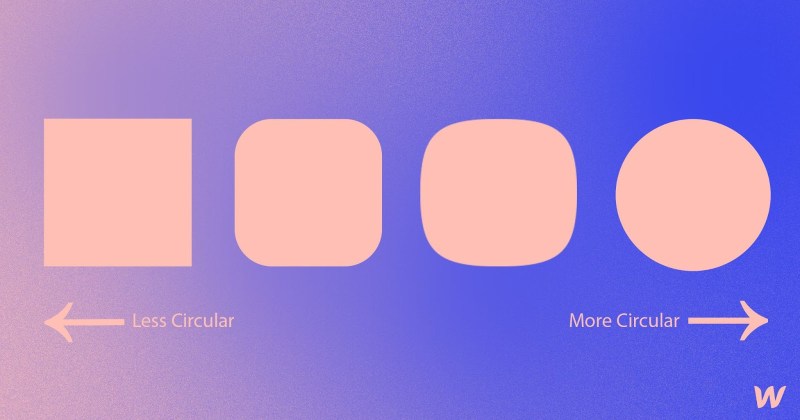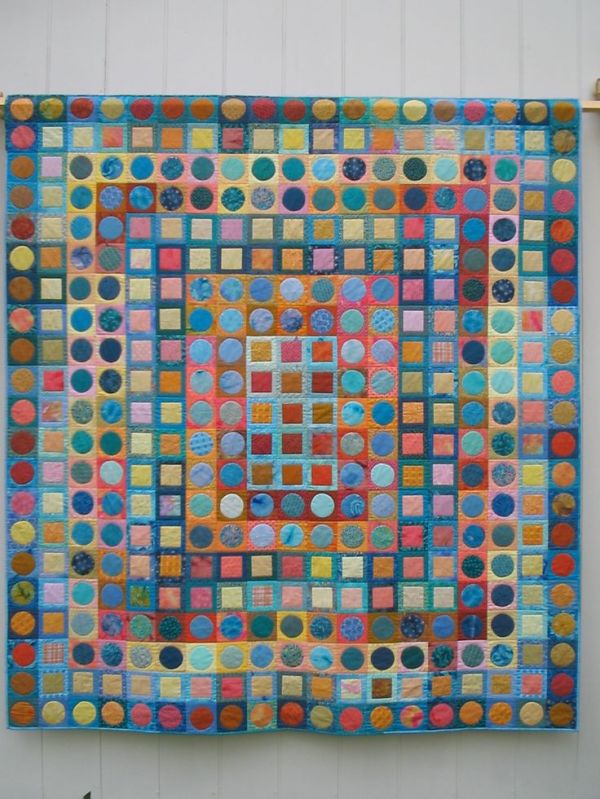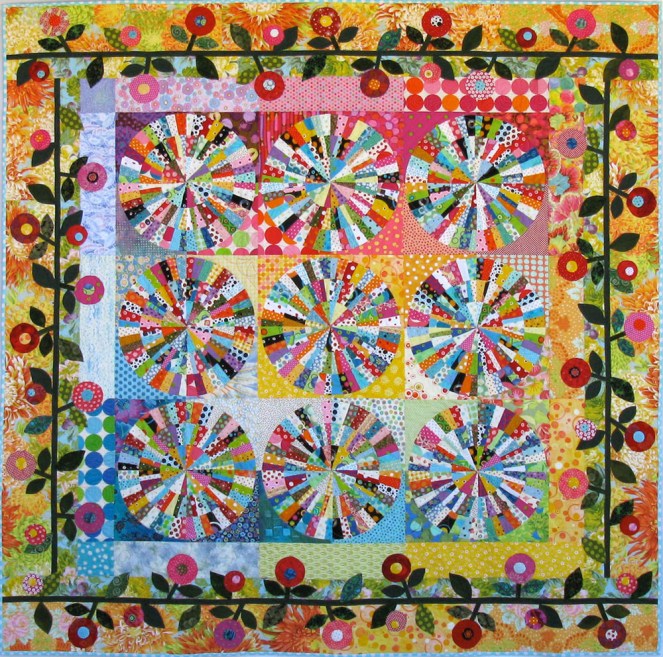
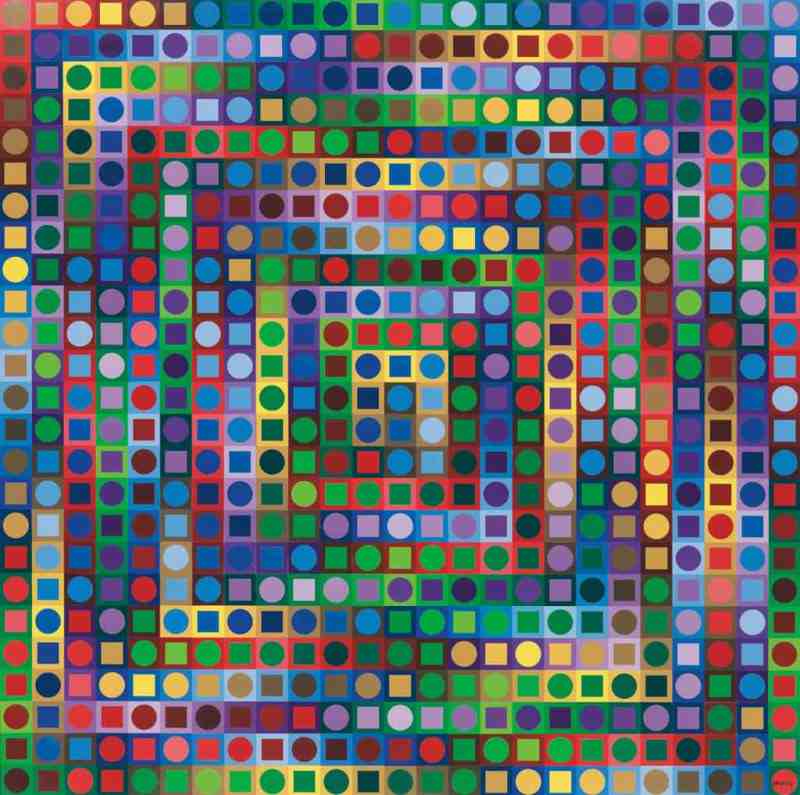
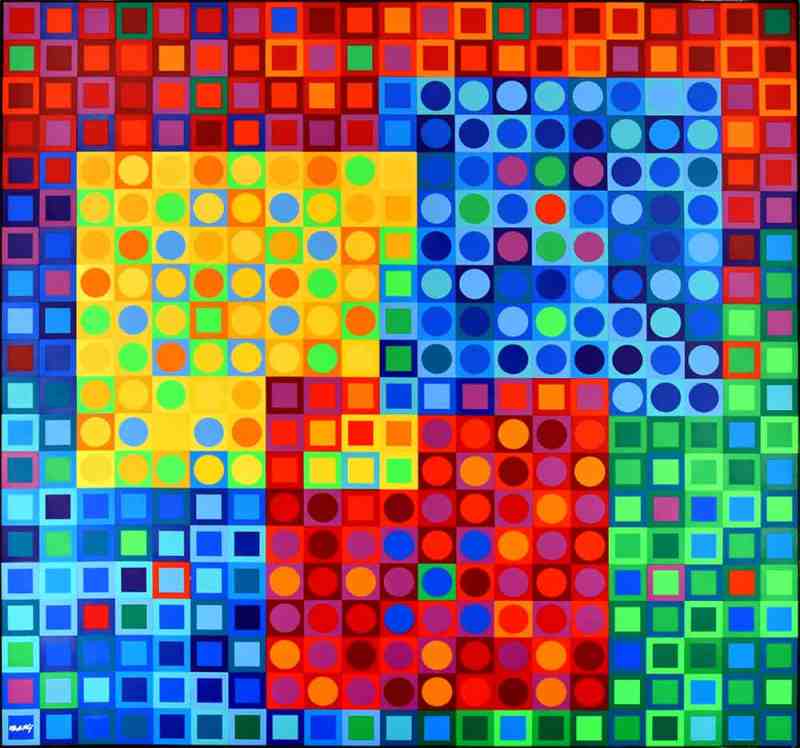
Maybe. Maybe Victor Vasarely got there first in the art world, but I’m guessing the origin of circles on squares, or even squircles on squares, may have come from all the mending the first woman did on her children’s clothes. Just a hunch. I really have no way of knowing this, but when my friend Dot mentioned the artist Vasarely as being reminiscent of our #backtosquircles project, I believe she was on to something. Have fun looking at his art.
My Tips and Tricks

Caveat: If you would rather fold laundry or scrub out the bathroom than do hand appliqué, I have a post on how to do nearly invisible appliqué on machine, using monofilament thread. It’s quick! It’s easy!
Back to the method I used *this time.* (I might change it next time.)
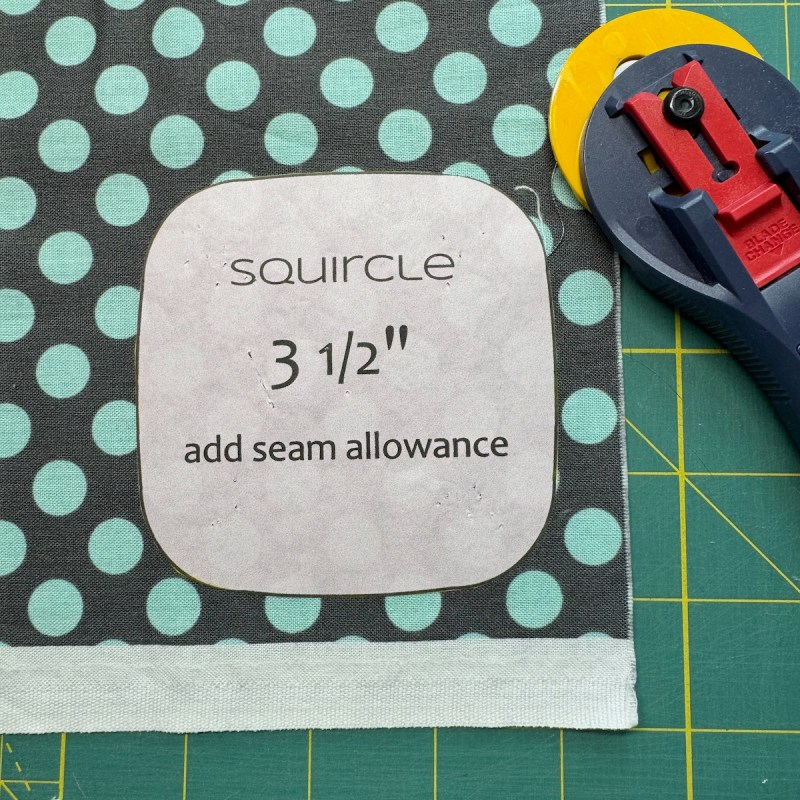
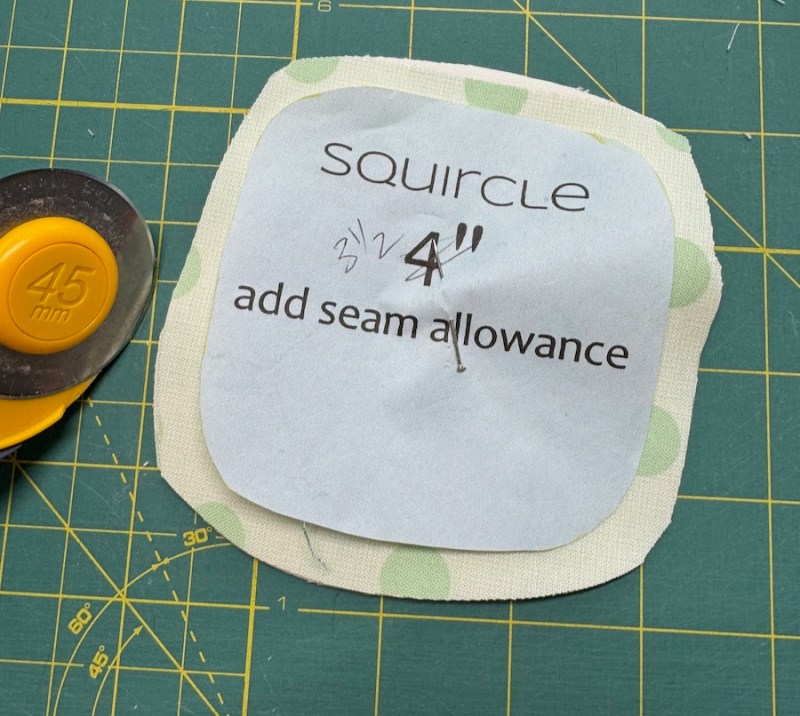
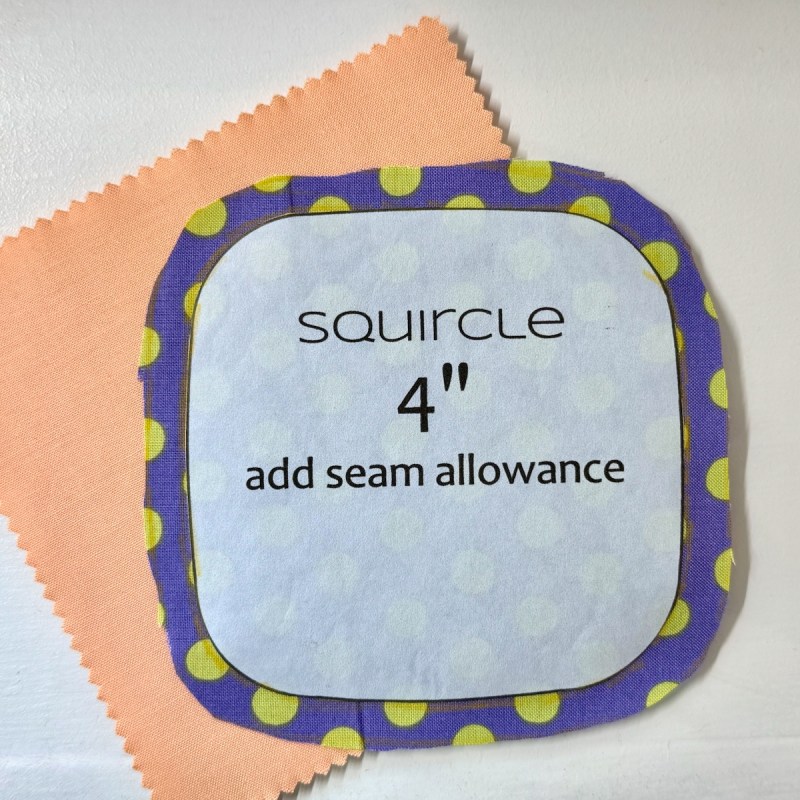
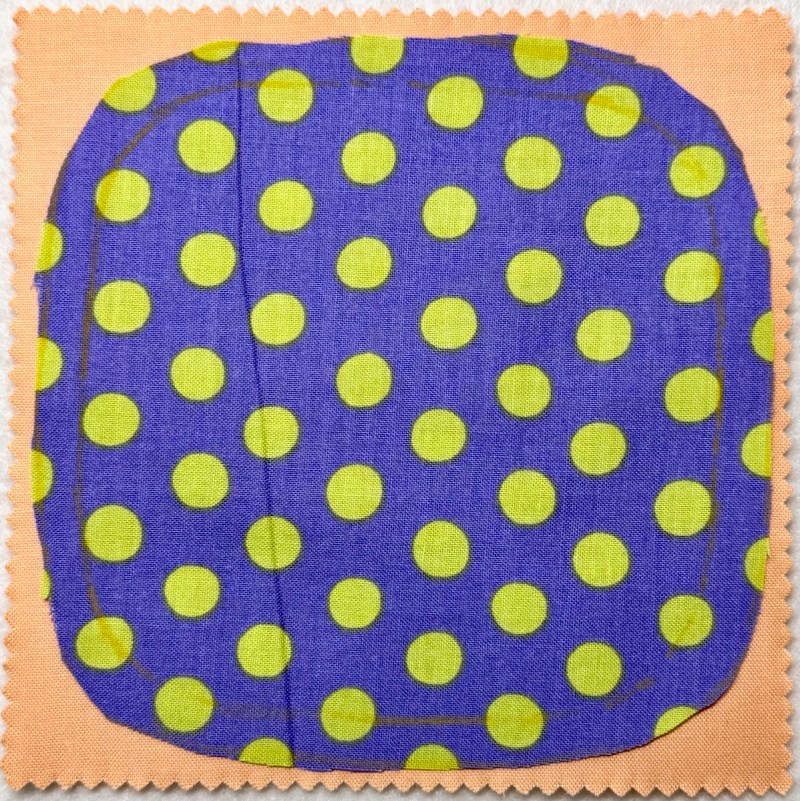
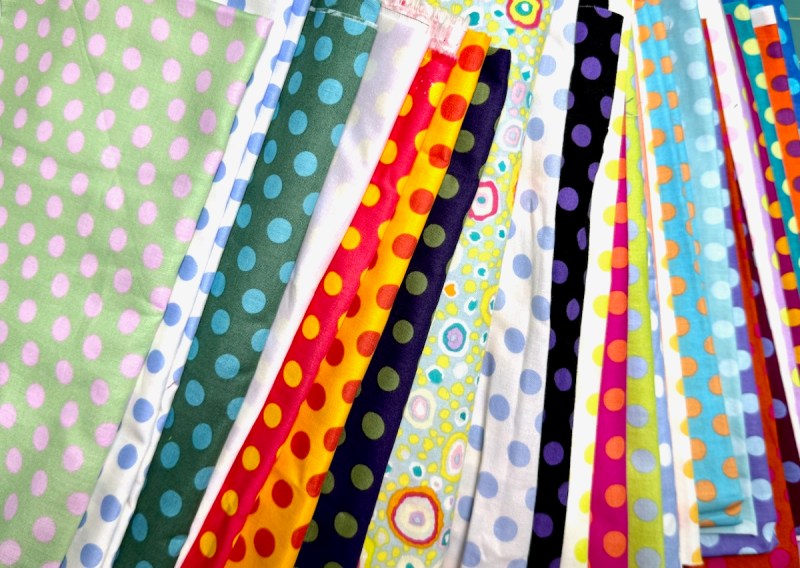
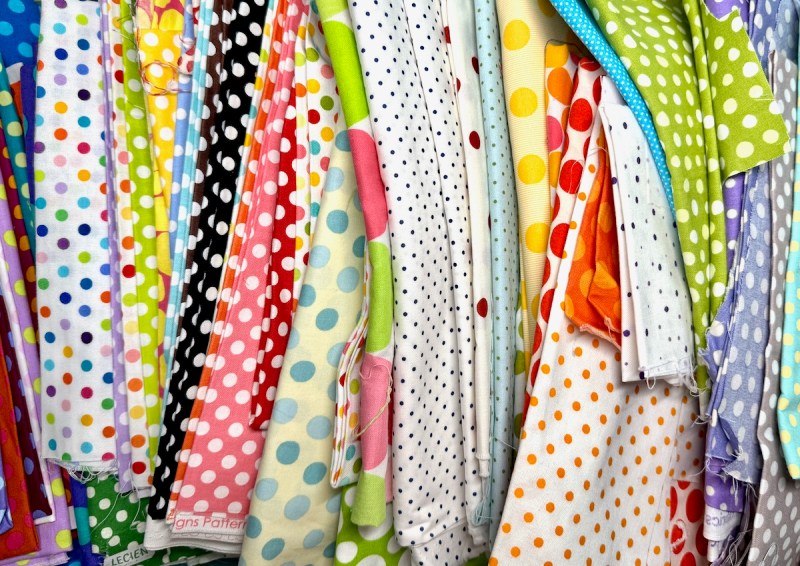
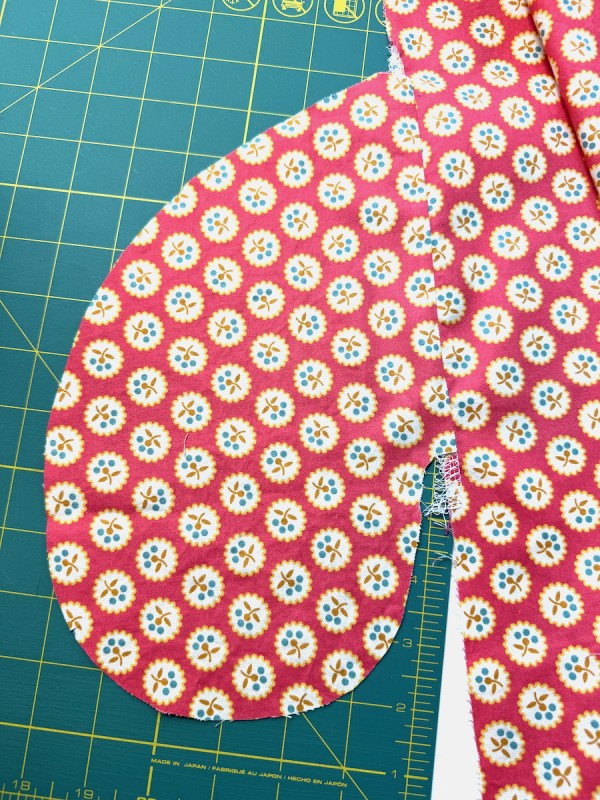
To cut out the shape: I would often iron on my freezer paper version of the pattern (I just printed it directly from the pattern). Other times I would just use a pin. Always I used my rotary cutter to slice around the fabric, and usually I was working with four layers of one polkadot fabric. (I learned in this project how many many many polkadot fabrics I have.)
In my past appliqué lives I have always cut out a bunch of the shapes out of freezer paper and pressed the fabric onto that. I would place shiny side up, and nudge the edges onto the shiny stuff and they would generally stick. When it was cool, I would take the pattern out and use it again.
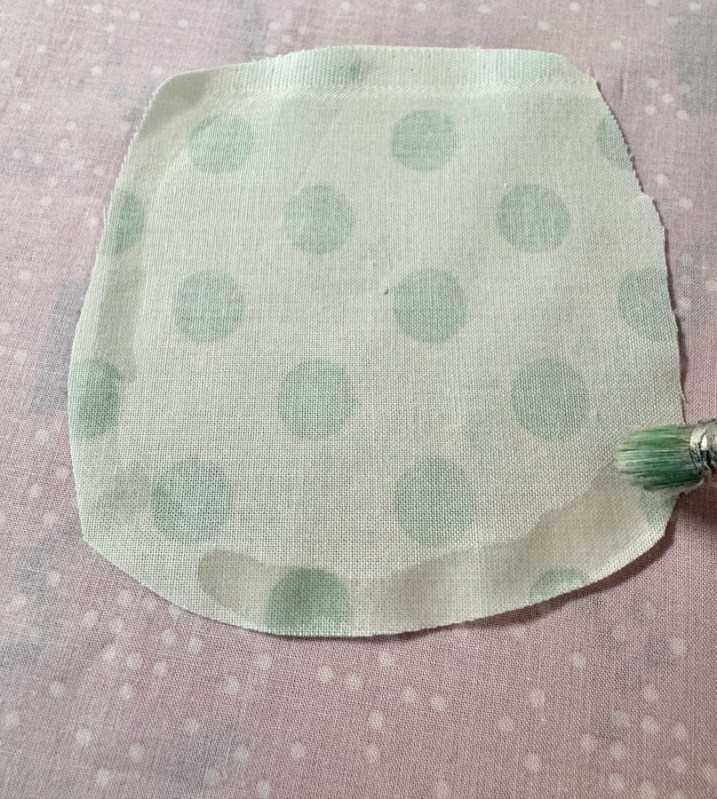
This time I tried Old School Methods: spray some spray starch into the lid, and using a small brush, stroke it around.
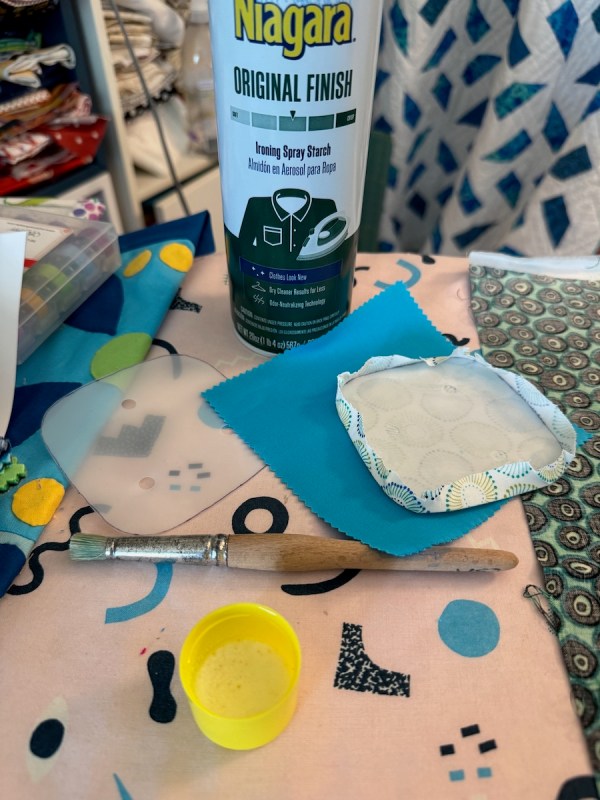
Like this.
You can just see where it’s damp from the starch. Don’t use too much. I always lay down a piece of cloth on my ironing board to catch the dribbles.
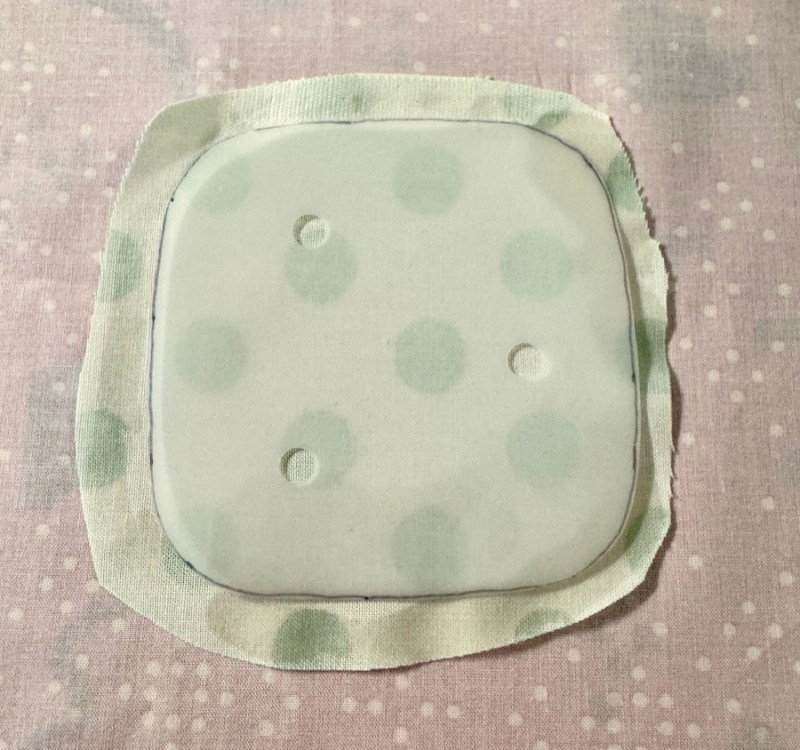
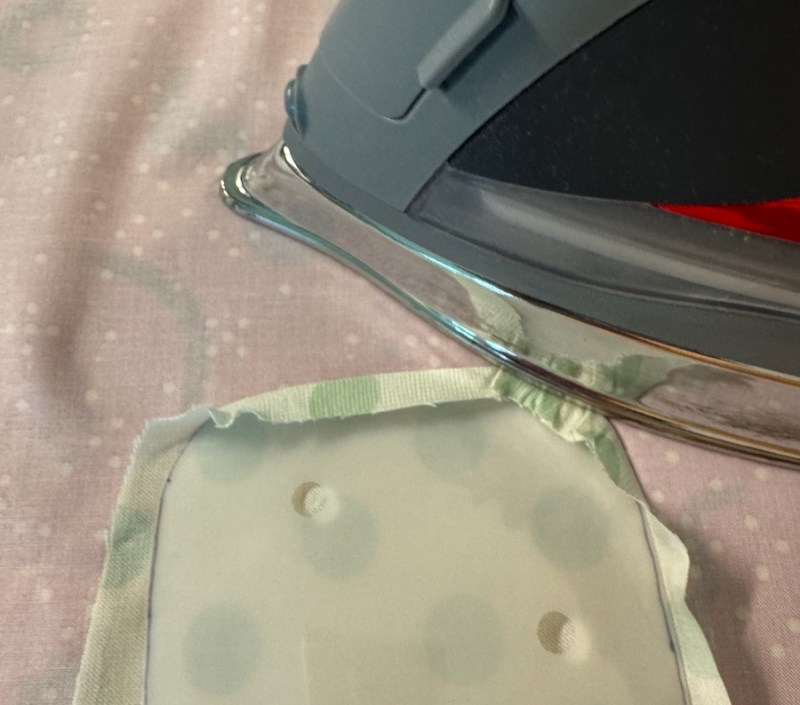
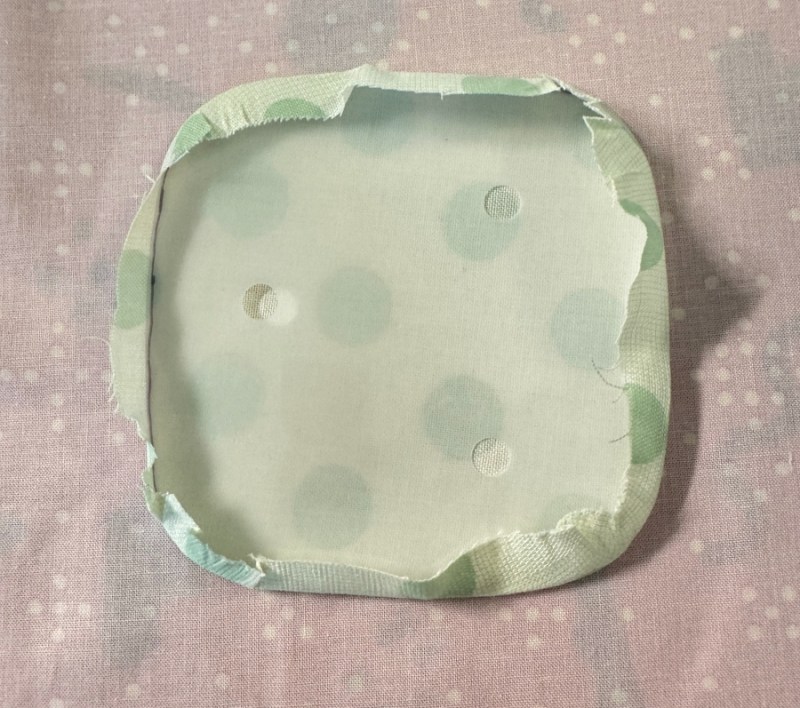
Place a template (here I used mylar and punched holes in it — more on that later), pressing the corners and sides up over the template. The starch should dry and hold it in place. Let it cool, then remove the template. Duh.
I finger press some marks at the centers.
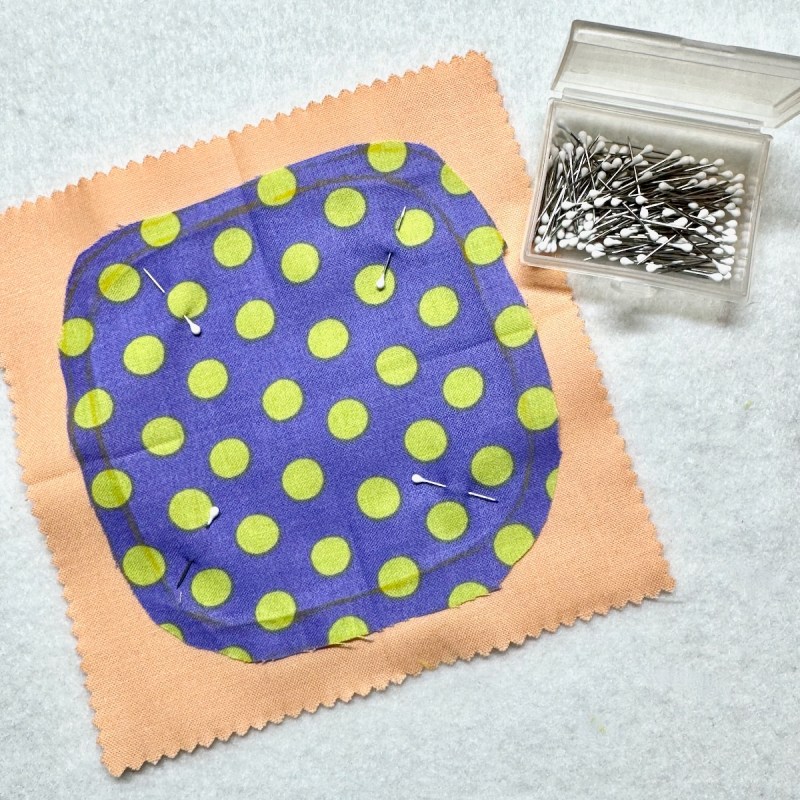
Then I arrange the cooled, pressed squircle by eye and pin it down. Sorry if this is repetitive for you experts — feel free to leave a comment if you have more tips; this is always helpful!
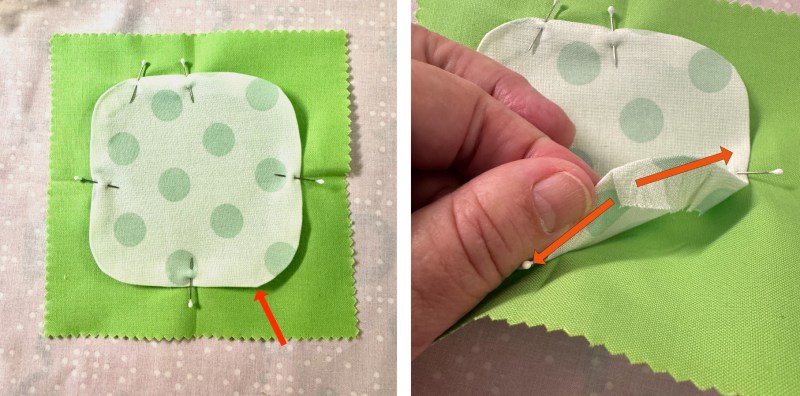
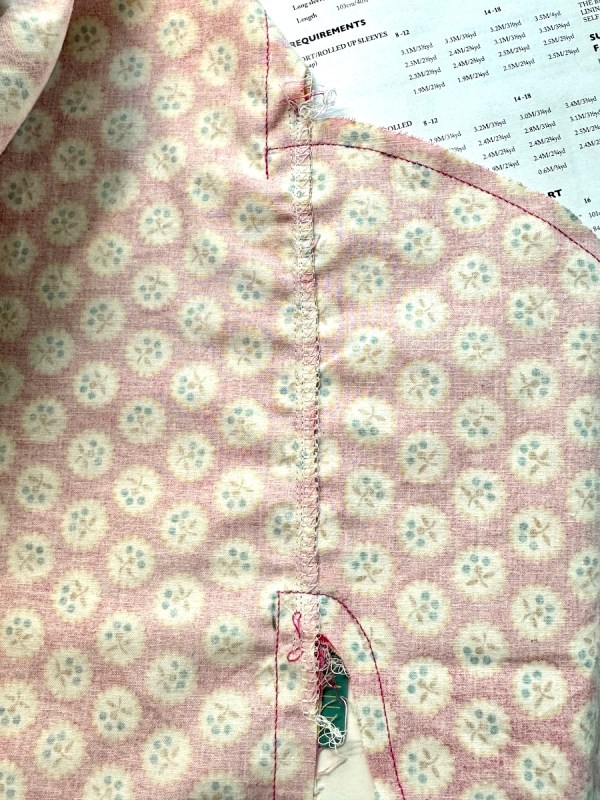
Sometimes you’ll get a little bump out. That just means underneath the seam allowance has its knickers in a twist. As you stitch along to this spot, with your needle, sweep the seam allowance away from the bump (in the directions of the arrows) and it should ease up and smooth out.
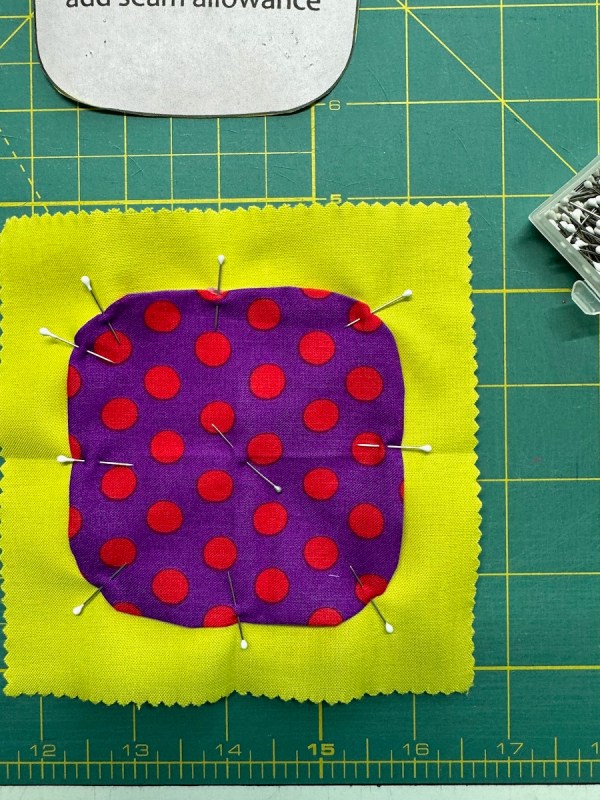
Sometimes I just put four pins.
Other times that squircle isn’t going anywhere.
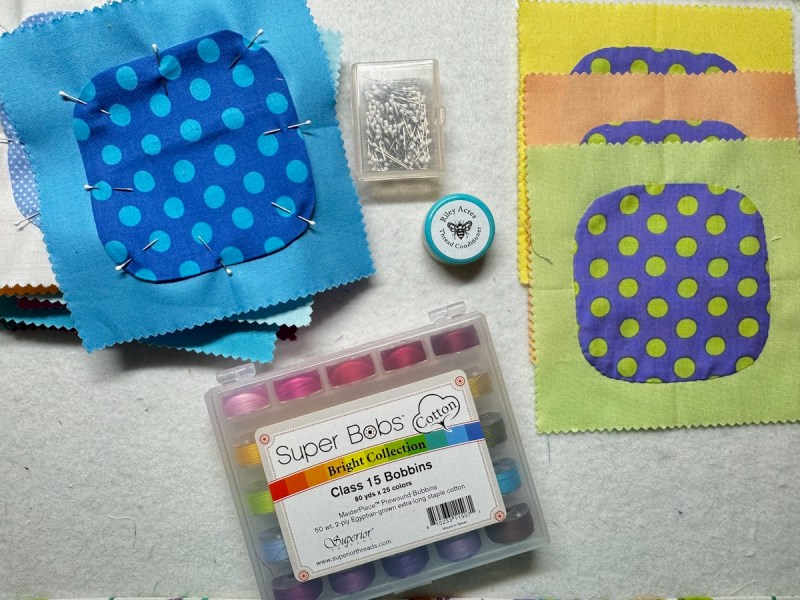
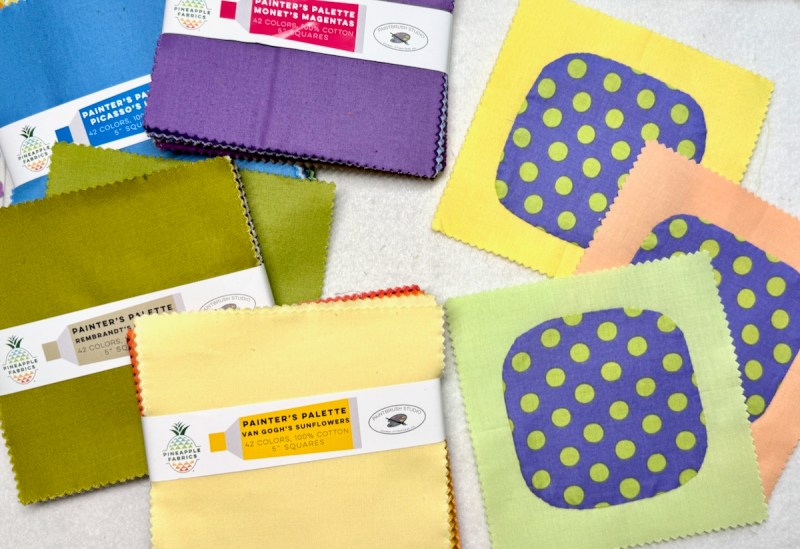
I use the Thread Conditioner from Riley Acres, and I like the Super Bobs Bright Thread Collection. Rachel uses her own bees’ beeswax to make the conditioner, and I like how it feels, and it never gets hard.

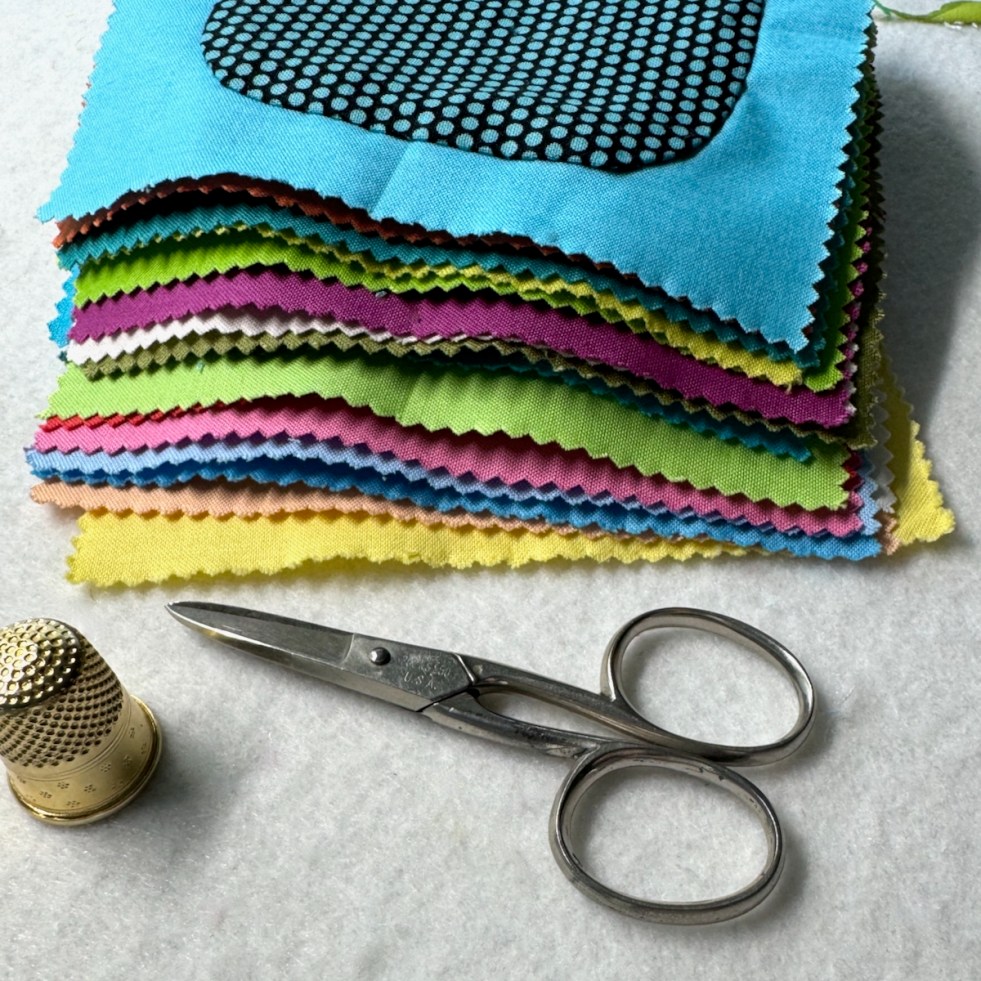
I’ve sort of started evaluating my polkadots for this project. The ones on the left are rejects. The ones in the middle I was thinking about, but in the end, I only used the ones on the right: regularish-shaped dots, with not too much else going on.

Twenty-two done. I’m ahead of schedule, happily.
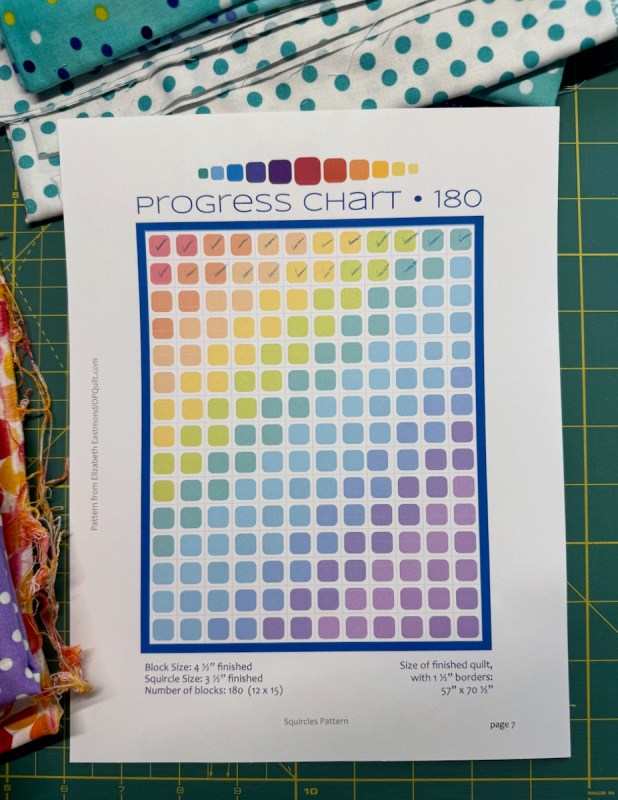
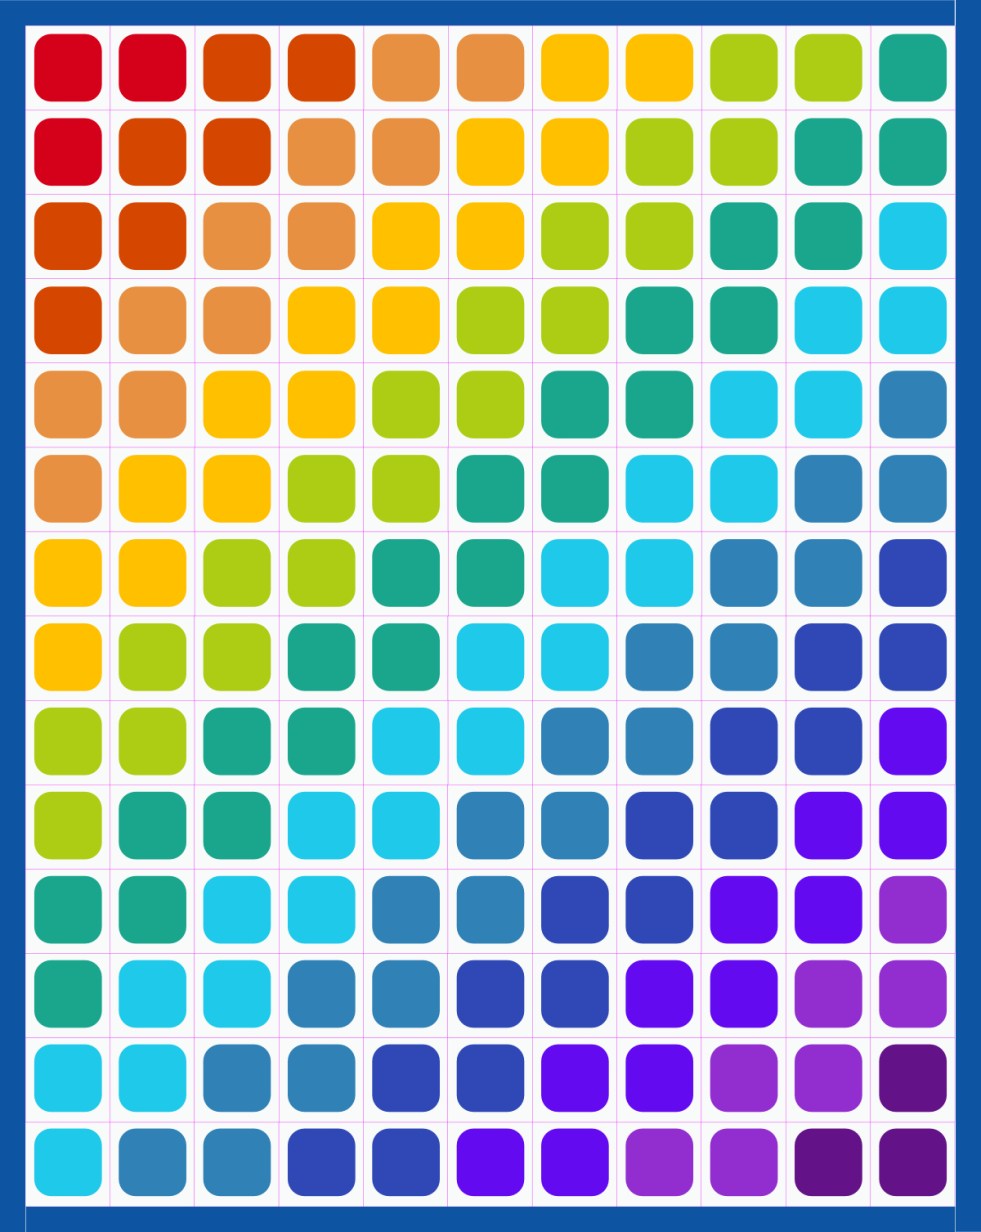
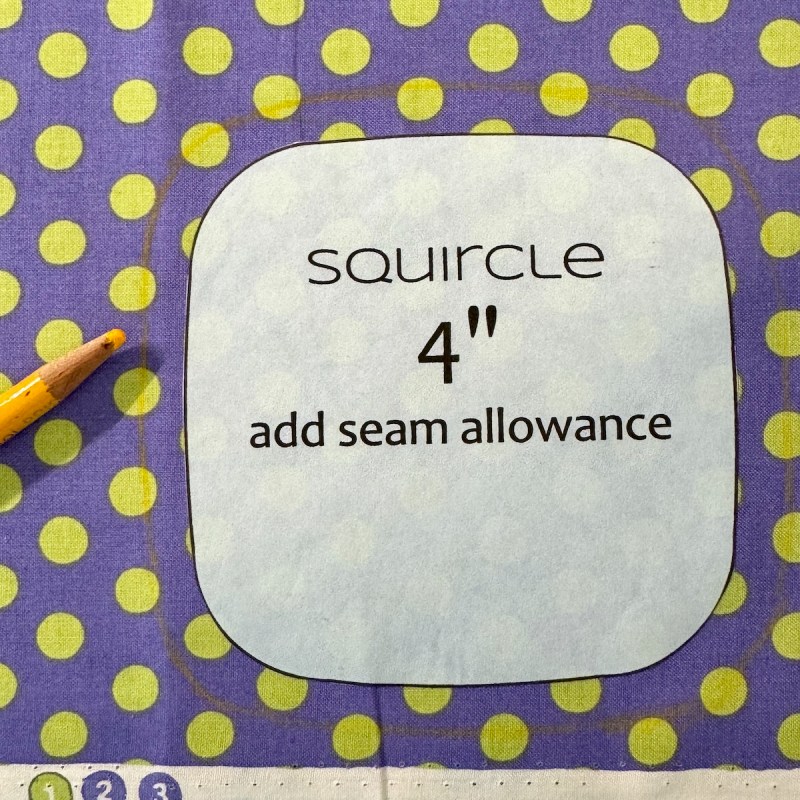
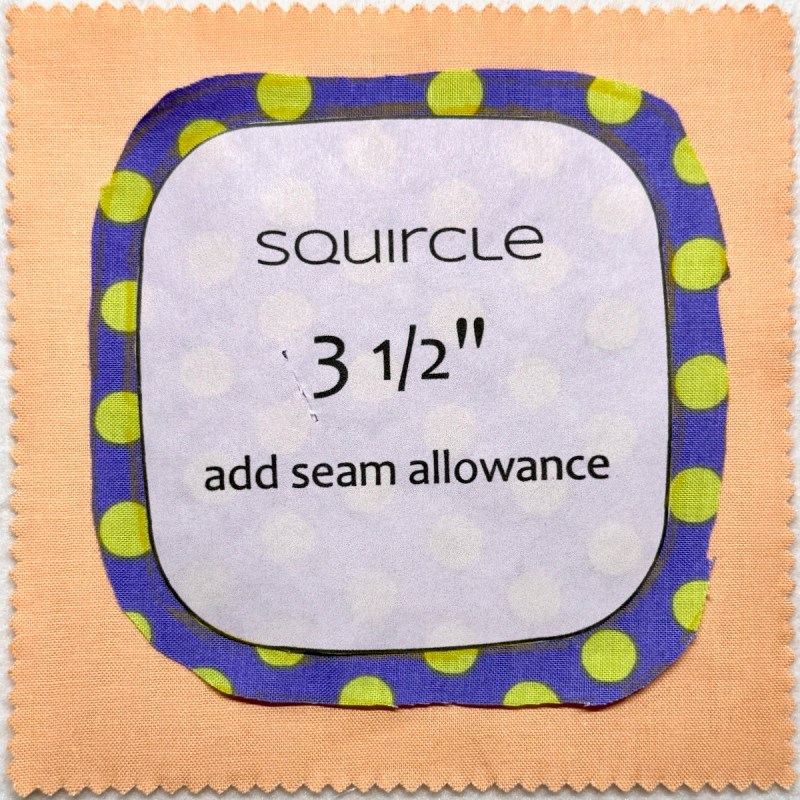
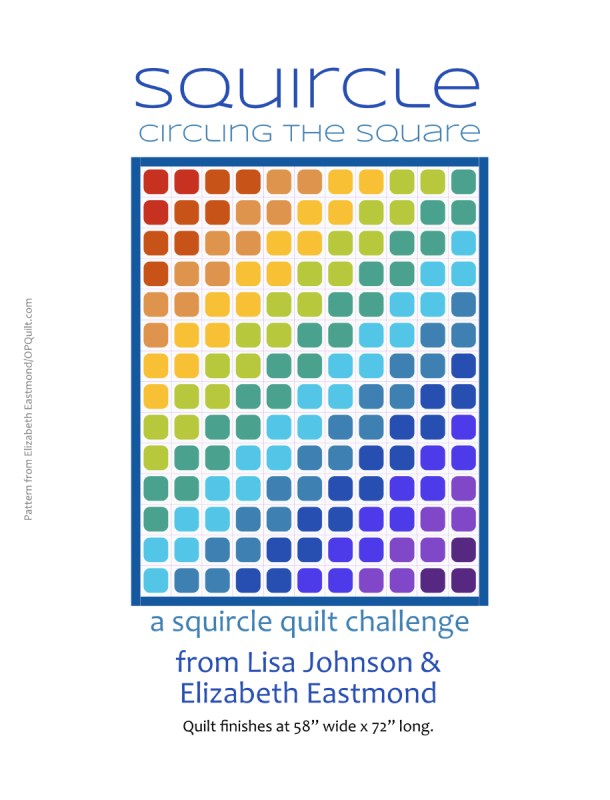
I made you a chart to keep track of our squircles. I added it to the pattern, and tweaked the pattern a bit, if you want to download it again:
Okay, that’s it for my squircle tips and tricks.
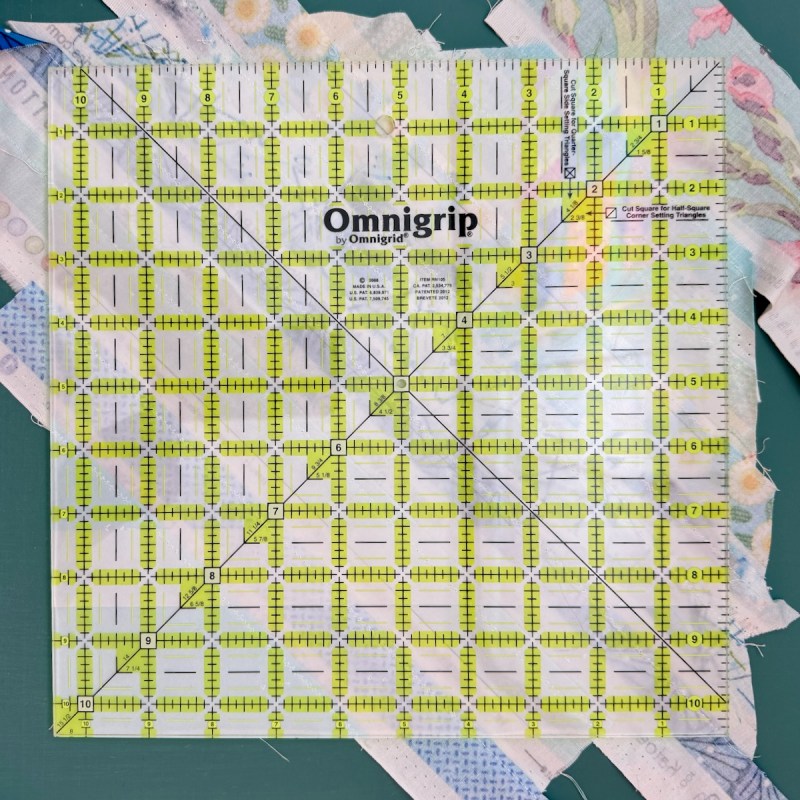
The mylar sheets can be found on the Great Store in the Sky, and I just slipped the pattern underneath and traced it off with a fine Sharpie marker. The Mylar cut easily with scissors. I punch holes in my Mylar so the steam doesn’t build up and warp the template. Although with the starch, I didn’t use steam this go round.

This little project will sink into the background for a while, so I promise, no more squircles posts for a while. But the pattern (free!) and the tips and tricks will stay here on the website for your use.
keyword search term on this site: squircles
hashtag on Instagram: #backtosquircles

I could listen to Rose talk about her job in the hardware store every day.