I’m not yet “jammified” (in my p.j.’s) but I could be, for how energetic I (don’t) feel. Bob Hope noted that “You never get tired unless you stop and take time for it.” So I’ve taken some time for it this week, after my Ta DA! post of earlier. I also heard Joyce Carol Oates once talk about how, after a novel was newly finished, she took her time to coming back from working–she read poetry until she felt sufficiently ready to start work again.
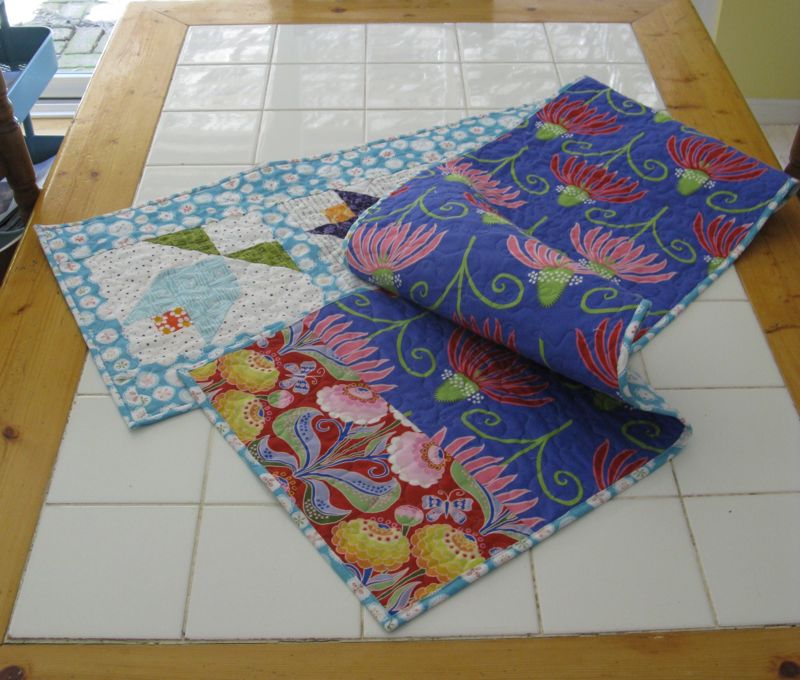
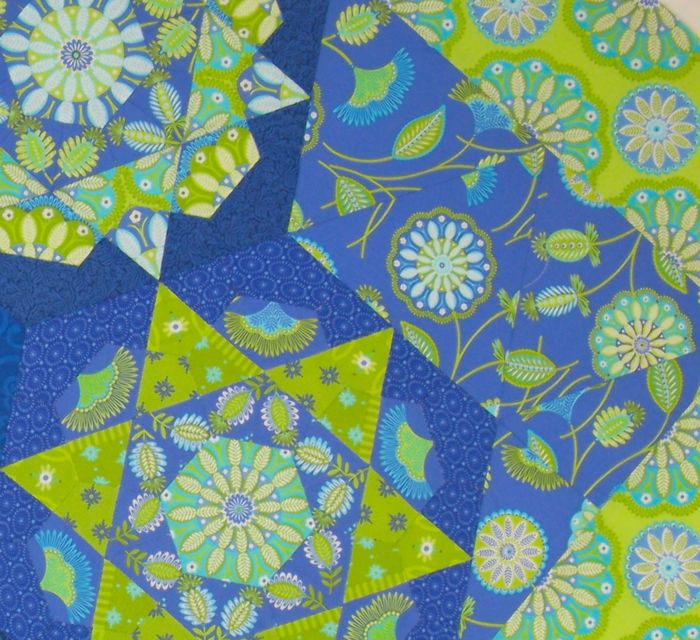
I was asked to teach a class on the Lollypop Tree quilt, as I’ve noted before, I made up my own pattern, and thought I should get going on the class sample. It was intended to be a Kaffe-fabricked Christmasy design on Kona red. What it ended up becoming was a whimsical Kaffe-fabricked design on aqua polkadots. The red one is still in my future. . . perhaps tomorrow, after I grade some of the late essays and finish up prep for class.
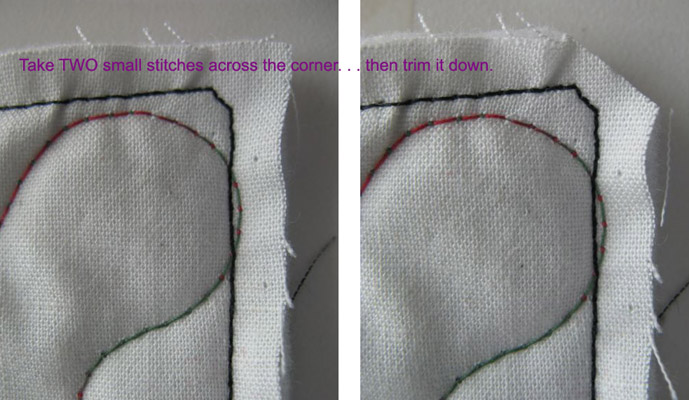
 I became stuck on this one leaf. You can see the progression, of trying desperately to become unstuck, and I just noticed I put two of the same in the photo. Ignore that.

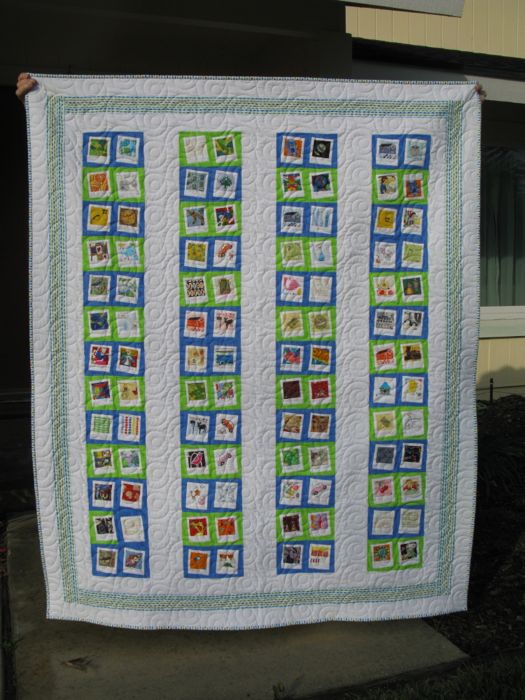
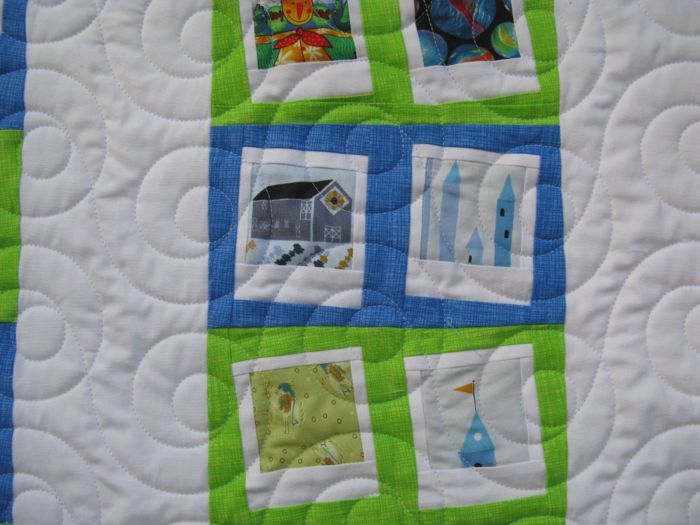
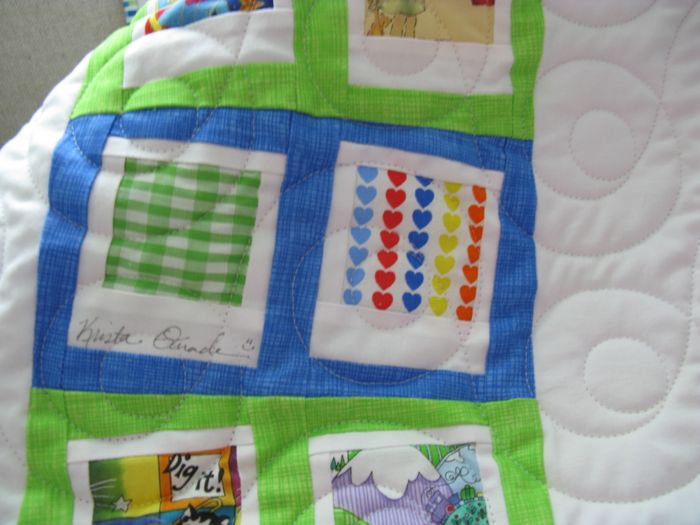
I finally got to this point, and although I’m still not happy with parts of it, most of it is coming together.
Eric Maisel said that “If, because of anxiety and self-doubt, you procrastinate and only think about working, you’ll feel more exhausted than if you’d created for hours.” I certainly had a lot of that going on today, but I think it was also because I was listening to the end of a Graham Greene novel, which was driving me a bit batty. Then I switched to This American Life and listened to the two-part episode about Harper High School, which starts *here* and ends *here,* which I’m still thinking about, and which should be required listening for every American, no matter where you stand on the gun-control debate. It was sad, frustrating, illuminating and it got me working through my puny problems of how different pinks should go where. Perspective is always a valuable thing.
Then I went downstairs to the kitchen and made two dinners: tonight’s and tomorrow’s, as I don’t get home from class until later and my husband and I just aren’t up for cooking, or for going out.

After dishes, I finished off a good book–the latest Guido Brunetti mystery–and then traced off and cut out another Lollypop Tree, ESE-style, to begin again tomorrow with a red background, for my shop sample for the class.
I was talking to a biologist friend once, describing how sometimes I felt as there was nothing creative coming forward (this was when I was an undergrad in Creative Writing) and yet the deadlines didn’t seem to go away. “Ah,” she said. “You’re in lag phase.” I didn’t know exactly what it meant, but the gist of it was that while I felt like I was doing nothing, my ideas were percolating, growing, or “metabolically active” as a biologist would say, before I entered a time of real growth (log phase, if you must know). I’ve experienced this more than once. During that time, I feel unfocused, blasé, wiped out, or just plain stupid, if you must know the truth. I ingest vast amounts of silly internet videos, or lollygag through quilt images online, or read blogs without commenting. Then slowly, something shifts, I become truly bored with being bored and I get back to work.
“If you work it will lead to something. It’s the people who do all of the work all the time who eventually catch on to things.” –Sister Corita Kent

Linking up to WIP Wednesday at Freshly Pieced.