My mother used to have a stack of boxes back beside the freezer in the garage. They were mailing boxes, gift boxes, boxes to put your pet turtle in, and boxes that were there because, well, they were boxes.
So this idea, that I just need a place to put more stuff, maybe runs along the lines of the imagined box mountain of my childhood. (I can hear Mom saying, “There weren’t that many boxes.”)

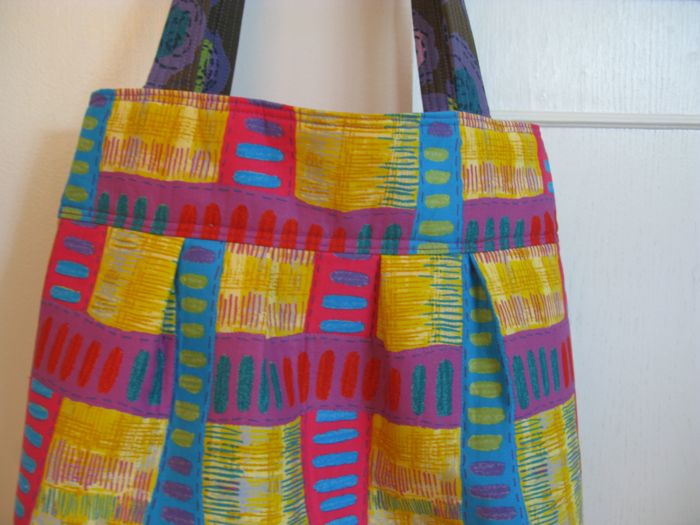
And not only do I have to another another tote or two (what else will I do with that beautiful Keiko Goke fabric?), I have to have pockets inside my totes, to. . . hold more stuff. Enough pockets of the right shape and size, one with a zipper, put me in Tote Bag Heaven.

This pattern was Pleated Tote, from Ellen Lucket Baker, found *here.* I made it exactly as she recommended. Still not keen about the fusible batting on the inside. It makes the tote too bulky, too stiff, not tote-y enough (I like mine loose and foldable). So maybe this is more of a purse-like bag?

This next tote is floppy, roomy, perfect for a grocery store tote.

The genesis came when I visited Cool Cottons in Portland earlier this year, and saw their bag in the front window. I tried to purchase the fabric, but they were all out of it. So I saw some at a quilt show I went to–it’s a sturdy lightweight cotton canvas, titled “Farmer’s Market,” made by Alexander Henry.

I was able to make two totes out of one yard of fabric. Simple things–just a rectangle with longish straps, no pockets, boxed corners to made them easier to put groceries in.

While the Keiko Goke can now join the growing stash of totes in my closet, these two are relegated to the car, to use while grocery shopping. I had intended to include the Goke tote as part of my WIP list, but I persevered and finished it up today.

It’s one of the items on my Finish-A-Long list, so I’m happy to be actually getting stuff done. School started and it always takes a while to recover from all that distraction and get back to the quilting.
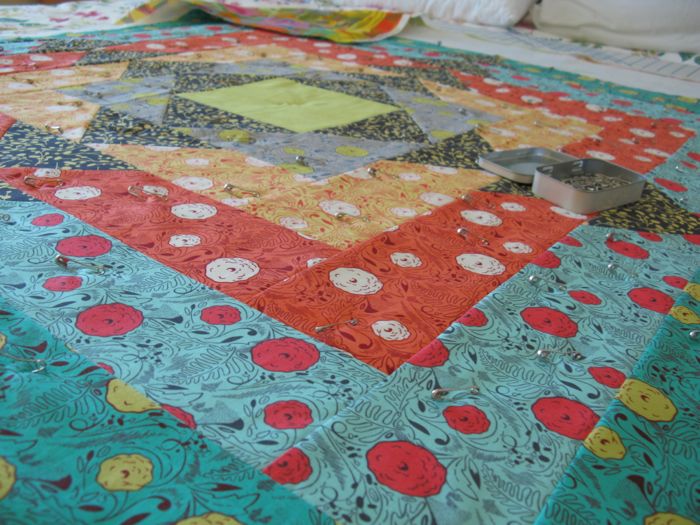
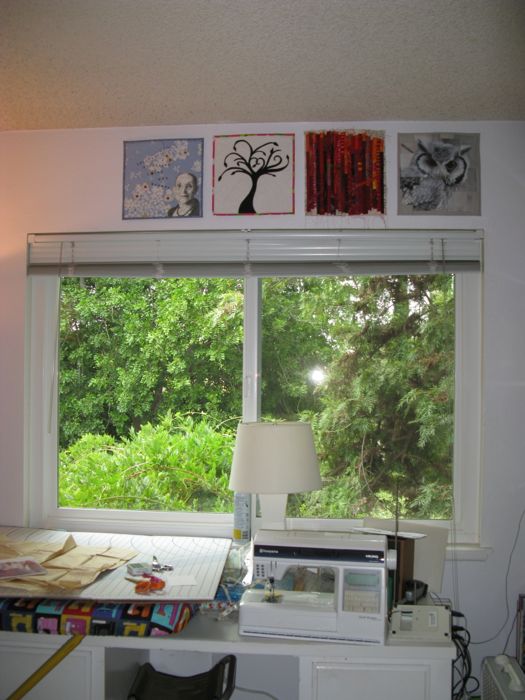
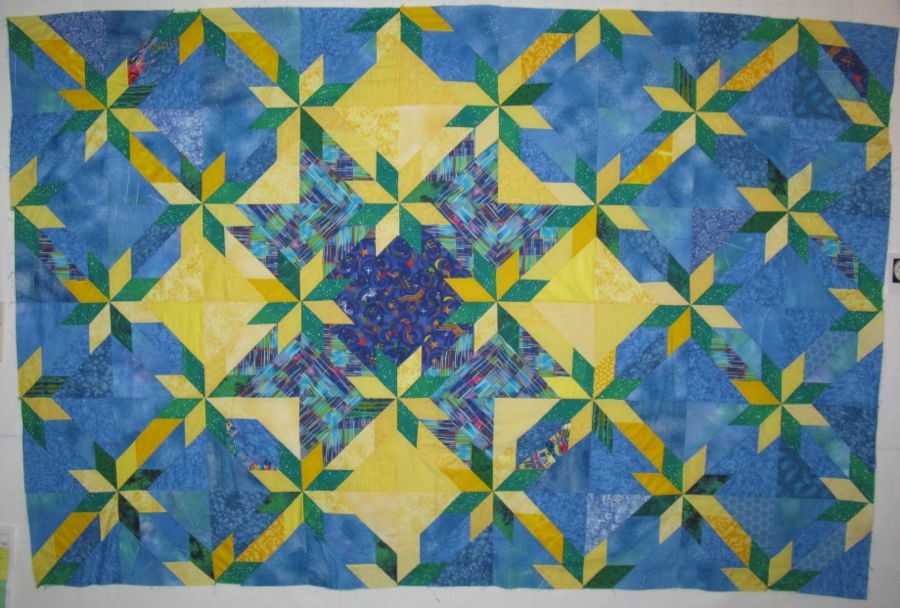
But I am in progress on this Facets quilt, designed by Anne Deister, getting it pinned to the backing today.
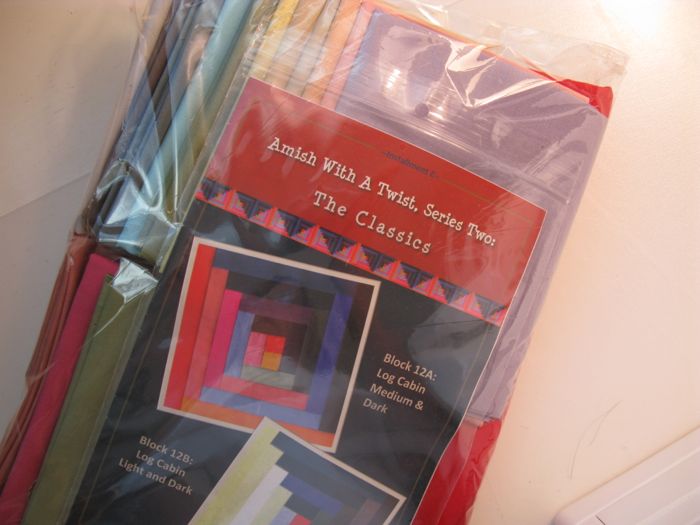
And the next installment of my Amish With A Twist Two arrived this week, so I’ve plenty to keep me busy. And now we begin the dodging through the school semester, pushing out tasks on weeks of low-to-no grading, dancing around those weeks where papers come in and there are stacks of things to grade and to prep for.
Linking up to Lee’s Freshly Pieced Works in Progress Wednesday.