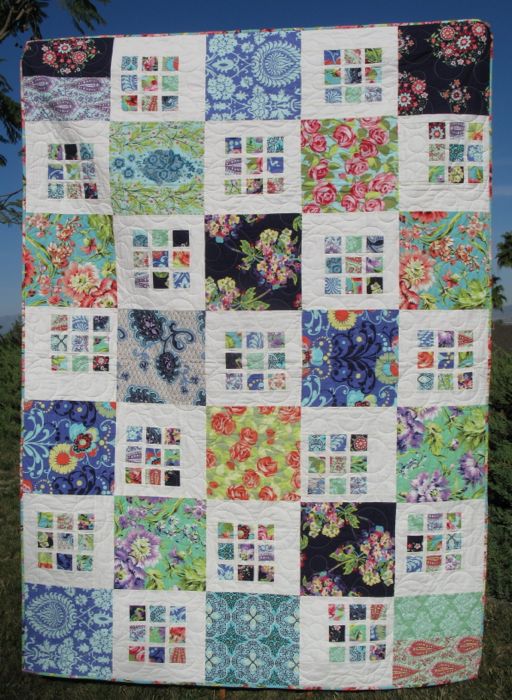
Silver and Gold
The Toni Jones Quilt
finished December 2013
Toni Jones moved into the house up the cul-de-sac from mine, a welcome addition to our neighborhood. With her six children to my four, our houses were jumping when we got together, and we did that a lot. Her mother lived with them, and the three of us women got along famously. One late summer day, Toni gave me a jar of her homemade pickles, made from her mother’s recipe and which used grape leaves as the secret ingredient. As a pickle lover, I thought I was in heaven and still have her recipe in my file, although I have never made them (grape leaves are not easy to come by).
We because close friends very quickly, as we tried to sort out the three main things that concern young mothers: will our children grow up to be good citizens? how do we manage our marriages? and how can I lose this weight? The first is a universal, the second was harder for me, and the third was harder for her. Too soon, my husband took another job and moved us to California, where the marriage finally cracked apart, and we divorced. Toni moved to a town further south of our Texas meeting place, got a job driving a bus to help out with finances and our letters and phone calls still resonated with the three questions, occasionally adding in a few more thorny conundrums, such as: will I ever marry again (mine), will we ever feel happy inside (both of ours), and can I clone myself to get everything done?
Then I fell in love, married and moved to Southern California. She and her husband, mother and family moved back to the Midwest from where they’d first moved. That fall I received a lovely letter from Toni. She was noticeably slimmer, posed in a family portrait with her husband and children surrounding her like bright satellites. She was all heart, that girl. Her letter glowed with satisfaction: she loved the Midwest, happy to be “home” again, and everyone was doing well. And yes, she’d canned some pickles and wished she could share.
I sent off my Christmas card in 2004, adding a scrawled a note and busied myself with preparations. Shortly after the holiday, instead of her usual Christmas card, I received a letter from her husband. He wrote that just before Christmas, Toni and her mother had been killed in a head-on collision on an icy road. By the time the accident was discovered, they were both gone. The news was stark, severe, sucking the breath right out of me.

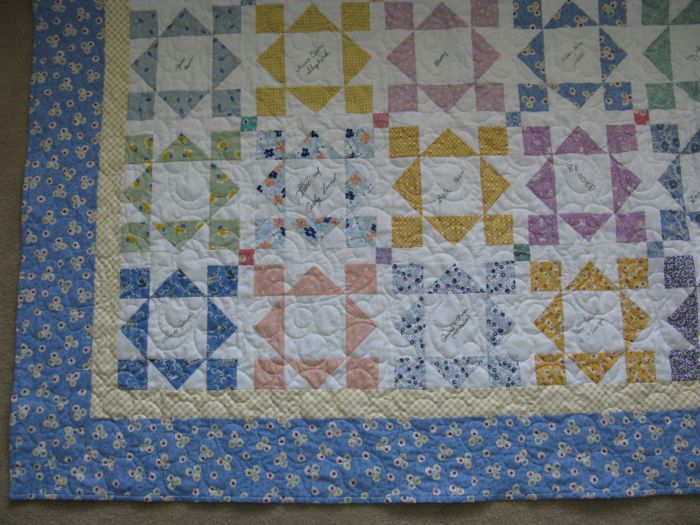
Toni was the first woman close to me that had left too soon, and I resolved to capture all my friends, those who were close relatives, women who had mentored me. I decided to make a quilt with everyone’s signature, my own memorial to Toni and to my friendships.

So many lived far away, so I ironed fabric to freezer paper, enclosed a letter giving instructions to sign the square in pencil, and included a self-addressed stamped envelope so I’d get them back. Most did. Other times, I carted my squares with me to family reunions, to church, to a therapist’s office, to quilt group, as I had made a list of women I needed and began checking off the names as the squares grew. Not all of my close friends are included, as I decided to limit it to a time frame, otherwise I’d never be done.


I gathered up all my granddaughters’ names this fall, and made them squares.

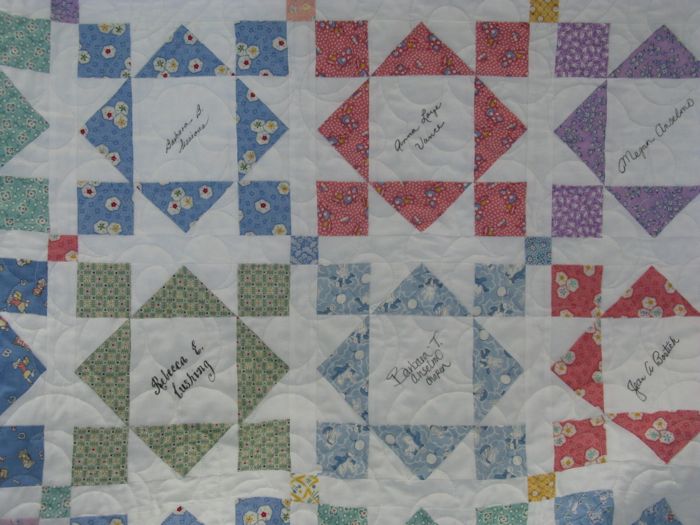
My mother, Barbara, and my daughter, named for my mother, are kitty-corner from each other.

I took the quilt to my quilter a week before Christmas and she turned it around quickly, so I could show my granddaughters when they came to visit. Emilee, the oldest daughter of my son, beamed brightly when I showed her the square with her name on it. Brooke, the four-year-old, wanted to sign another one, but I’ve left two blank in case my last son has daughters.

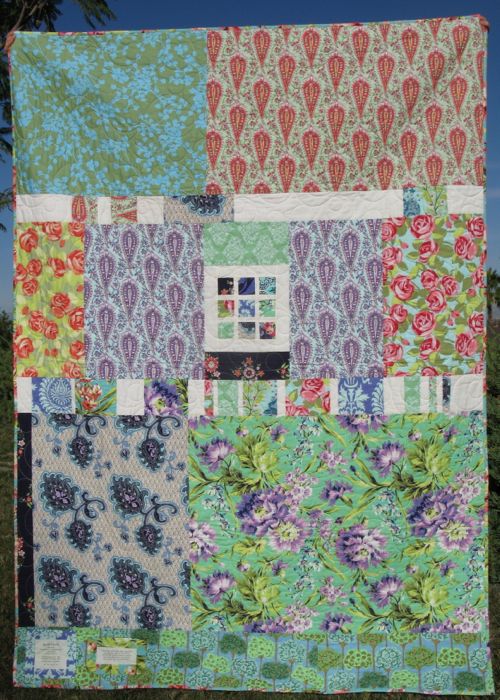
I had purchased the backing when I bought all the fabrics for the quilt, so it came together quickly. I felt some urgency to finish it off, as this Christmas we celebrated my 60th birthday (it’s really not until January, but all the children were in town, so we did it early). I hesitate to say the number, because I remember being thirty and thinking that sixty was the kind of number where people were shipped off to Old Folks’ Homes, fitted with canes, walkers and rocking chairs and consigned to a life of reminiscence. But I am young in my mind (although sometimes the body doesn’t get the memo) and want to celebrate what I’ve learned and the people who have touched my life, providing instruction, guidance and a listening ear at critical junctures in my life.
So, with this quilt, I remember Toni.
With this quilt, I celebrate a lifetime of women.
˚˚˚˚˚˚˚˚˚˚˚˚˚˚˚˚˚˚˚˚˚˚˚˚˚˚˚˚˚˚˚˚˚˚˚˚˚˚˚˚˚˚˚˚˚˚˚˚˚˚˚˚˚˚˚˚˚˚˚˚˚˚˚˚˚˚˚˚˚˚˚˚˚˚˚˚˚˚˚˚˚˚˚˚˚˚˚˚˚
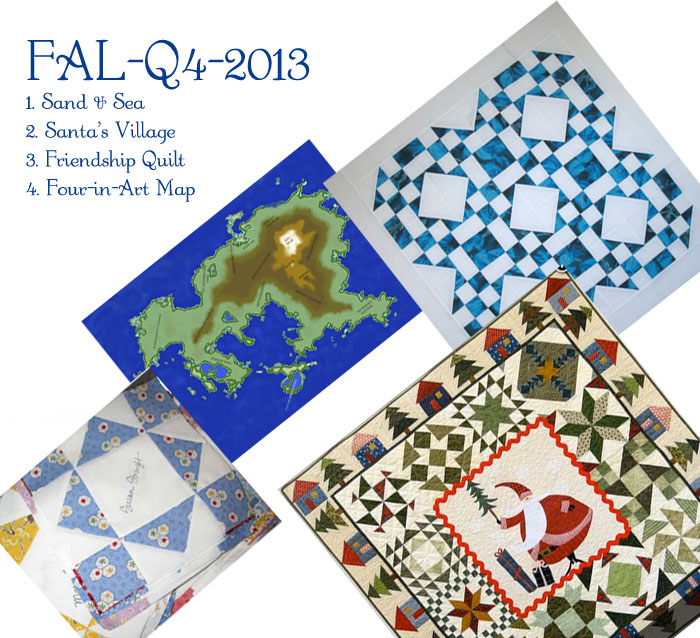
This is Quilt #126 on my 200 Quilts List.
It is also a quilt from the 2013 FAL Quarter 4, hosted by Leanne, of She Can Quilt.