

Radiating Compass Rose
Final Block of Shine: The Circles Quilt
This is the Sixteenth and Final Block for my project Shine: The Circles Quilt. It’s kind of a bittersweet moment, as I spent more than a year designing and sewing these blocks, and have sent them out into the world with a wish and a hope that others may enjoy them, too. And I hope you have!
The patterns for the another set of nine circle blocks (this one included) can be purchased on PayHip, but I have left the tutorials here, as they are photo-heavy. The Finishing Instructions pattern for Shine: The Circles Quilt is also listed on Payhip.
As I did for the fifteenth circle block, I based my design on the fancy compass/North designator of old maps, throwing my ideas into some quilt software, and having fun. There are elements of other blocks in this one, with the undulating narrow blades and the small points.

For this final block, I liked that this design had echoes of Circles Block Four, and that you can see a dimensionality to it.

A circle leftover from another center circle for another block. It worked great here!


To get the blades going the same way as shown in the illustration, lay the printed side DOWN. I include lots of tips and tricks for these circles in each pattern, so if you found this one first, head to the tab up above marked Shine: The Circles Quilt EPP to find the others. The outer points have no direction, so you can place them printing up. . . or down.


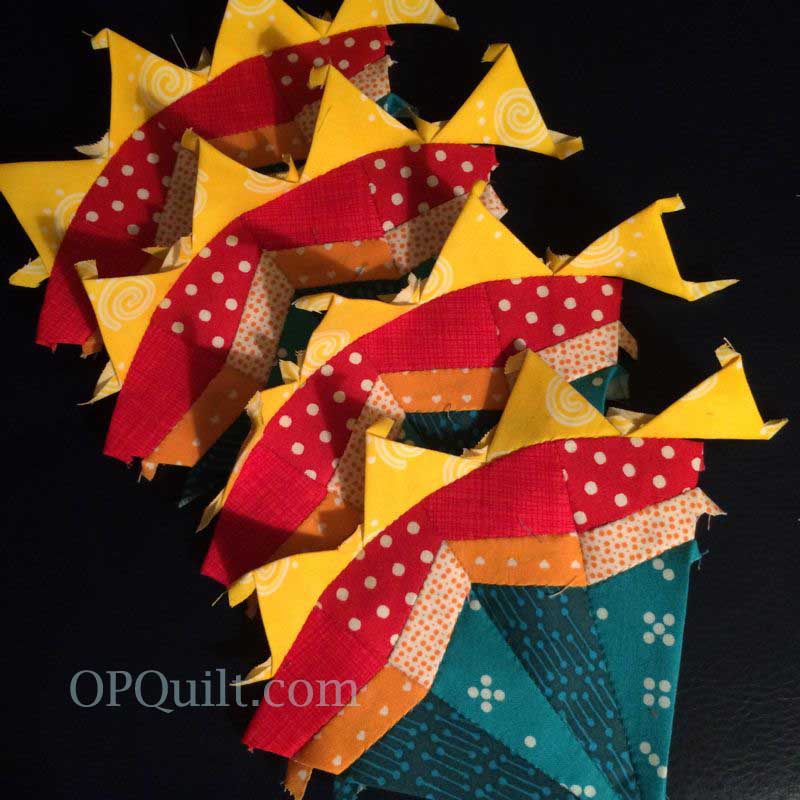
All the pieces are glued down to the papers.

I print out a smaller version of the illustrated circle and carry it around with my pieces as I’m working on the project.

Pay attention to which way you sew on that first blade wedge. This is an OOPS! on the right. Un-sew and do it again.

First round all sewn.

Second round all sewn.

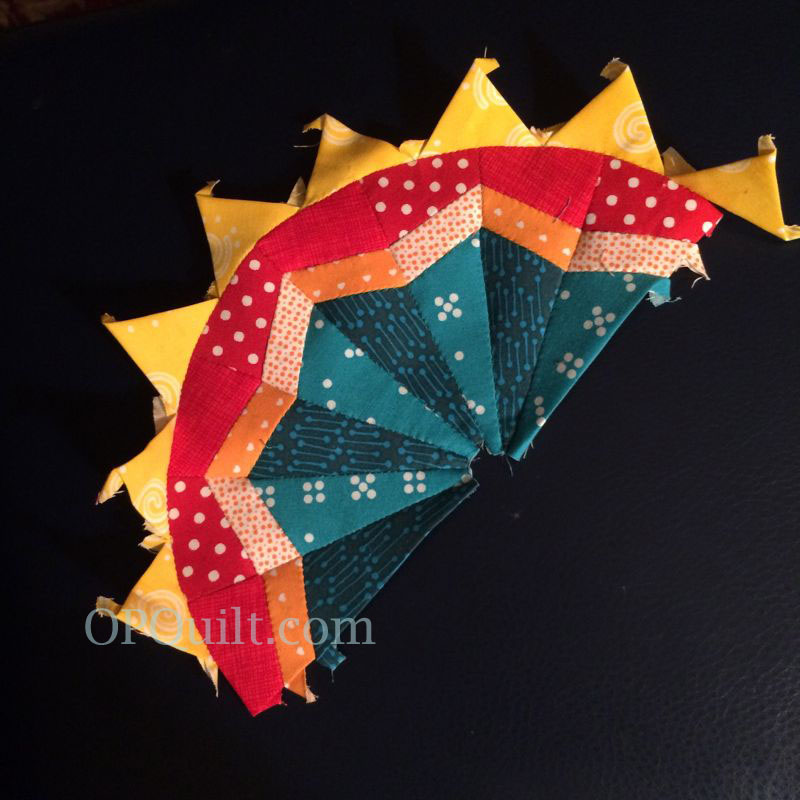
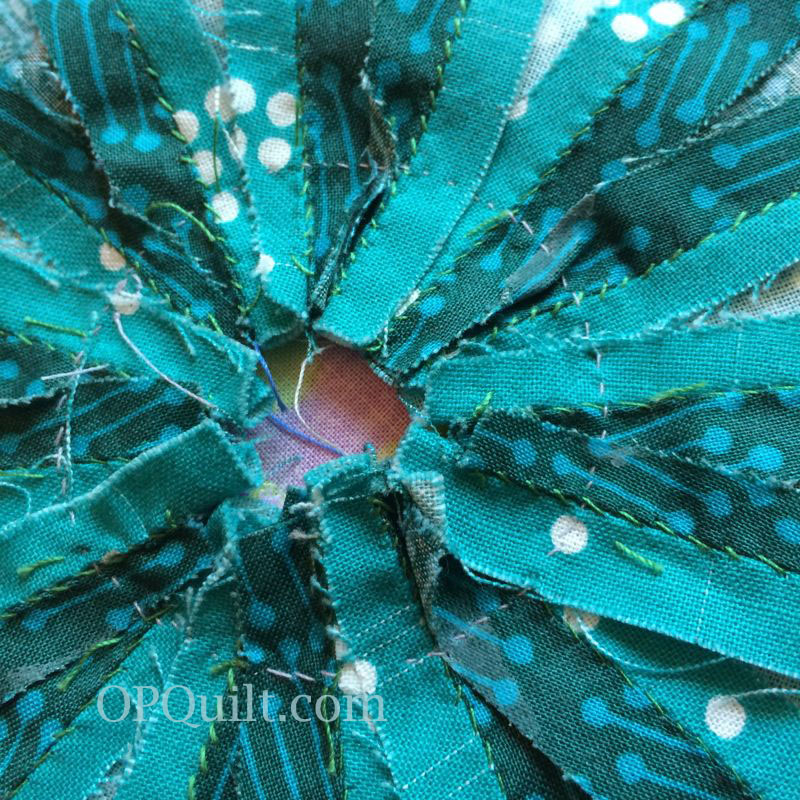
Join the blades of the rays together. Because I have such strong color shifts in these pieces, I opted to use different colored threads in each section. Here I’m sewing the teal pieces together, then I’ll switch to other thread and join the next band. . . and the next.

Start joining the units into pairs.
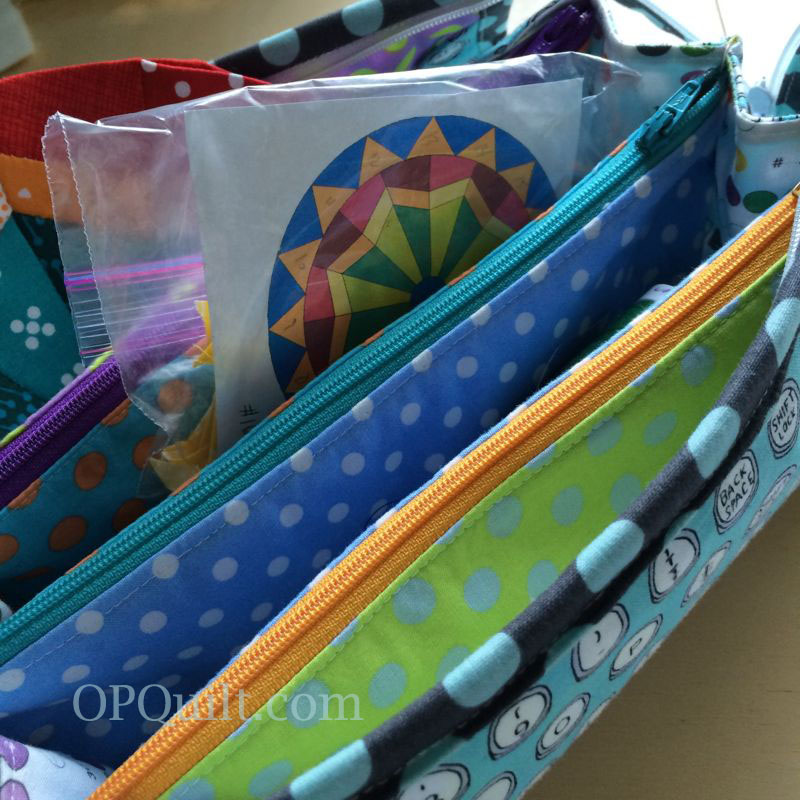
I just thought this was a fun photo of the project tucked into my regular Sew Together Bag. Now I use the Mini Double Pocket Bag (pattern in my PayHip shop).
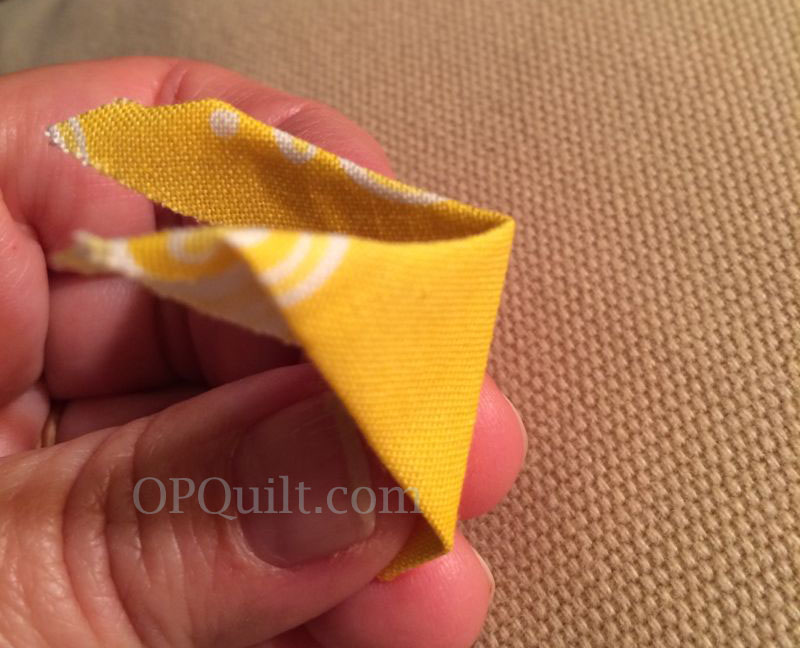
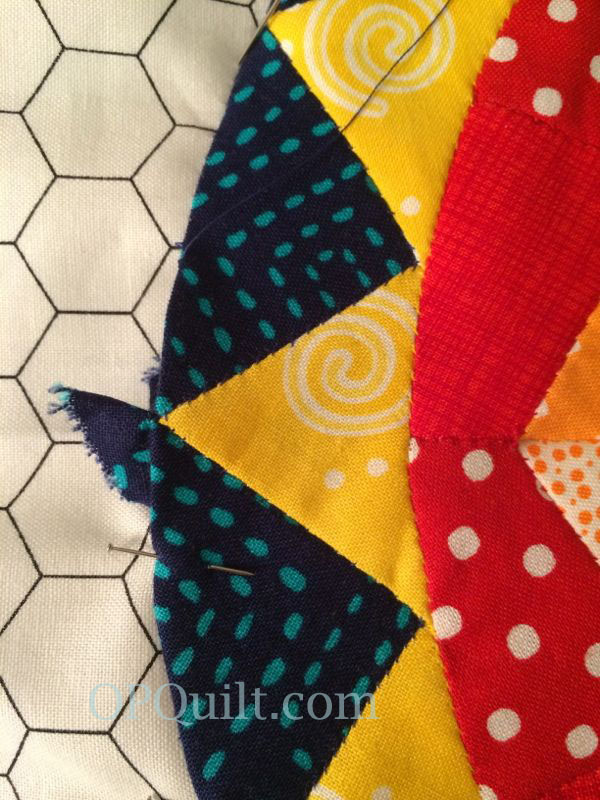
Okay, back to the sewing. To place the points on accurately, pinch to find the center of the curved edge.

Align that as shown. I use one pin to keep it in place, but start sewing from the point’s outer corner, as shown in the next photo.
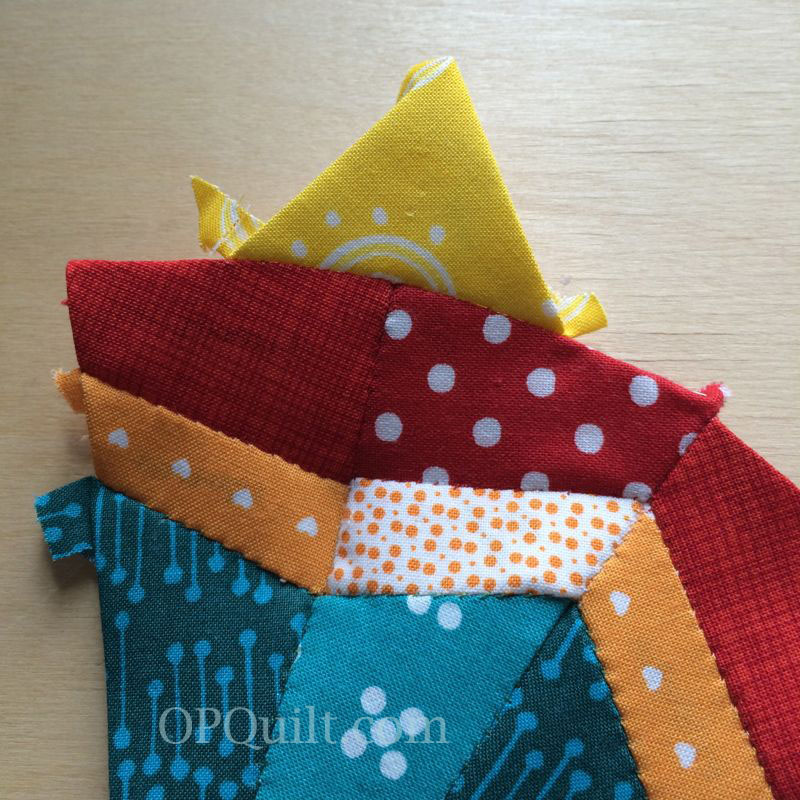

Repeat the pinch-to-find-center-action and sew on the next point. I always take a stitch at the point corners to join them to each other.
Here’s how they look when finished. Keep going until you’ve gotten the points on all your ray-pairs.

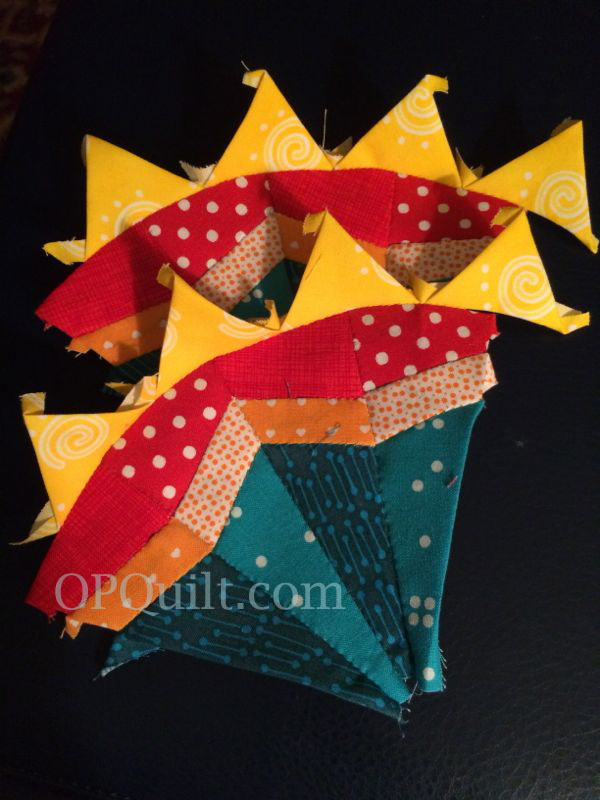
Join a ray pair together.
Then stitch down the loose yellow point. Repeat with the other two pairs.
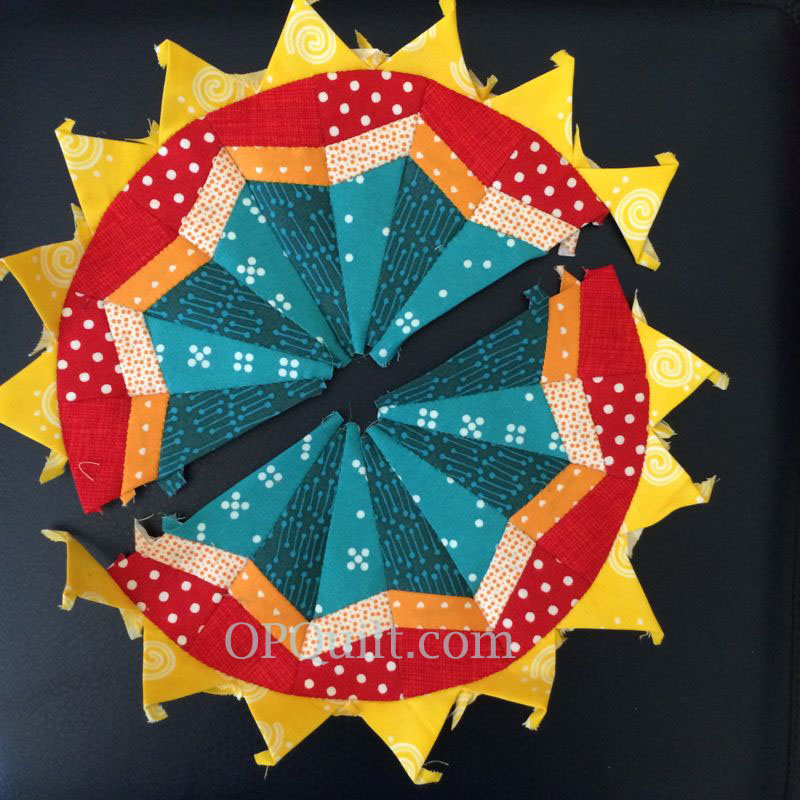

Now you are getting somewhere! This looks great, doesn’t it? Don’t sew the two half-circle parts together. Yet.
Time to add in the dark blue outer arcs in between the points. Again, I take one stitch at the outer points to join the arcs together too.

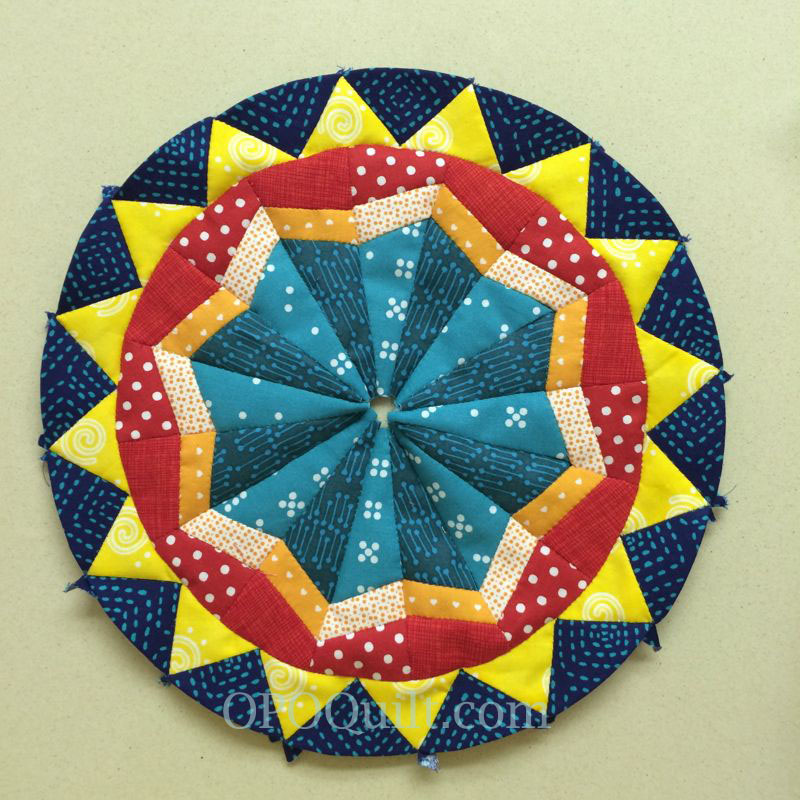
This is what you have so far.

Join the two units, sew down the yellow points, then fill in with the arcs.

Nice work! Here it is from the back with all the papers still in.

Remove all but the outer arc papers. You’ll need those to appliqué the circle onto the background.
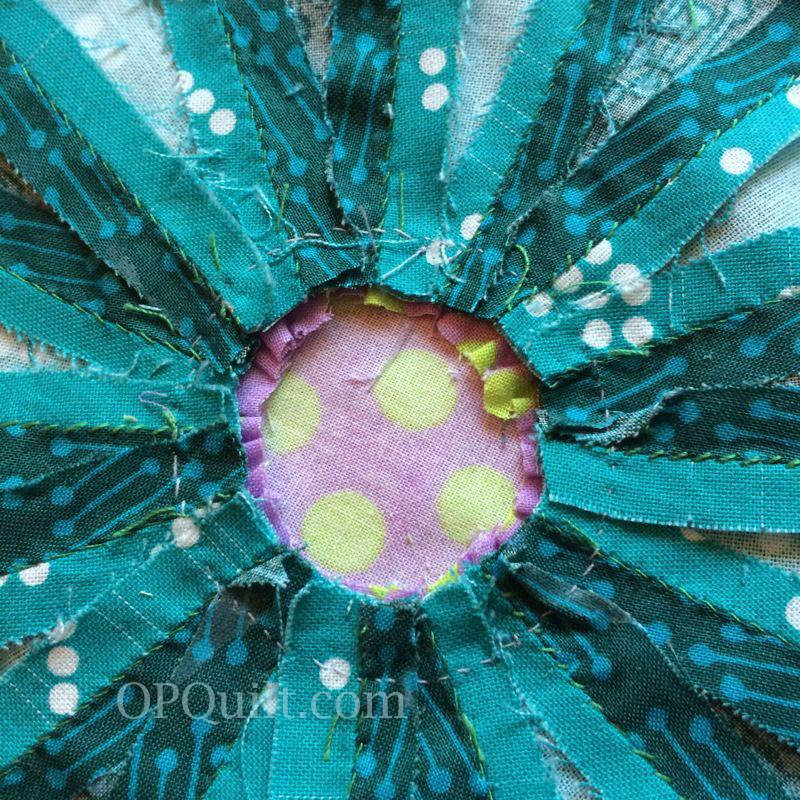
Don’t put it on the background just yet. First appliqué the center circle, as in Circle Block #1.
Lay your center circle over the center hole, measuring to get it on evenly, then appliqué with tiny stitches (above). Changing the size of the center circle is just fine; I decided to make it a little bigger than I’d planned.

I trim out the excess.
And then trim more excess–this time the appliqué center, leaving about 1/4″ seam allowance.

Cut a background square 14 1/2″, and as in the other circles, decide the placement of your circle and pin it down. When you come to a place with the seam allowances. . .
. . . first fold in one side. . .

. . . then the other, and keep stitching it to the background.

When finished, cut away the background.

I also trim off some of the more wild ends of seam allowances, as you don’t need all that bulk.
And you are done with all your circles!! Congratulations!!
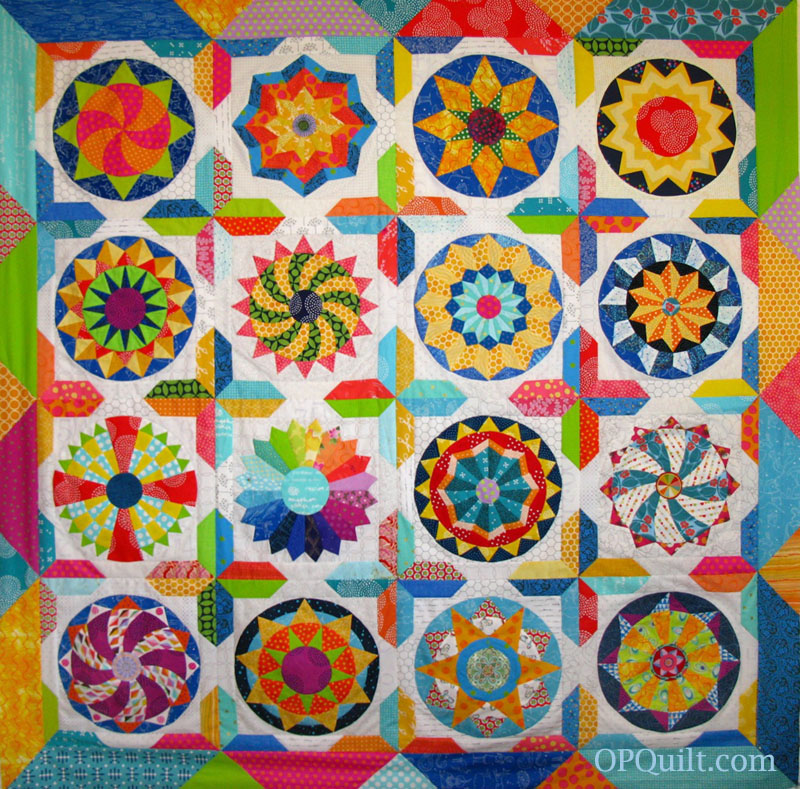
Now you can finish your quilt. I wrote the finishing instructions in a pattern and put it up on PayHip so you can finish yours too.
I hope you have enjoyed this series. It all started when I wanted something to sew by hand at night to relax, but was tired of all the straight edges of hexagons and such. Just after I started, we visited an ornately painted church in Slovenia, which inspired many of the circle blocks. If you are sewing them, please send me a note by way of comment, or share a photo with me by way of email. I can’t wait to see your creations!
There are now more Shine Circles in that last pattern, so you may have an entirely different quilt from this. If you make this, send me a photo!
Discover more from OccasionalPiece--Quilt!
Subscribe to get the latest posts sent to your email.

Just beautiful Elizabeth- the best one yet!! I’m wondering whether the last individual photo (before the whole quilt top at the end) was supposed to be the elegant #16? The whole quilt BTW looks amazing!!!
My first thought was “oh, this is the happiest one yet!!” and possibly because it was the last that’s appropriate! My gosh, it’s just perfect and I’m hoping you will enter this lovely work of art in The Road to California – right?!
Beyond amazing!!!!!! They do remind me of the “rose windows” found in large churches and seem to glow in the final setting. Can’t wait to see the finish!!!!!!
Sooooooo good to see you up and blogging away again so beautifully!! Its good to see the speed limit on you’re road to recovery increasing steadily. We’re bracing for whatever “will be” this weekend, and praying the wrath to be dealt will be minimal wherever he strikes along the East coast. Just retuned from two trips to Rome. Happy to spend the weekend recovering from the jet lag sheltering in place stealing time in the studio if that is what Mother Nature has in mind 🙂 Hugs and Misses, Rhonda Date: Thu, 1 Oct 2015 10:01:52 +0000 To: princessntlv@hotmail.com
I haven’t tackled making this piece of art Elizabeth, but I certainly have enjoyed following along! Amazing! Can’t wait to see it quilted!
I so love your EPP circles and admire your handwork. It’s not something I feel motivated to try but who knows . . .maybe someday. You’ve done a great job bringing them all together. Love the setting.
Beautiful block!
As usual, this one seems to exceed everything you’ve done to date. And the entire quilt is exquisite. Can’t wait to see how you decide to quilt it. It is such a happy, warm quilt — perfect for Nebraska winter cheer. ;-p
This is a fabulous quilt, Elizabeth. Spectacular!
SO BEAUTIFUL – you are such a talented lady and its very inspiring !!
Gorgeous, as with the others! I love the three dimensional look this one has.
What a beautiful circle to end with. Thank you so much for your generous sharing of these lovely designs.