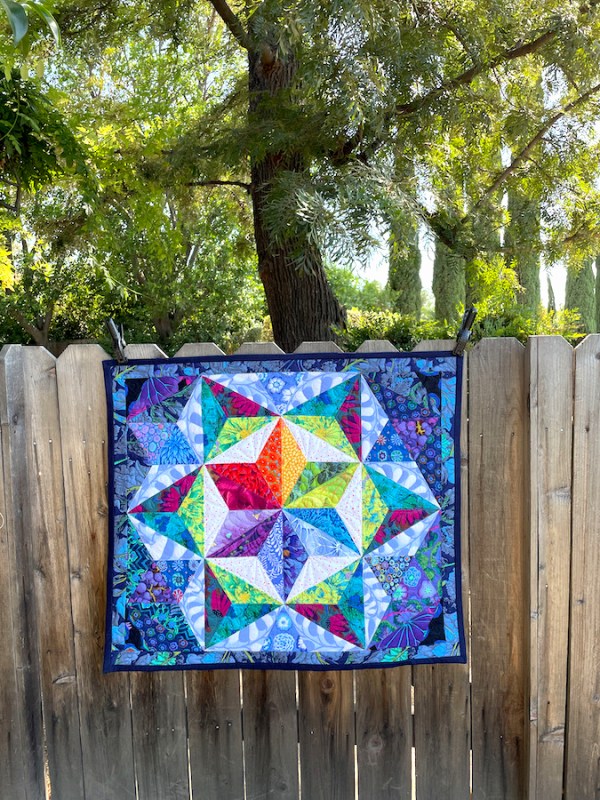
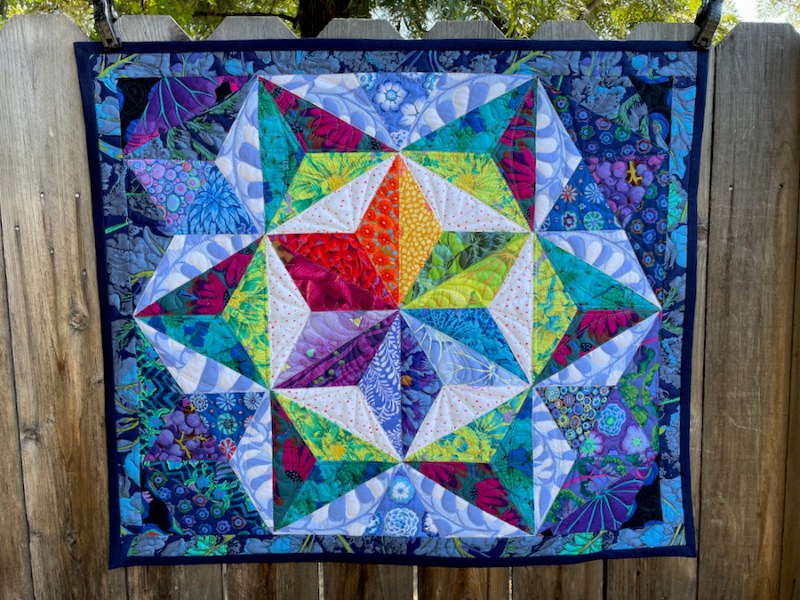
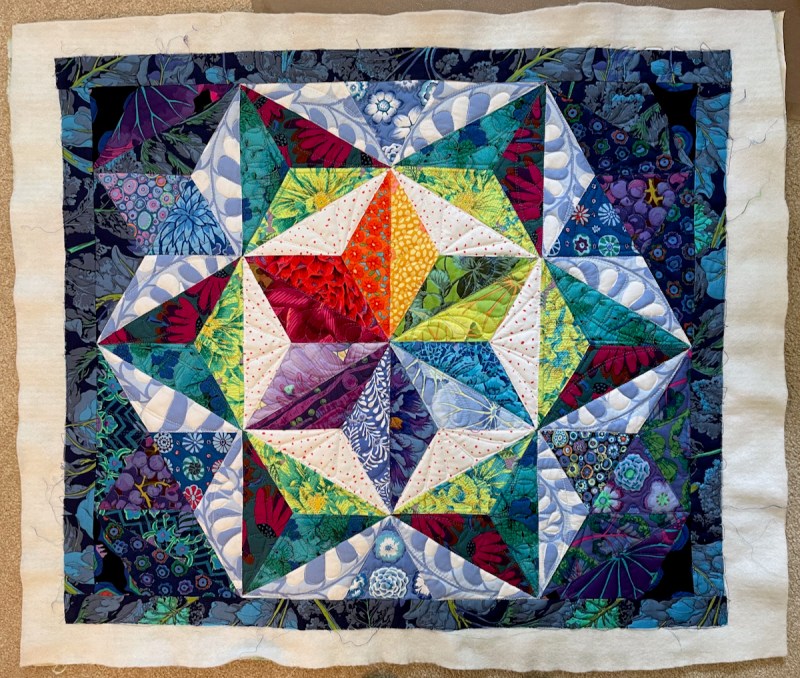
Anne of Springleaf Studios recently wrote to me, including a photo of her poppy quilt:

Anne is an amazing colorist; seeing her quilts is always a treat, as they are rich in color and perfect in value. She wrote that she enlarged my Poppies pattern a bit, and added circles for the centers. I love her version, and it made me think of the first version of this quilt (pattern is downloadable; see below).
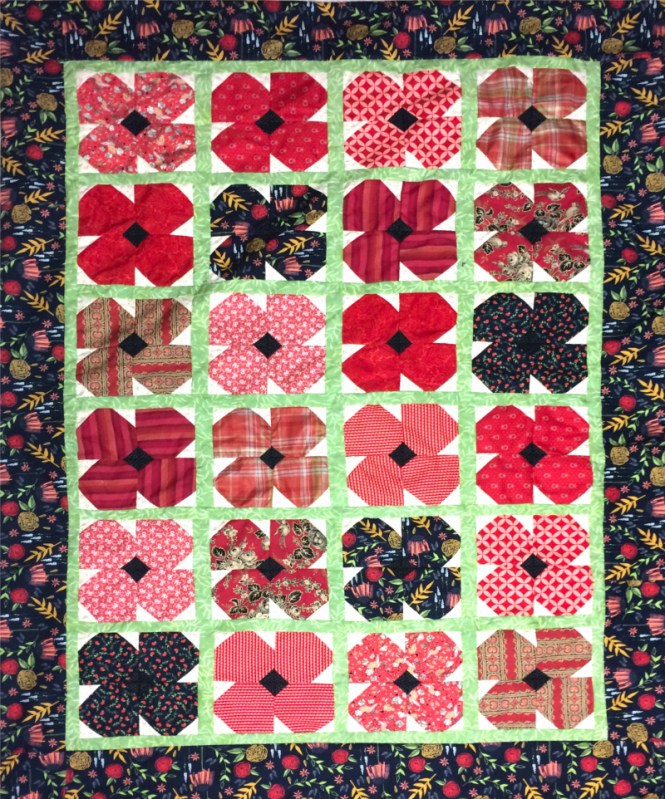
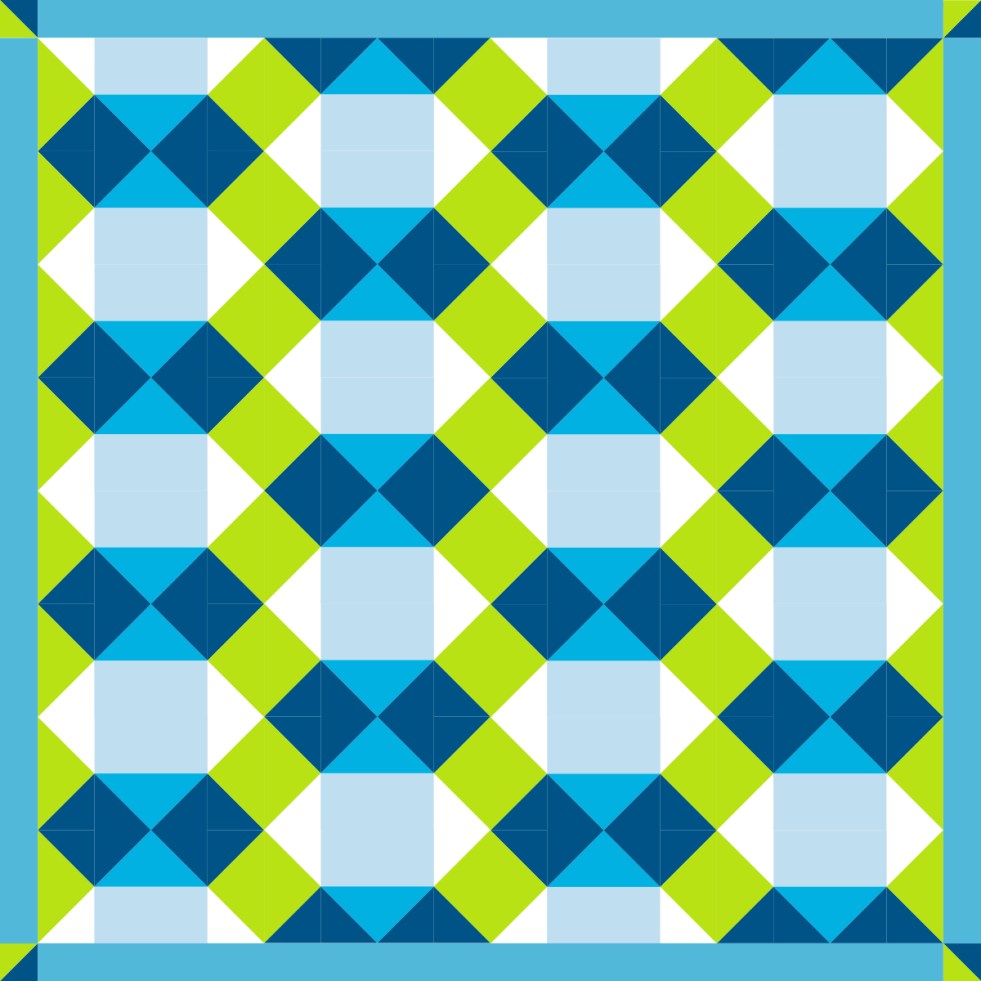
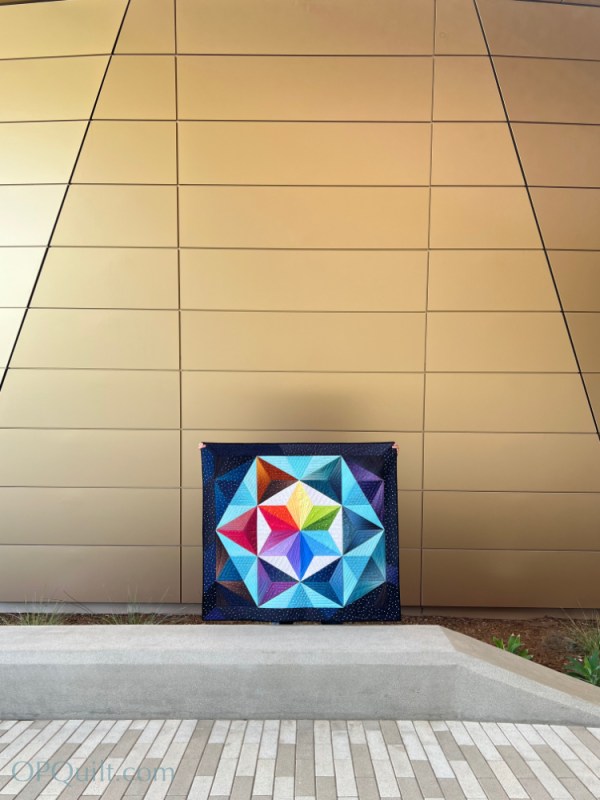
From ages ago, this was the first iteration. My distantly related niece knew I was a quilter and wanted to make a quilt for her mother who was undergoing treatment for breast cancer; they wanted poppies. I drew it up, heard that she finished it, but it wasn’t until much later that I was able to get a photo of it for my archive. (I wrote about the process earlier on this blog.)

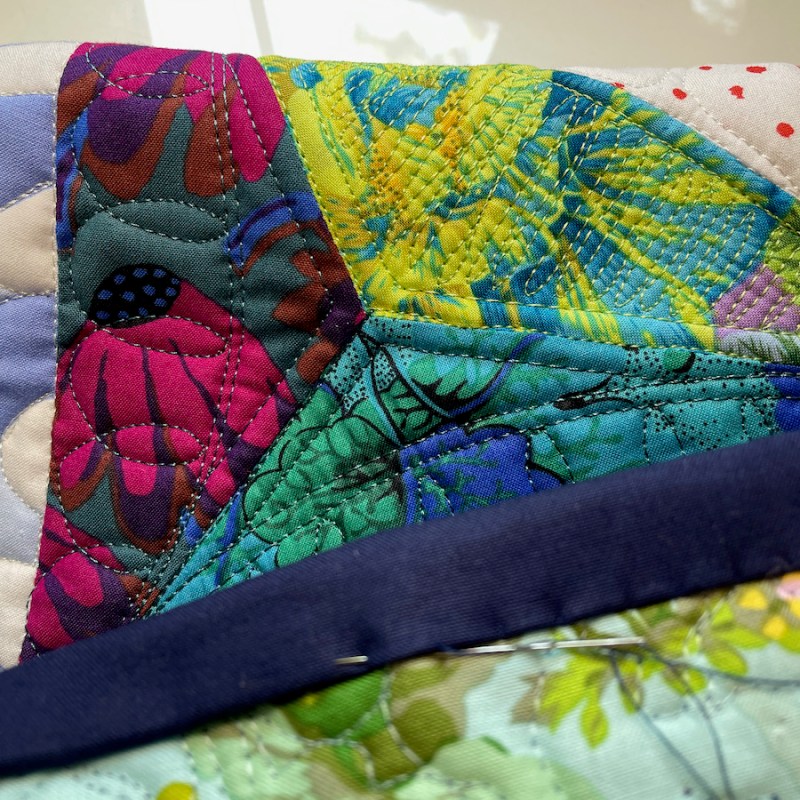
This is a more traditional poppy block, with the red petals and the black center, but I’m in totally in love with Anne’s version. Hmmmm, I think I’ll have to add that to the list. I also have a lot of Kaffe prints and need to use them up.
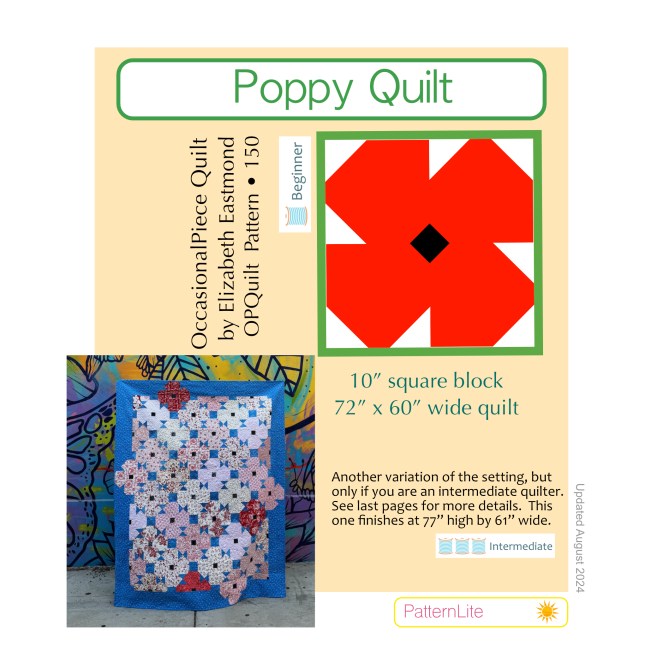
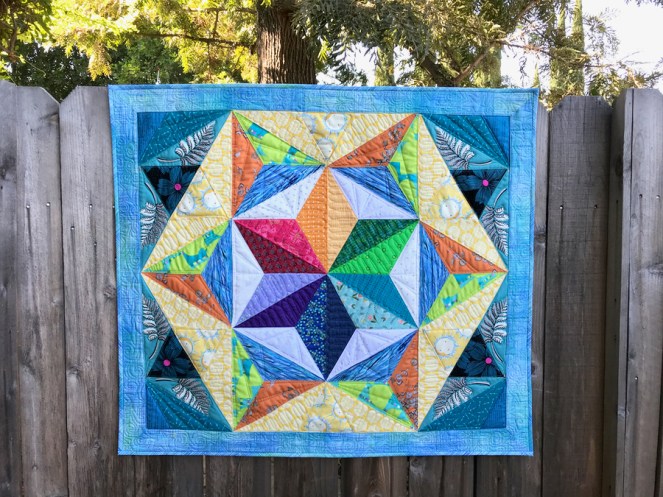
The first Poppies pattern was written in 2017; I recently re-wrote the pattern, and included the more traditional setting which is over in my PayHip shop. I’m happy to share with you.
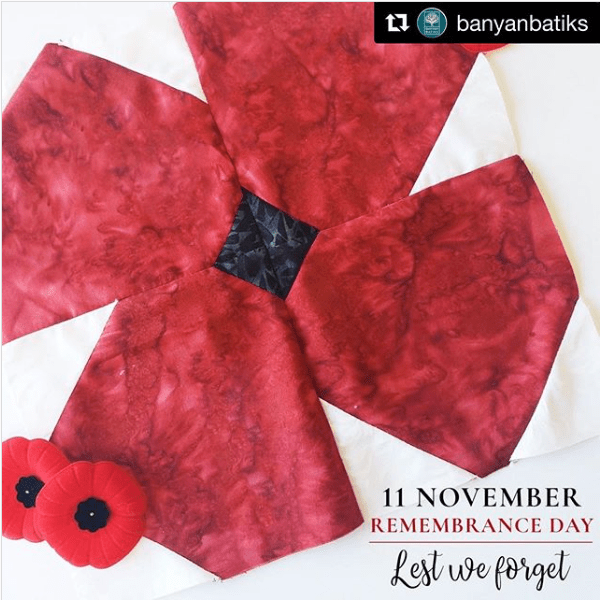

(Fabric companies picked up my pattern for Remembrance Day, 11 November)
Another way I share is by not having advertising on this blog. As some of your know, we’ve been re-doing our kitchen, We thought about it about a decade ago, then more earnestly in 2020 (haha!) and this year the time had finally arrived for us to update. The other night I was trying to figure out how to use our new Breville Smart Oven to cook some potatoes and I jumped online. It was like jumping into a pool of advertising, swimming upstream looking for the content/recipe/can I use the convection? So the only money that comes to me now is through the patterns; this is just a choice I made. Maybe I’m crazy (possibly–to do a kitchen remodel might be proof), but I very much like writing and visiting with those who find this blog.

Here are some more poppies — this time in California Poppy orange — a welcome visitor in March.


I mentioned that my friend Judy passed away mid-February and her memorial open house was March 17th. While cleaning out, her daughter found a completed batik quilt and backing and wondered if I could help her get it finished for her father? I contacted Jen of Sew-Mazing Quilting and she turned it around in no time flat. I got it bound (we took off the last border and used that for the binding — no one will ever miss it), and delivered it to them on March 16th.
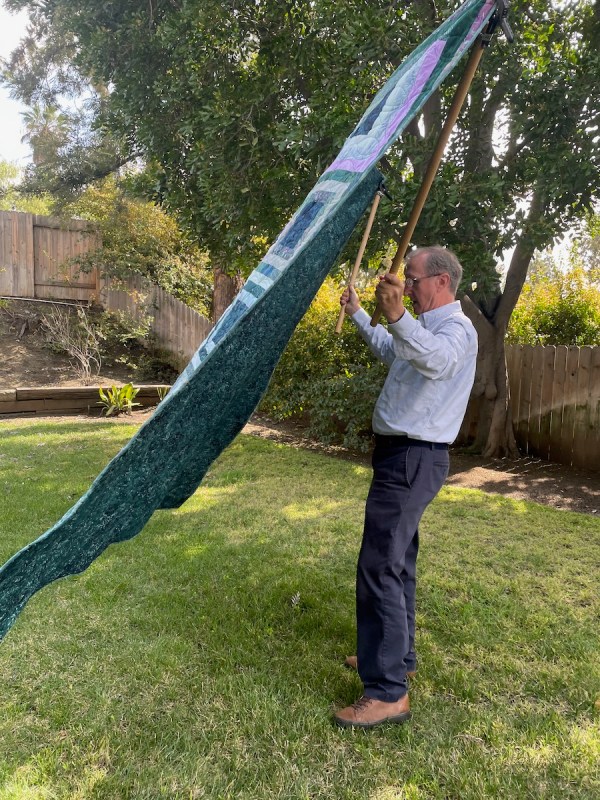

I’m sure all the guys in the kitchen tearing out my kitchen cabinets wondered what in heavens name we were doing.
Hmmmm…the usual. Quilting!

The Poppies Pattern is found in my Pattern Shop.