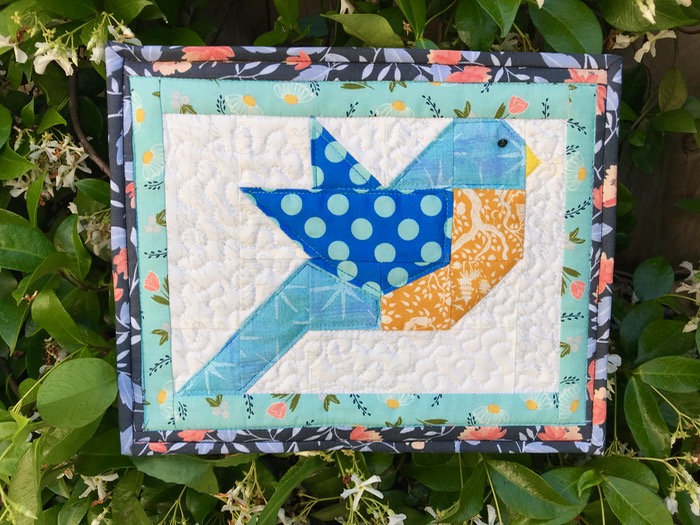
Another Tiny Quilt was hatched today, and its this Bluebird of Quiltiness. Based on a 1-1/2″ block size, I figured it out and made it up, finishing it with the perfect faceted black bead for the eye. There are multiple patterns out there for pieced birds, but here’s mine: LIttle Bird_OPQuilt.com

Here’s another one, in case you want to make a bird on a nest for your next Tiny Quilt. Grab the PDF file here: Nested Bird pattern and have fun making another little Tiny Quilt. (I have a listing of all the Tiny Quilts on this blog, in case you’re interested.)
After you create the bird (with, or without nest), then you sew on borders until it’s large enough. See the first Tiny Quilt for more instructions.
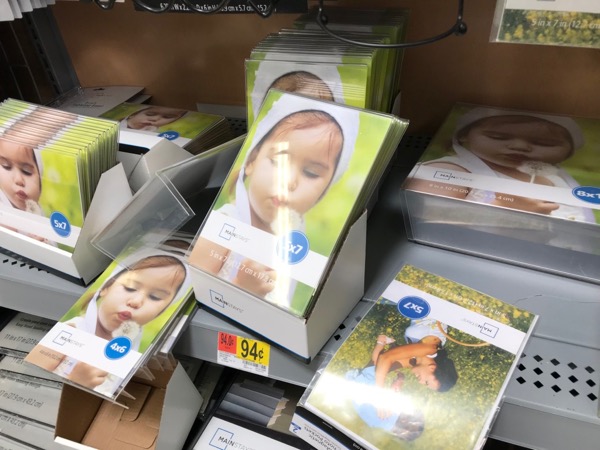
Wanting to finish this today made me leave the house, avoid the parking lot also known as our Memorial Day freeway gridlock, just to get over to WalMart to buy a landscape-oriented frame. It’s those cheesy plastic frames, nothing fancy. To modify this one, I laid the frame down on my quilt, traced around it, and used those lines to create the backing and put the binding on.
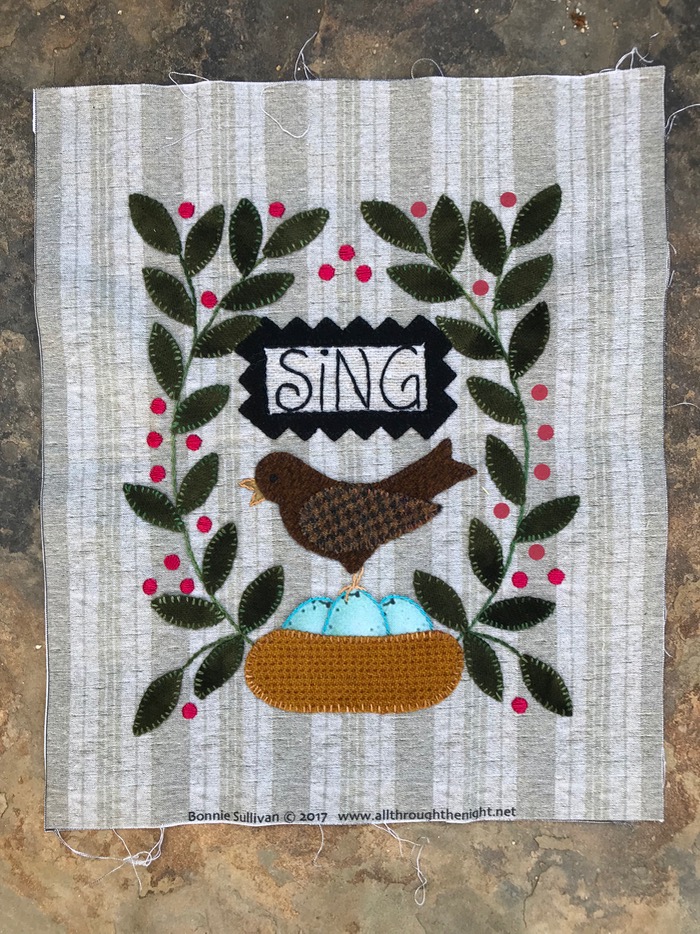
I also finished this bird-themed stitchery, purchase eons ago at Primitive Gatherings. I took it with me to Berlin, but finished it up here. Now to find a frame for this.
The other day I pin-basted three wall-sized quilts, and started stitching on the first one:
Right. I have no idea what I’m doing, but I’m having fun. I think am hoping it will make more sense when I get the whole thing done. Stay tuned; it will be long while, as I still limit my daily quilting minutes.
And the three quilts came back from Cathy of CJ Designs, my quilter. One is in Active Binding Mode downstairs by the TV, and two (above) are waiting for binding. The whirly-gig backed quilt is also waiting for more quilting along the borders. The fun thing was that I’ve had a number quilts done by her, and so I hit the magic number and the last one was done for free. It’s her way of saying thank you to her customers. (Thank you, Cathy!)

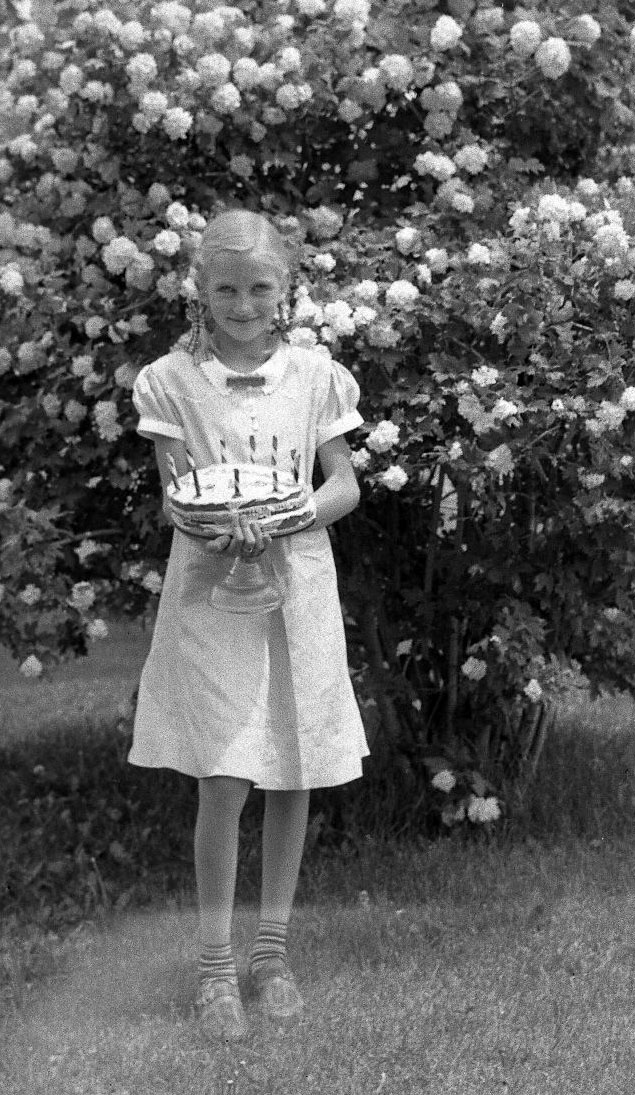
But I’m leaving all this behind this next week, as I head up to my Mother’s to help celebrate her 91st birthday. (I do like to remind her that if you turn the numbers upside down, she’s a girl of 16.) She’s shown above with about the only quilt I can remember her making: a cross-stitched top which was sent out to be hand-quilted.
Happy Birthday, Mom!
 We all put double layers of fabric bindings on our larger quilts, but have you thought about using a single binding on a smaller quilt? It’s quicker, flatter, and really–are you going to wear out those edges any time soon? And if you do, won’t you just repair them? That idea came from Gwen Marston, in one of her last workshops. That idea — that a quilter would just repair them if they became worn — is why she uses single bindings on all her quilts.
 Start by squaring up your mini-quilt. Yes, that is a gigantor square ruler, and I use it a lot, actually.
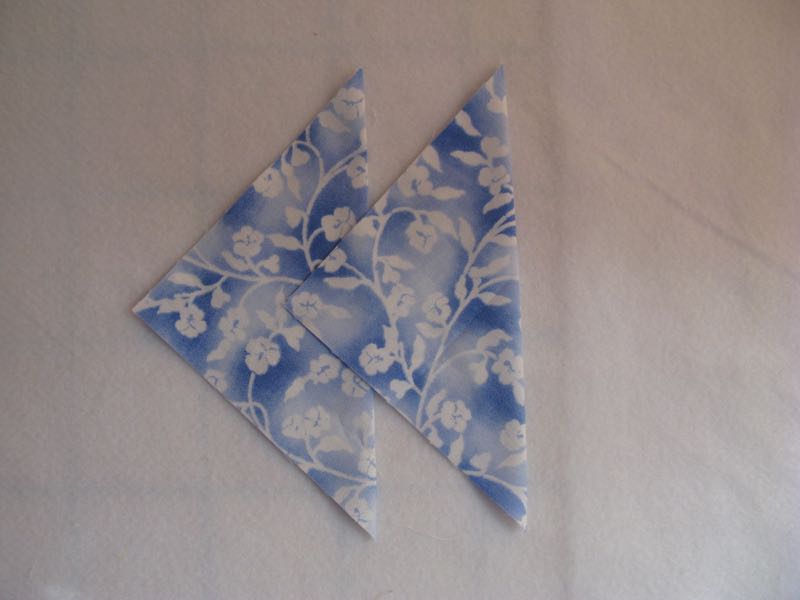 Prepare your hanging corners, by cutting a larger square (for a 24″ quilt, I use a 5 1/2″ square), folding in half, diagonally, and pinning it in the upper corners of your mini, against the back, matching raw edges to the edge of your quilt.
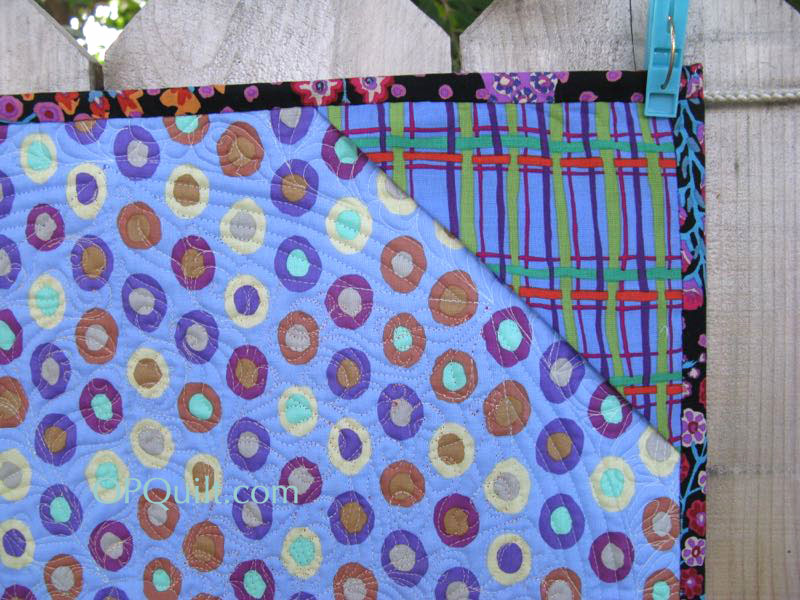 (Here’s what it looks like on another quilt, as my corners just disappeared on this one.)
 Cut strips of fabric (lengthwise, if you can) about 1 1/2″ wide and the size of two sides. Pin, then stitch on, using a 1/4-inch seam.
 Repeat for upper and lower edges. Pin and stitch, but watch out that you don’t veer off on those corners (I pin them).
 Square up the corner, and cut off the excess, both underneath (above) and on the outer edge (below).
 While this looks angular, it isn’t.
 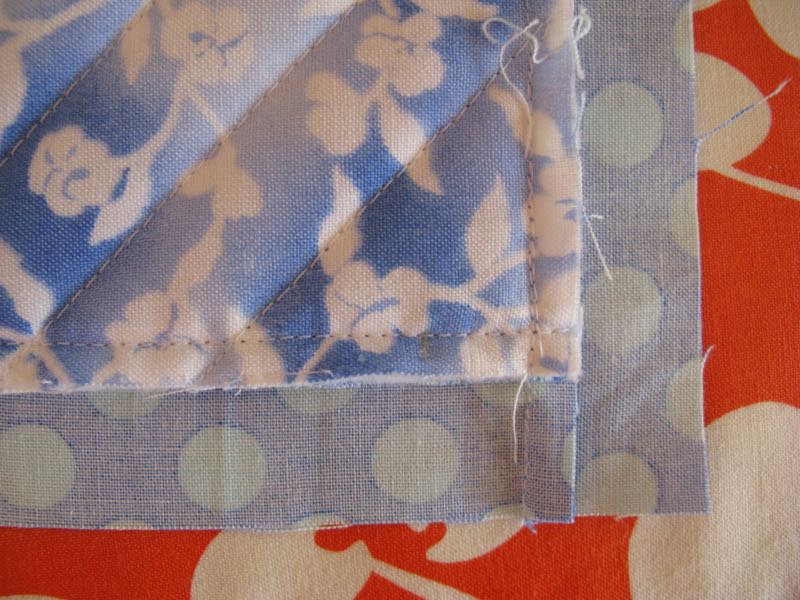 Press binding out away from quilt.
 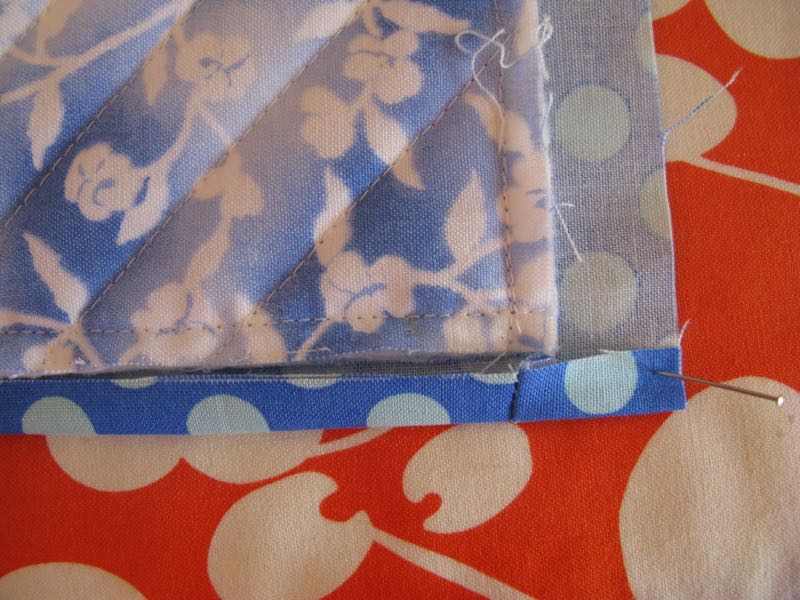 Fold up lower edge, so the raw edge of the binding meets the raw edges of the quilt.
 Fold it up again, covering the raw edges of the quilt. Pin in place, and then repeat with the sides:
 Hand stitch all the way around, or if you are a confident quilter, you can use a glue stick to affix the binding edges down, then machine stitch. I personally don’t like the machine stitching, as I think it makes the edges too rigid, but “To each his own,” said the Old Lady as she kissed the cow. (My Dad used to say that all the time.)
 Here’s the corner already on, but it’s hard to see. I cut a dowel the width of the quilt, minus 2″ and slip it into place. Then I hang my minis, balancing it on a push pin.
 Thanks to all who came to the Trunk Show and to all who sent their best wishes. It was a lovely evening! If your guild would like to see my Abecedary of Quilts Trunk Show, just drop me a note.