Okay, think on that quote for a while. Found while doomscrolling (is that one word, or two?) on Instagram, I wanted to read the whole article, but then I’d have to buy a subscription to the Atlantic. Which may still be worth it, since I have an “open” slot for subscriptions since the QuiltMania magazines sadly left us.
I opened with this because I’ve been a beginner all the way along on these New York Beauties. I mean, since I been sewing for about a bazillion years, I feel like I can tackle most anything except upholstering sofas, especially since I’ve watched *those* videos, too, and while they make it look easy, it’s a whole different set of tools.
But I have had fun with all twelve blocks. I did four blocks as a free giveaway a couple of years ago, then decided that THIS WAS THE YEAR to finally finish them all. As of today, in this moment, I have completed them. Since I have loaded up the beginning posts with scads of photos, and I don’t need to teach the freezer paper method anymore, here are the last two blocks in one post: Block #6, Remembrance, and Block #7, Waking.
Block 6: Remembrance

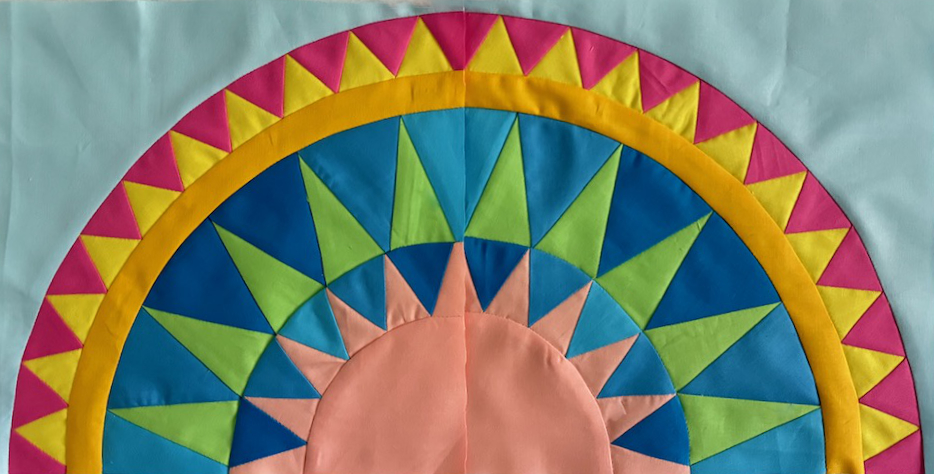
I colored and re-colored the block #6, as I wasn’t really too fond of what I’d done in the past.

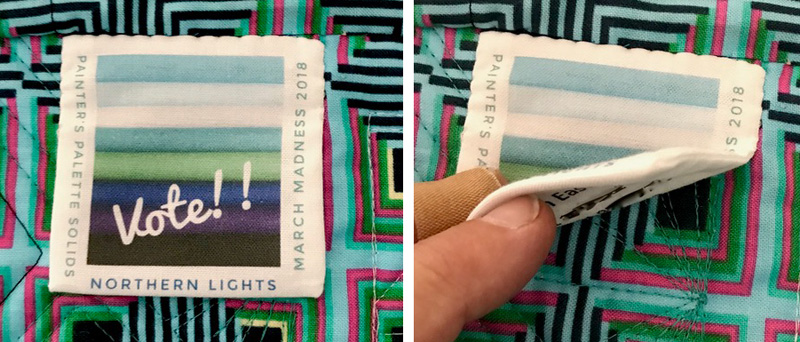
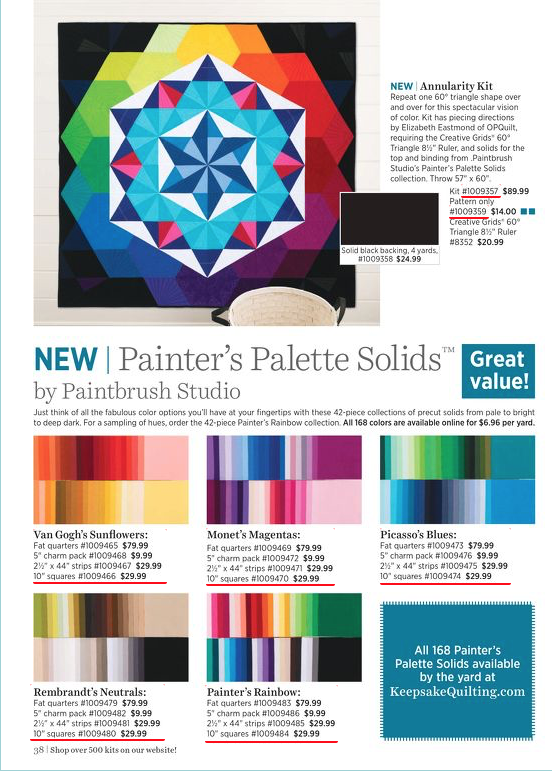
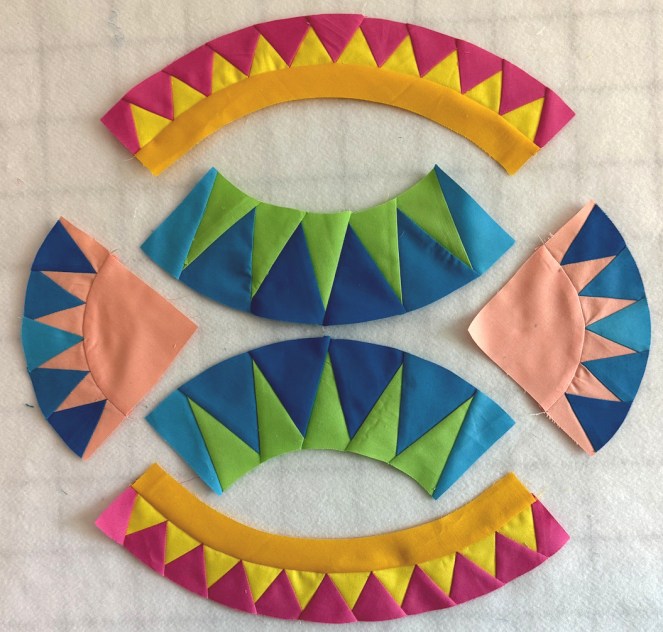
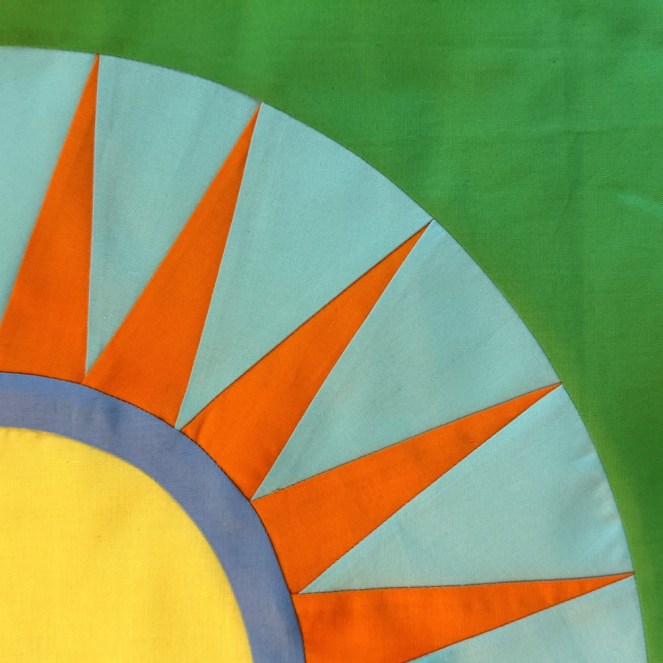
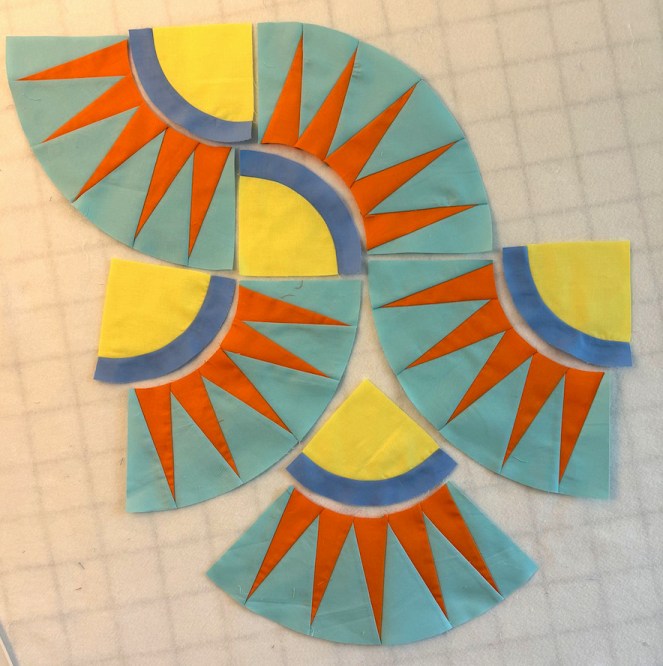
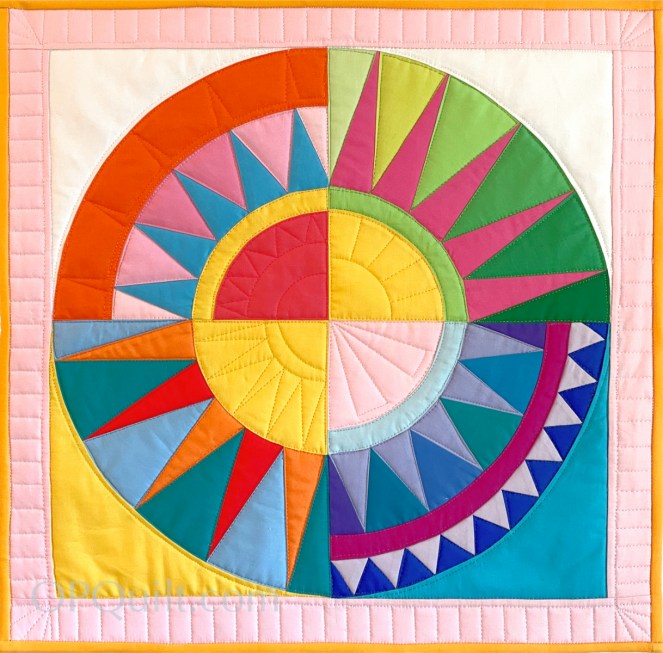
I ended up with this one: a little ombre effect through the wedges (background) on the first two sets of rays, and then a jolt at the outside with that bright lemon-yellow. All the colors are identified in Painter’s Palette solids from Paintbrush Studios (and I purchase them from Keepsake Quilting, to just give you all the info.) You can download the color sheet for free, on the pattern. Look for Preview just under the title/buttons.

I started with the outside, one night (which explains the lighting on these photos). I’m showing how I press to the dark, when freezer paper-piecing. In photo 1, I pull the paper back, only slightly. Smack that seam with the iron (2), then smooth the freezer paper back into place (3). In (4) I’ve pressed down the next section, ready to go.
Block 2, in the Master Page of New York Beauties, gives really concrete directions on how to use freezer paper, if you are interested.


Happy little things, aren’t they? And happily you only have to make TWO of this block, but it’s the most complex, with three rows of rays/wedges. Do one set a day, and don’t wear yourself out.
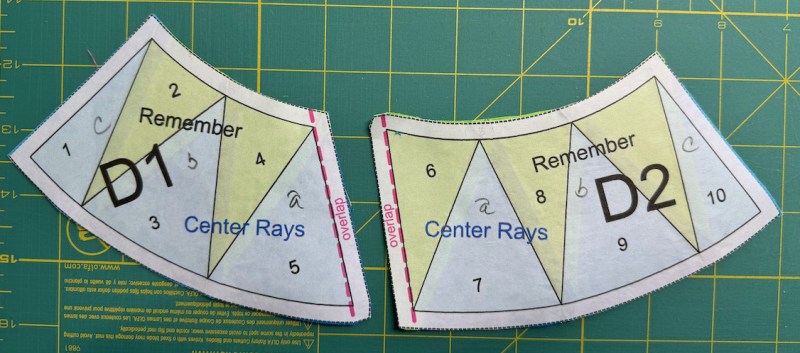
I know in the basic pattern I tell you to tape together the two-part rays of this enterprise before sewing, but really, you don’t need to. Just make them separately, then sew them together at the end (moving the paper out of the way, of course).
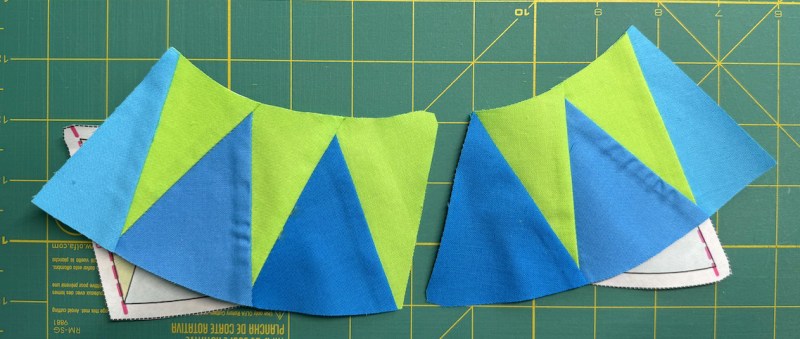
Oh, if you can’t play around with the shapes, what fun is this anyway? The ombré background for the smallest set goes dark-light-dark, which is the opposite of the middle rays (light-dark-light). You can see how I marked a-b-c in the photos just above (trying to keep myself on track — I only had to unpick it once).

For a fun photo, I overlapped the two blocks. This feels EPIC!
Block 7: Waking
Here we go. I saved one of the easier ones for last. Make five of this block. I became nervous last night: did I count correctly? Here’s my cheat sheet:
I’m okay, in fact I made an extra somewhere…
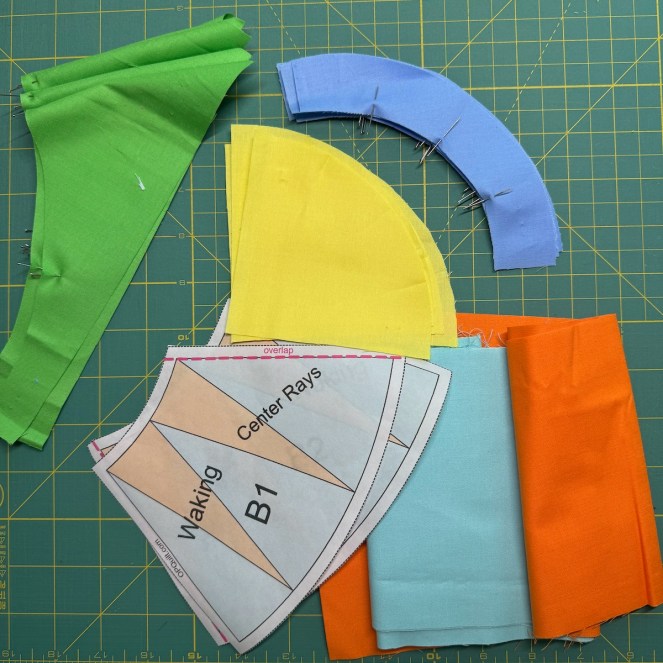
I cut out and marked the quarters of the bands, center and outside corner.

I sewed the band on the center. (I love the colors periwinkle and lemon yellow together.)

This is to remind you to crease on the lines one way, then the other way (reverse fold) (forwards-backwards) (I don’t know how to describe this, but every line gets creased twice).
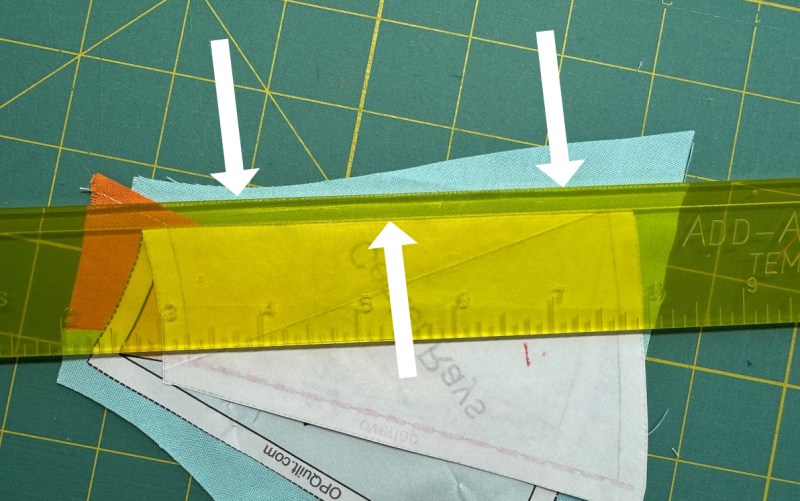

In the first photo, I am trimming the full 1/4-inch past the folded freezer paper to set myself up for the next step. I add the next piece behind the assembly (see the link above for more detailed instructions), stitch alongside the freezer paper fold, then I trim that one to a scant 1/4-inch. I like a little less bulk.


Trim. Trim. Then play:
Now get to sewing those parts together.

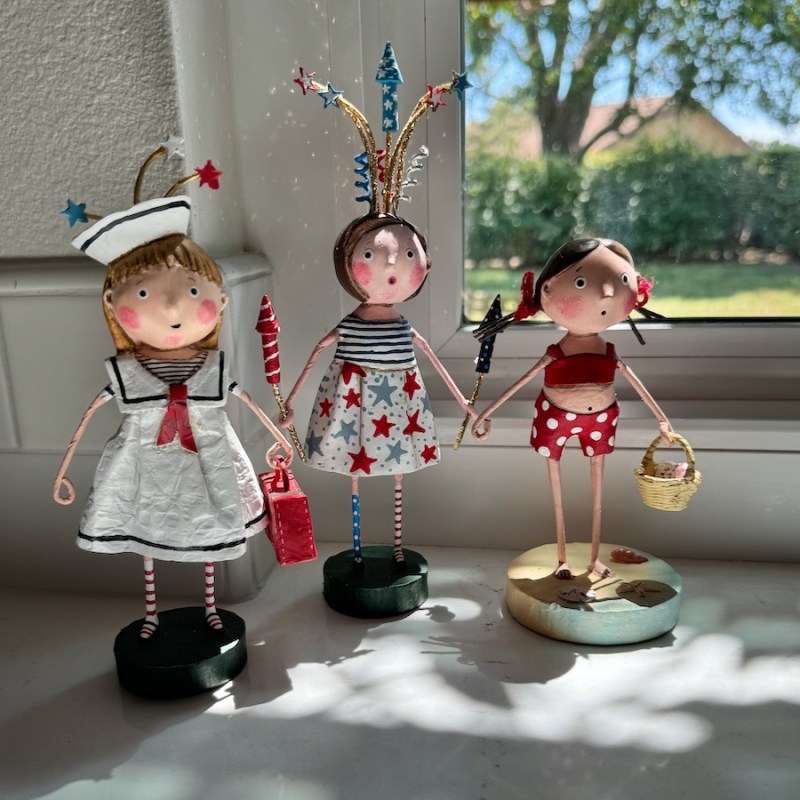
Mega Space Molly keeps watch from the windowsill.

Press, then trim down to 9 1/2″ square.
Maybe you didn’t catch the other new kid on the block: Ocean Gleam, Block four.
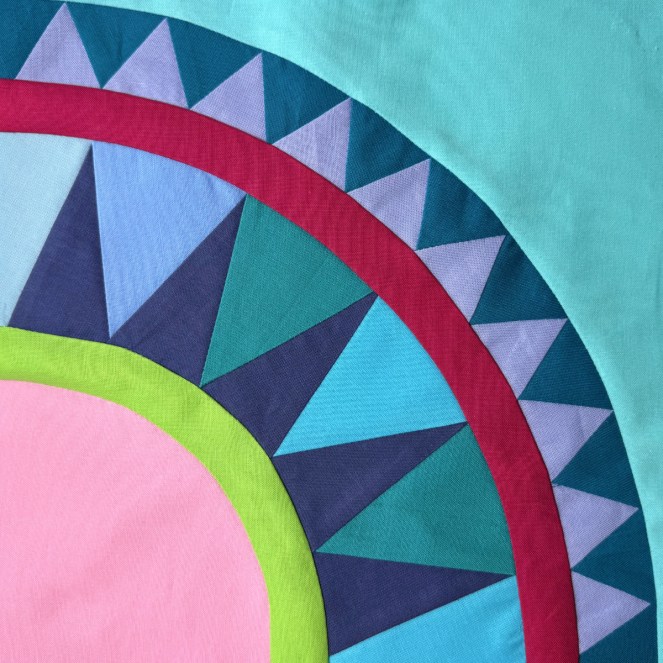
I simply updated the blog post for that one from a couple of years ago. Those of you who aren’t making New York Beauties might be saying, okay, enough, what else do you have in that messy sewing room of yours? So I didn’t make a separate post.

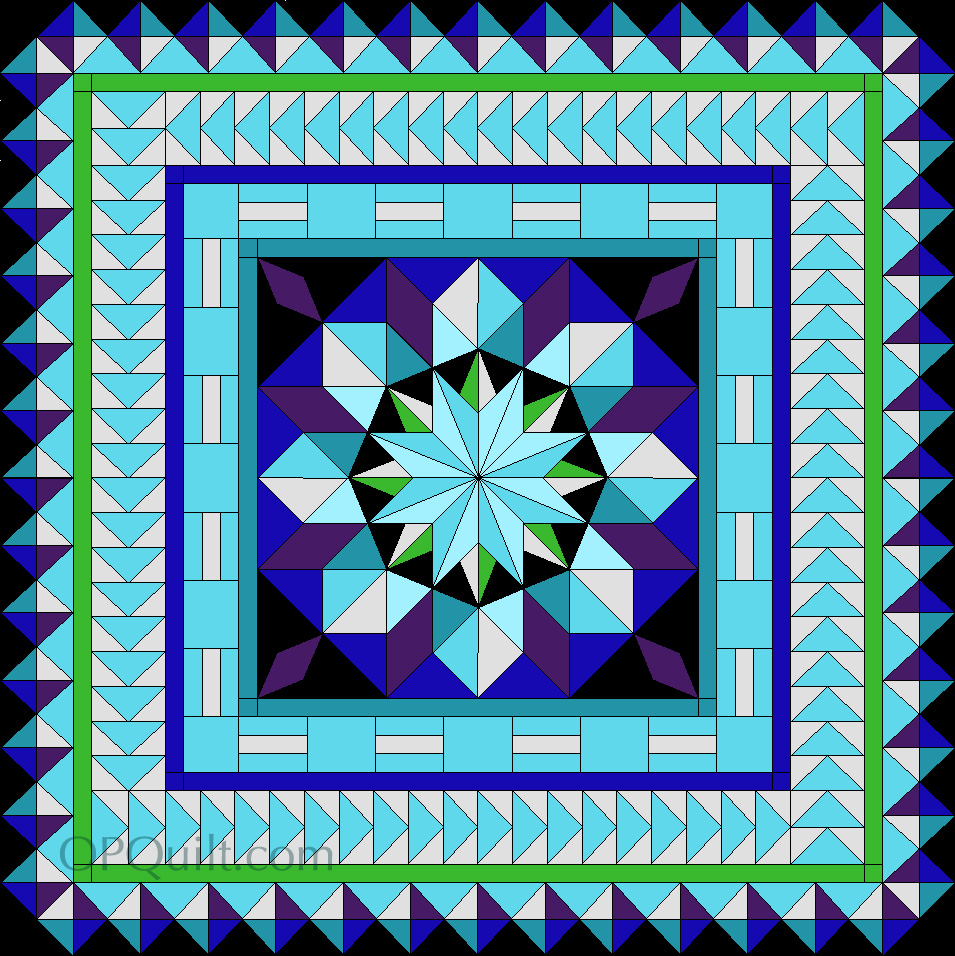
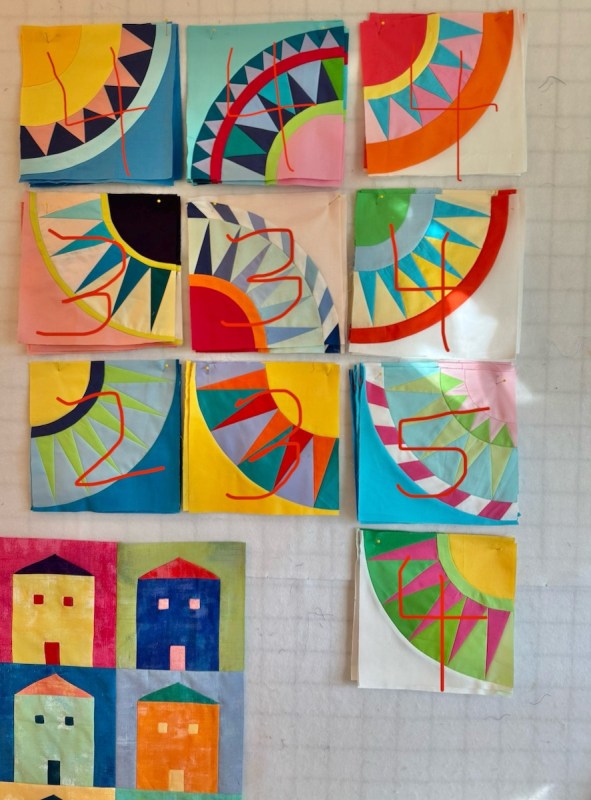
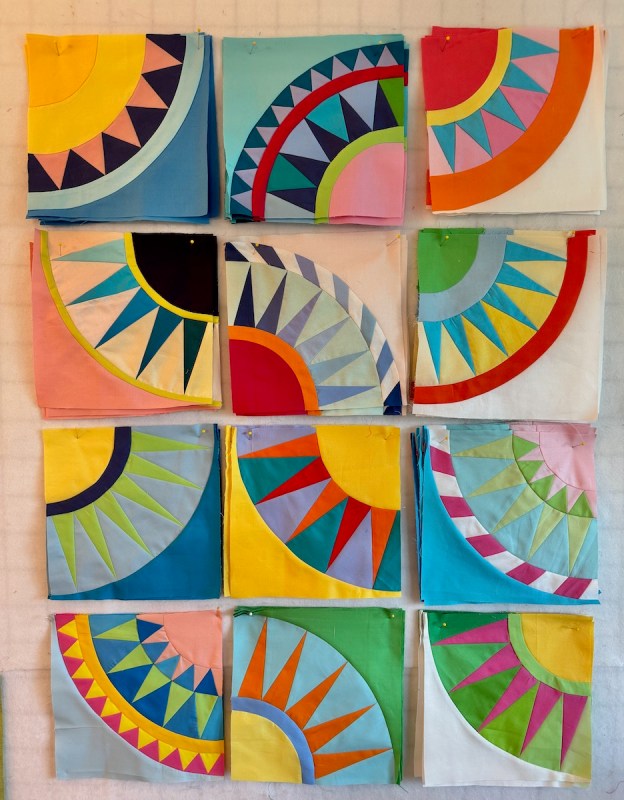
All twelve, pasted in. There is a Bonus Block in the pattern, but I’m happy with these. I’m going to celebrate the 4th of July holiday, then maybe I’ll start figuring out how I want to sew these all together. But for now, they’ll rest easy, eye candy all around.
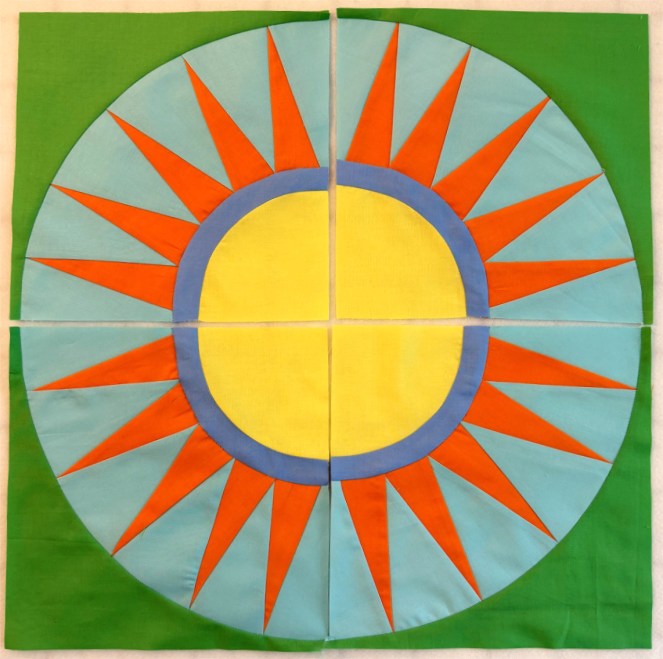
Here was the original pillow cover, from long ago. Now there will be a quilt!

Happy Independence Day!