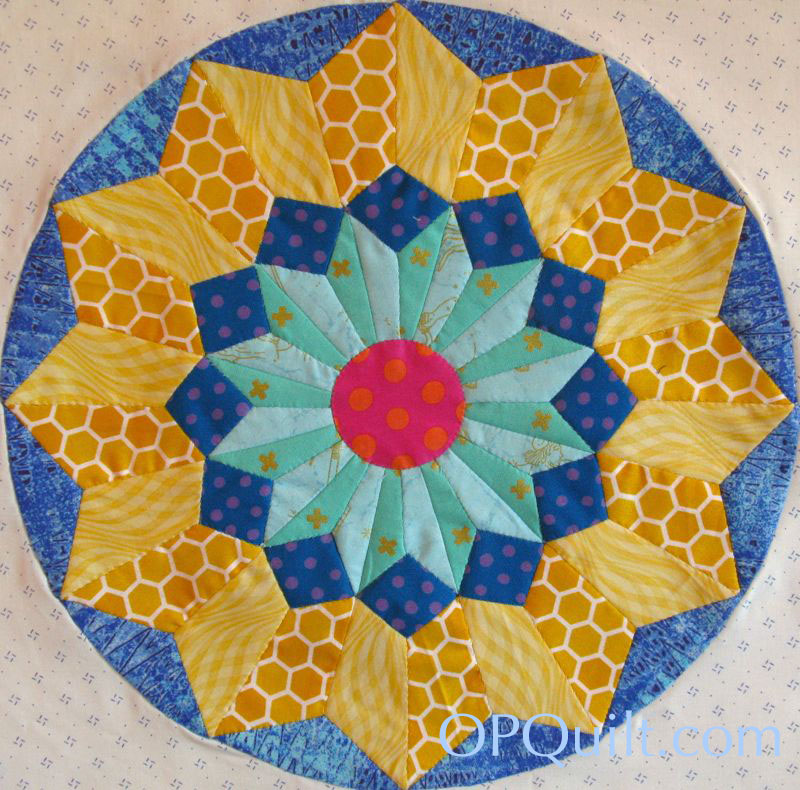
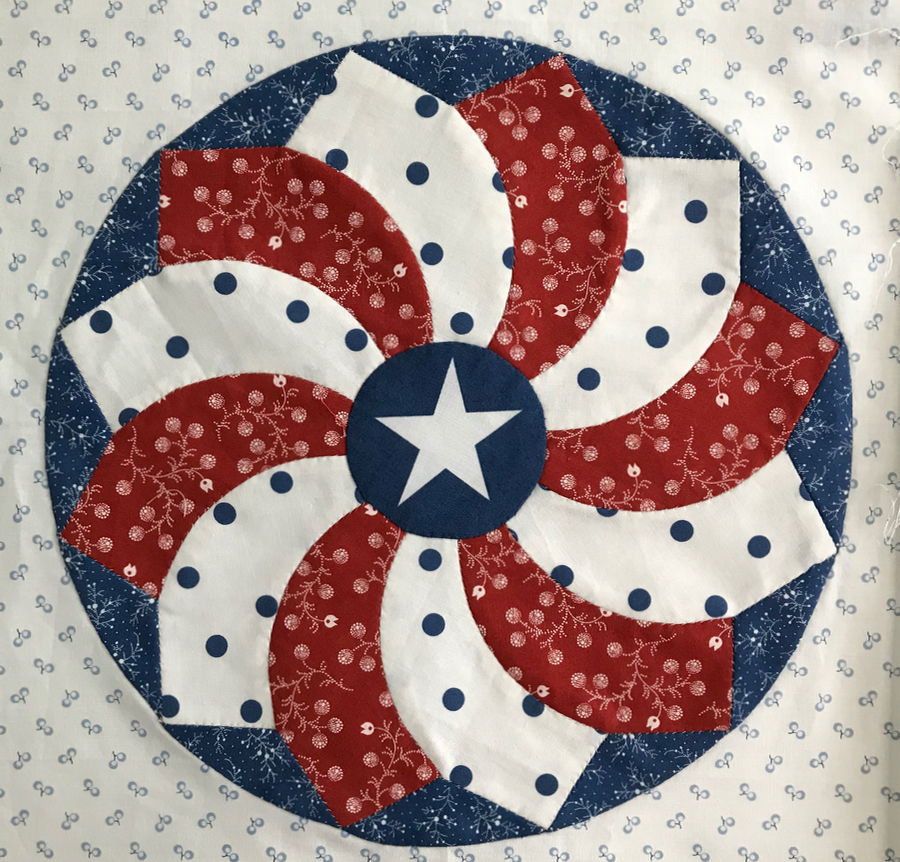
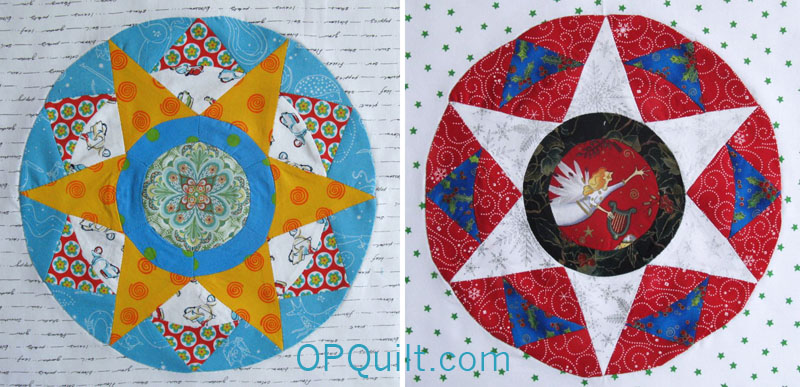
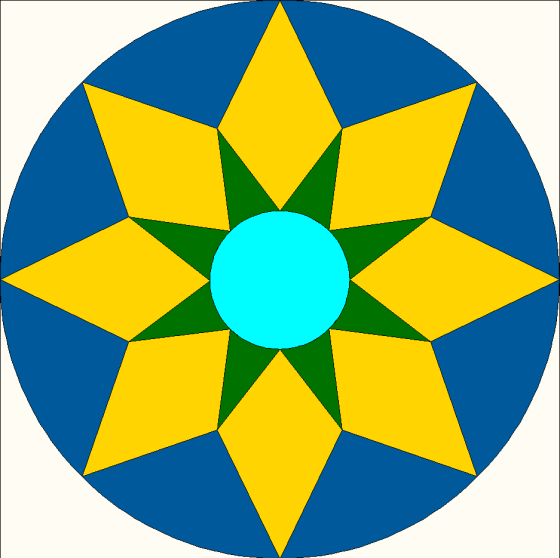
Sunflower, Circles Block #9
This is the ninth circle in a series of free English Paper Piecing (EPP) patterns available here, on OPQuilt.com. I began the series because I needed another hand-piecing project and was tired from all the geometric shapes in the recently finished quilt, Kaleidoscope.
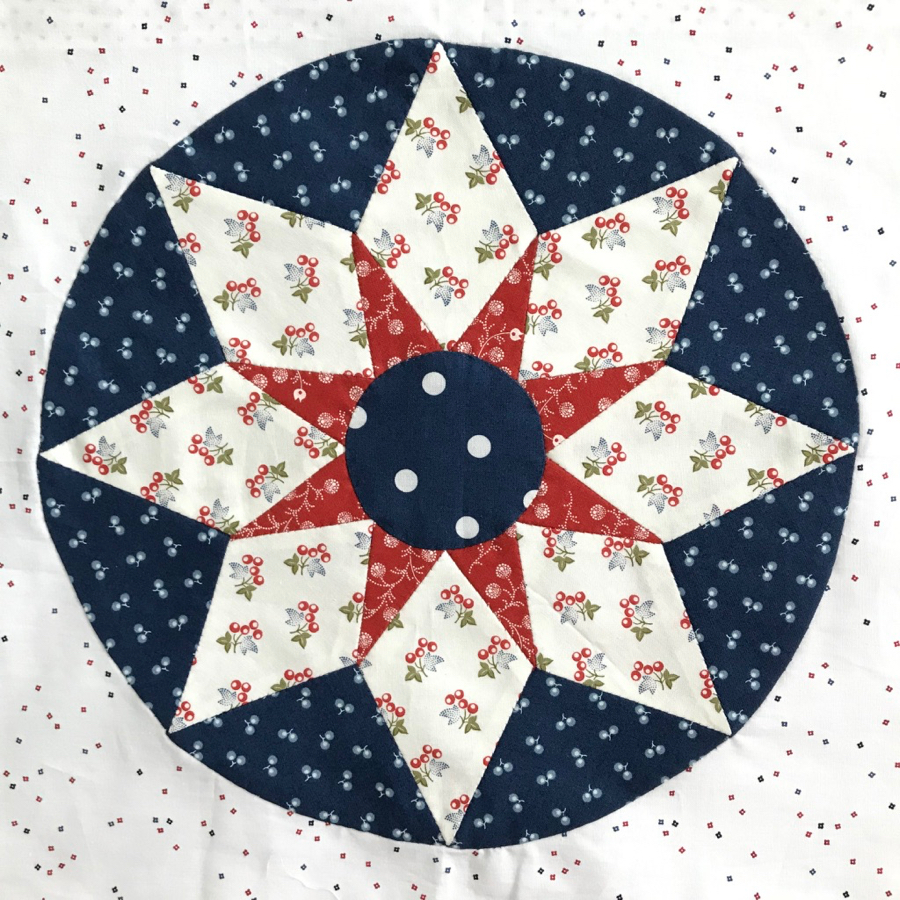
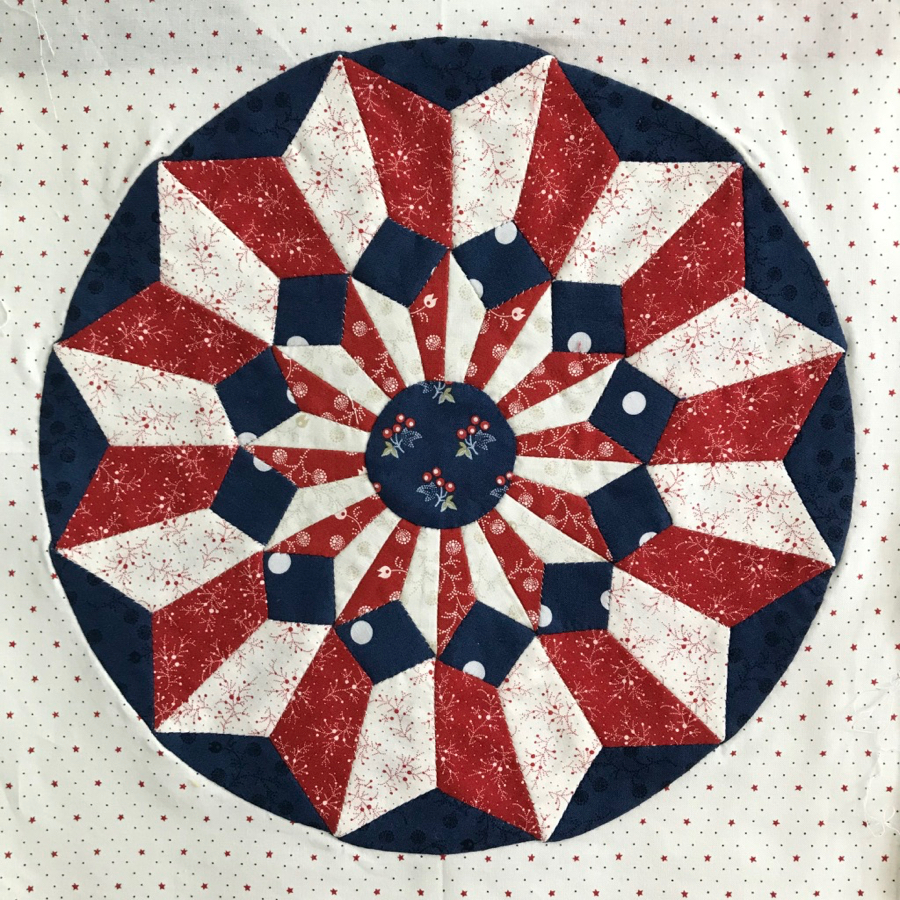
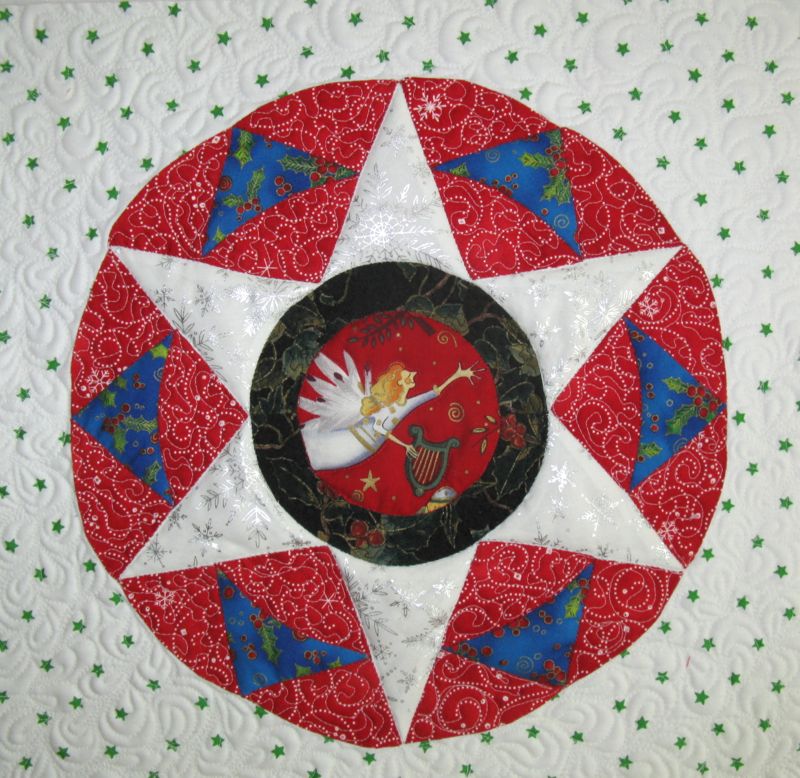
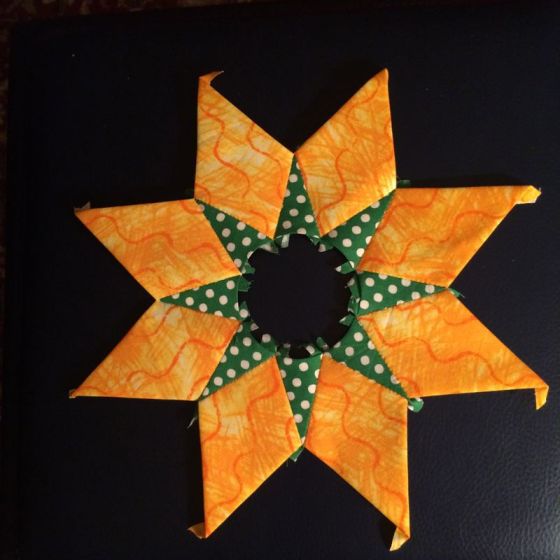
The free patterns are now returning (Red, White & Blue version is above). Again, I request that you not distribute them, but send people here to this website to get them. Click to download a PDF file:
Please remember to set your printer settings to 100% and check the little scale square included on the pattern. It should measure 1″ in size. Illustrations below are with the OLD version of the pattern, so it may vary from what’s included now.
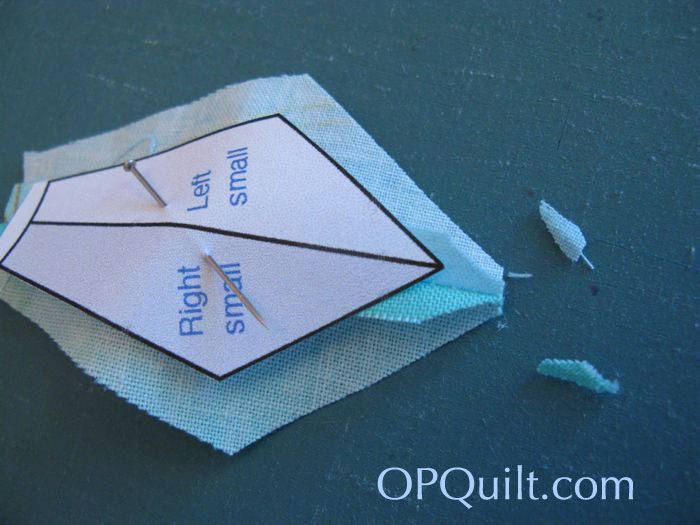
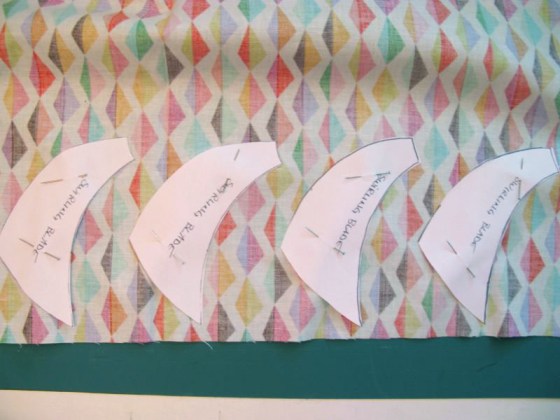
Print four copies of this page at 100% scale, then cut them out, but cutting out only one circle. Sometimes I’ll staple them together and then cut them out, but they do shift slightly, if that bothers you. Now that the business is out of the way, this was the easiest circle yet. . . and the hardest. Easiest because there are fewer pieces, and they go together quickly. Hardest because of that dumb center circle, which I tried to ease in a la EPP-style. Mistake. But remember that I make the mistakes so you don’t have to.
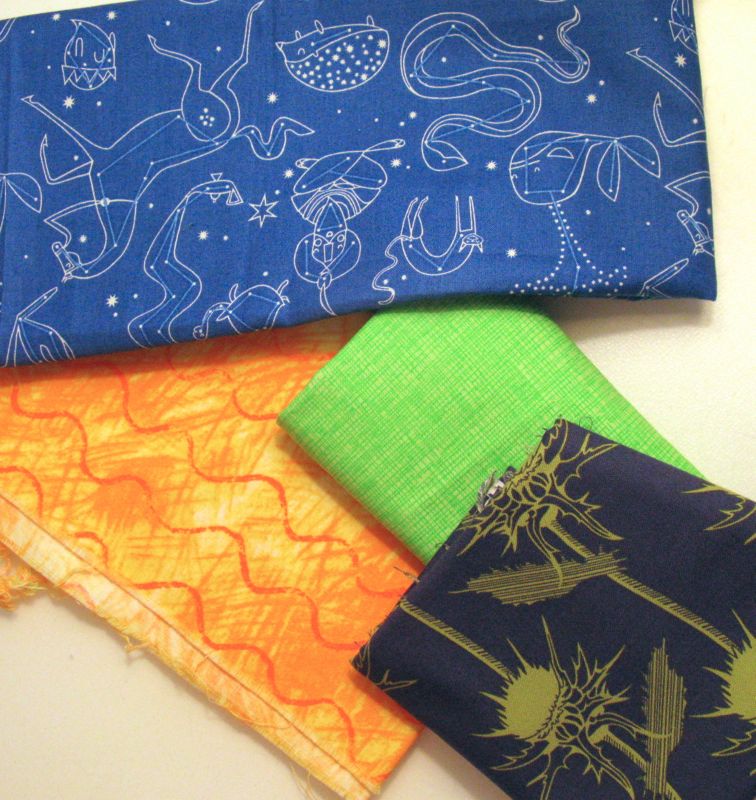
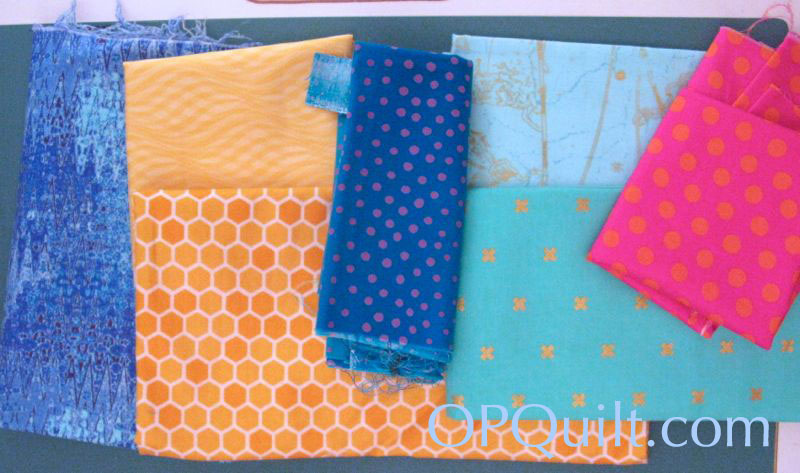
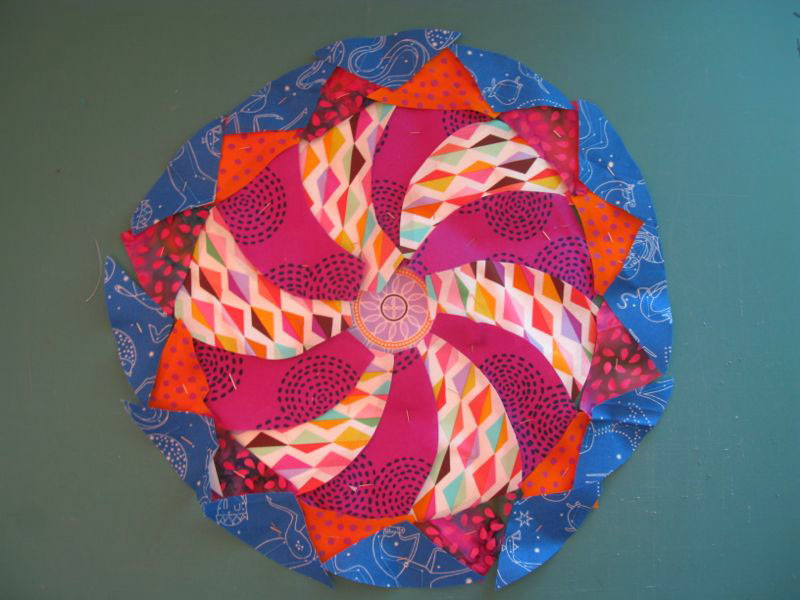
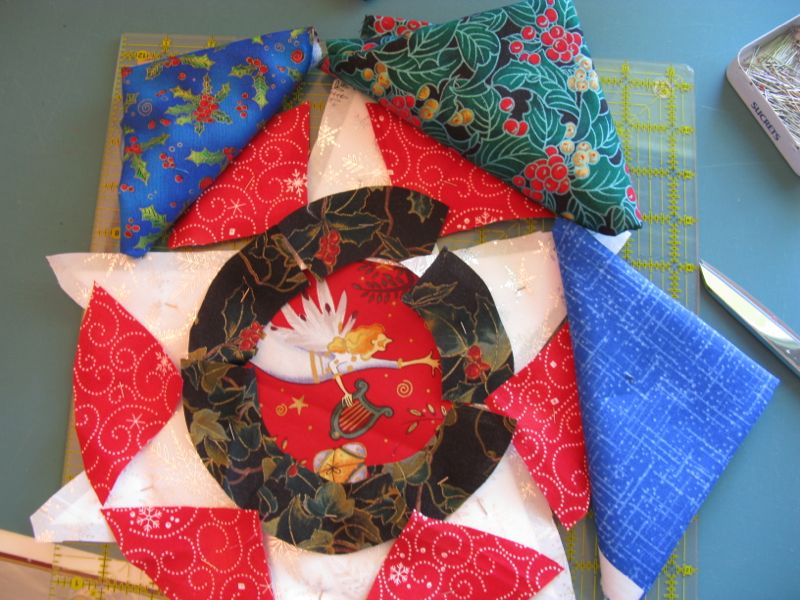
Picking out fabrics. Yes, these do change as you go, but since there are fewer moving parts to this circle, it was easier. I always wait until the last minute to choose the center circle.

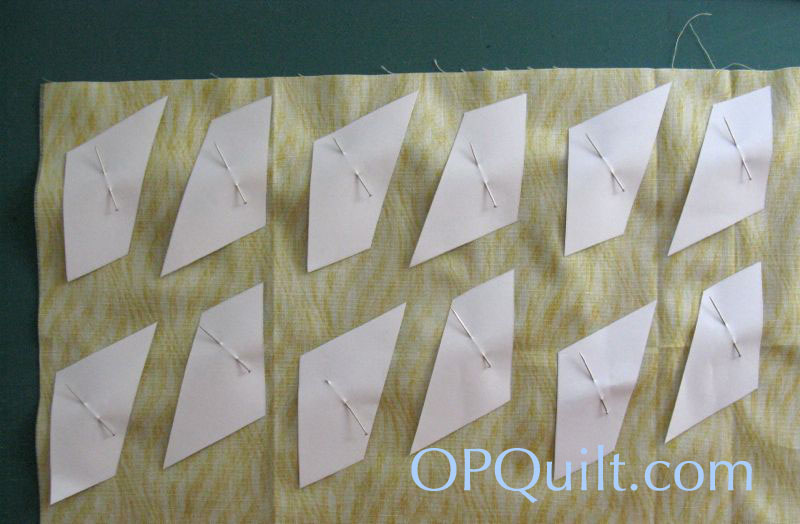
I print out on 24 lb. paper, which is slightly heavier than regular computer paper, so I have good luck with just gluing my fabric seam allowances to my pieces. I explained this on Circle Block #8 if you want to take a look. There’s something new on every circle block so far. What’s new on this one? Keep reading.
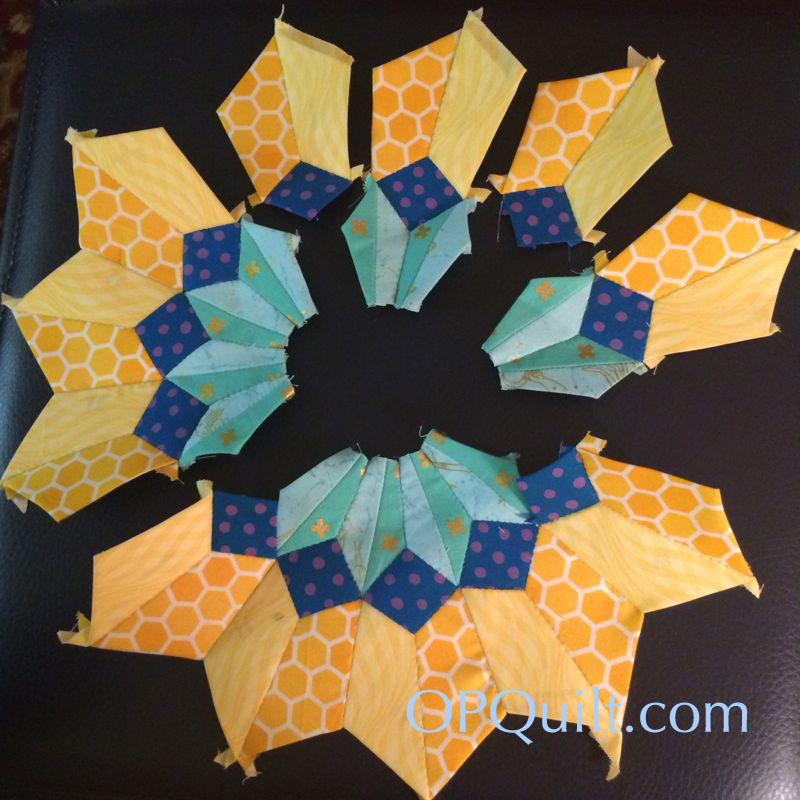
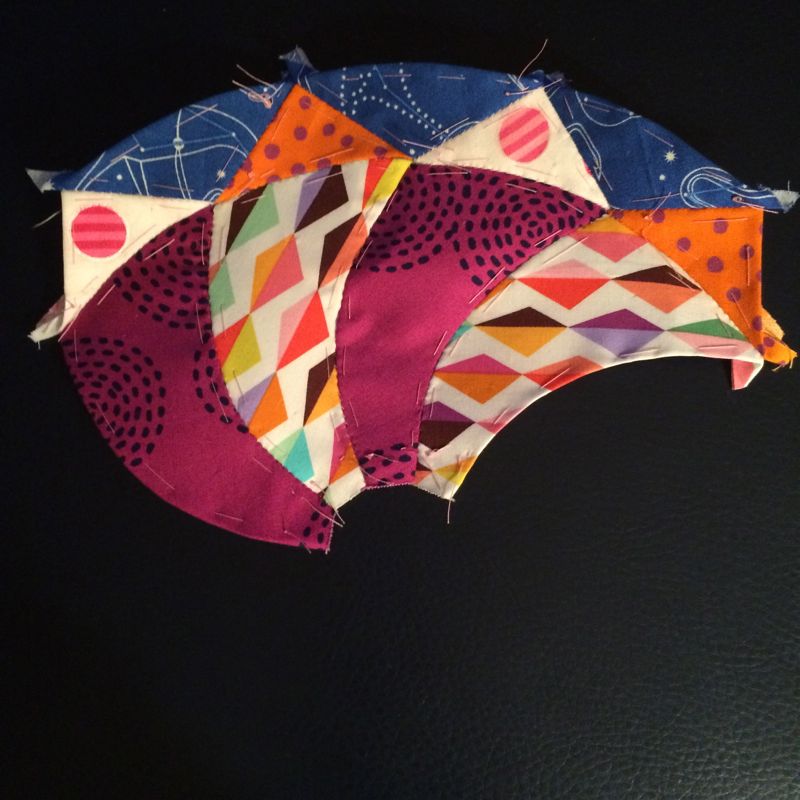
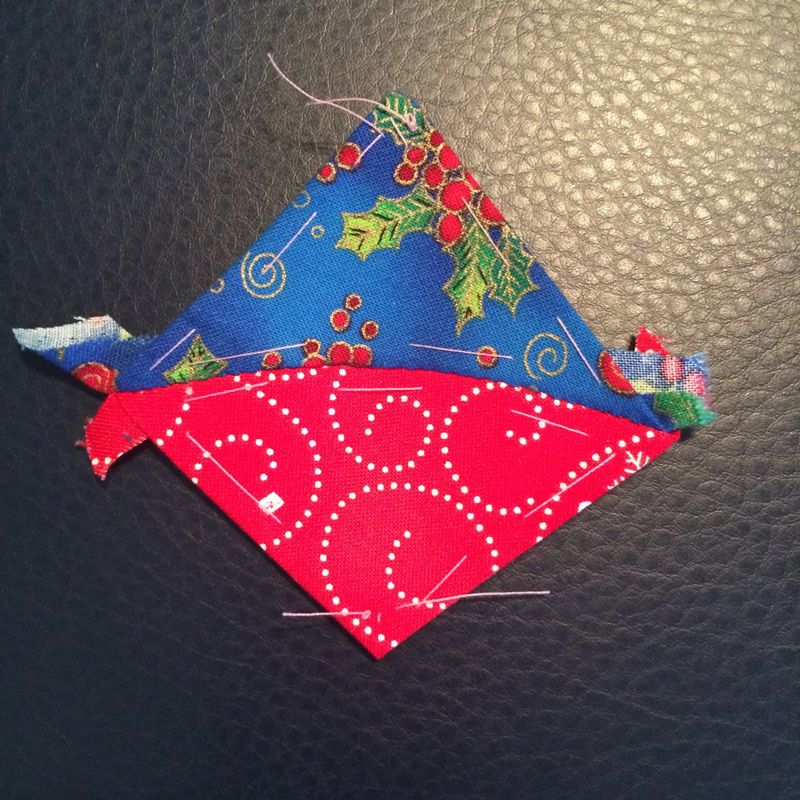
I’d say this is the faster circle yet. All these pieces went together lickety-split.
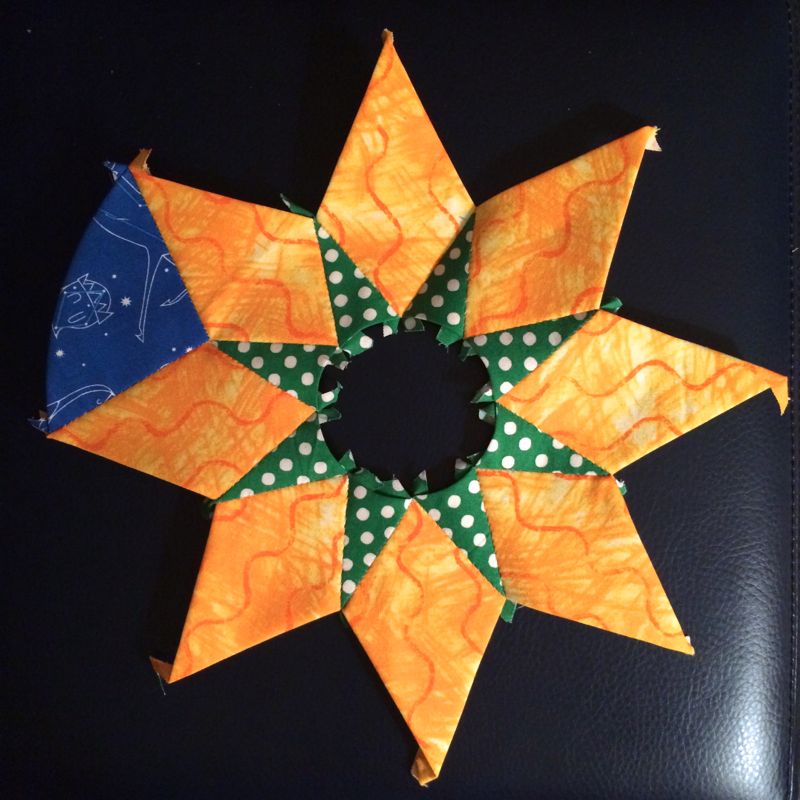
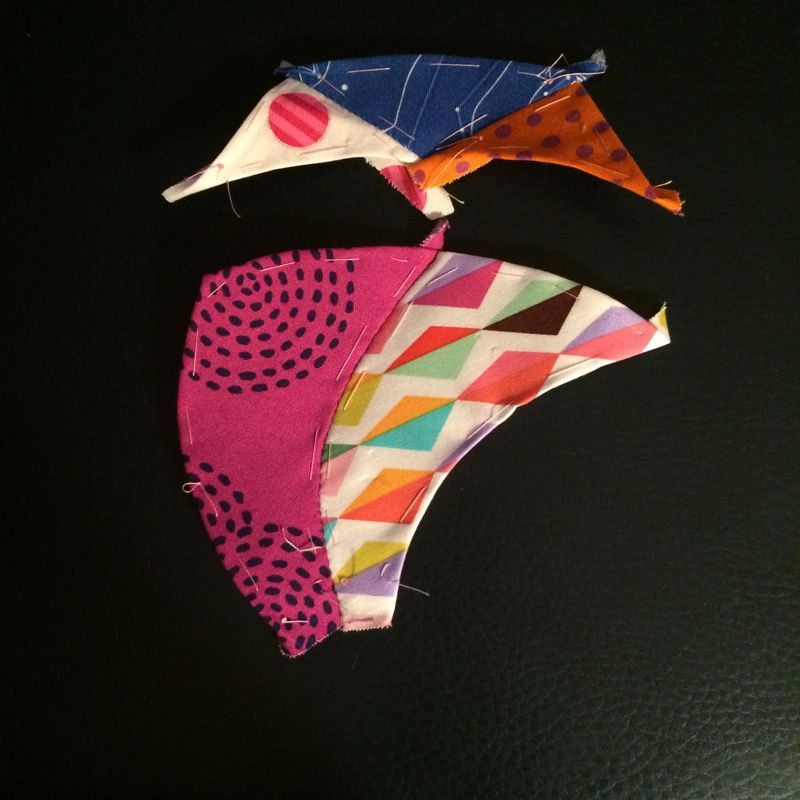
Adding the outer blue wedges was easy, too.

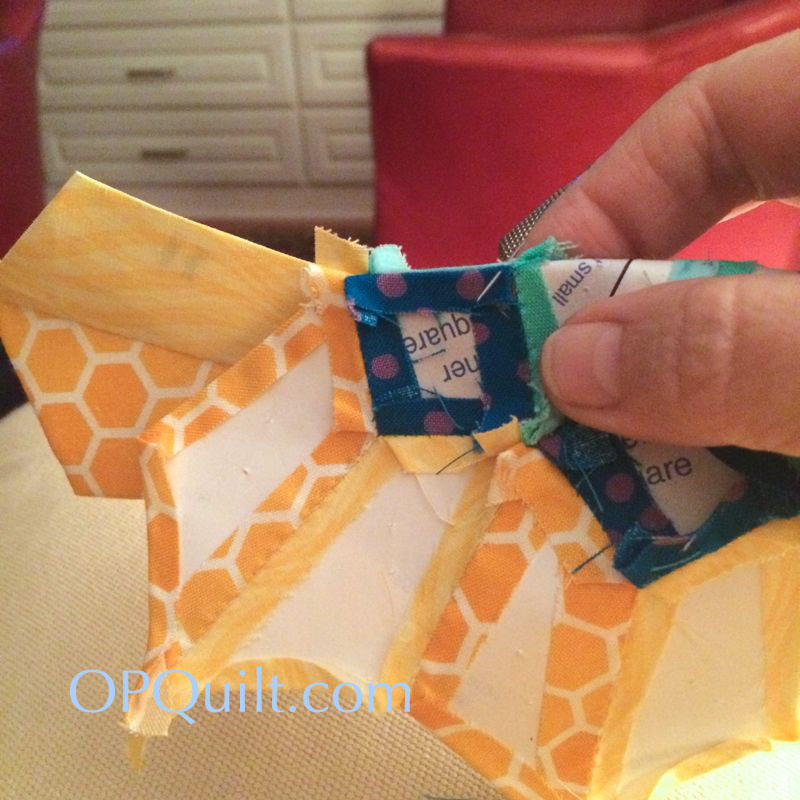
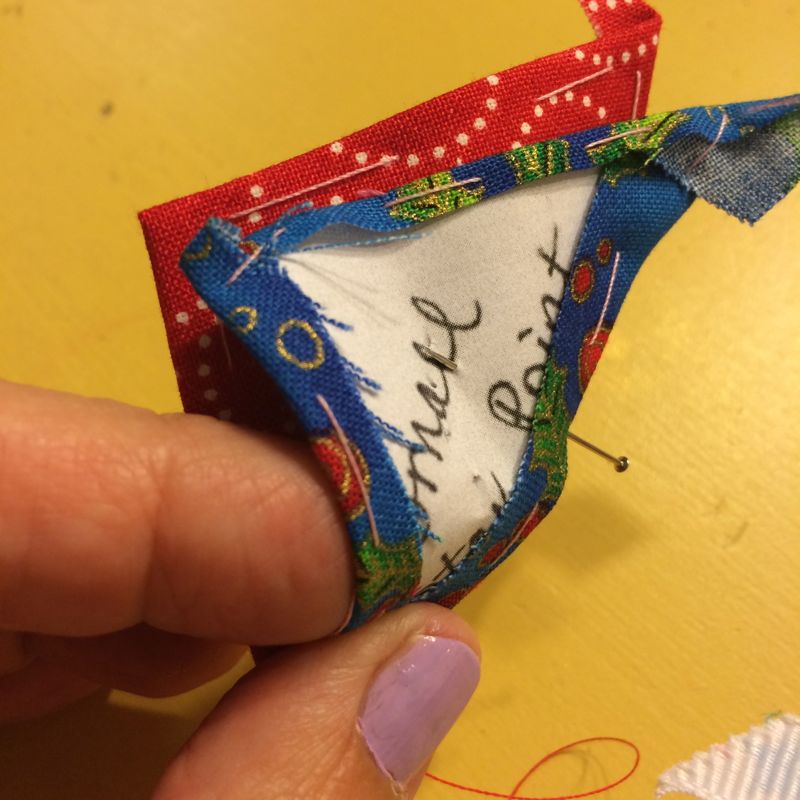
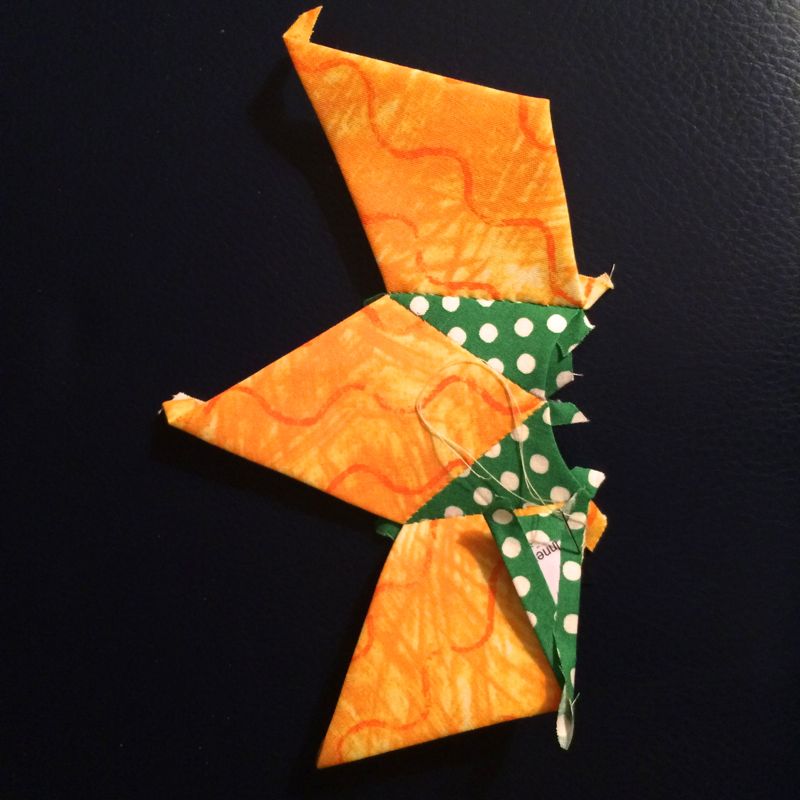
Now I’m starting to add the center circle.
Whoops. What a mess. Now I’m taking out the center circle.
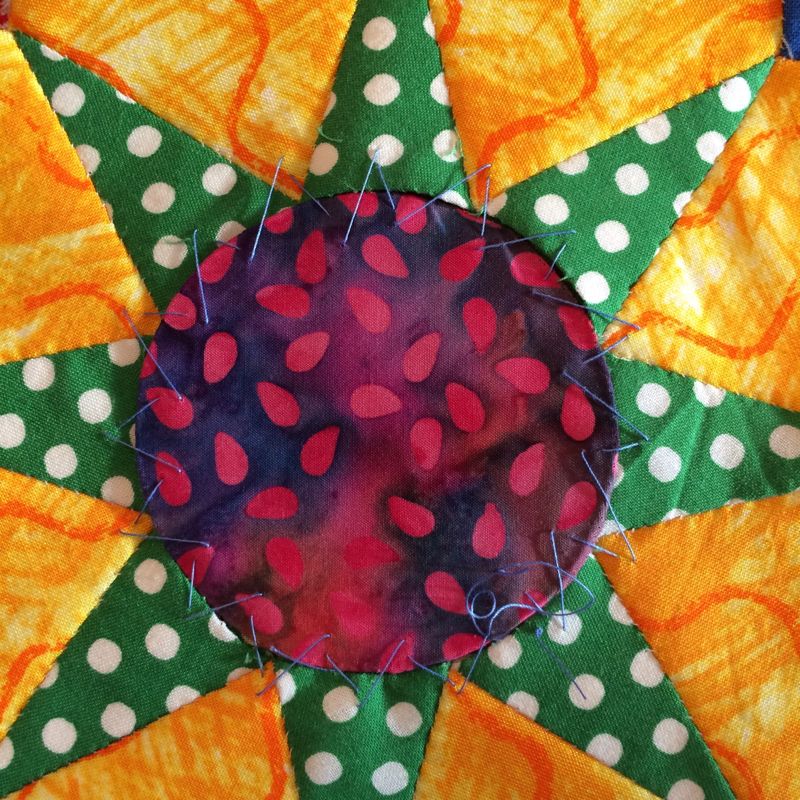
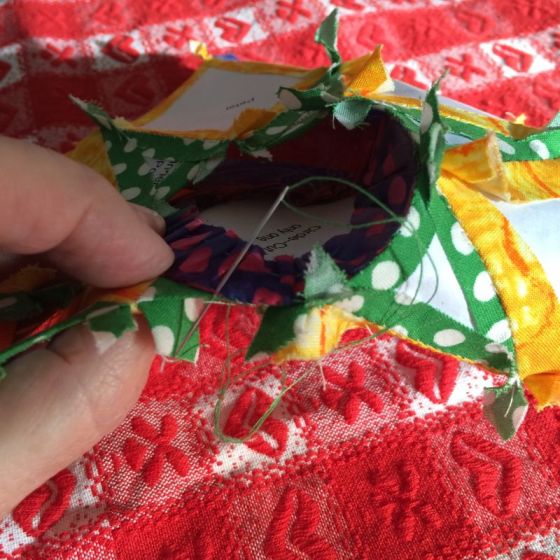
Now I’m starting again to add the center circle, this time basting the circle into place.

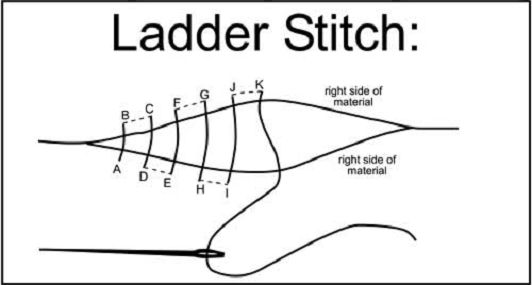
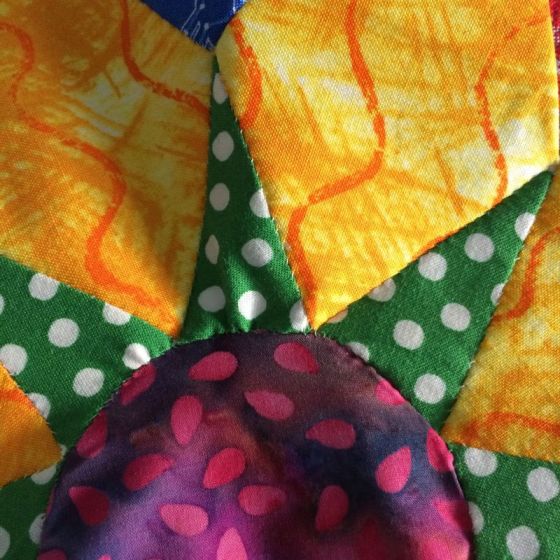
Now I’m taking OUT the center circle and doing what I should have done in the first place: appliqué the center circle onto the sunflower. That’s the something new. Don’t try and force your EPP. If it’s not working, move to a different technique. I had no problem with the Christmas Star block, but this one looks hacked-up, messy, bleh bleh bleh. Sigh. It looks much better now that I’ve appliquéd it on.
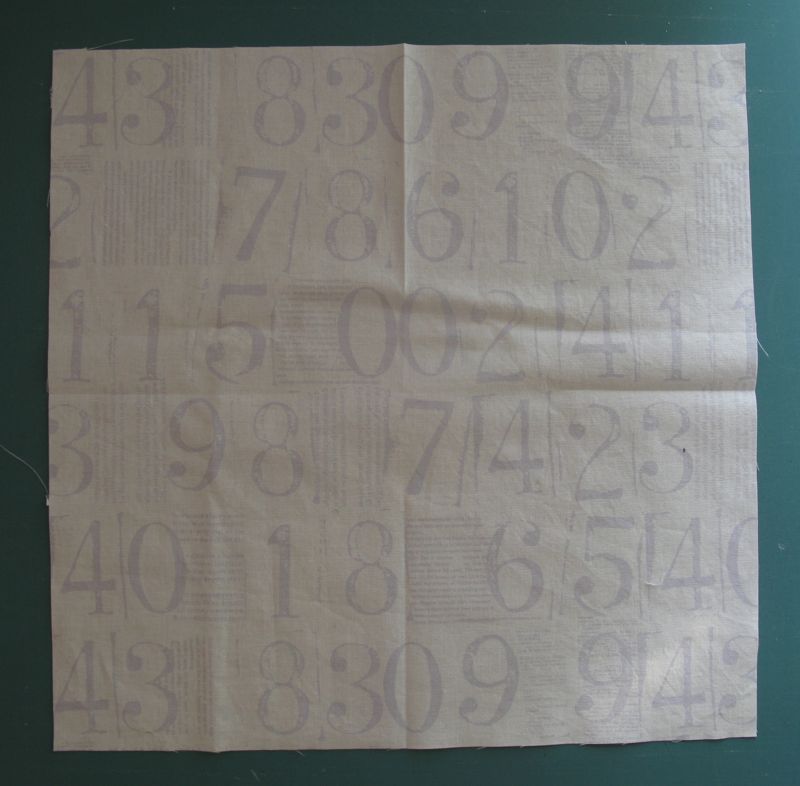
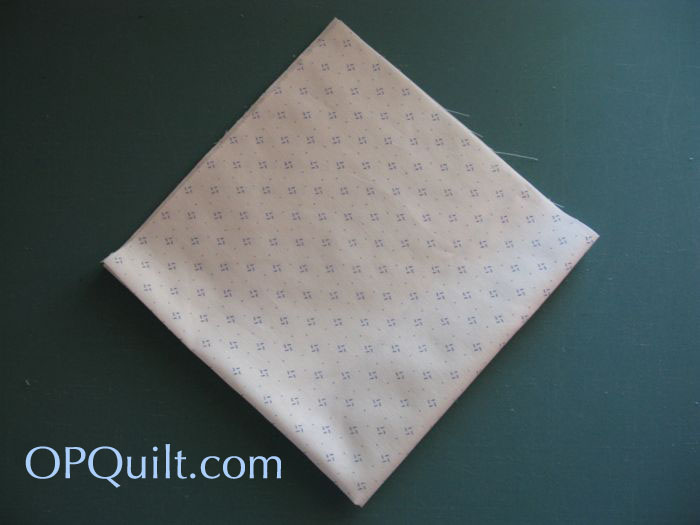
For the background, cut a 14 1/2″ square, then fold in half and half again to find the centers; lightly press the marks (shown above). I love this fabric!

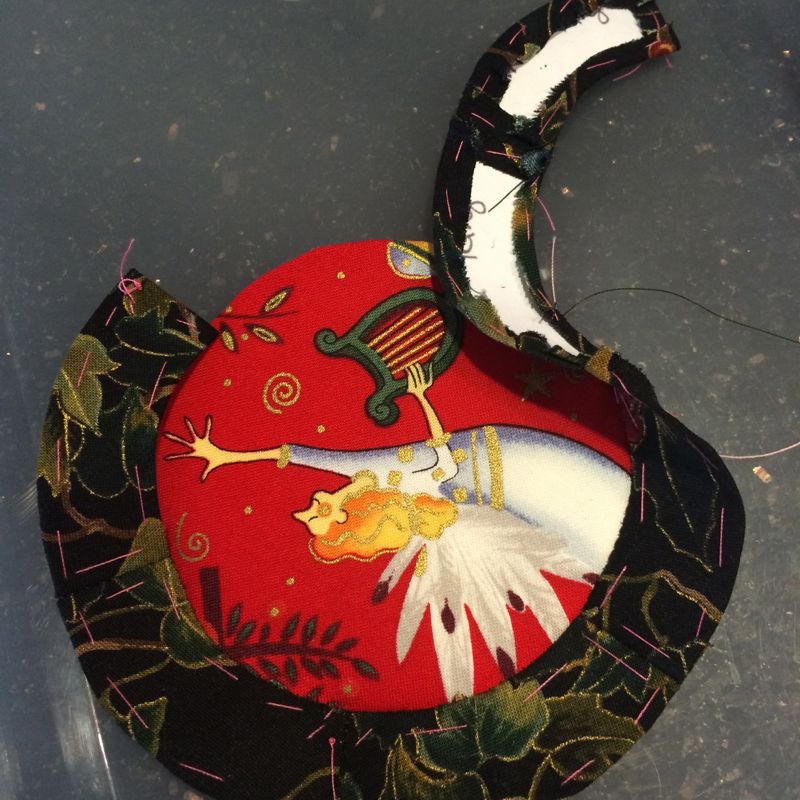
Decision time: Point UP? (top photo) or Wedge UP?

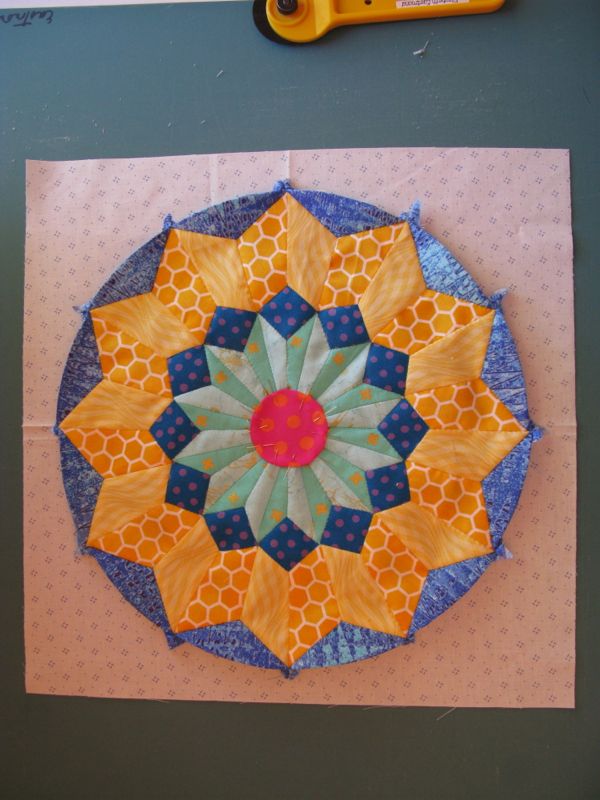
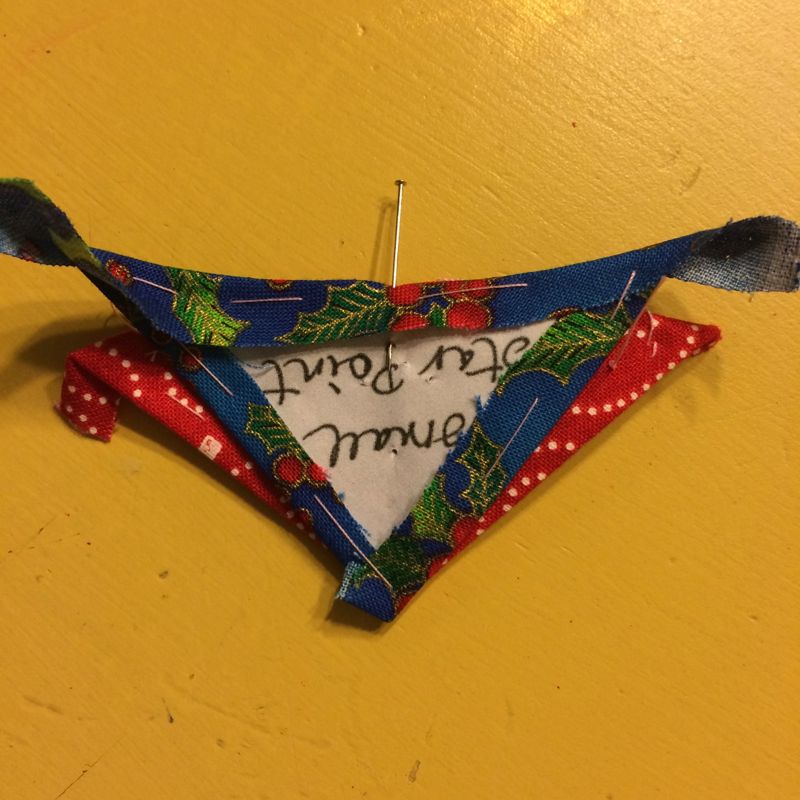
Before attaching the circle, make sure you’ve popped out all your interior papers. In the photo above, I’m using a stiletto tool to loosen the glue. I leave in the outer wedges as it’s easier to appliqué the circle onto the backing with those outer papers in. I take them out one by one, or you can just leave them all in until you cut away the backing, then pop them out.

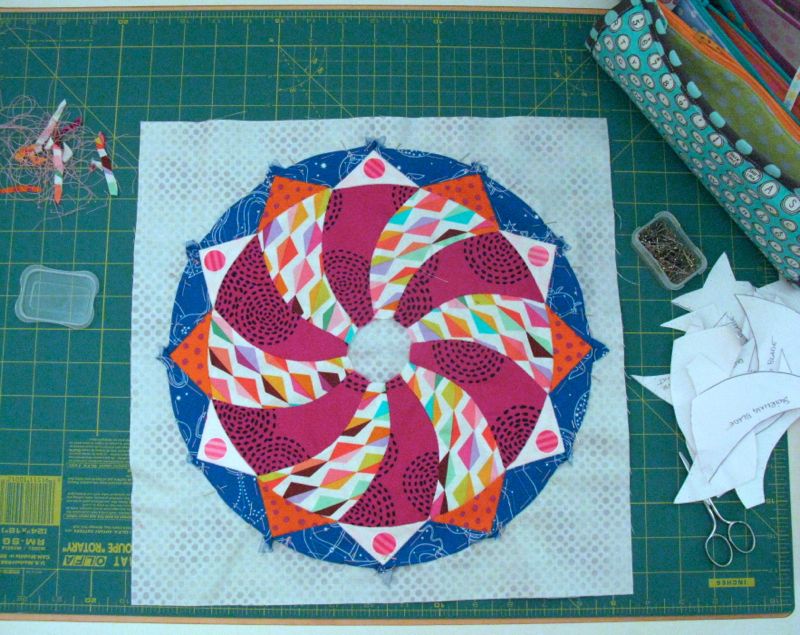
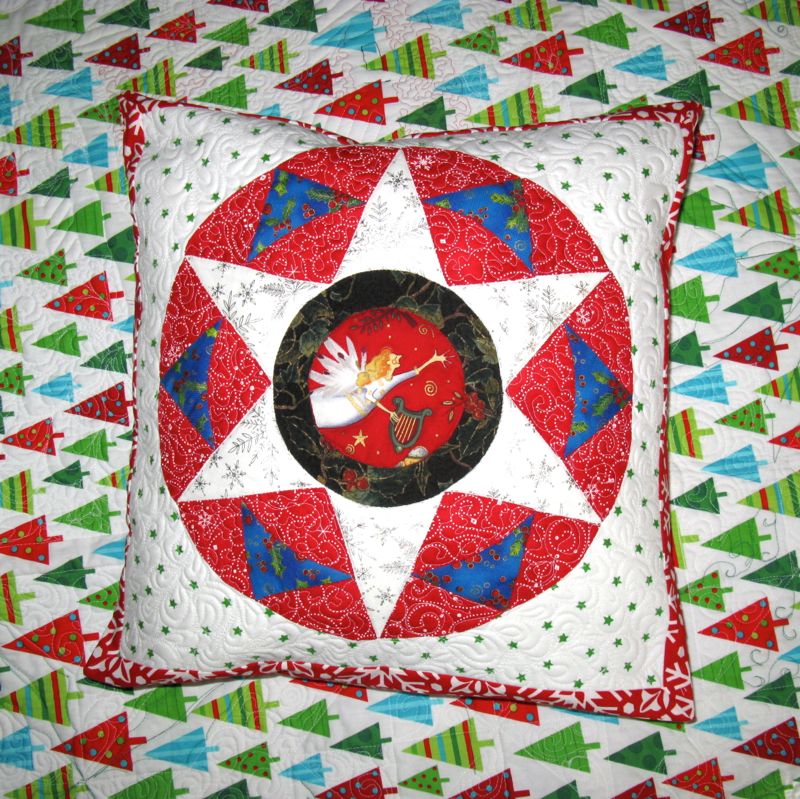
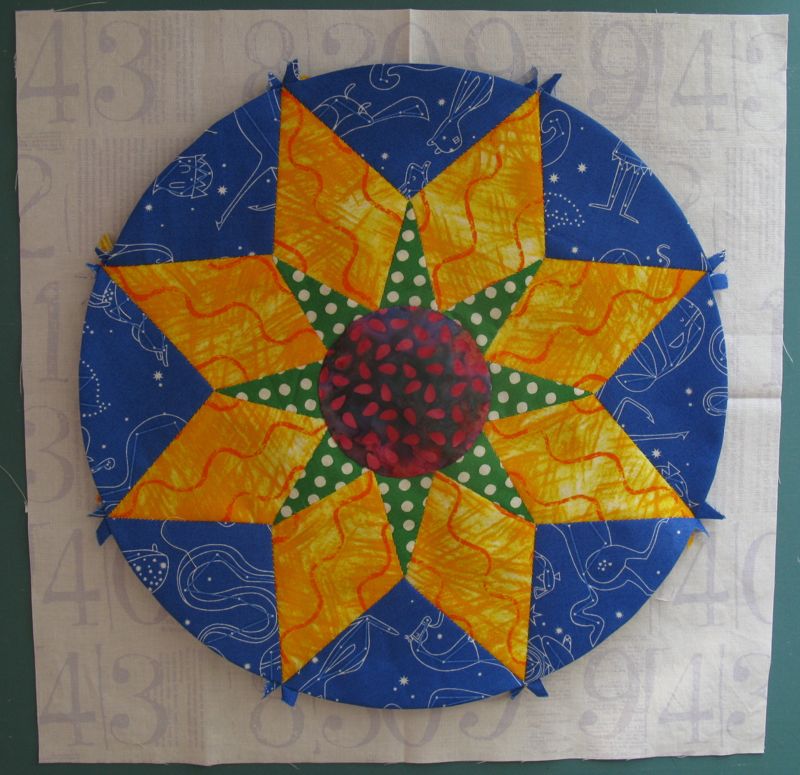
I decided Point UP. I’ve pinned down the circle, and after hand appliquéing it on, I’ll cut 1/4″ away from the appliqué line, and cut off the backing to be used for another project.

And there it is! Another fabulous circle.
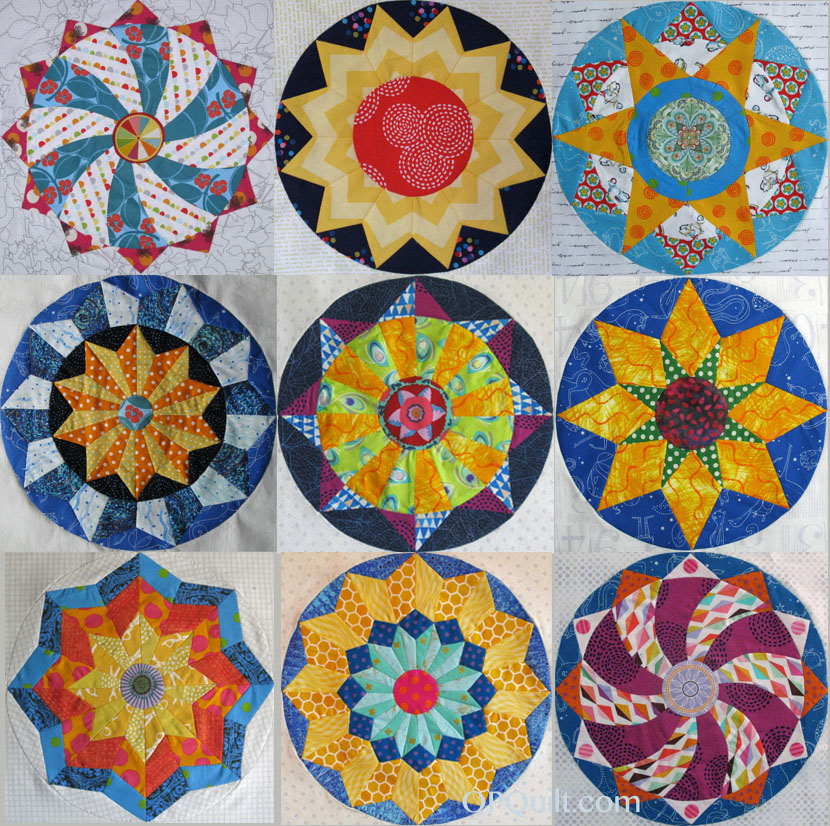
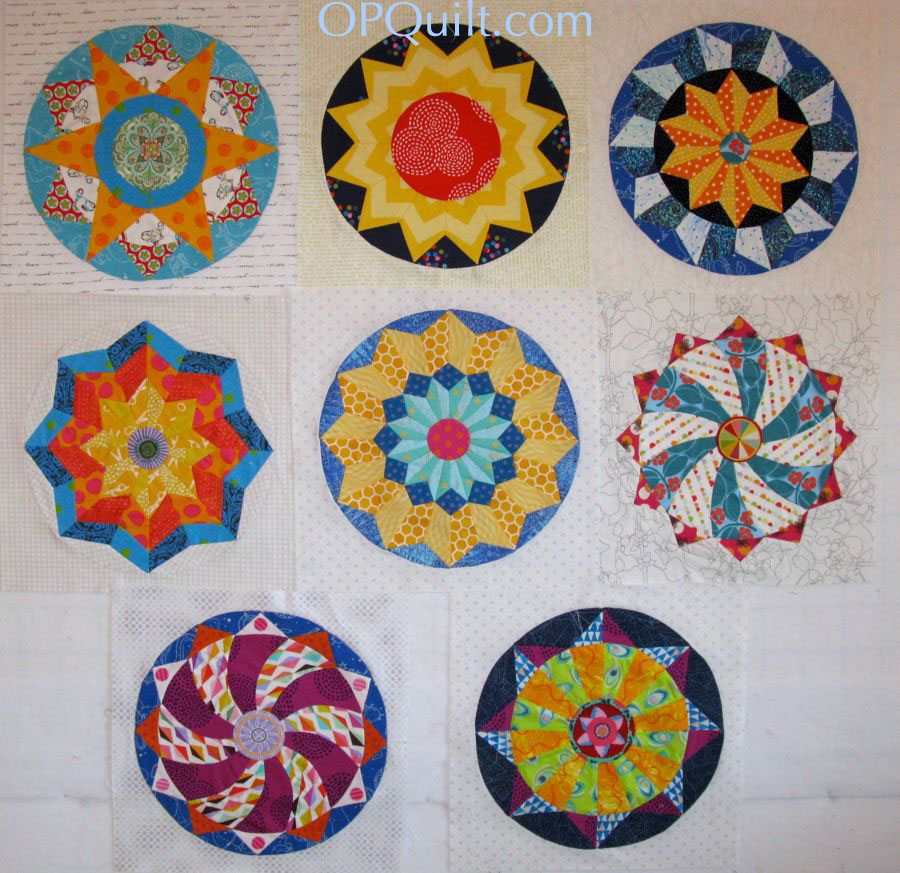
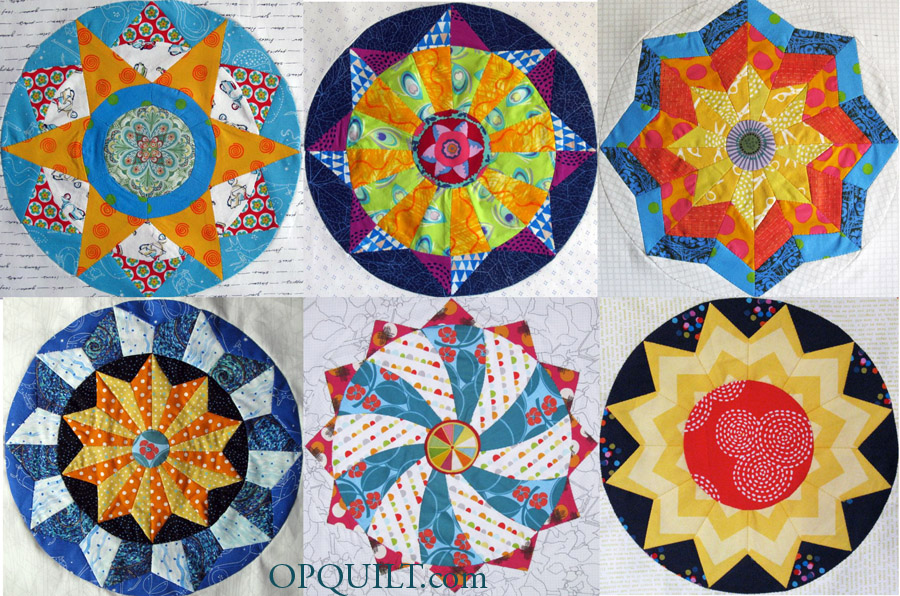
And then there were nine. I guess you could stop here, but I do have three more . . . see you next month?