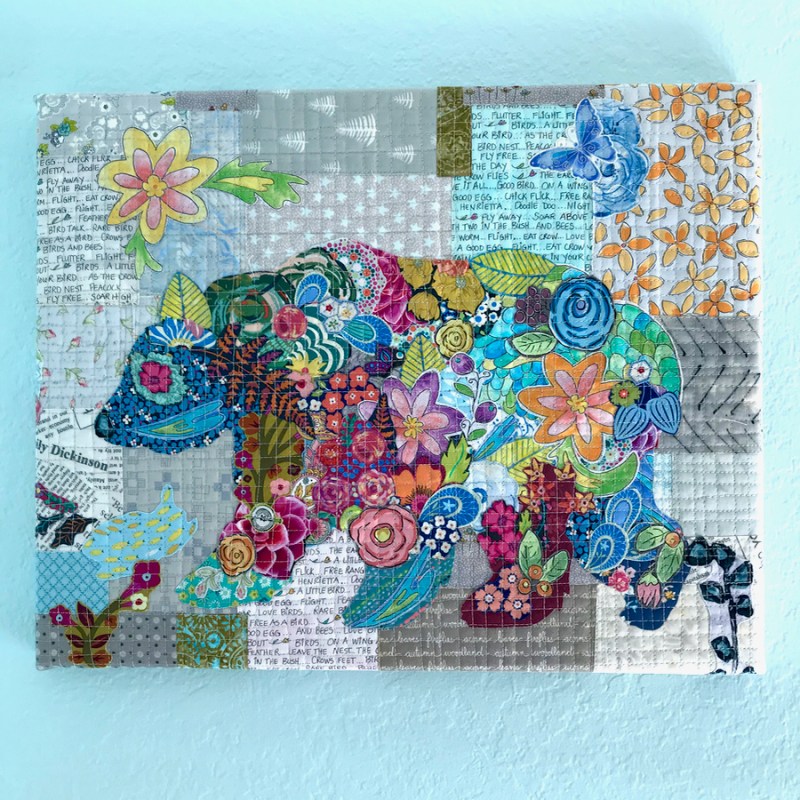
California Bear, a collage quilt started in a class with Laura Heine at Road to California 2020, is finished and hanging on my sewing room wall. (It just seems pretentious to call it a “sewing studio” so I persist in calling it a sewing room.) This is a fused collage quilt, and I wrote about it a year ago, when I first began.
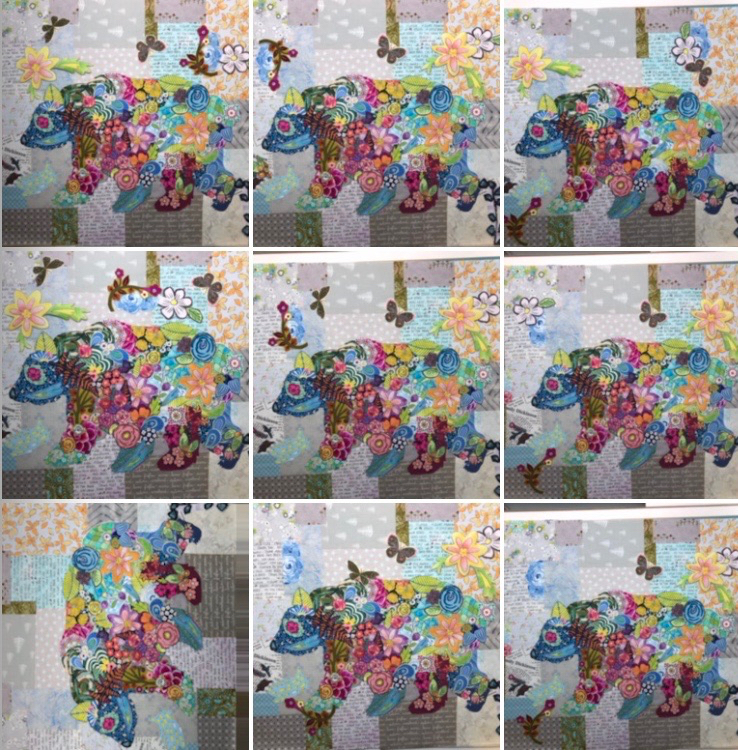
As usual, I did multiple permutations moving butterfliers and flowers around until I decided I was done messing with it. The perfect is the enemy of the good…and the done, as I always say. More info our on California Bear is here, if you are interested.

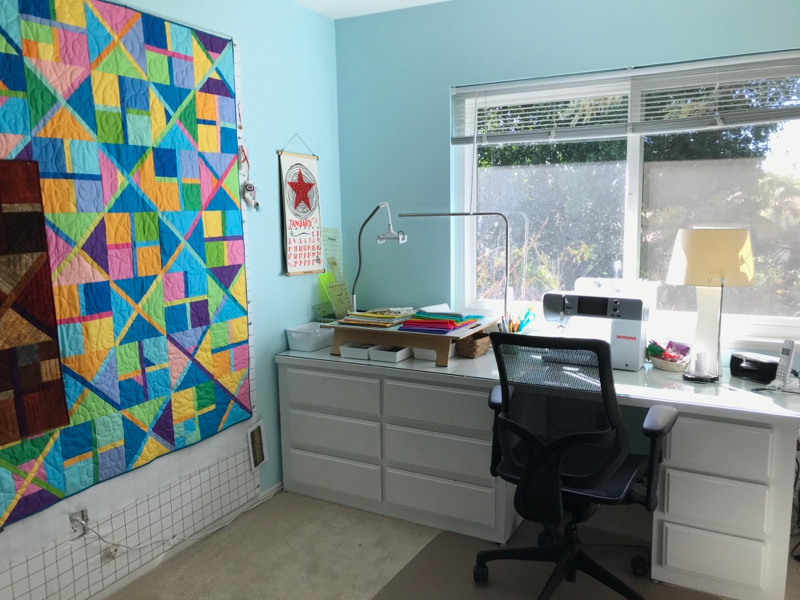
I hung him across from my fancy new calendar from The Dolphin Studio (I saw my sister’s and just had to have one), and he’ll stay there until he walks on to somewhere else.
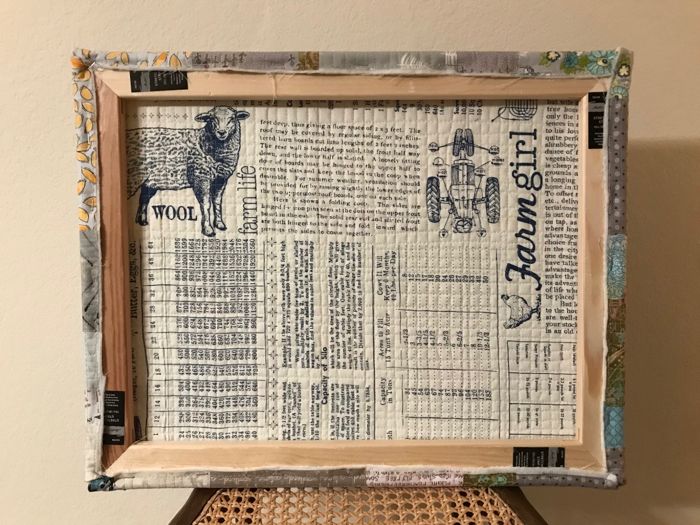
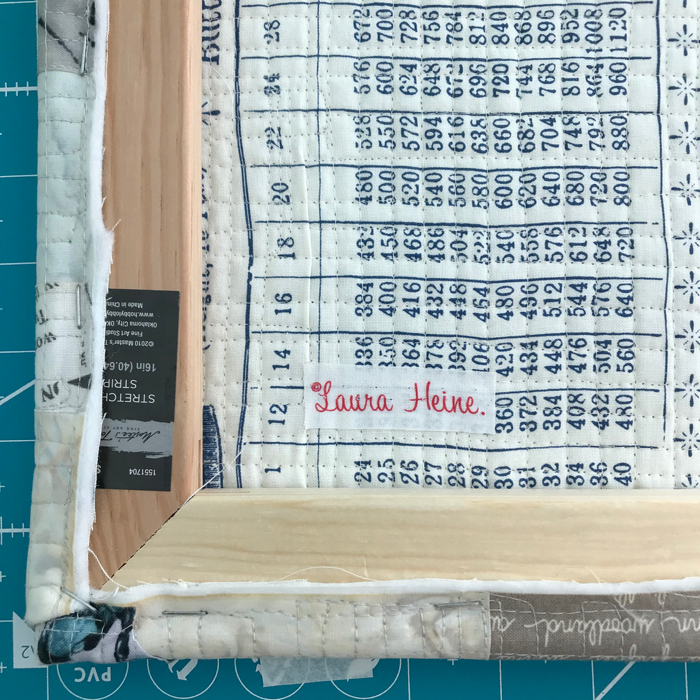
I finished fusing him into place Friday afternoon, then quilted it in a tiny grid all over, thoroughly gumming up a needle, but it got the job done. After that, I my husband, Dave, and I went out to get stretcher bars (we are double-masking now) and a burger, and then we sat in the parking lot afterwards eating our hot french fries and Habit burger. Later, he helped me staple it into place; I cut out Laura’s name from one of the selvages and fused it onto the back. I’ll make a label later on, but I wanted it up on the wall before January ended.
I went walking this morning and it was California cold. Not as cold as some of the weather in other parts of this wonderful state (we have twelve “Fourteeners” in our state–that is, mountains over 14,000 feet, so you know they have snow). But here in Southern California, an hour east of Los Angeles, well…this is kind of cold. All around our geographical basin the mountains were touched with snow after our last storm. Pretty fancy for us.
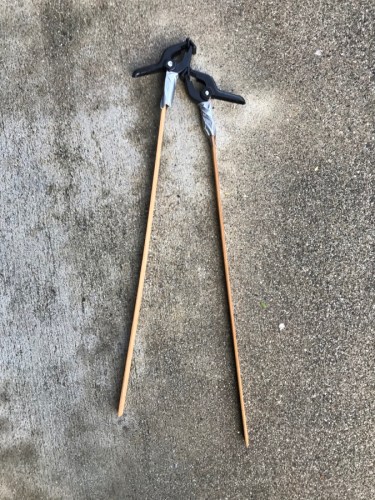
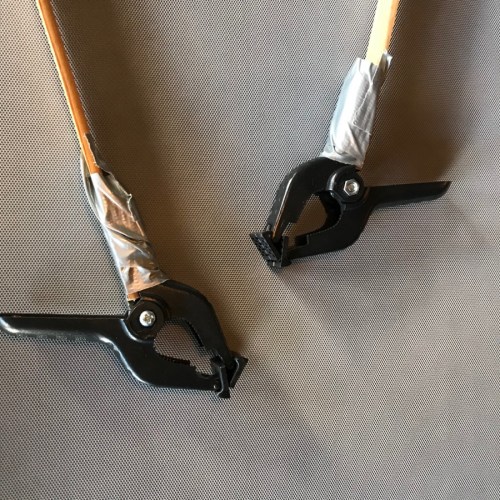
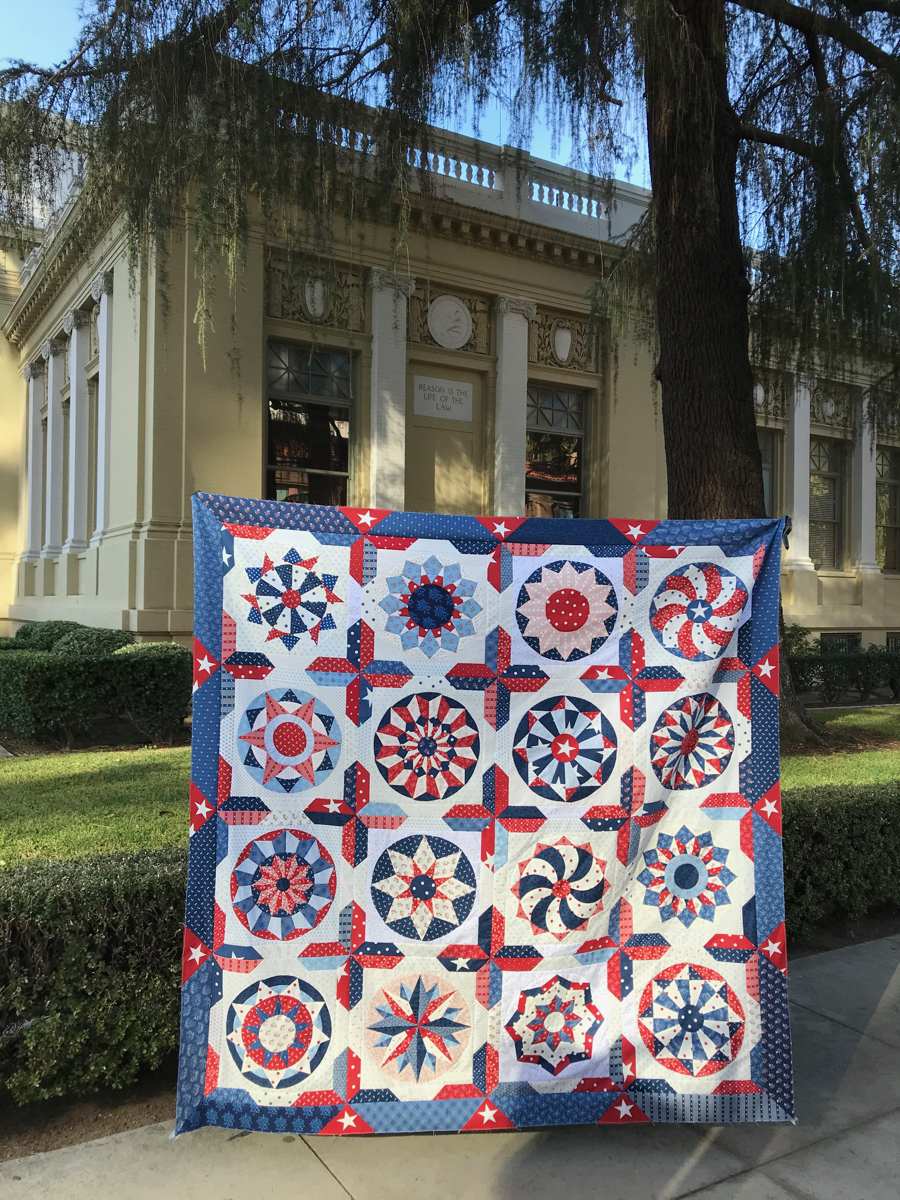
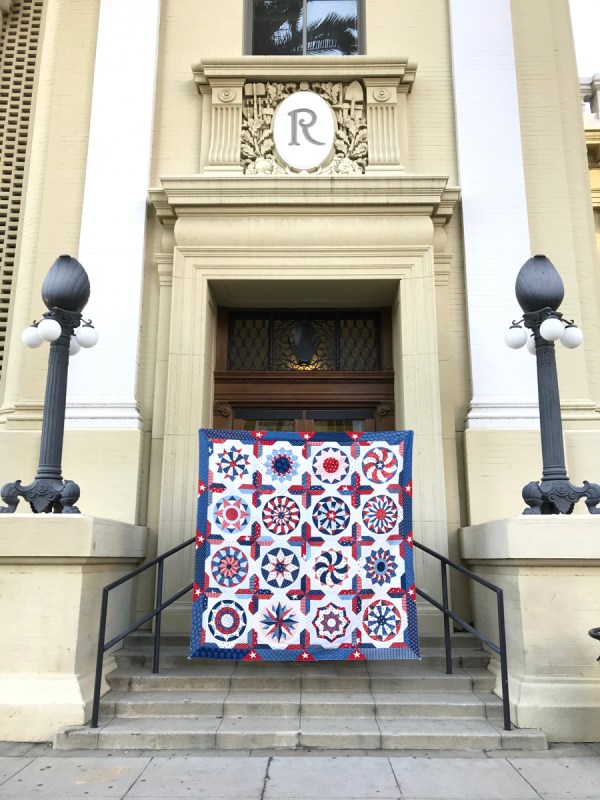
And here’s a photo of my quilt holders: two clamps duct-taped onto some molding strips that I found in my garage, but you could use dowels. Really high tech. Oh, and here’s a photo of the Quilt Holding Husband using the Quilt Holders:
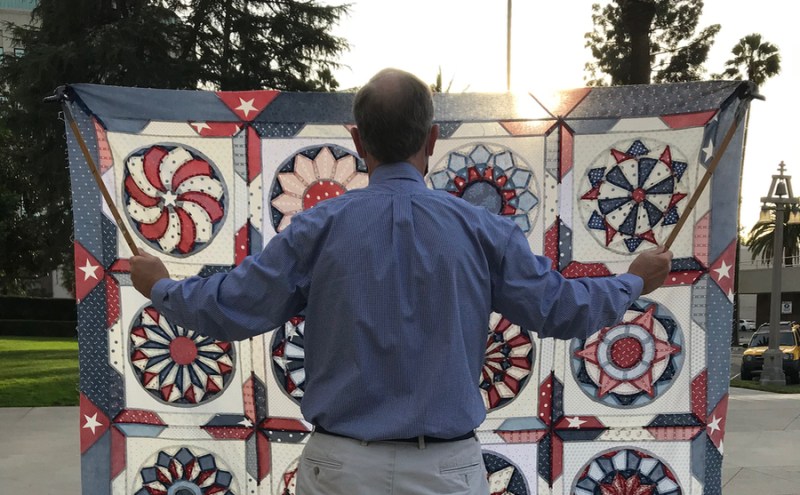
We just clamped them onto the corners of the quilt. If you are a short person, like I am, then it makes it easier to hold up the quilts. Later on, we switched, and I held the quilt for while, as seen in this post (in front of the colorful wall). I haven’t yet tried them on a quilted-with-batting quilt, but soon I will and I’ll let you know how it works.
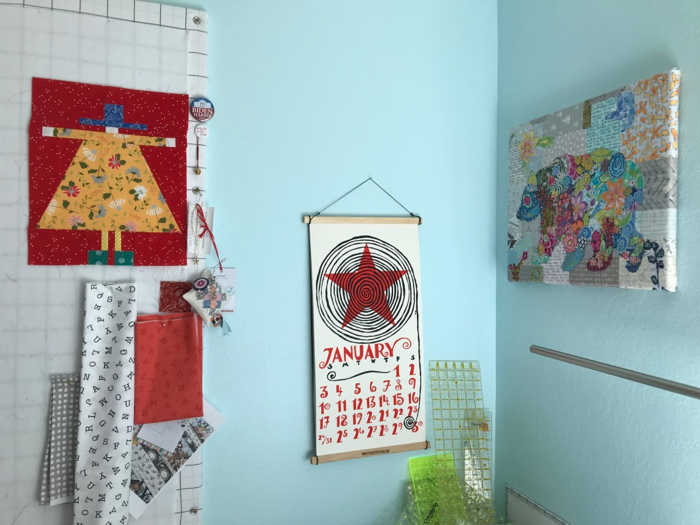
That big-skirted lady is for a quilt, coming later on in the year, and the ABCs and other fabrics are part of a quilt for a grandchild who is having a birthday soon. I use my design wall as a bulletin board sometimes.

I’m making progress on this (binding on and clipped down, reading for hand-sewing). I’ve also come up with a name. Coming soon.
I recently freshened up my blog header, switched up my blog theme (the other one wasn’t supported any more) and am working on the commenting problem some of you have had. I think I’ve solved it, but will know when you tell me. I always ask for your name and your email, as I like to answer my comments privately. If you can’t comment on the blog, you are welcome to email me at opquilt [at] gmail [dot] com.
Happy Quilting!