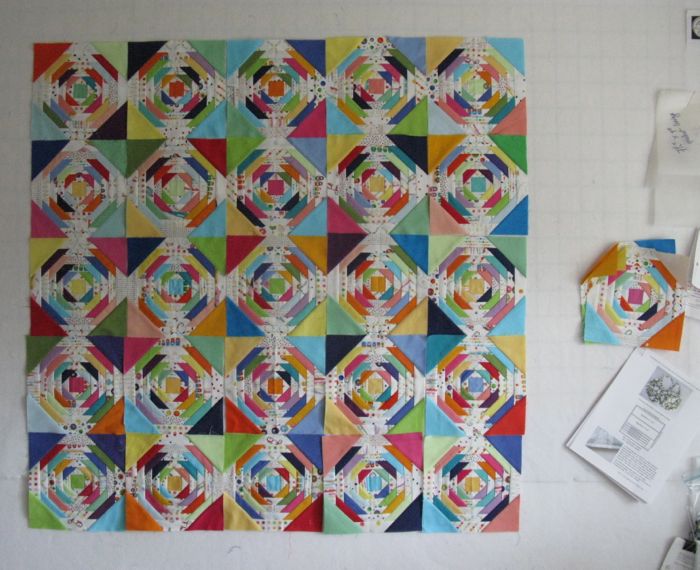
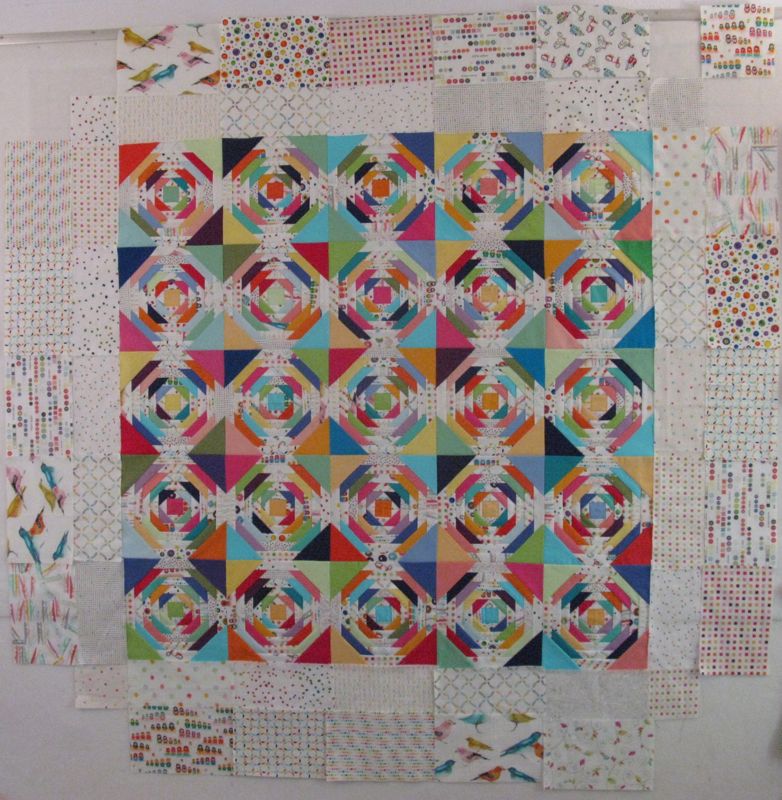
I laid out all the pineapple blocks on a grey, cloudy, rainy day, but their brightness and color made them fun to work with (Yucky photographs, though.) I thought about all my bee mates and was sending out Good Karma over the universe, thanking them for their work.
But how to get a border on this thing?
I remembered my other quilt with a bold colorful center, Come A-Round, and decided to mimic that idea. This quilt, designed by the Piece O-Cake ladies, is one of my favorites. I remembered that they have terrific border ideas, so after a Google search, found Daisies and Dots, a free pattern, which also had a great idea for a border.
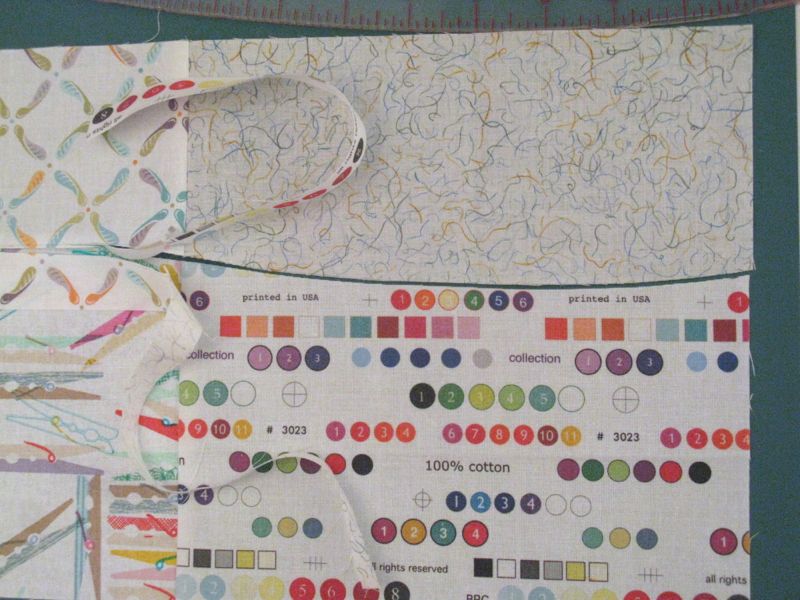
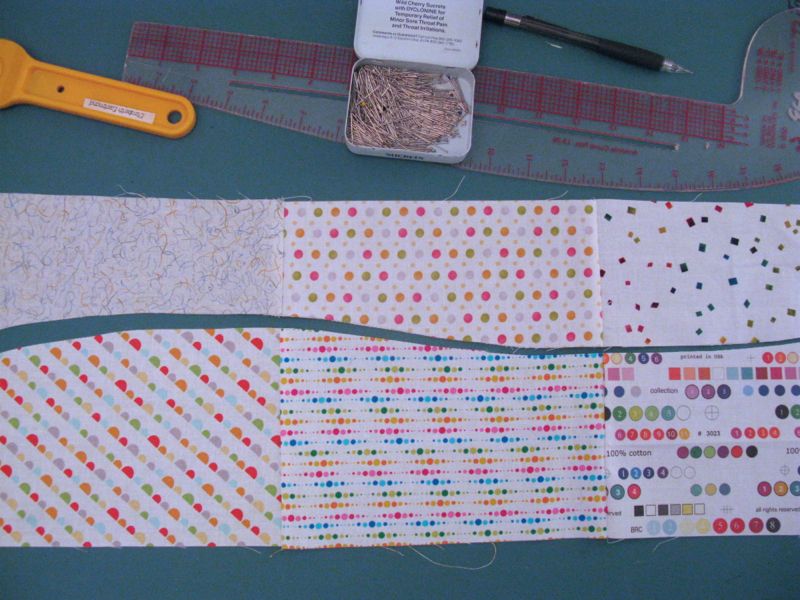
I sewed the border pieces together in two sections, then overlaid them and cut a wavy line with my rotary cutter, freehand. I tried to make sure the seams were kind of matched up.
I put RST and matched up those seams and sewed a 1/4″ seam.
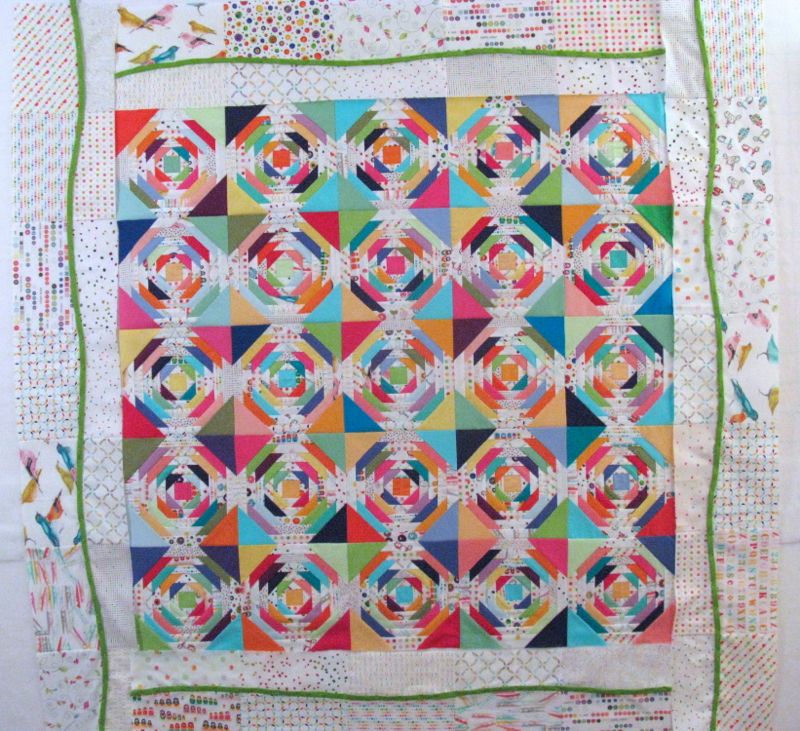
I made gallons of 3/8″ bright green bias tubing and pinned it over the seams.
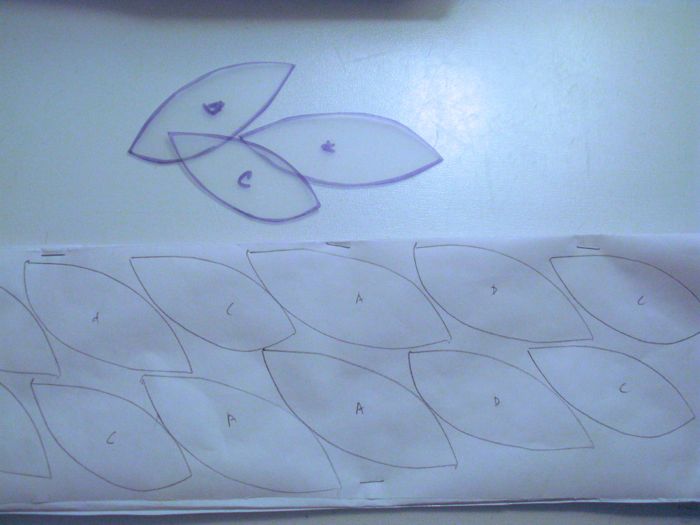
Now to cut the leaves. I thought the free pattern looked a little small for what I wanted. Besides I already had a baggie full of reject leaves from the center of my Colorwheel Blossom quilt, so I started with that leaf, and morphed it down to make five shapes. (I don’t throw away appliqué shapes. Well, hardly ever!) I traced that shape onto plastic, cut out and traced the shapes onto freezer paper, doing it in batches.
Then I cut out many colors, using the templates for tracing, and am now ironing the leaves to the freezer paper (shiny side up).
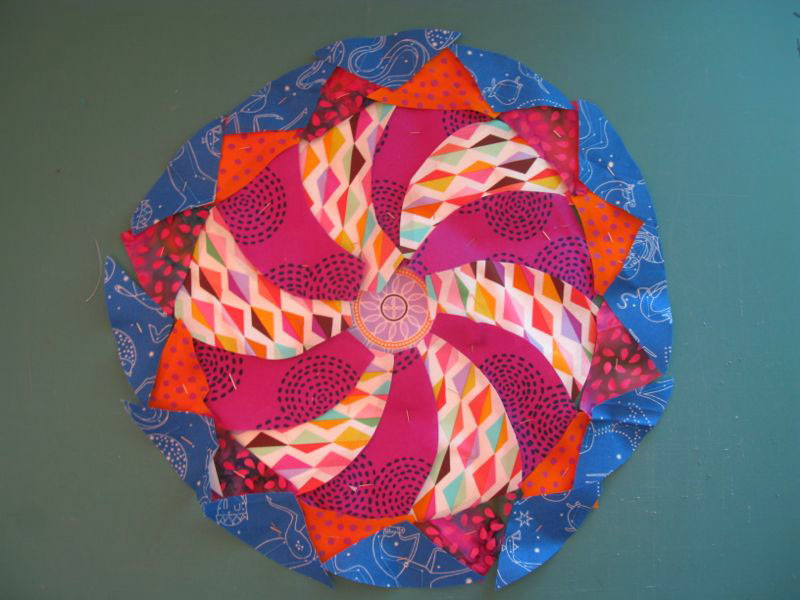
And here’s where I am this morning. I had to actually do school work all day yesterday, so didn’t get time to work on this. I am just throwing them up there now for “cluster placement,” and plan to do some fine tuning of color, shape and arrangement later.
So as you all well know, the Random Number Generator hates me and I hate it. So I went to a different website and entered in all your names, and hit “Pick a Random Name.” Which it did. Simone, I’ll be in touch–you are the winner! And thank you all for entering and all your lovely comments. I’m working my way through my email notes and will get them off to you this weekend, after school orientation, syllabus writing and plotting my Course Calendar. I feel like this quilting community is my real joy and delight in life, in terms of an occupation. The other one is to get quilt fabric money.
Just kidding. I love to teach, and this gearing up at the beginning of the semester is a pretty normal thing for us all to be doing. Hats off to my other teacher-readers out there!
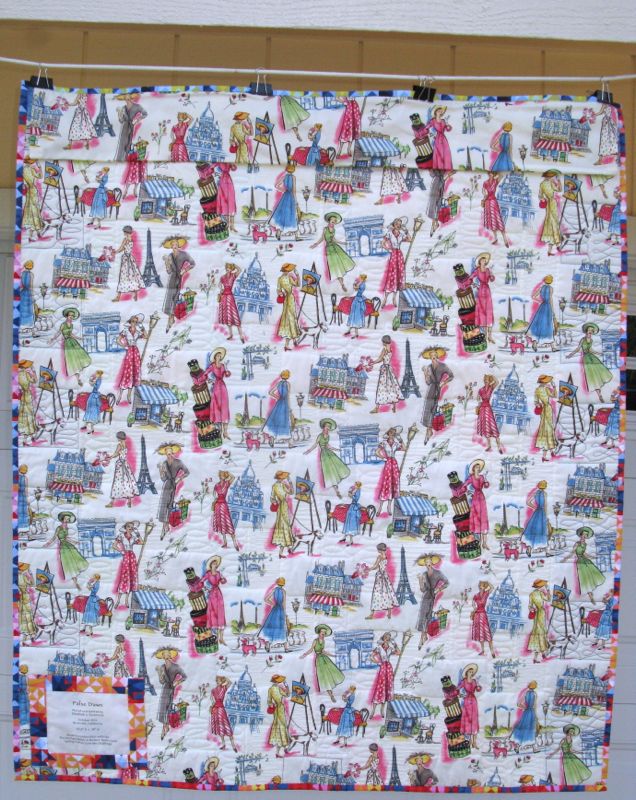
False Dawn
Pieced and Quilted by Elizabeth Eastmond
#138 of 200 Quilts
41 1/2″ high by 36″ wide
Made for the Modern Quilt Guild Cotton Couture Classics Challenge
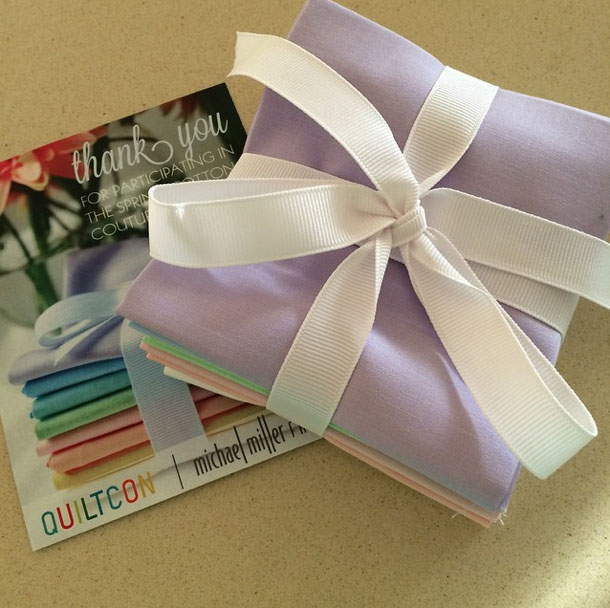
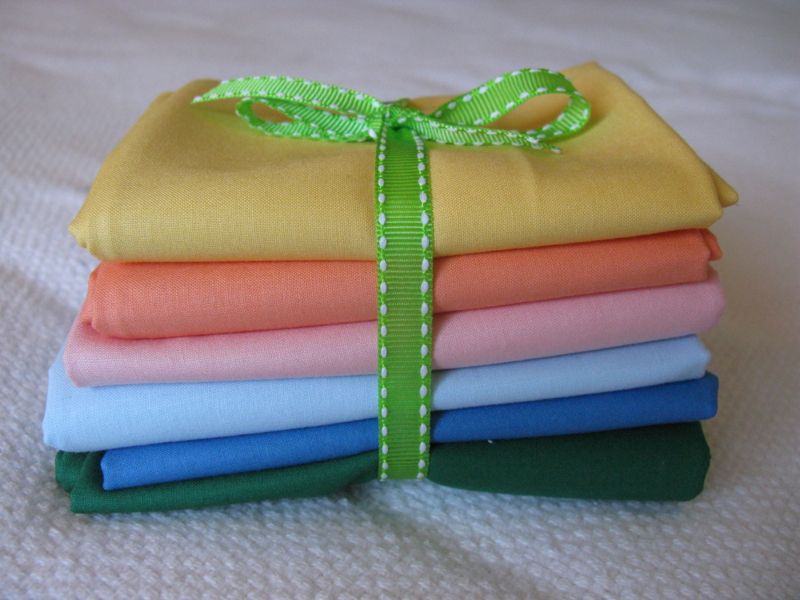
Michael Miller, a manufacturer of fabrics, sent members of the Modern Quilt Guild a packet of fat eighths in pastels, for their challenge this year, and to try their line of solid fabrics. I know that pastels only makes a dull quilt, with no contrasts, so I reciprocated MMiller’s kind gesture by buying some darker colors in their fabric line. I had one design all laid out, but then re-read the contest rules and it said it had to be predominantly made from the packet they’d sent. I decided to obey, but in scanning the IG feed of those quilters who had submitted in this category, I noticed most ignored this rule. Maybe I should have too?
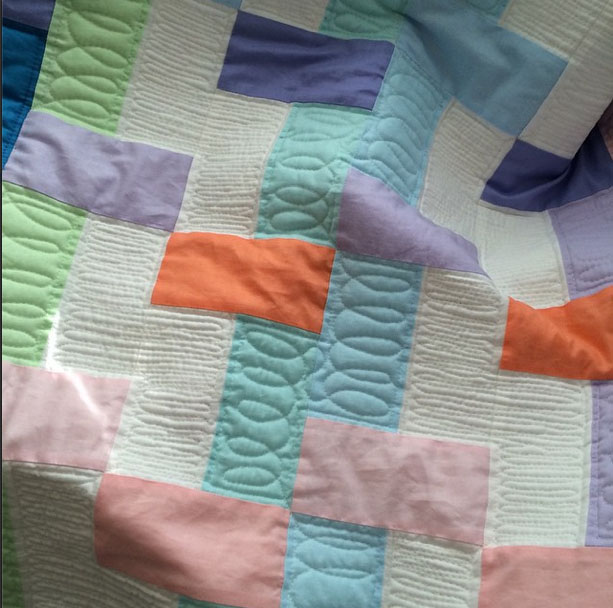
This is how it started. This line of solids is lightweight and would be perfect for making French-sewn dresses, or smocked clothing for children. The weight is more like a batiste than a broadcloth, but it is strong and has a lovely finish and hand. Since I’m used to working with Kona Cottons, a more mid-weight line of solids, I had some challenges working with the Cotton Couture line. I found that even though I pressed it and starched it, it was still more prone to wrinkling. The quilt, however, weighs next to nothing when finished, so it would be a perfect line for a lighter quilt, or those in hot climates.
Because of its lighter weight, it quilts up easily so I had fun layering on thread in narrow zig-zags and loopy-loos.
We also had to use Michael Miller fabrics for the back, and I had enough yardage of this Parisian print, choosing a jewel-like print for the binding. I named it False Dawn, hoping to bring to mind that luminous light before the sun rises.
While I did enter it into QuiltCon’s Challenge, it was not accepted. Even though I have no way of knowing what the criteria were, other than “predominant use of the Cotton Couture Pastels” and all Michael Miller fabrics, I’m not that put out. I followed the only rules available to me, I finished a quilt made with gifted fabric (and purchased some more) so I figure I fulfilled my part of the bargain.
Since it’s my birthday this week, and I think that’s a terrific time for gifts and presents, would you like some of these fabrics? I know that many quilters love this line, and like I said before, it has a lovely smooth hand. If you would like my leftovers (about 2 yards in a variety of colors), please leave me a comment below, making sure I have your email address. Since we are all recovering from Christmas, I must limit it to domestic (USA) readers this time around. Maybe your New Year can be welcomed in with a new project? This will close Wednesday night, the 7th of January. I’ll announce the winner in the next post.
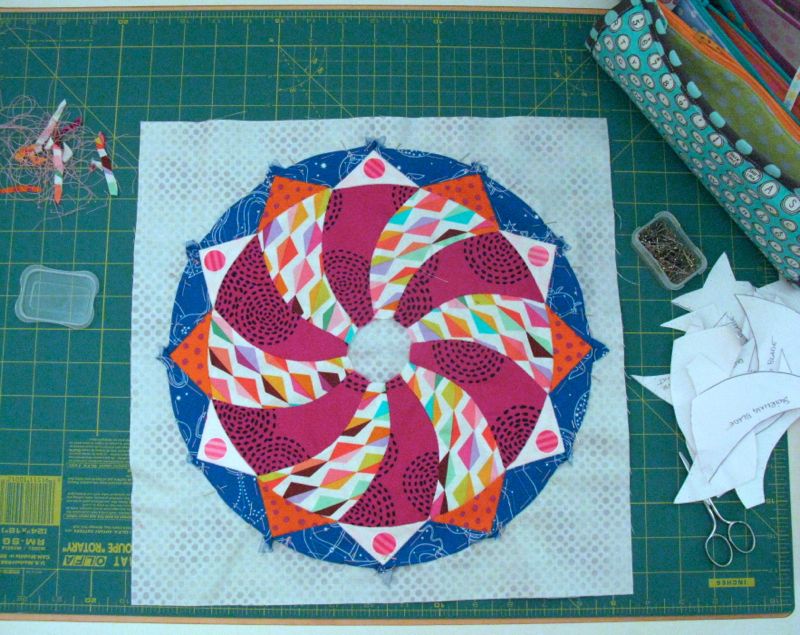
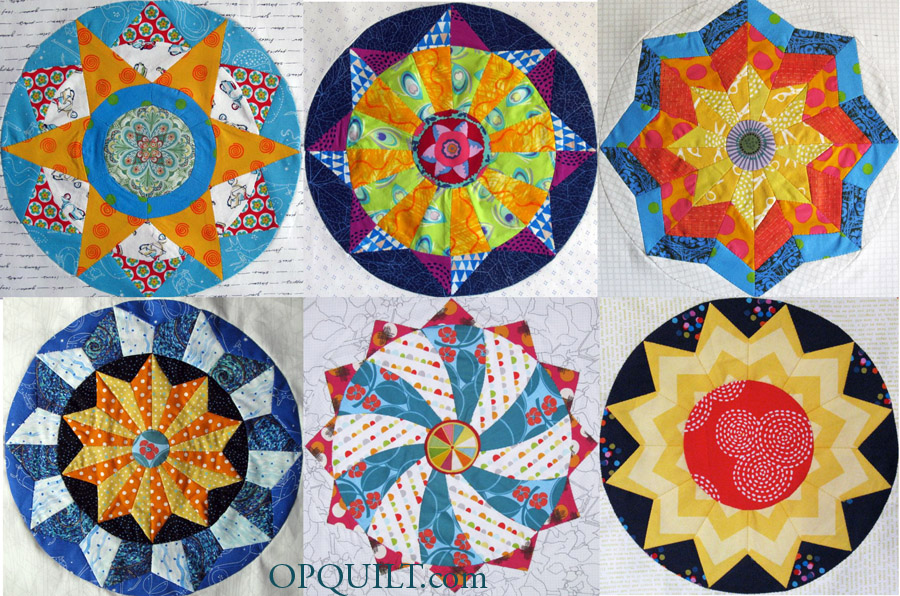
It’s a new year, and with our new circles block #7, we’ve turned the corner and are more than halfway done. Yes, this does look remarkably similar to Block #1, because it is–only I’ve blocked in the spaces between the points for a different look. The complete collection of Circles Blocks, all done with English Paper Piecing (EPP), is found on the tab above titled Shine: The Circles Quilt EPP.
As always, the updated patterns are free, downloadable PDF files. And as always, please do attribute the source of this to Elizabeth at OccasionalPiece-Quilt (or OPQuilt.com) and do not print off copies for your mother or your friends. Please direct them here to get their free copies. Many thanks.
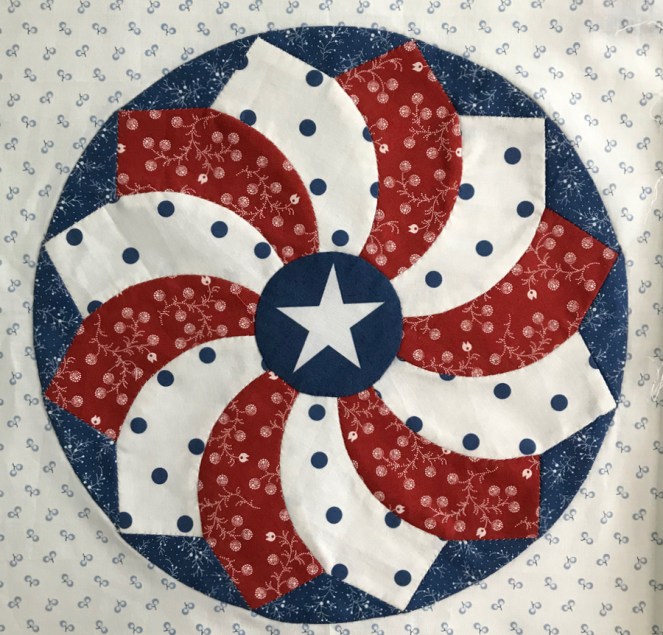
The free patterns are now returning (Red, White & Blue version is above). Again, I request that you not distribute them, but send people here to this website to get them. Click to download a PDF file:
Please remember to set your printer settings to 100% and check the little scale square included on the pattern. It should measure 1″ in size. Illustrations below are with the OLD version of the pattern, so it may vary from what’s included now.
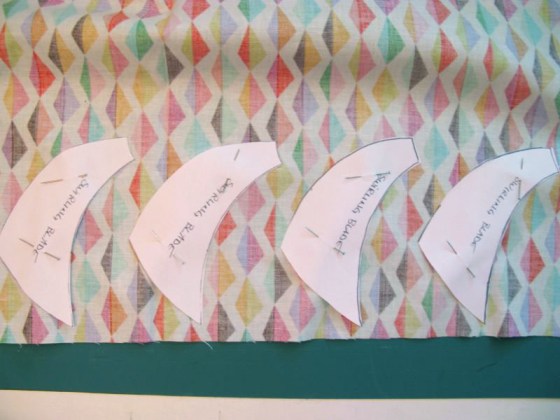
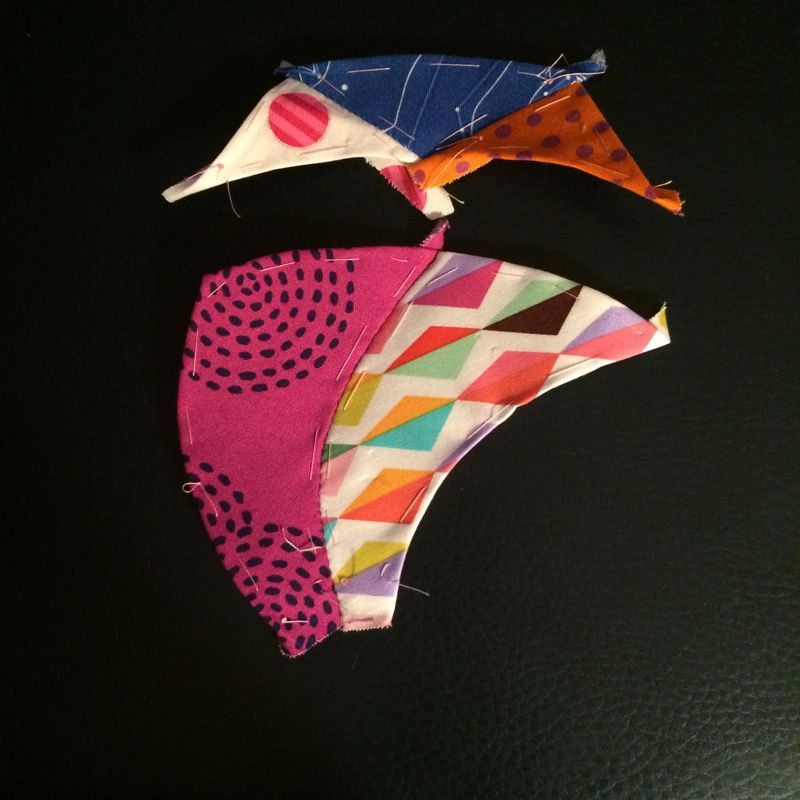
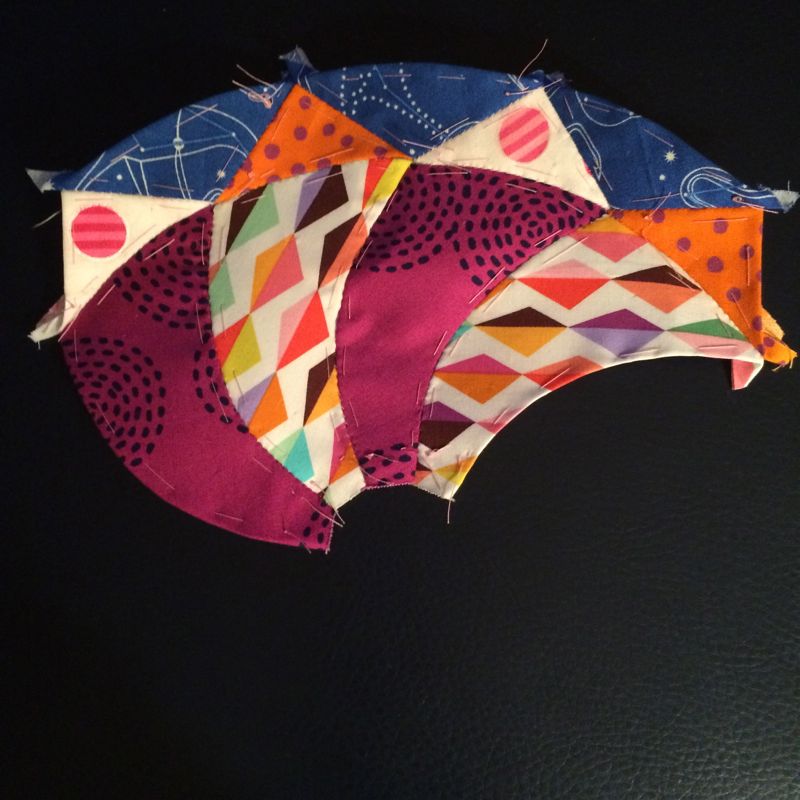
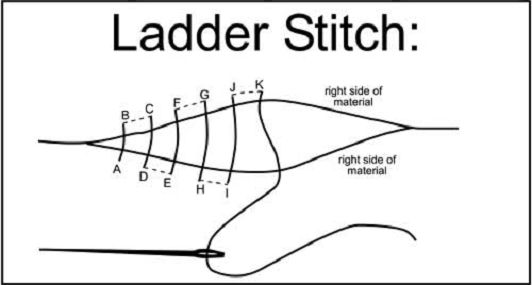
Playing with the patterns in the fabrics can be interesting. In the above, I liked the bigger, bolder, polka-dots so I clustered my points through that section. I also decided I wanted to repeat the high contrast swirling blades, so chose fabrics that brought out that aspect. To get the blades to swirl the opposite direction of Circles Block #1, place the pattern with the words visible, or facing up, as shown above. I’d originally thought a fabric that coordinated with the magenta-y purple blades and the orange points would be interesting. Here I’m trying it in the cut-fabric stage, before I’d basted it onto the papers. It looked all right, so I proceeded. But something just didn’t look right once I had the pieces basted. So then I cut out and basted the points with the pink dots. I fussy cut those to get the dots in the center. As always, I tried out my block in multiple ways, and decided on what I wanted. Most often I do this at the cutting stage, before I have basted them down, because, wow, it’s too much work to baste and then not use the pieces. But this block didn’t reveal itself until this stage, like a sulky teenager or something. I start by joining small pieces together. Then those small pieces get joined to become larger sections, and so on (and sew on?). I read on Instagram last week a discussion of how much the stitches show. However, please don’t re-do any of your stitching until you remove the papers, as one commenter noted. With all the papers in, the stitches have a “tension” on them and tend to show more. I thought that was great advice. Of course, because we are moving between strong colors, you can’t always get a thread that will match both sides of your seam. I’ve heard people sewing with Bottom Line, a very fine thread from Superior Threads, almost silk-like, and that would certainly that would help. Another commenter said she used a “ladder stitch,” taking a small “bite” of fabric on one side and running her needle through the fold, then the other side, alternating. At the end she would pull her thread tighter and the stitches nestle in. Here’s one illustration of that: And here’s a video, sort of showing the same thing. I use an overcast stitch, taking tiny bites of fabric, and just don’t worry about it all. You can see close-ups of my stitches in other Circles blocks posts. Cut a 14 1/2″ large square of your background fabric, fold it into fourths and press in the folds so they’ll serve as guidelines for centering your circle. Remove all but papers except the ones in the outer blue wedge-shaped pieces. I also trim off any wild or excessive seam allowances at this time, too, so as to remove bulk.
Pin down your circle, using small appliqué pins (so you won’t get stuck so much), and then stitch your circle onto the background, removing the papers, tucking under the points as you go. Turn it over and cut away the background fabric 1/4″ away from your appliqué stitching. Then stitch on your center circle, again using an appliqué stitch. I’ve done the EPP method on this part, and believe me, it’s easier just to appliqué it down. Like always, I auditioned several different centers (I’m getting quite a collection) but decided to go with this one. Not every center is a home run. The idea is to get them to play together, like the six shown below: Now there is one more! While I give tips and trick about the stitches in this post, every circles post talks about something a little different, while going over similar ground. Please refer to the other circle posts for more specifics, with all of them found on the tab above. Circles Block #1 mentions the basic method of English Paper Piecing. Circles Block #2 talks about fussy cutting your fabrics to yield a certain design, as well as joining the background via EPP, rather than appliqué. Circles Block #3 shows a cheater method for sewing together your fabrics on your machine before cutting them out, then proceeding with EPP. And so on. Have fun and we’ll see you the first part of February. It won’t be on the first day, because that’s the day for our reveal for the Four-in-Art Art Quilts, but shortly after that. Have fun sewing!
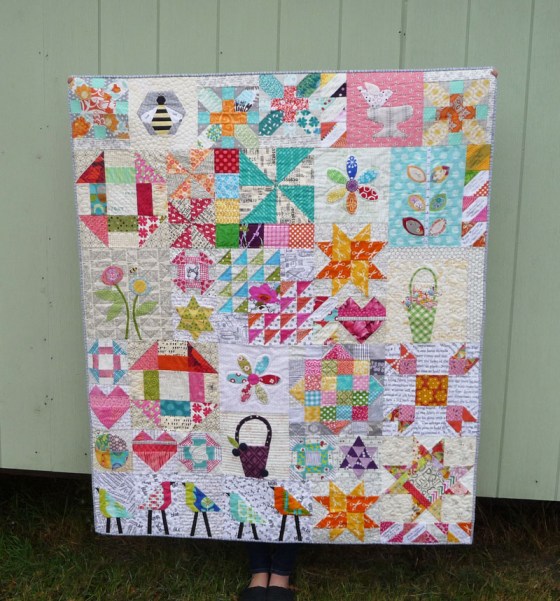
I’m Queen Bee again in my Mid-Century Modern Bee, and I know you are all surprised to see me again so soon. We had a reshuffling of months and I moved from November to this spot. Welcome to our newest members; I know you’ll enjoy the ladies in this bee.
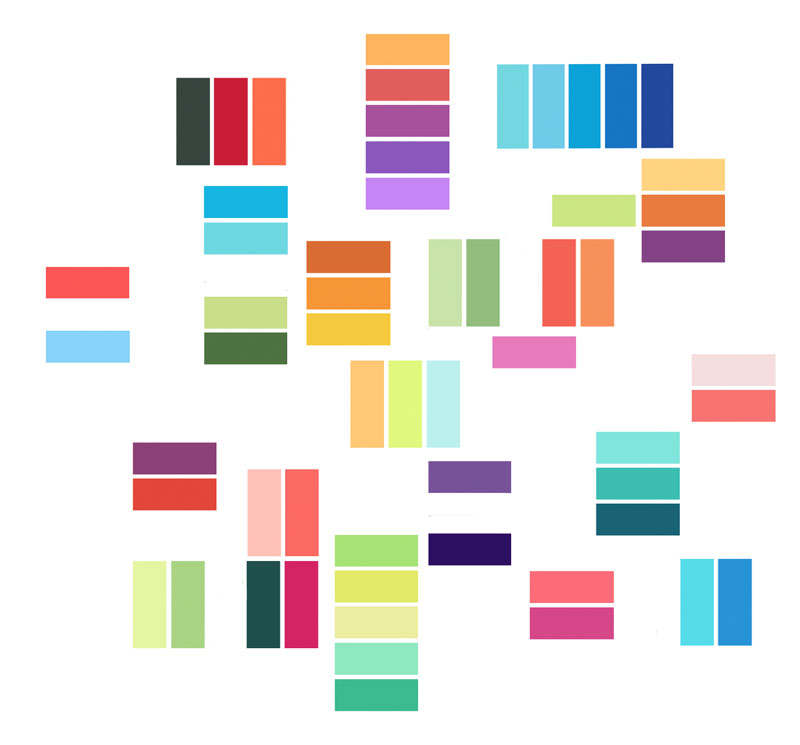
Carla, of Grace and Favour, had us all make a block in 2013 so she could make her own version of a Mid-Century Modern Sampler. I loved her quilt, so I’m asking you all to make a block for me so I can have a quilt like hers. As you can see she has both pieced blocks and appliquéd blocks–both are fun to have. The blocks should be in increments of 6″ or 9″ or 12″ (if you do a 6″ block, maybe you could do two?), and would like them with either a text, or a light background. Just pick your favorite block, in similar colors to the above, and have fun. I do have some fillers in the works, just like Carla. Here’s some color ideas (I couldn’t just pick one):
Roundup of preferred colors: clear tones of yellows, oranges, pinks, blues, aqua, bright greens. Roundup of colors that aren’t my favorites for this quilt: gray, muddy tones. Darker tones for accents (stems, etc.) are okay.
Bascially I’d prefer the palate of Carla’s quilt with light/brights and clear tones all on a text background, but no blocks that feature grey or “muddy” tones predominantly. If you have any questions, don’t hesitate to contact me, or refer to our Flickr page where there is more information. Thank you all very much.


 And here’s where I am this morning. I had to actually do school work all day yesterday, so didn’t get time to work on this. I am just throwing them up there now for “cluster placement,” and plan to do some fine tuning of color, shape and arrangement later.