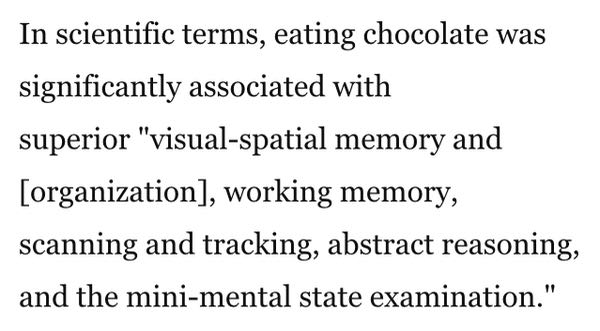
This popped up in my email one morning, and it about wraps it all up, as far as I’m concerned. No, I never met Claudia, but I did meet a few other fine quilters, including some from different countries than California. (That was a joke, people.)

Since it’s been over a month since QuiltCon, I thought I should get around to writing about my impressions. The show was held in Pasadena, California and the Registration Desk, Vendor Mall, part of the quilt show, and lecture room were in one building.
 Across the courtyard was a large older room with high clerestory windows (building behind these banners) where the rest of the quilts were, and to the other side of that, was the building where the classes were held. While pretty close together, I did miss Austin’s intimacy, but the great part about being here was that the weather was unseasonably warm which made everyone except those Californians happy (we want rain).
Silliest moment for me:

Hollering Polo! to Eileen’s (@luckycharm93635) Marco! as we bumbled out of the restaurant after topping off our 50/50 burgers with a bacon-brownie. And yes, we did the Marco! Polo! thing all conference long, whenever we’d see each other.
Moment when I realized that none of us quilters ever charge enough for our quilts:

When, during our From Maker to Making a Living class, I glimpsed the majesty of Jacqueline Sava’s spreadsheets and listened to her funny and wonderful stories about making a living. She’s the SOAK lady, and to support her, I went down to the selling floor and bought a bottle of Flatter, in the Fig flavor. So so yummy-smelling and it works, too. A whiff of it and it brings back that class and the belief that I, too, can be as successful as she is. Kidding.
Moment when I realized that I’ve missed mucking around in paint all my whole life:
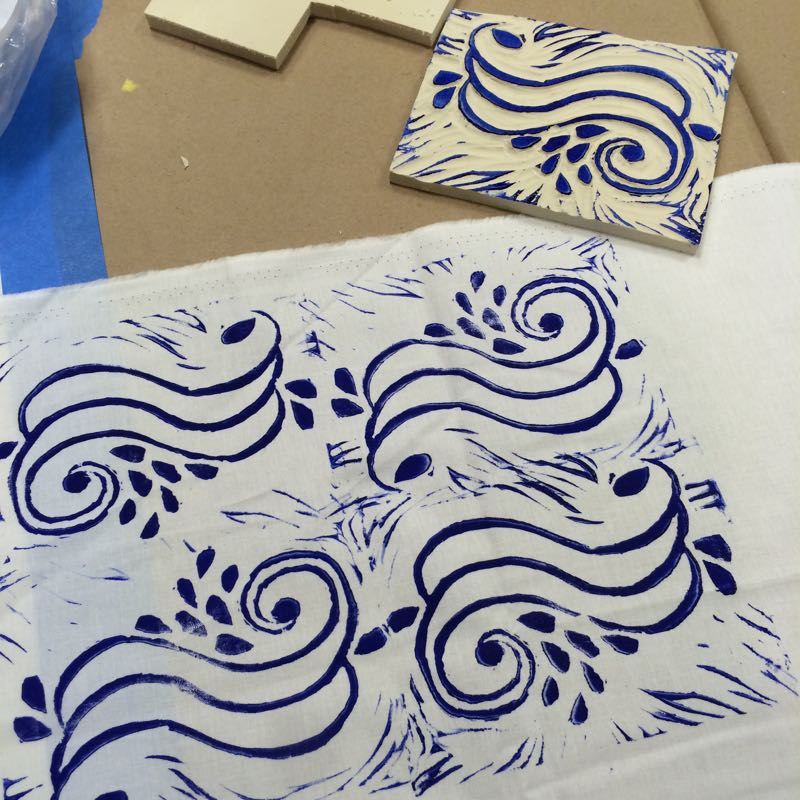

In Lizzy House’s block printing class. Even though I was beyond tired (and I’m pretty sure she was too), we had a great class of doodling, carving, printing, sharing. This was my last class of QuiltCon, and after this, I met up with Lisa and Simone and we drove the 90 minutes home. We’d stayed for two days and two nights, beginning with an early morning (up at 4:30 a.m.) on Thursday, and ending Saturday night.
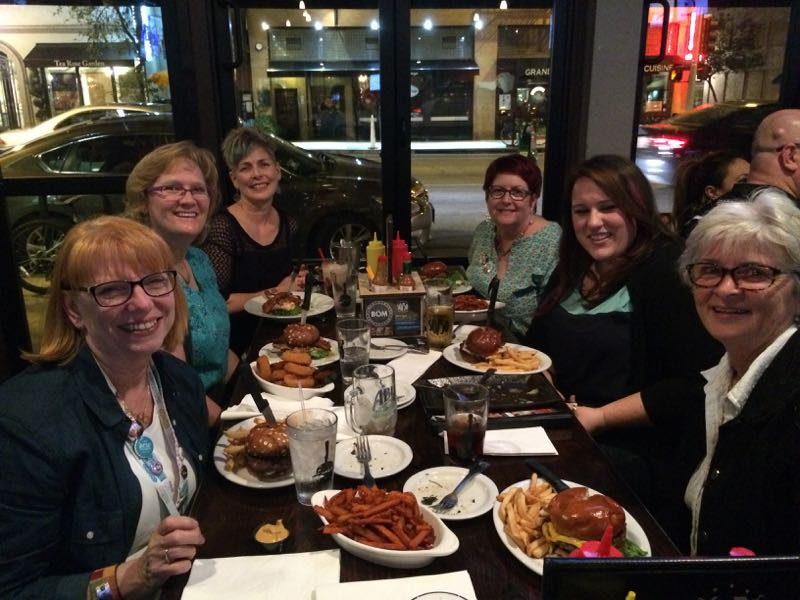
Moment when I realized that my QuiltCon experience had shifted from taking classes, to hobnobbing with the Women of QuiltCon:

This is the only photo I have of me ( at the end of the table, nearly on Lorena’s lap) and Lisa (third down on the right, with glasses and blonde hair) and Simone (second down on the right, with brown hair). The rest of the time we passed like ships in the night, or sat next to each at lectures. I met several quilters I’d only followed on blogs or on IG, and deepened friendships with many of these fine women.
Moment when I realized that quilting connections could be made from other subjects:

One of the highlights for me at QuiltCon this year were the lectures, and Bill Kerr’s lecture in particular. I filled pages of notes of him talking about the branching connections we make from the choices that come into our creative lives, and he used Frank Lloyd Wright’s homes around Chicago as an example. Victoria’s lecture was also good, as were Luke Haynes (I wish I could have gone out to see his exhibit of fifty log cabin quilts) and others. Usually I hit the vending floor’s mix of lectures, but hardly made it to any this year, and the ones I did, I thought sounded like commercials.
And in other ways (witness my badge collection):


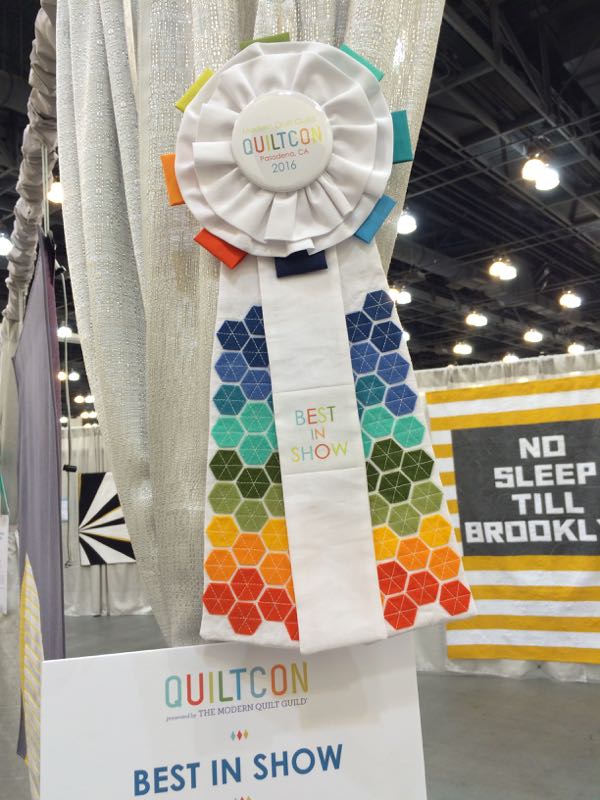
Some QuiltCon eye candy is this tote bag and the signature quilt (hanging below).

Moment when I learned I should have left class at noon, like my buddy Martie did:

This was in our third conference/discussion of the day in a class where I found I was more interested in learning about how to make a panorama photo on my iPhone, than in listening to the adroit conference/discussion by our very well-learned teacher. When you know you are just done with a technique, it should be okay to go. The teacher was fabulous. I wasn’t, obviously. If I’d left, maybe I would have seen more of the quilts.
Moment when I realized that creativity was all around me, and I was slightly besotted by it all:

(That’s besotted using the archaic definition) Glimpsing the fabulous booth from our Los Angeles shop, Sew Modern. That camper!
Moment when I found my personal Best of Show quilt, and wanted to grow up and be Yvonne Fuch (@quiltingjetgirl):

Happy Moment:

Lots and lots of them, but especially when I turned the corner and saw my quilt Focus in Paintbrush Studio’s booth. Thank you Paintbrush! It’s made from Paintbrush Studio’s line of solids, Painter’s Palette Solids, and I used the leftovers from making them a quilt for their booth at market, which will remain under wraps until then. (Well, okay. Maybe just one sneak peek…)

Another set of happy moments was finding quilts in the show from people I knew, and also when Cindy Wiens showed me the quilt she’d made for Lucien fabrics, using another design of mine, Semaphore:

Yes, I couldn’t find the photo I’d snapped one late night in her room, so I borrowed this one from her website. And here’s another of hers, hanging in the show:

Moment when I realized that I should skip going to Savannah-QuiltCon-East2017 and just stay home and sew:


When breezing through my Instagram feed, where I’d posted most of the quilts, and realized if I was ever to get a quilt in this show, I’d better stay home and get busy. So next year, I’ll be at QuiltNon, home and grateful for the chance I had to go this year, and looking forward to QuiltConWest in 2018!
Final Thoughts:
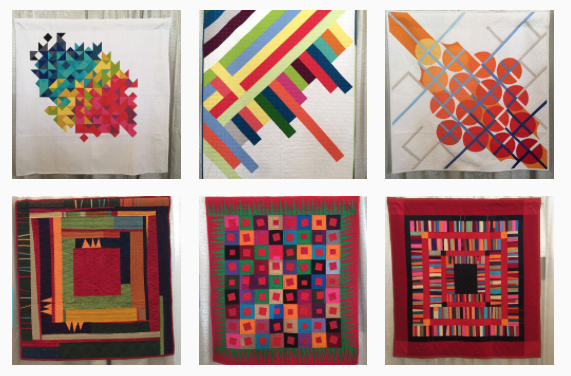
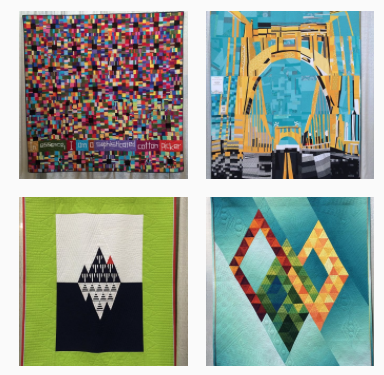
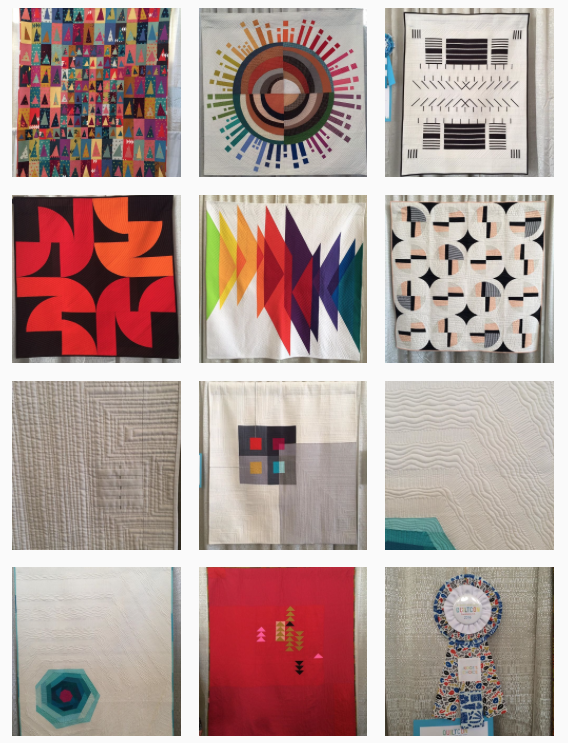
Most of the quilts I found fascinating are on my Instagram feed, to the right. Scroll back through the feed to see them, or follow me on Instagram (@occasionalpiecequilt) and see them that way. Take screen shots of the ones you love, compile your own QuiltCon collection and use them to inspire you further!