200 Quilts · quiltcon

Cinque Terra Tiles • Improv Applique (Part 2)

Cinque Terra Tiles_3

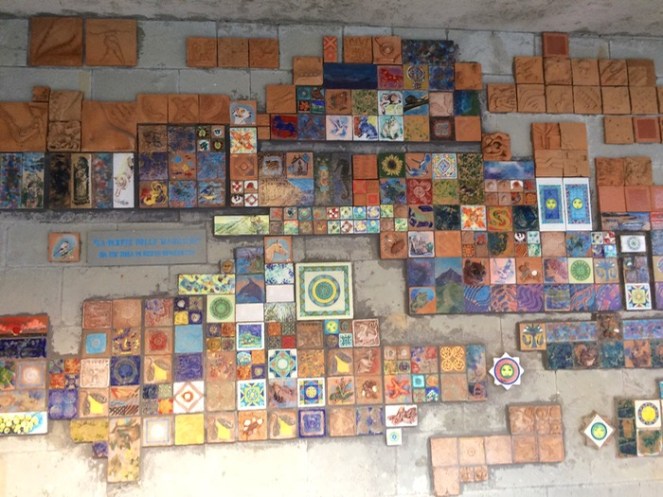
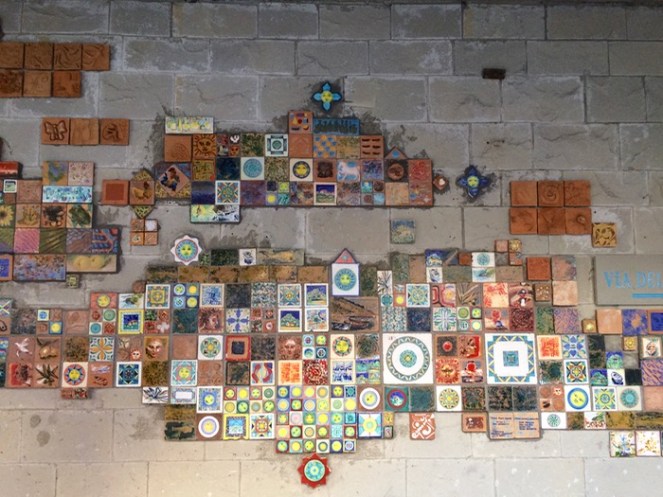
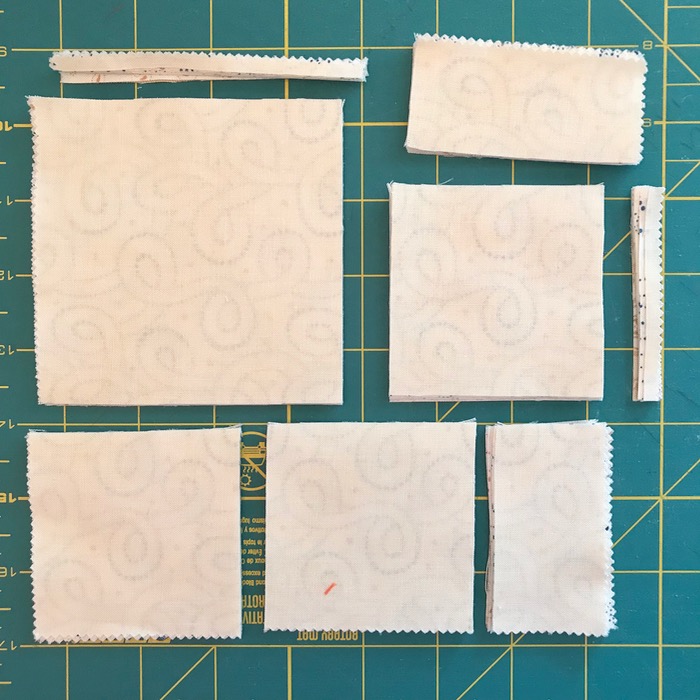
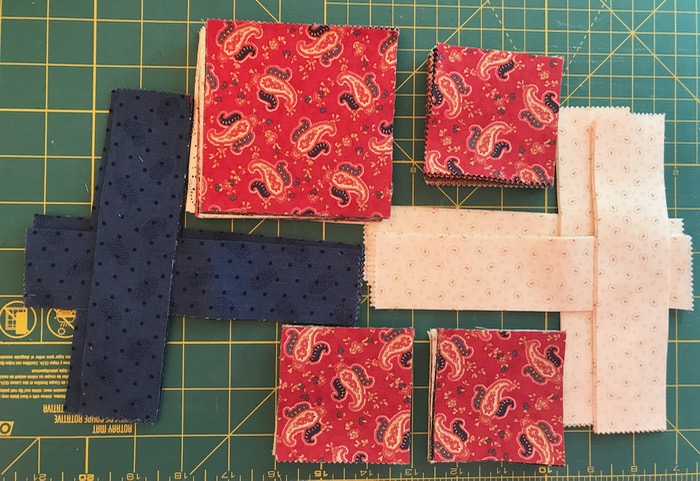
This is the story of my Improv Appliqué Demo, coming up at QuiltCon 2018 in Pasadena.  In the last post, you saw me making a whole gang of these little bits squares, some with slightly wobbly shapes.  And lo and behold, one day they all turned into this:

Cinque Terra Tiles_ front

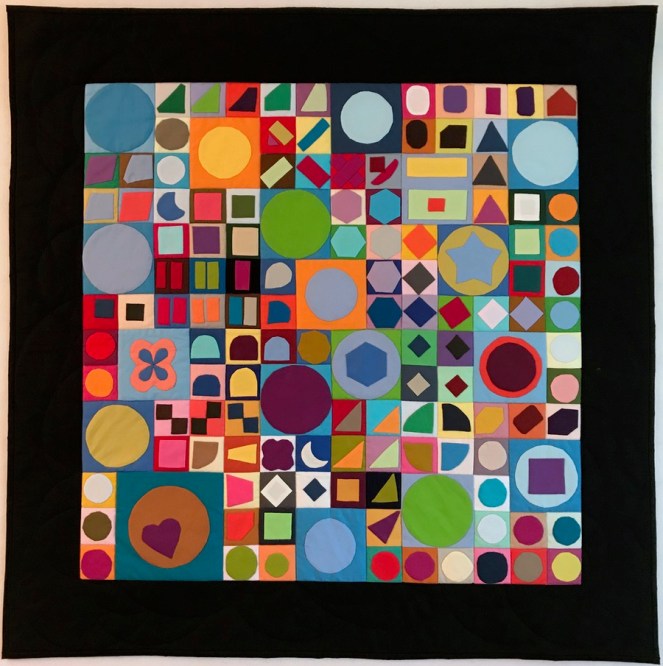
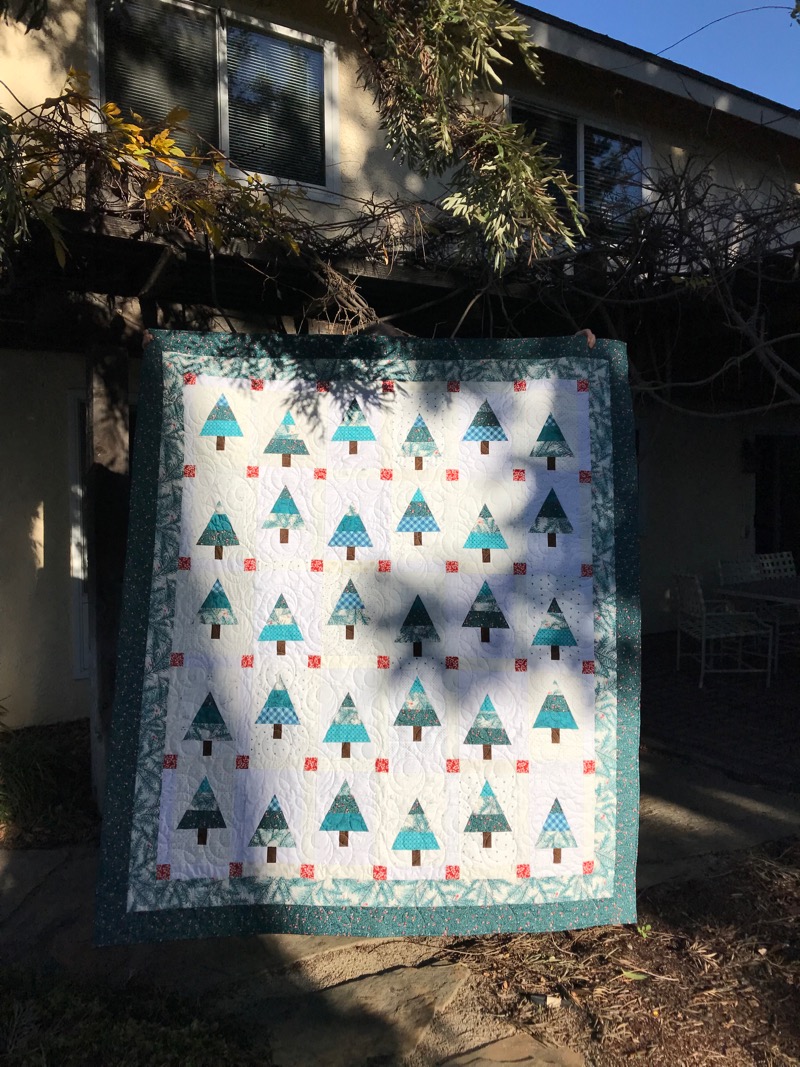
Cinque Terra Tiles, Quilt # 193

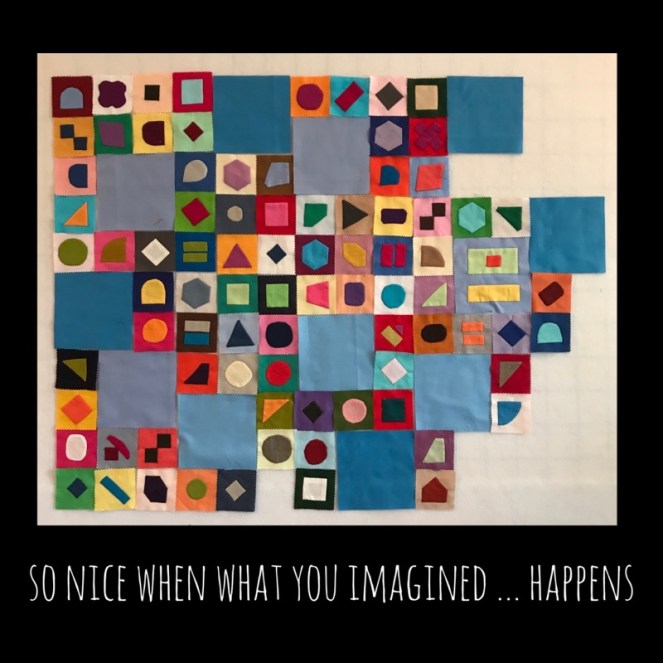
Yep.  I arranged those little bits and bigger bits until they coalesced into this quilt, which I love.

At the request of Paintbrush Studios, I’ll be doing two demos of this Improv Appliqué technique during QuiltCon 2018:
•  Friday, February 23 from 2:45 to 3:15 p.m.,
•  Sunday, February 25, from  11:00 to 11:30 a.m.

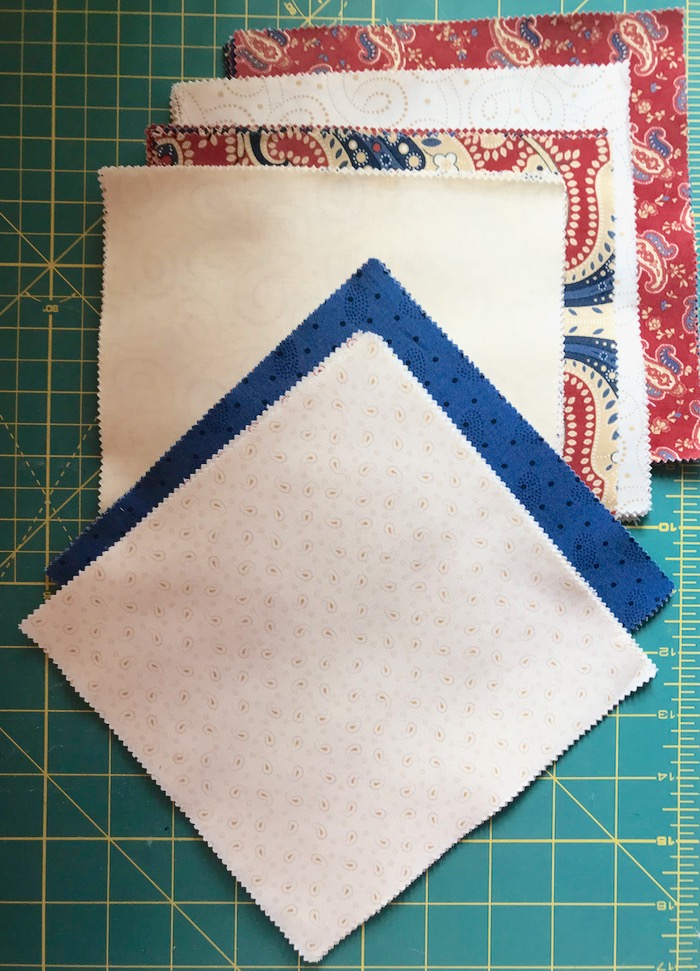
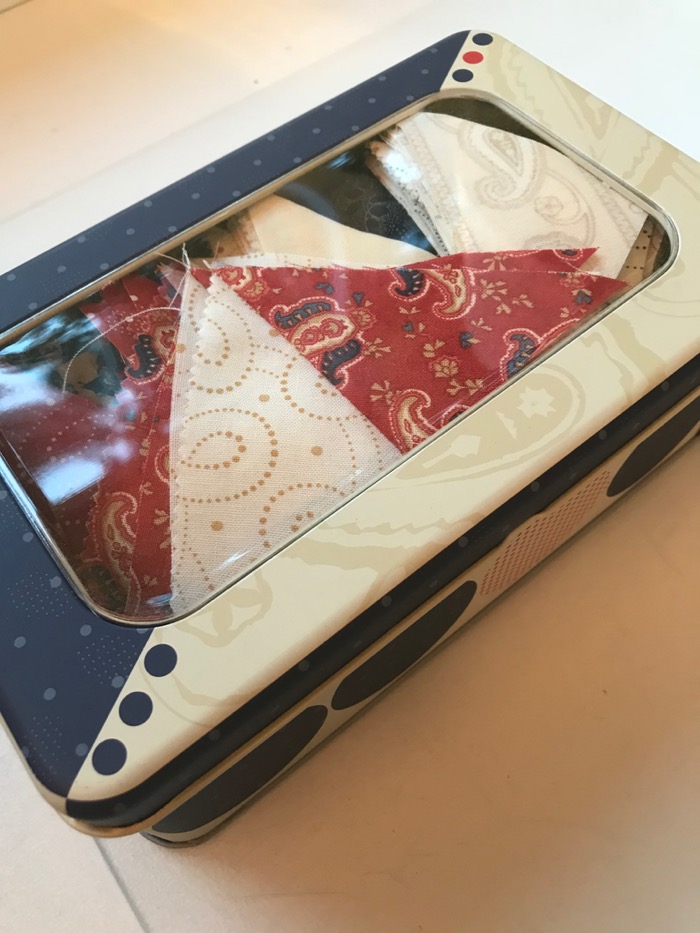
If you come, you’ll get a little kit to get you started, complete with needle and thread, and a mini-charm pack of fabulous Painter’s Palette Solids.  I’ll have a set of printed directions for your improv appliqué, plus tips on folding techniques as well as basic hand-appliqué directions.

UPDATE: Here are the directions I passed out at QuiltCon (right click on each to download):


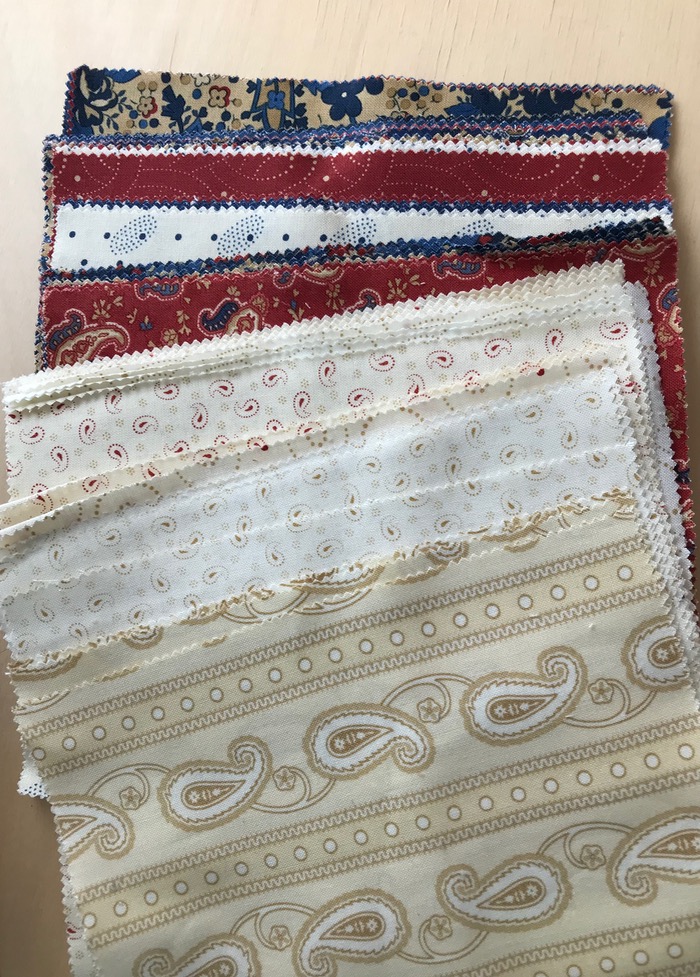
I loved working with this fabric, as it has a nice tight weave, but not so tight that it won’t ease and fold into shape.  The colors are saturated and rich and play well against each other.  I’m totally sold on this fabric, especially after working with it in such close circumstances: handwork reveals everything, I think.

Cinque Terra Tiles_1aCinque Terra Tiles_1bCinque Terra Tiles_1cCinque Terra Tiles_1d
I’m deluging you with photos, because if you want to make one, all of a sudden you’ll say, I need a new shape! a new color combo! Feel free to steal one of mine.Cinque Terra Tiles_5

I did cut out the back of the larger appliqué shapes, but you can see where I appliquéd smaller on larger. You can also see that I did NOT press seams open, but instead, to one side.  I grouped them together, sewing four smalls, then seaming that onto one larger, and so on (sew on?)

Cinque Terra Tiles_5a

Sometimes it’s fun to see the undersides of our quilts, right?

Cinque Terra Tiles_6 back

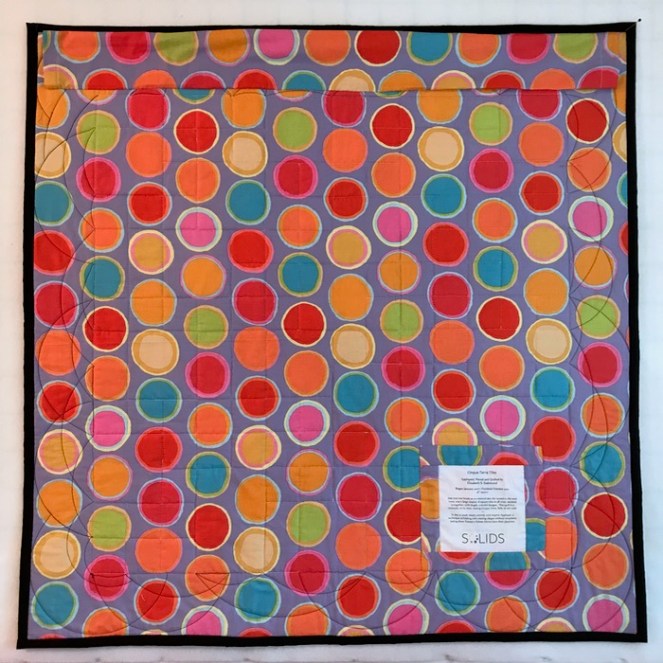
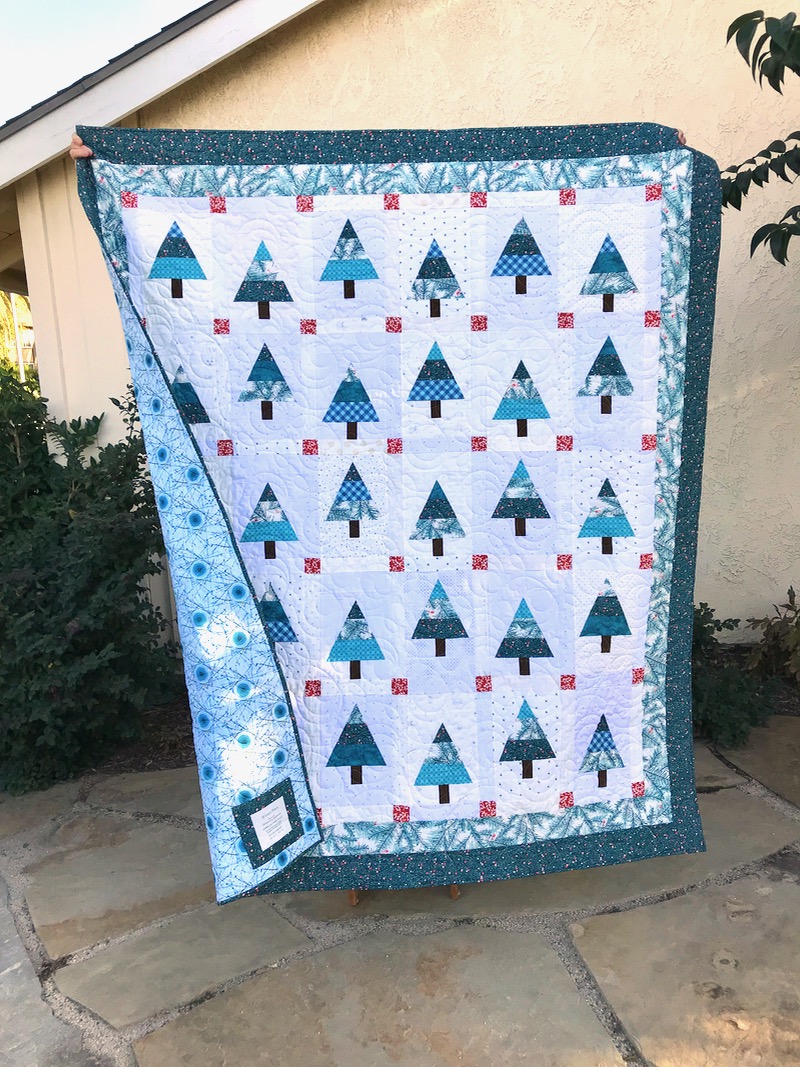
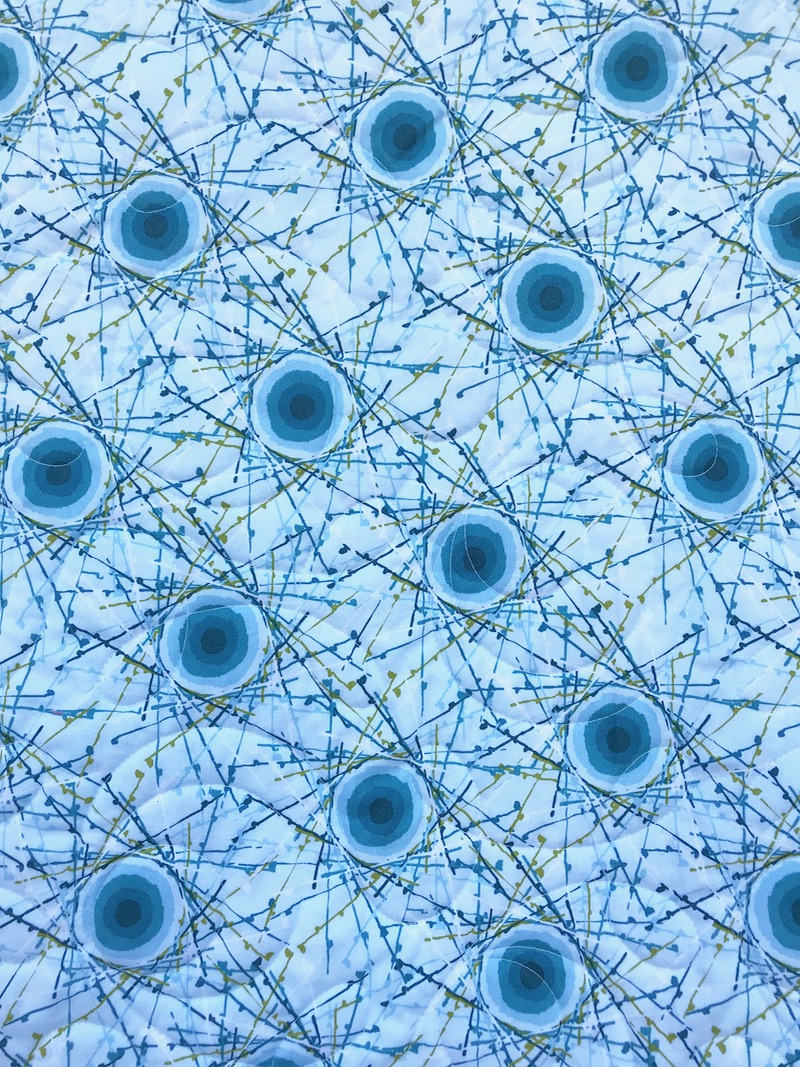
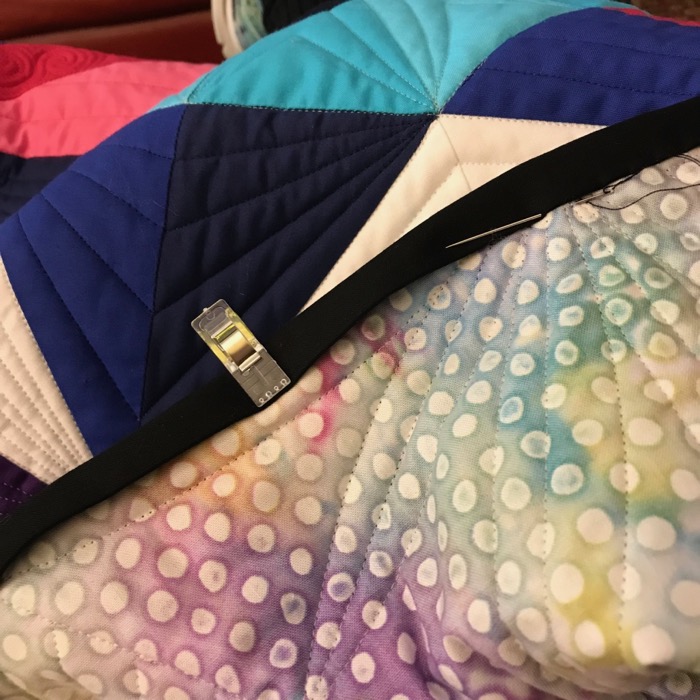
I chose a fun Kaffe Fassett circles pattern to back it with.  I decided not to gild the lilly, that is, to excessively quilt the little bits: I just stitched in the ditch.  But on the borders, I picked up the circles theme again, and did arcs in varying sizes with black thread.  It’s nearly invisible on the front, but you can see it very well on the back.Cinque Terra Tiles_6alabelCinque Terra Tiles_7quilting

Hope to see you in Pasadena–come and learn how to do some Improv Appliqué!

200 Quilts · quiltcon

Cinque Terra Tiles • Improv Applique (Part 1)

Cinque Terra Tiles_Italy1

The kind folk at Paintbrush Studios asked me (some time ago) to give a demo at QuiltCon 2018.  I set to wondering what I could teach in a short amount of time (20-30 minutes) that would be interesting. Shortly after they asked me, I visited Cinque Terra, Italy, and stood on a plaza in Riomaggiore, overlooking the sea (above).

Cinque Terra Tiles_Italy2

We walked down the steps, and underneath the plaza was a passageway, the walls decorated with these tiles in all sizes. It was on the way to Via dell’amore (the Walk of Love).

Cinque Terra Tiles_Italy3

When I returned home and started looking at my photos, I thought about all those mini charm packs we pick up everywhere, and how they could become something along the lines of this impromptu artwork in Riomaggiore.  Cinque Terra Tiles1_1

So I got out my mini-charm pack from Paintbrush Studio Solids and started pairing up the colors, trying to make the duo sing together–have a little friction together–trying to get pairs that would play against each other.

Cinque Terra Tiles1_1a

I found a worksheet online that had a whole bunch of oddball shapes, and I began trying some.

Cinque Terra Tiles1_1b

I sent away for more mini-charm packs.  Once I got started, I kept wanting to make more.

Cinque Terra Tiles1_2

And more.

Cinque Terra Tiles1_3Cinque Terra Tiles1_3aCinque Terra Tiles1_3b

I carried around a little baggie of paired squares, and did them while watching TV, getting my hair colored and while in Urgent Care one bad flu season.

Cinque Terra Tiles1_3cCinque Terra Tiles1_4Cinque Terra Tiles1_4aCinque Terra Tiles1_4b

I loved watching my collection grow.  I would do one shape for a while, then another.  I used up bits and pieces of squares.  I even tried some paper-piece-wrapped hexagons; I ended up not liking them so much because the charm of these squares was in their wobbliness, their wonkiness.

And then one day, I put them up on the wall with other, larger, squares–just like the Walk of Love passageway in Italy.  And wouldn’t you know it–it was really looking fun.Cinque Terra Tiles1_5

I wasn’t finished, but what I hoped would happen, did.  I took this photo and put it up on Instagram, using the SnapSeed app to expand the edges and add the text.

Next post: the finish and the details about my demos at QuiltCon.

200 Quilts · Quilt Shows · quiltcon · Quilts

Winter Pines • Finished!


Winter Pines
Quilt No. 193
73″ high by 64″ wide

You saw the sewing of Winter Pines and I’m back to tell you it’s finished.

The backing is an oldie from the stash; I deliberated whether or not to use it as I was “saving it for just the right quilt” but am so glad I decided to use it.  I love it with the wintery theme of this quilt — just the right colors.

My quilter did a great job, using one of my favorite edge-to-edge patterns: a swirling loop-de-loop.

I’m sewing the binding on another quilt that I’ve kept under wraps for nearly six months.  It will hang in a booth at QuiltCon, so the time is getting closer to showing you all, but first I have to make the label and get that sewn on.  Soon, very soon.

PS: Very windy day to photograph a quilt.
Frivols Quilts

Frivols 2


We’re back for another episode of Make Those Frivols! 2018

Today I’m working on Frivols Tin #2, with a line of fabrics from Moda’s Minick and Simpson.

Of course the cute little giveaway in this tin, a personalized label, was caught in a blurry photo, so the above photo came from  Moda’s blog.  The fabrics are traditional, but with a grouping of 7″ squares, they’ve crafted an interesting little quilt, which finishes at approximately 26″ square.

I pressed all the fabrics flat, as they had a nice little curve in them from being stored in the tin for a while.  I checked and re-checked but there were no Errata posts on this tin, so I just started cutting them out.

But here is your caution: The strips, above, are the dark borders and the light borders.  THE DARK BORDER IS SUPPOSED TO BE WIDER.  Okay, there’s my oops.  I liked the look of the wider border, so after piecing as instructed (see below), I sewed another coordinating strip onto the blue to bring it wider.  I didn’t have any of this fabric, but did have some navy “primitive” fabric, and it worked okay.

I did not pencil in all the center lines when sewing the half-square triangles, like they asked.  I put a strip of masking tape extending out from the needle stitching line, and used that to line up for sewing.  My needle position is set 1/4″ to the right, so I have to pay attention to where I line up my point so I stitch on either side of that imaginary center line.

The cream-coloredborder strips are stitched end to end, but the blue is stitched with a diagonal seam.  After I sewed, I trimmed.

I pressed all the half-square triangles to the dark, but didn’t have time to start trueing them up. Getting this far gives me a good start on my February goal.

You can see the extra strip I stitched on the blue border here (the darker fabric on the left).  I didn’t worry about the width of the border, figuring I would trim it when I got back to the sewing.  I tell you all this as a cautionary note: pay attention to, circle, highlight, make notes to make sure you follow the cutting directions.  However, since this is just a fun little quilt in a fun little tin, you can adopt a happy attitude, even in the face of cutting mistakes.  Just sew another strip on and go, because I’ve paid off all the Quilt Police so no one will ever find out if yours is different than the directions.

I have a tailor-made little tin to store it in while I’m away from this task — another benefit of those Frivols tins.  See you at the end of the month, when I report in again on my little quilt.