Frivols Quilts

Blue Stars (Frivols #12): All Finished, Completed & Done, and an Encore!

FrivolsButton

Frivols 12_12 front with toys
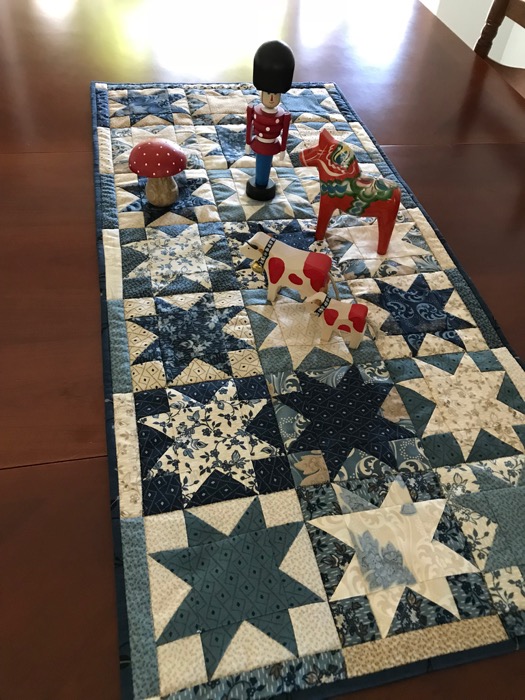
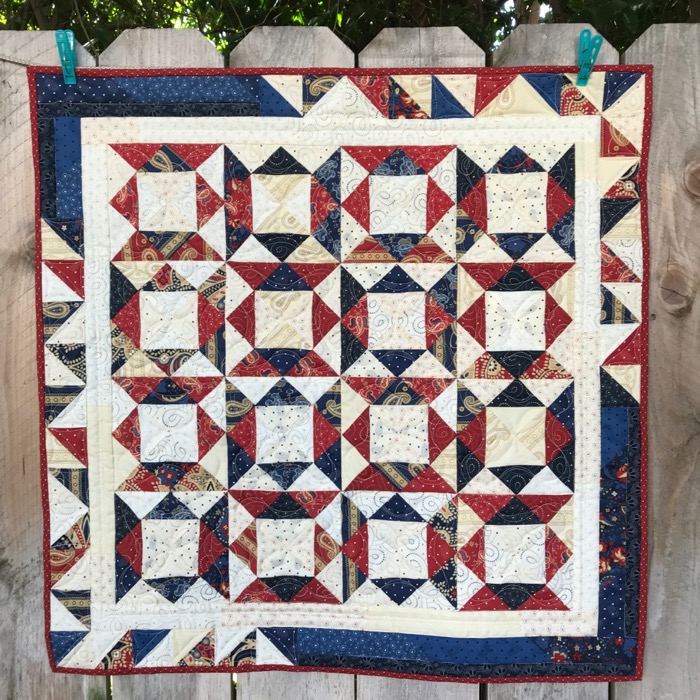
This is the final Frivols, a table runner for my holiday table, shown here with my wooden toys from Sweden, Copenhagen and Germany.  I’m calling it Blue Stars.  I almost called it Christmas Stars, but what if I want to use it in July? (Just trying to be practical here.)

Frivols 12_7a

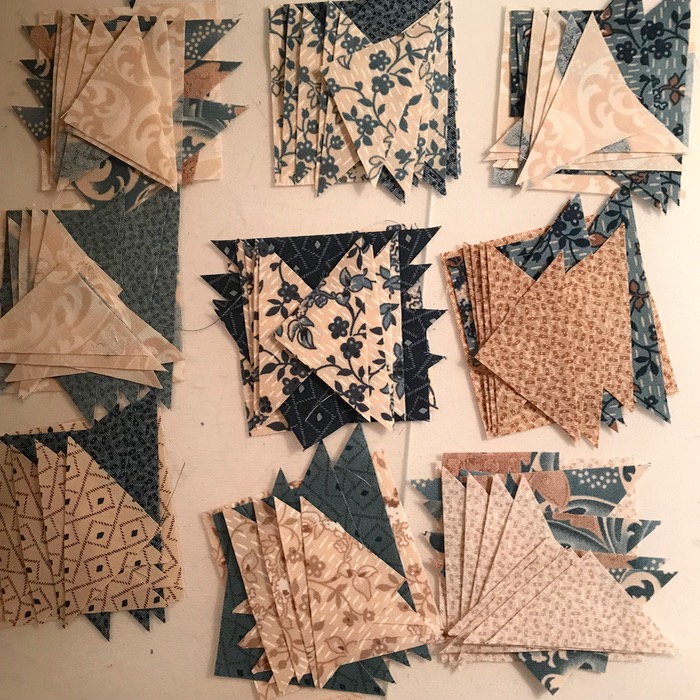
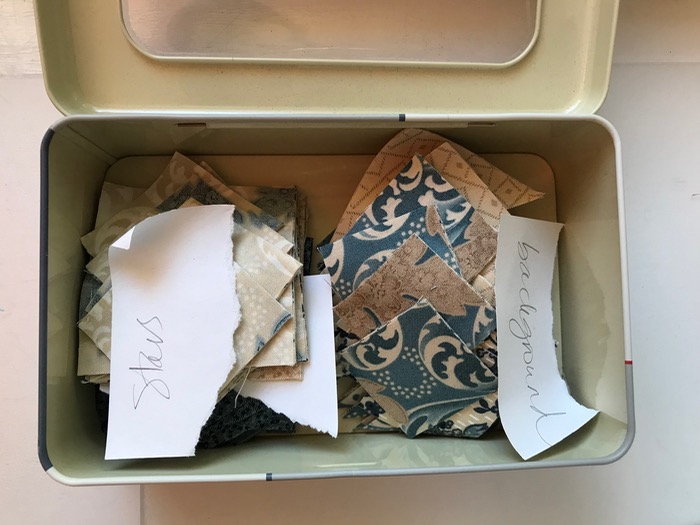
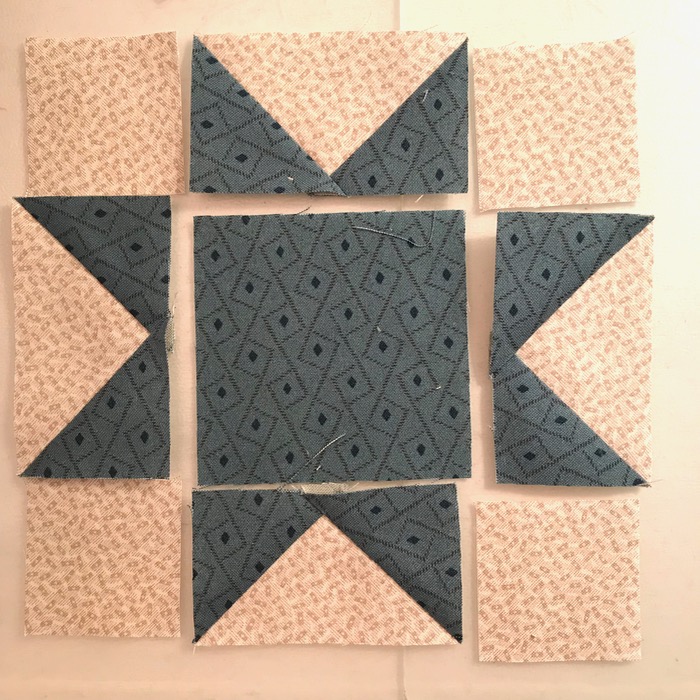
I left you in the other post with all the stars and their backgrounds cut out, and tucked away in their little tin.  My first step when I got them back out, was to group them together, stars and backgrounds, making sure I had enough of each part to make the block.

Frivols 12_7b

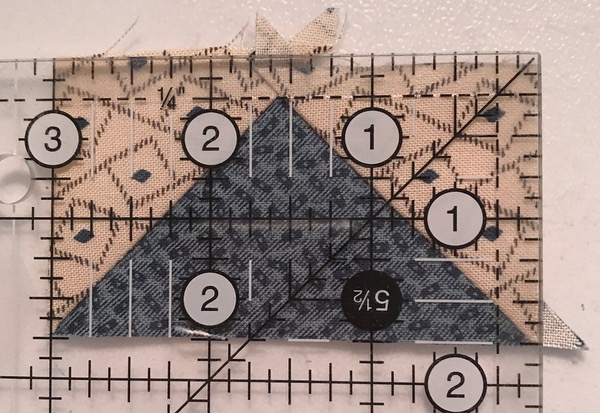
First up was to make the Flying Geese, then trim them up.  I rarely make geese that aren’t slightly wonky.  I’ve learned to live with this terrible character flaw, as when it is sewn up, no one knows.

Frivols 12_8

(Apologies for the nighttime lighting.)

Frivols 12_8a

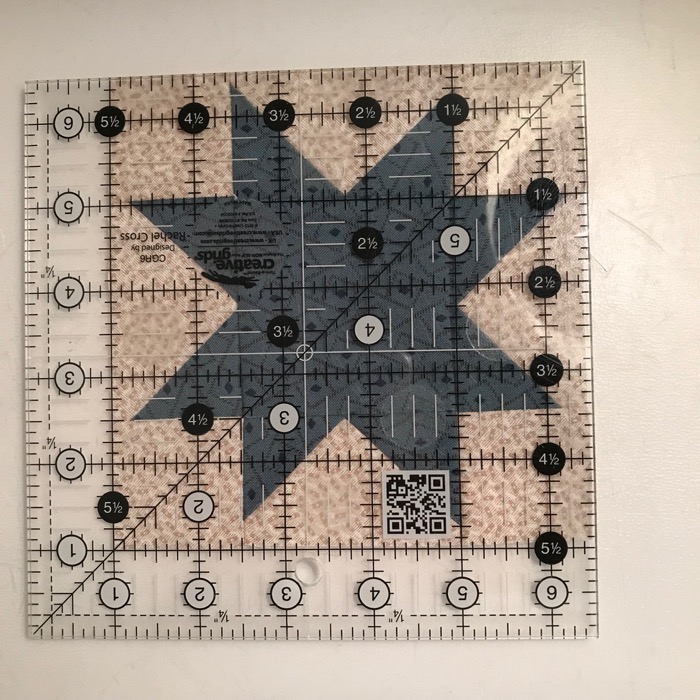
Trim it all up to 5 1/2.”

Frivols 12_9

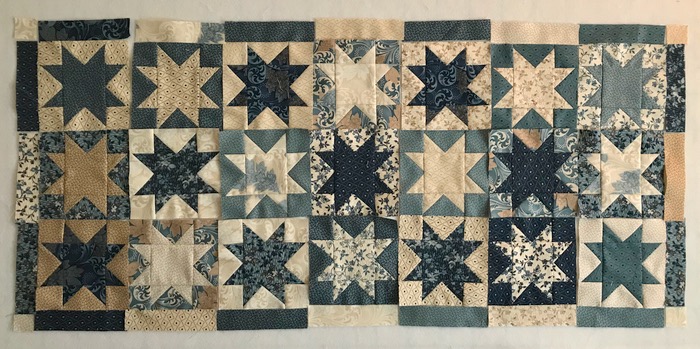
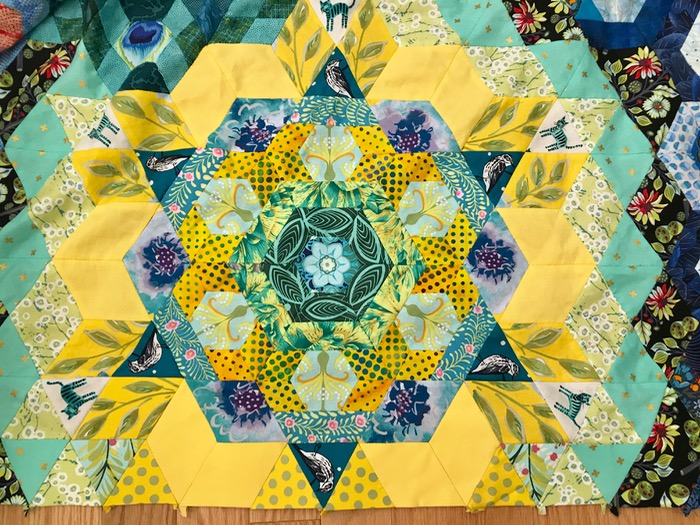
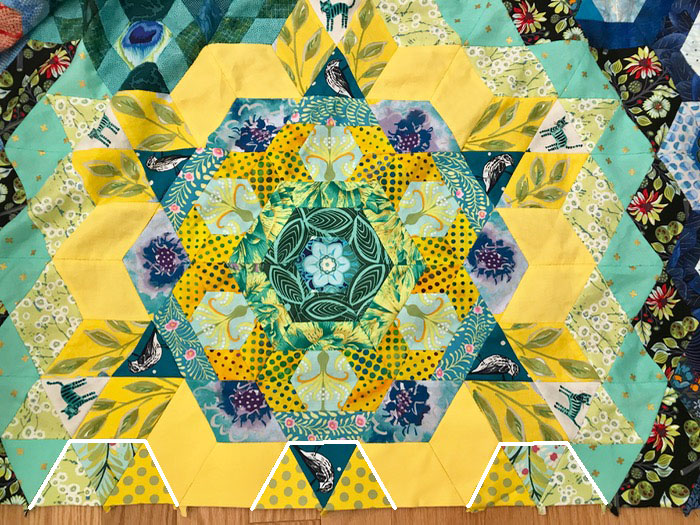
Arrange the stars, obsess.  Decide it’s okay.  Decide to add little strips of color around the outside edge so that some of that extra fabric in the tin is used up.
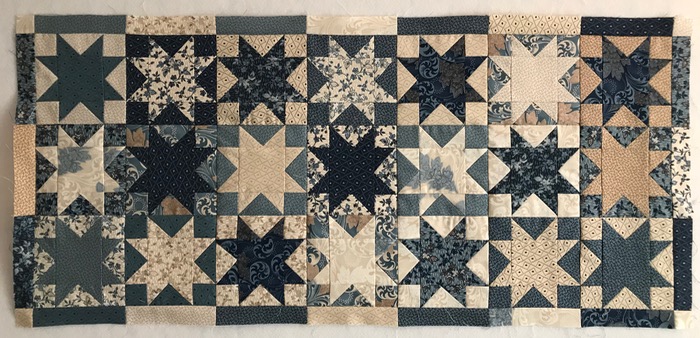
Frivols 12_9a

Sew together.

Frivols 12_10

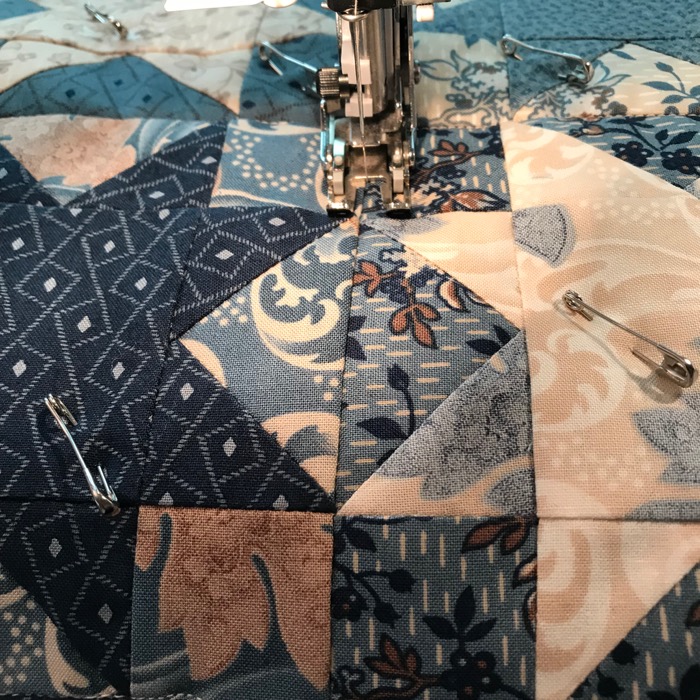
I layered the finished runner with some Christmas fabric from the stash, some batting, put on my walking foot, and stitched in the ditch.  At some point I want to come in and do some echo quilting around all the stars, but hey–it’s December and I’ve got Stuff To Do, so that will have to wait.

Frivols 12_12c back

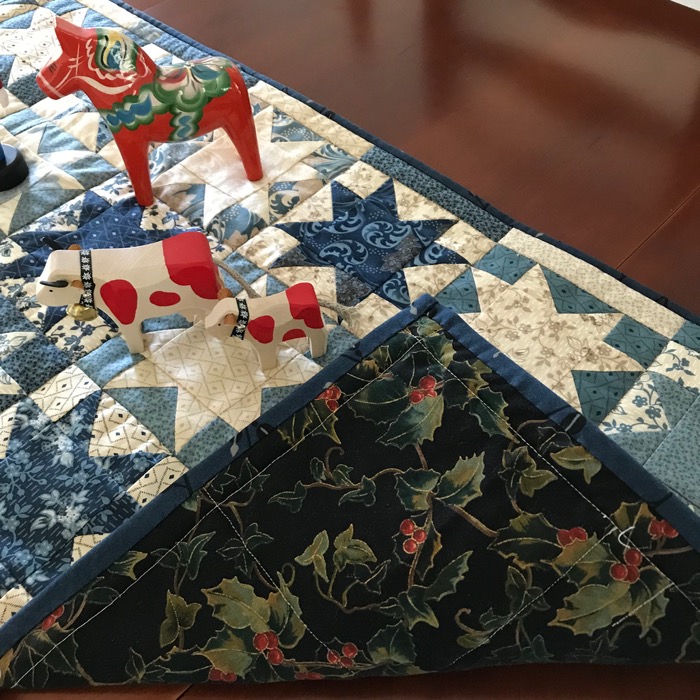
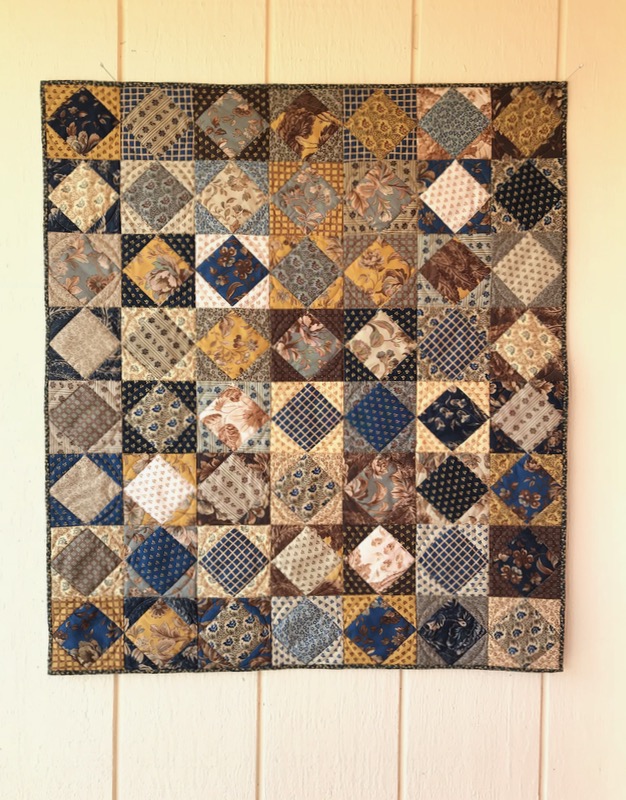
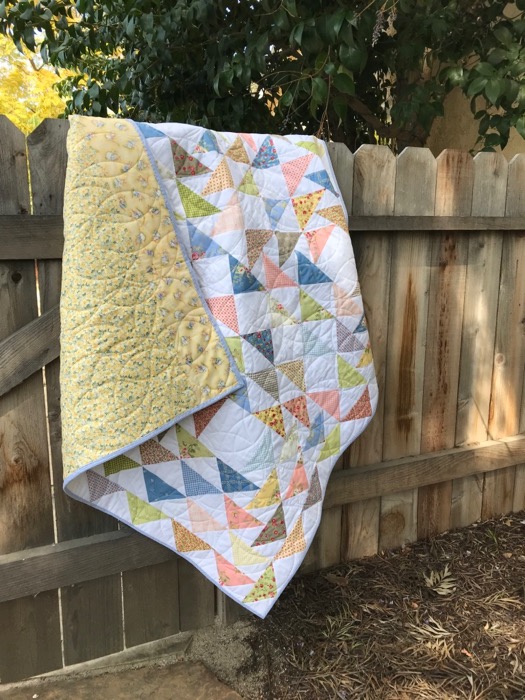
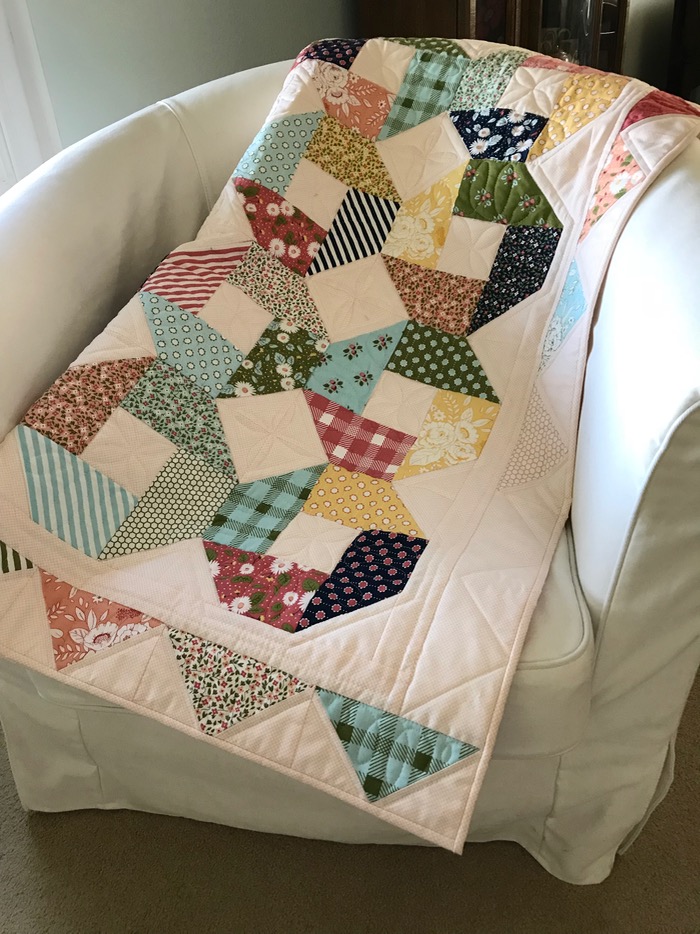
The backing. More beauty shots:

Frivols 12_11 front

Frivols 12_12b

Frivols_all_12XDONEs

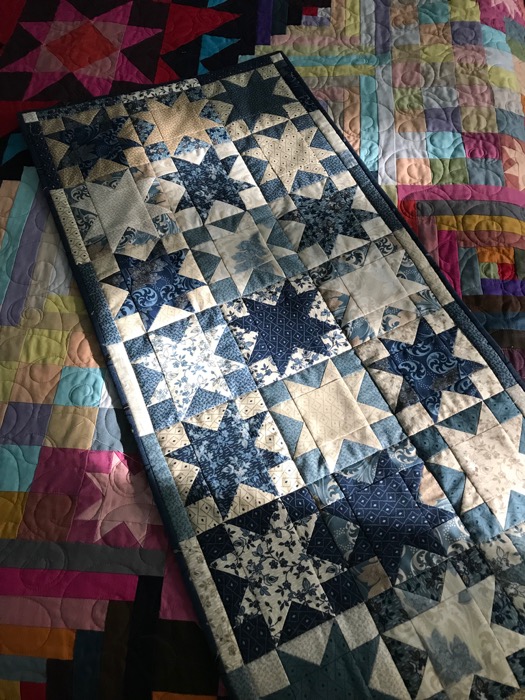
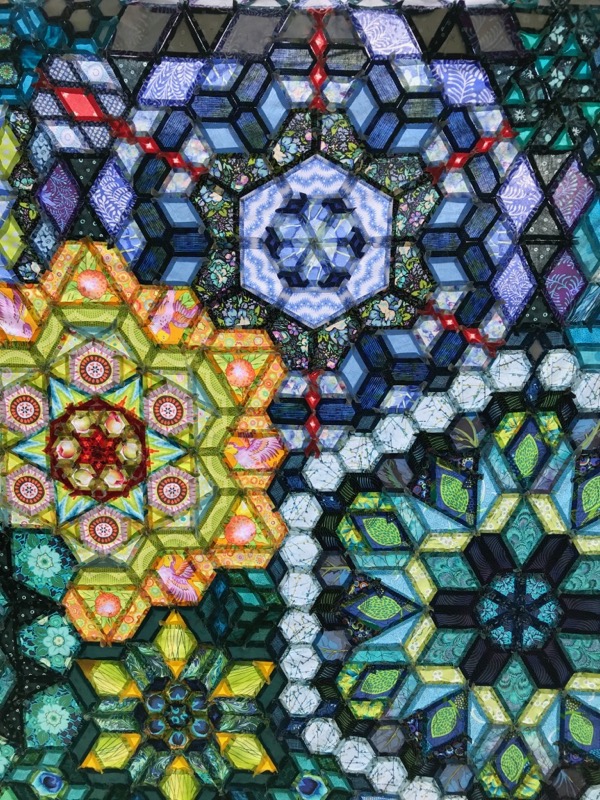
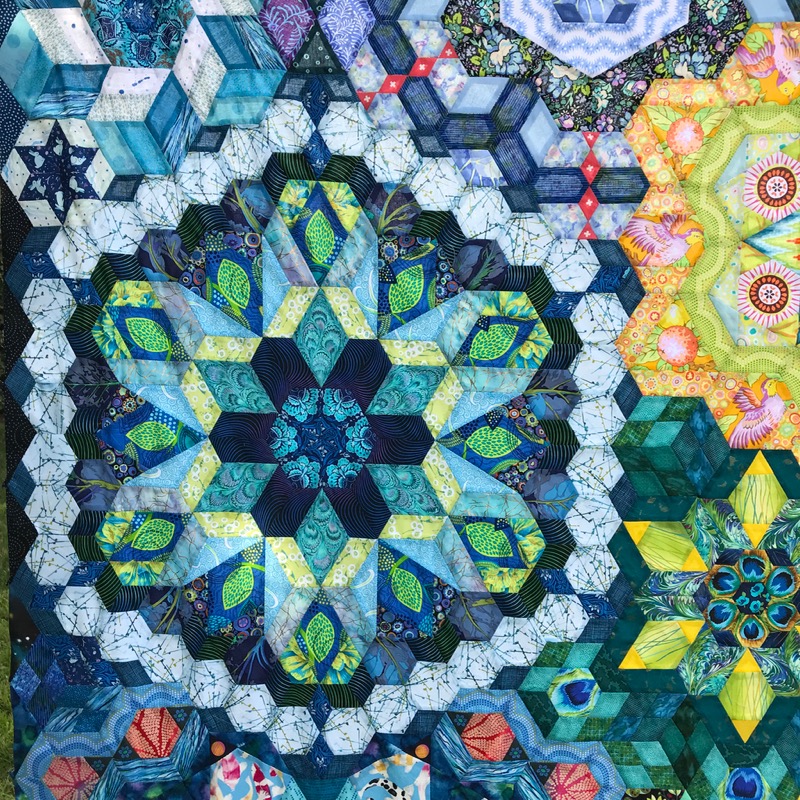
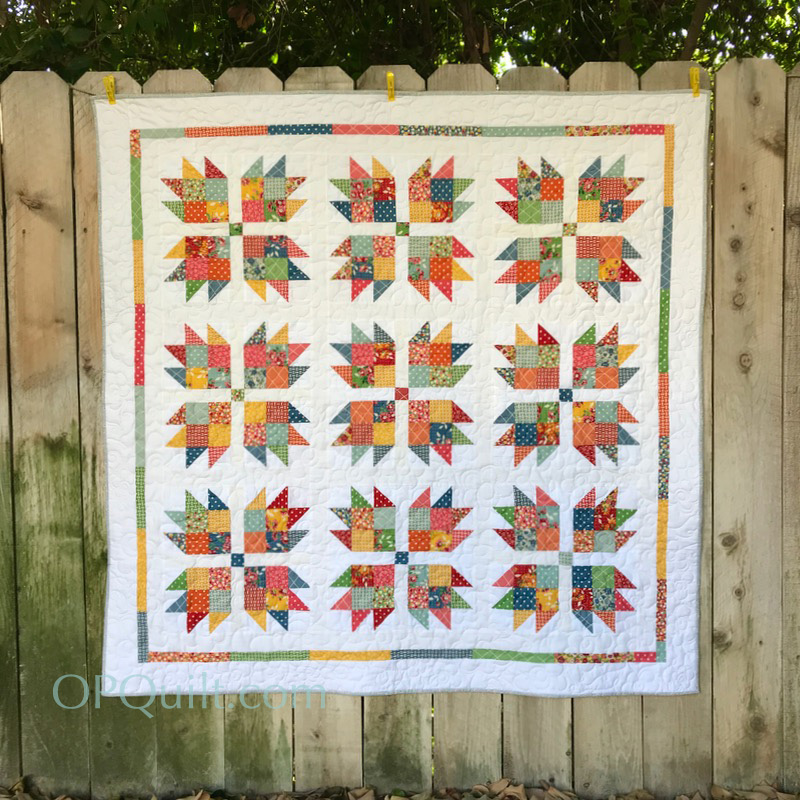
Can I just say this again? Here they all are, back again for their encore:

Frivols 2018_1
Frivols #1, Caitlin’s Baby Quilt
Frivols_2_23a
Frivols #2, Windowpane
Frivols 3_1
Frivols #3, Betsy’s Quilt
LifesDilemma_3
Frivols #4, Life’s Dilemma
ChildsPlay_Frivols5_7
Frivols #5, Child’s Play
Frivols6_PracticeMakesPerfect5
Frivols #6, Practice Makes Perfect
Frivols 7_28 front
Frivols #7, Bread with Every Meal
Frivols 8_7 front
Frivols #8, Baby Bear
Frivols 9 _13
Frivols #9, Walk Around the Block
Frivols 10_11
Frivols #10, Christmas Corner
Frivols 11_12
Frivols #11, Stars of Night, Lend Their Light
Frivols 12_12 front with toys
Frivols #12, Blue Stars

I have some thoughts on this experience (surprise!) in the next post.

Quilts

Quilt Stand Info

Quilt Display.jpg

Simone recently encouraged me into the quilt-stand/frame-buying business, and since she’d done the bulk of the research, I joined her online (me, at my computer and she, at her computer) to figure out the final decision.  She was in charge of the display for our church’s talent show (above) and asked to have one of my quilts displayed in it.  But I had to have a quilt stand/frame to do so.

Quilt Stand Nov 2018.png

We both purchased the Emart Photo Video Studio Backdrop Stand, with a 10 x 12 ft dimension.  We went for this one because the tubes were a thicker diameter than other ones checked, and we liked the clamps.  (I am not an Amazon affiliate, so no pocket change is coming my way on this recommendation.)

Clamps for Quilt Stand.png

I’m putting these for my husband so he knows the right kind of clamps to get to help out Santa with stocking stuffers.  (Honey, I’d like about four, please.)

I was headed out of town, so I had it shipped to Simone’s house, and she sent me photos of the display.  She’s lovely like that.

Simone and I have a running joke about photos.  Both she and I have asked other people to send us photos of our quilts in different shows we couldn’t be to, and invariably the photos come back like this:

Cropped pix of quilt.JPG

It’s our quilt, but cropped and showing no context of the show it was in.  I always say thank you.  If someone is nice enough to go and hunt up your quilt, and take the time and make the effort to send you a photo, you don’t say anything but “Thank you.”  However, as Simone and I comiserated, we do know what our quilts looks like — we were hoping to see what they looked like in the show.

So when I was standing on the subway platform of the Wall Street Subway station, exhausted after a day of tramping around, feeling rather dour, I burst out laughing when she sent me the above photo, with this caption:

It looks awesome! Don’t you love it?!!!

My daughter was like, “What?  What’s so funny?” and I tried to explain it to her, but I could clearly see she lost interest after the first nanosecond and however do you explain quilter’s jokes to a non-quilter?

So anyway, the quilt stand/frame worked great, and I tried it out:

Quilt Stand

I put it up by myself and took it down by myself, and if you’ve never used a quilt stand, the trick is to set up the legs, then insert the side supports, then thread (or clamp) the quilt onto the cross bar, and only THEN do you raise the cross bar higher by means of the adjustments on the side.

Quilt Stand bag_1

I like that the case has places for the two tripod-legs, and loops for each of the bars (you have four, so you can get that twelve-foot width; I only used three of the four today).  The top really zippers open, so you can lay it out to unpack all the parts.

Quilt Stand bag_2

It’s also fairly lightweight and easy to carry in its own sturdy case. The best news is that it’s a reasonable price: $69.49 as of December 2018.  I do now feel very grown up, with my very own quilt stand.


Frivols Quilts

Frivols 12

FrivolsButton
Last one!! Last one!!

This is my last introduction to the series of small-tins-with-fabrics, called Frivols.  Although the other day, one of my non-sewing friends asked me how my Frizzles were doing.  I think she was about right. The little freebie with this tin is a couple of fabric quilt labels, seen in the lower center with the sleigh.

This is a line of blue-toned traditional fabric by a noted designer, before she left the Moda hive and jumped over to Andover.  This design doesn’t call for any extra background fabrics, and makes a smallish table runner, 15″ by 35.”  More can be seen on the Moda blog.  They manufactured these tins about two years ago, but I have it on good authority that if you are resourceful, you can find them on Etsy, Ebay and other places.

Frivols 12_4

This fabric line, Blue Barn, is beautiful, and can easily blend into my holiday decor, since it’s December.  I’ve always loved blue with Christmas decorations.Frivols 12_5

I cut up all the stars and their backgrounds, labeling each stack…

Frivols 12_6

…and tucked them in their own tin until I could get to the sewing.

Frivols 12_7

The one disappointment in this tin was how much fabric I had leftover/wasted.  I’ll have to see if I can augment the design some way to use up what I can of these extra scraps.

Okay, we’re launched!  Get out your last Frivols tin and get cutting!

EPP

Millefiore Quilt Update

Millefiore mood board

It all began here, with my Millefiore mood board, drawing on colors from the National Park in Croatia, Plitvice Lakes.  I had decided to jump in and go with all of Quilting America that year and join the The New Hexagon Millefiore Quiltalong.  I was pretty much nuts to do this.  This was photographed on January 19, 2015.

Millefiore first sewing

First glued-up paper pieces: January 19, 2015.

First Rosette.png

First public appearance for Rosette #1: March 14, 2015.

All Rosettes_OPQuilt

Last public appearance for quilt, mocked up in Photoshop: July 15, 2018. That’s over three years, if you are doing the math.

As you know, I hated the crenellated edges on this particular quilt.  So the quilt sat in the corner until this week.  Then suddenly it was do or die time, and I picked up making little sections to fit into the cut-outs.

Millefiore Center_2

And here it is today, all edges filled in.

Millefiore Working Mess

I pretty much used all the papers I’d taken out of the rosettes — once they were sewn together — and categorized these pieces into bags, using paper clips and rubber bands to keep them organized.

Millefiore numbering cutouts

To keep track, I took a photo, and numbered the half–hexies I was making.  I ended up not needing to do this for every corner, as I used long triangles that fit into the zig-zaggy sides (#5-12)  in a variety of darker fabrics (taking cues from the adjacent blocks).

Millefiore place tryout

I kept one half-hexie out on my cutting mat and tried different “puzzles” of what could go in that shape.  I had pretty much determined that I was not going to use a full half-hexie; I’d seen others and to me they looked bland, like they didn’t add anything to the quilt.  I did end up using one, but the fabric had a print that just worked.

Millefiore pinning

I used triangles and a variety of other shapes to fill in, always letting the adjacent fabrics dictate what I’d use for the fill-in fabrics.

Because I like to keep records, and because I’m hoping this will help others when they try this technique, here are all the filled-in shapes and the marked spaces (scroll past fast, if it doesn’t interest you):

Millefiore Fillins_1Millefiore Fillins_1A

I did my own thing on this rosette.

Millefiore Fillins_3Millefiore Fillins_3A

I liked how I was able to complete the “bird points.”

Millefiore Fillins_5Millefiore Fillins_5AMillefiore Fillins_6Millefiore Fillins_6A

The half-hexie on the lower left is the only one cut from one piece of fabric, but I think it reads as more complex.

Millefiore Fillins_7Millefiore Fillins_7AMillefiore Fillins_8Millefiore Fillins_8A

I used a floral Kaffe fabric from deep in the interior (just barely out of sight on the middle left).

Millefiore Fillins_9Millefiore Fillins_9A

Millefiore Center_3
Stained Glass View

Millefiore Center_4

This is the rosette that started it all, and I still like it.

Quilt Stand

More info on my new quilt stand, coming in a couple of weeks.  But now I have my final Frivols to attend to!