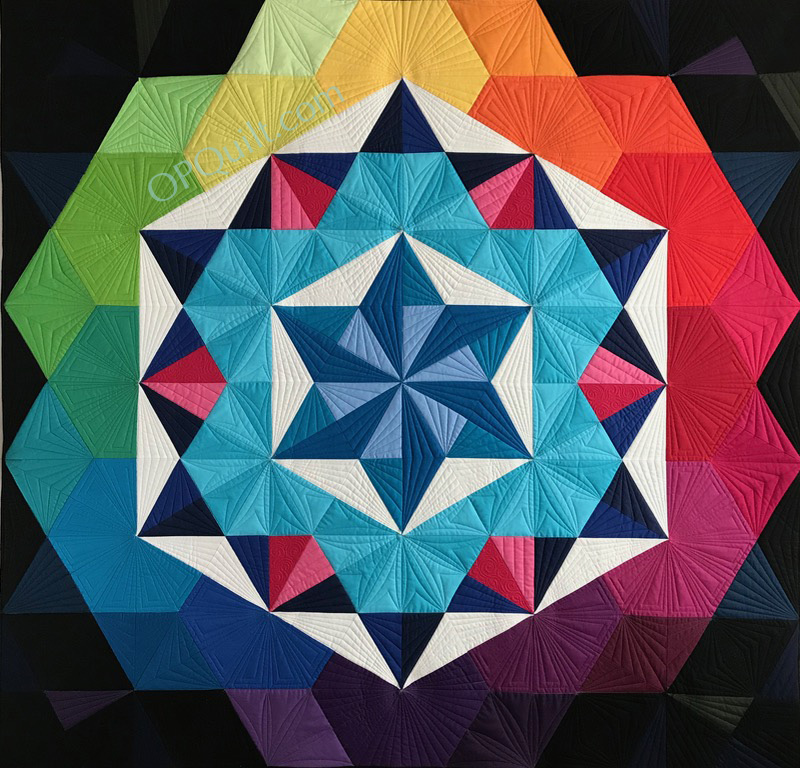

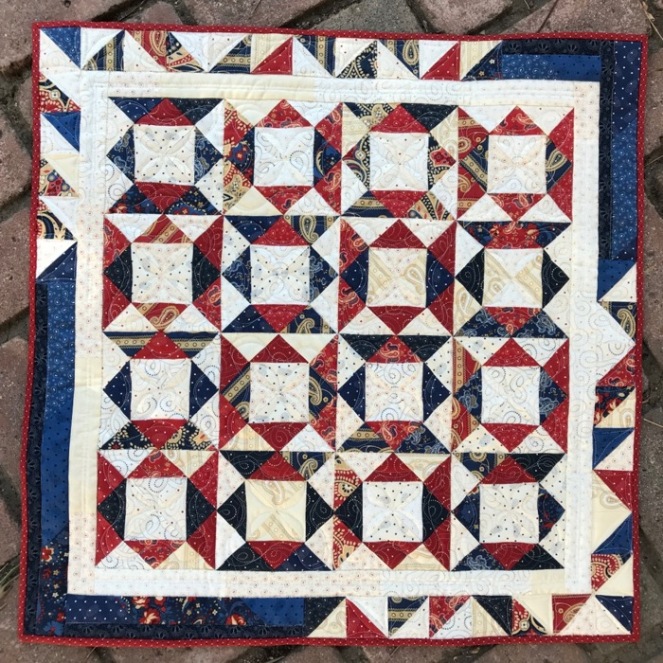
Windowpane, Quilt #196
26″ square • February 2018
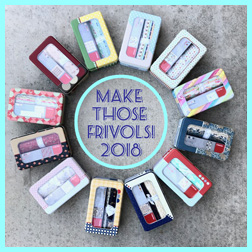
I have finished Frivols #2, and maybe it was just because I was listening to another Maisie Hobbs mystery, but I had things go awry in a couple of places. Because of this I thought I’d lead off with where I went wrong.

So, this went right. I stitched together the four smaller HST to yield this little cornered square.

But now…those corner blocks! Was I supposed to do all navy blue in making these? Some red? All the red? The pattern doesn’t give you specific directions on this one. I had cut all the quarter-square triangles from the 4″ squares–cutting up blue, red and cream, sewed them together as they showed, and was now left with this quandary.

So I had my pile of trued-up HST made from the smaller squares, and now a pile of cut quarter square triangles. I didn’t catch this little bit: “make matched sets.” That means the same blue and the same cream will create a “set.” The same red and the same cream. I didn’t do that, so my corners are a lot more red and the quilt is a bit more scrappy.
I did the best I could. I chose to get the “set” with the lighter fabrics, and yet you can see there is that one wild-card darker fabric, lower left. It’s supposed to match the one on the other side.
The real quilt shown on the front of the card is slightly different than the drawing of the quilt, and that’s where I became stumped. My advice is to use a large table, or your ironing board, or something and lay out all the squares and their split corners.
Because I used more red in the making of the centers, I had less of that for the outer split (quarter-triangle) corners, as well as for the outer border. Oh well. Back to the philosophical part of the brain, realizing that I’ve had these Frivols tins for over a year and it won’t matter to anyone how they get sewn up.

Pressing on. First two split-corners are sewn on, and I’m now doing the other two, and trimming dog-ears.

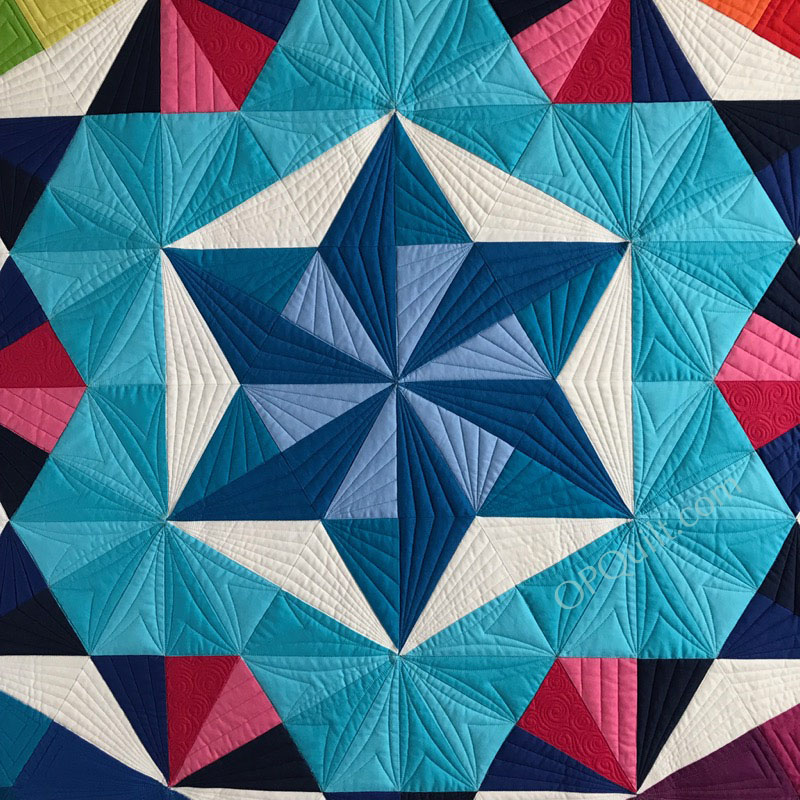
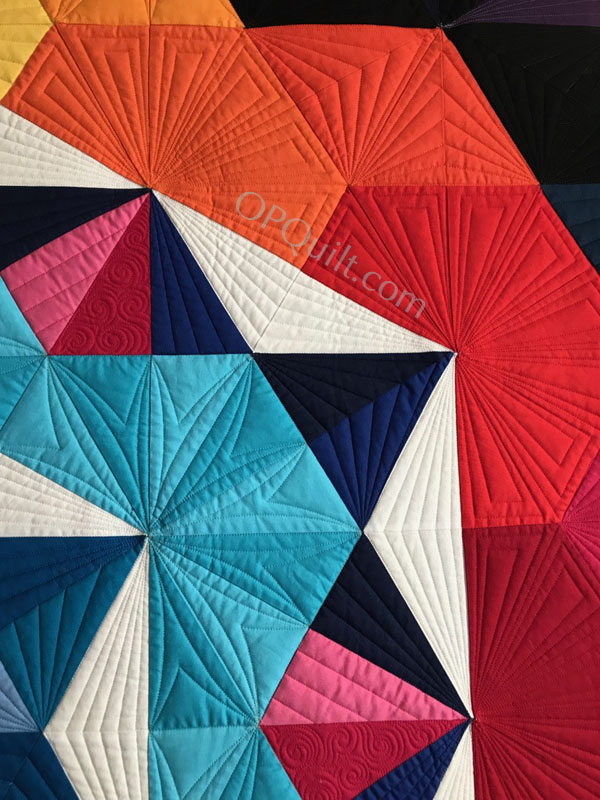
When squaring up your blocks, pay attention to: 1) the diagonals, 2) where those little triangles on the sides and top point to. You want it to be visually fluid.

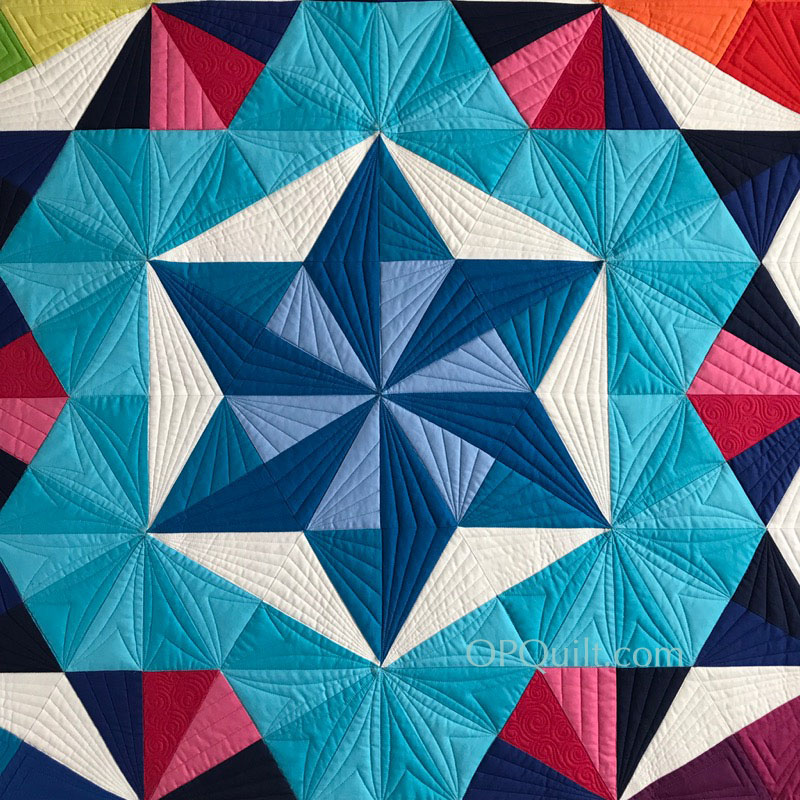
After 55 permutations on the design wall, I’m good to go. And that’s the end of the nighttime photo shots.

Border #1 attached.

Border #2, after figuring out all the version of the triangles and where they go (I wish I’d had a few more reds…). Yes, the border’s a bit long, and not perfect. (A truth: rotary cutters erase mistakes and never gossip.)


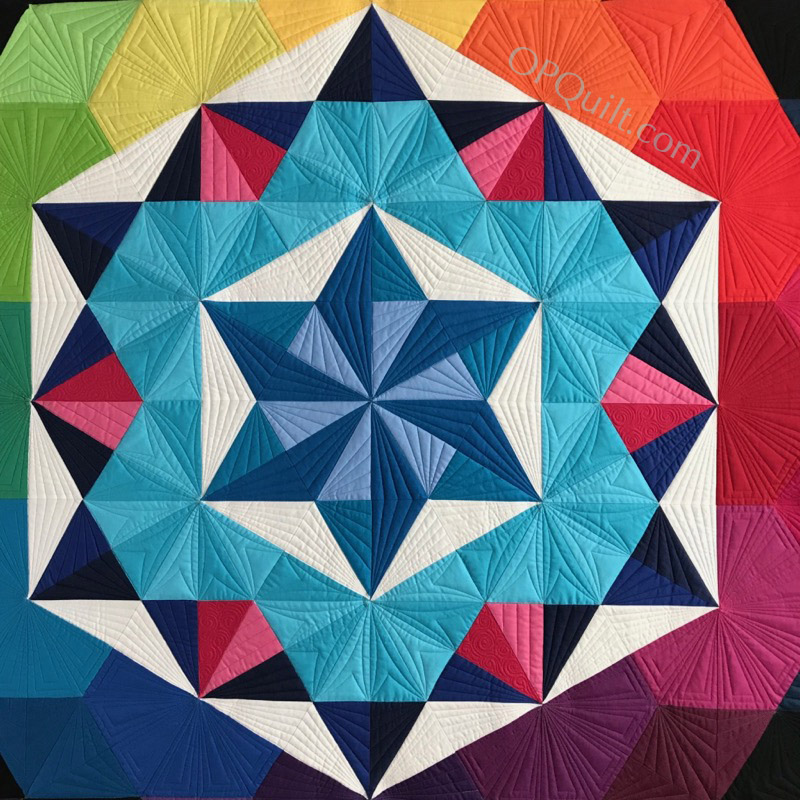
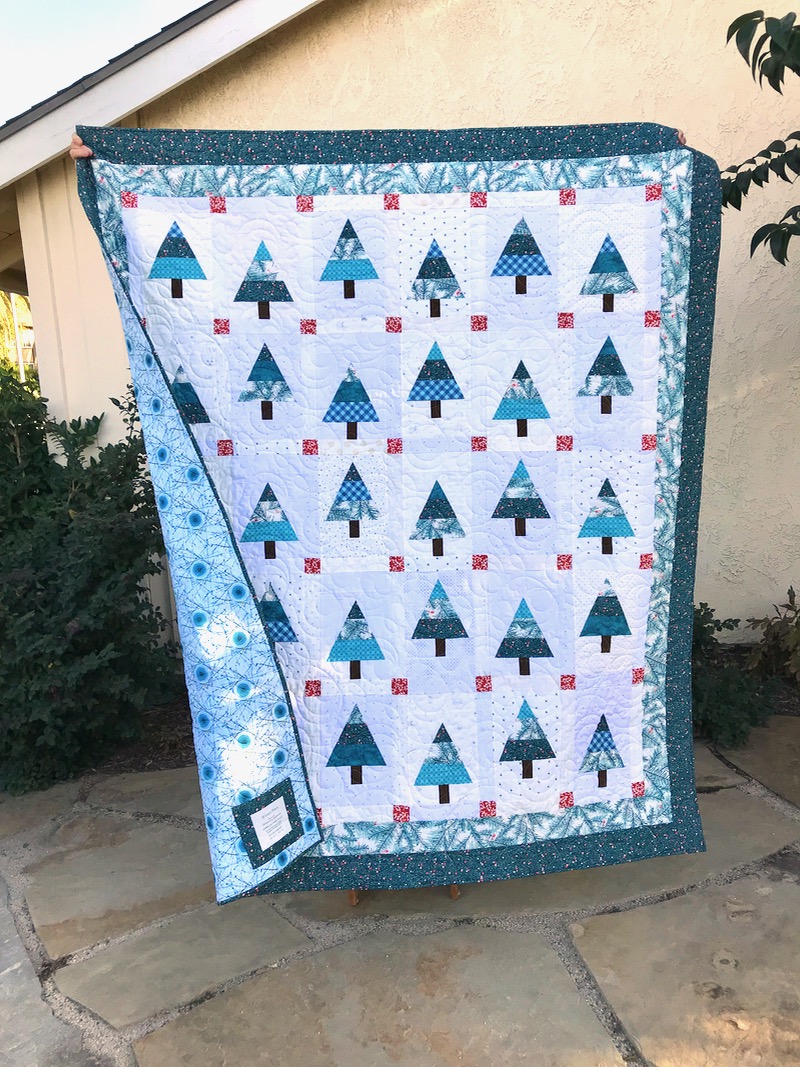
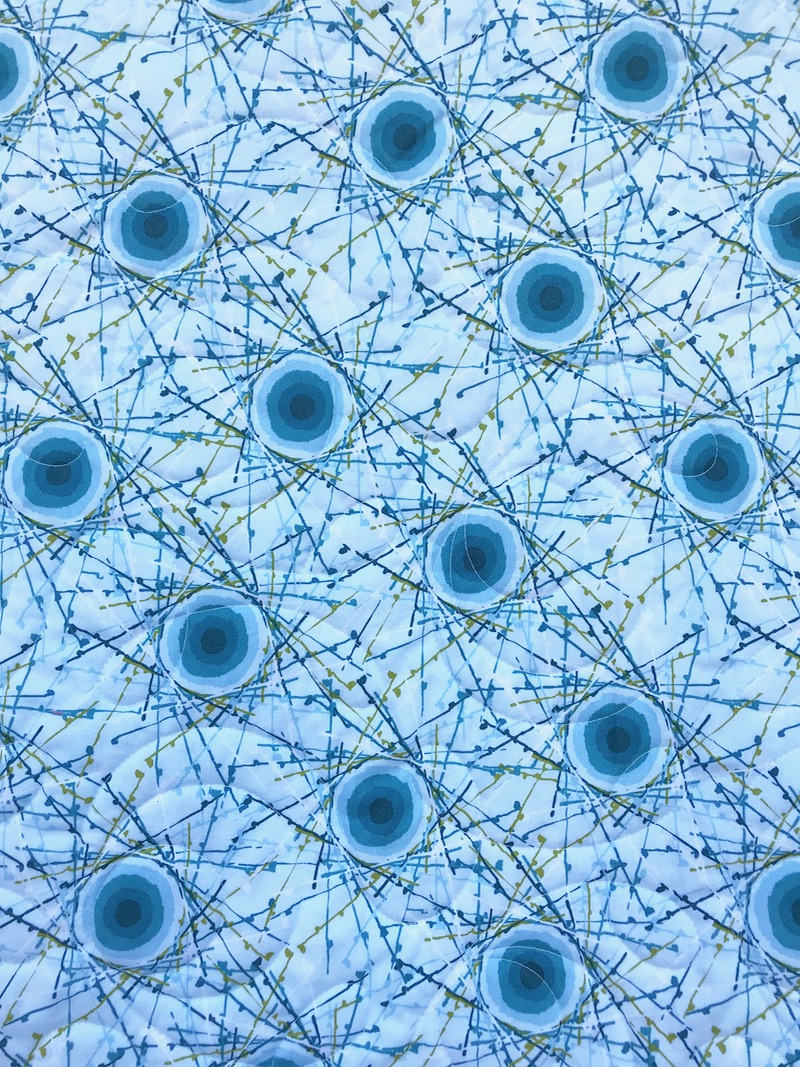
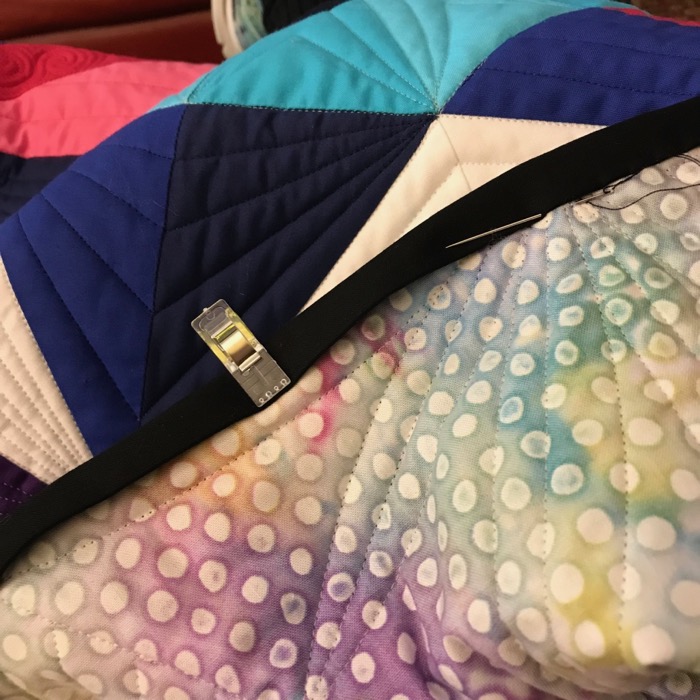
I found a backing I liked that was busy enough, layered it into a quilt sandwich and began my FMQ the way I always do: trying to figure out what to do. I didn’t want to do a million little stitch-in-the-ditch lines. So I went to my IG hashtag #fmq and found this idea: a ribbony frame for the center, and I added the small four-petal flower.


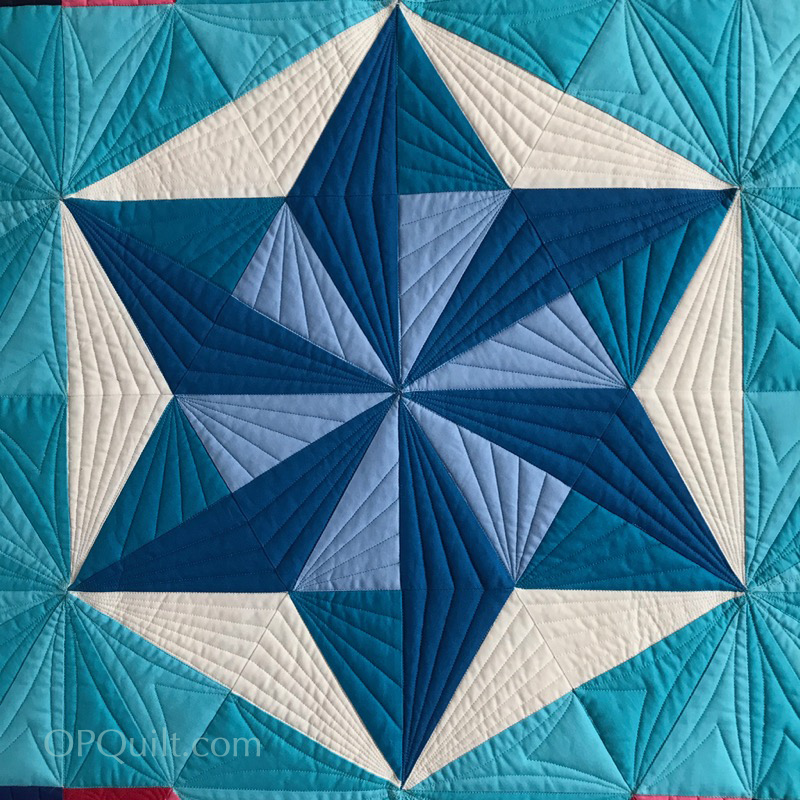
So I’m always trying to connect the dots between today’s patchwork and our fine history, and think this could be a connection: if you erase the middle of that block, and put in that square-in-a-square, you’ve got it. Nancy Cabot (from the 1930s) called that block a Cock’s Comb, but certainly it’s not the same.
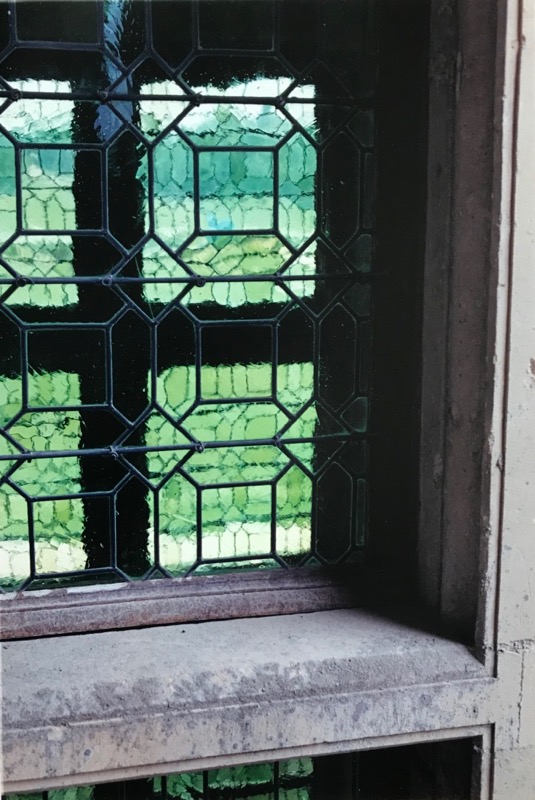
But for my title of Windowpane, the repeated themes of squares and angles reminded me of a window I saw once in a Loire Valley chateau.