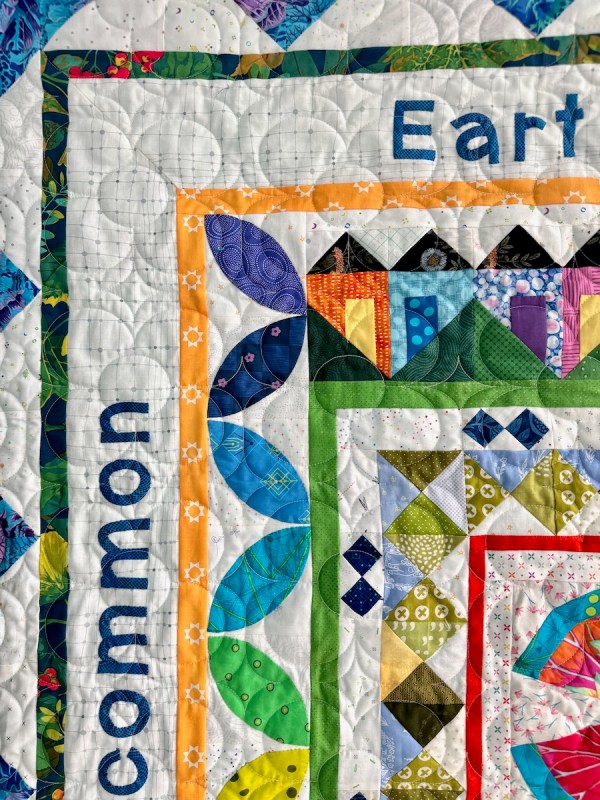
One Sunday morning, mulling over the stunning news from the day before, I drove to church along a residential road. I had a view of the low mountain range in my city, the hills turned verdant green from the winter rains. The sun was bright and clear, the sight was glorious. A favorite hymn was playing as the choir sang “This earth was once a garden place, With all her glories common.”
The song finished, I went into church, but the idea of a place so beautiful and fresh lingered.
I wrote in my journal that night: “All day I couldn’t help but think about Eden, and how much we mortals seem to have missed the boat. To live with ‘glories common’ would be the best….I thought then — realized then — that perhaps it was I who was below my best abilities in bringing about ‘all glories common.’ “
I paused, reflecting: the best of the earth, the most beautiful flowers, the clearest streams and tallest mountains — our glories. Shared all together, without rancor, viciousness, greed, cruelty and just plain old revenge and stubbornness. It felt like too big of a task; I closed my journal and went to bed.
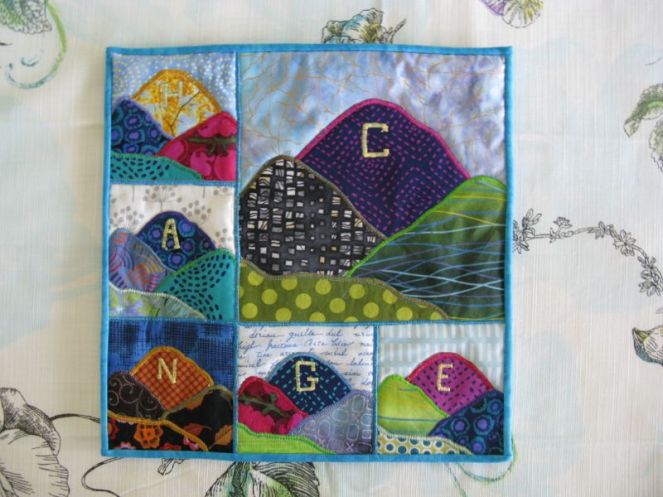
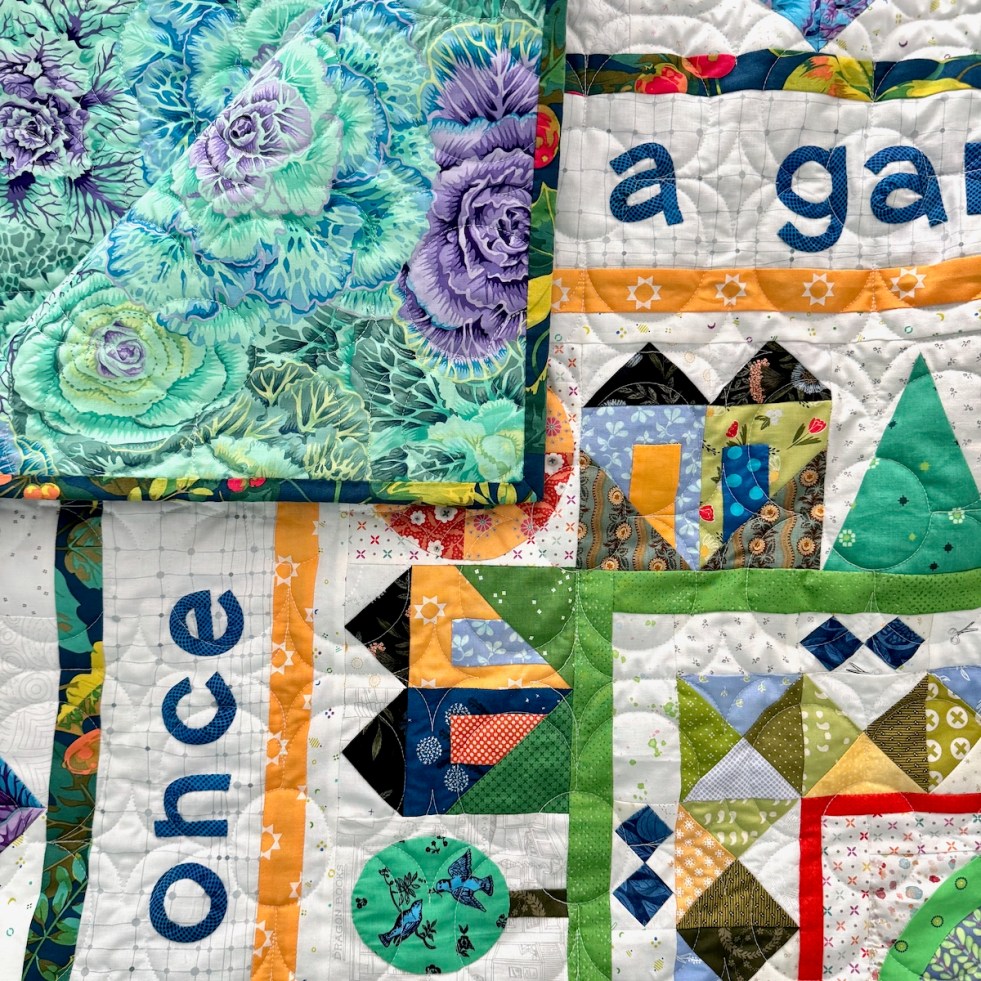
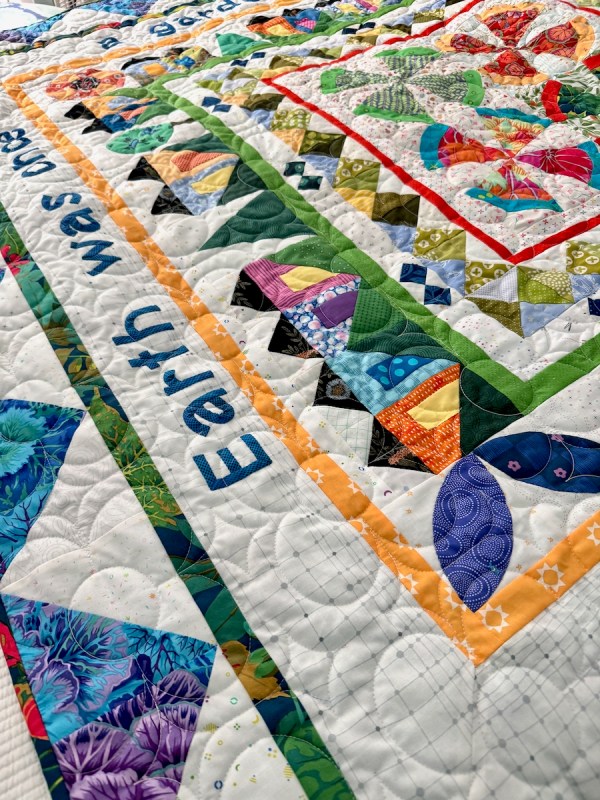
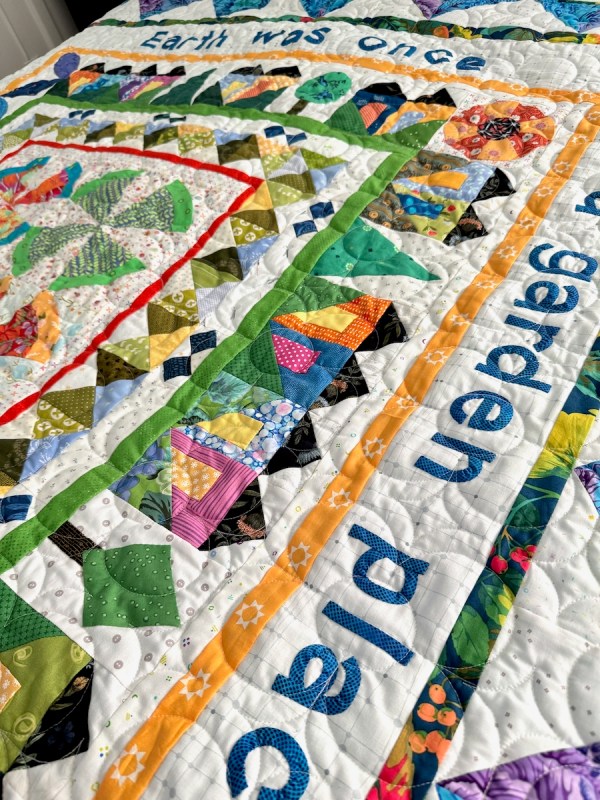
With this experience as backdrop, I sat in the quilting room the next morning, trying to tackle one of the prompts in the Stay At Home Round Robin. I knew I wanted to figure out how to write those words of the hymn, and to let this quilt be a garden quilt, a reminder that I could bring about my own version of Eden in pieces, in bits, in my best moments. I struggled with the “how to” of the words, working it out letter by letter. Many times I was discouraged. With encouragement from friends and from my always-supportive husband, I finally finished and pinned the word borders up around the existing quilt.
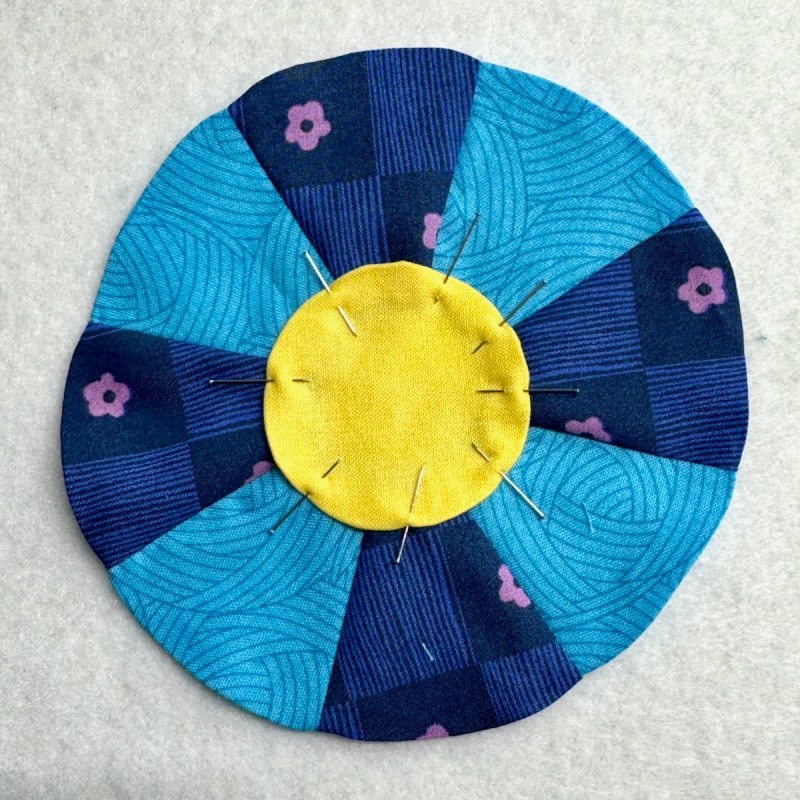
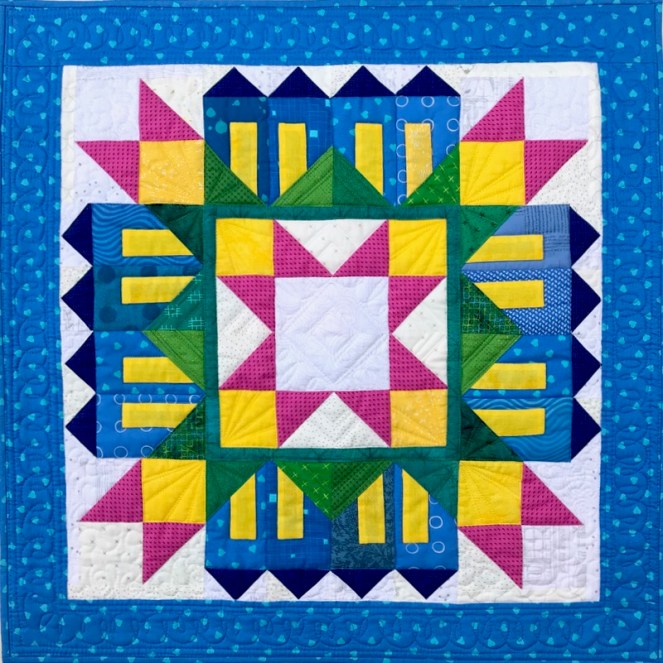
Then I looked at the center: it didn’t work at all. So I took that out, went to remake a new one but couldn’t find the pattern. So I drafted up my own, remade the center and carried on. (There’s a metaphor here somewhere, I think.)
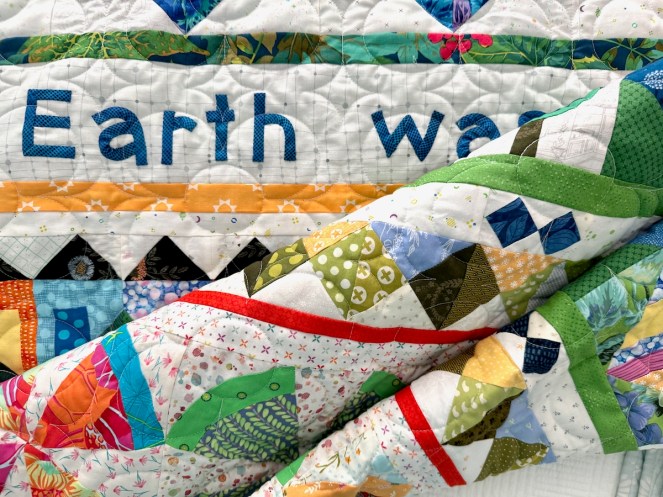
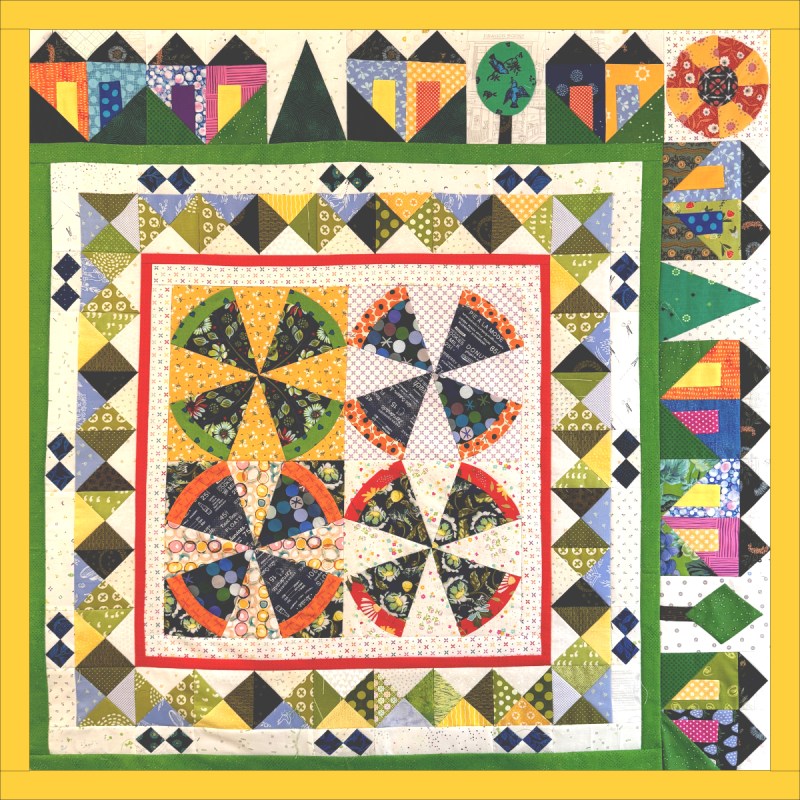
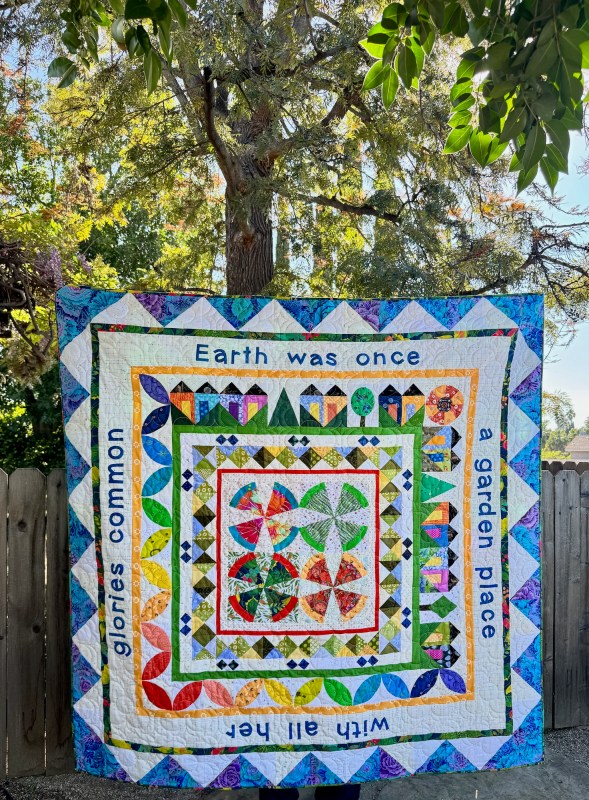
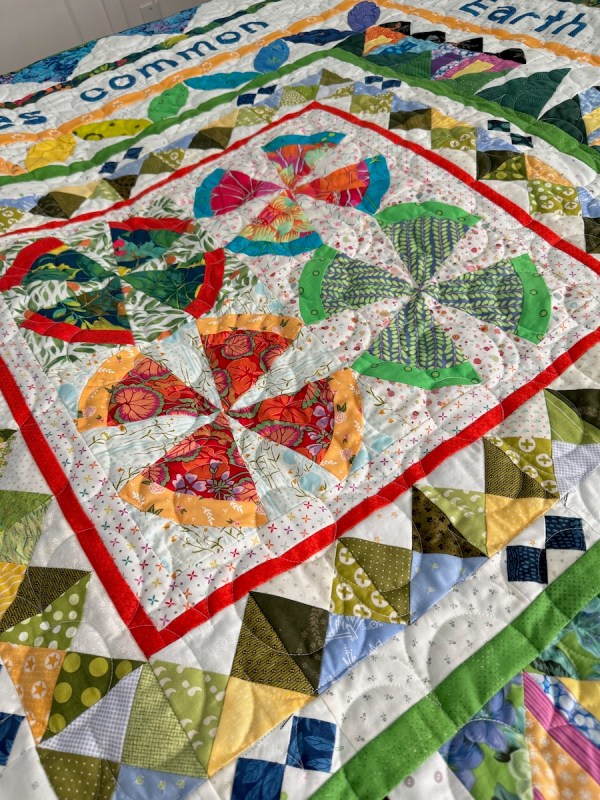
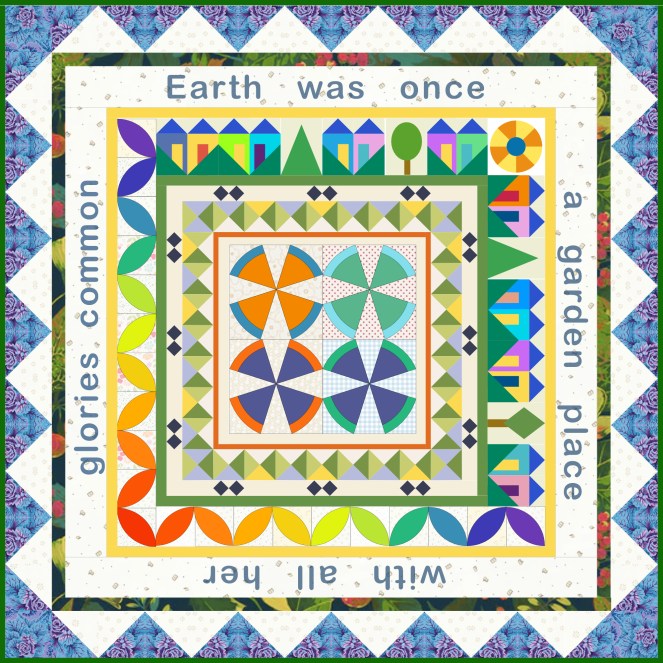
So here it is: Earth Was Once A Garden Place. And it can be again, day by day, moment by moment, with gallons of forgiveness, bushels of forbearance, and volumes of truth and charity. It’s that dailiness that can be the hardest: to not cuss out the driver who cut you off, to be more patient with those you live with, to speak up when necessary and to find stamina to do the hard tasks in our lives. I often turn to quilting to have a respite, as well as to be a part of a community of others who are exercising their creativity, planting their seeds, growing their quilts and creations.
Over time, working steadily at the task, we may yet find a way to have our glories common–

Earth Was Once a Garden Place Greatest Hits
First, a huge thank you to the co-hosts of the SAHRR for 2026 (names and links at end of post). It was wonderful! The final Link-Up Party of all the participants’ quilts can be viewed *here.*
Beginning: choosing the center
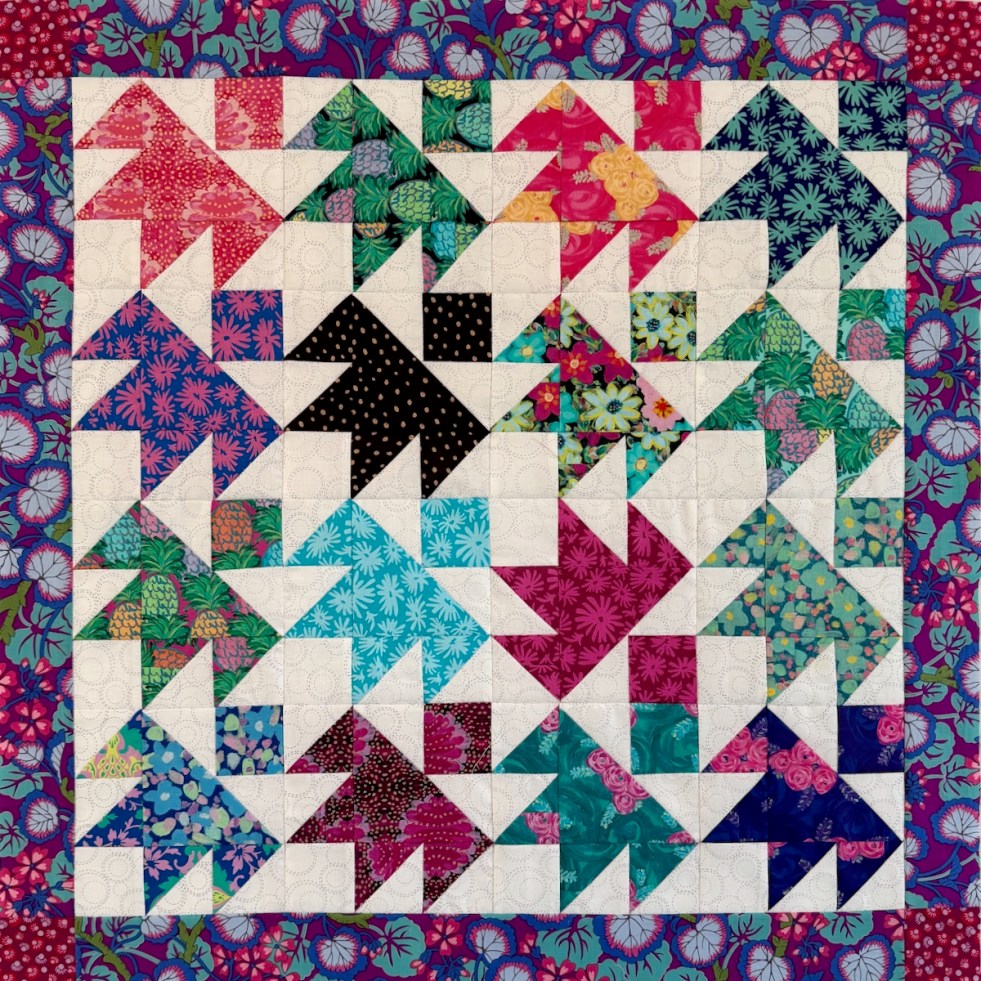
Round 1: Hourglass
Round 2: Double
Round 2, Part 2: I made it a Double
Round 3: Animal Kingdom
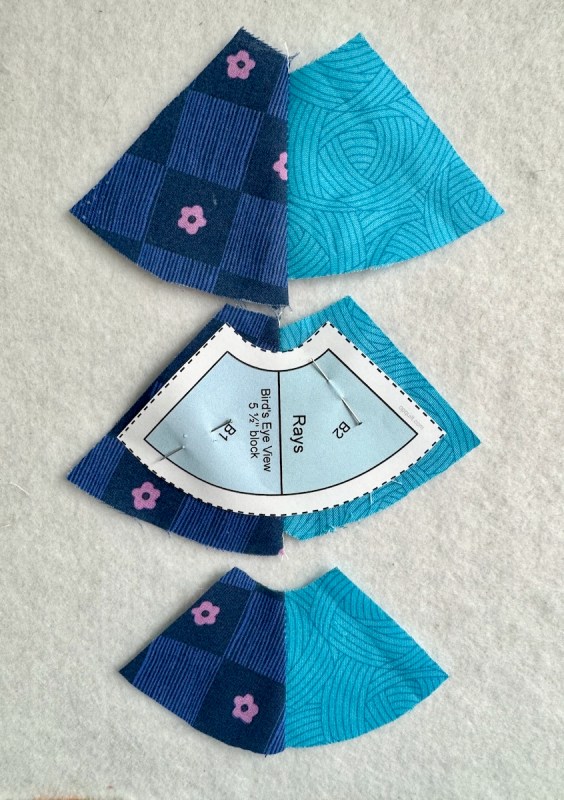
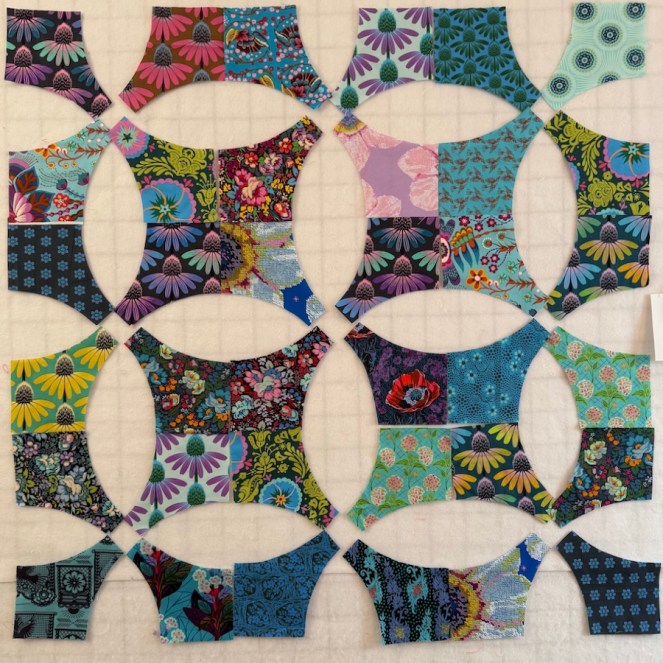
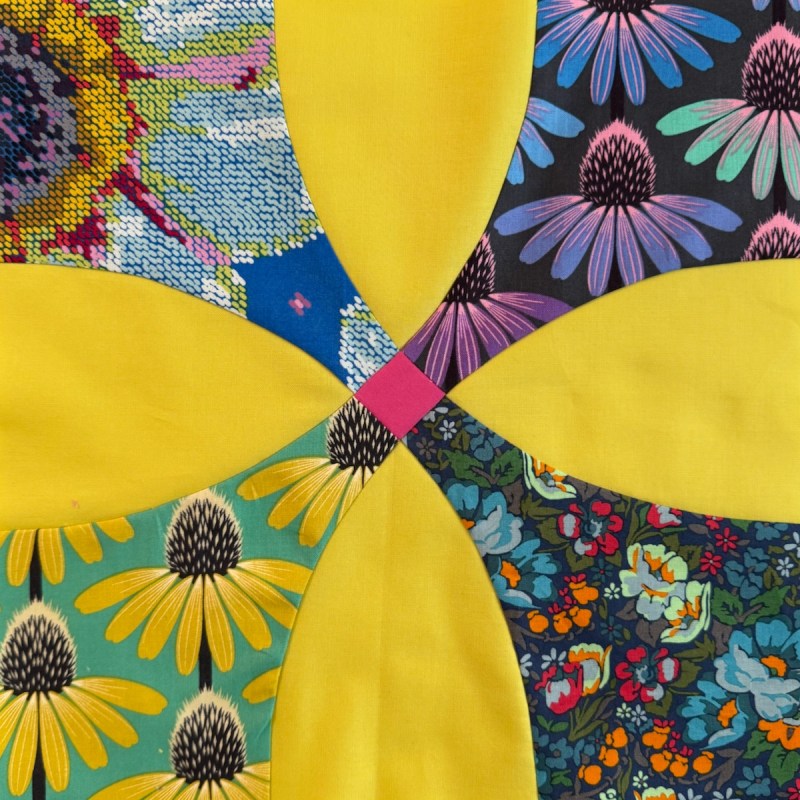
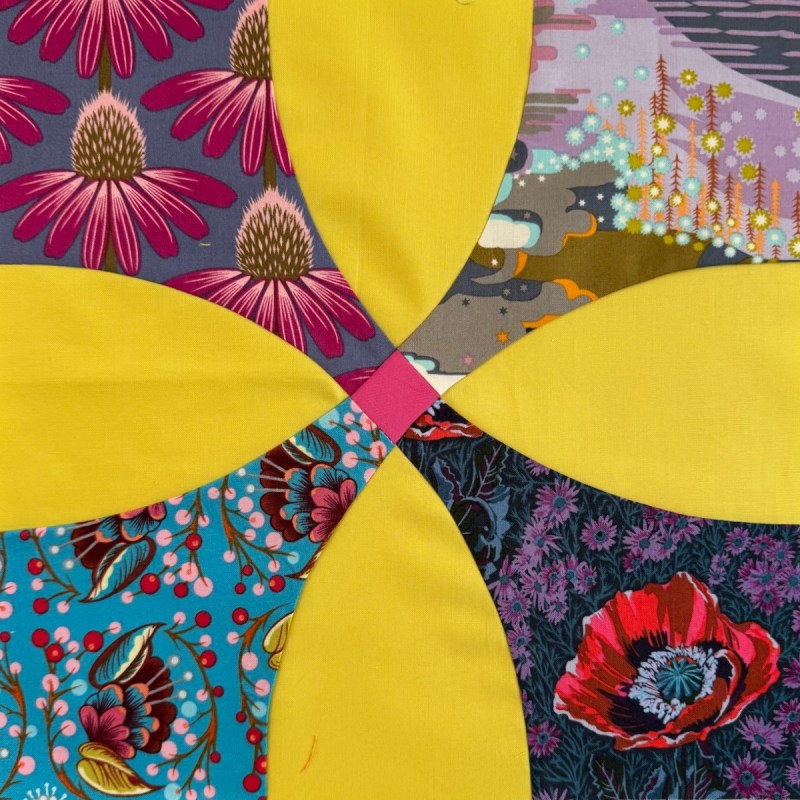
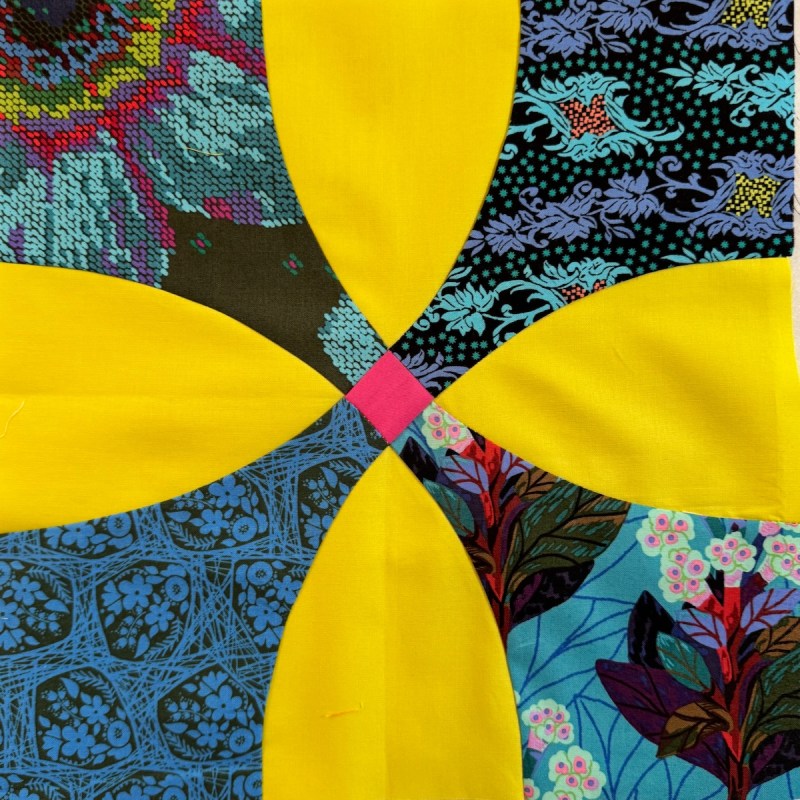
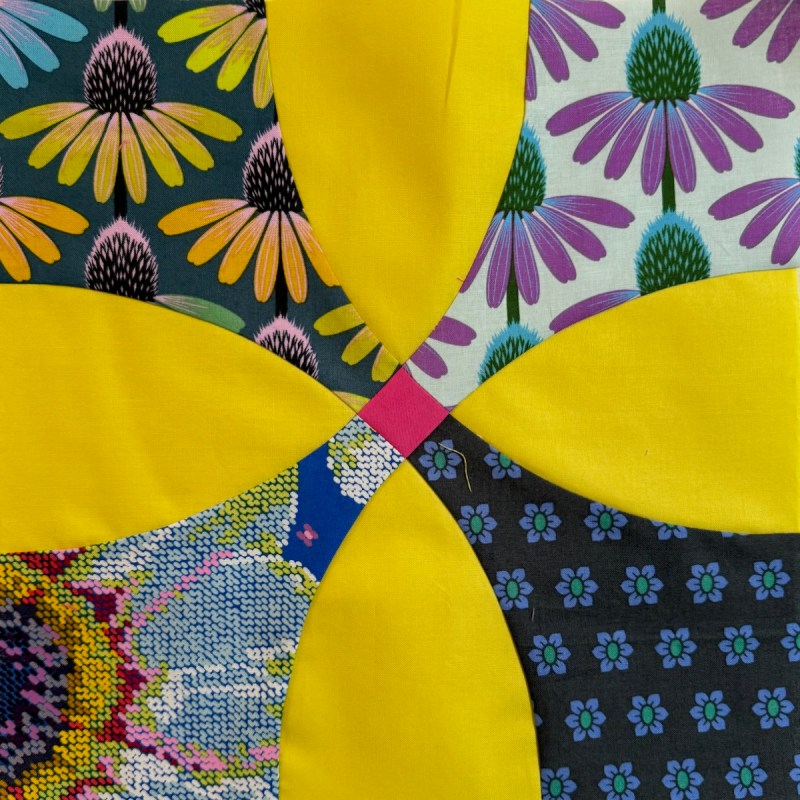
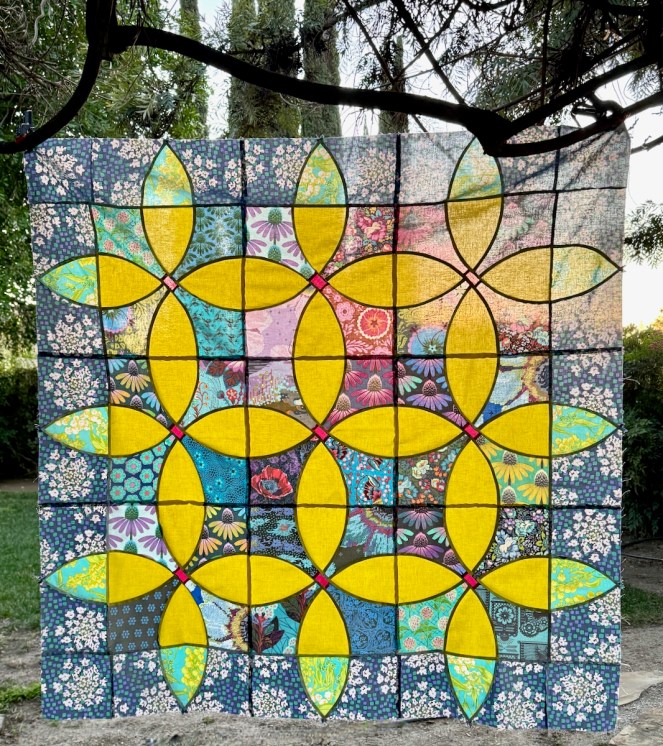
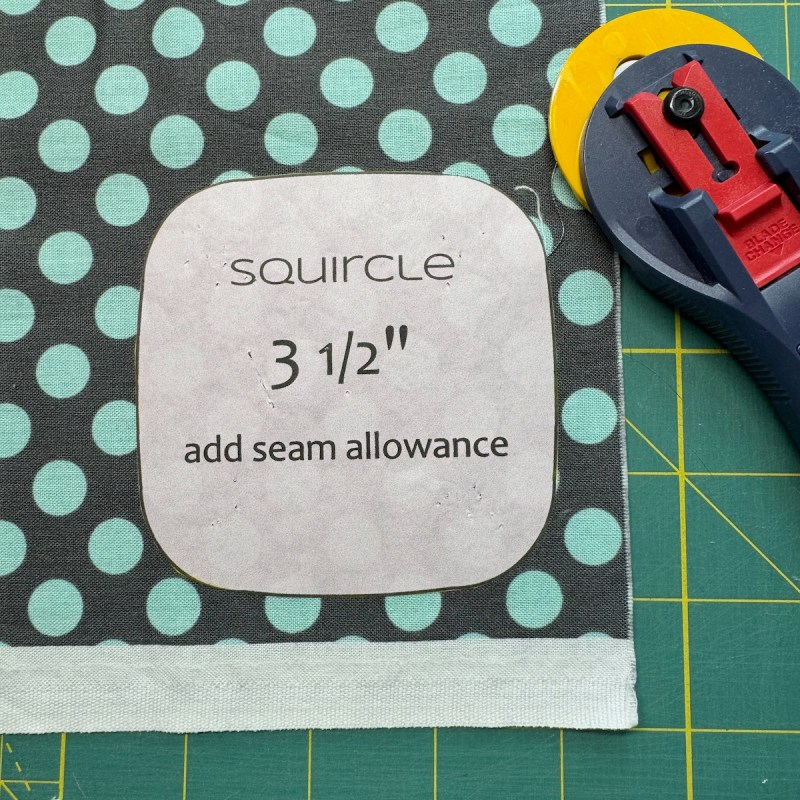
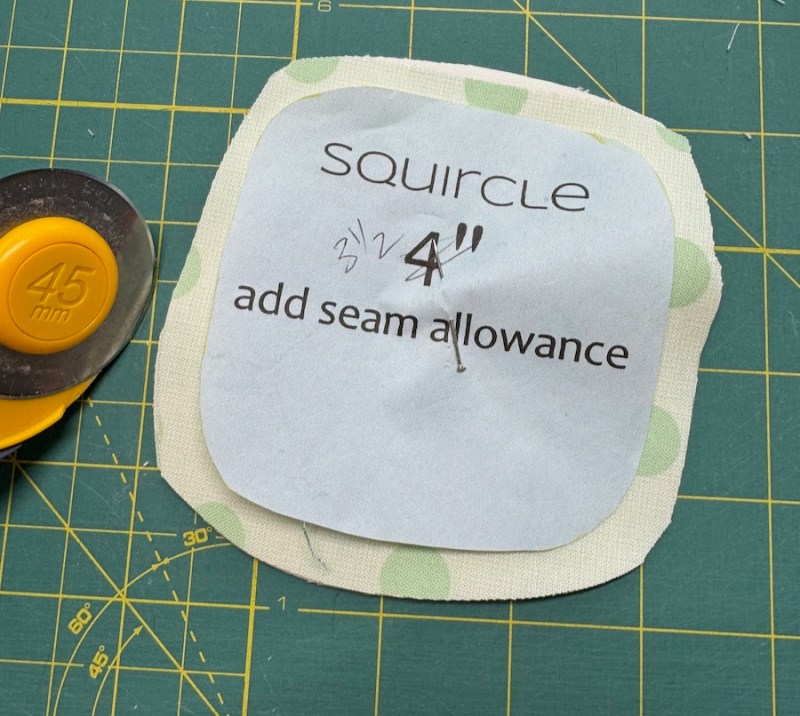
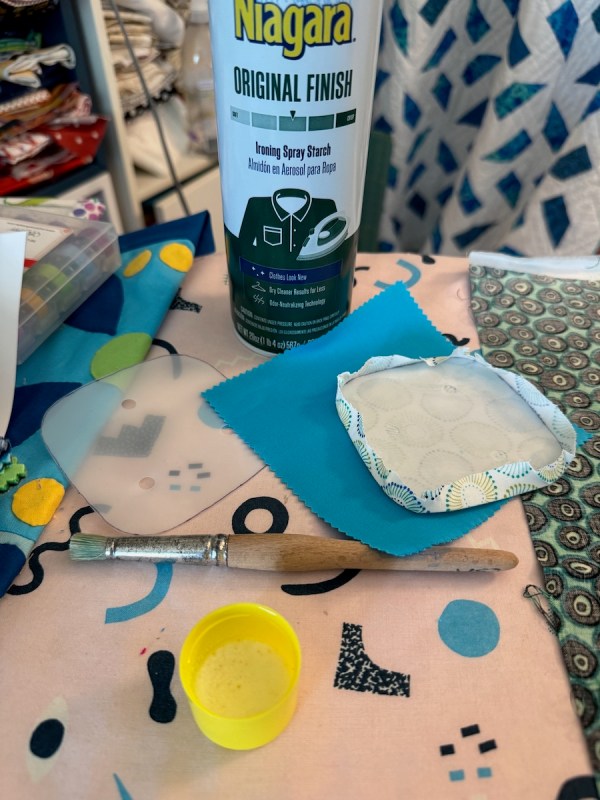
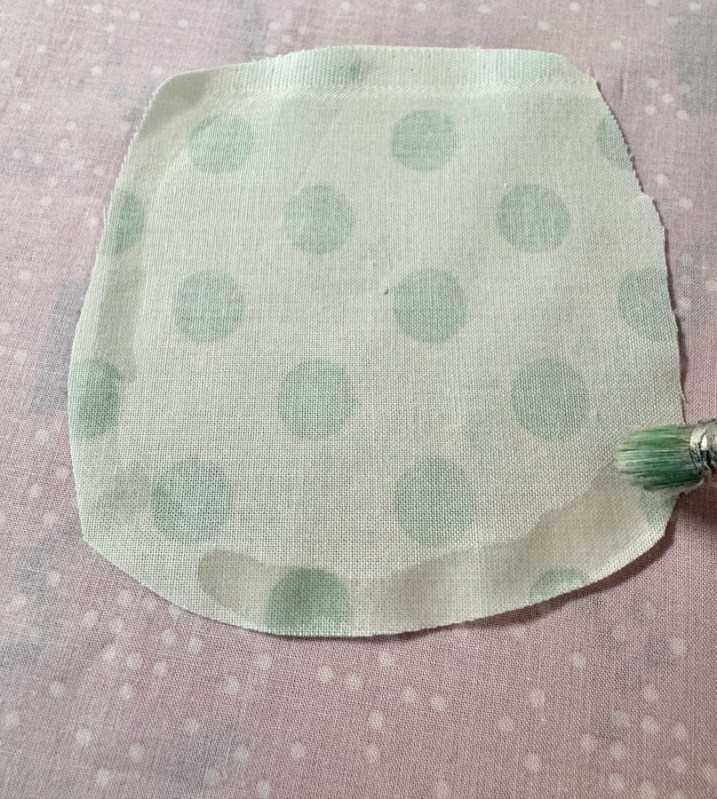
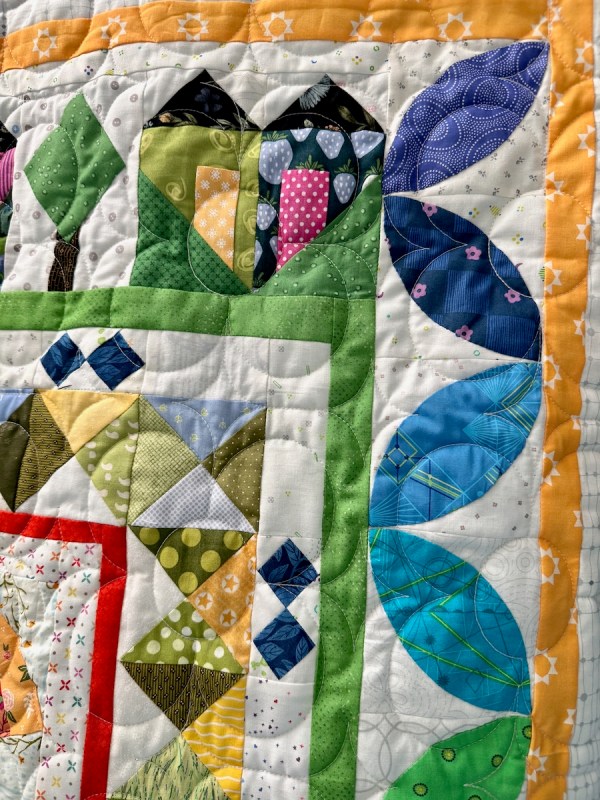
Round 4: Curves
Round 5: Two Color
Round 6: Quilter’s Choice
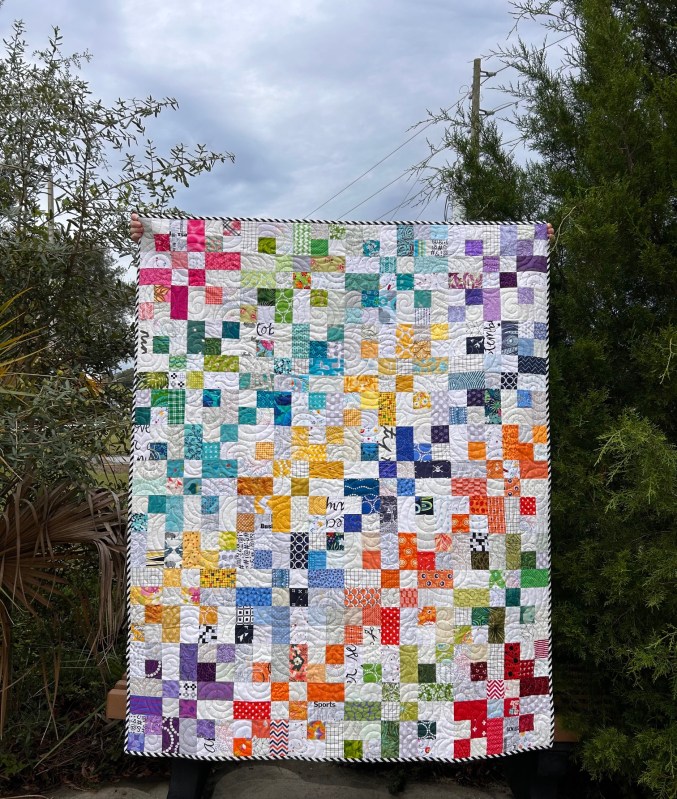
This is the SAHRR 2026 Final Quilt.
I’ve revised and cleaned-up the free tip sheets I made for this journey, plus a couple more new ones for the final quilt. Click to download. Please do not copy or digitally distribute, but send anyone who wants one to this website to get their own. (NOTE: The tip sheets will live here on this post; the earlier versions will soon be removed.)
Many thanks.
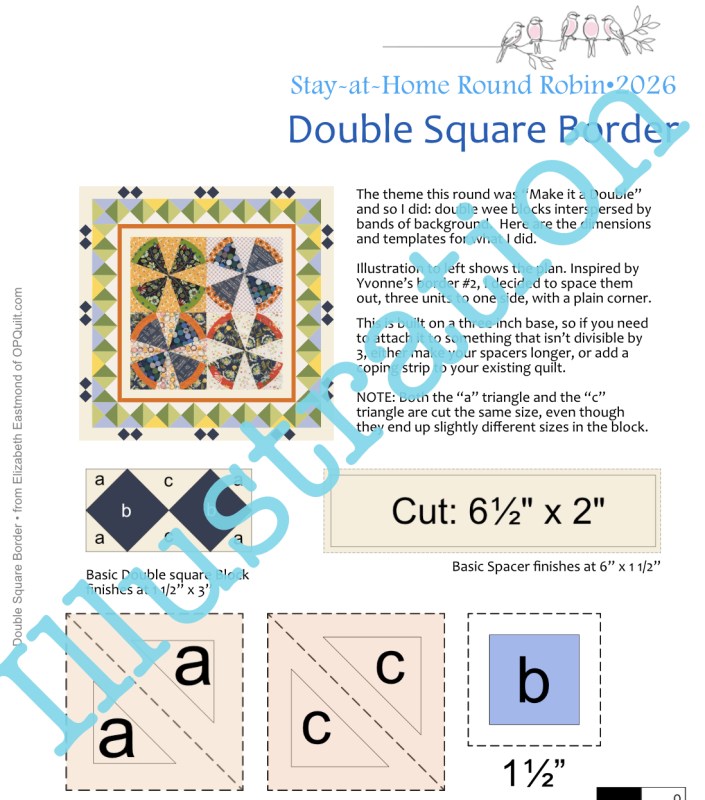
#1 Free Download: Double Square Border
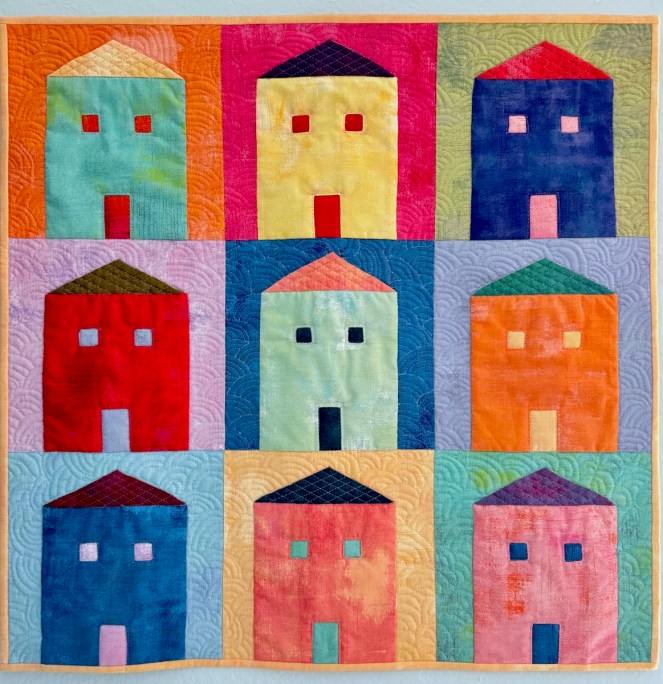
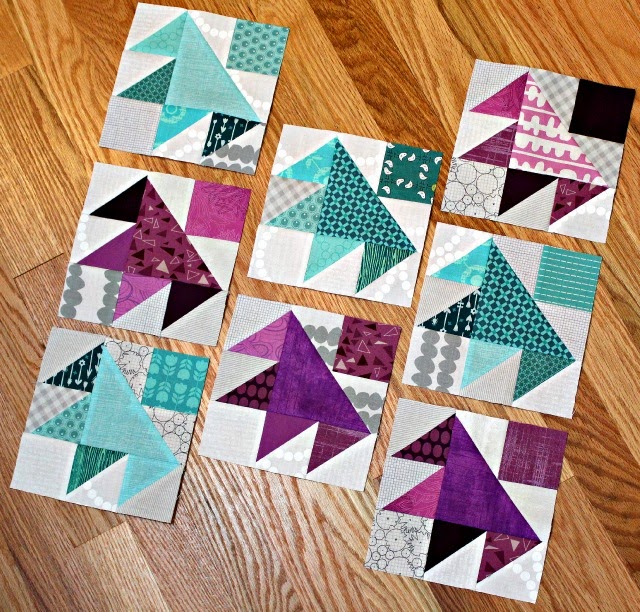
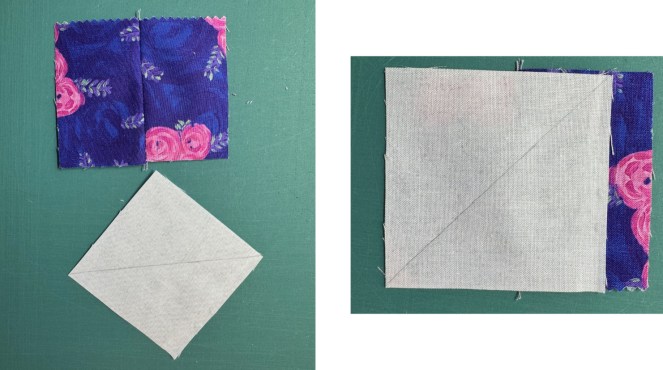
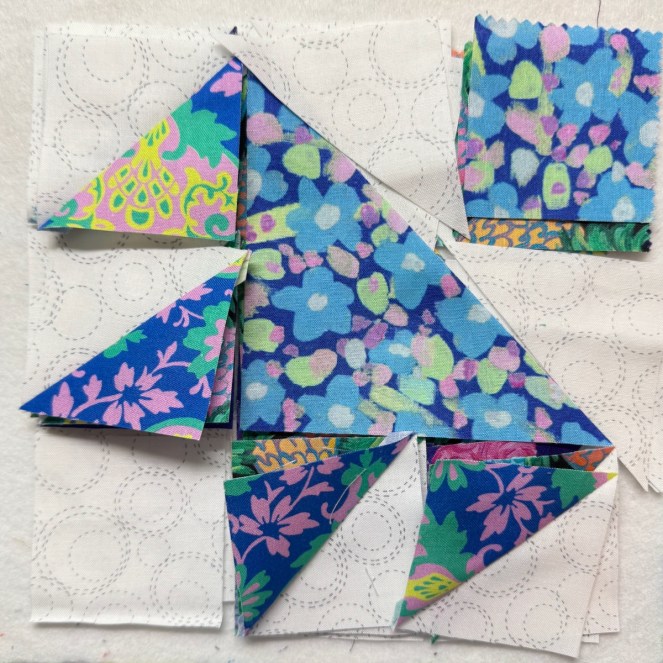
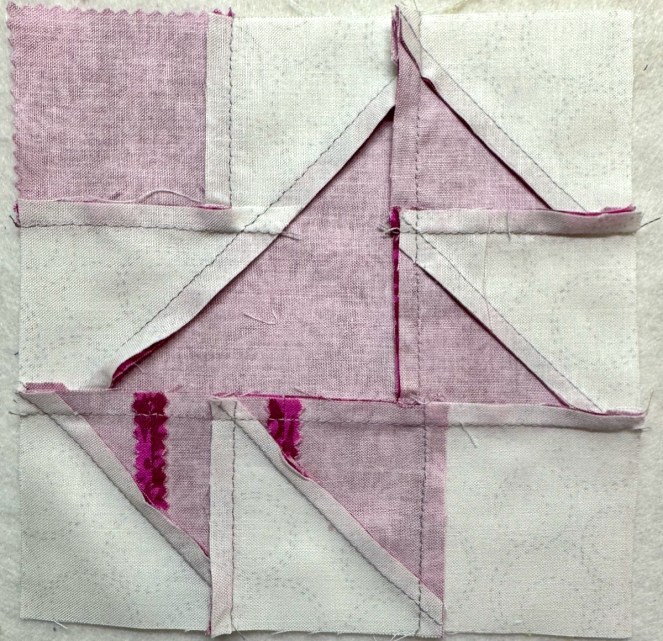
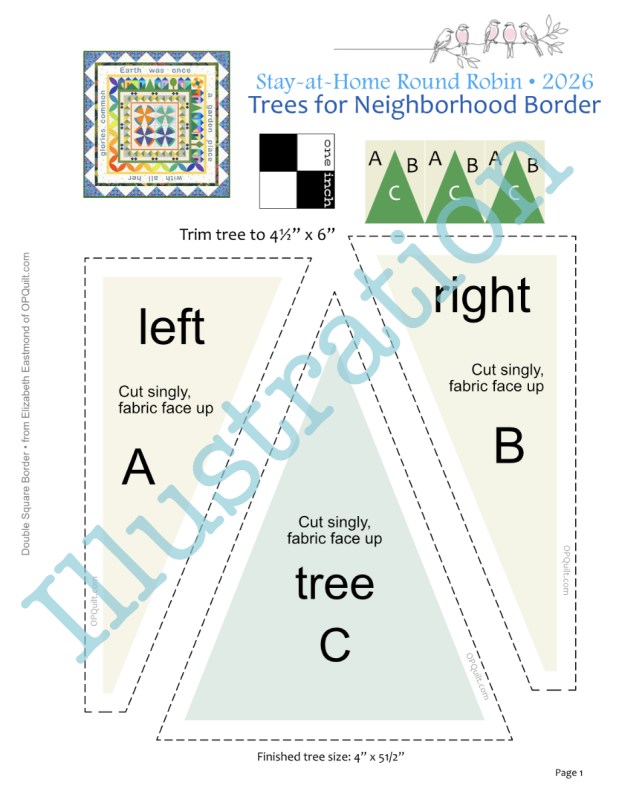
#2 Free Download: Trees for the Neighborhood
(Houses are from my pattern Merrion Square Mini Quilt, enlarged to the size of the finished trees)
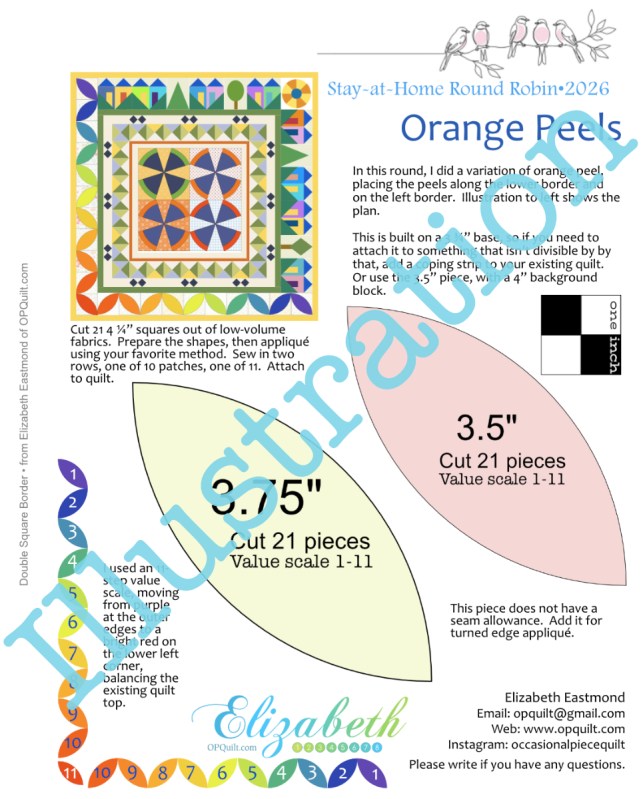
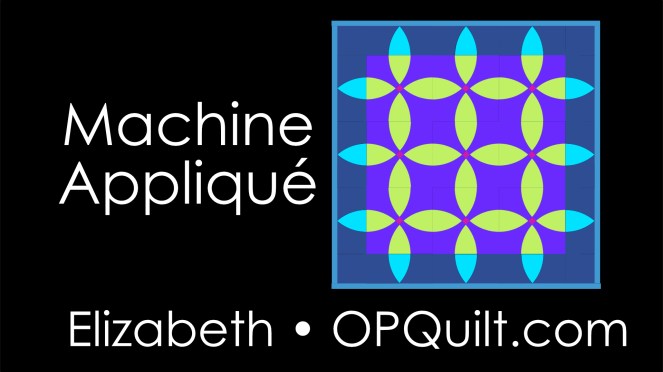
#3 Free Download: Curved Leaves All Around, aka Orange Peel Blocks
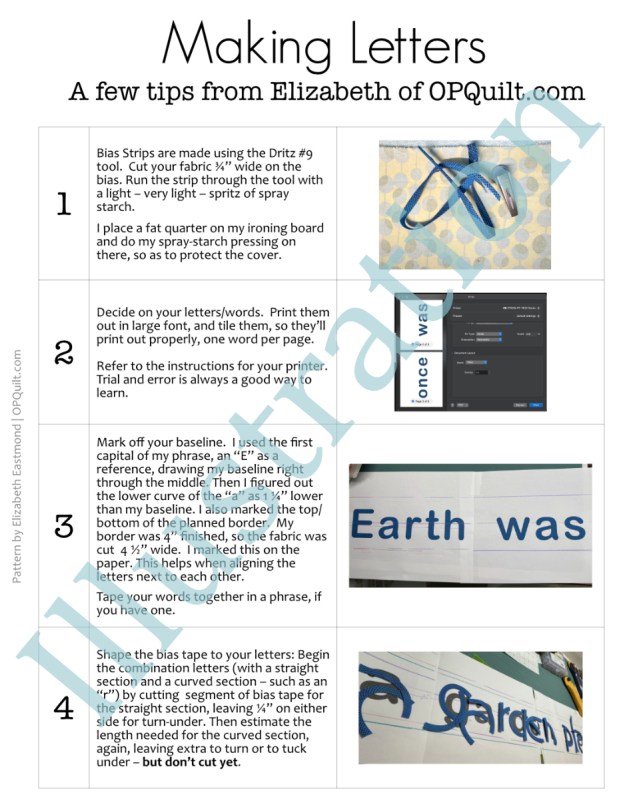
#4 Free Download: Making Letters/Words
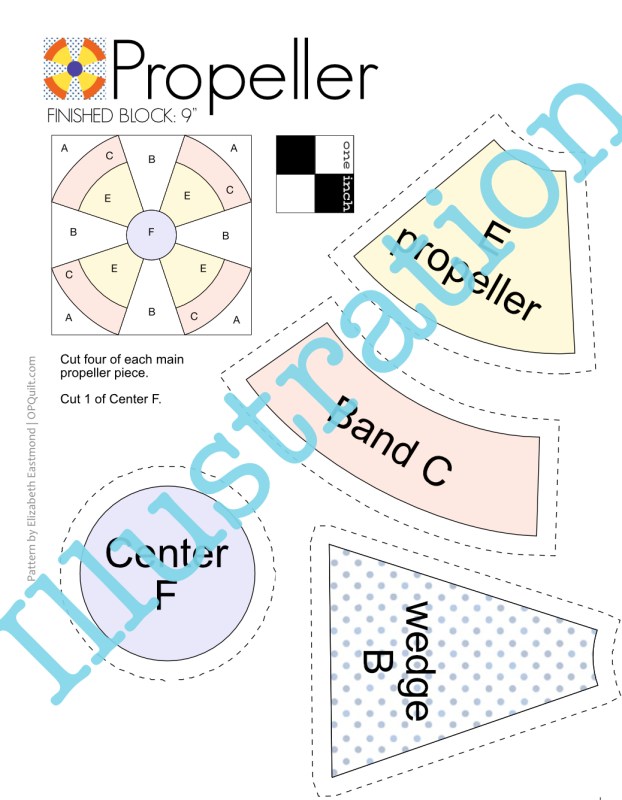
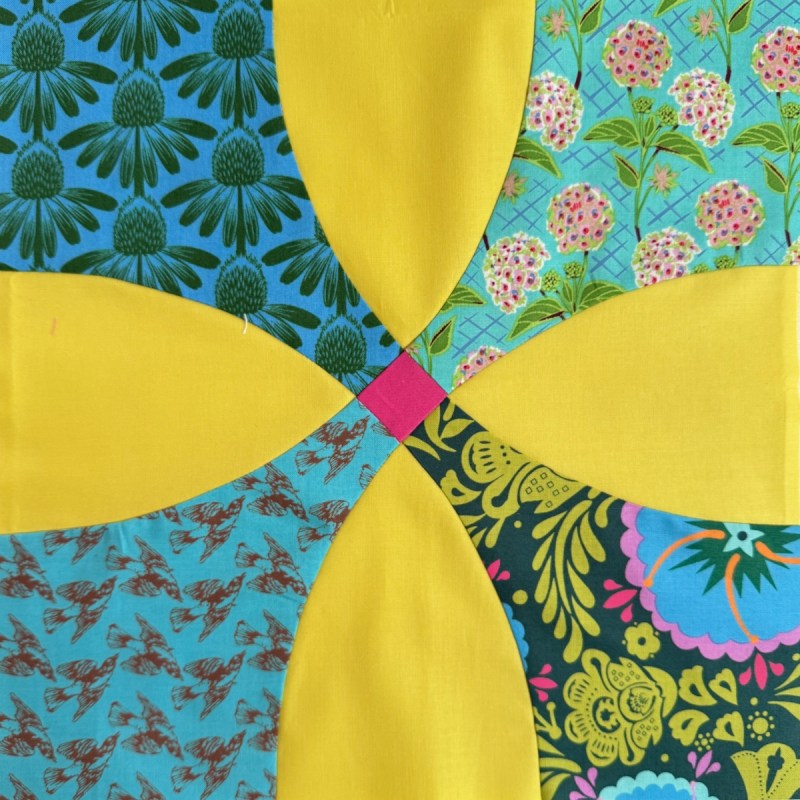
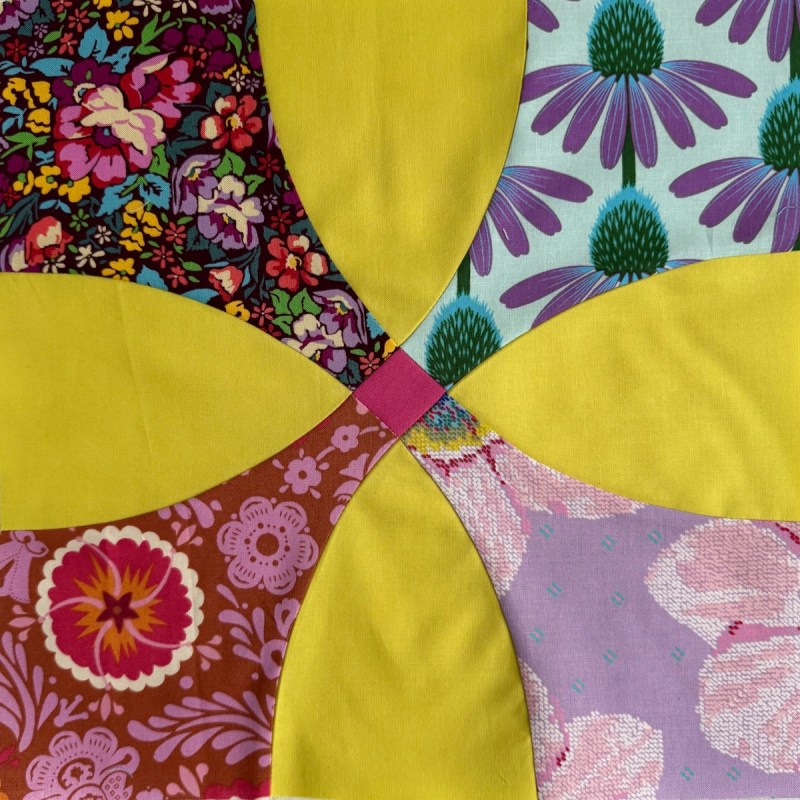
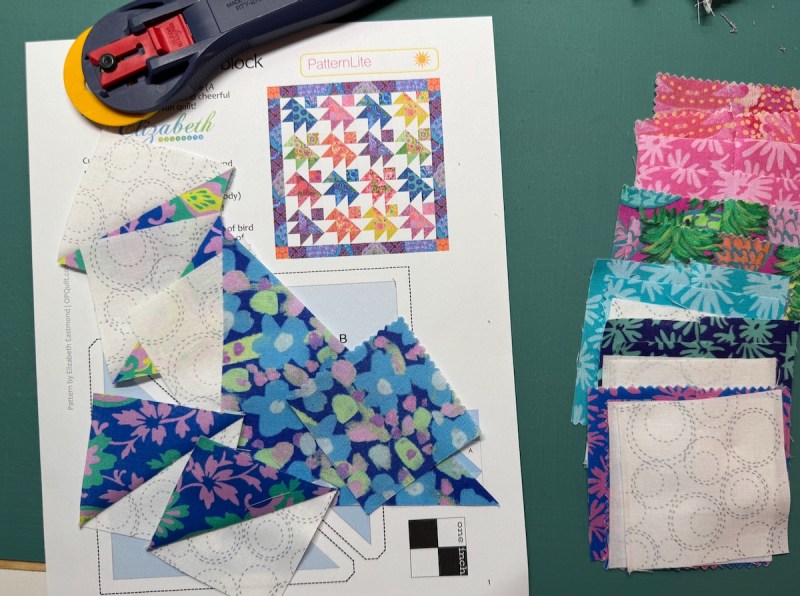
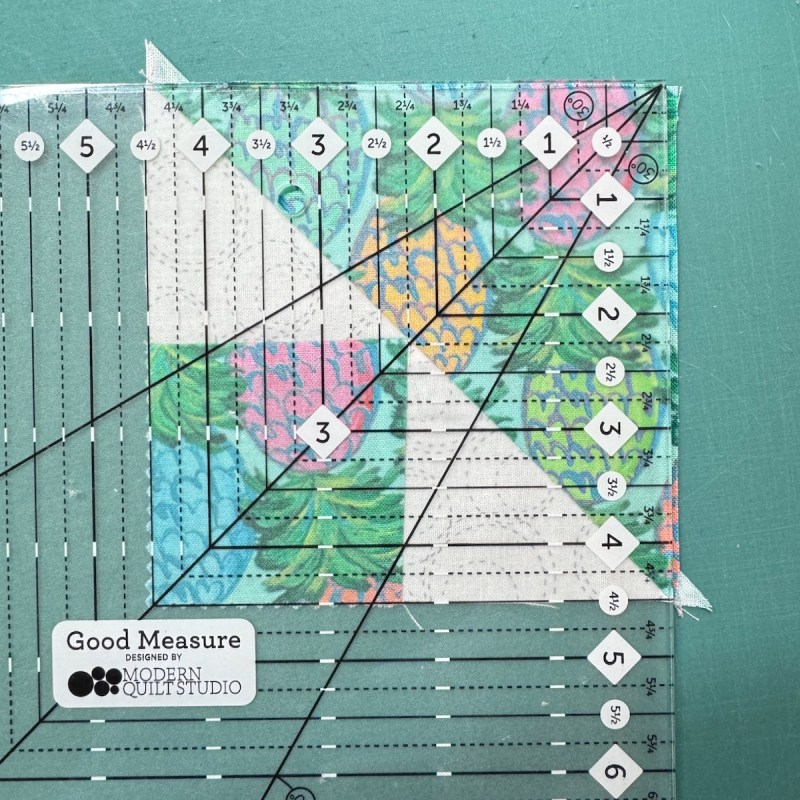
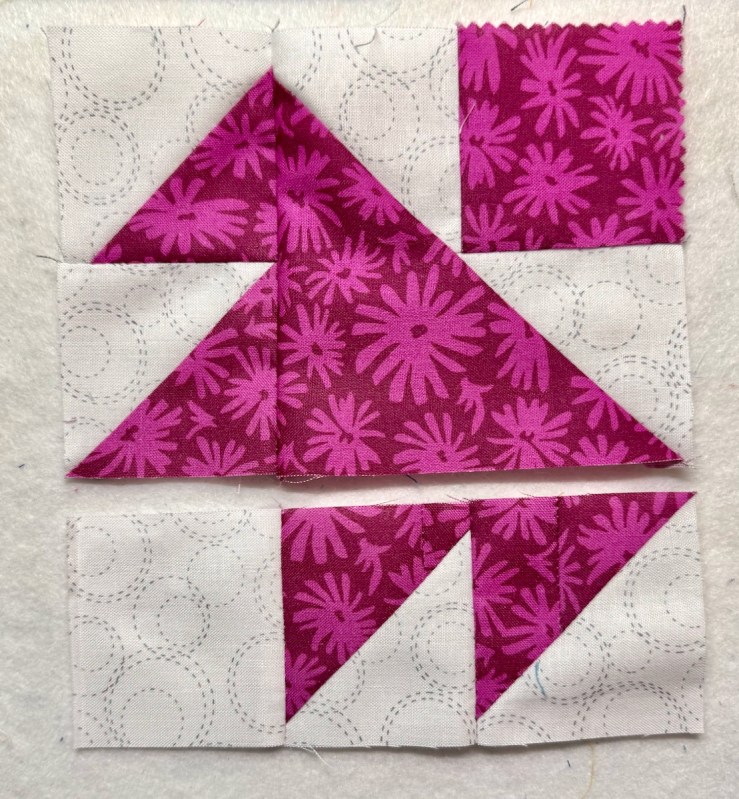
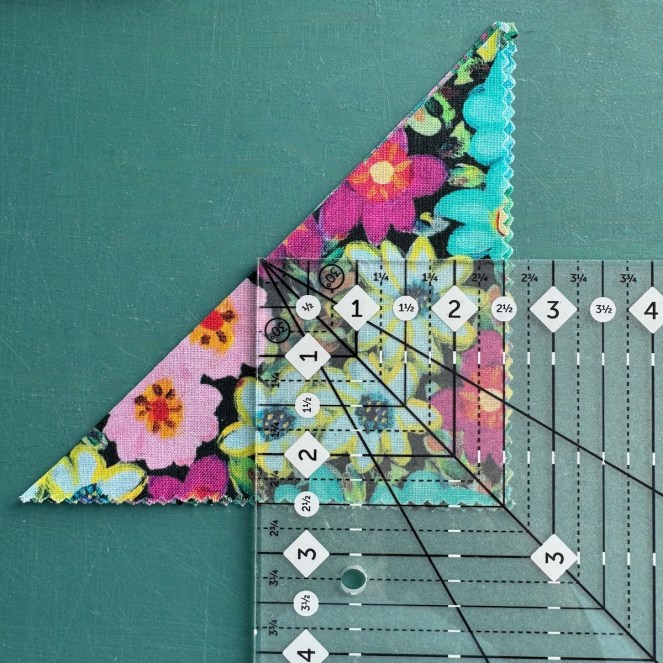
#5 Free Download: Center Propeller Block 9″
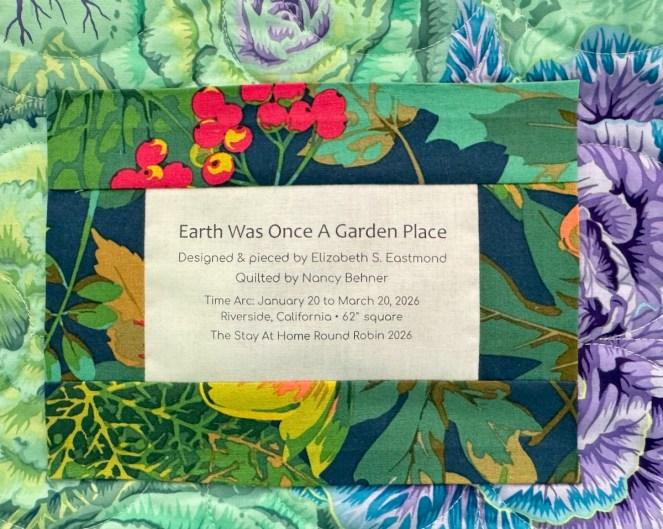
Quilt # 315, 62″ square
The founder of the Stay at Home Round Robin is Gail. The other cohosts are listed below:
- Gail @ Quilting Gail
- Brenda @ Songbird Designs
- Kathleen @ Kathleen McMusing
- Emily @ The Darling Dogwood
- Anja @ Anja Quilts