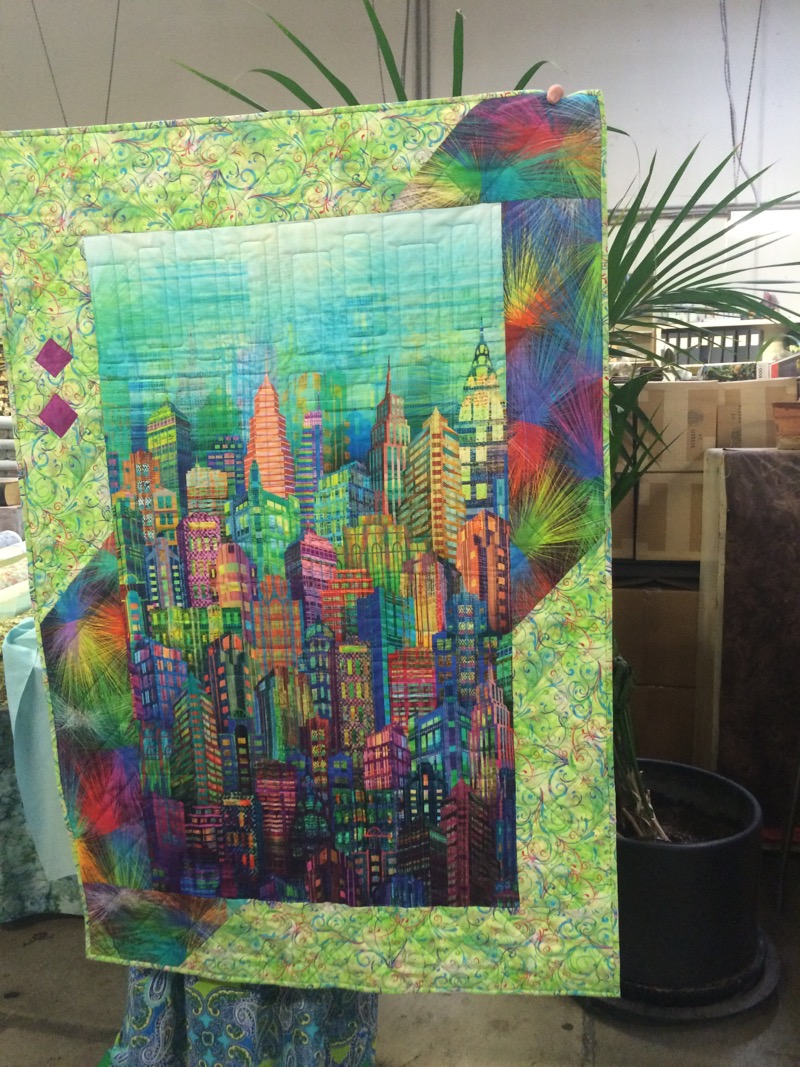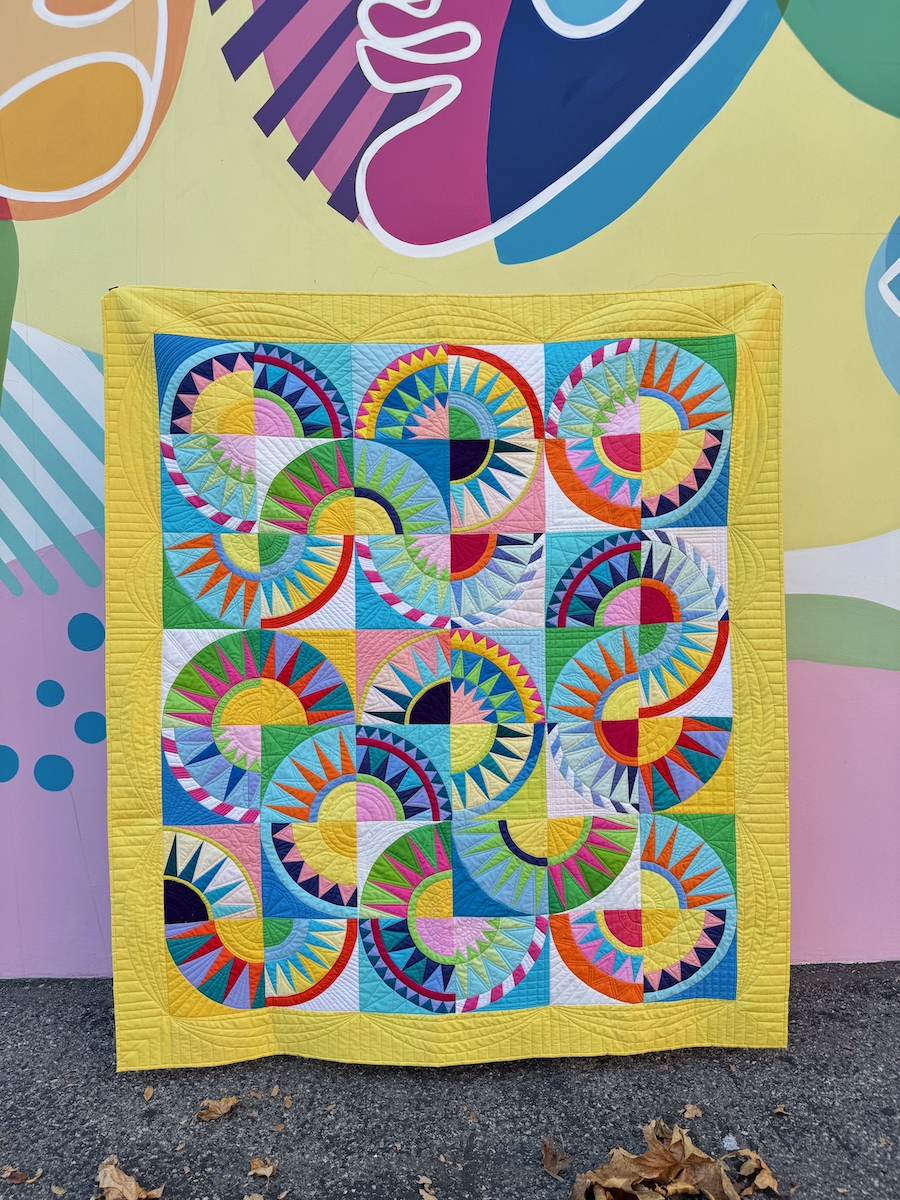
New York Beauties took a long time to get here: about three years. Started in 2022 from the spark of an idea, with a pillow of four New York Beauty blocks, it quickly morphed to quilt size, with a series of block tutorials. Then it moved from there to the new rage of freezer-paper piecing, tired as we were of ripping off papers from the back of our precision piecing.

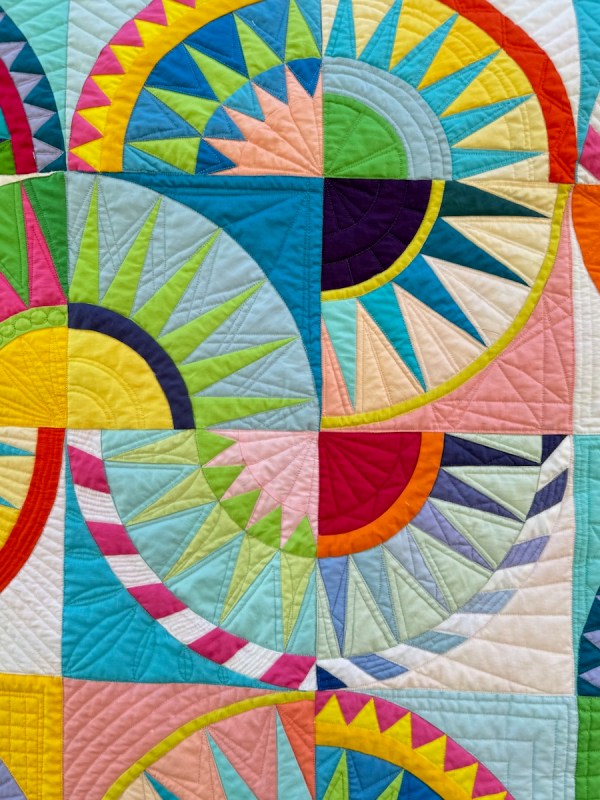
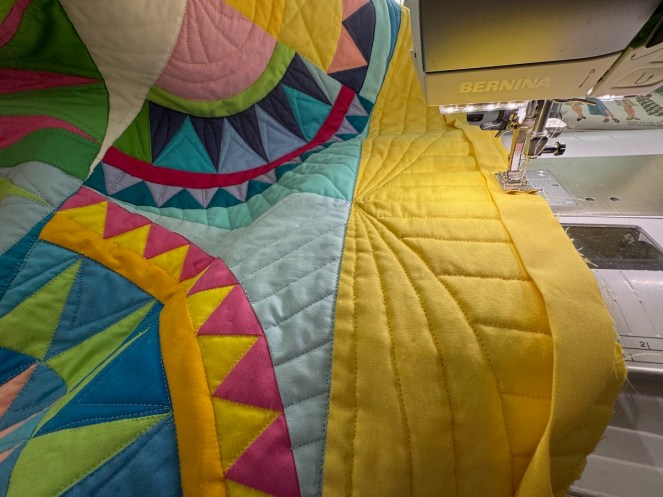
While that took some time, to get all those blocks designed and drafted, then figure out a tutorial, then make the required number — it seemed to take longer to quilt it myself. Every block called for a new idea, a new way to outline the rays, or fill in the backgrounds, or sculpt the arcs. Many times I seriously doubted I was up to the task.
I unpicked some areas and re-did them. I’m still not sure about some of them, but it’s time to let this rest.
Quilt #300
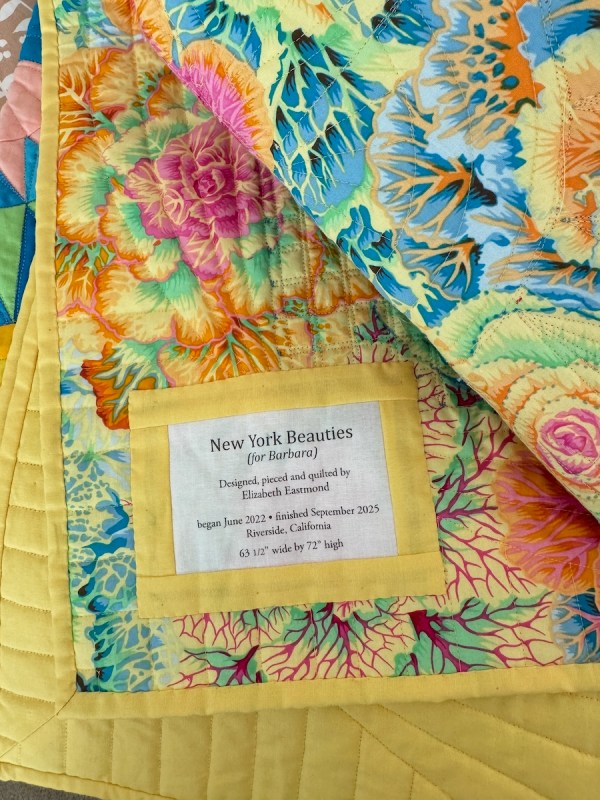
Started June 2022 • Finished September 2025, with the label being sewn on this afternoon.
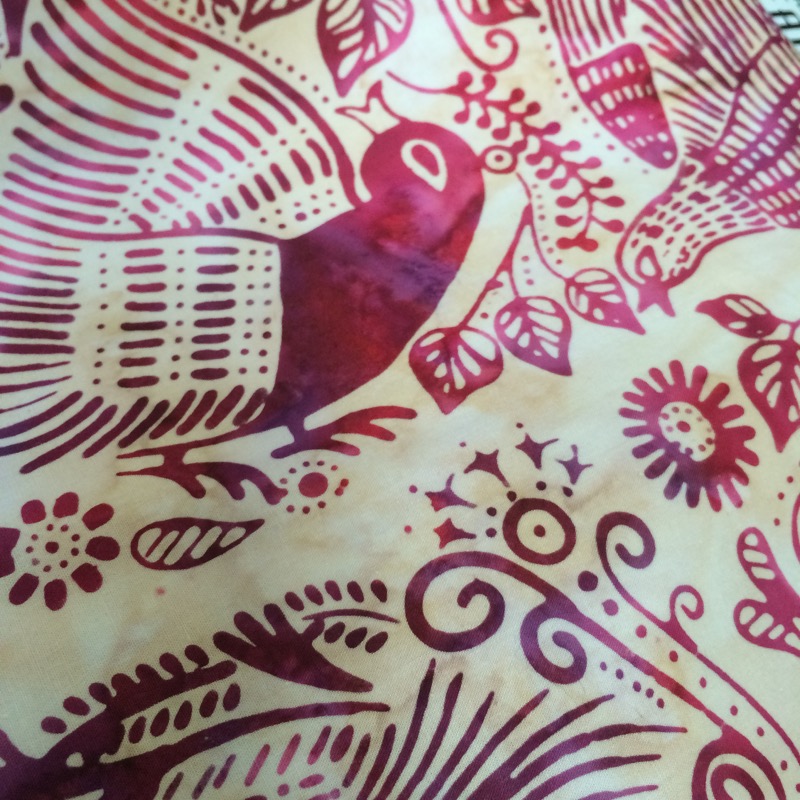
I’ve learned a lot about what colors are my favorites (butter yellow seems to be right up there, along with a bluey aqua).
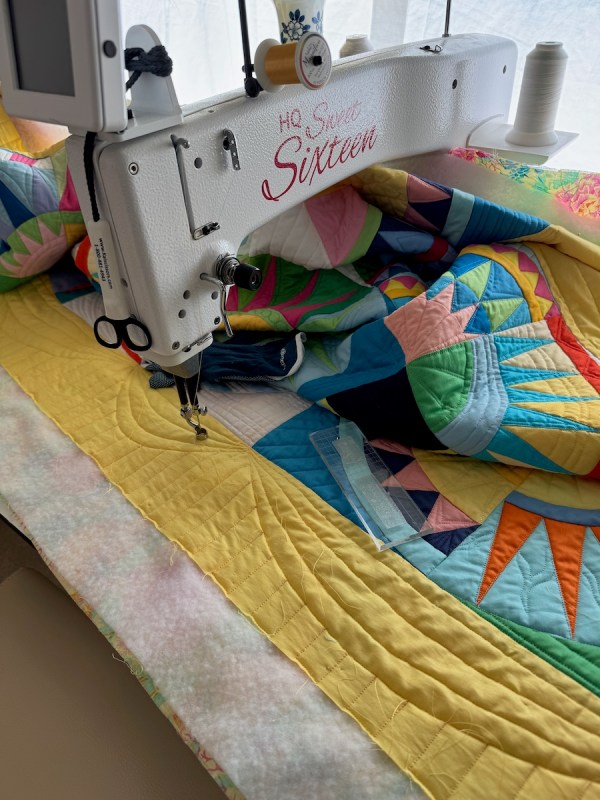
I found out my machine’s limitations. Neither it — nor I — are high-precision longarm machines, although we do our best.
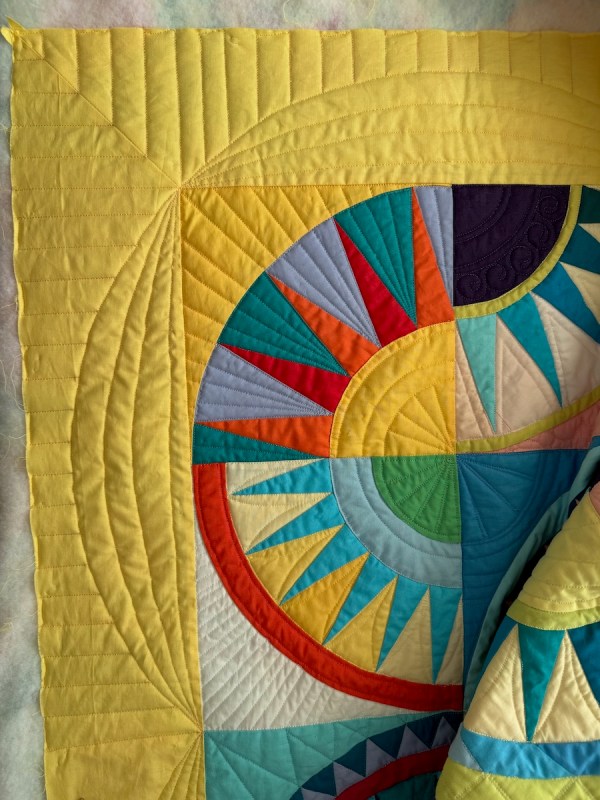
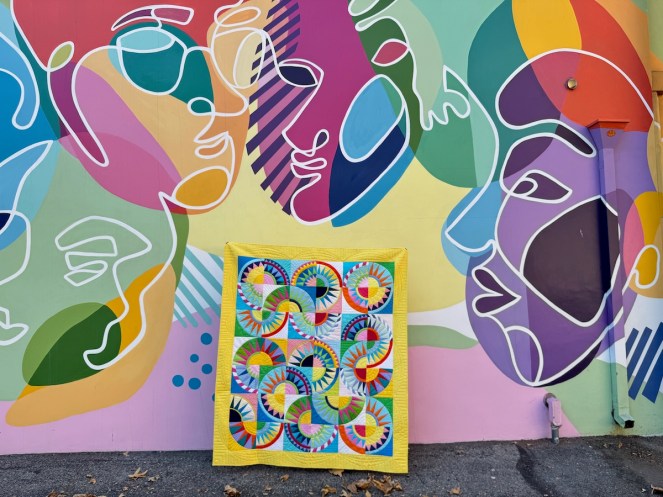
I remembered that sometimes simple borders are best, and that a ruler and a disappearing marker can get those designs sewn into cloth.
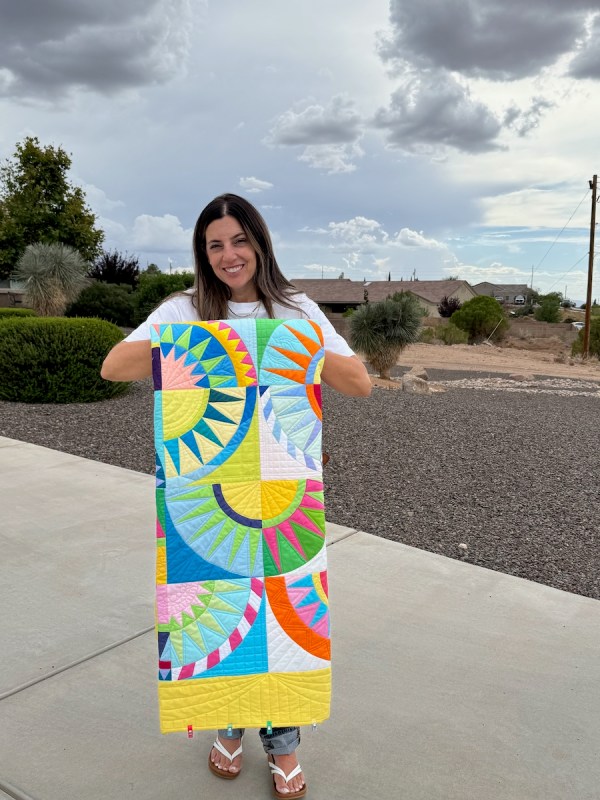
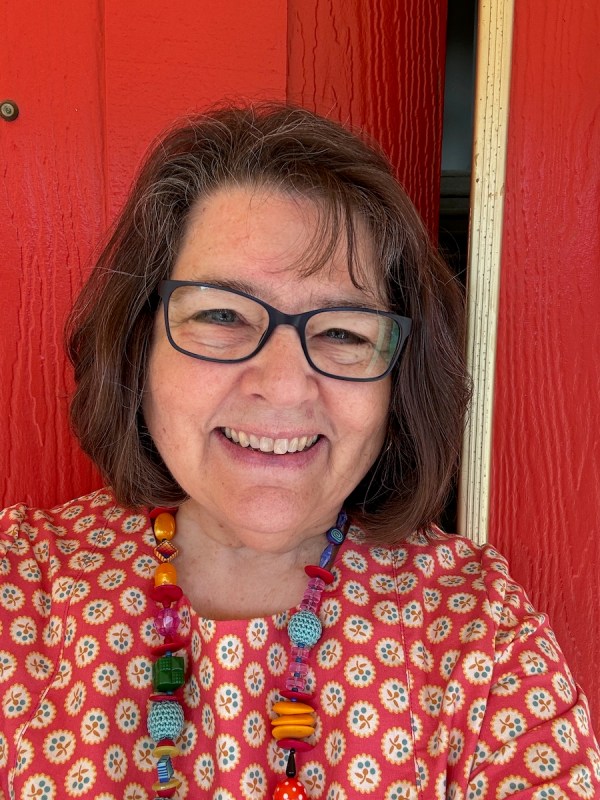
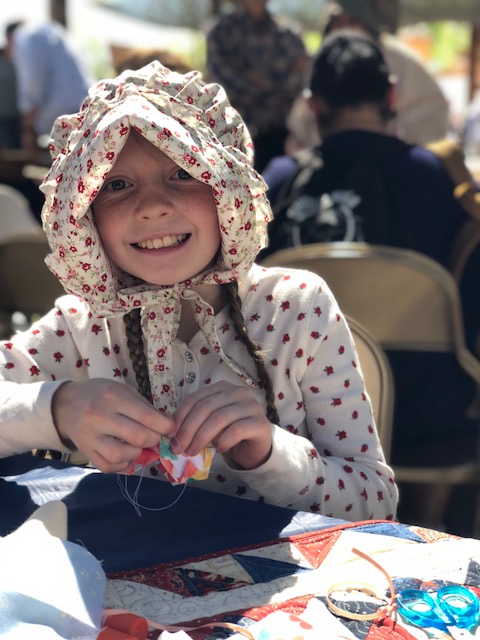
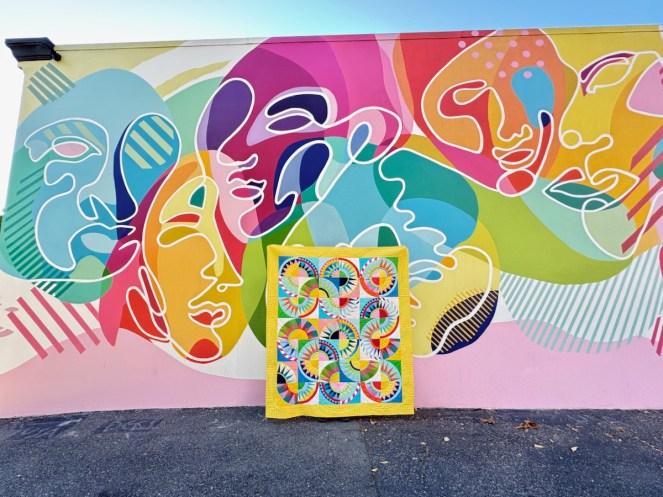
I thought about my very own New York beauty, born in the Empire State. She has fallen in the love with the Big Apple (New York City’s nickname) and tries to go there often. This quilt is for her….
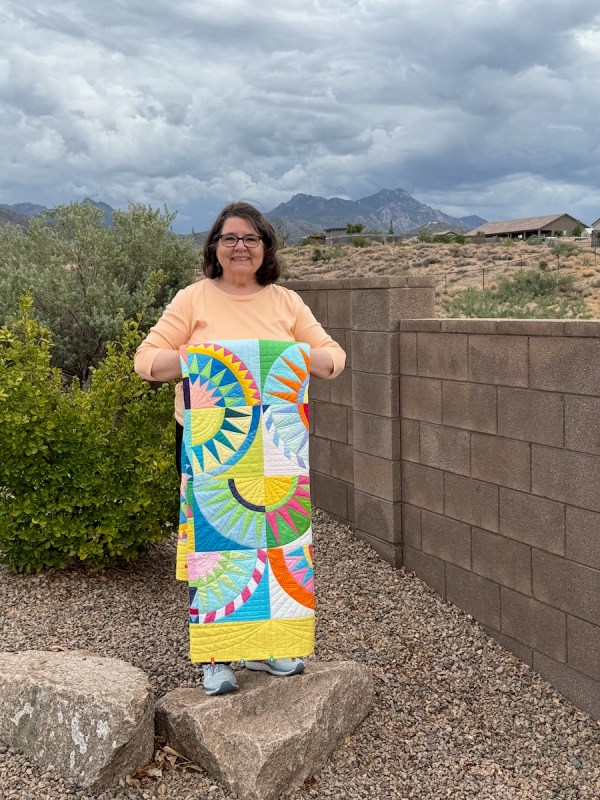
…from me, her mother.
I was stitching the binding down while we were at her house this past week, so yes, you do see little binding clips. Kinda’ adds to the color, don’t you think? But I didn’t want to leave without a picture of her with this quilt, since the full title is:
Usually I do a round-up of blog posts at the end of a Quilt Finish, but this time I’ll just send you up to the New York Beauties page with everything listed, including a free block or two. The rest of them are in the pattern, found in my pattern shop on PayHip.
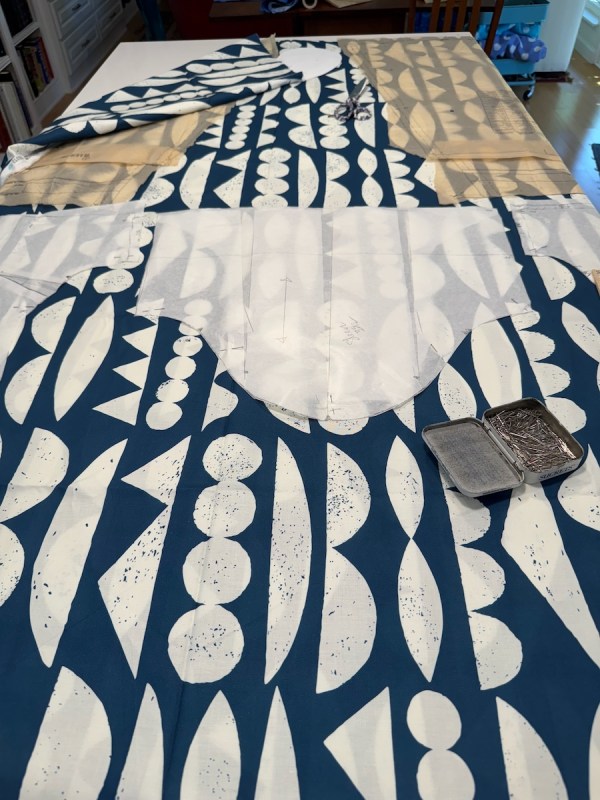
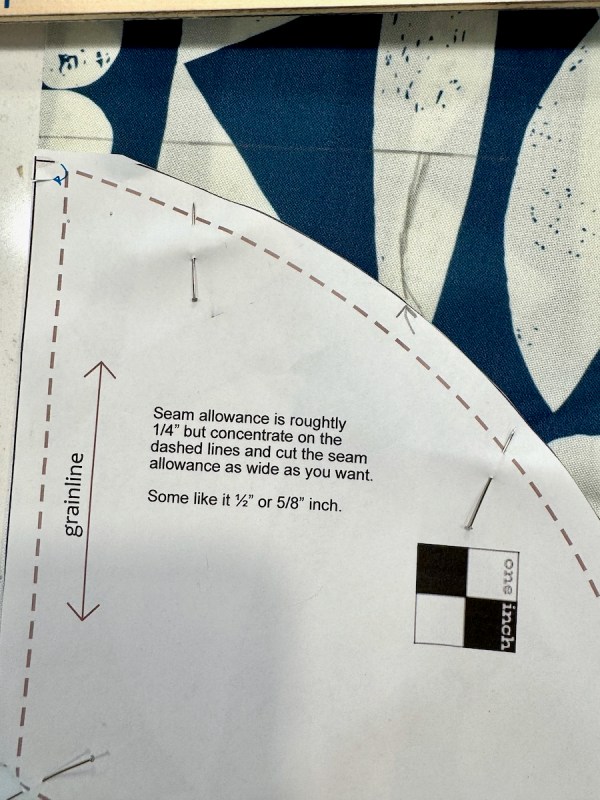
I will say that the border was cut 5″ wide, then mitered on. I will probably update the pattern at some point in the future, complete with new photos, etc. If you have purchased it, you can re-download it. I’ll announce it on here.
Lastly, I am now working on a visual index for my quilt blog. It’s called Blog Index, and it’s up at the top.