This is the final pillow of the series of twelve from Riley Blake and I was supposed to make it for June. Except I got sidetracked:

I decided to make this instead. Much more interesting, less anemic.
Then I went here in my brain:
And then I wised up:

Focus. So how about one block at a time?
Free?
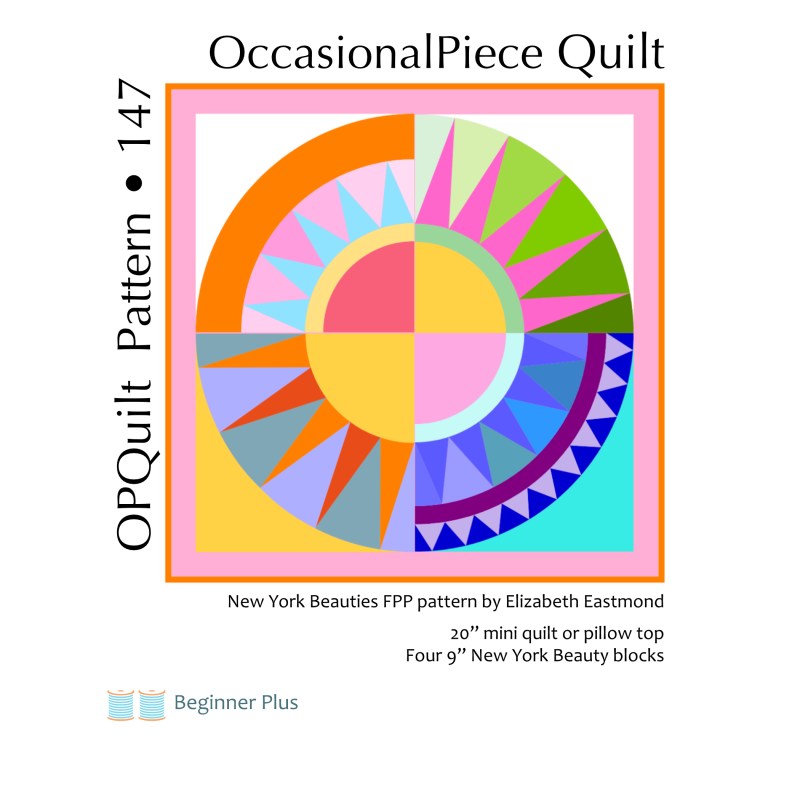
So you could make a mini-quilt or a pillow?
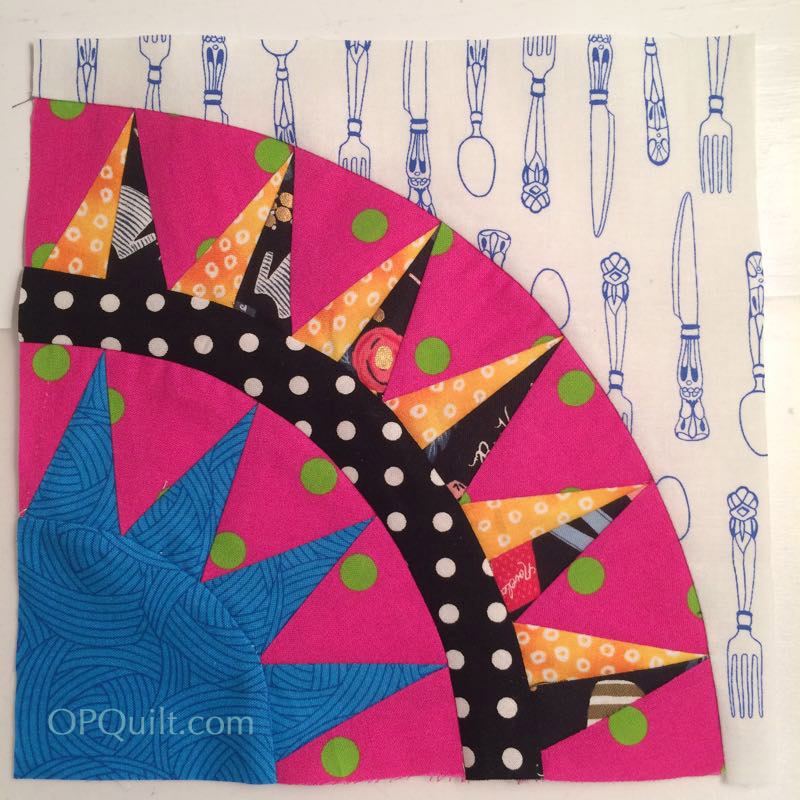
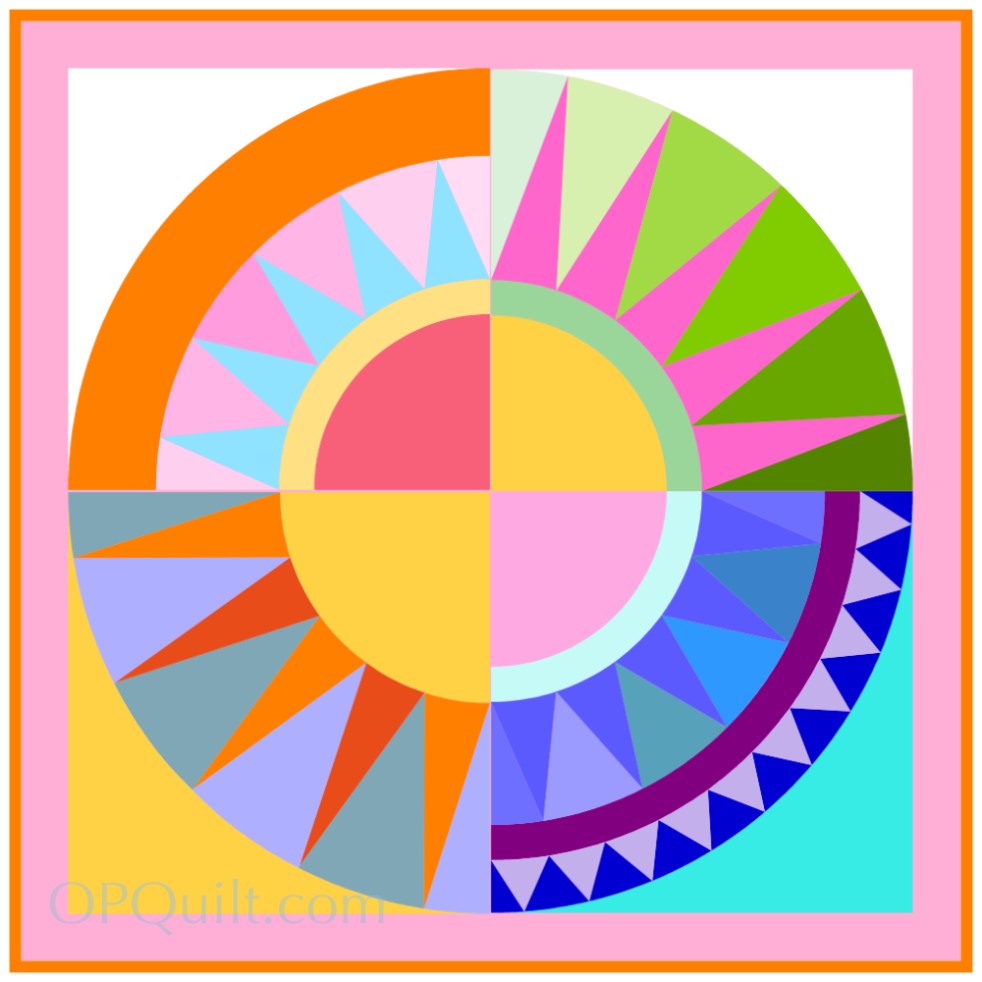
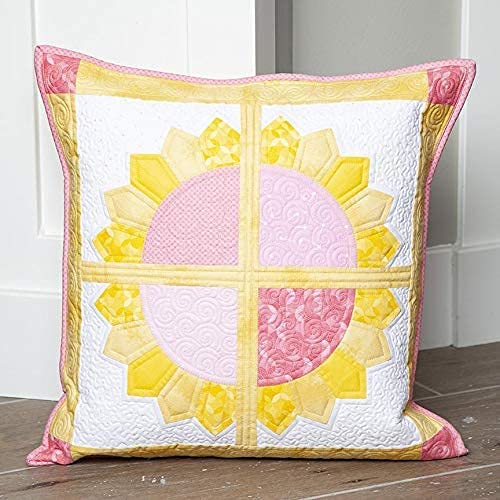
Block #1: Wild Sunflower is in my pattern shop if you want to go and get it.
Every Wednesday in June I’ll put up another block, and take down the previous. I guess I’m going through withdrawal after Heart’s Garden. But I want a 9-inch block. Most blocks are 8 inches. So there’s some splicing to do on a couple of pieces. But really–any project goes faster if it’s bigger blocks, right?
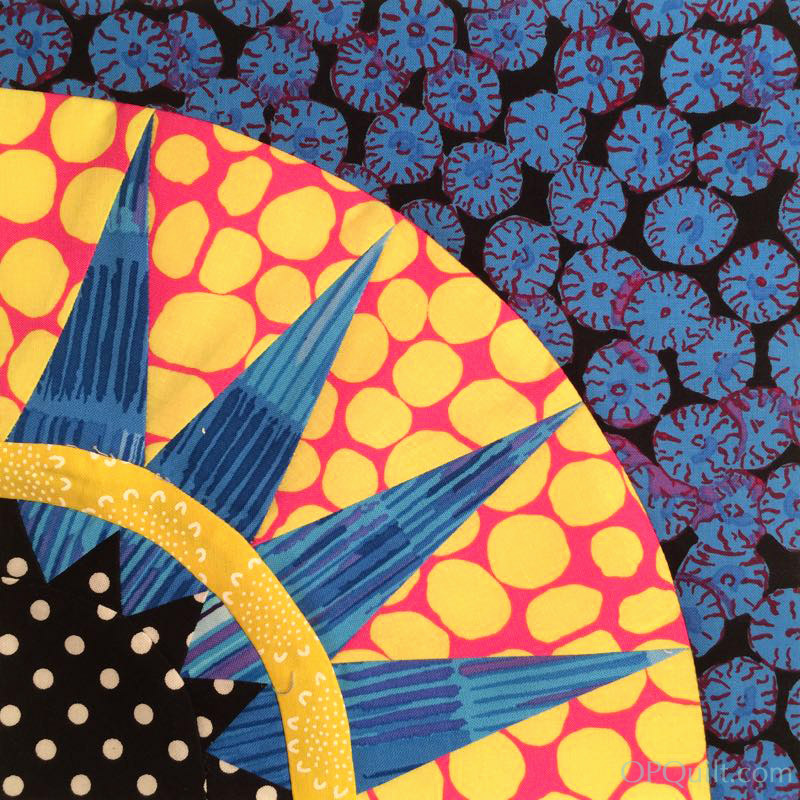
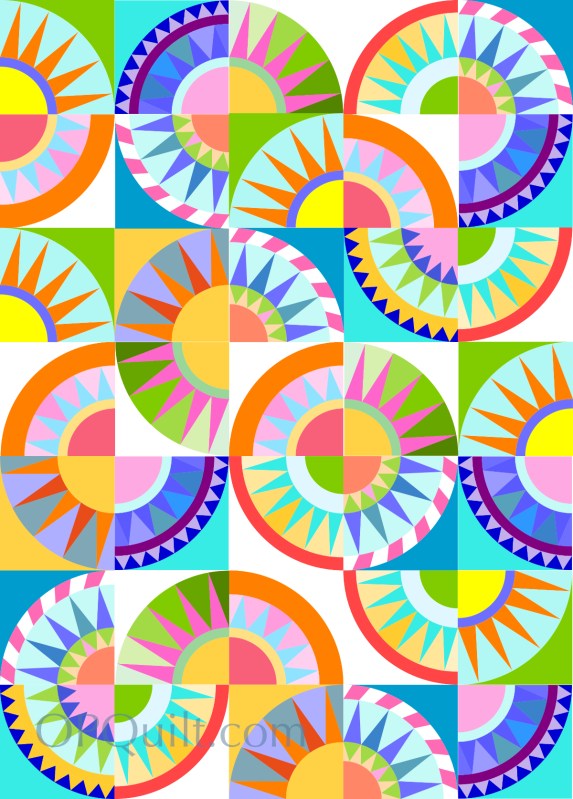
So you can put up with splicing together a couple of pieces? In thinking about the New York Beauty block…I mean there are a billion New York Beauty blocks out there on the web, free, in patterns, in a book, in several books. We must really love New York Beauty blocks, I think.
Let’s just start with one step. One block: Wild Sunflower. I did have fun naming all my blocks. You’ll see all the names in the pattern. Blocks? Names? Yes, I didn’t really stop playing around until I had designed eight blocks, and then I was tired (see cartoon, above). They aren’t fancy-schmancy with flying geese and everything. (THAT book has already been written.) But if you just want a fun June project, here ‘ya go. You can always save the patterns for later, if you are already up to here (makes motion at eyeballs) with lists of quilting projects.
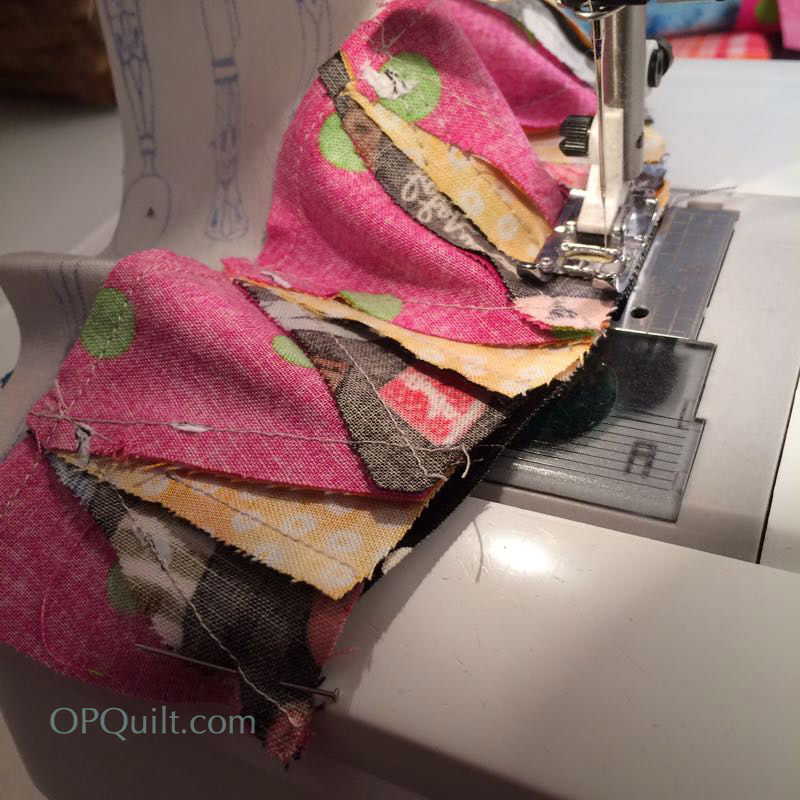
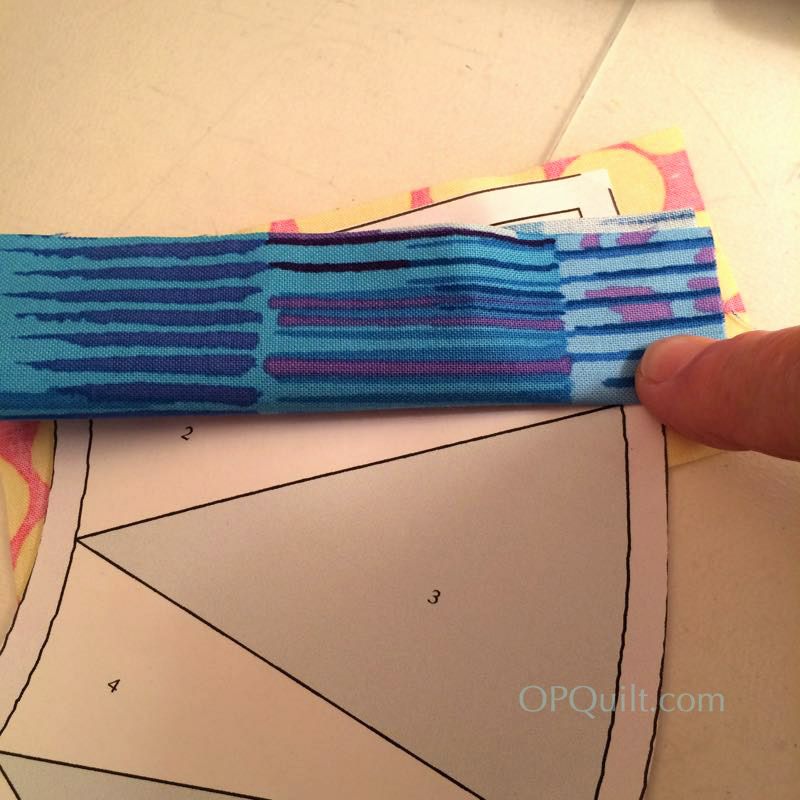
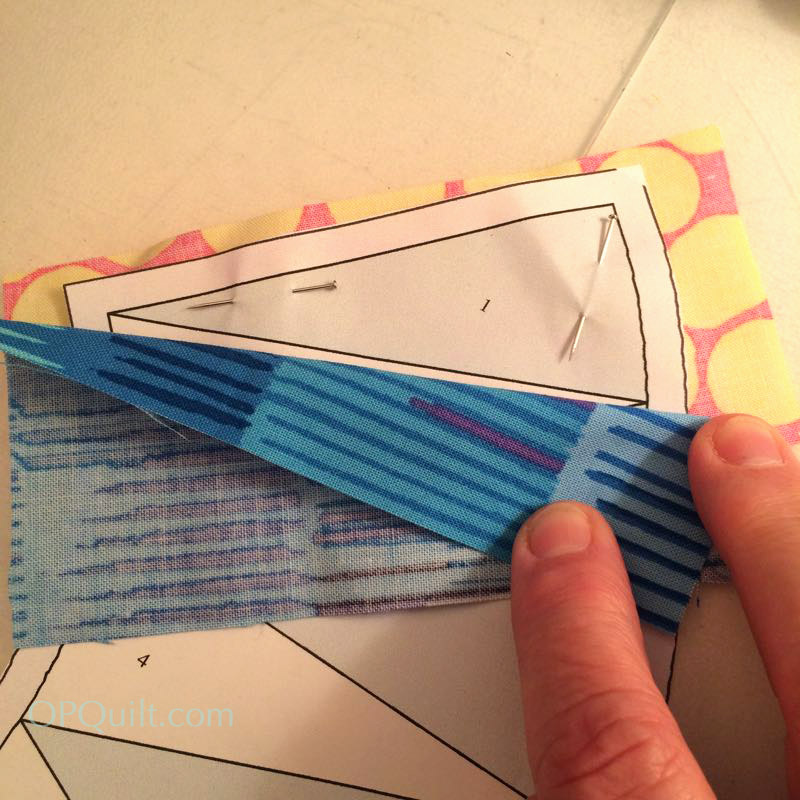
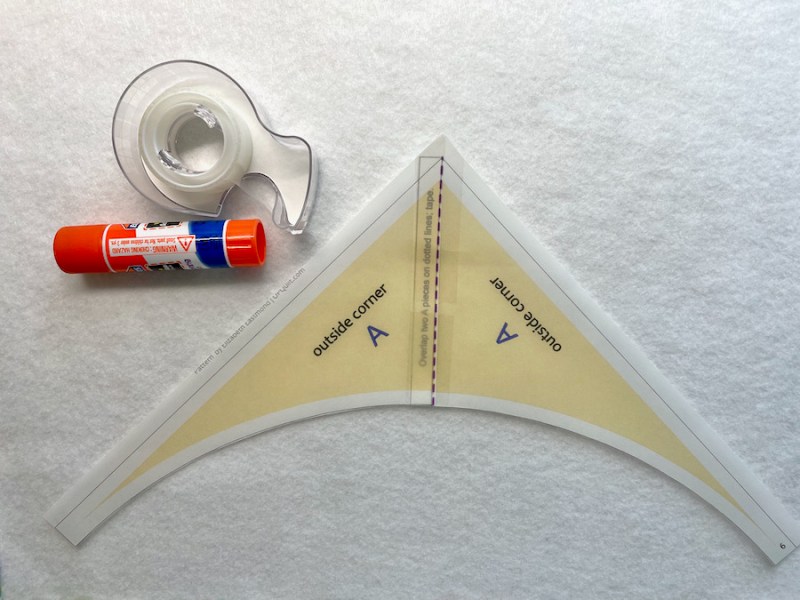
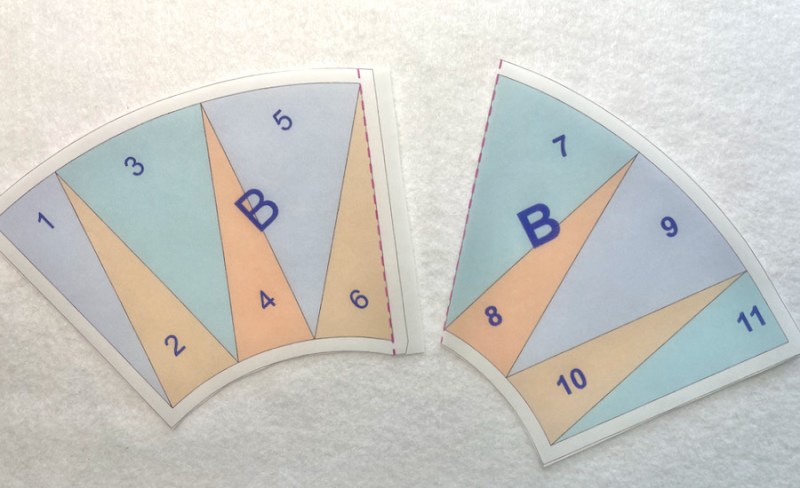
Confession: I used to hate FPP: Foundation Paper Piecing. Then I took a class at QuiltCon from the Pride and Joy Quilting lady, Verushka Zarate, and a big lightbulb went on inside my head. This is her trick of ripping away the seam allowance paper if you don’t need it (but sometimes you do). She has an online course, if she isn’t appearing in person somewhere close to you.
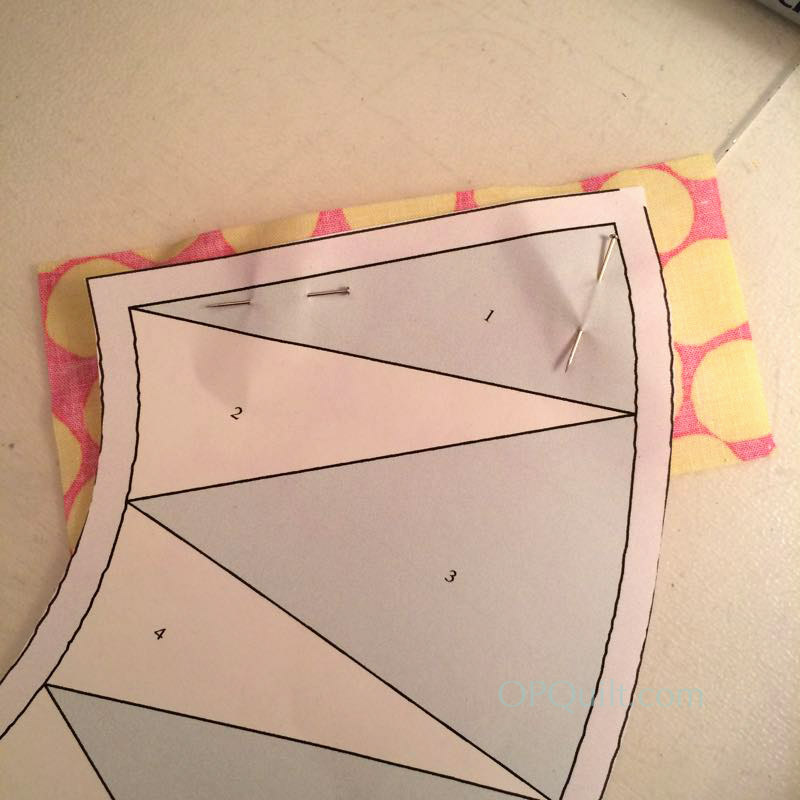
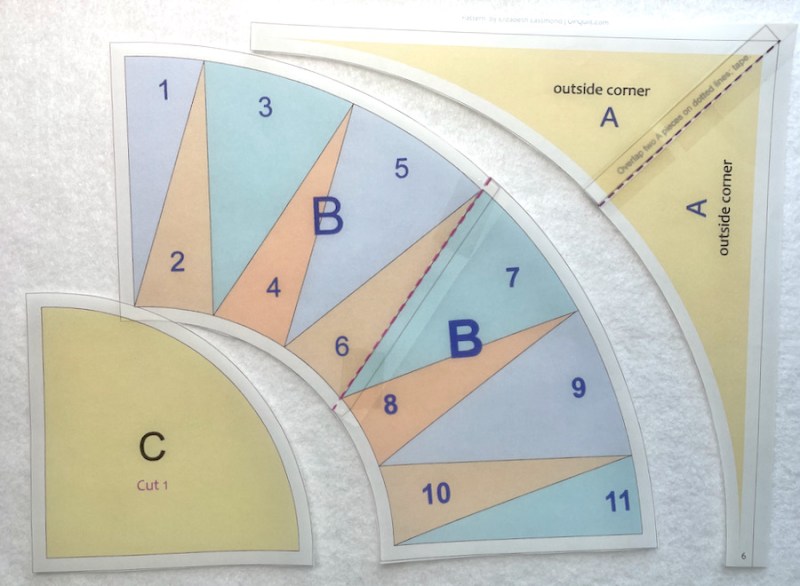
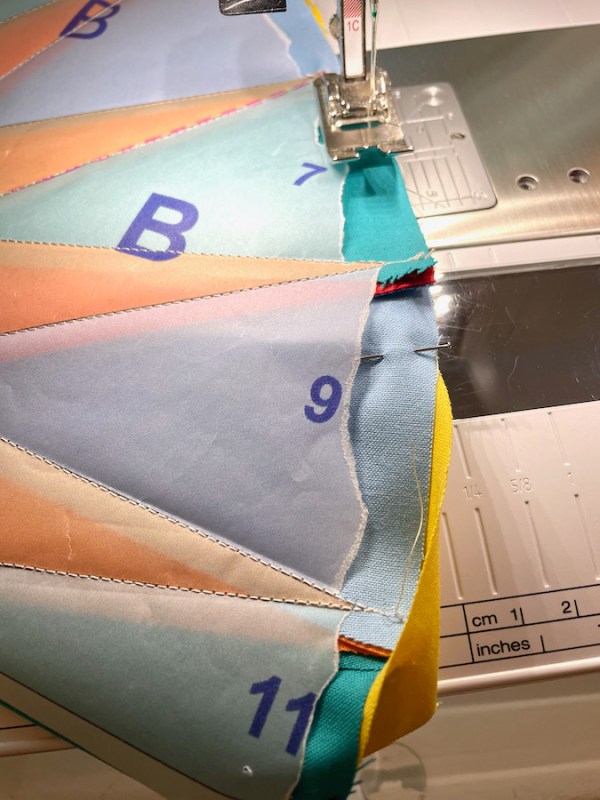
And my trick is to draw the outside corner seam allowance 1/4″ past the pattern, so you have some scooch room when trimming up. Just place the 9-1/4″ mark on each end of the arc, then trim.
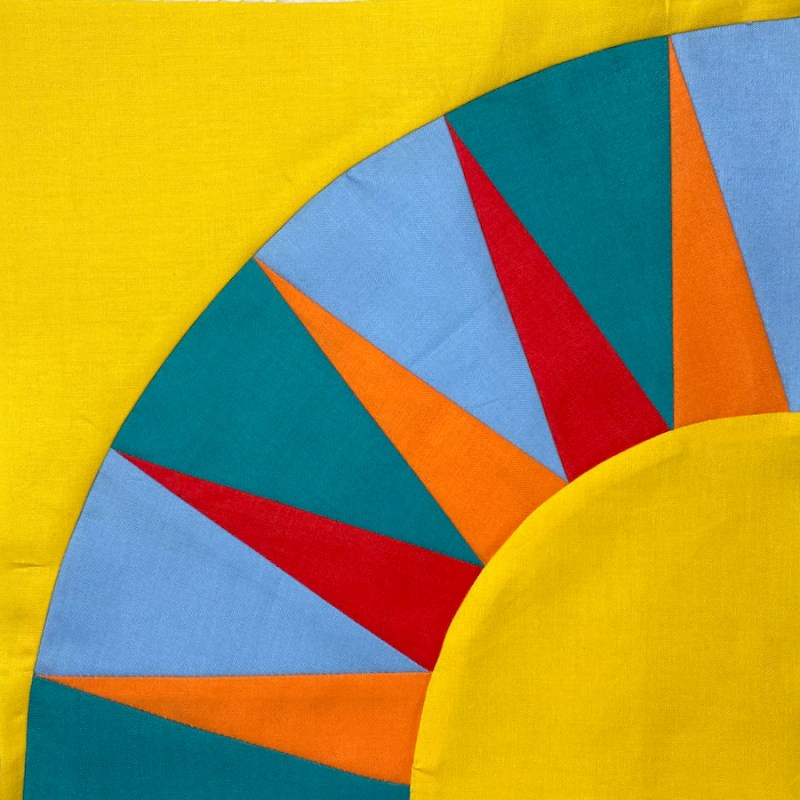
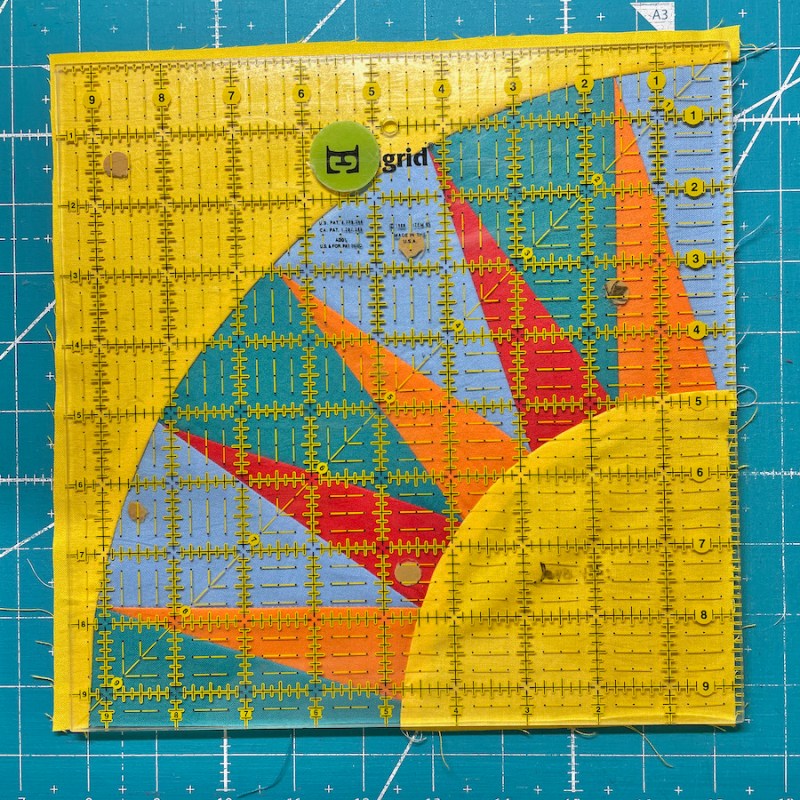
Wild Sunflower, done. And I actually had fun! I titled this series New York Beauties, and then subtitled it “for Barbara.” She’s my daughter and was born in New York and would live there the rest of her life, if she could–it’s such a strong attraction. So I think of her when I’m working on this.
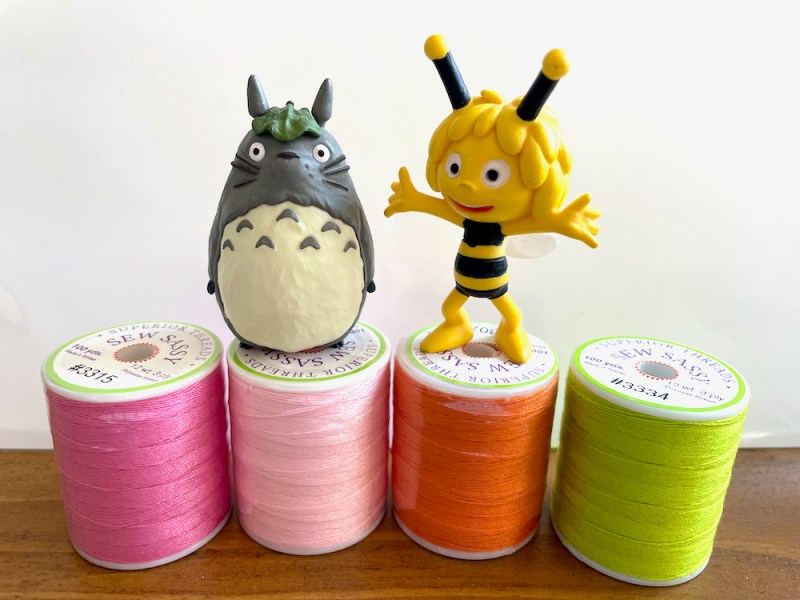
Thanks to all who entered in the drawing for some Sew Sassy. I actually found extra spools, so I chose four winners. Check your email box for the email around noon. Tomorrow I’m going to sleep in!
Just breathe…then quilt!
UPDATE: This was a free pillow series that ran in June 2022. Now there is a full quilt pattern. More information on the New York Beauties page, including links to tutorials for all the blocks, and information about how to buy the pattern.