
I just made a little video about machine appliqué that you can find on YouTube (click above image to watch). It’s not glamorous, I’m not an expert, but most of the important technique about how I do machine appliqué is there in my few minutes of total glory. (haha) While I was making it, I was thinking about gathering all my thoughts about appliqué..so I did.
TIPS & TRICKS
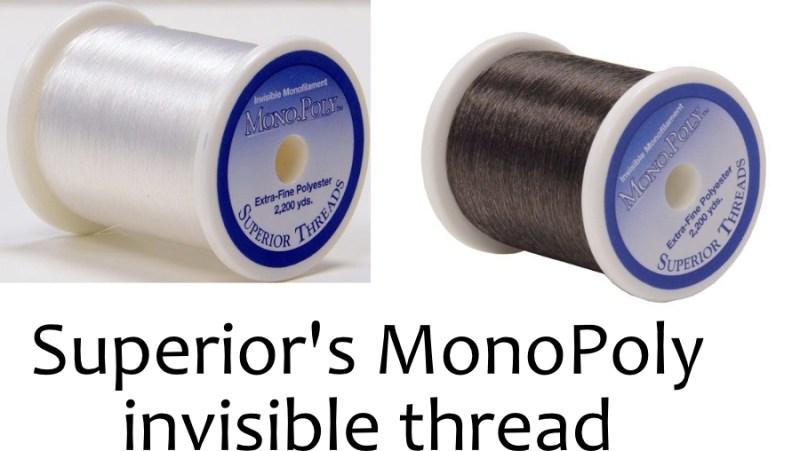
I use MonoPoly as the top thread. I use both their Clear and their Smoke, depending on what colors of fabrics I’m working with. The smoke (as their website says) is a reduced sheen invisible thread.
I use SoFine polyester thread (also from Superior) in the bobbin, and a very fine needle — size 12 is preferred.
Slow down your sewing machine speed if you can.
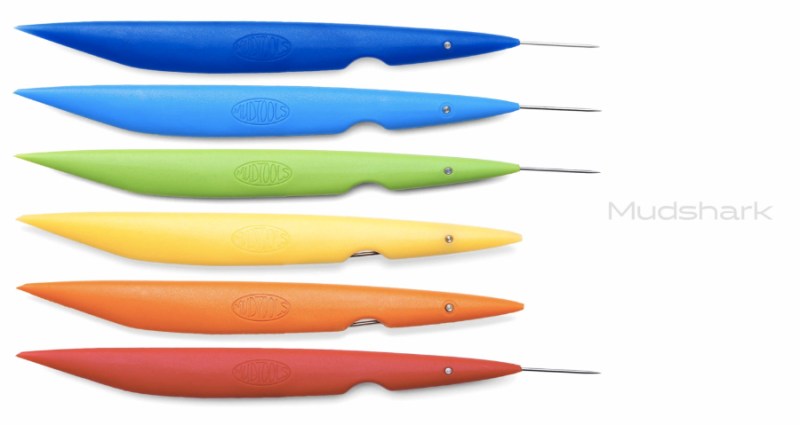
This clay tool, Mudshark from Mudtools, is one of my favorite stiletto tools for working with machine appliqué. It’s easier for me to hold and the tip is quite long. I also just like the colors. I bought it in the Smithsonian Museum after seeing an exhibit about Michael Sherrill. I figured if he used it and got such beautiful work, then I was going to lean in on his skills and start using it myself.
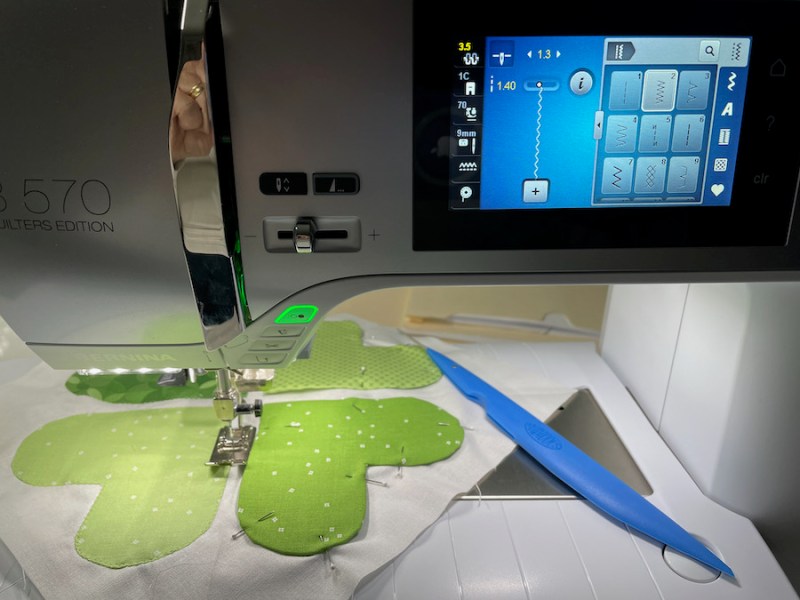
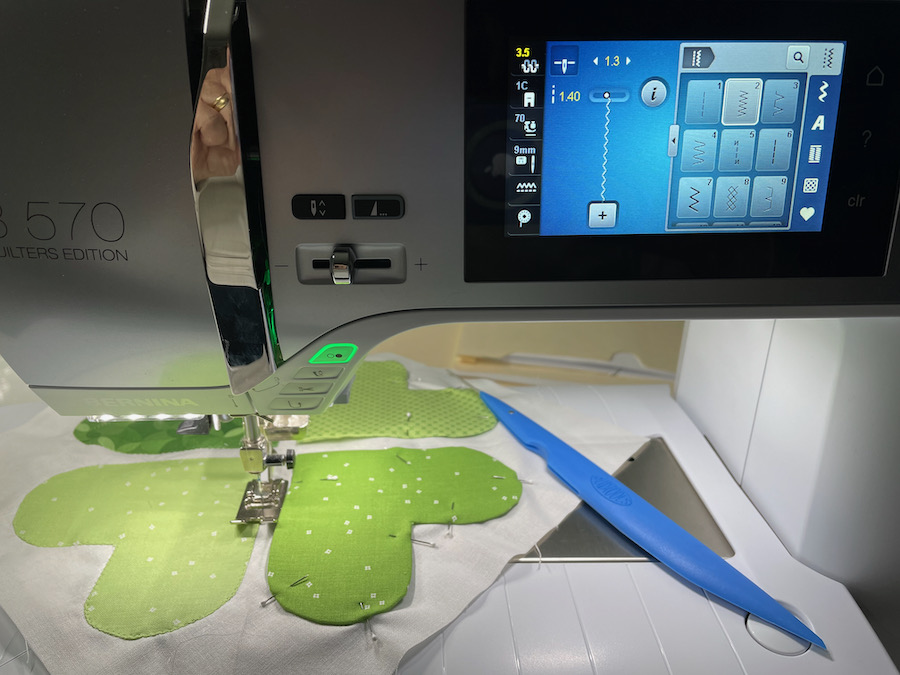
Stitch settings:
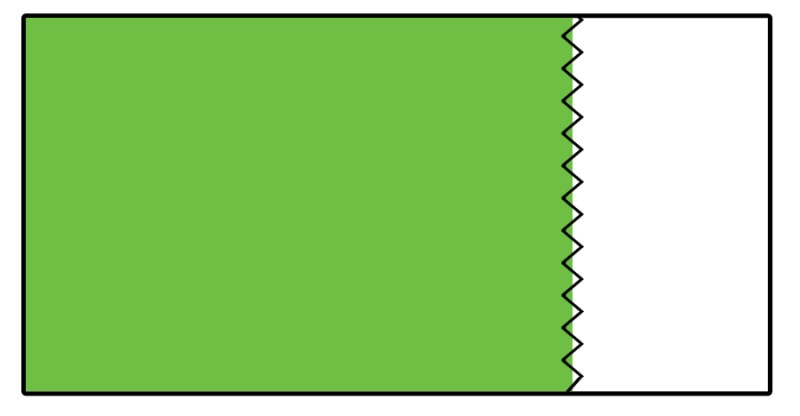
Length 1.4, width 1.3
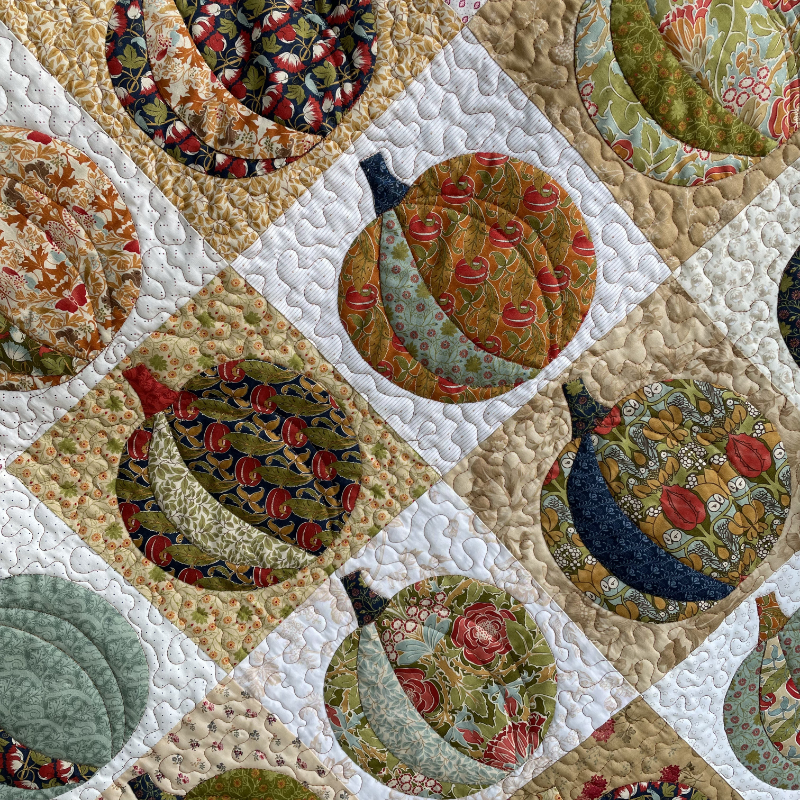
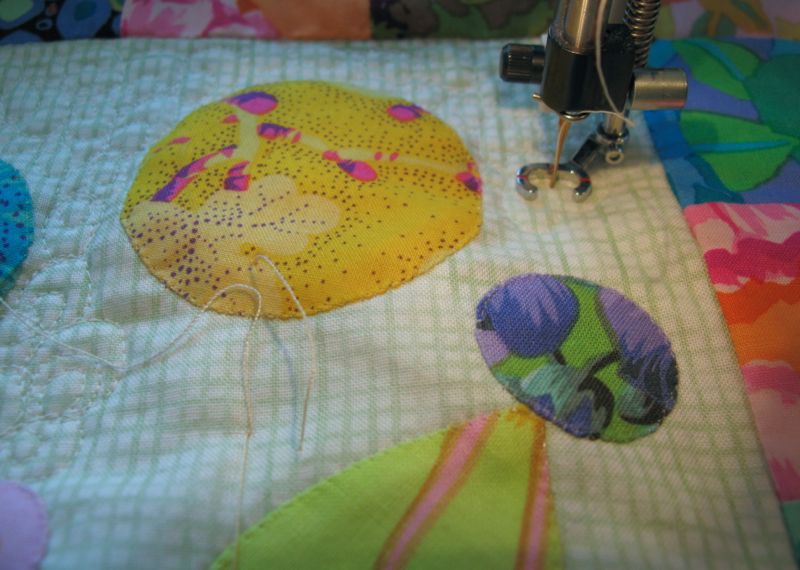
The zig-zag should just catch one side of the folded appliqué piece (green) and then the (white) background:
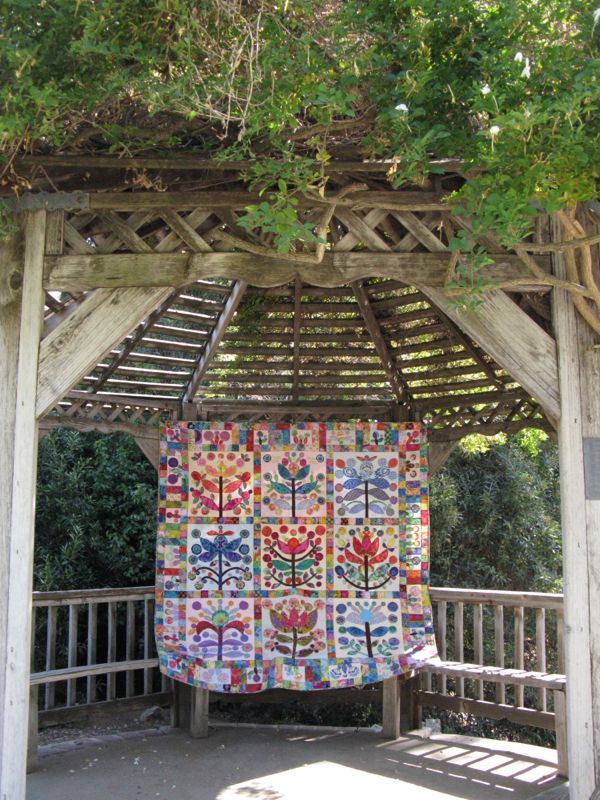
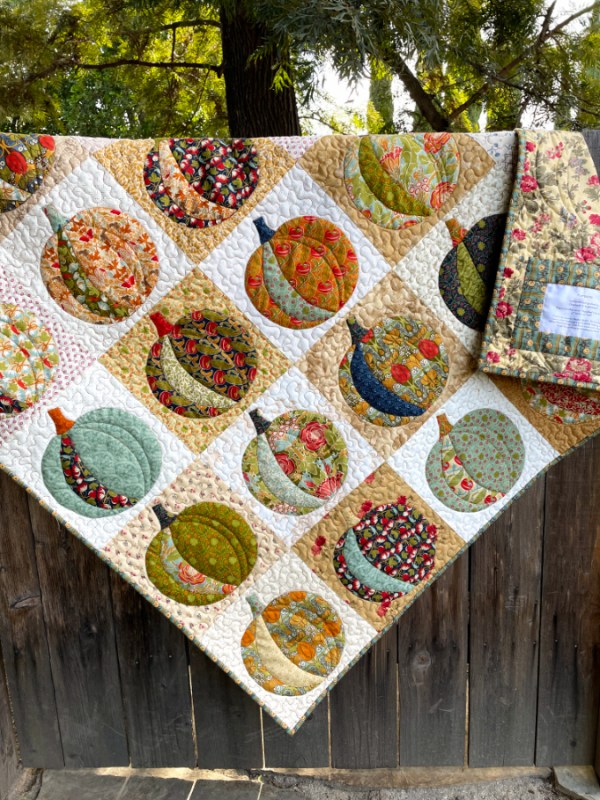
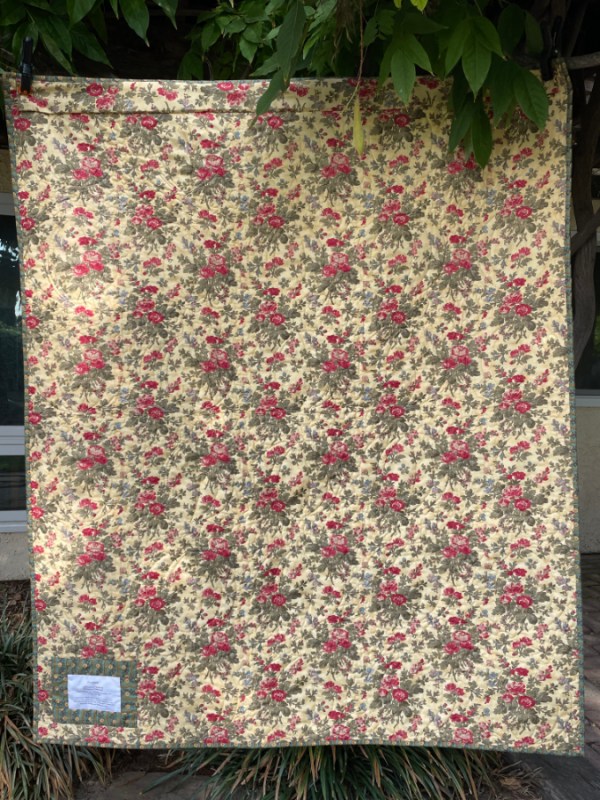
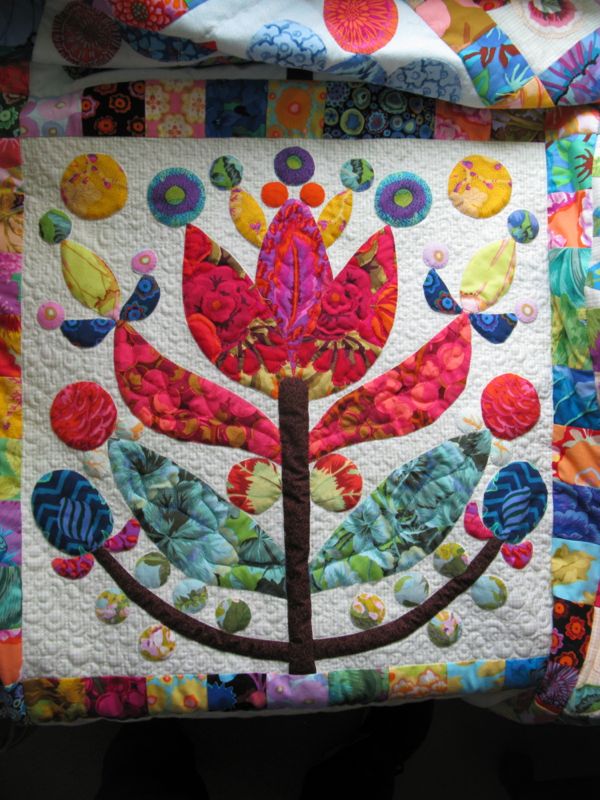
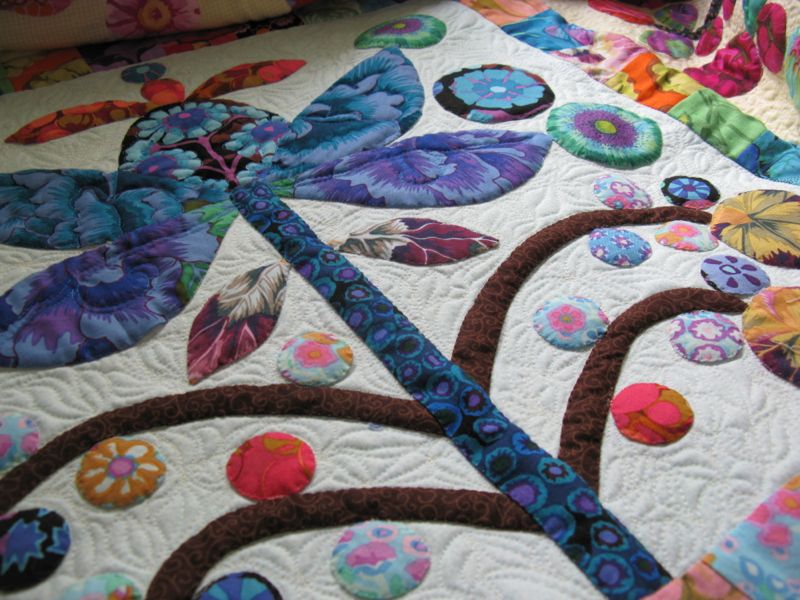
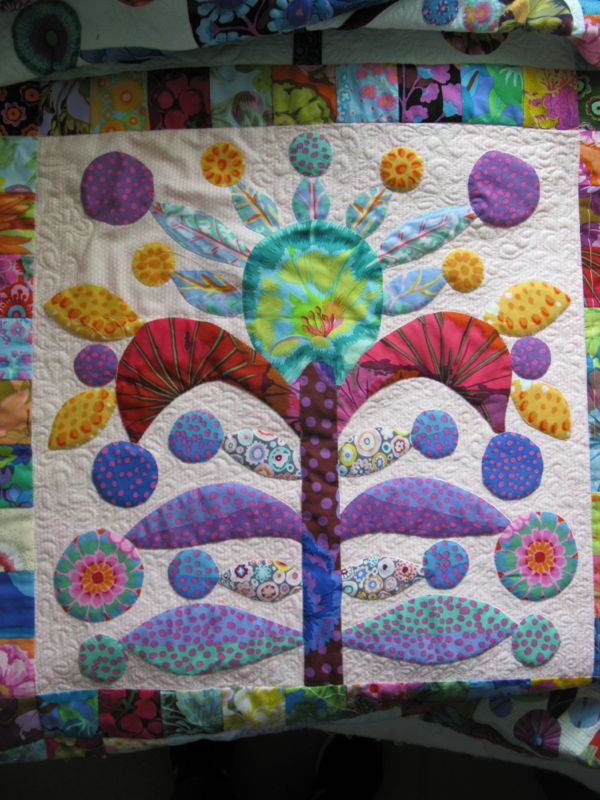
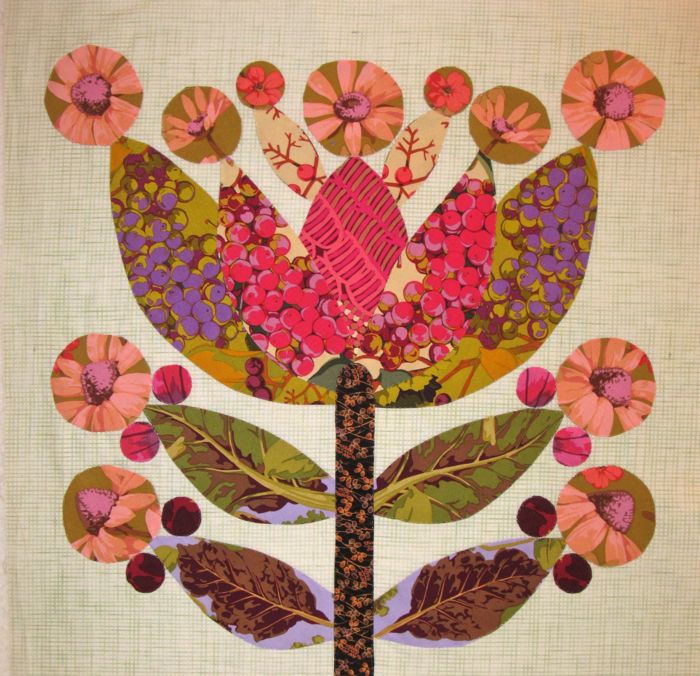
This quilt was done with all machine appliqué, and was mentioned in my video.
PREPPING THE APPLIQUÉ
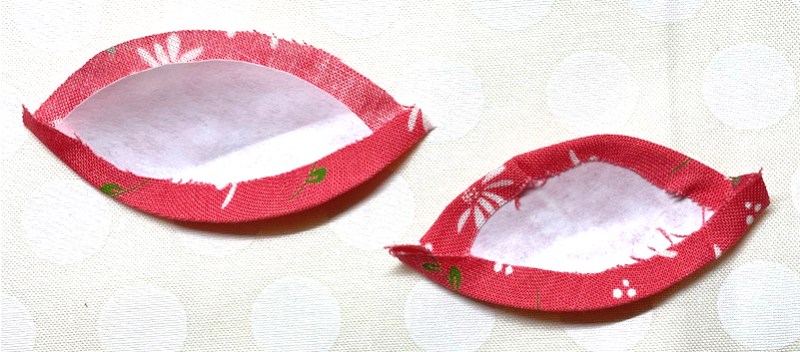
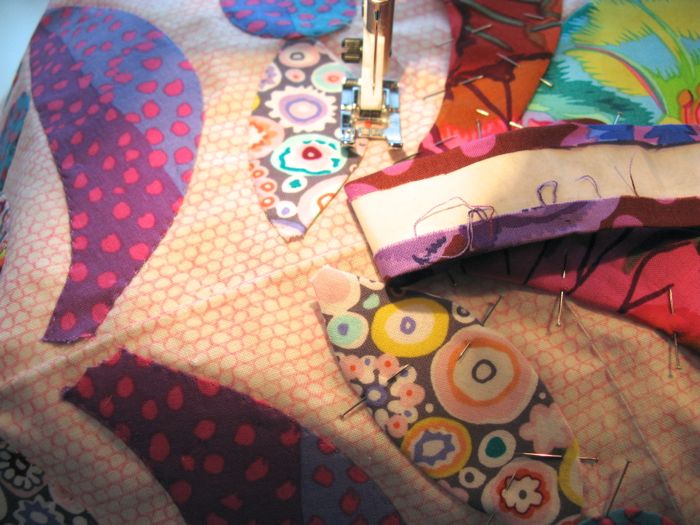
I cut all my shapes to the finished size, then cut the fabric 3/16″ (a fat one-quarter inch) bigger all the way around. I use the freezer paper shiny-side up, and with a hot iron, “adhere” the seam allowances to the waxy side of the paper while moving my iron in an arc-like motion.
Folding edges in freezer-type paper with shiny side down, from @jillilystudio on Instagram. She uses spray starch.
(NOTE: I don’t always wash my wallhangings, so don’t like a lot of glue and starch on them, but for Useable Quilts, she has some great ideas.)
HAND APPLIQUÉ
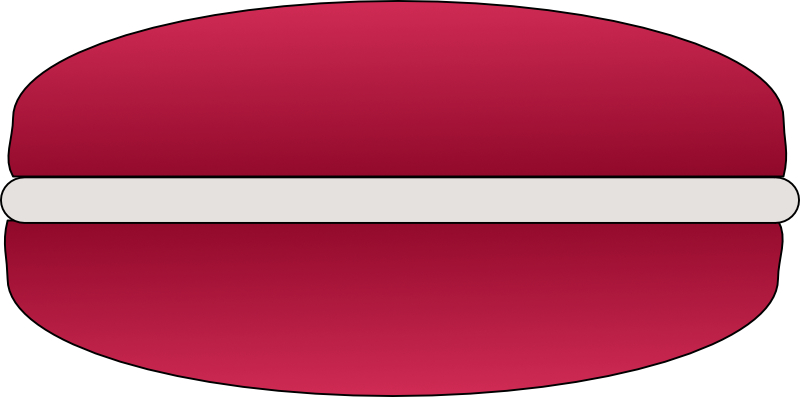
The only thing I have to offer up about hand appliqué is to think of the folded edge of the appliqué as the frosting inside a macaron, the background being the lower cookie layer and the appliqué itself being the top. Try to bring your needle out of the frosting, then poke it back down in the background just below. Run the needle for about 3/16″ (fat one-quarter-inch) underneath the background, then bring it back out through the frosting (the fold of the appliqué piece). There are many more talented people out there who can explain it better than I, but that’s how I think about it. (I know Jill Finley has a one-hour class on appliqué on her website if you are interested.)
LINKS
How I make my circles (about halfway down the post)
Sewing down the small pointed corners, from @jillilystudio on Instagram
Sewing down small pointed corners, from Becky Goldsmith (and another)
Four Yorkshiremen skit from Monty Python (just to see if you are still reading)