200 Quilts · Chuck Nohara · Mini-quilt · Quilt Patterns · Quilts

Early-May Accomplishments

Gidsters May Bee

I finished my Gridsters Bee block for Rachel.  She asked for buzzy bees, as she is a beekeeper in the Midwest.  Her tutorial is *here,*  as well as links to her pattern, but I didn’t cut apart the pieces.  I just straight paper-pieced the thing, then joined the head section to the body section.  We blew up the basis 6″ pattern to make 10″ finished bees.  I can’t wait to see what she does with them all.

Chuck Nohara May17_1
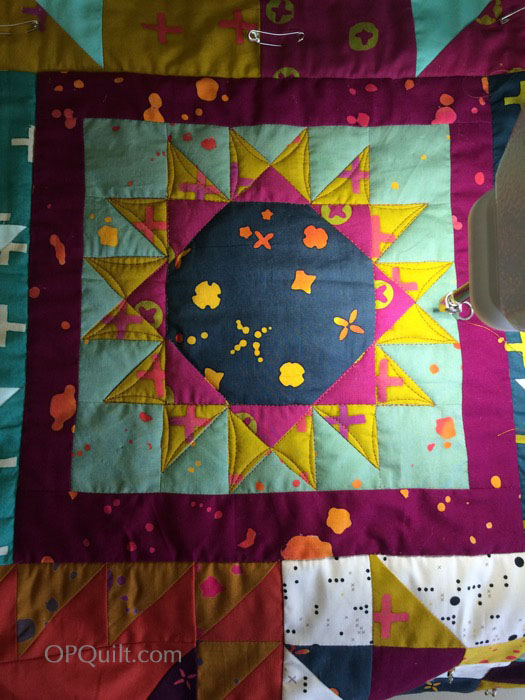
This is beginning to feel like the never-ending quilt.

I’m making small (2-1/4″ finished) plus sign blocks to go in between all the Chuck Nohara blocks that Susan and I made together last year.  Our blocks are 6″ finished, so after I worked out the measurements, I drafted a pattern for the sashing.  Here is the PDF: Chuck Nohara SashingFinal

I started the plus blocks by cutting strip sets (2 low-volume and 1 bold), then seaming the two low-volume onto the bold on either side. Cut those across the strip set into 1-1/4″ wide strip pieces.  These pieces are both the a) top and bottom of your plus block, and b) the center of the “dot” block, shown in the intersection of the sashing, above

ChuckNohara_plus assembly
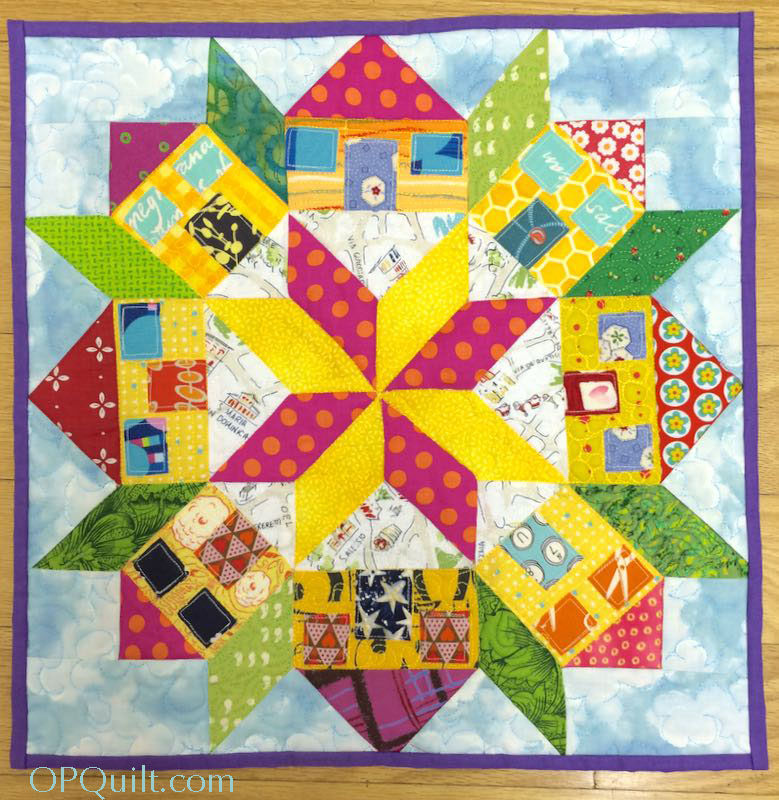
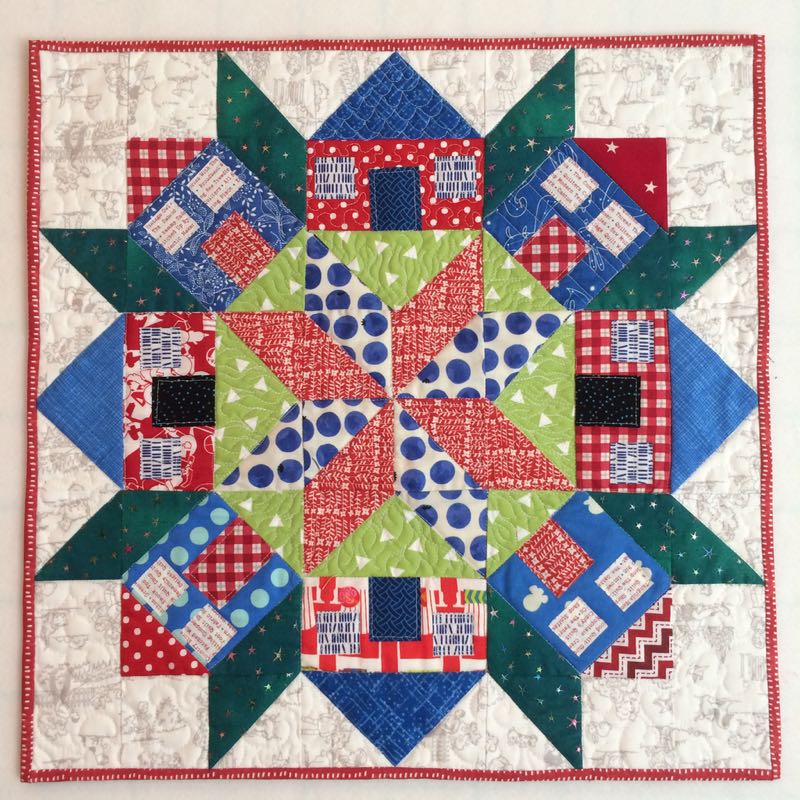
I then cut matching pieces of fabric into 1 -1/4″ x 2-3/4″ bits.  I sewed a matched set of two strip-set-blocks, one on top, and one of the bottom to make a “plus.”  Then I sewed 1 -1/4″ x 2-3/4″ pieces of low-volume on either side of a “dot” to create the mini block that is at the intersection.

Then the low-volume center piece, in between the two plus blocks, measures finished  at 2-1/4″ by 1-1/2″ (so cut 2-3/4″ by 1-3/4″).

ChuckNohara_plus blockThe “plus” and “dot” units finish at 2-1/4″ square, so trim them to 2-3/4″ square (size before sewing).

Sew two “plus” units on either side of the low-volume center piece.  Arrange them all around, then sew the row with the blocks and plus-units first:

ChuckNohara blocks row

Then I sewed the “dots” and plus-units together:

ChuckNohara blocks row2

And then I finished sewing them all together:

I’m now trying to figure out the borders.  After all the piecing I did for the sashing, I can guarantee you it won’t be like the borders Chuck Nohara showed in her book:

I’ve finally progressed to the place in my physiotherapy (I like the way the Australians say it, as we just call it “PT”) where I could try out my Sweet Sixteen quilting machine again.  After 3-1/2 months.  It took me a while to get the thread tensions balanced, but then was I able to get going on my quilt from the Traveling Threads Bee, made of Alison Glass fabrics (with a few others).

Bliss.  This block, from Toni of HoosierToni, is coming along nicely.  I’m limiting myself to 30 minutes/session so I don’t break my surgery (my one big fear in life).

Lastly, you are all invited to our Raincross Guild Meeting this coming Tuesday, May 16th (6 p.m.), where I’ll present a trunk show of my quilts–well, only 25 of them.  My husband helped me get them from our closets, walls and cupboards, so I can decide the order and what to say.  I just clicked over to the Guild’s website, and in true humbling fashion, I’m not even listed.  But Latifah Saafir is, on the day I’m supposed to teach a class for the Guild, too.  What will I be teaching?

My Home, Sweet, Home mini quilt.  I think they have a few openings, but I’m not sure.  I’ll be emailing the class members prep instructions, that if they complete them, they will finish their quilts in class.  That’s June 3rd, from 9 a.m. -2 p.m., with a 30-min lunch break (bring your lunch).

Last time I taught this class, I was able to snap a photo of three Home Sweet Home quilts. They look awesome!  Patterns are for sale in my Craftsy shop, just in case you aren’t able to attend that day.

Happy Quilting!

Classes · Quilt Shows · Quilts

Long Beach Quilt Festival, classes

I still have a bag or two to unpack, but I wanted to post about my days at International Quilt Association’s (IQA) Quilt Festival at Long Beach.  I went two years ago, when the quilt portion of it was okay with a couple of stand-out exhibits, missed last year, but happy to report that this year’s quilt display was waaaay better than the first time I saw it.  Or as my friend says, they only had one way to go–Up.  And they did.

I left my town at 6 a.m. on Thursday morning, headed through the Los Angeles traffic to Long Beach, arriving there around 8:15 a.m.  I left my car at the hotel, along with my luggage, and their shuttle gave me a ride over to the Long Beach Convention Center.  I stayed at the Hilton, only about a 10-minute walk, but there are three hotels that are closer if that’s too far.

Kaari Meng of French General fame.  She’s wonderful as a teacher, explaining everything crystal clear.

This was on our table when we arrived: the jewelry kit, tools and a fat quarter of her fabric to use as a working mat.  Like many others, I tucked the fat quarter away in my bag–no way I was going to get glue on that!

Pieces spread out: the cabochons and the bezels and the charms.  You had to be there.

Gluing done, we worked on attached things with jump rings.  I learned a lot, which gave me confidence to do the kit I ordered from her store over six months ago, and which has sat unassembled as I had no idea what I was doing.

The bracelet, modeled.  I put this and a few other pictures on my Instagram account: occasionalpiece, if you are interested in following me there.

She had a few other kits there to buy, so I took this one home.

I took two classes from Karen Stone, who is amazing, lovely and has great lines that she’s always throwing out in class:  “Have I told you more than I know?” and when working with piecing curves, she noted that instead of wishing away our troubles with piecing, we should “Learn to love the devil that you know.”  Good advice on so many fronts.

Karen Stone makes me laugh.  Like when she brought out this first quilt (above, and detail just below it), a sample for another class, and asked, “Do you want to see some irrelevant quilts?”  Of course we did, and I loved this one with all the raw edge applique leaves coiling around.

This sample was for another class also, but her combination of colors is just inspiring–not any that I would have gone for but that work together beautifully.  She says to mix everything up: batiks, 1930s prints, modern, calico, Kaffe Fassett. . . everything.

An earlier quilt, which she says was  snapshot of who she was as a quilter at that time.  As I work on my Quilt Journal, I feel the same way about my earlier quilts.

Clamshell quilt.  A lovely and invigorating riot of textures, design, colors.

All of these were laid out on the floor, so you are looking at a tilt in all the photos.  (Sorry.)

Hexies.  One-inch hexies, sewn by machine.  And that was the thrust of our class: Old Favorites, New Ways.

It looks like a puzzle on the back.  Using a lightweight cardboard template, iron just three sides of the hexagon, then fit them together, joining them with a narrow zig-zag stitch done with monofilament thread.

A closer view.

Lay out the hexies on heavy-duty water-soluble stabilizer, using a paint brush with water to “glue” down the pieces.  Notice how we are weaving them: raw edges under a pressed edge.  When I first started this technique, I was thinking how wierd it was.  But as I picked up speed, using the grid to align them and glueing them down as I went, I thought about the possibilities.

My sample complete, but not yet stitched down.  I then took it to the machine and zig-zagged along the folded edges.  It’s practically invisible that way.

And now the New York Beauty class, the block that catapulted her to fame and reknown.  I had purchased her book at the end of my first class and that night went home and read it from cover to cover.  It’s a great book with lots of tips and tricks about how to assemble these blocks, as well as a whole section on color selection.

Showing us how to cut curves–use the natural movement of the arm to cut an arc.

It was interesting to me as she talked about fabric choices, that it makes a difference when picking fabrics for the pieced arc, as to which fabric is used for the pointy things and which is used for the background.  Choose the fabric that pops off the other, she said.  In this photo you can see she draws from many many fabric types and colors, but she noted that each block should have the colorway of the whole quilt so it’s harmonious.

Upper corner of this quilt, showing the borders.

“Irrelevant quilt,” as she would say, but I was interested in how she used interior piping to set off a series of blocks as the borders of the quilt.

Demo-ing the piecing of the arcs.  “Learn to love the devil you know.”

My little wobbly block.  She said don’t trim them, as it will all work out.  I was interested that these fabrics “worked” together, as I never would have chosen them.  But this block does work and that interesting animal spots background that changes sizes works to pull the viewer’s eye into the block.

After classes, we all headed into Preview Night, where we could get first crack at the vendors and see the quilt show.

Here’s the booth selling Ghanian fabrics.

Another vendor booth showing a bright Log Cabin quilt.

Julie Herman of Jaybird Quilts–I follow her in Instagram and also read her blog.  She’s written a book and I’m happy to say that it’s a solid effort, with clear concise directions, and few new tips and lovely quilts.  She is very talented and recently relocated to Southern California from Philadelphia.  It’s a family affair–her mother was working the booth, beaming from ear to ear at her very talented daughter.

Sandy Klopp, of American Jane.  I told her my camera was a “younger-lighter” brand, explaining that it was magic and made the person in the photo look 10 pounds lighter and 10 years younger.  We wish.

Jane Tenorio-Coscarelli of Quarter-Inch Publishing.  Amazing coat.

The last night I was there, the traffic was backed up all over the freeways, so I parked the car after dinner and went in for the last hour.  All the tour busses had gone home and the vendor area was pretty empty.  I felt like this guy, tired and wanting a nap.

So I went over and found my friend Heather, of Superior Threads, and we walked around.  It was pretty interesting being at the side of a vendor, as she greeted her fellow vendors.  I told her was like those children’s stories that when after the children are tucked away and are asleep, all the toys come to life.  She laughed, but agreed.  I have to remember that I show up at quilt shows a few times a year, but all these people see each other about every month.  She knew their stories, asked them about their vacations, commented on new products they had in their booths.  When I’m there, I just see them as temporary brick-and-mortar shops where I can glean new quilt fabrics and buy the latest.  But with her, I realize that we are all part of a large industry, all of us like pieces in a incredibly wonderful quilt.

More, next post, on some incredibly wonderful quilts in the show.

Classes · Quilt Shows · Quilts

Long Beach Quilt Festival: Getting Ready

I believe in taking classes, when they interest you or teach you a new skill.  I’m headed to the Long Beach International Quilt Festival (or LB-QuiltCon, as I like to call it) and I’m taking three classes: two from Karen Stone and one from Kaari Meng, of French General.  Here are snapshots of the projects:

I discovered today that there is a Preview Night on Thursday night, where we get access to the quilt displays, vendors plus they have a Take-It-Make-It sort of set up of learning new skills.  I finally got organized this afternoon, printing out class supply lists, which led me to notice one curious thing.  I need no fabrics for the Stone classes, but did have to pay for a kit.  And they’ll have sewing machines for us to use (and charge us for, of course).  When I went to Houston a few years ago, I dragged a roller suitcase full of fabric with me to each of the classes I took.  What a change.

What a very nice change.  (I may sneak some of my fabrics in anyway.)

Classes · Creating

Becky Goldsmith/Quilt Class

I had asked to be put on the waiting list of Becky Goldsmith’s class, hosted and organized by Orange Grove Quilters Guild, and by some incredible stroke of luck, I was in!.  I arose at 5 a.m., and was out the door by 6:45 for the long schlep across Orange County; traffic was thick, but not brutal at the early hour of 7:30ish.  I was among the first there, and watched as Becky Goldsmith of Piece O’Cake Designs set up.  She is very prepared.  She also set out an array of tools and notions and books and patterns for us to choose from.  I picked up a few new tools and a couple of Piece O’Cake books.

After she was set up, she indicated that now was a good time for photographs, and she was gracious admiring about the quilt I’d made from one of her patterns.  I’ve taken loads of classes from many of the more renowned quilt masters, and what I appreciate most is when they know how to tamp down the ardor from fans, while acknowledging the fan herself.  I found Becky to one of those excellent teachers who are intent on teaching, not on ego-stoking and I knew it was going to be a good day of learning.

We were learning a type of appliqué that was on top of the appliqué piece, with clearly visible stitches that would act as almost an embroidery of sorts.

I took several pictures, but only this one was not blurry.  You can see the stitches here, a technique she calls “Applique with Attitude,” and for which the Piece O’Cake team has written a book.  I had been contacted by Marie from the guild about the spot in my class, and she had recommended a place for me to order some of my supplies.  I was really grateful for that, as I felt well-prepared even though I only found out the week before.

One of the techniques she covered were tracing the design onto a vinyl overlay so as to place the pieces accurately.

I didn’t take a picture of every step, but another tip was the idea of how to pin: we should use the shorter appliqué pins in order to really anchor our appliqué pieces down for stitching.  She taught us a fine technique for marking (place your fabric on a sandpaper board, or fine-grit sandpaper, so it doesn’t shift, then mark a strong line).  At each step, she helped me refine what I knew about appliqué.

Some really speedy quilter in class finished up their class sample.  I know you are thinking what?  Just a tulip?  But in between we were taught about why we should wash our fabrics, not use spray starch, the importance of good and useful tools, the use of color, the idea of varying our quilts, and of not using a ruler to cut–allowing a bit of wonkiness to slip into our art.  I took eight pages of notes, and we only had about a 20 minute break for lunch!

She gathered us round to point out differences in ways of doing things, and I must say as a sidelight, I was really impressed with this guild and this class; such lovely ladies and they made me–a stranger–feel very welcome in their midst.

I liked the little vignette of this quilter’s station.  About all those balls of color: we were using perle cotton for our Applique with Attitude and I look forward to fall when I spend less time in major quilt projects and more time hand-sewing to finish this up.

Then it was picture time.

That’s Marie on the left, Linda (I think?) on the right.

Another quilt of appliqué.  I found it really interesting when she talked about how she laid out her quilts.  While it’s not easy to see, nearly every block background in this quilt is different. She said she cuts out her backgrounds, smooths them up on her pin wall.  Then she cut the shapes out of her fabrics (sometimes cutting up to 10 different fabrics, if the first one doesn’t work) and lays them over the backgrounds.  She then moves to sashing, then borders, making sure the colors balance and work well together, harmonizing but interesting.  By the way, I love the border treatment.

Not the best lighting for a quilt, but I’m trying to capture the varied colors and shapes.  I like it when the flowers “break the border” of the block, continuing the eye in movement across the quilt.

The label contains the title, info about the maker, date, her address (blurred out for privacy) and the fiber content.  Both labels were of the same type on these quilts.  I don’t know if you noticed that she also appliquéd her initials and the year on the front of the red quilt (above).

During class, a folder circulated and we all wrote a short note to Becky Goldsmith.  I’d never seen this done before and I thought it was quite sweet. And speaking of sweets. . .

. . . people brought little snacks to share, again reinforcing my belief that this was a really neat group of quilters!  I had a great day, leaving right at the end of class to make it home in time for a reception at the outgoing university dean’s house.  We were a little late, but I was able to take the class and still make it.

I found this quote by Daniel J. Keys:

Accomplished artists are those who have proved themselves to be the best at what they do. ‘Master’ is the title often given to such a person, and rightly so: They’ve established themselves as worthy of the title through many years of study, and devotion of their lives to their craft.

I have taken many quilt classes in order to learn from the masters of the quilt world.  Only a few times have I been disappointed; nearly always I have learned something.  I have my favorites, and I have to say the Becky Goldsmith is in that group.  A most enjoyable day!

Classes · Tutorial

June Flowers/Tulip Tutorial

Every June the jacaranda trees put on their bluey-purple-periwinkle display of flowers, and we all wander around wondering how we got to be lucky.

And like clockwork, every June they dominate my photos — exquisitely colored blossoms on hills, around bends while the rest of the year these trees blend into the landscape.

And I’m heading to a class with Becky Goldsmith (the designer of the quilt I did last year: Come A-Round) and we’re doing a flower in class, so I chose a night-blooming plant for color inspiration for fabrics to pull.  This comes from the Sherwin-Williams paint website “Chip It,” where you load up a URL of a photo and they provide their colors.  I just like how it looks, and it helped me pull from my stash.

So when it came time to decide on a block for the Far-Flung Bee, that was easy: a flower.  I also wanted something of simple construction (9-patch) because of my fabric requrements–I wanted some fabrics with text to be incorporated into the blossom.

Here are two versions of that tulip/flower block, and the text fabric is used two different ways; one is in the background fabrics and the other is included in parts of the flower.  That green fabric saying Blah Blah Blah is a treasure for me as my friends Bert and Rhonda sent it to cheer me after my surgery in December.  I’ll always think of them when I use those fabrics (thanks, guys!).  So here’s how to do it.

For one 9-inch flower block:
Cut four 3 1/2″ squares–3 from the background fabric, 1 from the flower fabric
Cut four 3 7/8″ squares–2 from the background fabric, 1 from the flower fabric, 1 from the leaf fabric
Cut one 2″ by 3 1/2″ rectangle from the background fabric
Cut two 2″ squares–1 from the background fabric and 1 from the stamen fabric

Working with the 3 7/8″ squares ONLY, place one background square on each of the flower and leaf blocks.  Draw a diagonal line from corner to corner, or if you have the Quick Quarter tool (shown above), draw a line on either side.  You’ll stitch just inside this line (towards the center), or if you have drawn a single diagonal line, you’ll stitch a SCANT quarter-inch seam on either side of your drawn line.

Cut from corner to corner, inbetween your stitching.

Press the seam allowance away from the background triangle, as shown.  Notice those dog ears on the corners? We’ll cut them off later.

Working with the 2″ square blocks and the one rectangle now.  Seam the stamen fabric block to other 2″ background fabric block.  If you’re like me and getting up and down to the ironing board gets tiresome, just finger press that seam towards the stamen fabric.  Then seam the rectangle onto this unit.  Okay, now go to the ironing board and press that flat.

Lay everything out. Smile, because it looks cute. AND it’s fast!  Seam them together in rows, working across the block.  Keep track of which direction that bottom leaf goes.  I did it wrong twice.

Now it’s time to trim off those dog ears.  (I actually trim them as I seam the pieces together, not waiting until a final moment, but this is just a reminder to get them off now).  I use that old fashioned tool that works so well: scissors. Snip snip snip while holding it over the trash can.

  I’ve flipped it over to show the directions for pressing.  Basically you want to have the seams going in opposite directions so they’ll “nestle” together when you go to sew the rows.  Lay it out again, the sew the final seams, joining the rows.  Double check that bottom row twice, so you don’t sew it in wrong (like I did).

You’re finished with one block.  Eat Your Vegetables, by laying a ruler over it and truing up the block to 9 1/2″.  It will sew down to a finished 9″ block in your quilt.

Here’s a mock-up of one layout, using 1″ sashing and corner squares.  I’ve also thought that since it’s based on an easy nine-patch block, that a grouping could be made of half-sized (4 1/2″ finished) blocks that could be interspersed for a more random look.  That’s for another day.

Enjoy your spring flowers!