This year’s main quilting events: Shoulder surgery in January, which pretty much sidelined me for a long time. That’s at the top of the list, because whatever I did after that was like icing on the cake. My achievements — or lack of, depending on your view — can be found under the tab “200 Quilts,” a handy way to navigate the morass of blogland.
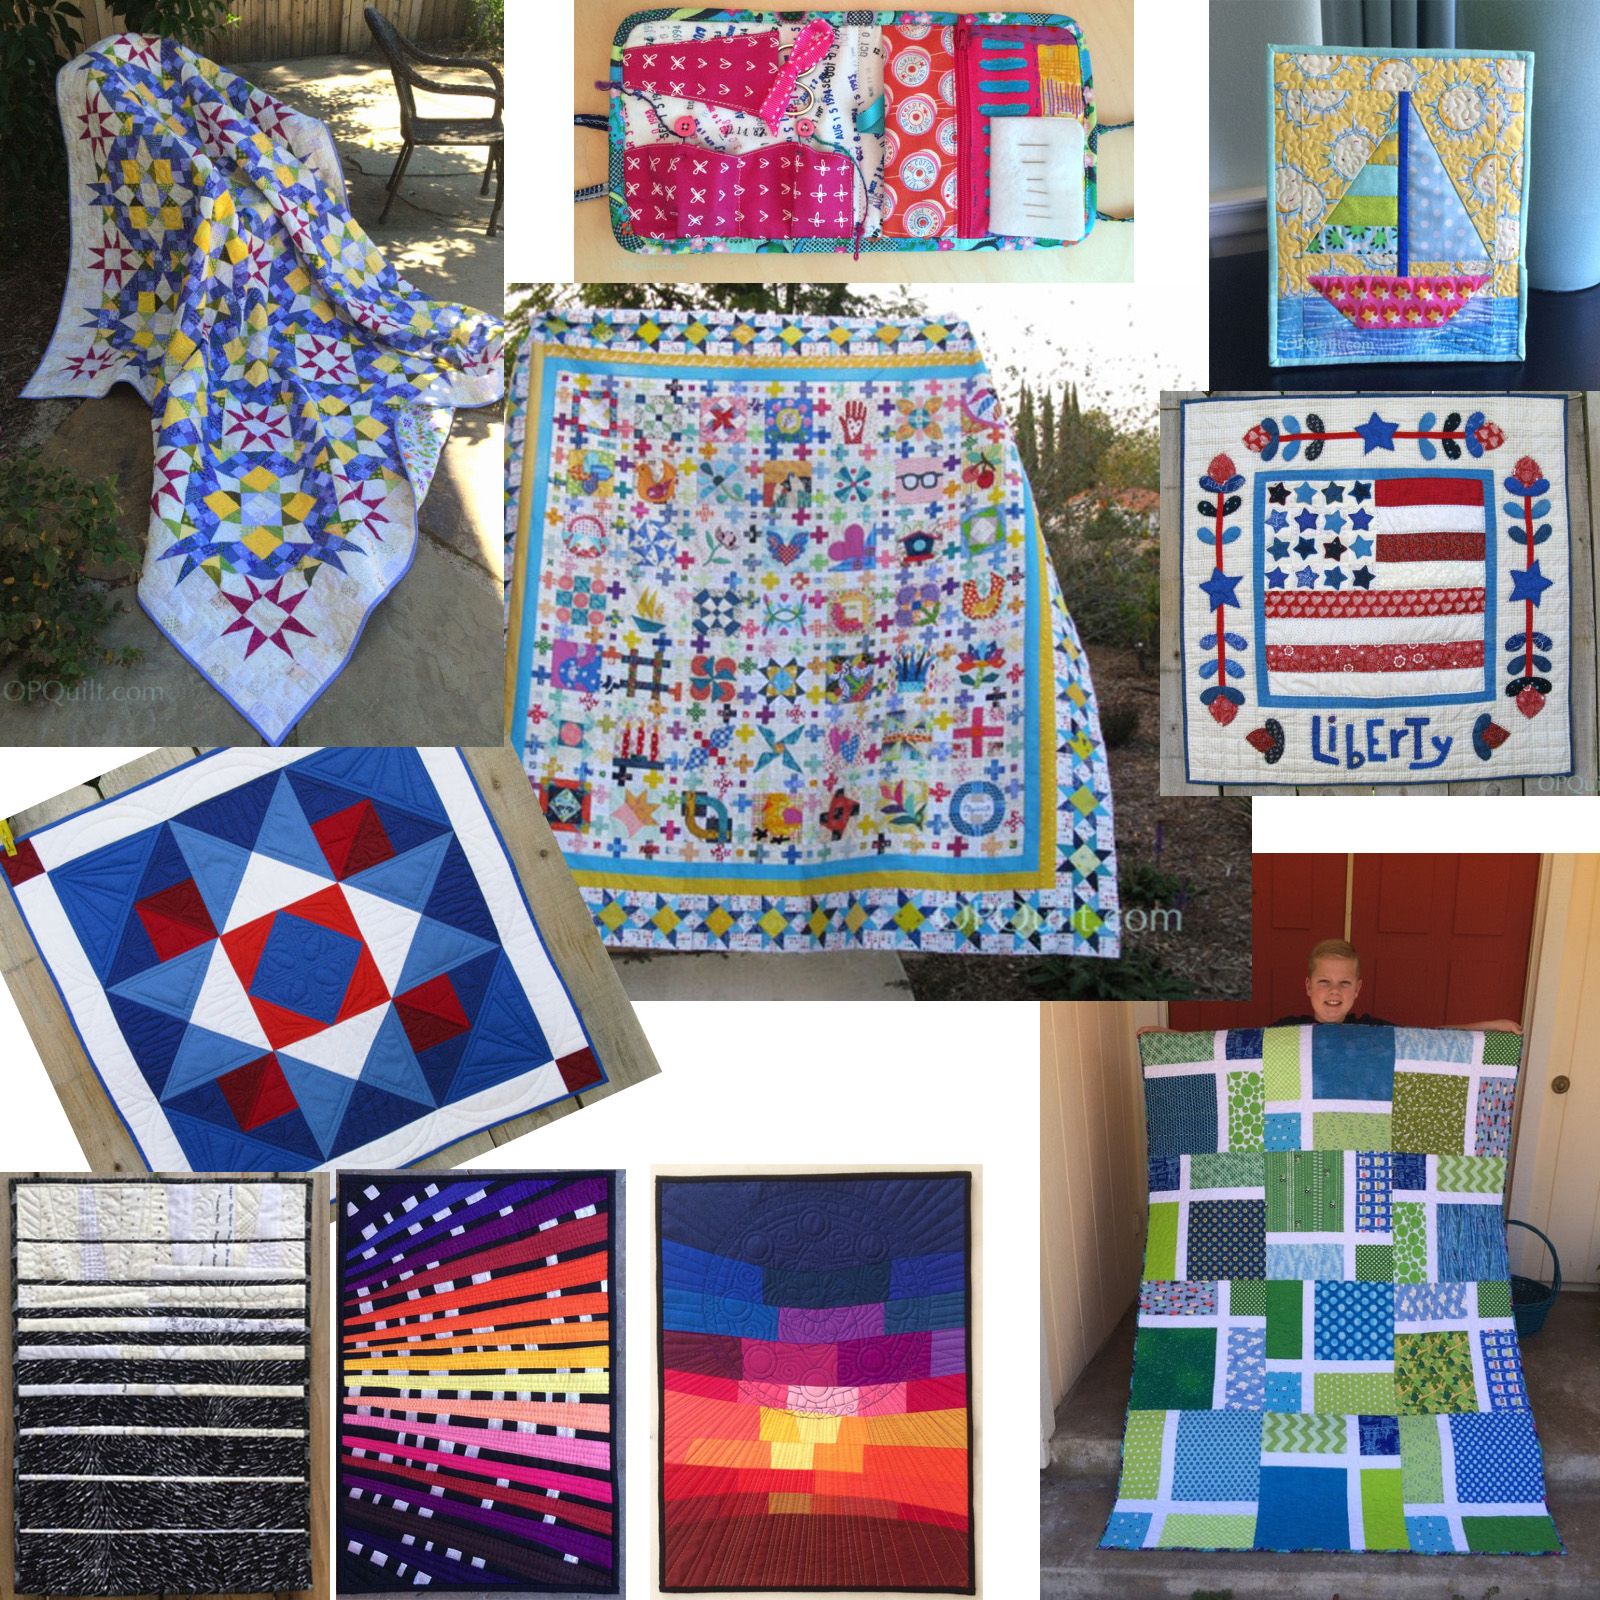
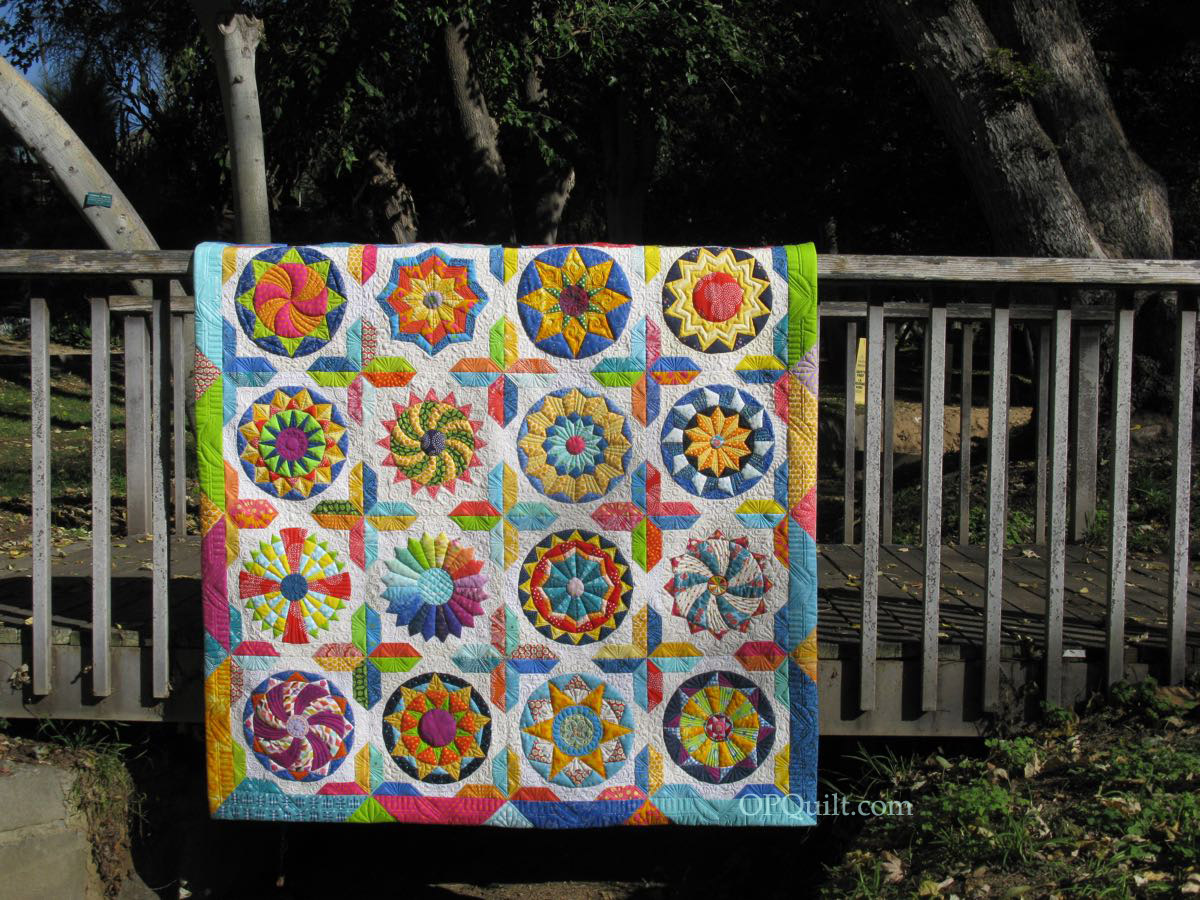
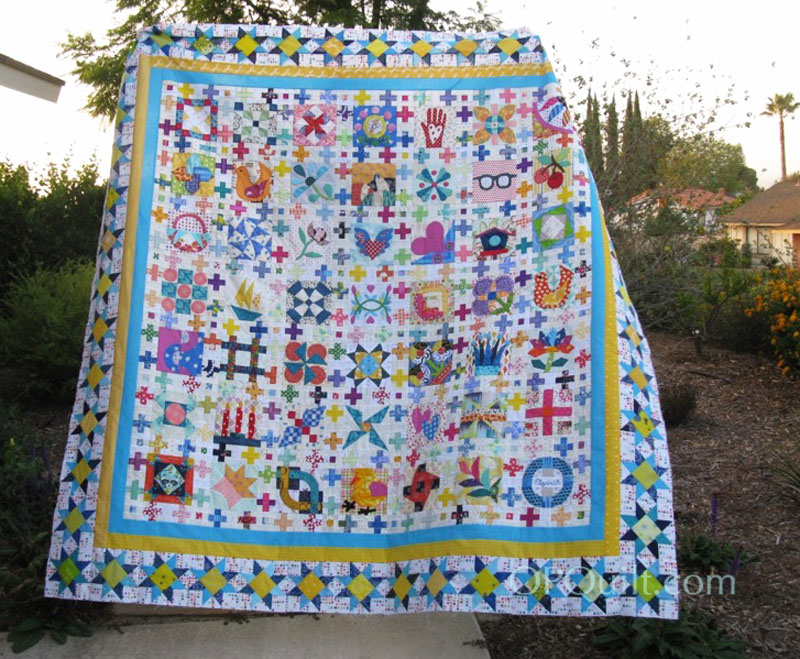
But here’s some eye-candy, quilt-style.
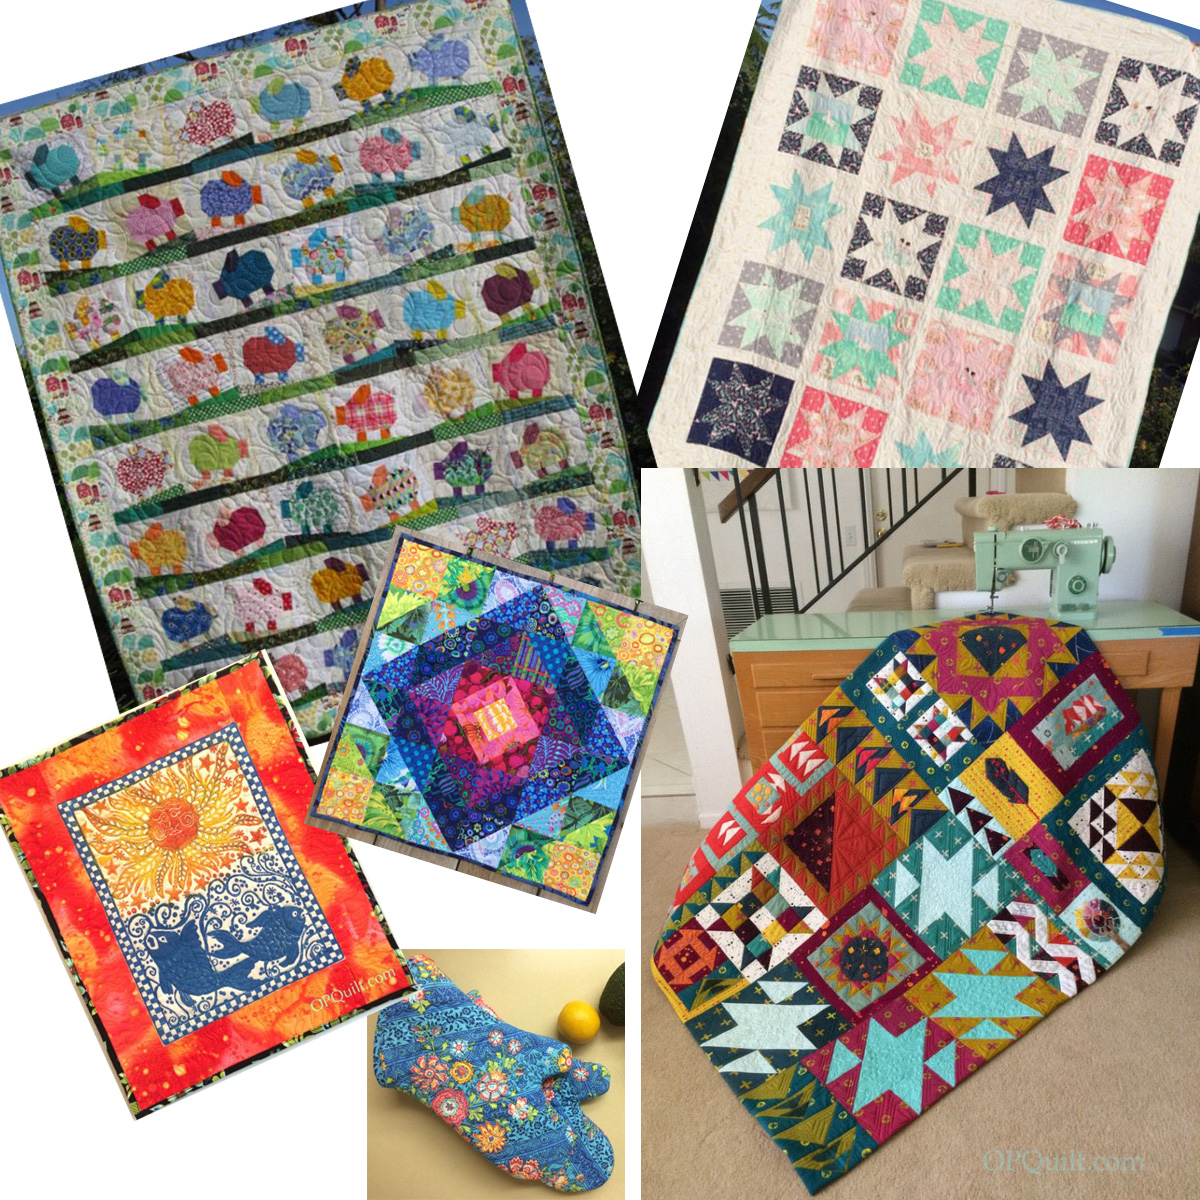
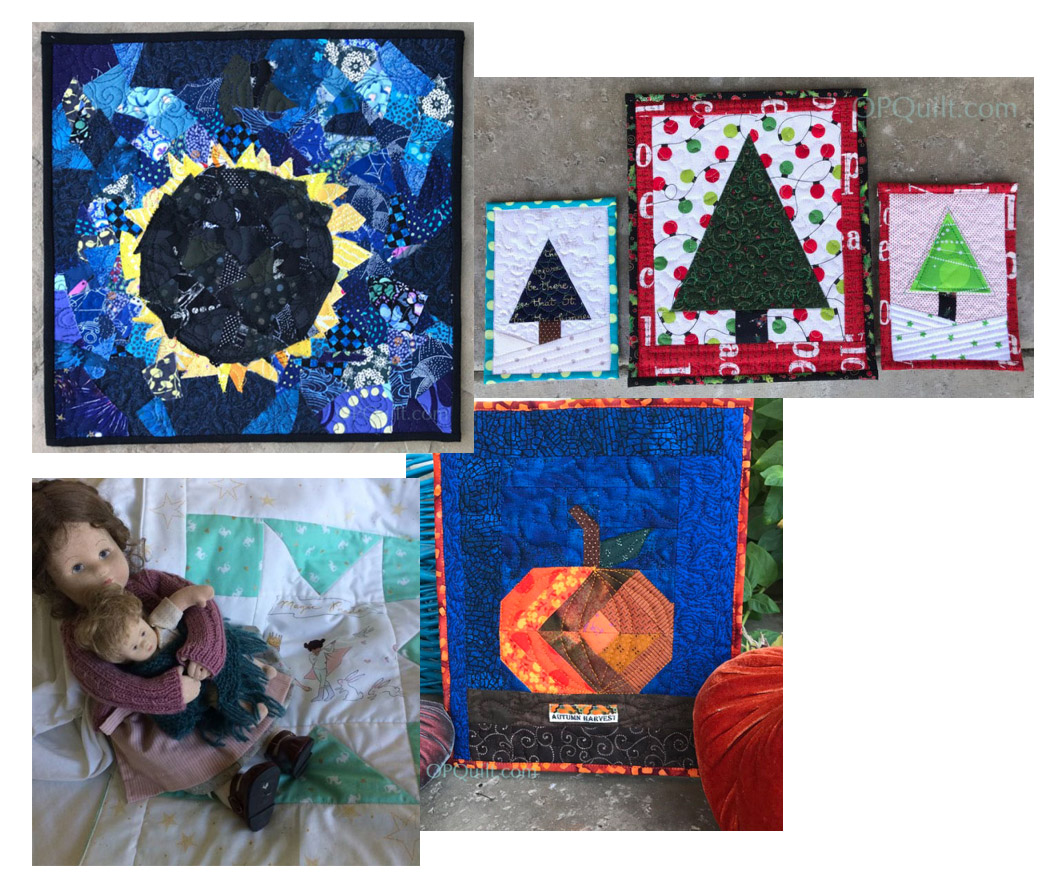
and a few more…
So, in spite of a lame start, I did manage to get a few things made. That’s why I do these posts–they are more for me, to say…hey, you didn’t do so bad. So often we only notice what we don’t do, what we can’t make or achieve, as you’ll notice by my language in the intro, where I denigrate my accomplishments.
I did some some traveling, which expanded my horizons a bit, to the European Patchwork Meeting…
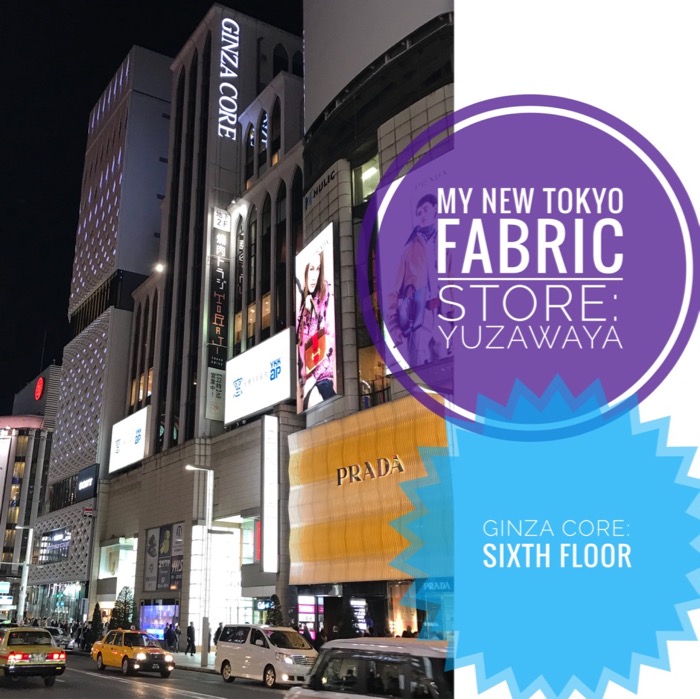
…as well as Seoul and Tokyo (accompanying my husband to his meetings). Next travel is to Ontario, California for Road to California, and to Pasadena for QuiltCon 2018. Luckily both are within an hour of my home.
I’m joining up with Cheryl’s Linky Party, because I’ve found it so fun to browse what everyone else has been doing this year. My top five posts for 2017 are:
Mini Sew-Together Bag. I recently moved the pattern up to Craftsy and am happy that it has helped find a wider audience of bag enthusiasts. The rest of my patterns are on PayHip (link to the right).
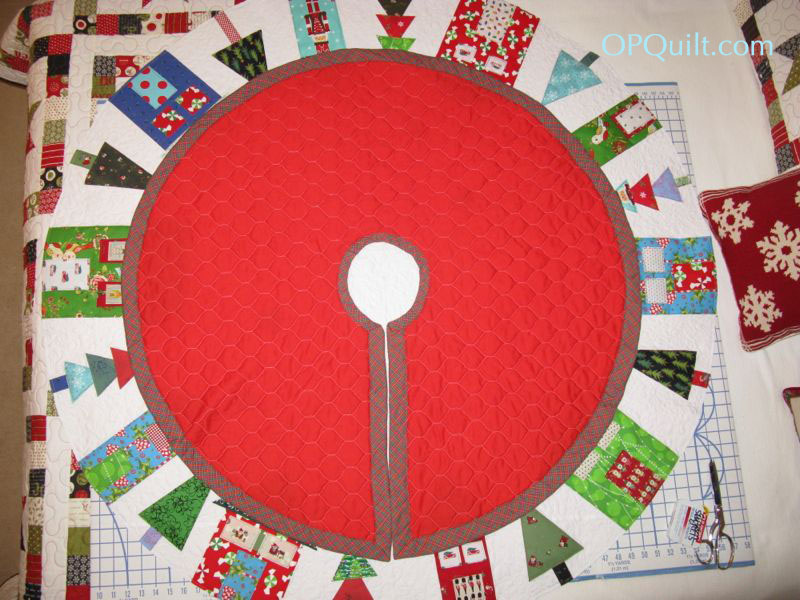
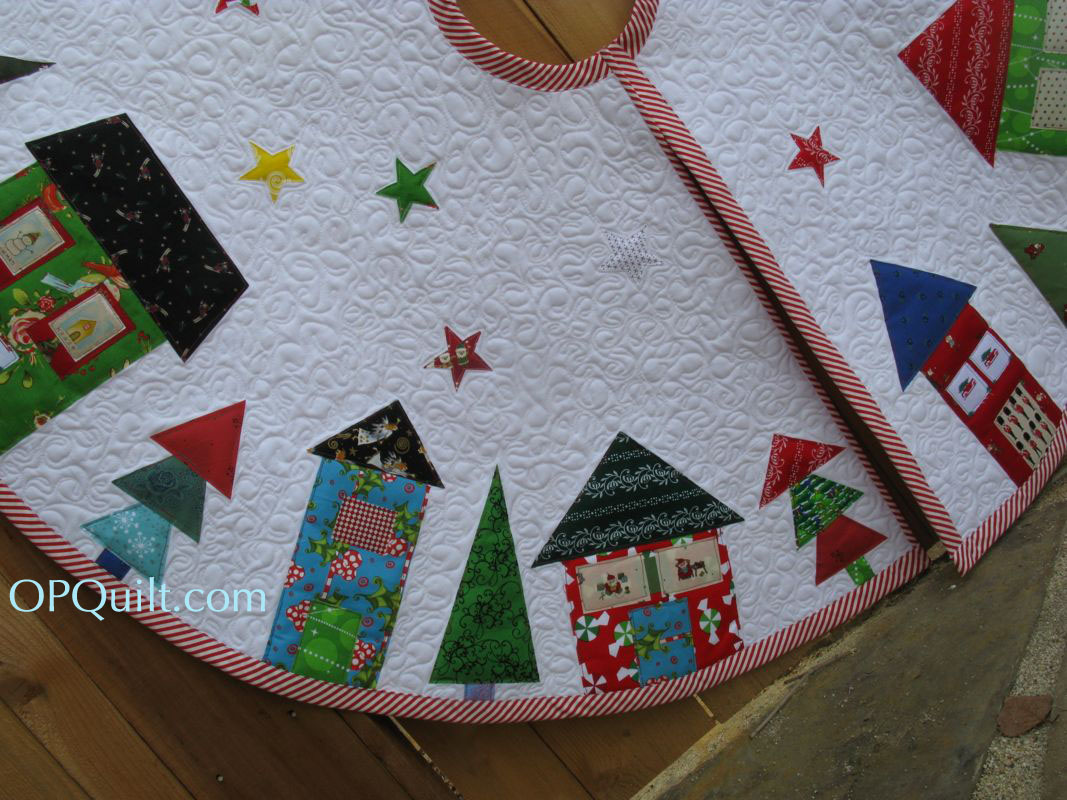
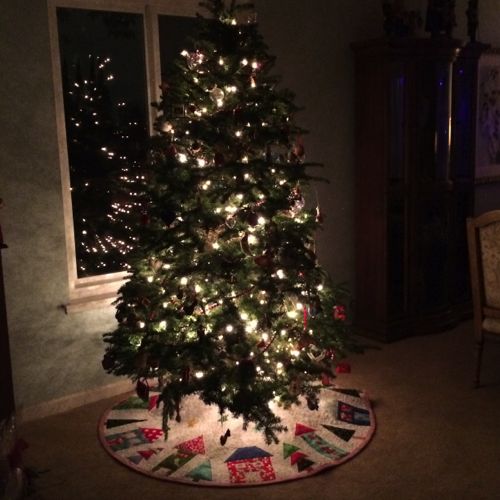
2. Christmas Tree Skirt. Although there is a brief pattern, there is enough information on this post so you can make your own. It’s a fun skirt and works up quickly.
3. Shine–the Circle Quilt Post is a busy place, as I make available many EPP patterns for free, so you can make a circle block either for a quilt, or pillows or wall-hangings. And this year, the quilt will hang in Road to California.
Christmas Tree Skirt 2014 Quilt #141 on the 200 Quilts List (Post updated August 2019)
Here I laid out the old Christmas Tree Skirt on top of the new one; it was made in the early 1970s out of pre-quilted fabric with a tricot backing, and homemade bias tape.
I was inspired by Betty’s skirt that she made last year, as well as others. The original inspiration was a tree skirt from Fat Quarterly 2013, but since I didn’t have a pattern and it was all proportional squares, triangles and rectangles, I just started cutting. Here I’ve laid an embroidery hoop so I could judge how the center circle would look. It took me about two days to get all the houses and trees arranged, partly because I wanted to use my stash and it that necessitated some color and value balancing. I have a piece of fabric from my first quilt in here, as well as some scraps from dirndls made from German fabric (which I love). I even have scraps of fabric from cotton I’d purchased in Rome, Italy some 14 years ago, as well as some Japanese fabrics, also purchased on a trip. Build your stash, everyone. It’s a fun place to visit.
UPDATE 2019, BASIC DIMENSIONS:
Fuse a series of fun fabrics to Steam a Seam II. I cut everything a bit larger, then trimmed to make sure the fusing covered the back completely.
Basic skirt circle: 52″ diameter (piece some white cotton fabric to allow for this dimension of circle)
Center hole is a traced 6″ circle embroidery hoop.
Tall Skinny House: 9″ tall by 3.5″ wide
Pointed triangle roof is 6.6″ wide and 4.5″ high. Follow the basic directions for tall Christmas Trees to cut yourself a wonky triangle.
Two-story house, short: 7″ tall by 6″ wide
Two-story house, taller: 9″ tall by 7″ wide
Trapezoidal Roof measures 8″ across the bottom, 3″ across the top and is 3″ high. So, cut a rectangle 8″ by 3″ and fold in half. From the outside lower corner, draw a line so it ends 1.5″ from the fold. Cut that section off and you’ll have the roof.
Pointed Roof for two-story house measures 7″ wide by 4″ tall.
Tall Christmas Trees: Cut a rectangle 7″ tall by 4″ wide. Fold in half lengthwise, and cut from lower outside corner to the center fold at the top, making a Christmas Tree shape.
Medium Christmas Trees: 6″ tall by 4.5″ wide (cut as above)
Stacked Christmas Trees are formed the same, but the dimensions are 3.5″ tall and 3″ wide.
Christmas Tree Trunks are 3.5″ tall by 1″ wide…but some are shorter (like 1.5″ tall). Cut them to your liking.
Wonky-cut stars (Do a search for a 2″ pattern online; trace the outlines onto fused fabric, then cut). —-> Or use this one: 5-sided-stars <——
Use my photograph at the top of this post to plan and map our your pieces, but cut some different dimensions if that’s what you like (like making a shorter, skinny house).
WARNING: Prewash your reds!!! I did them once with Dye Catcher Sheets. I should have done it three times, so my tree skirt suffered. We still use the tree skirt, as the discoloration is up near the binding in the center circle, but I wish I’d washed them more than once. Now we call it Christmas Tree Skirt at Sunset.
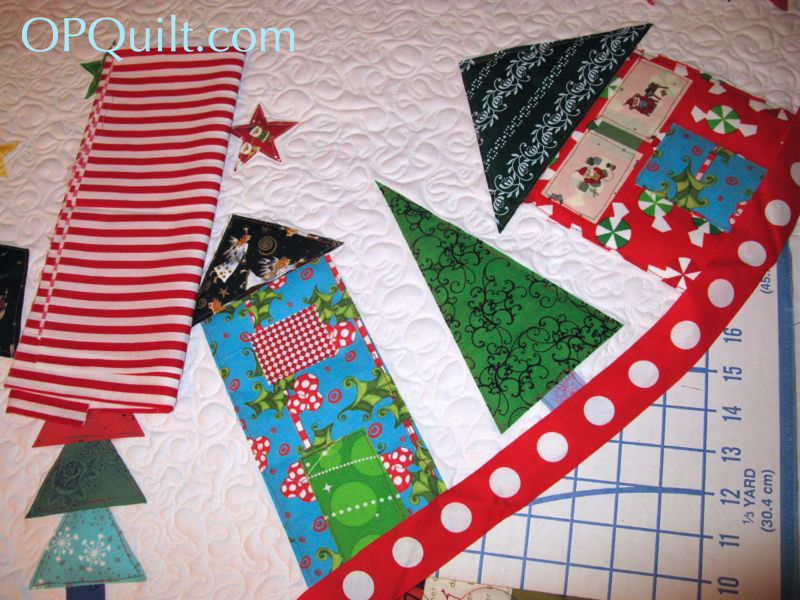
I thought I’d use a large red/white dot for the binding, but when I cut it on the bias, I got this effect. So I went with a narrower stripe than the one shown, cutting it on the bias so it would go around the curves. I pieced it, then folded it in half, then sewed it to the back and topstitched it to the front. A trick I learned in Clothing and Textiles in college was to press a curve into the bias tape. It went on like a charm.
In working on this, I zipped through two books and am in the middle of one more. The two I couldn’t wait to listen to were both Inspector Gamache mysteries, set in Canada. One was titled Still Life and the other was titled A Fatal Grace, both by Louise Penny. And I’m halfway through The Snow Child by Eowyn Ivey. Fitting, isn’t it?
We finally finished decorating the tree, and I’m enjoying the new tree skirt!
Bobbin Statistic: 5 (in other words, how many bobbins it took to get this thing quilted) Quilting: First I stitched through the quilt sandwich on the raw-edges of all the house and tree shapes, letting it be slightly wonky as I went. Then the top-stitching on the stars. I switched to white thread and did a loose, large meandering quilting around all the shapes.