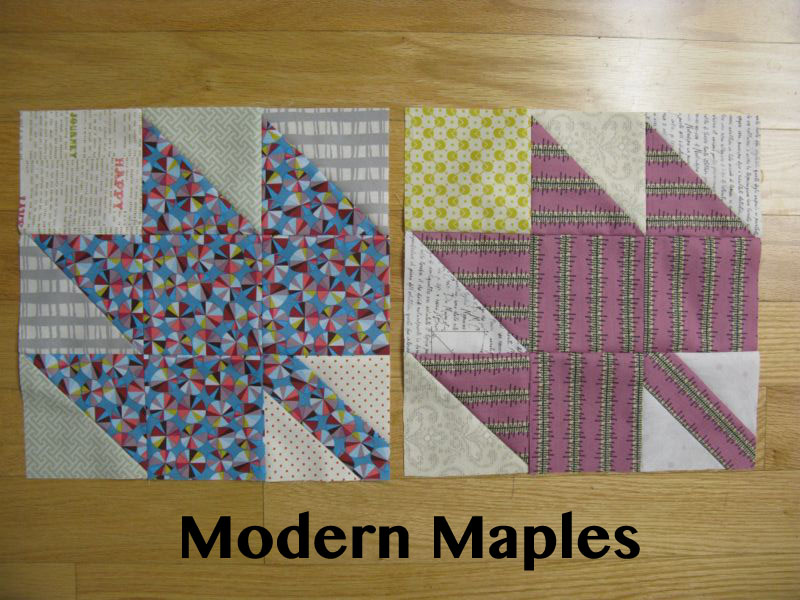
As my friend Susan of Patchworknplay says, I’m Queen Bee. I wrote this post as I had both my bees, the Always Bee Learning Bee (August) and the Mid-Century Modern Bee (November), make this block for me.

When thinking about what I wanted, I thought I’d try a Pineapple Quilt Block, but use a paper foundation piecing technique to keep everything true and accurate during the process. This is an 8″ block when finished (8 1/2″ when you finish your block for me), and I’m using solid fabrics coupled with small print fabrics with a WHITE background — no grey, no tan, no beiges, just white. In this bee we also mail out fabrics, and some of my bee-mates have already received theirs; I mailed them out early because of traveling and family visits in the last half of July. Idid this as well in November for the Mid-Century Modern Bee, but for that bee we typically don’t mail fabrics, but simply provide descriptions and examples. **NOTE: If you feel you have too many of the same prints, feel free to substitute in any from your stash, as long as the print background is bright white, and the figures are small rainbow-colored designs. Ditto for the substituting the solids. I tried to distribute them randomly, but you know how things go.**
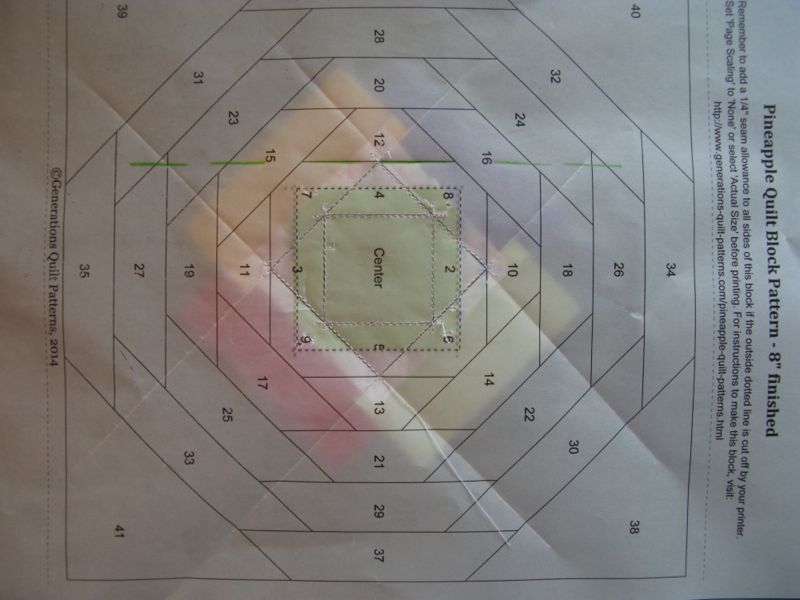
I’ve written up some step-by-step directions (below) but I got the paper foundation from Generations Quilt Patterns, another website with a really good tutorial on Pineapple Blocks. (They have a discussion of setting the blocks on this page.) Their ideas and explanations are top-notch, so if you find my step-by-step confusing, feel free to step over to that site and take a look. If you want the pattern, head over *here* and download the 8″ size of the Pineapple Quilt Block.
 (Chart modified from Generations Quilt Patterns. Used with permission.)
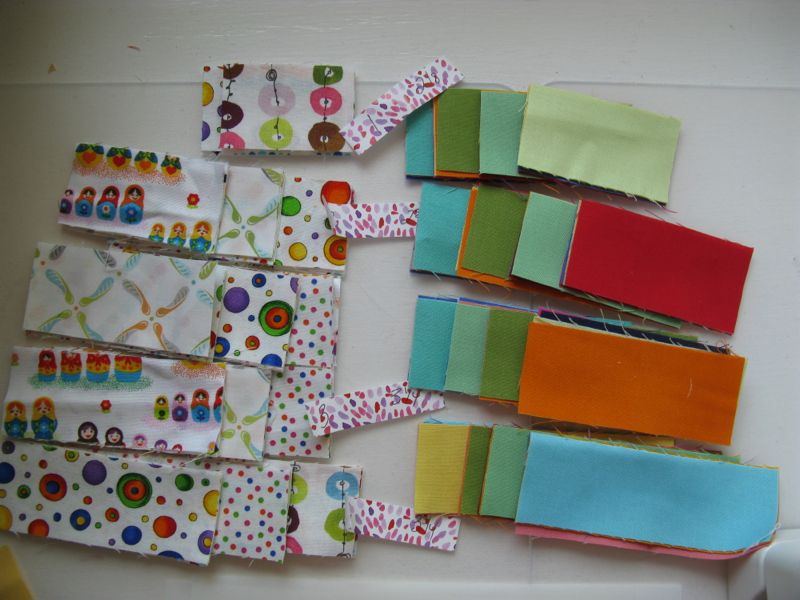
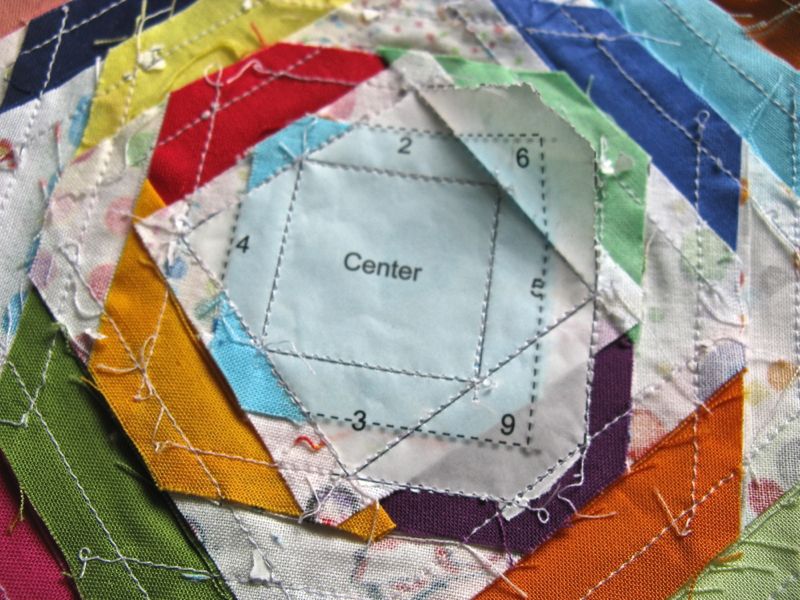
Using the diagram above, which is modified from Generations Quilt Patterns *here* cut your pieces to size, keeping track of which is which (solids vs. light bright prints). I cut all my strips 1 and a 1/2″ wide as I didn’t ever want to have to mess with unpicking if it went on slightly skewed. (NOTE: for the outer corners (#38-41), sometimes I just cut a 3″ piece of fabric by 6″ piece of fabric. I know the corner will be on the bias that way, but that’s okay with me.)

Here they are, all cut out and ready to go (I am doing multiple blocks, so don’t get confused by what you see above).
Step One

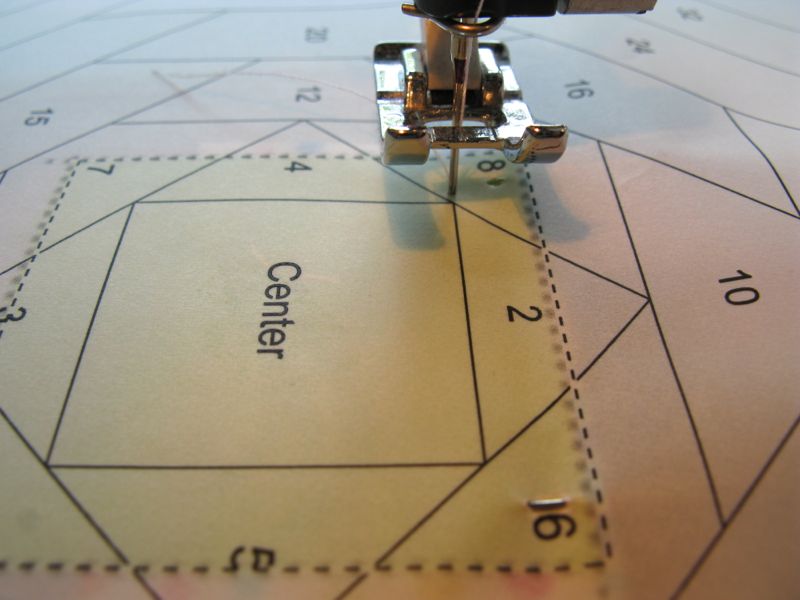
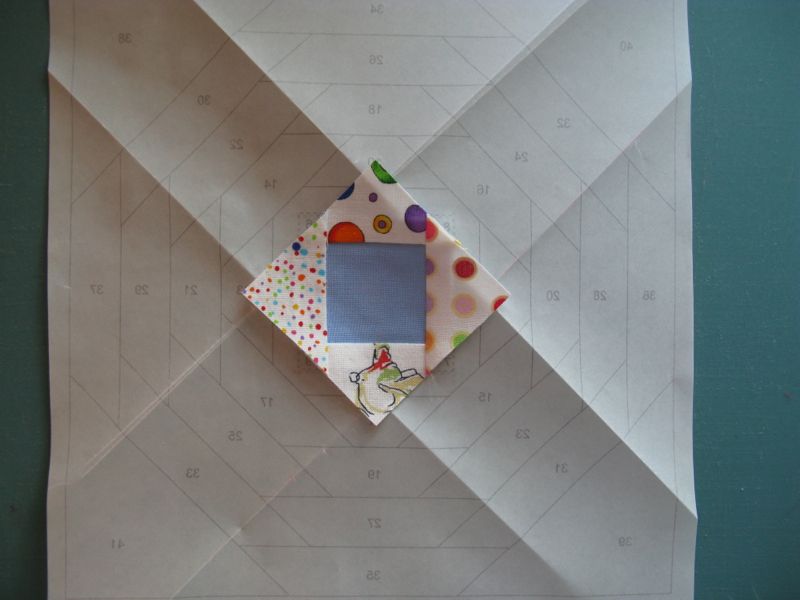
Using a glue stick, dab a small amount of glue on the small square and glue it to the back (unprinted side) of your paper foundation chart.
Step Two

One by one, align, then sew on the first set of print strips, using a 1/4″ seam.

When stitching on this, and all other rows, start your stitching a couple of stitches before the line, and finish a couple of stitches beyond the line, so as to secure the sewing.

I sewed on the first two, pressed them to the side, then did the next two. I learned to pin the fabrics so as not to have slippage.

I printed out your parchment paper on my Laserjet, which can leave a residue on the ironing board, so I put down a piece of paper and pressed on that. This is the messy paper at the end of my pressing session (sorry about all the transfer stuff).
Step Three

Fold back your parchment paper in order to trim it up. I sketched in the first fold, above, in pink.

Lay your ruler so that 1/4″ peeks out, then trim. Again, I used Generations Quilt Patterns as a reference, if you need to read or see it differently.

All four sides have been trimmed (those fold lines look so crisp in this paper!).

Here’s what the stitching looks like from the printed side. Notice I’m a couple of stitches over the line every time. Generations recommends a full quarter-inch over, but it tore the parchment paper too much. Two or three stitches will be fine.
Step Four

Repeat this process, using the solids this time. At this point you can do two at a time (opposite sides, like the yellow and green shown above). Stitch those, press out, then add on the remaining two solid strips. Stitch, then press open.

You’ll turn the paper and fold back again, as shown this time by the green line, above. Trim as in the previous step, all four corners.

It’s looking pretty cute! I like how now I start to see blunt ends on the corners.
Step Five

Add on the next row of light bright print strips, again doing two (only) at a time. Soon you can do all four, just not yet. Trust me on this.

Press open, then trim.

One nice thing about paper-foundation piecing is how nicely the points come out and how it is all perfectly aligned.
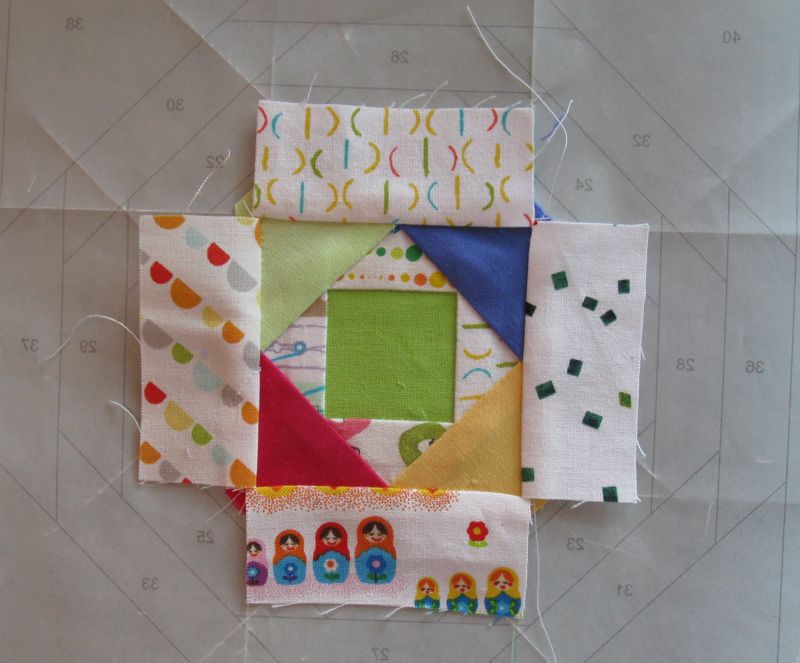
Step Six

Still doing only two at a time (opposites) add on the next row of solids.

All pressed and trimmed up. The blunt end is becoming more pronounced.
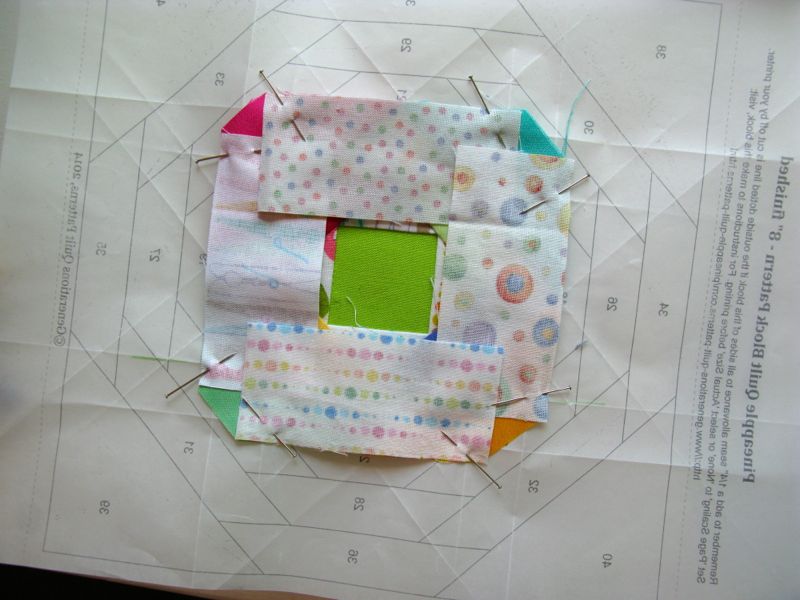
Step Seven

Okay, now! You can now pin on all four light bright print strips onto your pineapple, and lifting your needle/presser foot in between to pivot the paper and move to the new stitching place, then begin sewing again. Clip through the traveling threads after you are finished sewing.

It’s pressed.

And now, trimmed. Keep going, keeping track of which row is solids and which row is light bright prints until you only have the corners left to do.

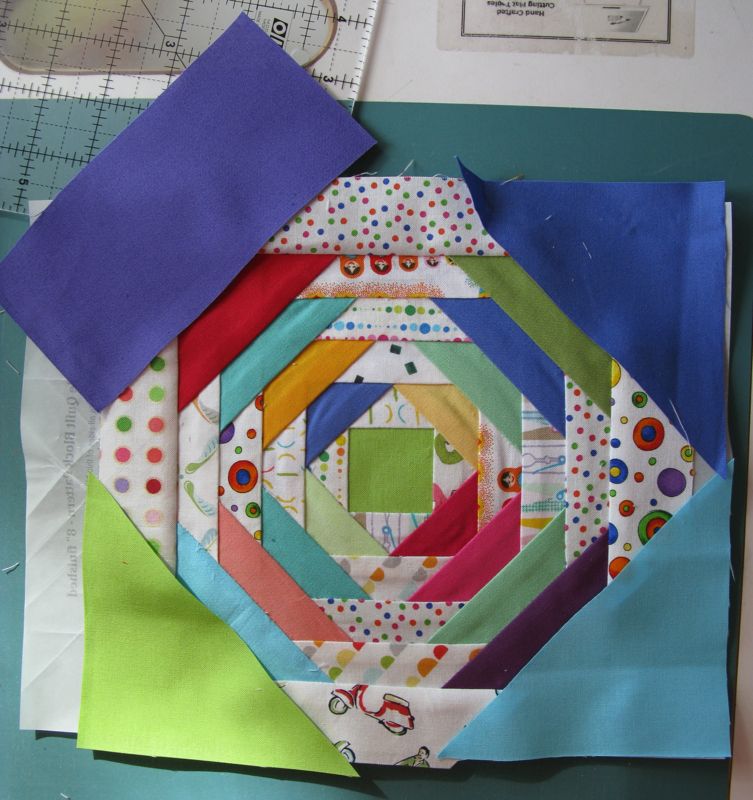
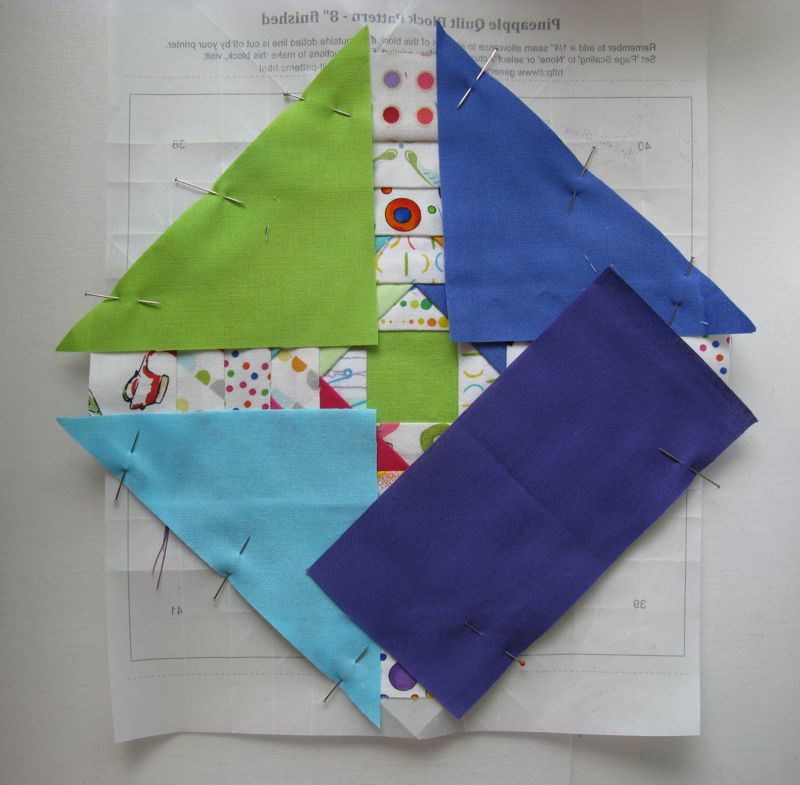
Step Eight

Some of you have 4 1/2″ triangles in your packet and some of you have 3″ x 6″ strips. I show both in the following photos. To figure out the alignment, Generations Quilt Pattern uses a nifty trick of letting the point of the triangle guide you.

Line up the outer raw edges of the diagonally cut triangle, with the point centered in the square, as shown by the bright blue (above). Stitch.

For the 3″ by 6″ strip, fold in half to find the center, then line that up with the center square, as shown. Pin, then stitch.

Corner blocks pressed.
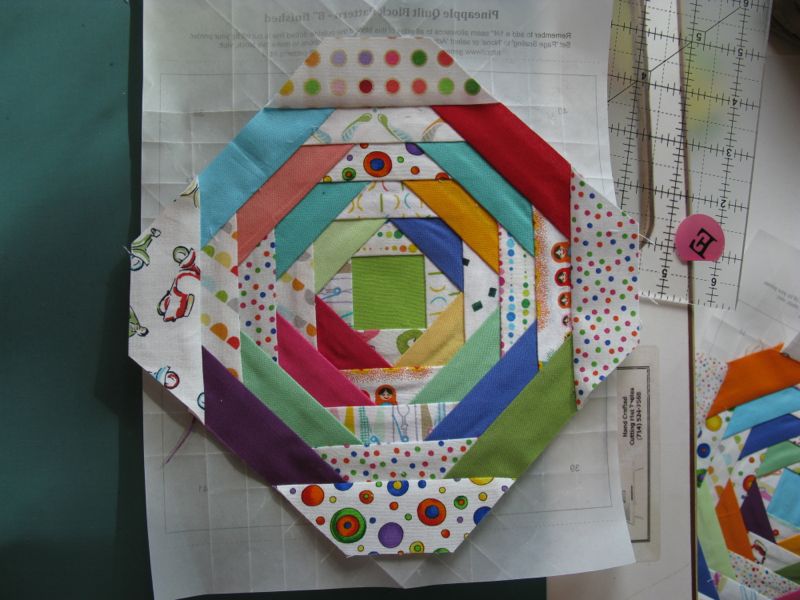
Step Nine

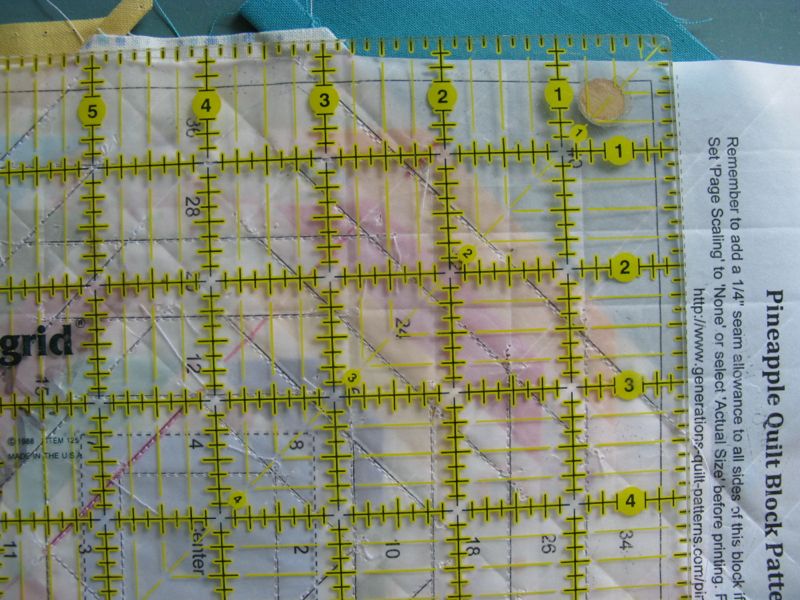
Okay, I know this ruler isn’t perfectly aligned (the phone rang right as I was going to snap the photo and startled me, and I didn’t find out until later how crooked it was). So, don’t do as I show, do as I did: make sure to only trim 1/4″ outside the solid line, all the way around. DON’T TRIM ON THE SOLID LINE.

Once trimmed, turn it over and use Katie Pasquini-Masopust’s famous “Fatty Thigh” method for removing foundation papers (I learned this from her at Houston one year). As she instructed us: lay it over your fatty thigh, and pop the papers off, starting on the outside, working in. The parchment paper comes off so much easier for me than regular paper, so I hope you have an easy time of it. Thank you, thank you!! You are done!

Here are four together. I look forward to seeing all of yours!
–Final notes–

I listened to The Boys in the Boat while working on this project, a fascinating story. I’ll never look at this sport the same way again.

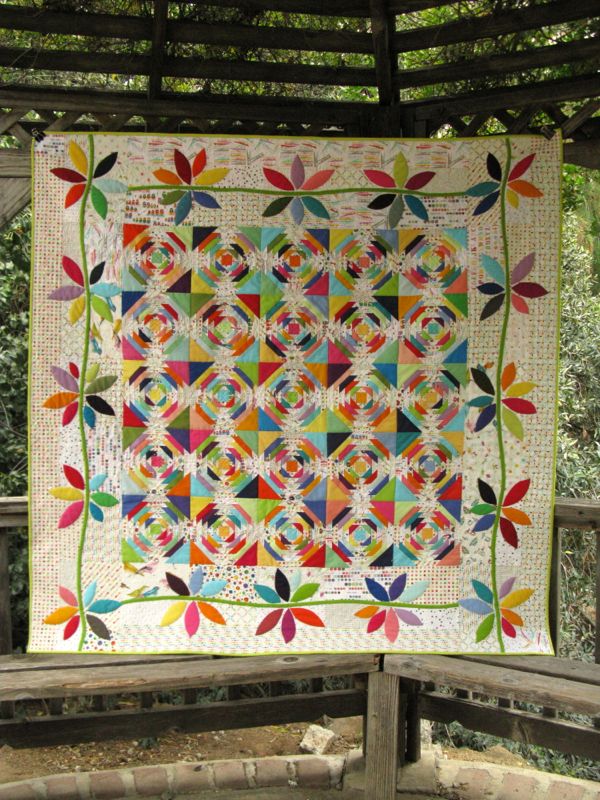
And the paper? Here’s a photograph of the information on the edge of my ream of paper. I bought this paper several years ago, beginning with my Come A-Round quilt (below), a foundation-pieced quilt, and have used if for several other projects (including Scrappy Stars and I am currently using it for my selvage quilt). It will probably last me until I die, and although not cheap (I think I paid 35 bucks for this ream) I feel like it was a great investment. I bought mine at my local Kelly Paper store.

Yep, all those spiral dotty circles in the middle were arcs that were paper-foundation pieced on this paper. The pattern is a Piece O’ Cake Design, titled Everyday Best.
˚˚˚˚˚˚˚˚˚˚˚˚˚˚˚˚˚˚˚˚˚˚˚˚˚˚˚˚˚˚˚˚˚˚˚˚˚˚˚˚˚˚˚˚˚˚˚˚˚
My blogging software places ads here so I can use this site for free. I do not control the content of these ads.
 I saw a notice on IG one day, with Megan saying that she had room for another participant in her bee. I jumped at the chance to be with such illustrious quilters, and they gracefully accepted this newbie. This bee sent out their fabrics to everyone, so we would get a little packet of fabrics with directions, then we’d sew it together and send it back. Only once did I worry about running out of fabric, and once, when I screwed up a block, I was relieved that I had similar fabric in my stash.
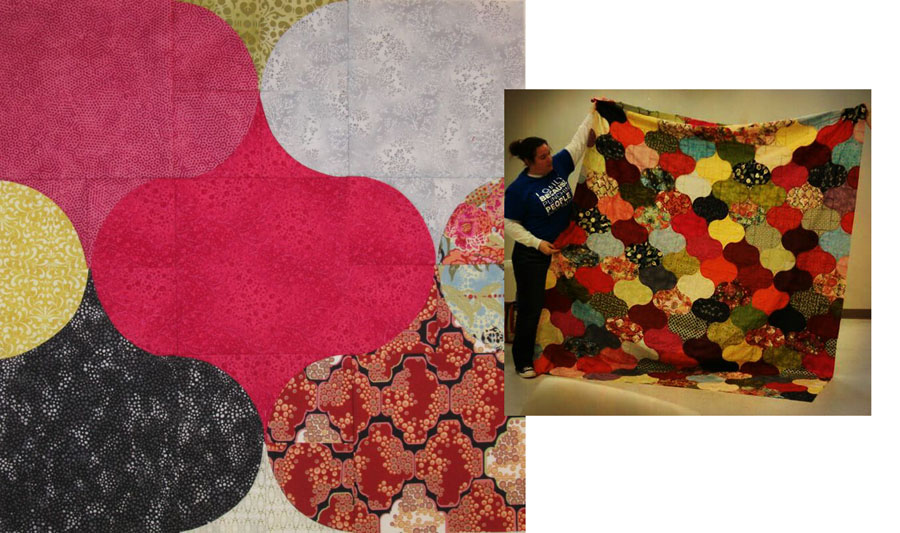


 Celeste added to what we sent of Bonnie Hunter’s Boxy Stars, and made two quilts for charity.
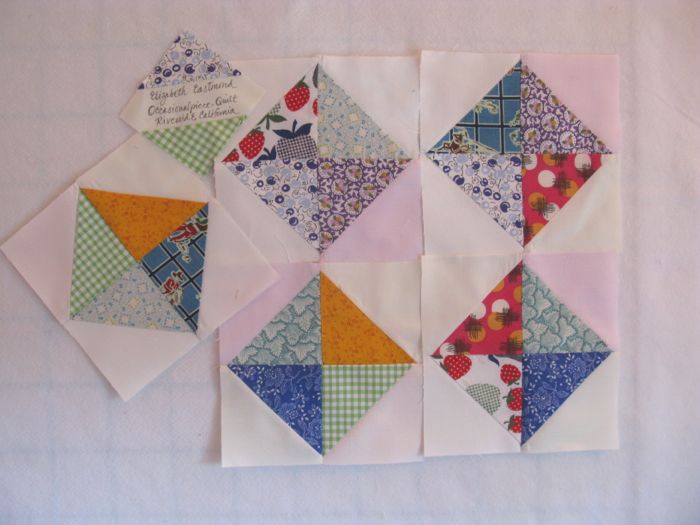
 Debbie sent us the link to make these half-square rectangles, and turned them all on their sides to make her Ziggity-Zag Quilt. This was a good challenge to make sure the angles went the right way.
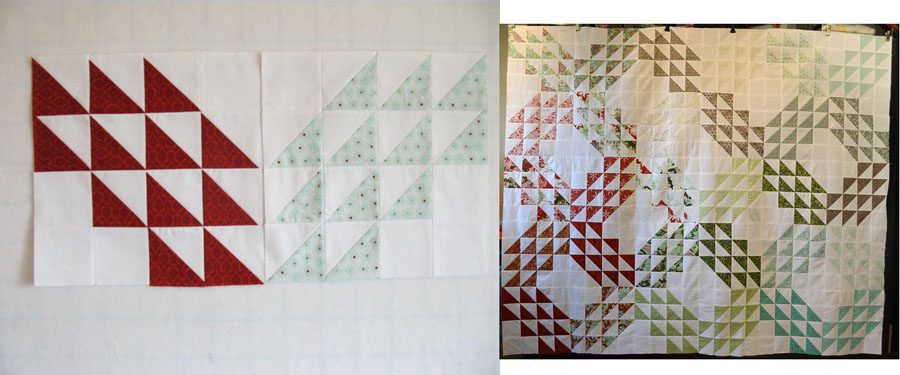 Leanne walked us through making perfect points for her Ocean Waves block. I didn’t get all of them perfect, but her finished flimsy is wonderful.
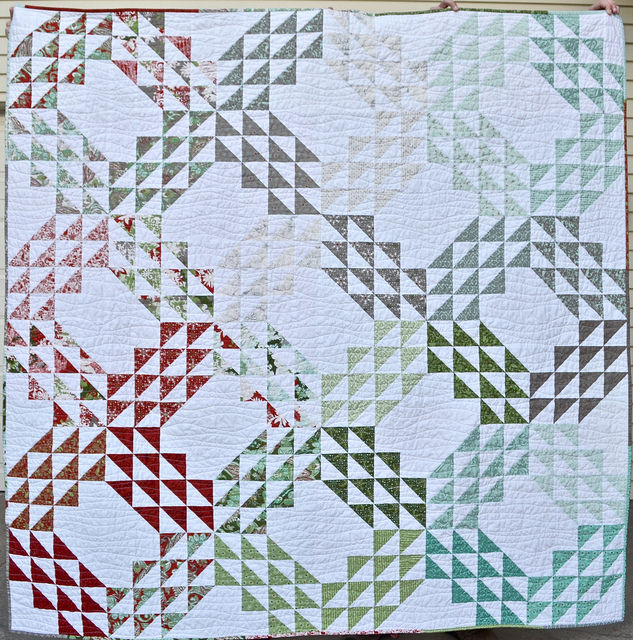
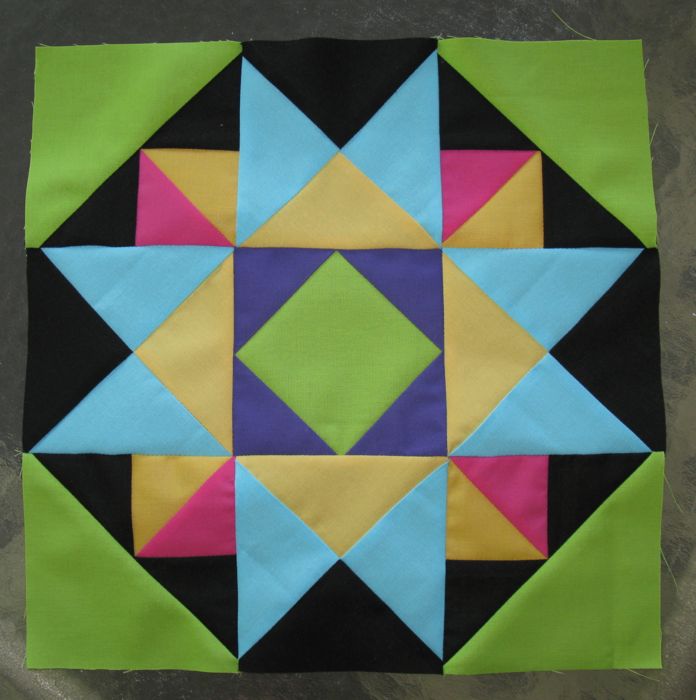
 Anything that Stephanie conjures up is going to be great, and although I fretted over these blocks (as I worried about running out of fabric and really worried that my finished product was only “pretty good” in my estimation), I love her finished quilt, titled One of these blocks is not like the others.