Quilts

Build Me A House

I dream of houses.
I dream of houses with quilt blocks on their sides, or quilty houses I can make any size.
This started when I was asked to help beta test for BlockBase+ and began to see some possibilities of putting a block within a block. So I thought I would share how I did this. (News about the giveaway is at the end.)

Brackman ID 864

One way to export their images is by SVG, which means Scalable Vector Graphic. That means I can take this image and scale it (change the size) and everything will stay in proportion. I about fell over in happiness when I found out this was available in BlockBase+. That means I can take out lines, add lines, take out and add shapes, all using the basic image from BB+. So I did some of that.

Double X Brackman ID 1629a

So take one house, add a Double X (using the Brackman ID number to help you find it), and combine them:

Now I have a Shoo-Fly House.

Here’s my Ohio Star House.

Last is the Eight-Pointed Star House.
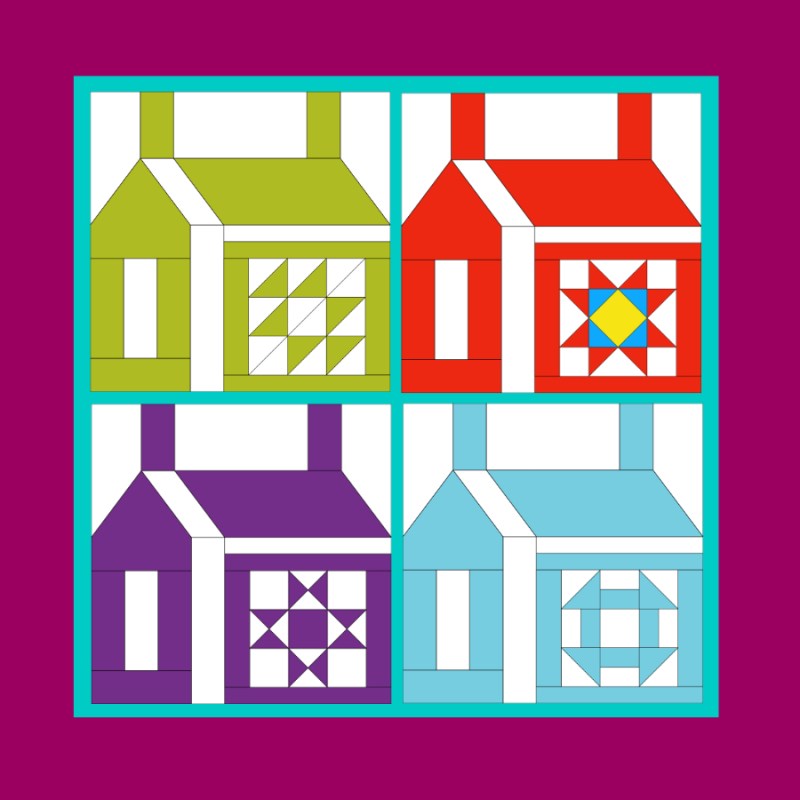
Combine them all and you have a house-warming gift for a friend or a small wallhanging for yourself (depending on what size you make your basic house and their blocks). If you don’t have a digital design program, change that section of the house by making your block, sashing it on top and fitting it into the space where the two front windows are.

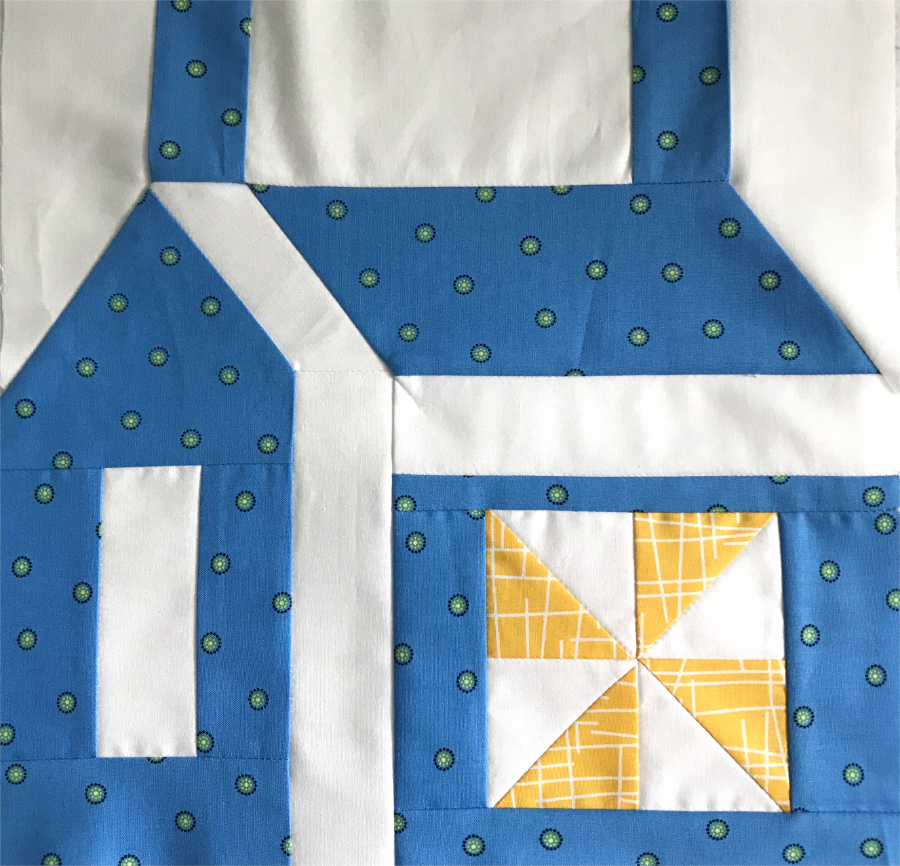
I worked up what I call PatternLite that has all the info about this particular block merging: four snappy yellow-and-white blocks into blue houses.
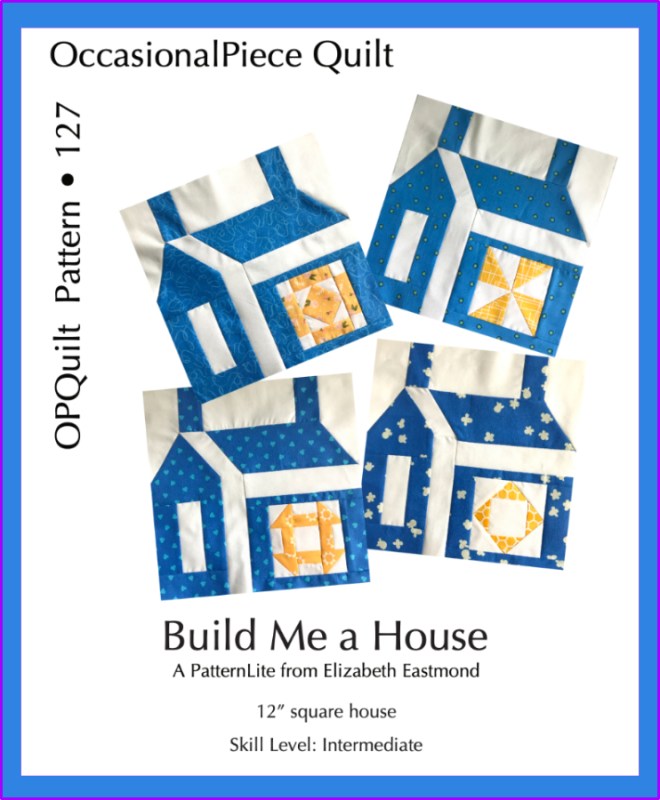
UPDATED: This newly refreshed PatternLite is fifteen pages of instruction and includes templates for the odd parts of the house, above, plus information and templates for the four different smaller blocks.

On the last two pages, I suggest a way to set your house blocks into a larger wallhanging. Link to the quilt in my PayHip shop is here.

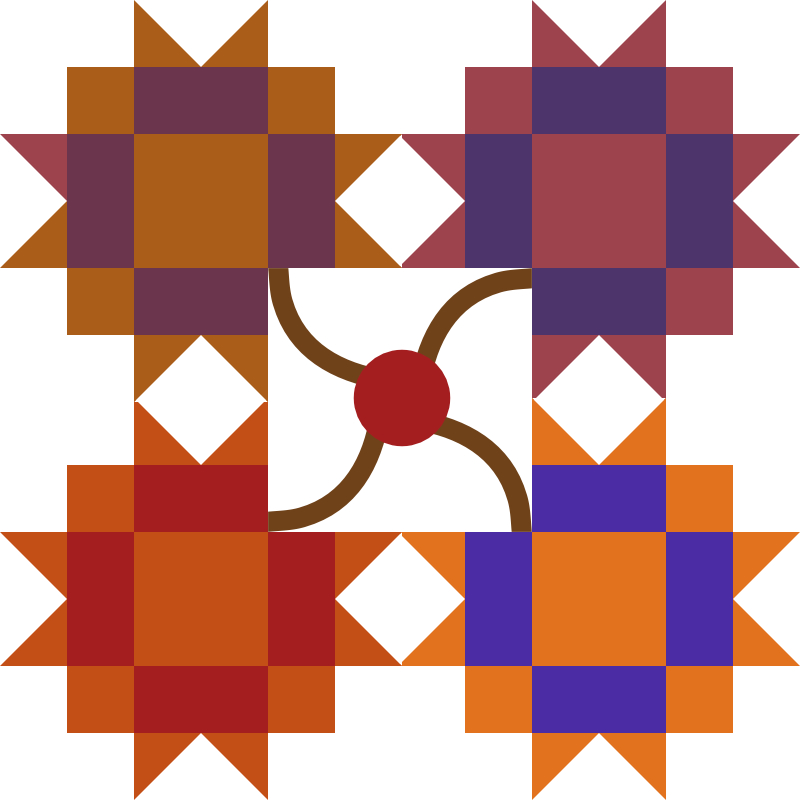
The last thing I want to show is how you can swap elements of one block for another.

Brackman ID 1740

I have been in love with this block forever, ever since way back in the day, a Flickr group did it for a Halloween online bee block.
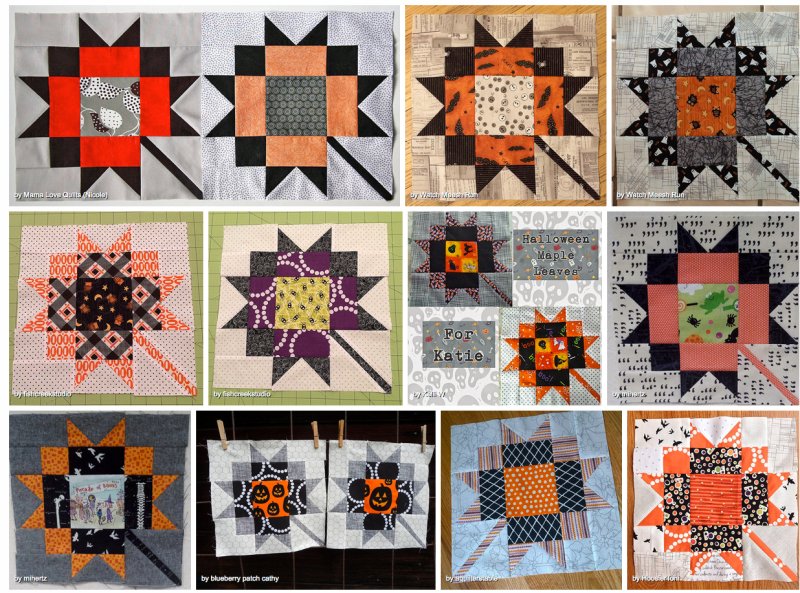
But they have a straight stem and I see a curved stem in the BB+ version. This is no problemo, my quilty friend. Swap the stems!

Since both of these are based on a nine-patch block, I can just print the templates for 1740, then print just the stem patch for 1735 (by using the Preview, I can delete patches I don’t want to print), and then swap that part of the block.
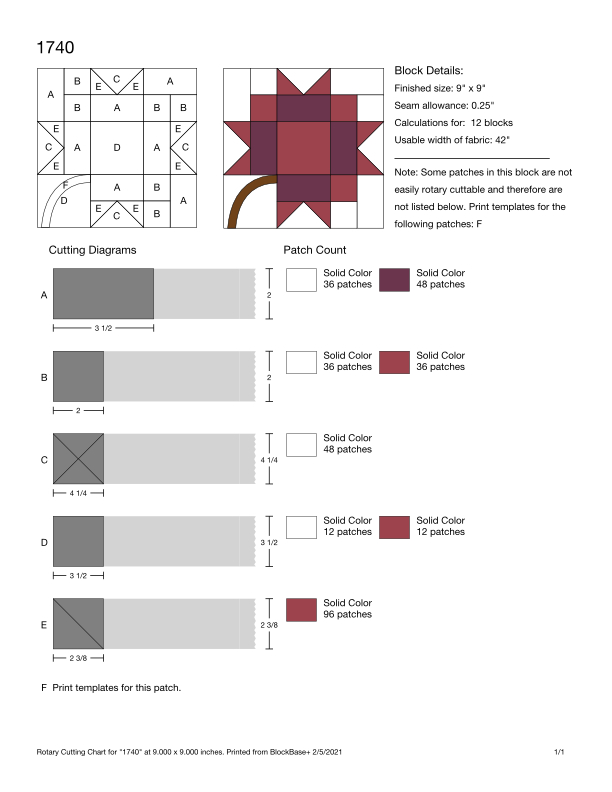
If I wanted to just rotary cut them all, I could use this chart (which is the Rotary Cutting Chart of the Export Menu). It will tell you how many to cut of one size, if you change the “Calculations for:” above. However, it will not tell me how much fabric to buy or to pull. I hope that is coming in a future version!
Jennifer (jeifner on IG) was the winner of the giveaway. I typed/copied everyone’s names from Instagram as well as names from comments on the blog posts on this website. I used Google’s Random Number Generator to select the winner, so congratulations, Jenn!

Thank you very much to every one, for all your kind and interesting comments. I enjoyed reading them very much. I also want to say a thank you to The Electric Quilt Company for generously offering up a package of software for me to giveaway. I did ask them if they were having any discounts for people who might want to buy this software. Apparently they always have a site-wide sale over Memorial Day, if you are interested in purchasing this for yourself.

Happy Quilting, everyone!

Quilts

Build a Medallion Quilt with Elizabeth and BlockBase+

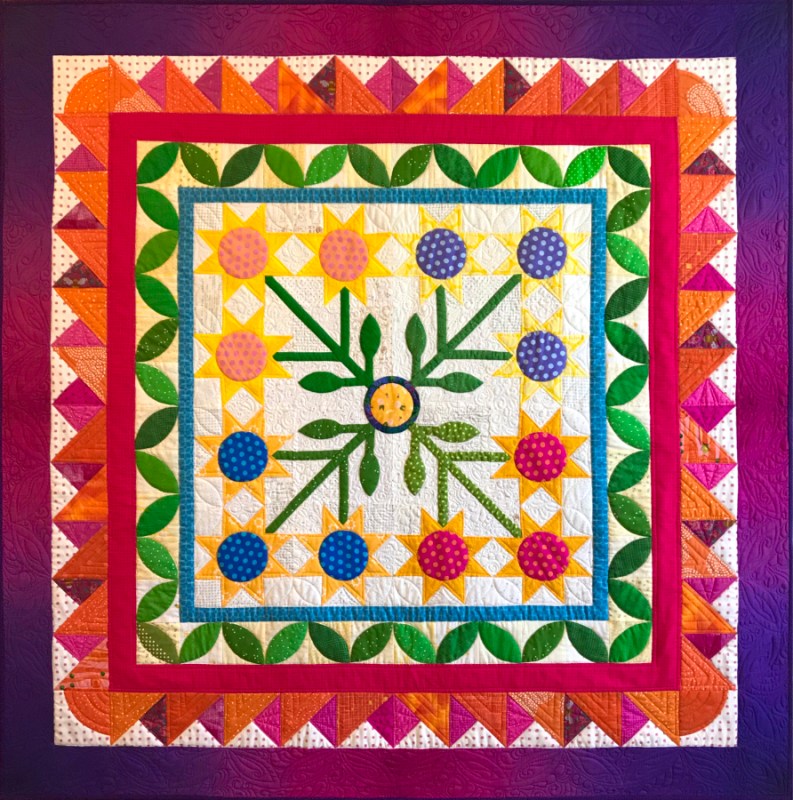
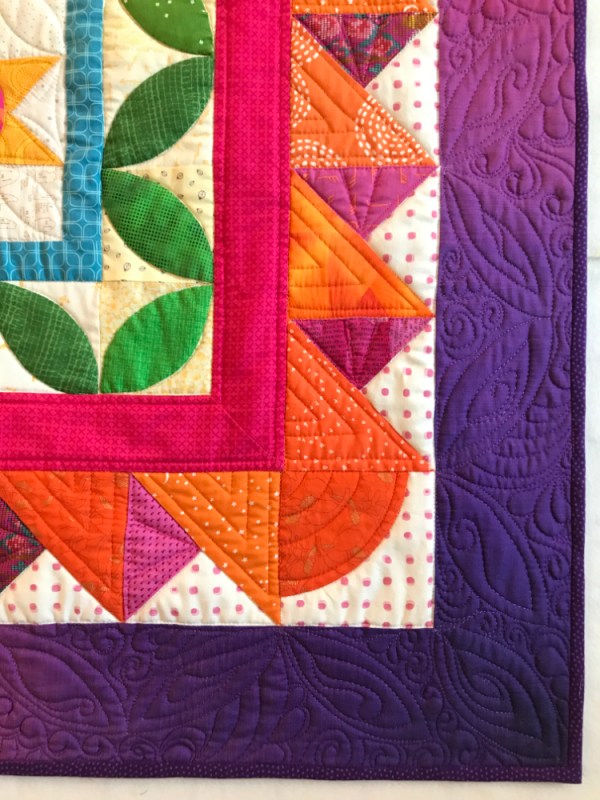
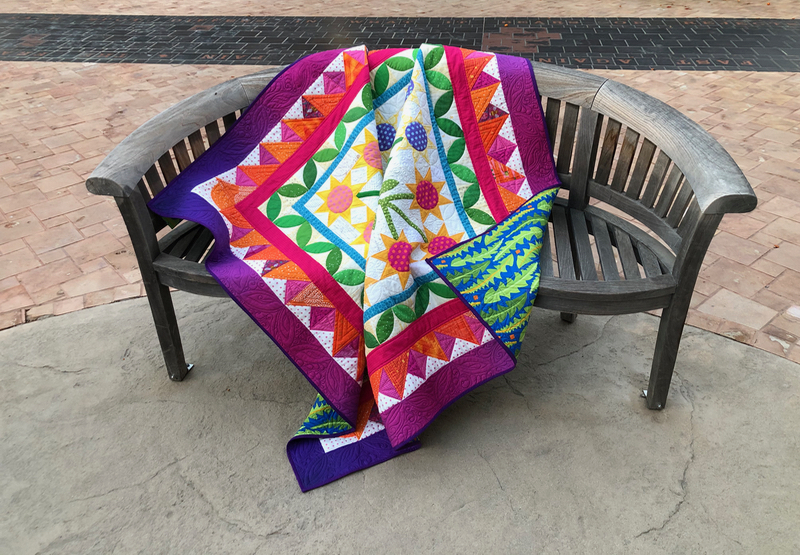
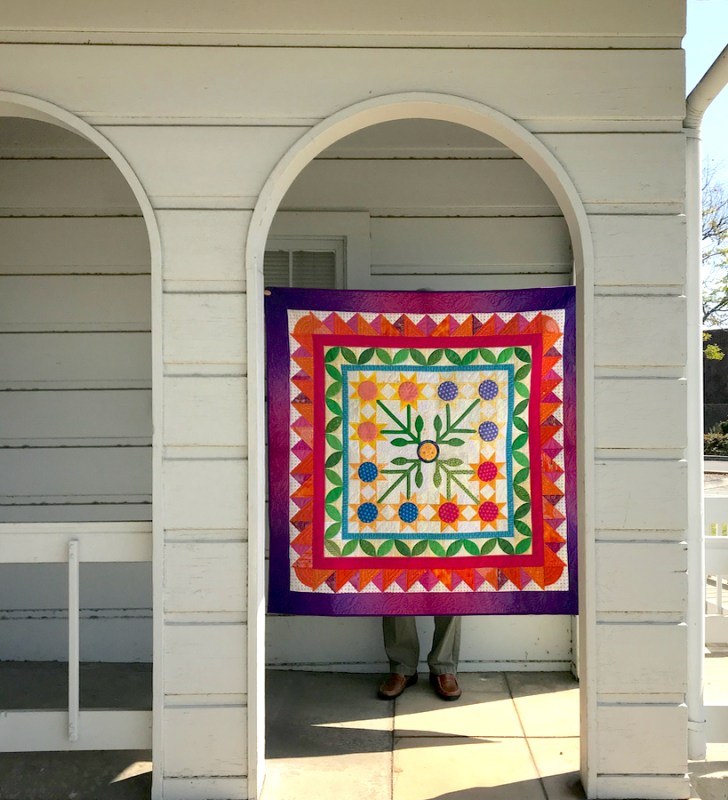
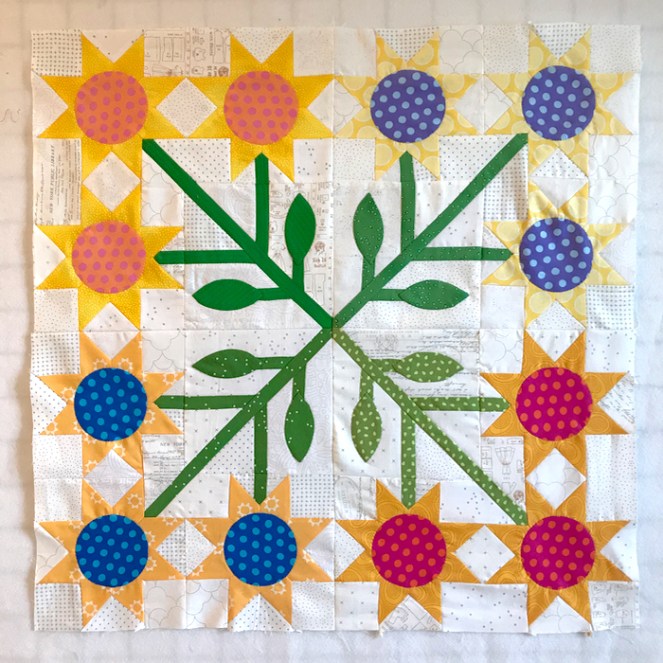
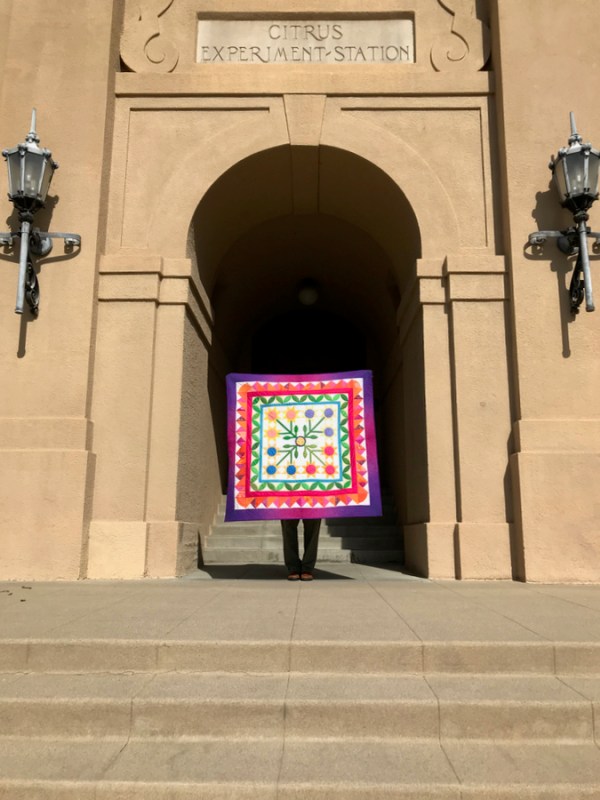
Sunny Flowers • quilt #246 • 54″ square

Welcome back to BlockBase+ Week! In this post, Post #2 of BB+ week, we’ll build a medallion quilt.

UPDATE: Giveaway Contest is closed. Thanks for entering!

Sunny Flowers was a fun quilt to make, but I think using BlockBase+ (BB+) enabled me to move a little faster on some of the borders, and I’ll tell you why: I could just decide what size I wanted a certain border, head into BB+ and choose a type of block, then re-size it easily.

Center

In many medallions, the center is where you start. A lot of moderns have been trying centers off to the side, but however its placed, usually there is a larger catch-your-eye-and-set-your-theme block to anchor the quilt.

I have a few more center ideas in my free TipSheet for Sunny Flowers Quilt (details in a minute).

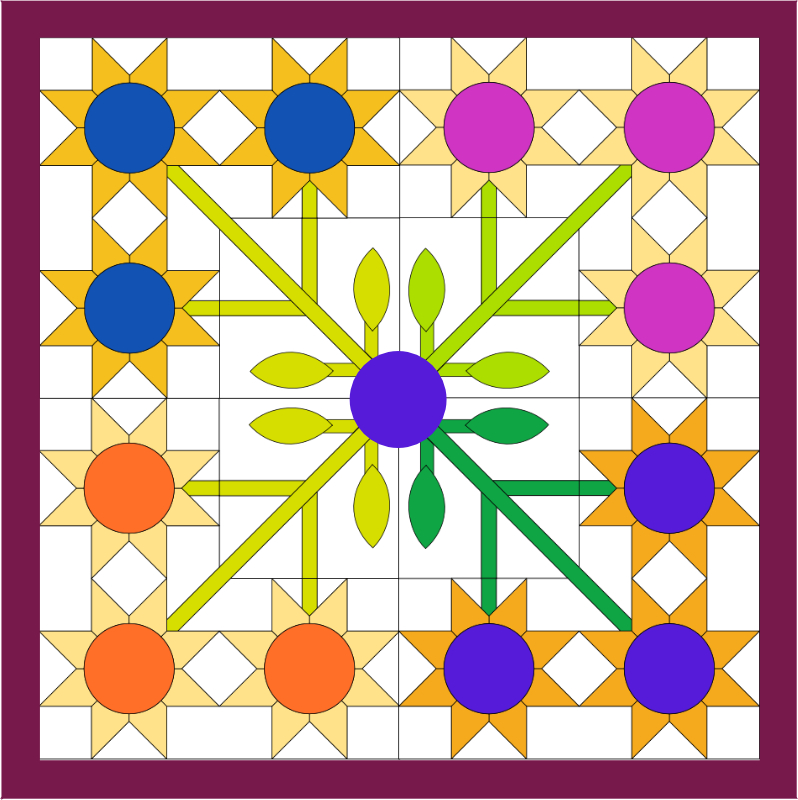
Here are the two centers I mentioned in the kick-off post for BlockBase+ week: a spring/summer block and an fall leaves Autumn block. There are tons of possible centers, and since you can size them, your options are wide open. I begin my designing more easily in an illustrative digital program (Affinity Designer, if you want to know), so that’s where I start. But if you are a quilter who works in EQ8, all of these blocks are available to you in that program.

This was my first version, but it just didn’t work well. Cute, but in my world I like stronger colors and stronger contrasts. I give you my final measurements in the Tip Sheet, but I did keep track of how wide the plain strips were, so I could choose blocks that fit.

I refer constantly to the wide body of work that Melanie McNeil has posted on her blog Catbird Quilt Studio. The first page you should visit is a page listing all her topics, called Medallion Lessons. She has links to everything else on that page–a wonderul resource! She and I have corresponded for years, so when I hit this impasse, she had all sort of tips and tricks for me to try. Some of my angst is written about here.
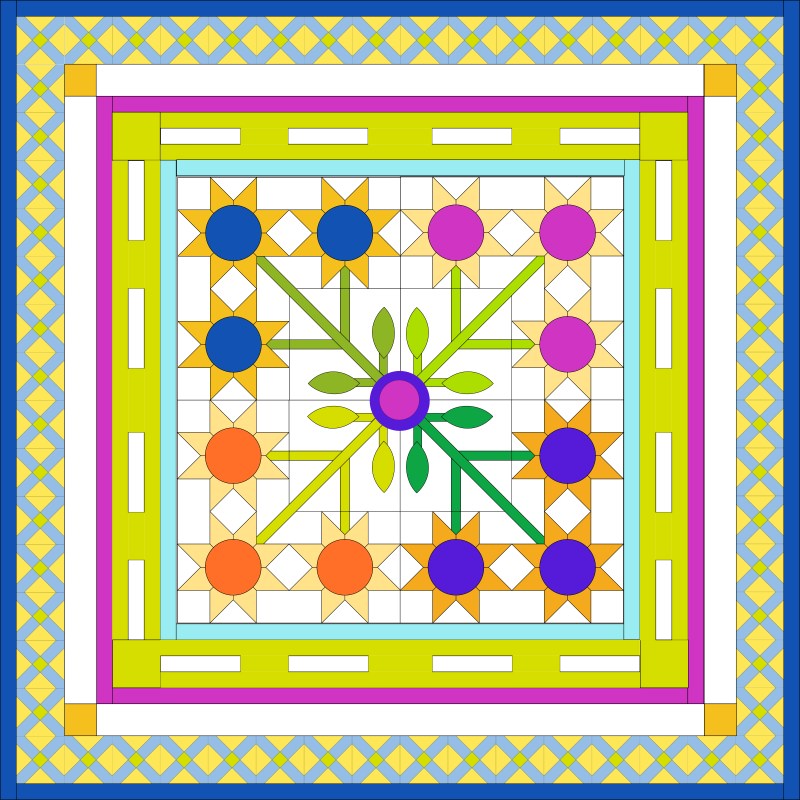
Version Two. Remember, that I had determined what size all those borders were, and then went into BlockBase+ to find blocks I liked. I would then resize them, and make a sample or two or five.

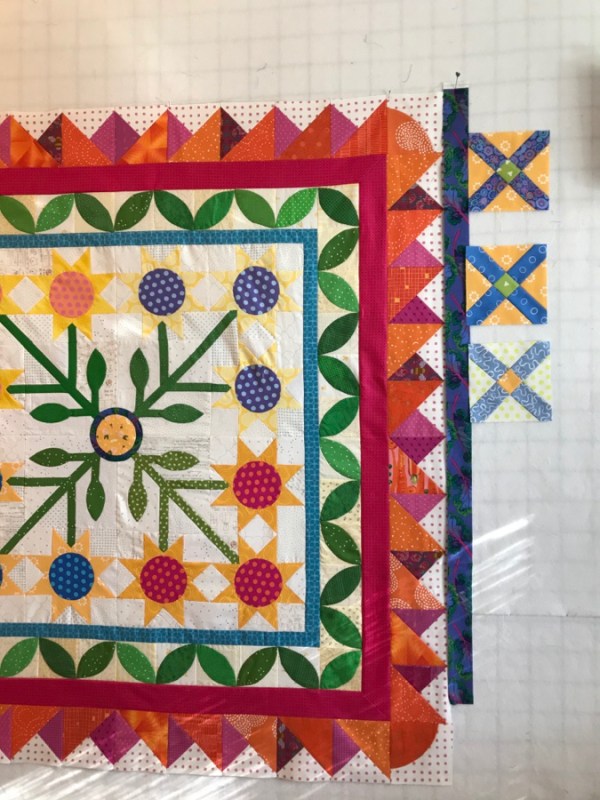
I had been cleaning out photos and saw a quilt that had shapes I liked (we’re talking about the orangey-pink border). I found a similar block in BlockBase+ and since I wanted a four-inch block, I re-sized this Brackman ID 1194 block to print out at 8″ so that part in the aqua circle would be the correct size. I changed the corners from the photo, using a Drunkard’s Path block (again, from BlockBase+), written about in this post. Moral of this story: take photos at Quilt Shows, get ready for your future.

This was The Plan.

Yeah, okay, and this total wreck was The Plan, too, as I tried out different borders.

I kept trying to go farther with those crosses. I really really like them. But the bold orange-pink border was too strong, so it became the last pieced border. I had the brain flash to use violet in that outer border, so I stayed up one night searching online shops for violet; however, this is not the color this year.

I was madly going through my stash one early morning, and had a stack of fabrics neatly lined up on the ironing board when my husband walked in. After explaining that I’d gone through everything, he reached over and pulled out a piece of fabric from the ombré bin. “You mean, like this?” he asked. I pieced it in the middle to get the darker outer corners, and it was done.

Get Your Tip Sheet for Free

I’ve compiled a little TipSheet for you for this quilt, which is free, if you use this coupon code:

Just enter it in at the checkout spot at PayHip, where I sell my patterns, and it will download for free to your email. I do have plans to make this a full-fledged pattern, but just like The Plan above, it may go awry. But for now, get your free tipsheet for Sunny Flowers.

UPDATE: Giveaway is now closed. Thank you to all who entered. Winner will be announced on Sunday, April 25, 2021.

Yes, the giveaway is still going strong. Please leave a comment below about how you will use BlockBase+: would its be a baby quilt for a new niece or nephew? Would it be a medallion quilt? Or do you need a fun picnic quilt for summer?

If so, maybe this Brackman ID 912 Mayflower is the one for you?

Leave me a comment below. I will be combining all the comments from everywhere before I pick the winner, so, I don’t mind if you leave one here, too!

BlockBase+ · Quilt Patterns

A Week of Creativity using BlockBase+ • Giveaway!

Sunny Flowers • quilt no. 246 • 54″ square

This is BlockBase+ week, and in one week, I’ll be giving away a free copy of the software!

UPDATE: Giveaway is Closed. Thanks to all who entered!

What is BlockBase+ ? It is new software from The Electric Quilt Company that will become your new best friend for creating quilts. It works on Macs and PCs and is a good companion to The Encyclopedia of Pieced Quilt Patterns, if you have that book.

I’m writing four posts, total: the first two posts will be about how I used BlockBase+ to create my Sunny Flowers Medallion Quilt. Today’s is about the selection process and introduction to the features of BlockBase+. On the next post, I’ll give you my formula for making your first Medallion quilt, using blocks in BlockBase+ and showing how I finished out my Sunny Flowers quilt. And then about one week from now, in the last post about this software, I’ll have an entirely new idea for you, showing ways to adapt the blocks you find, making them your own through the software’s ability to make any block any size, in a snap. (I’m telling you, I really like this software!)

Center Block of a Medallion Quilt, and How to use BlockBase +

Many of you have seen this quilt in process on my social media and here, on my website. On this post I go through my process of how I used BlockBase+ from start to finish. If you have more questions on how it works, there is also a database on the EQ website, too.

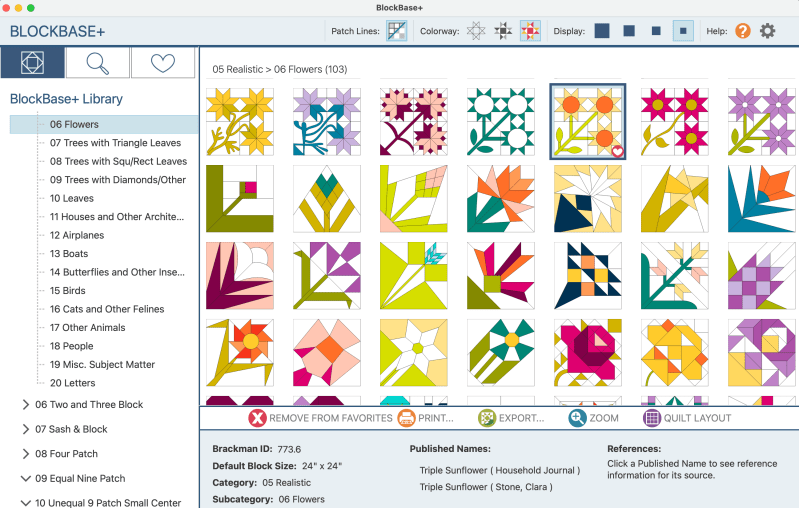
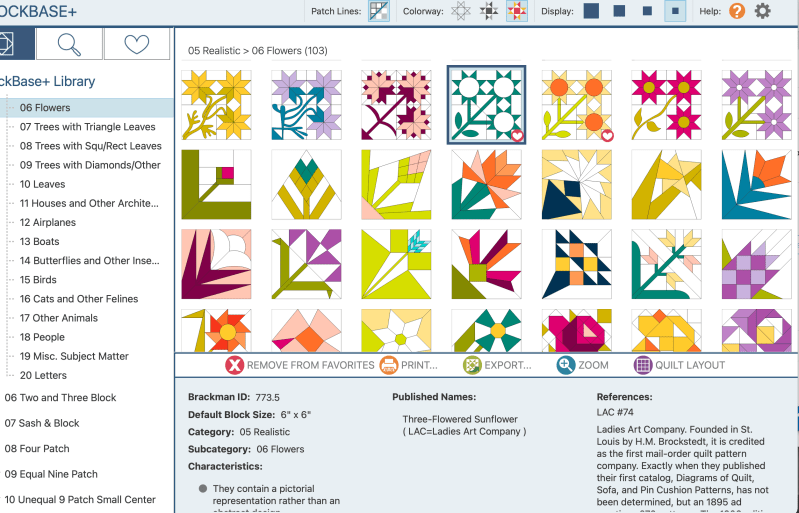
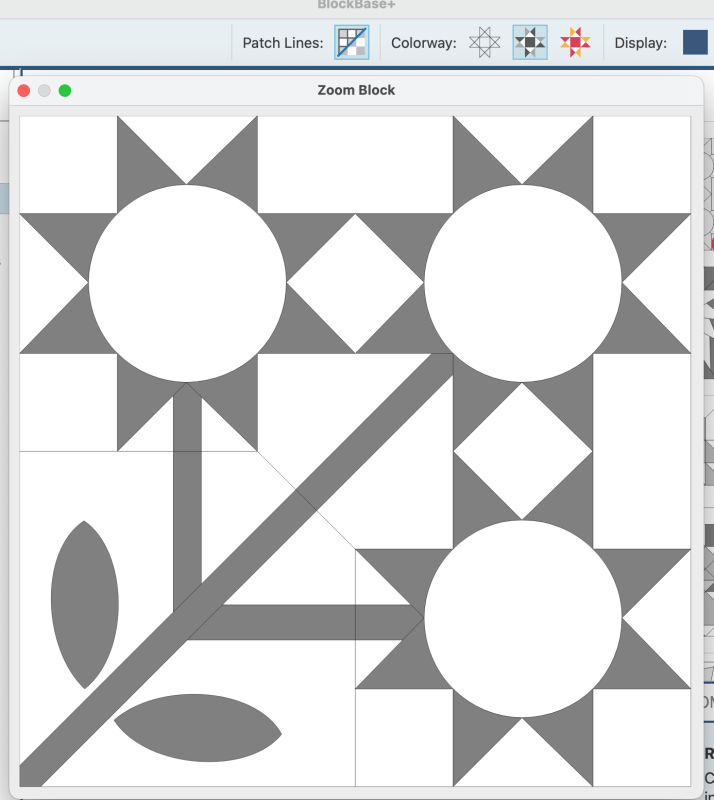
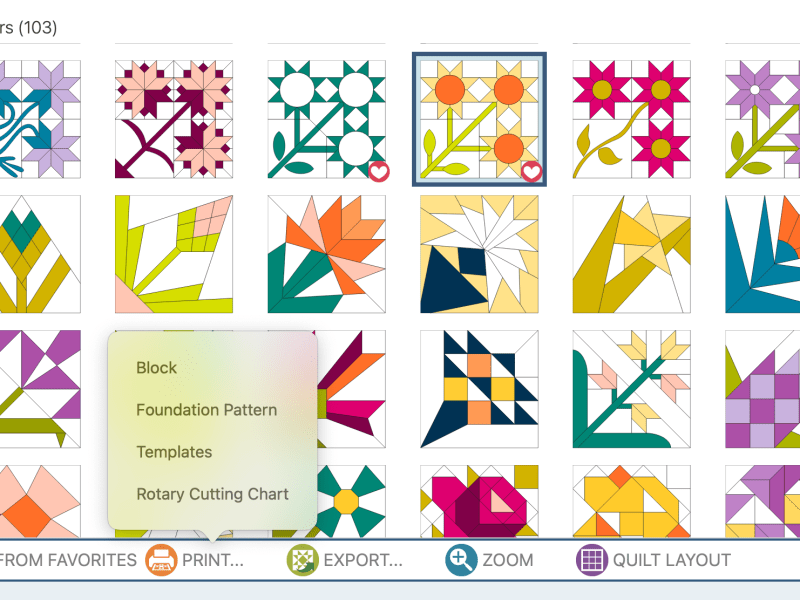
I started my Sunny Flowers Quilt as a sample to show you how you could use BB+ (my shortcut name for the program). I started by having a great time going through different blocks. I knew I wanted something that was sort of vintage, but that would make a great centerpiece. I picked the Sunflowers Block; it looks like this on my BlockBase+ screen:

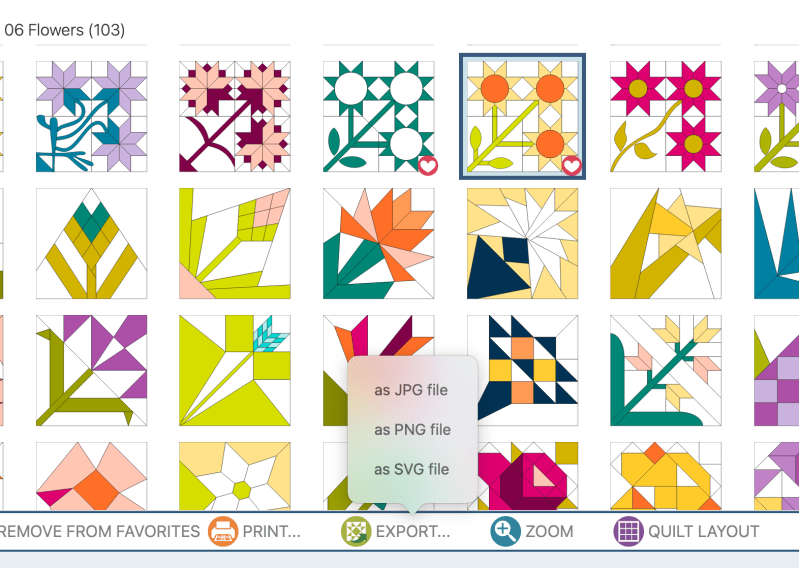
I have it selected, so there is a dark square around it. See the little heart in the lower right corner of that block? You can also tag your favorites, so if you find something you really love, you won’t have to search for it again. The Brackman ID number is 773.6 (all blocks have a Brackman ID number).

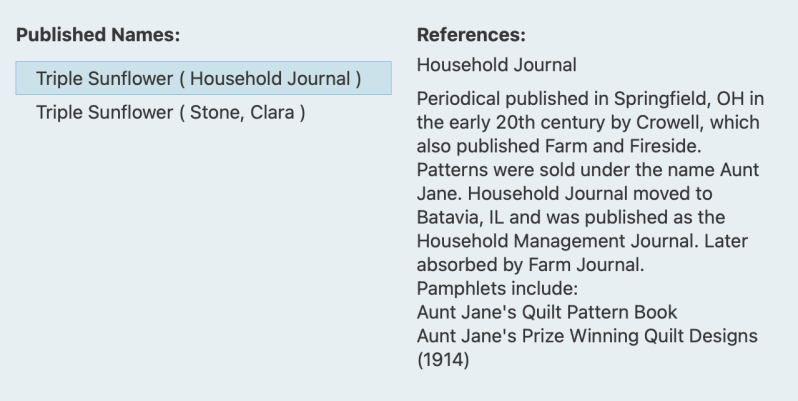
By clicking on the Published Names, you can see the source and information about the block. (Hooray for quilt history!!) This block hails from the beginning of the 20th century, and is not one I’ve seen before.

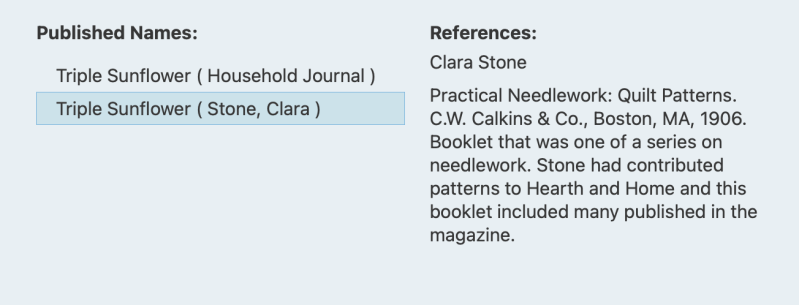
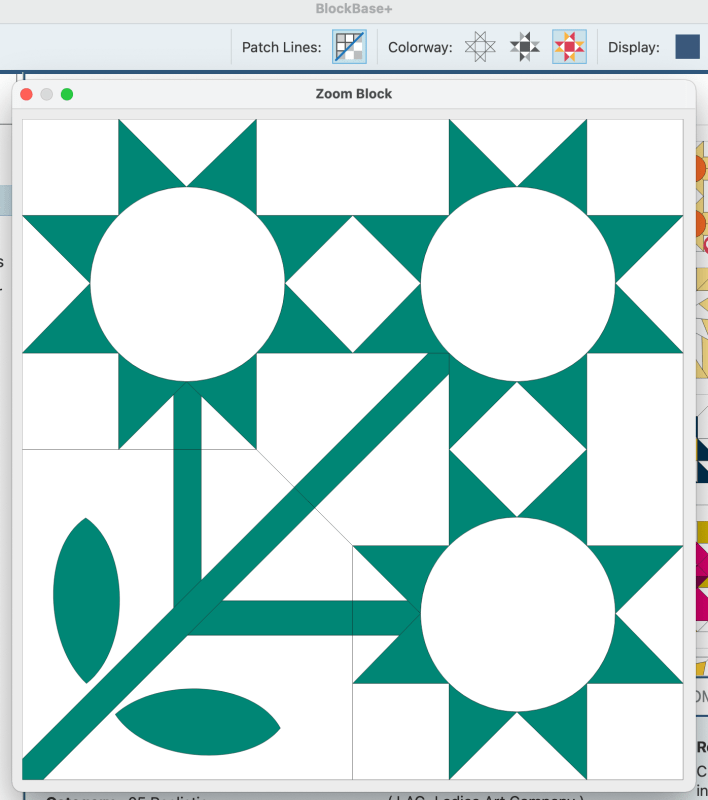
Right now, I’d like to take a look at the one next to it, titled Three-Flowered Sunflower.

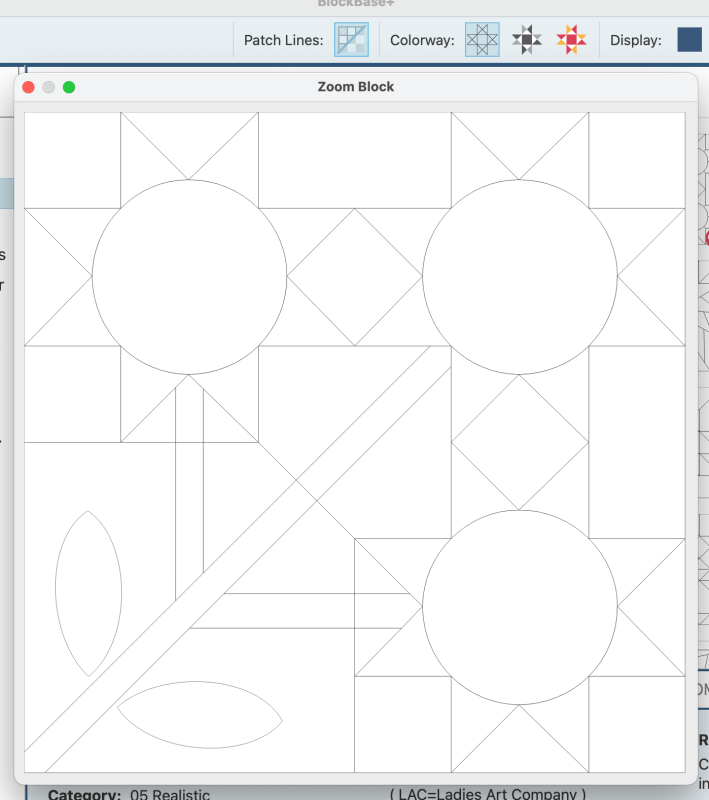
By clicking on the different icons in the Colorway area, I can have the block fully colored, shown in shades, or just in lines. As a newbie working this program during its Beta period, I wish I’d known better how to use these to enable me to see the structure of a block. Although neither of these blocks are the easiest, this second one has easier construction, which is shown by looking at the Line Drawing.

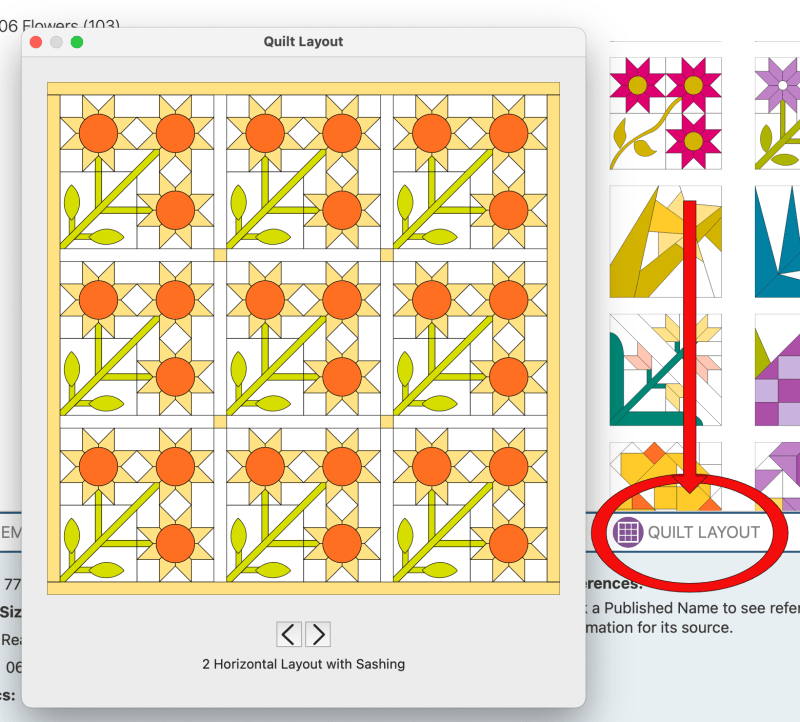
I tried out their quilt layout, just to see the block in different variations (there are seven different ideas to look at), but then decided to export it as an SVG (or Scalable Vector Graphic) into my Affinity Design Software, to see how it would look.

There are three ways to export it (JPG or SVG or PNG). Here’s the first rendition:

I had thought I would just make it a simple series of sunflowers, and put an uncomplicated small border around it and call it done. I know those of you who know me are laughing hilariously right now as I’m not very good at simple and uncomplicated, but I keep trying.

Here it is, all sewn. In my sample, I stitched one flower using EPP, and the other three flowers, I used Templates, sewn on the sewing machine. Just keep your wits about you, or choose another block–there are many more that can serve as centers.

Here’s a potential center for a Fall/Autumn Medallion (I added the center circle). The Brackman ID Number is 1740, but you can also search by name: Maple Leaf. If you are an Electric Quilt 8 user, all these blocks are available to use in that program, so you can build your quilts that way, too.

Printing Out your Pattern

Whichever block you chose, and however you choose to make it (Block, Foundation Pattern, Templates or Rotary Cutting Chart), re-size it to 14″ so the center will finish at 28″ square. We’ll use that measurement to build out our medallion quilt. (More on how to use BlockBase+ to do that will be in the next post. Being able to re-size my blocks made the whole process soooo much easier.)

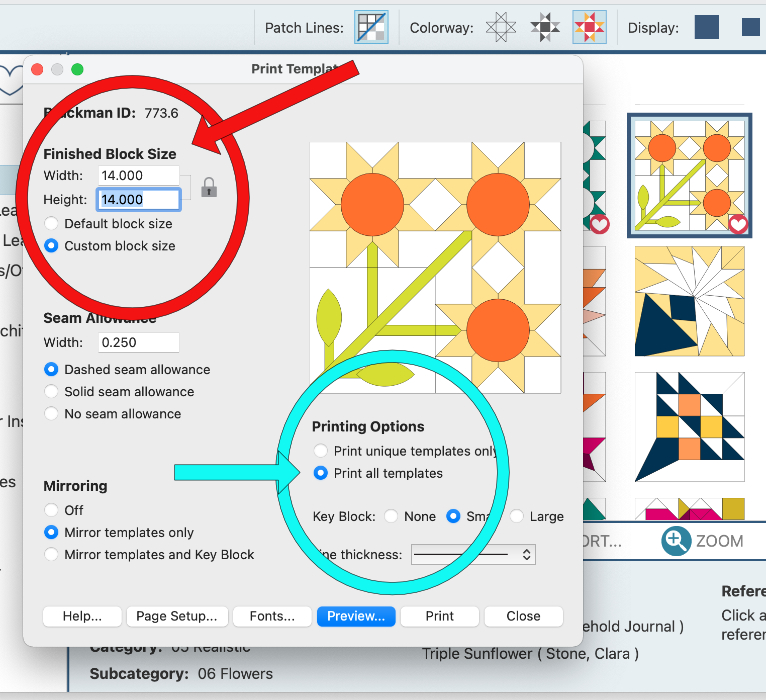
After clicking on your block, go to Print Template. This window pops up. In the red circle, click on the radio button to select Custom Block Size and type in 14″ in both boxes.

In the aqua circle you have Printing Options. I usually use “Print unique templates only” if I’m going to be pinning and cutting out, but for just for fun, I chose “all templates” this time.

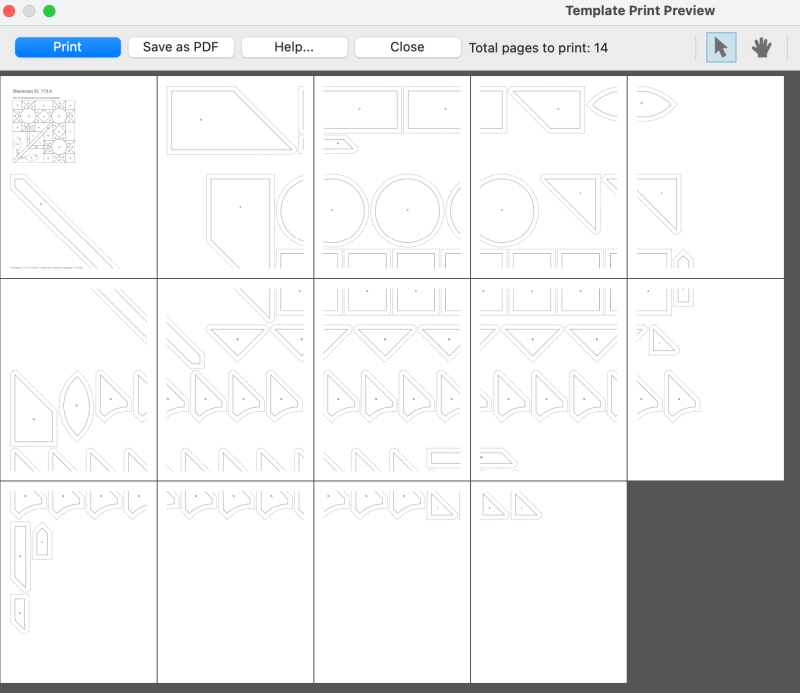
This screen pops up. Whoa! Look at all those pieces broken across two pages.

NEVER FEAR! We can fix this by clicking on a template and dragging it around where we want it.

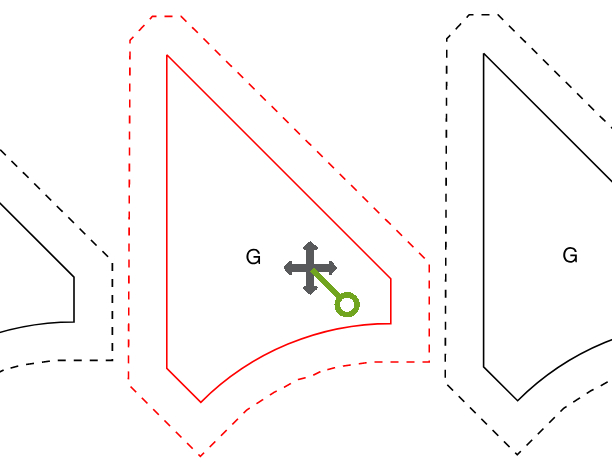
You can also click on the piece to reveal a little green “handle” of sorts that can be rotated in case you want to re-align pieces to nest together more closely together (the above image was blown up by using the plus sign in the upper right of the screen).

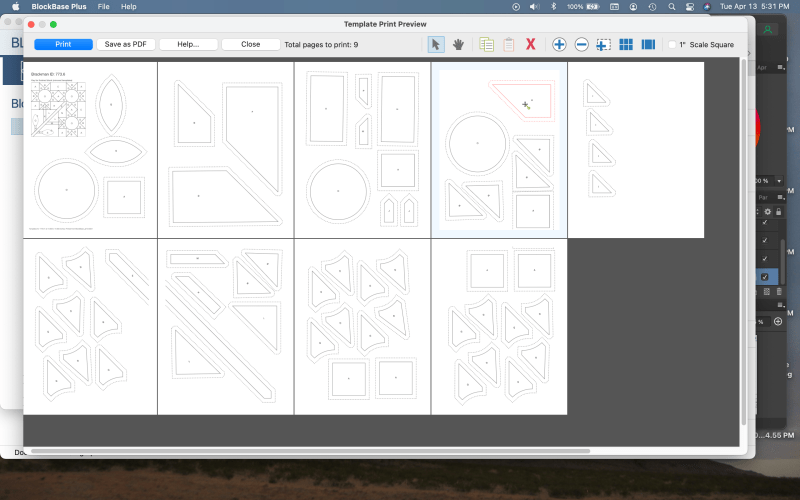
I reduced my original 14 pages of printing to nine. As you move things around, the border on that particular page changes to light blue, so you can keep your pieces within the printing area of your page. That long green stem still breaks across two pages, but in the original it was breaking across three, so I consider this an improvement.

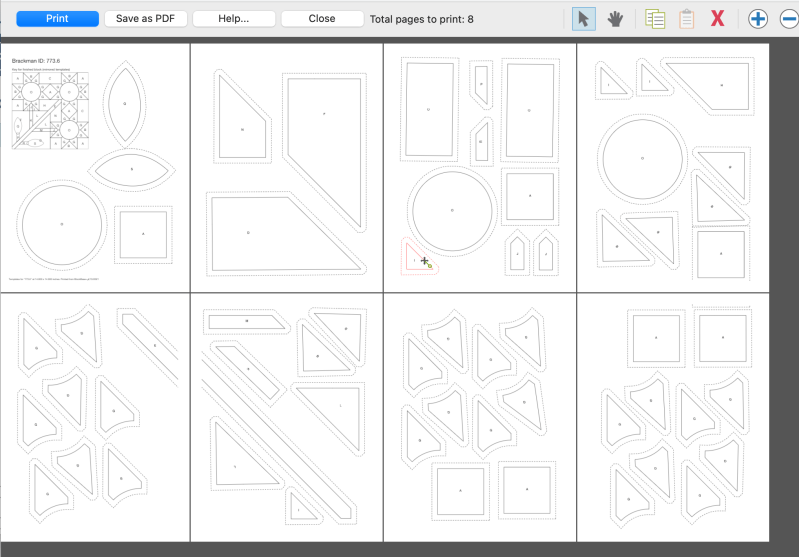
I kept tweaking and got it down to 8 pages. (Pin a ribbon on me!)

So, have any questions? Are you curious about things? Keep reading in this series to get the knack of this, and leave me questions if you have them.

  • Next post on Wednesday: Building a Medallion, using BlockBase+
  • Final BB+ post on Saturday: Winner of the software announced, and more fun things to try with BlockBase+

Are you someone who has only drawn out your patterns with pencil and graph paper? Have you worn an eraser down to nothing, changing lines and shapes? Have you always wanted to create your own designs?

To enter the giveaway, please leave me a comment below telling me how you might use BlockBase+ (and how it might help you bring to life those ideas you’ve thought up all during covid).

Yes, this giveaway will run on Instagram, too, so you can enter there for more chances to win. A n d . . . there is another post where you can enter — we’ll see you on Wednesday!

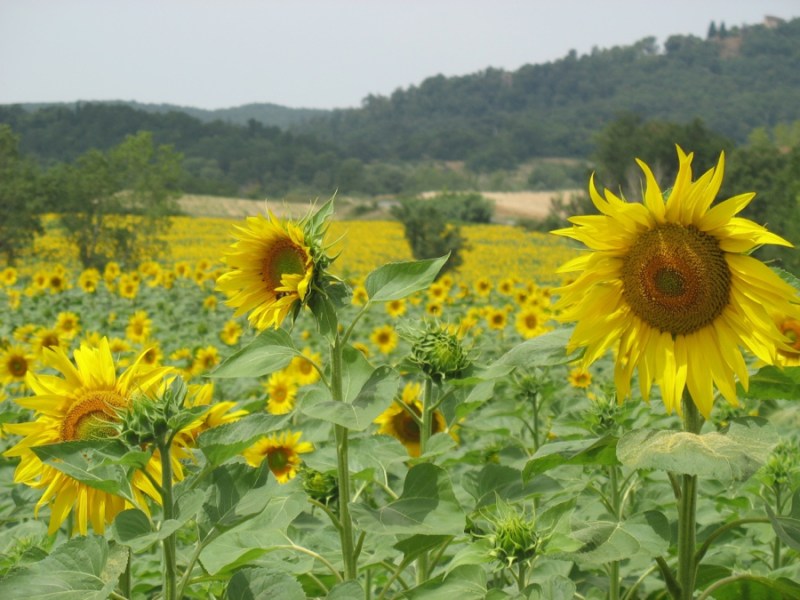
Italy’s sunflowers

Contest Closed now. Thanks for entering the Giveaway!!

Creating

First Monday Quilt

In December 2019, a few young friends had wanted to learn to quilt, so we met together in a group we called First Monday Sew-days. It was a short-lived enterprise, collapsing into covid in March 2020, but I did make a series of handouts for these beginners, and taught a mini-tutorial about that technique. Above is Square in a Square for April 2020.

The free monthly handouts in downloadable PDF form can be found under the First Monday Sew-days post in the drop-down menu of Past Endeavors (I hide all a lot of my stuff in drop-down menus). I got out these blocks because of this post by ailish on Instagram, where she puts up two wonderful quilts of birds (seen below) and acknowledges that she is stuck. Stuck? Oh, boy, do I know stuck.

She had many great comments, if you want to see what they were. And her feed has many great quilts, but it was the specificity of these quilts at this time that caught my eye.

I’d been browsing Creative Block, a compilation of artist interviews, and found Jessica Bell’s observation: “When I can’t make progress, it is often because I am mentally scattered; this happens when I am overcommitted or have a schedule without any breathing room in it. I have to have a lot of space and quiet in my head to think my best thoughts. An artist I admire told me a few years ago that ‘you can’t make art in the cracks.’ ” from Danielle Krysa’s book of artist compilations, Creative Block

So, I read through all my First Monday Sew-day tipsheets, and then went through my Orphan Blocks bin, looking for all my samples that I’d used in teaching those beginning quilters. When I didn’t find particular blocks in the fabrics above, I made more.

Every block in blue and yellow from my Orphan Bin, plus the ones I made today. The golden yellow with the little suns on it was a once-in-a-lifetime perfect color and print from Sherri and Chelsi, from their fabric line Clover Hollow some months ago. I bought three yards, and have gone through one already. The other blues are a collected bunch, and I use the yardstick of “does it look like blue painters tape?” to gauge the color.

Collection, culled. I have more to make and more to arrange, but I’ll keep trying. Now, back to stuck.

In a special section, Poets and Writers collected new poets giving advice to each other. I read through a lot of what they had to say, and copied it down into a little repeated calendar entry on my iPhone and I like looking at what they have to say, even though the medium in which they create is different. However, we both strive to create. I don’t know if you’ll find this interesting, but I’ve selected a few of their quotes, about dealing with the creative rut:

Tiana Clark: Trust your imagination. Be on your own timetable. Some advice from David Baker: “There is no hurry.” Some advice from my therapist: “Everything you want is not upstream.” Redefine what success means to you.

Jenny Xie: Since I don’t have the inclination to [create] in small bursts, I need to be intentional about setting aside at least a few hours or half a day. This means if I mark off time to write, I can’t go off to run small errands, agree to coffee with friends or acquaintances, sit in front of my phone answering text messages and e-mails, or distract myself by chipping away at random tasks.

Emily Skillings: The painter Jane Freilicher put it best, I think, when she said, “To strain after innovation, to worry about being on ‘the cutting edge’, reflects a concern for a place in history or one’s career rather than the authenticity of one’s painting.” There’s also, I think, a quieter quote somewhere about her letting go of the pressure to be innovative, and that she felt she could really paint after that, but I can’t seem to find it anywhere.

Anthony Cody: [If I am stuck,] I walk away. The internet, the algorithm, and capitalism want us to go as hard as we can until we are spent, only to start over again. If I can’t push a project any further, I change mediums or do something else entirely. I write inside a phone book. I break down cardboard and sketch and build. [Creating] is often more about listening than it is about the act of [creating], so if [it] ceases, I know it is time I stop what I am attempting, listen more, and reimagine the path.

Fatimah Asghar: Writer’s block remedy: I take a break. I think that if you bang your head against the wall trying to create, you’re going to resent the process of creation. Usually when you reach an impasse it’s a signal to move on to another thing. Maybe you haven’t slept in a while. Maybe you need some time to ponder, to just stare at the wall. Maybe you need to live, truly be alive for a little and not near a computer. Maybe you need to read, see, watch—to refill your well.

Recently we had a chance to escape for a couple of days to a beach not far from our house, and I took this project with me. The surprise gift of this hotel was they had a rooftop deck with glass railings, so when we weren’t walking near the ocean, I could see it as I sat and stitched. I’ve been working on this for some time, but like so many of the poets, I’m content to let it come along at its own pace.

early days, with my granddaughter

I began this almost exactly two years ago, and wrote at the bottom of the post: “see you in two years!”

Now I’m thinking, it might be three, or even four years, and at this point I’m still not sure I like it, but I drag it out every once in a while and add a row or a few red centers. It’s good for taking on car trips and for sitting out on fourth-floor sun decks as I listen to the ocean and feel the cool air. It’s good for reminding me that not everything goes according to plan. But taking some advice from the poet Tiana Clark, above, I remind myself: I’m on my own timetable.

Happy Quilting!