Need some insight into my quilting?
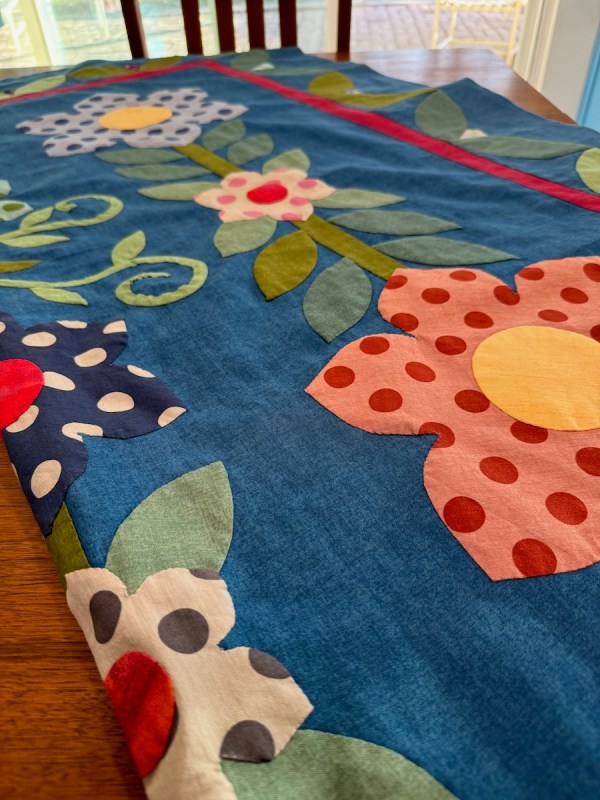
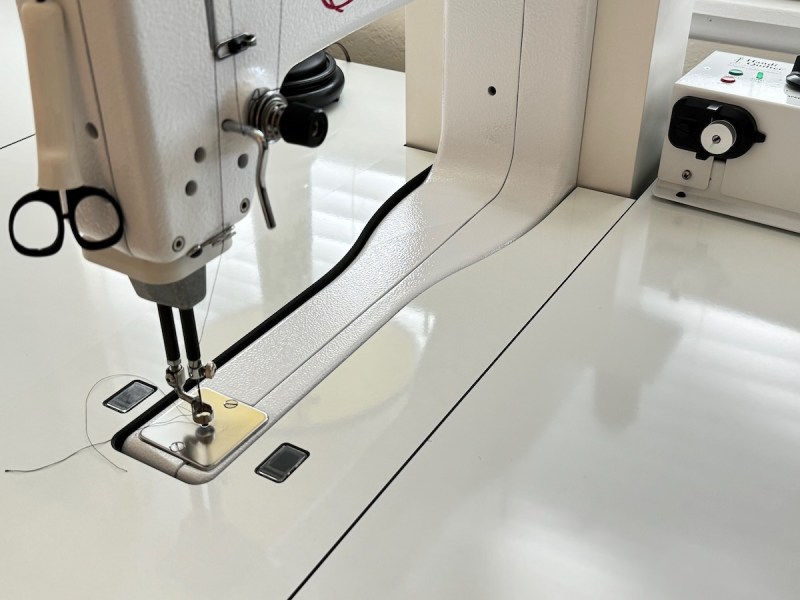
Here it is: the “Insight Table” for the HandiQuilter Sweet Sixteen. This table was purchased in another life, in January of this year. I had avoided trying to quilt with it since so much had crowded my personal spaces. But finally, I pulled this quilt top from the closet:

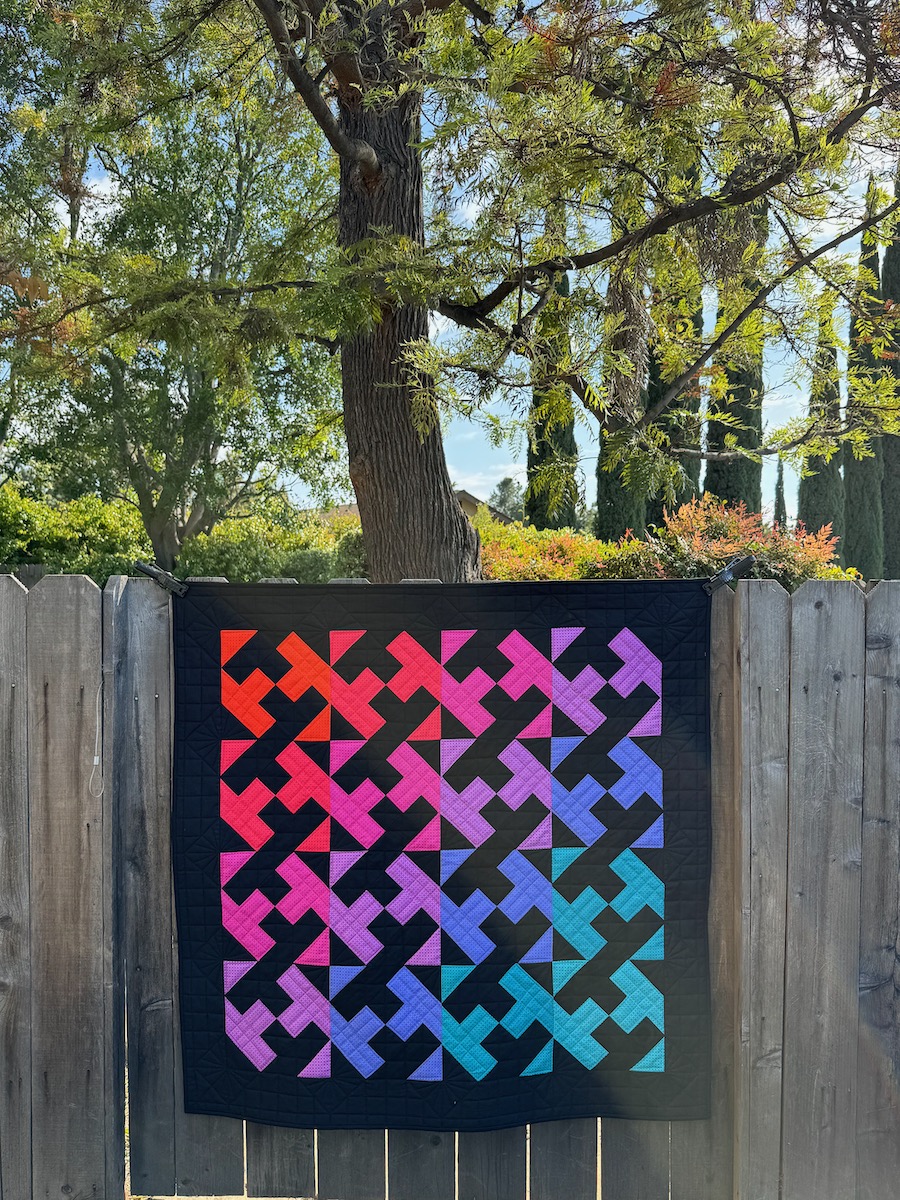
June 2021 — title: Happy Valley.
It was perfect for trying to learn to quilt a new way to work with this machine. The little “eyeballs” on either side of the needle (see above) are supposed to track my movements. It’s all coordinated with a few dials and buttons on the screen, which I couldn’t figure out at first, leaving me with skips in my stitches:

I’d be moving the quilt, and it would stop, skip a stitch, then start again. The stitches were very even, but…sigh. Because this is so new, there’s not much out there on the internet. I finally figured out to up the percentage of my “Cruise Speed” to 18% (I previously had it at 11%). That seemed to fix it. This doesn’t make me go faster, but it keeps up with me when I do. I could always get even stitches when I was going really slow, but now this sensing system gives me more even stitches, a welcome assistant in my world.
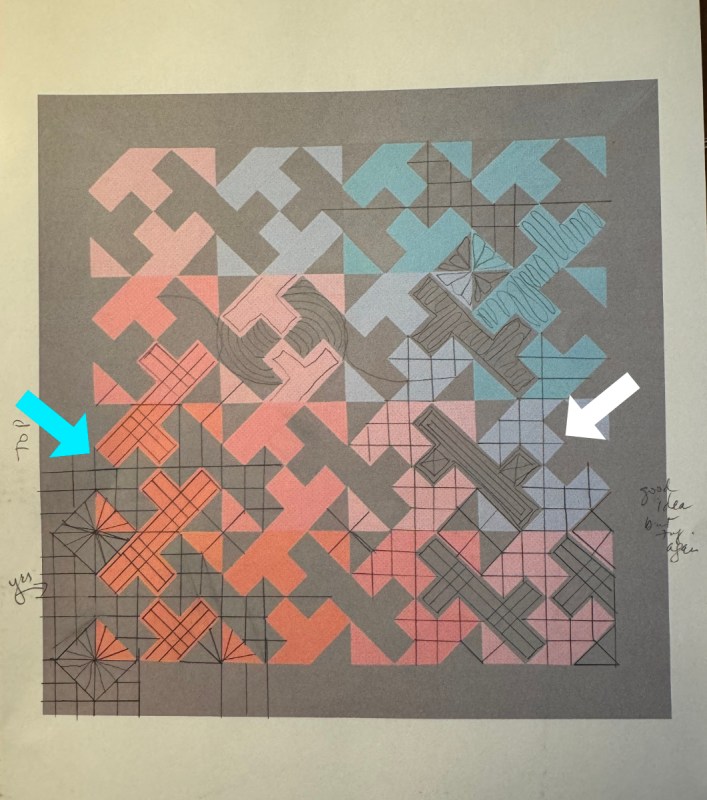
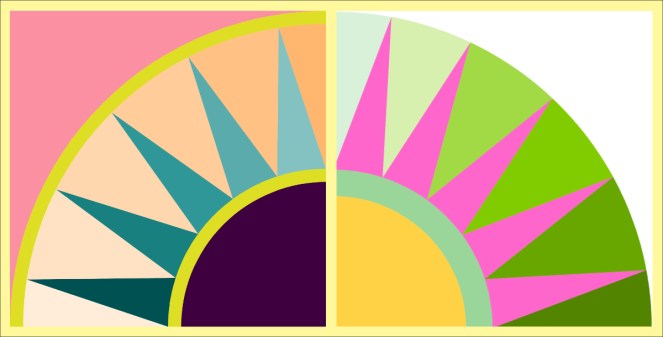
I’d started sketching this out (right side, white arrow), setting the grid into the colors. However, that seemed to make the black come forward, when I wanted it to go backward. So I reversed it (left side, blue arrow).


Break for dinner. I knew I was going to be sore the next day, as I hadn’t quilted on this machine for nearly four months. (I was.)

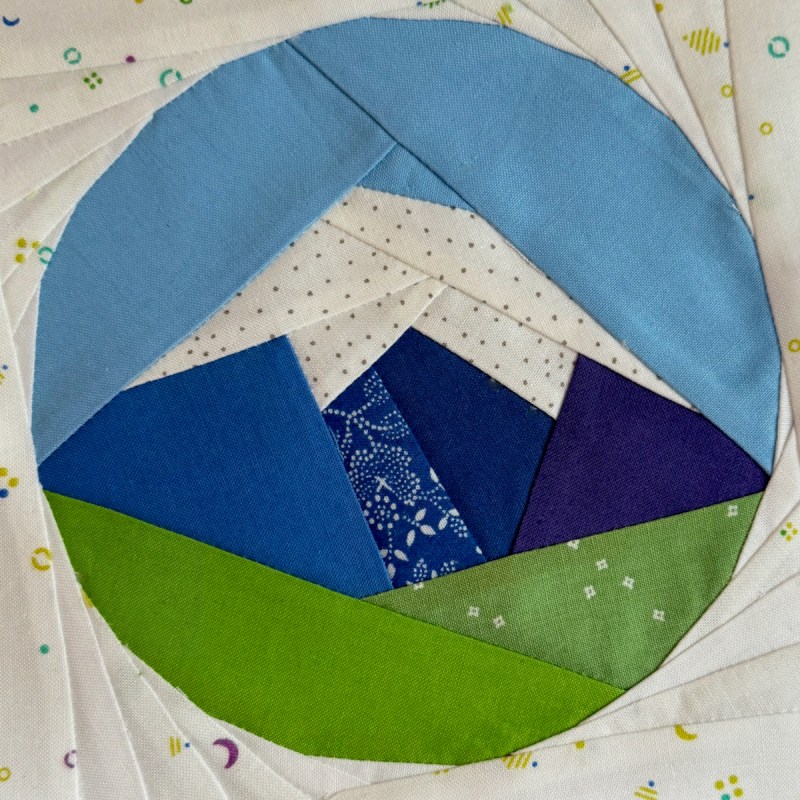
After dinner, laid out on the floor. All the black was quilted, so I could start deciding on how I want to quilt the colors. You’ll have to take my word for it, as the camera was fighting for a proper exposure with all those reds.


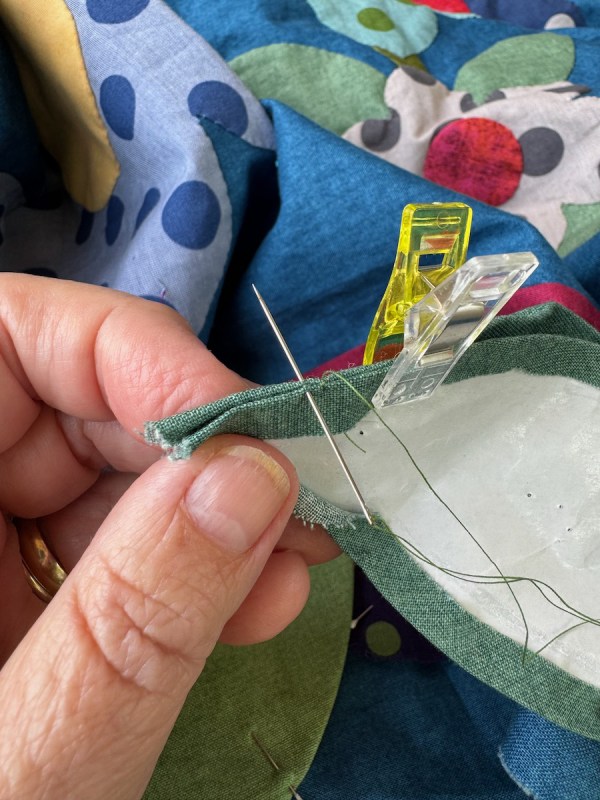
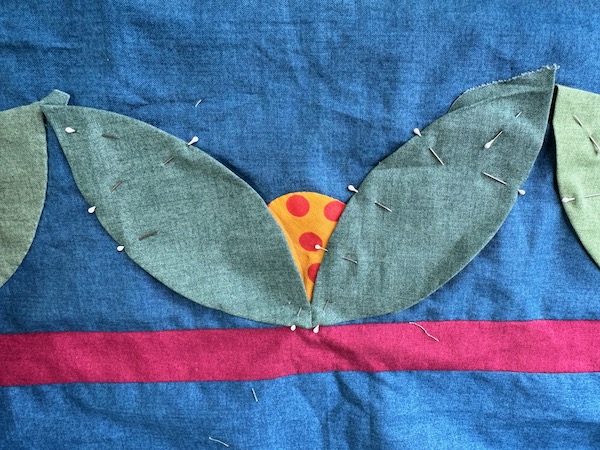
I finished it up a few days later. I always have troubles when trying to figure out how to quilt borders; this one showed me as we went along.
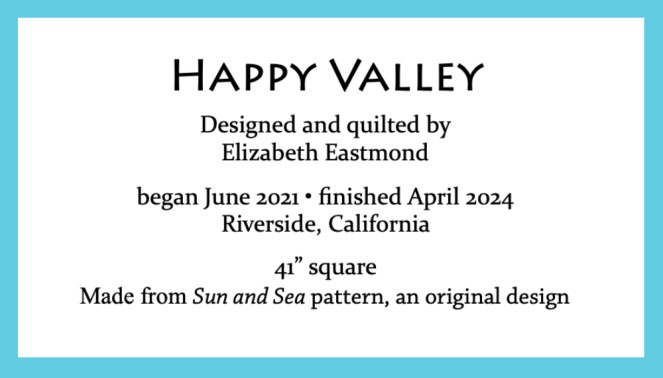
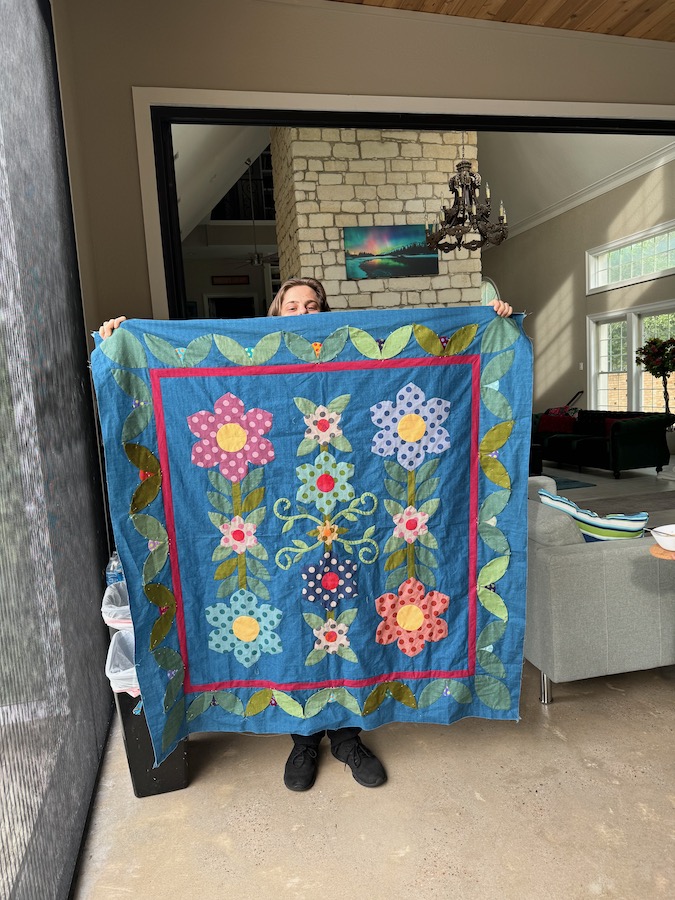
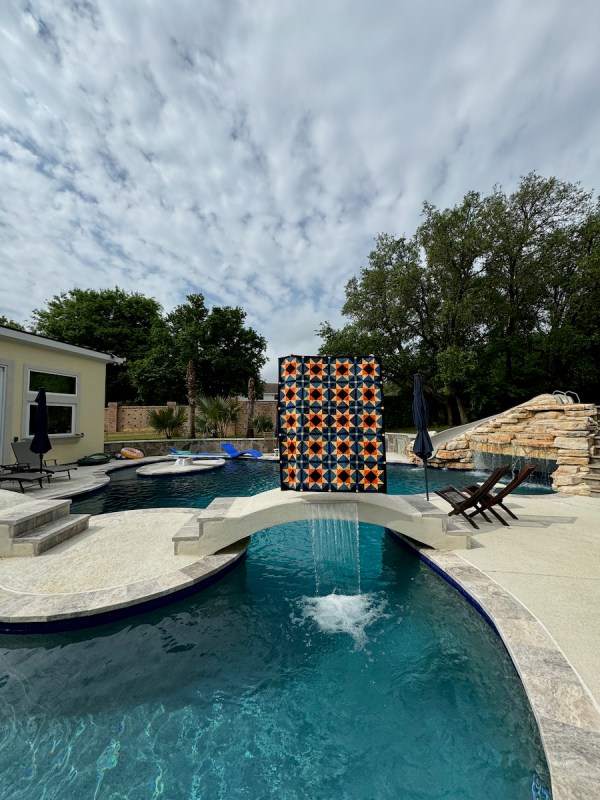
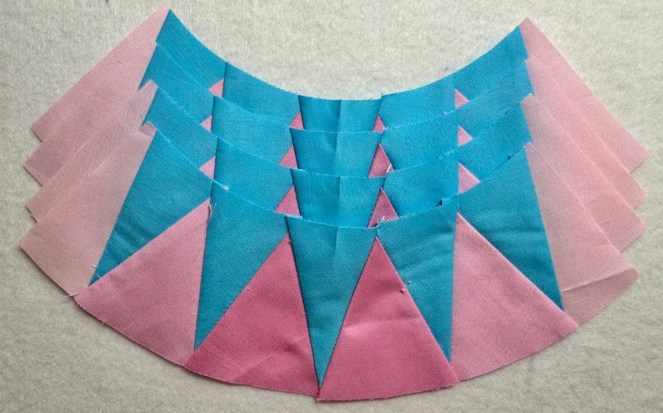
This is quilt #250, from when I finished up the quilt top and listed it in my Index, above. Here is another post about the origins, if you are for some more reading. The original block came from my rendition of a Chinese wooden window screen, as I was fascinated by all the patterns that I saw when I went to China about a thousand years ago.
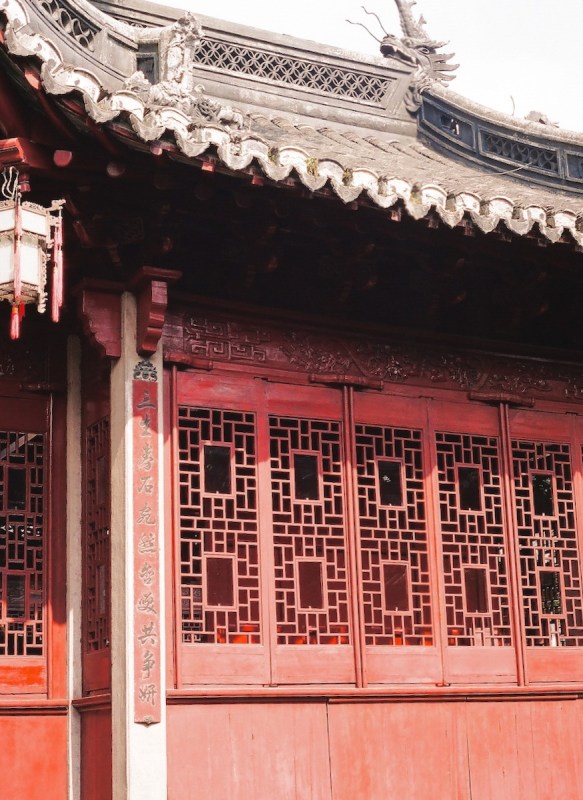


All these photos are from Shanghai. I strolled the streets while my husband was in scientific meetings. All of this was one month after 9/11; the airports were ghost towns, the streets in Shanghai had plentiful police officers. Half the people in the conference had cancelled their travel, but we were so anxious to see China (and Japan, which was also part of the trip) that we went. With great trepidation. I wrote personal letters to all the children, just in case our airplane was shot out of the sky, but the trip was a wonderful introduction to that part of the world. We’ve been back to Japan one more time, but not to China, and I doubt we ever will return.

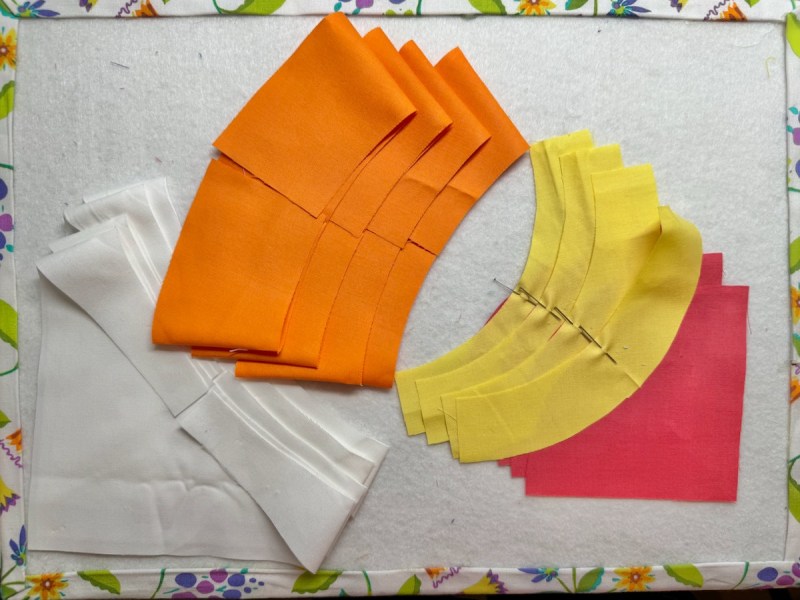
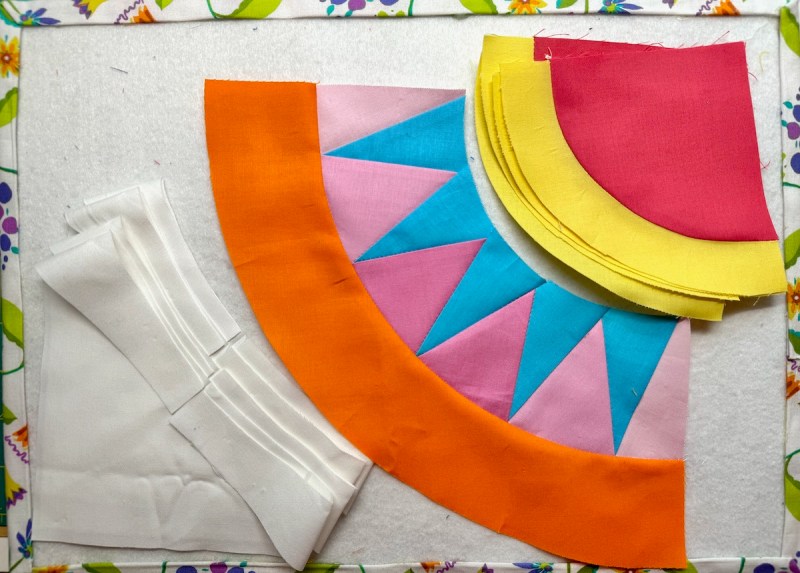
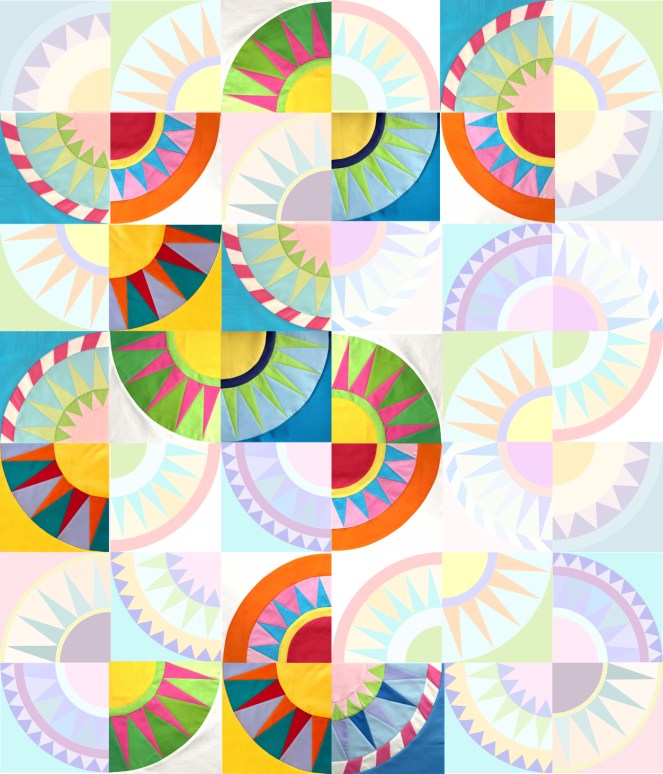
NYBeauties Update:
I’ve mapped out a schedule for finishing the blocks, for those who are doing this with me. It will also help keep me honest, and keep me on track, especially when Leila has started a really fun foundation paper piecing freebie called Back to Nature (visit her Instagram to find out more). I’ve got to get those going, too.

Leila is incredibly talented. And the flip side is: I wish I had a better attitude for doing all those itty-bitty wedges around the outside. But it’s done, and only three weeks late. I’m so spoiled by using freezer paper on my Foundation Paper Piecing, that going back to paper (and I even used my vellum paper) is driving me nuts. I’ll have to try the next one with freezer paper.
This was a shock: QuiltMania stopped publishing. There doesn’t seem to be any information about this at all, but I do know that they, along with every other magazine, were struggling after covid. I guess they finally just ran out of the ability to go forward.
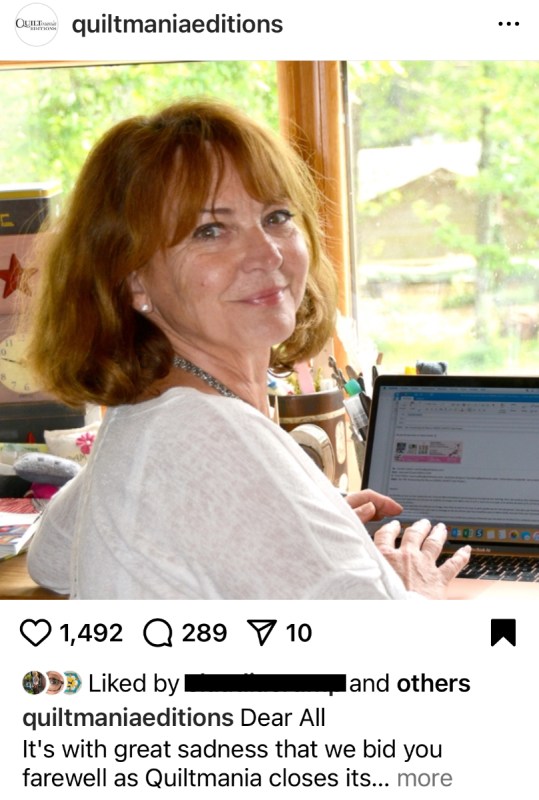
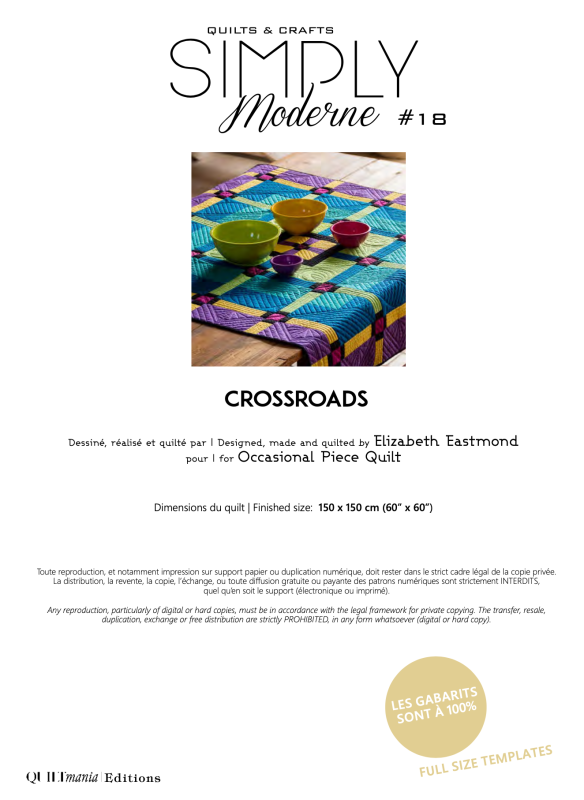
I feel fortunate that I was able to have some quilts published in their magazines. (I’ve been holding off on releasing one of my patterns, because a variation could be found in their recent Simply Vintage magazine.)
I will miss Carol’s unerring eye for bringing us new and interesting quilt shows and quilts. She made a difference in what I see and what I make. Thank you, Carol and QuiltMania.

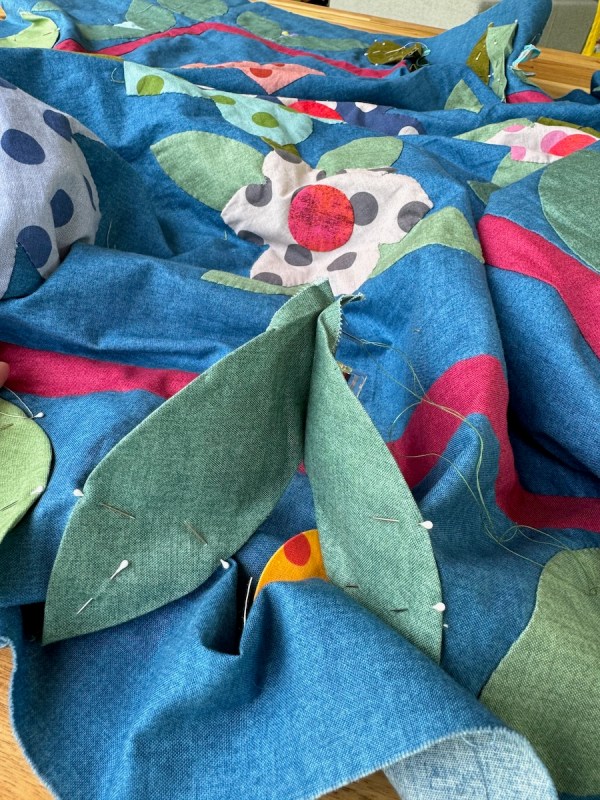
This week I had some friends come over for a Sew Day, and one of them brought the new project she was trying out: Manx quilting, which originated on the Isle of Man.


We were all fascinated when she told us the history, and how the measurements and sizes were based on a quilter’s hand. While my friend used a rotary cutter and a ruler to help her get her fabrics ready, in traditional Manx quilting, strips were torn from worn garments. Amy Smart has a tutorial on how to make one of these blocks, typically done in red, white and blue. There are other links, if you want to do a search on this. I like the little tucks that are formed: all construction is hidden and the sewing is done by hand.

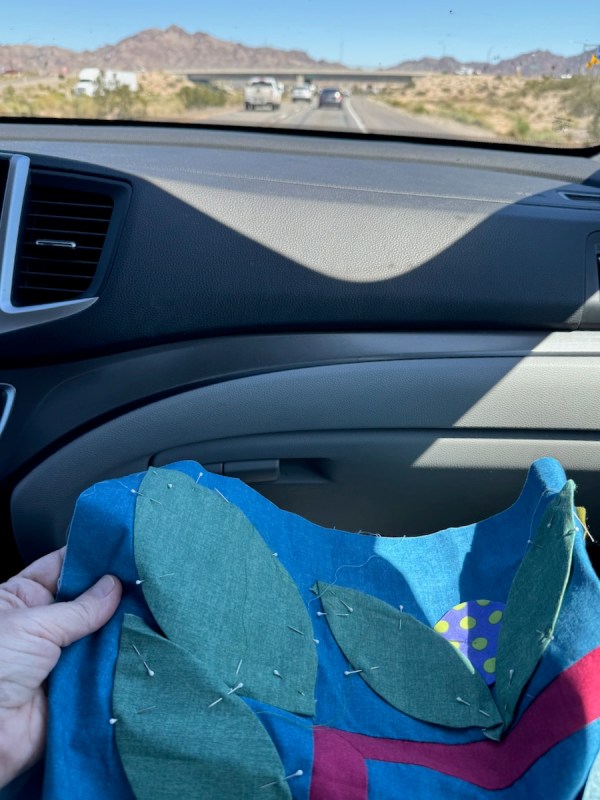
I worked on this: a new-to-me collage technique from Emily Taylor, the Collage Quilter. Unlike the Laura Heine version, this one is based on color and value, rather than shape.
My greatest challenge was not cutting out shapes that looked like jelly beans. I’m working on it, I’m working on it.
I’d purchased a roll of parchment paper from the grocery store H-E-B when were there. Who can’t succeed with a name like this (see below)?

(Really, it was just like regular parchment paper, but don’t tell the good folks at H-E-B.)
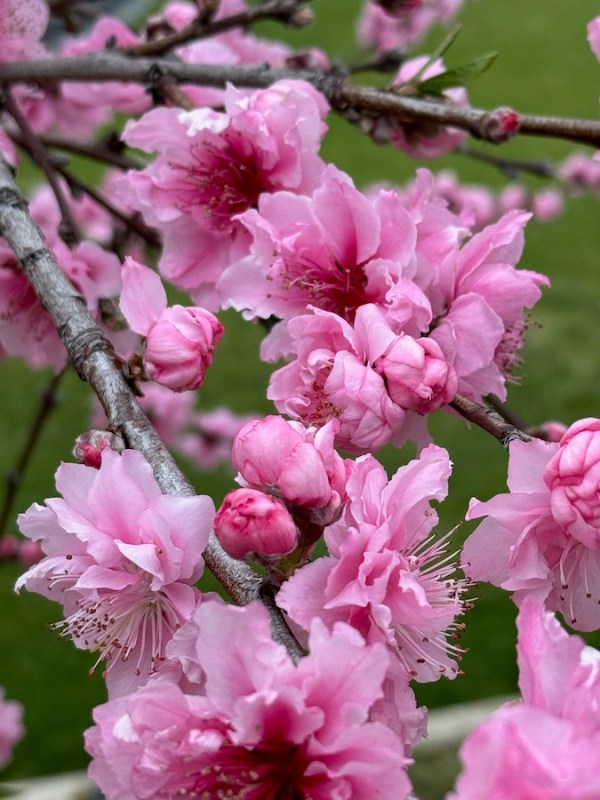
Local cherry blossoms, not plum blossoms. Here’s why I think so (no leaves, oval buds, multiple blooms on a stem).


(I call this version Summer Snowcone. Same pattern.)