
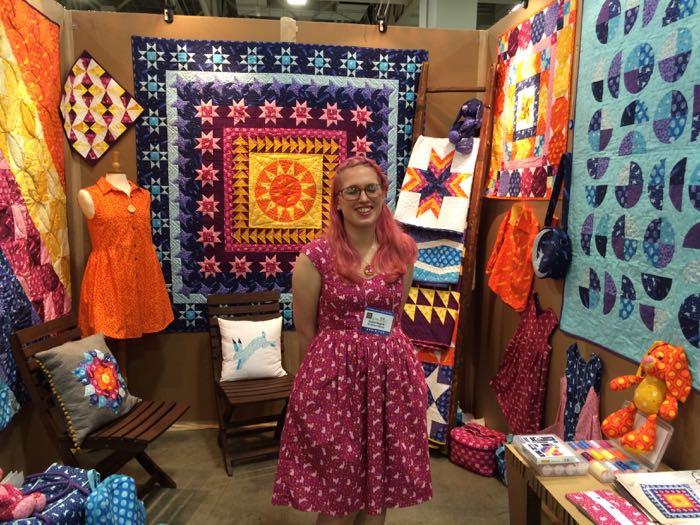
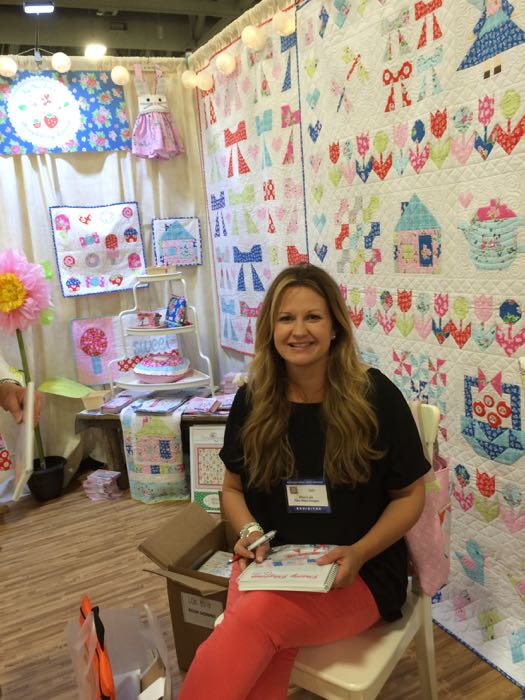
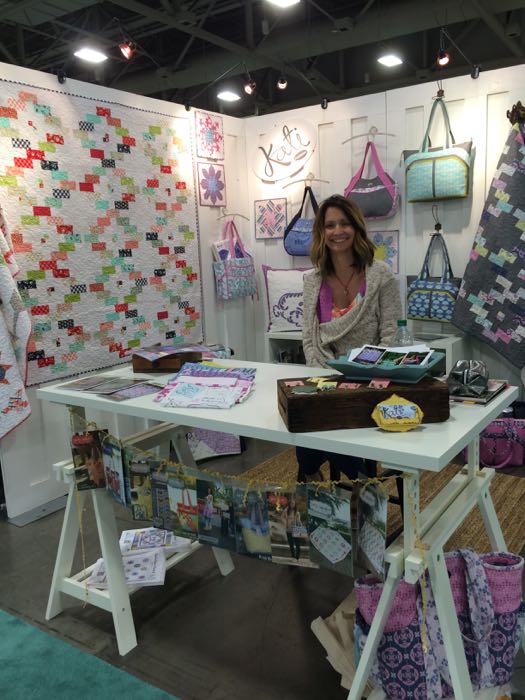
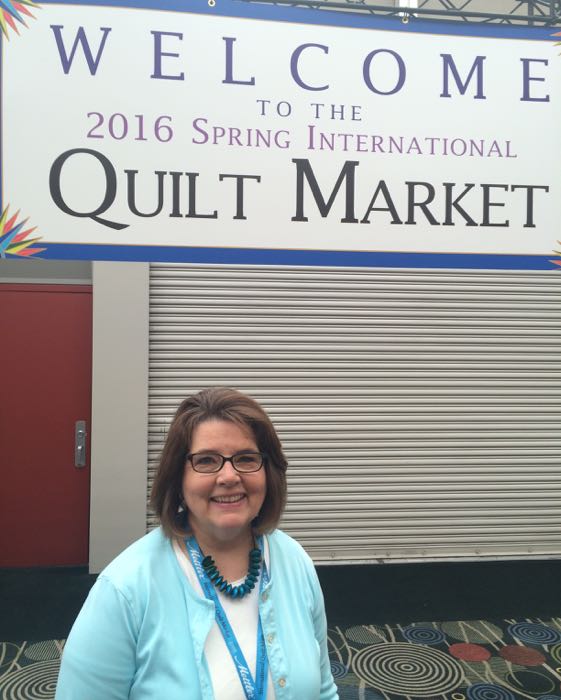
Yes! folks. That is me standing under the sign, nervous and excited as all get out. Yeah, I know it’s a dirty job, but someone has to do it. And there’s a little bit of a giveaway at the end, just to reward you for reading all the way through.

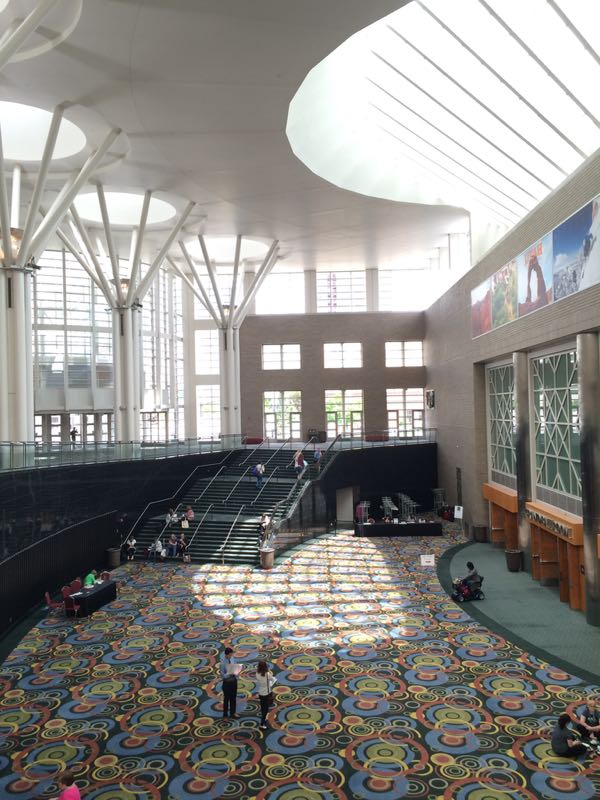
I’d entered the Salt Palace in Salt Lake City that morning, dazed and confused even though several people had given me good advice for Going to Quilt Market. I came down the escalators to the left (out of sight), trying to figure out what to do next, when a lovely woman walked towards me.

Claudia, the owner of Snowed In Quilt Shop in Panguitch, Utah showed me where to pick up my badge. She then told me to pay for SchoolHouse (all-day classes) and for Sample Spree (really? I’m going to that time-honored craziness??). I designated her my “Handler for Quilt Market,” and off we went to Schoolhouse.

Wait, what?

This is better. We shared the building with burly guys wearing T-shirst that said Coal: Clean & Abundant, as they went to their meetings in a wing of the convention center.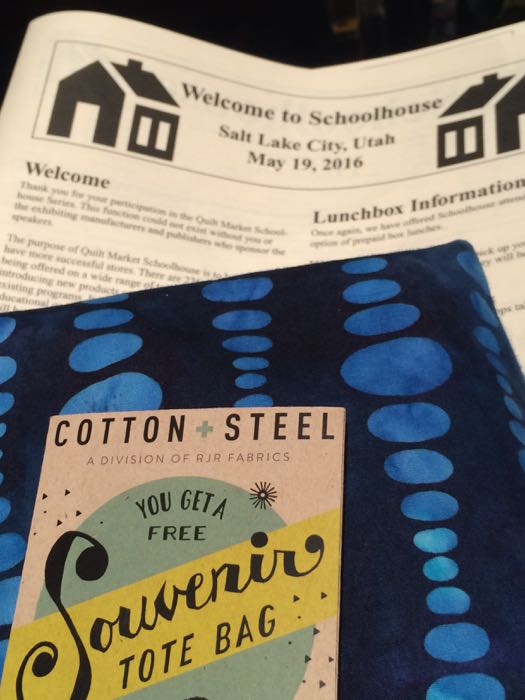
First up: a plenary session where the first 700 who picked up their schedules also got a ticket for a souvenir tote bag from Cotton and Steel. I’d heard about the freebies here (actually less than you think) and was happy that I could get something fun right off the bat. It opened with the officials telling us the stats of our industry, among other pleasantries.
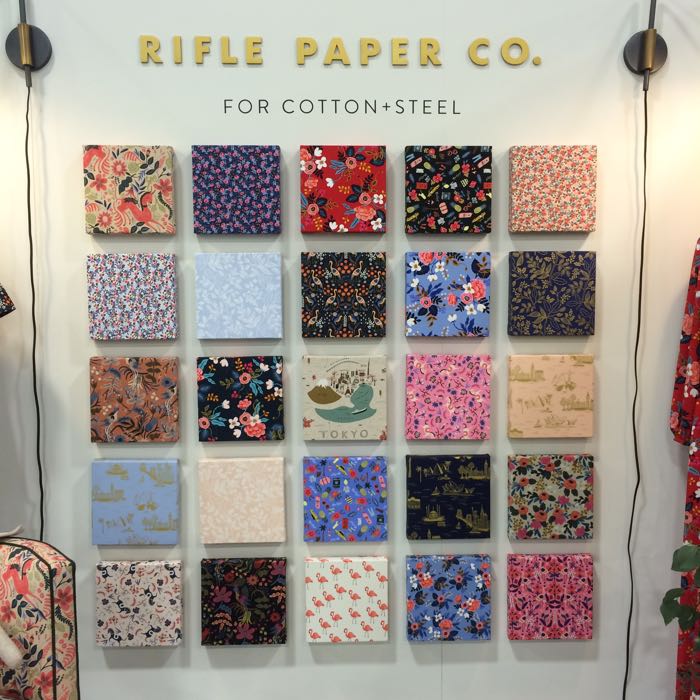
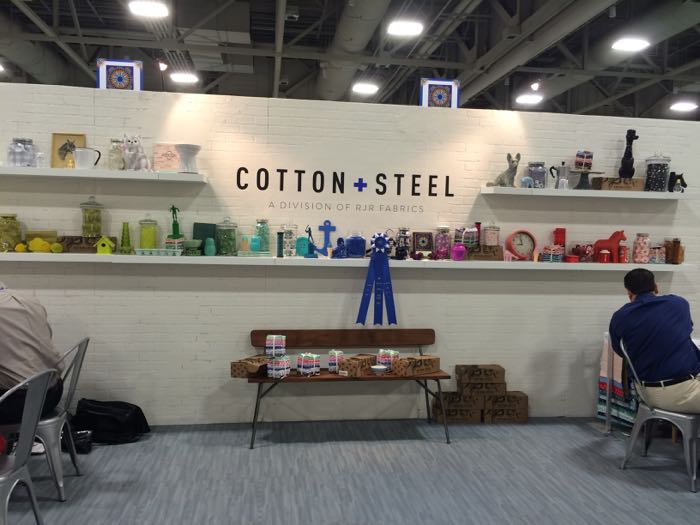
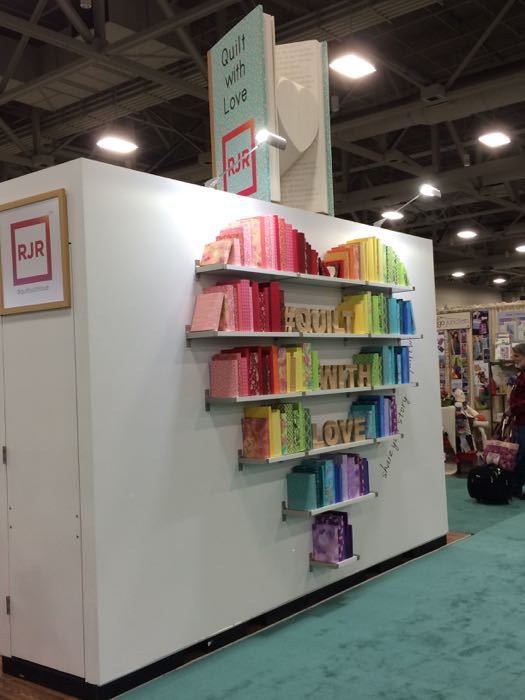
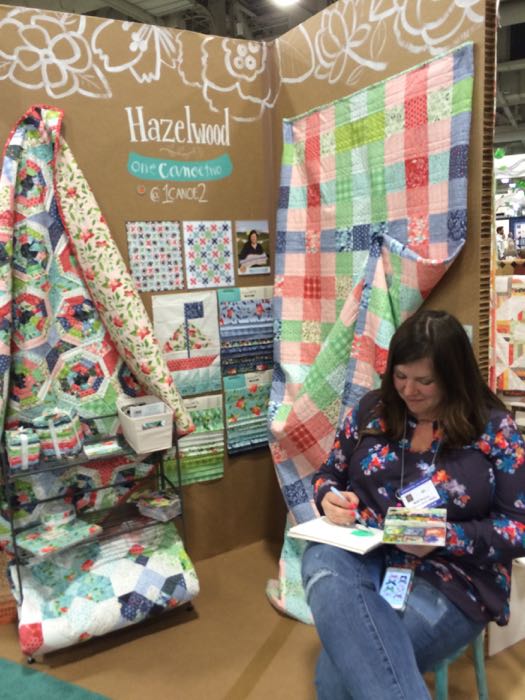
For the very next presenters were the Cotton & Steel gang, all young women, announcing their partnership with Rifle Paper Company, and the new fabric line where they showed us us a video. We had a small sample of it in our freebie bags. We weren’t yet allowed into the exhibition hall, as everyone was still setting up their booths. It dawned on me only later that I had a badge that would let me in. (Trying not to overuse my Super Powers, here. . .) However, I didn’t have time to go in until later, as I was busy going to Schoolhouse. Claudia and I went back and forth between the two sets of classrooms, about a 3-minute walk between them, until we wised up and chose classes in a clump next to each other.

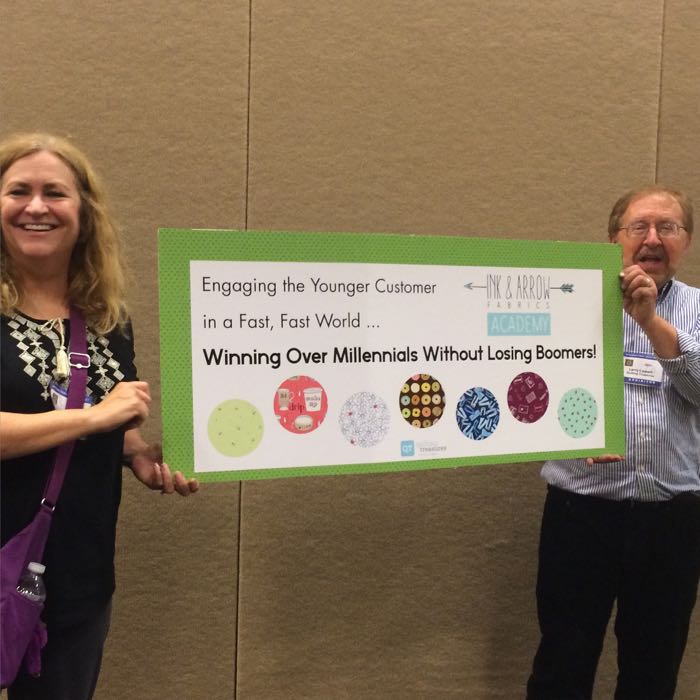
This presentation by Ink & Arrow/Quilting Treasures was stellar. I learned a LOT. Every quilt shop should have attended this one.
Plus the brownies in their little giveaway bag were a nice treat.
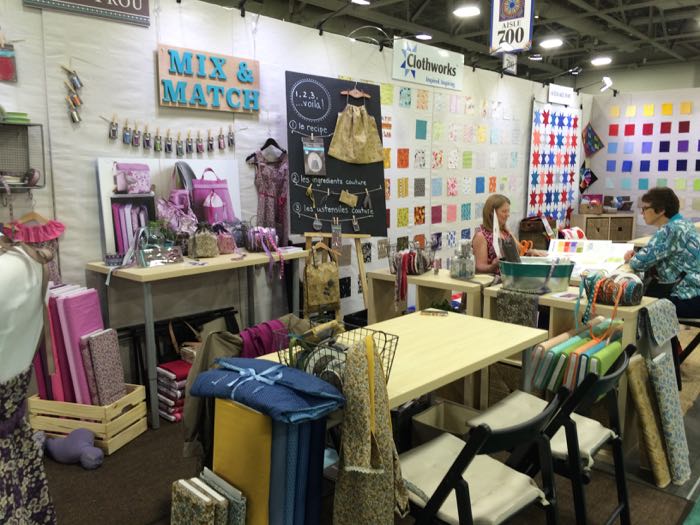
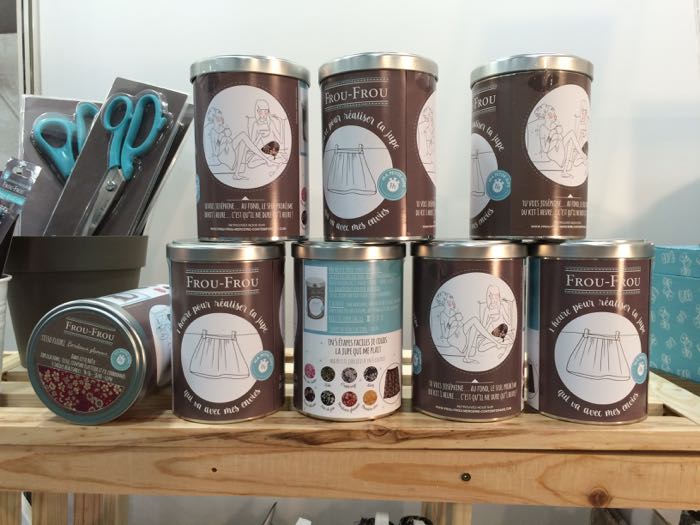
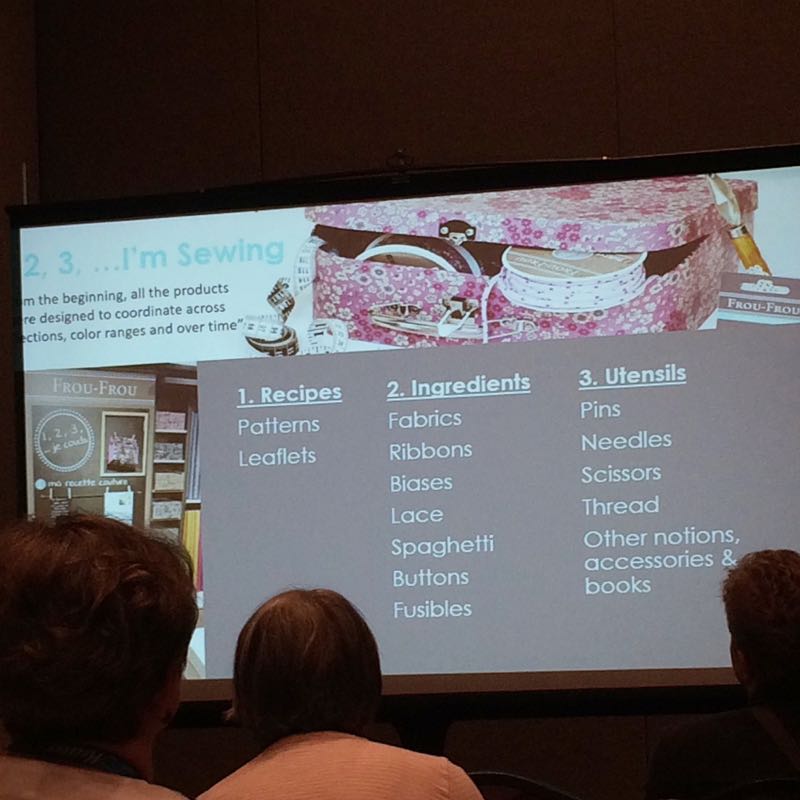
Many of the Schoolhouse classes are like this one: an introduction to a new line of fabrics, in this case Frou-Frou, distributed by ClothWorks, Inc. I liked what the head of Frou-Frou was saying about quilting being like cooking. “Spaghetti” in column 2 is actually skinny tubing, suitable for spaghetti straps on clothing.

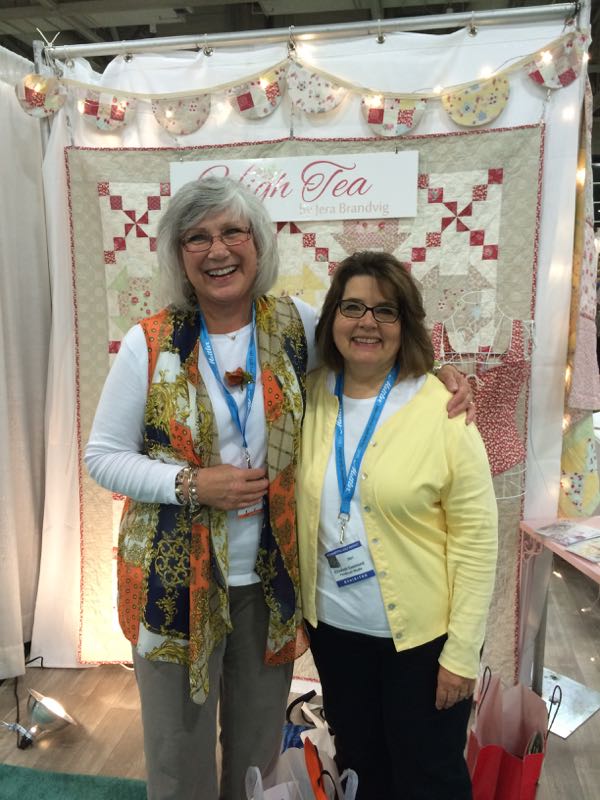
I loved Maywood Fabrics’ presentation. Claudia won a bundle of their fabric. She actually won two times that day, which is nice payment for her having to drag me around.


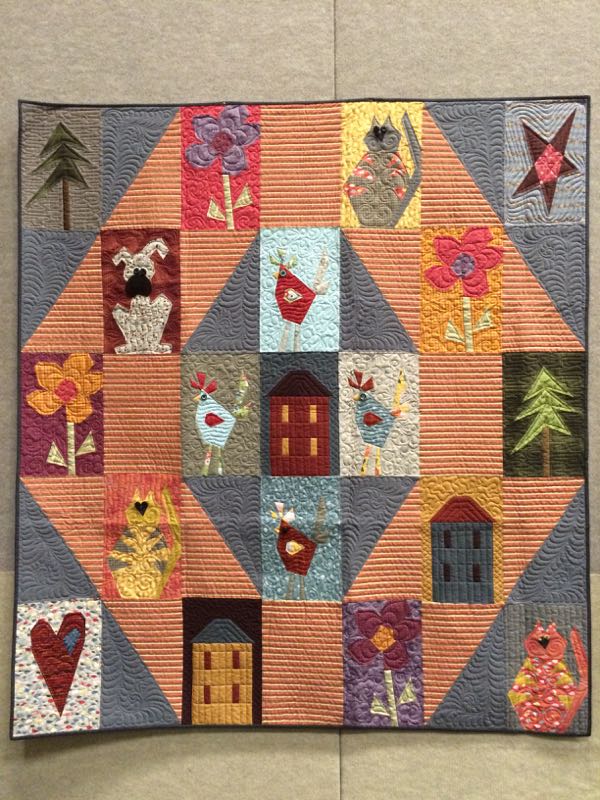
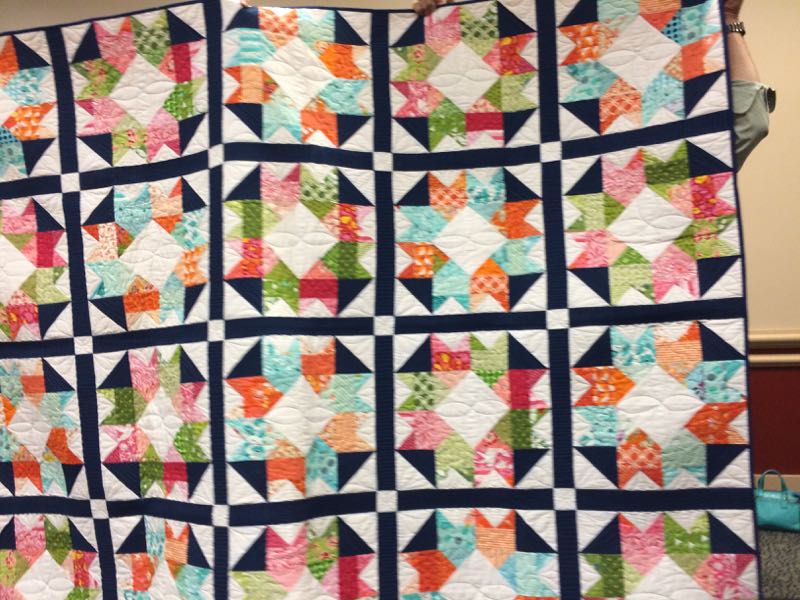
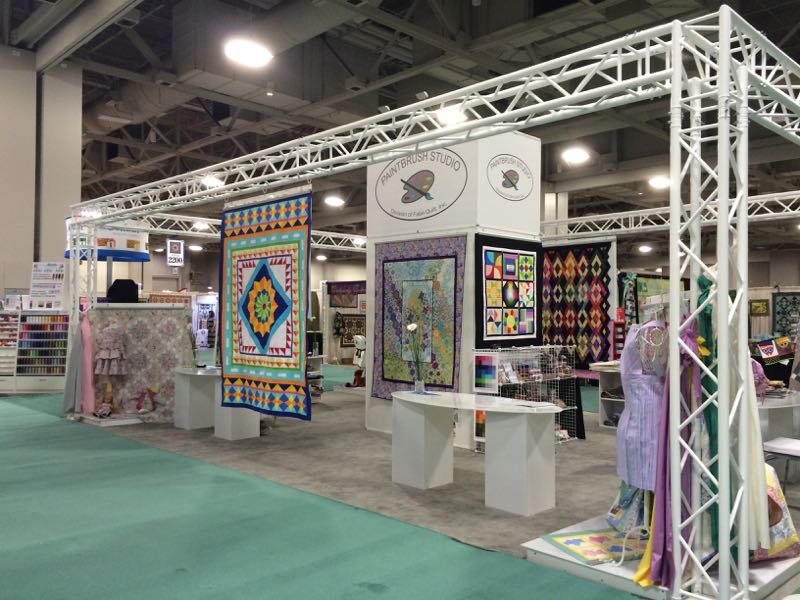
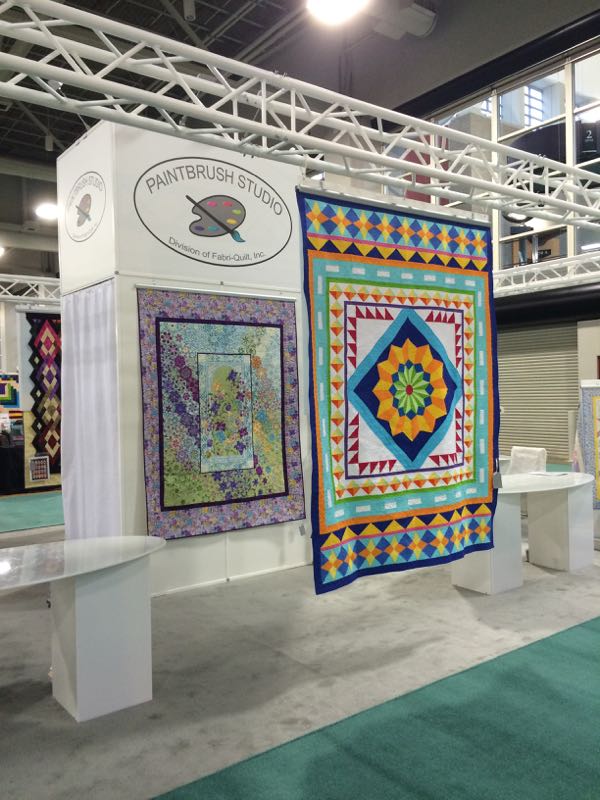
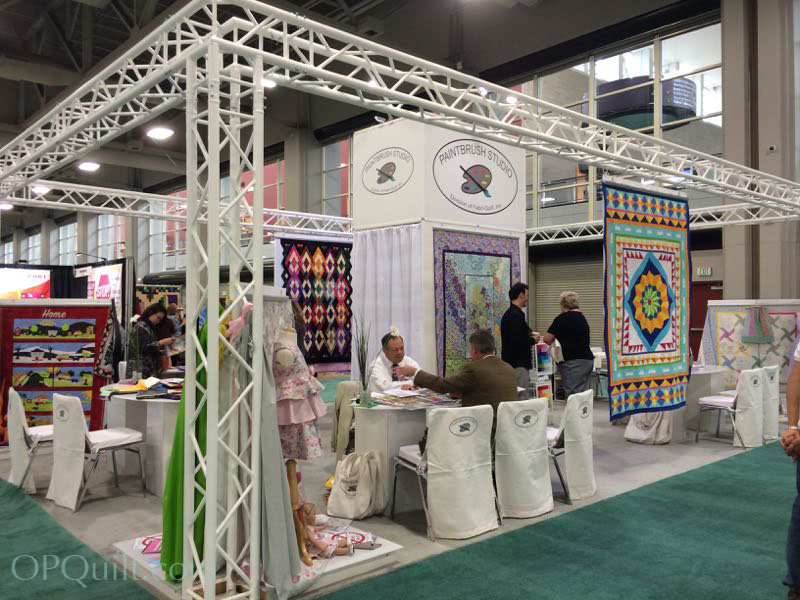
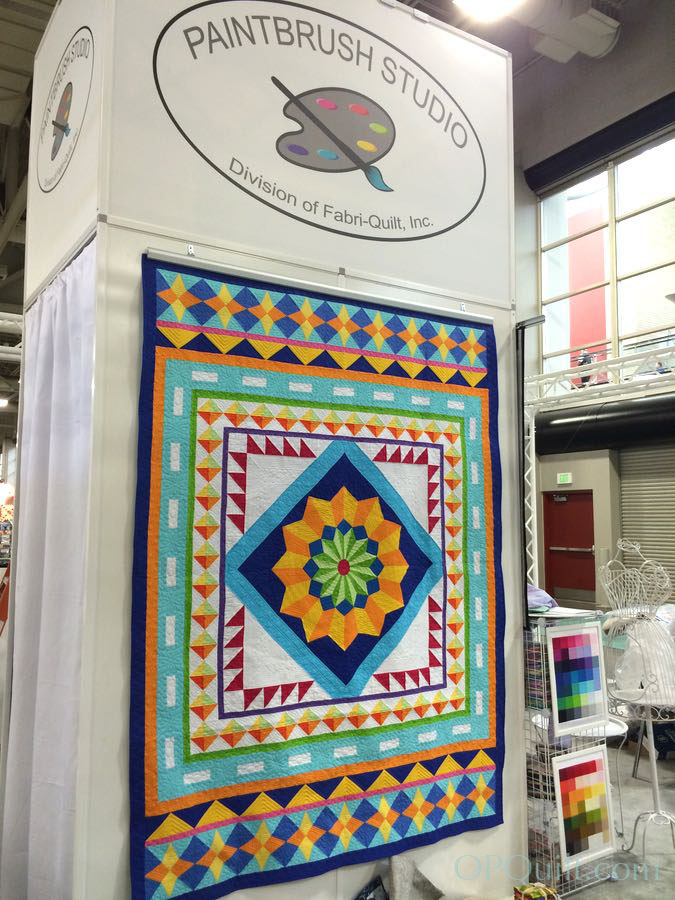
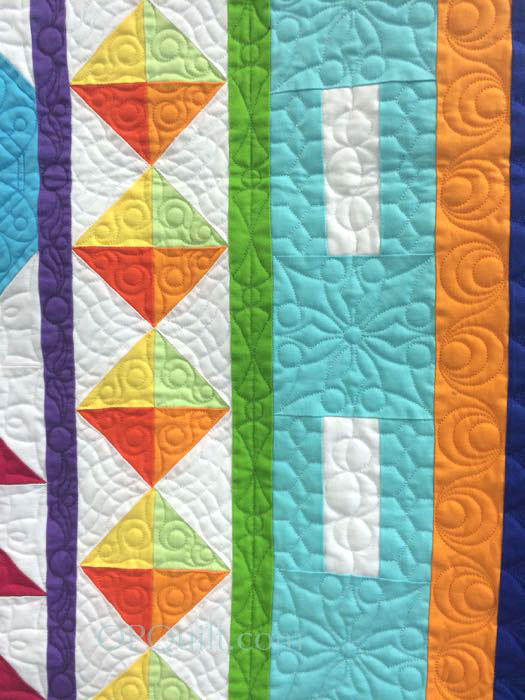
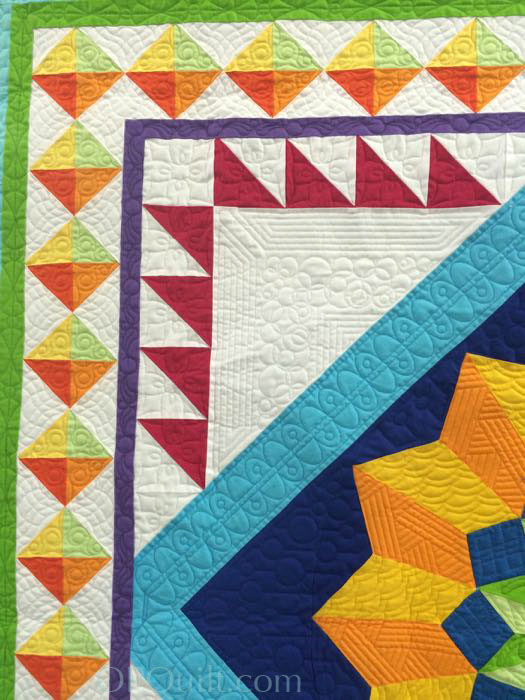
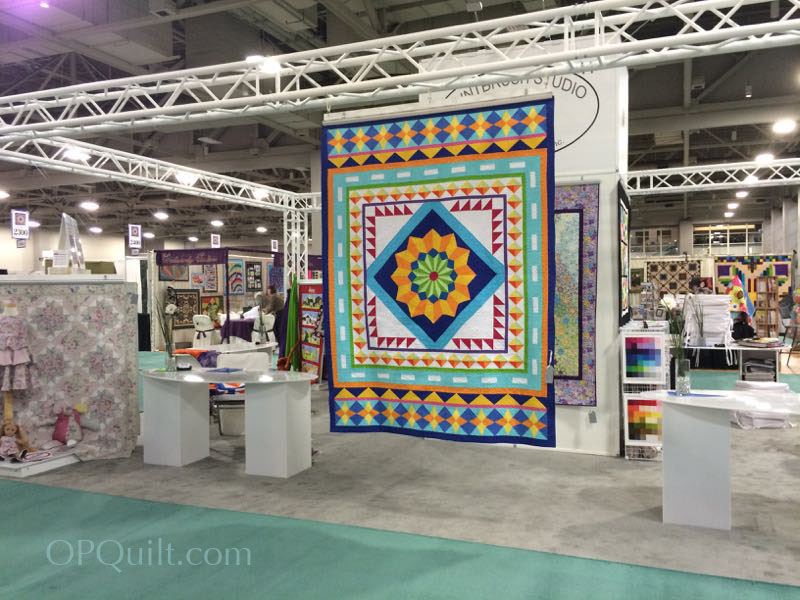
Somewhere in here, at the urging of my darling husband (yes, he is!) I went down to the floor to see my quilt hanging up. Sigh. You read all about that yesterday, so I won’t bore you today, but it was wonderful. (And yes, I’d finally figured out at that point that I had a badge that would let me do that.)
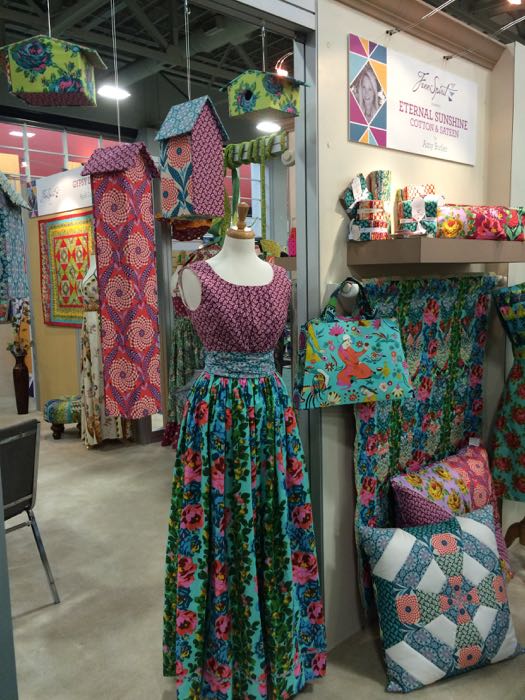
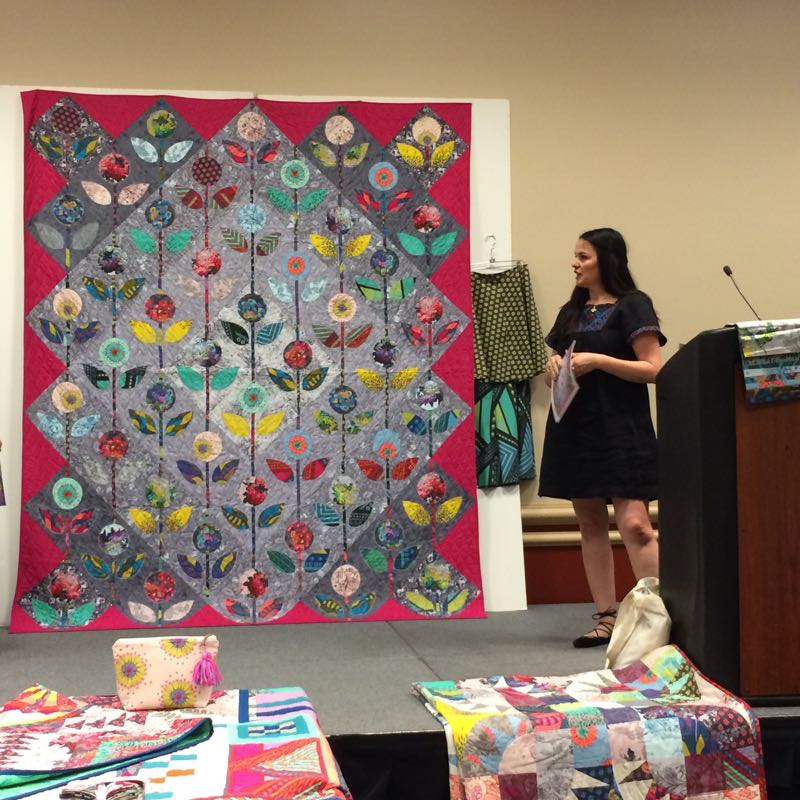
After lunch it was more classes. Here’s Anna Maria Horner’s Schoolhouse class, showing off her amazing quilt. And skirts. And fabric. And more quilts. And her fine sense of humor.

(Reverse applique flower and leaves)

So glad to see her in fine form. We’ve missed you, Eleanor Burns!


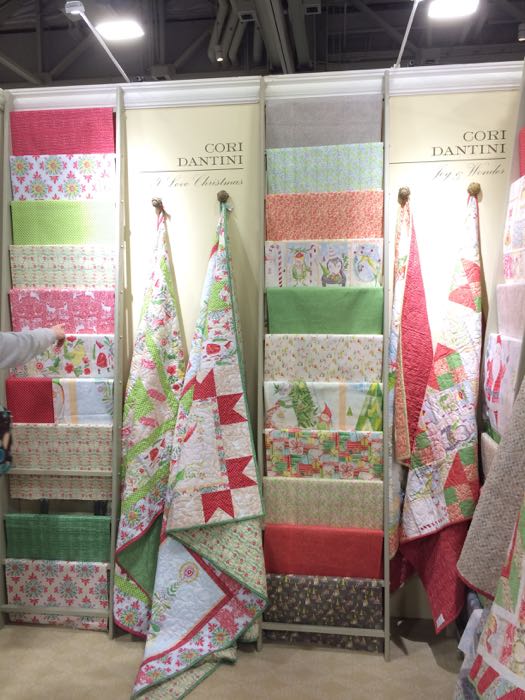
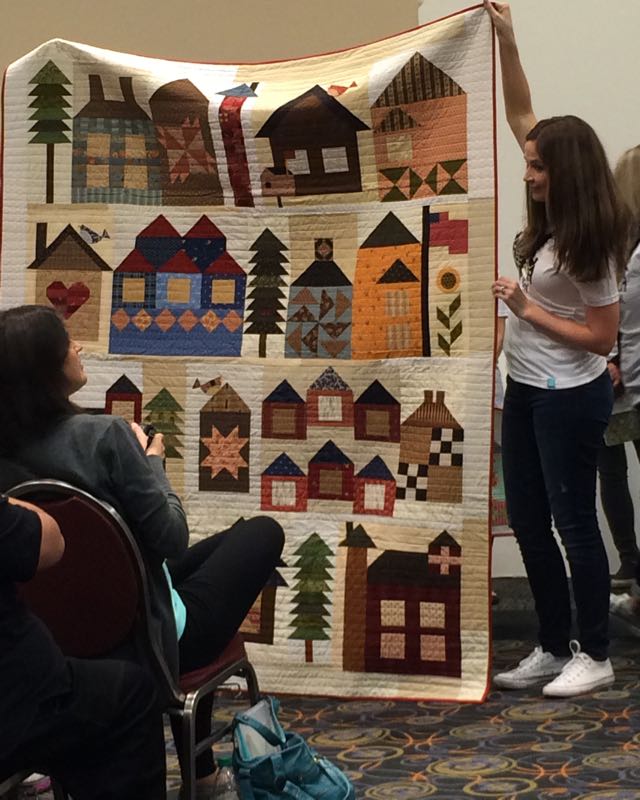
The Moda Schoolhouse was all about their program starting in fall and continuing through next year: “Be My Neighbor,” where they will give out “blueprints” of blocks to fabric shops, where we plebeians can get them. I’ve already made a house quilt, (click *here* to see and to get free downloadable patterns, too) but after looking at this one, it’s mighty tempting to try another.
By now Claudia and I are dragging and we have to muster up some strength to make it to Sample Spree that evening. 
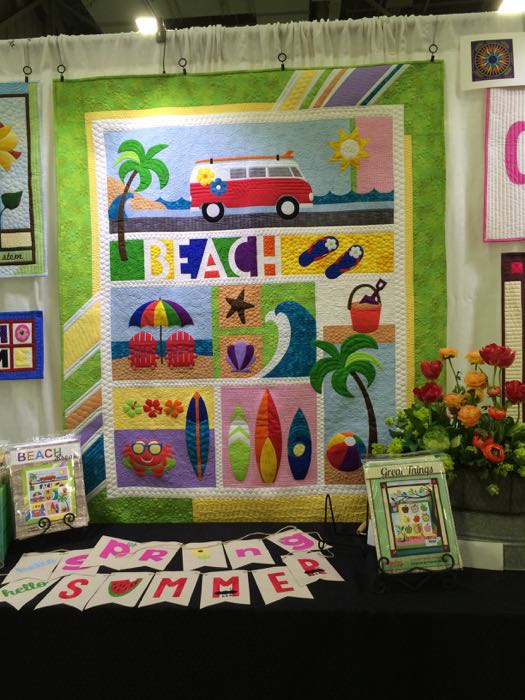
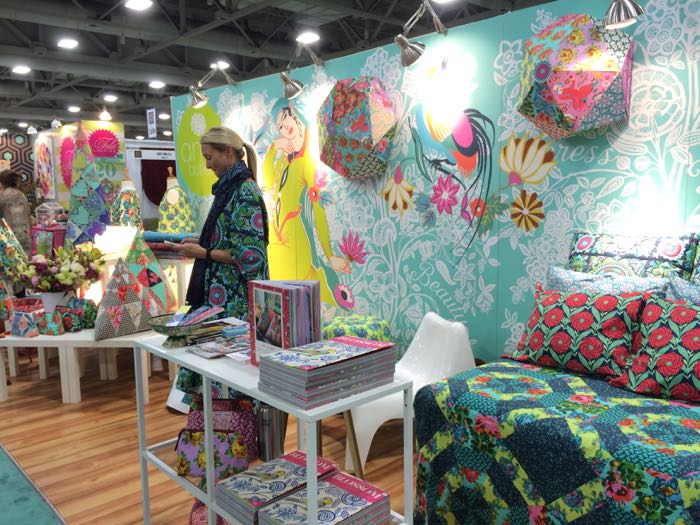
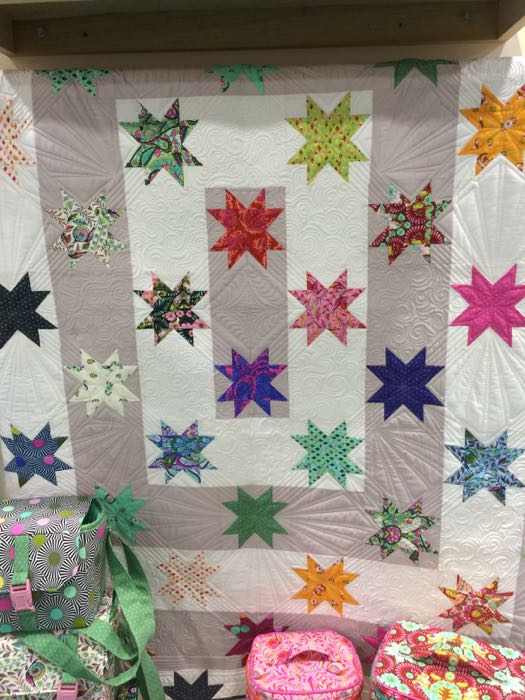
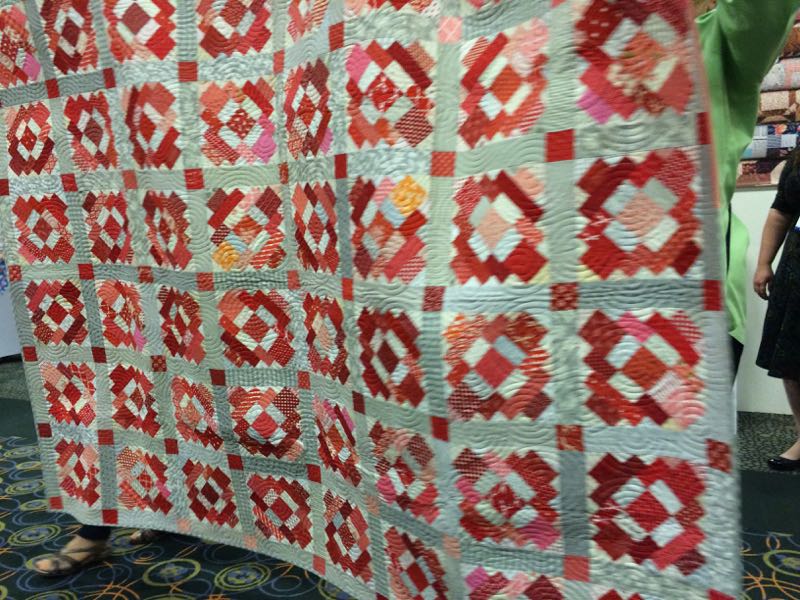
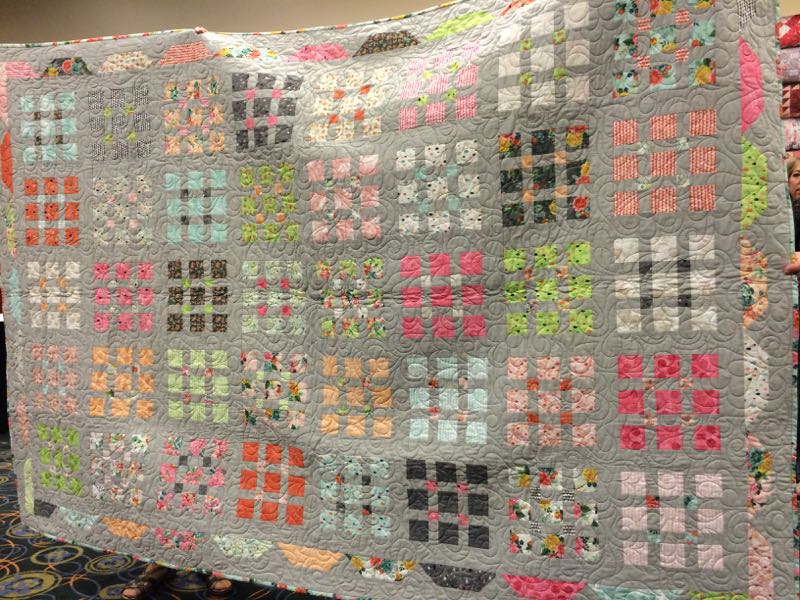
So we stayed in our seats through another designer’s presentation (basically a demo of all her new products and how we could buy them) then went next door to Moda/Martingale’s presentation of the Match Game, featuring quilty terms, and a cast of brilliant stars (some lined up above). It was really funny, and very high energy and we had a great time. Some of the quilts featured in the book are below, slightly blurry as they were parading them before us at a pretty good clip:


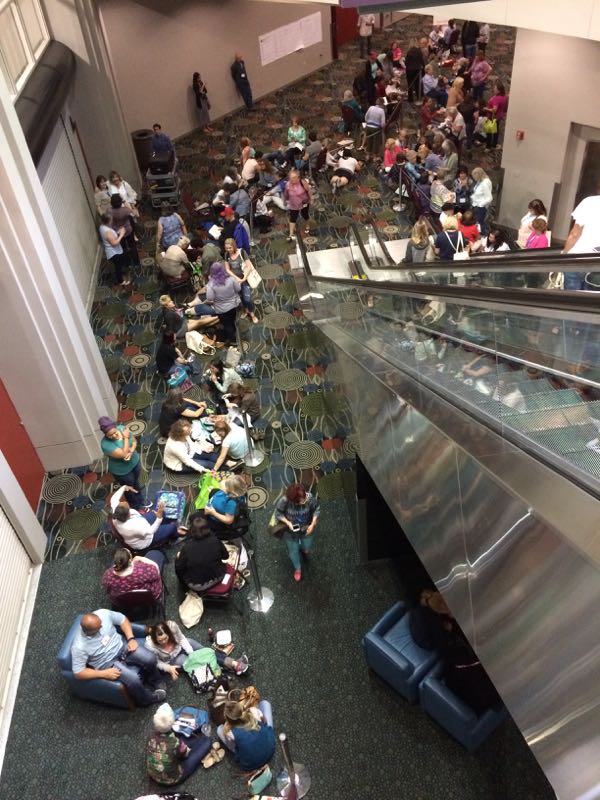
There. Now you’ve had your fill of eye-candy for one post. (I do think I’ll get this book.) We went to find dinner and I took a photo of the sample spree line from the second floor, where people had been lining up for hours:

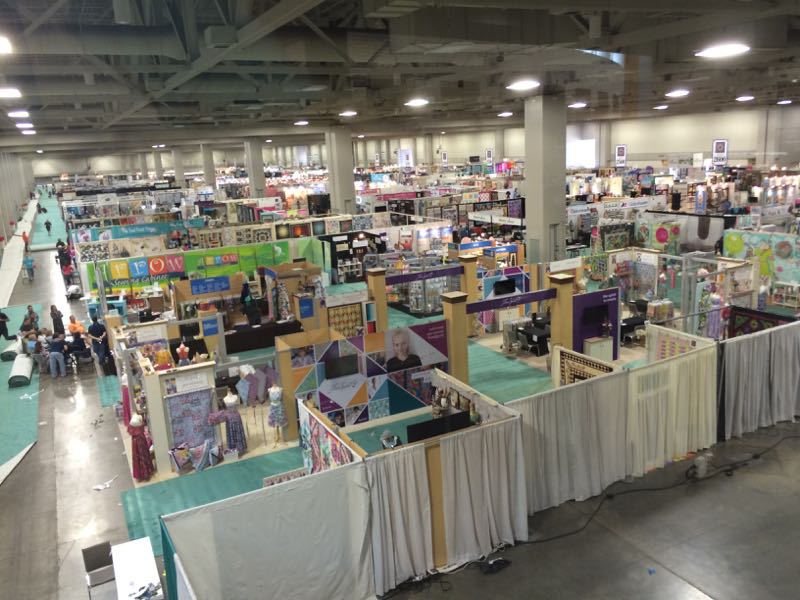
And then I took one of the market floor. See those people laying green carpet over to the left? Stay with me now, there’s a story there. Claudia and I grabbed a salad for dinner, and ate it quietly away from the Sample Spree line. She agreed to watch my bags while I went in for one last picture

I came out of the aisle just as three uber burley guys gave the green carpet runner a hefty yank to the left. . . and I fell down to the right. Yes, so graceful, but the rug had been pulled out from under me, just like in the cartoons. The burley guys to the right came running over. One of them was the crew leader, and after watching me get up (again, incredibly graceful *ahem*) he insisted I go to the boss of the crew. I followed him to the loading dock, where it smelled like brine, a storm coming in off the salty Great Salt Lake. Kind of like being at the ocean, really.

Then he insisted I go to the Floor Boss, who was driving around somewhere on a yellow cart. You think if they were so concerned about my injuries that they would have put ME on one of those dumb carts and driven me around, but no. I had to go with this guy, chasing around looking for the other guy on the dumb cart. We found him, but I explained that I was going to miss my PARTY and that my friend had my bags and I needed to go and get them, and really I felt fine (but knowing the next day I was going to feel it). He agreed to let me release Claudia so she could get in line.
Now I’m carrying all my loot from today, and following this guy around. Back to the loading dock, where we get another boss, who determines that I should to see Security. (But my PARTY!! I want to scream, for that’s what Sample Spree was to them–how could I explain what would be the mad dash of frothing quilters straight for the Rifle Paper Company new fabric line by Cotton & Steel?) He takes me along the back of the convention hall, to a wide gaping doorway and I realize I’m looking at Sample Spree and nobody is in here!! Did I take advantage of this and grab a stack? No. Like a good little girl, I follow the guy through the other doors, out into the hallway, where everyone in line is looking me, like “How’d she get in there?”
We go down the lines of foyer-sitters, into the office. He says “This is the lady who fell down.” Wait. I pipe up to say, “I didn’t fall down. Someone yanked the carpet from under my feet!” I was asked to wait while they called for an EMT, and while I was waiting, would I write a description. The EMT guy arrives and wants me to go in an ambulance to the ER.
Meanwhile. . . I can see the lines start to move into Sample Spree. I turn to him, and say “My Party is starting! I’ve got to go!” He assesses me (no slurring of speech, no fuzzy vision, no impact to the head, appears to be somewhat sane and walking straight); I sign waivers to not to go the ER in an ambulance. But by now, I’ll be at the back of the wagon train in the Sample Spree line. So I look at him and say, “You look official. Can you walk me to the front of the line and get me in?” He smiles, agrees, and we pass by hordes of frothing quilters, and I slip in past the Quilt Police, into Sample Spree. I’m still achy, my hip and ankle are sore, and I know I’m going to feel it in the morning, but hey–I made it it to The Party.

This sort of image was not unusual. I decline to show you my group of bags so as not to incriminate myself, but I got in about halfway through the long line, and no, at that point there were no Rifle Paper Company stacks to be had unless I bought ALL of the new Cotton & Steel lines for a mere $271, which would include their tote bag. Um, no. But it was fun going around, seeing the FQs (Frothing Quilters) grab and push and terrify those on the inside of the tables as they snapped up their stacks and bundles, and overheated their credit cards.

I did see Claudia later on, and she asked how I was. She’s lovely and terrific and as she was still shopping, and I was pretty spent (in all ways), I headed home to my sister’s new apartment in her basement, where I had a lovely space all to myself. I took some ibuprofen, and while I was uploadiong some IG photos, all the power went out around me.
I looked outside: dark. I looked on IG: all the quilters in the hotels downtown were freaking out, saying “Way to go–the Fabric Geeks broke Salt Lake!” Sounds like the party was still going on. I knew the light would wake me up when it came back on in the middle of the night, but I rolled over and went to sleep.

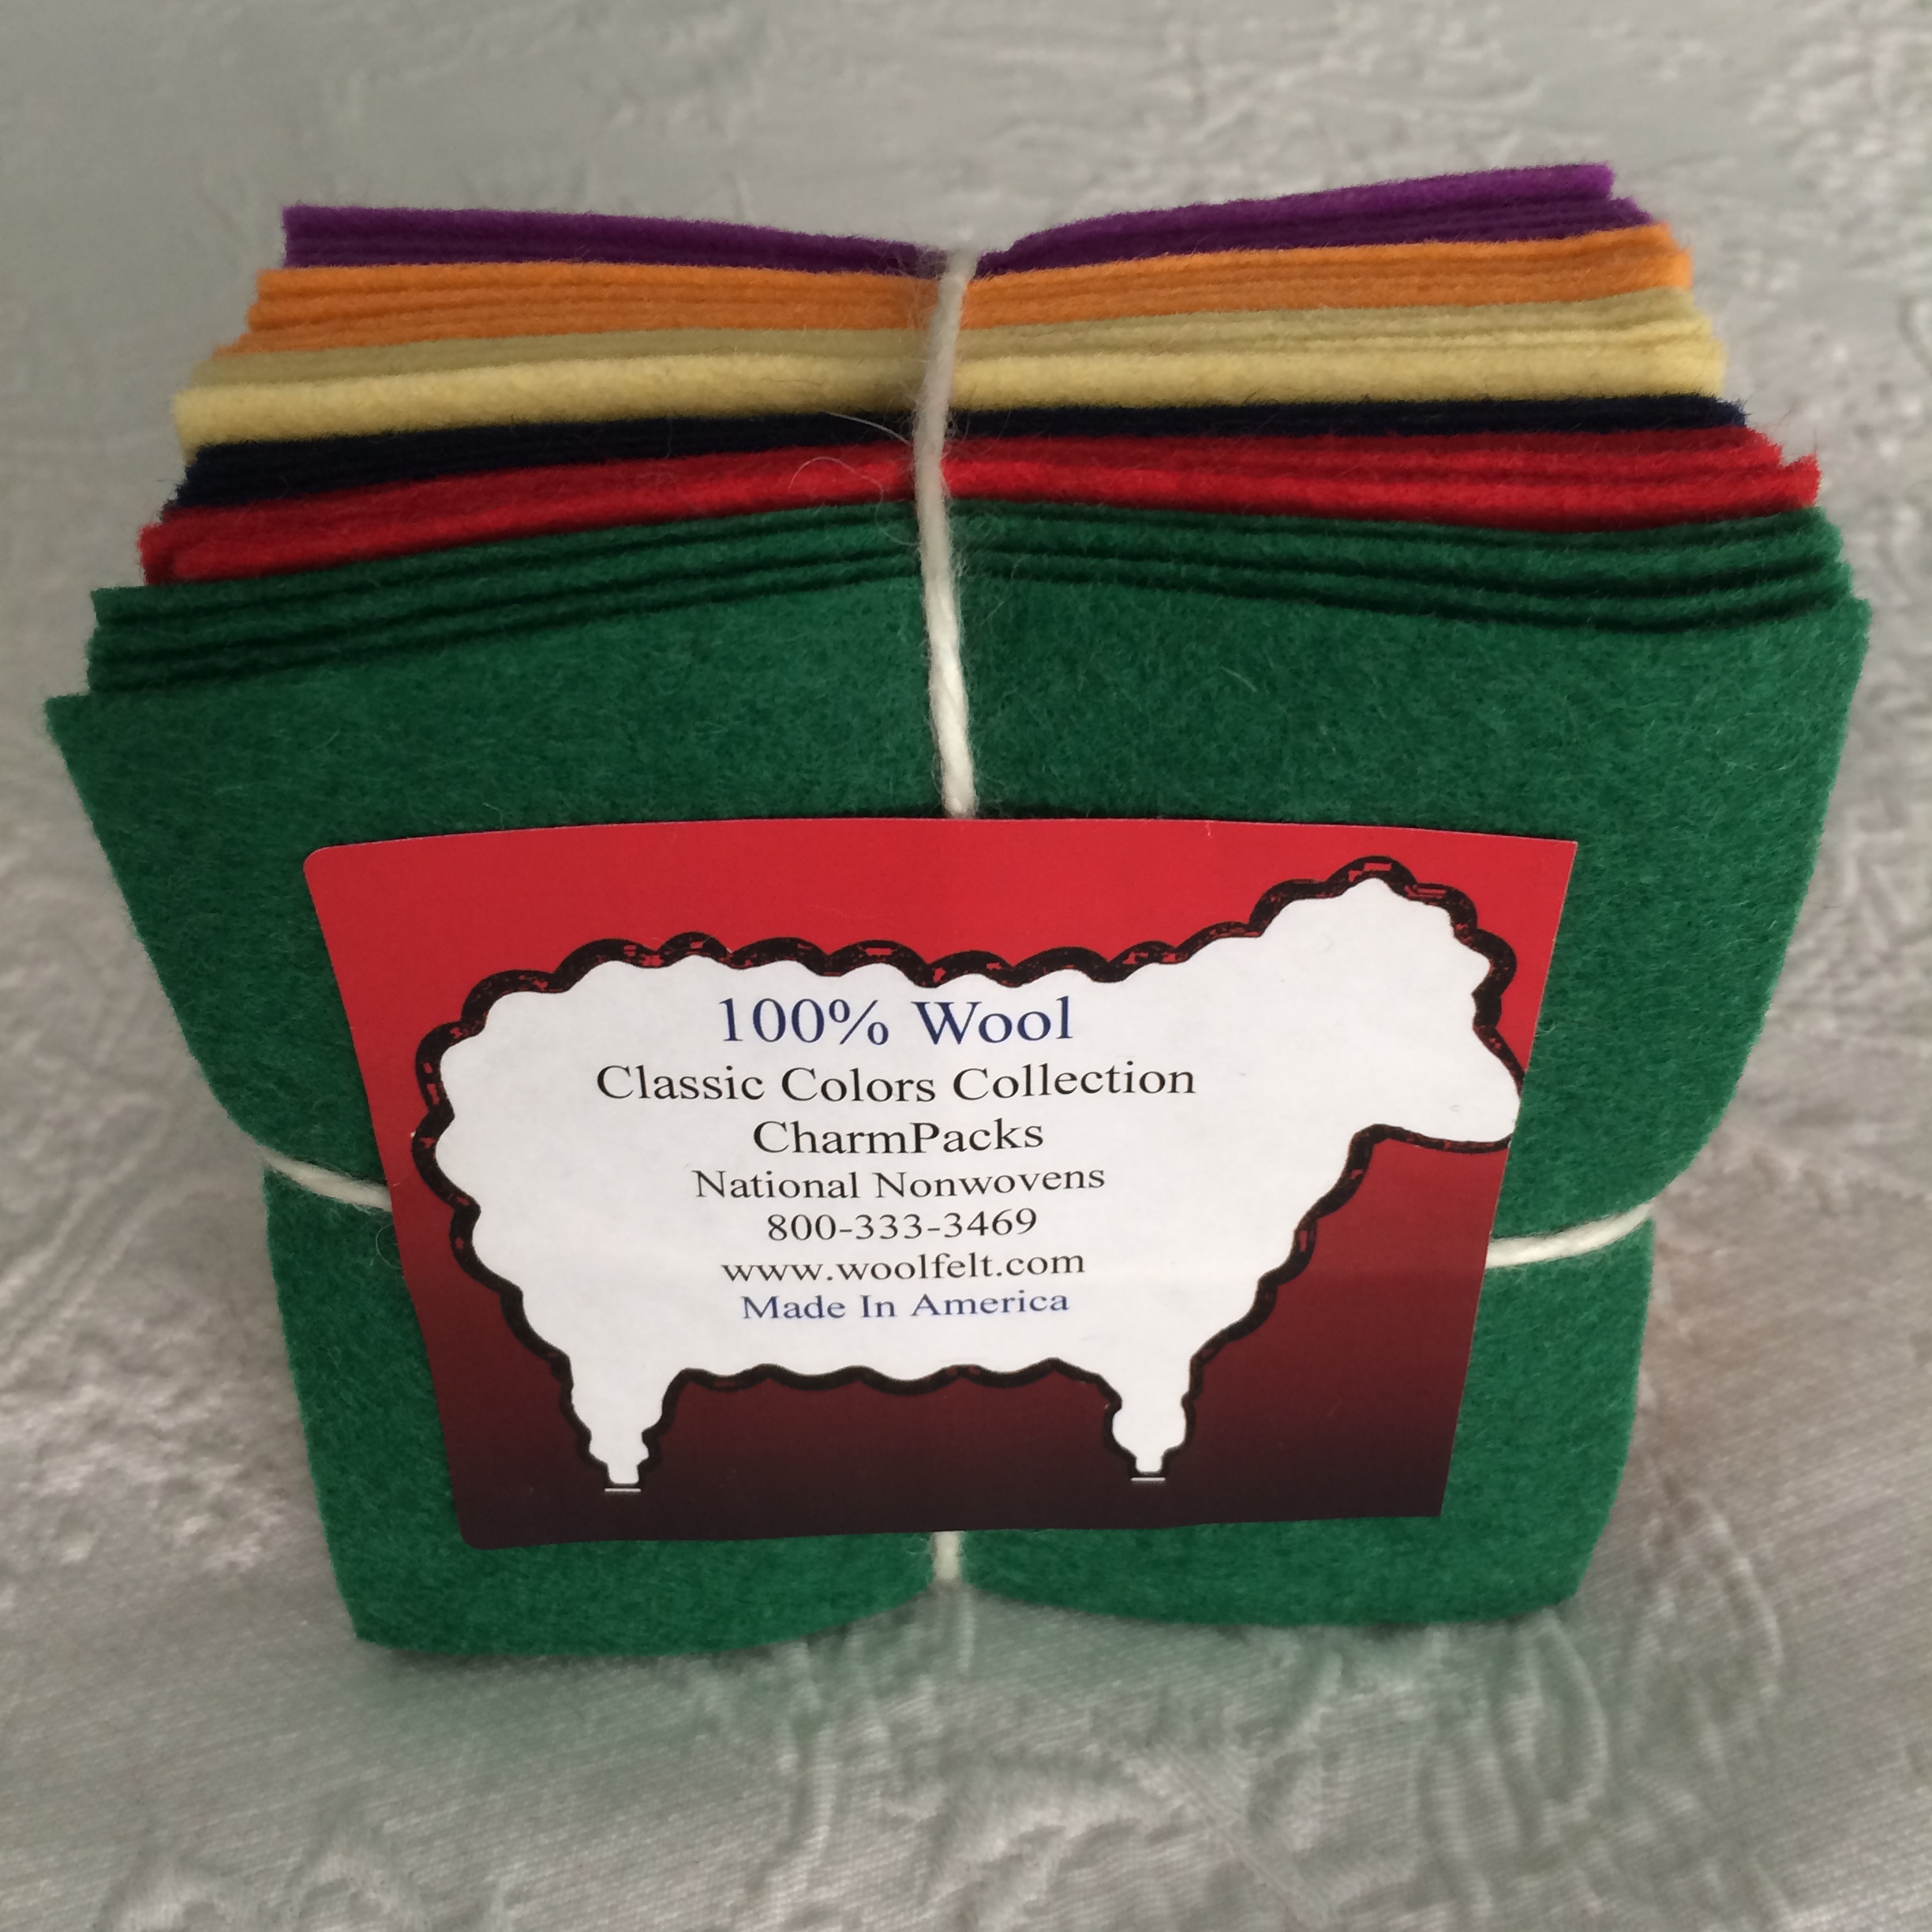
Because I was surprised at how little freebies there were (I had to purchase most of my souvenirs, except for the bag I mentioned), I have one giveaway here and a couple of more over the next two weeks, courtesy of the people I’ll name.

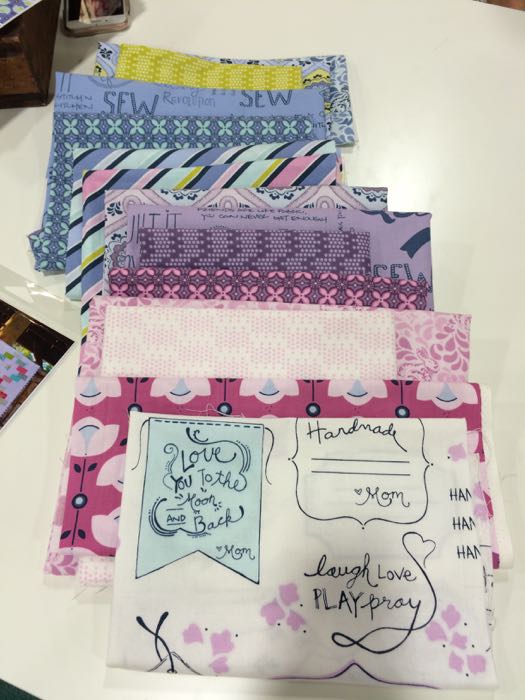
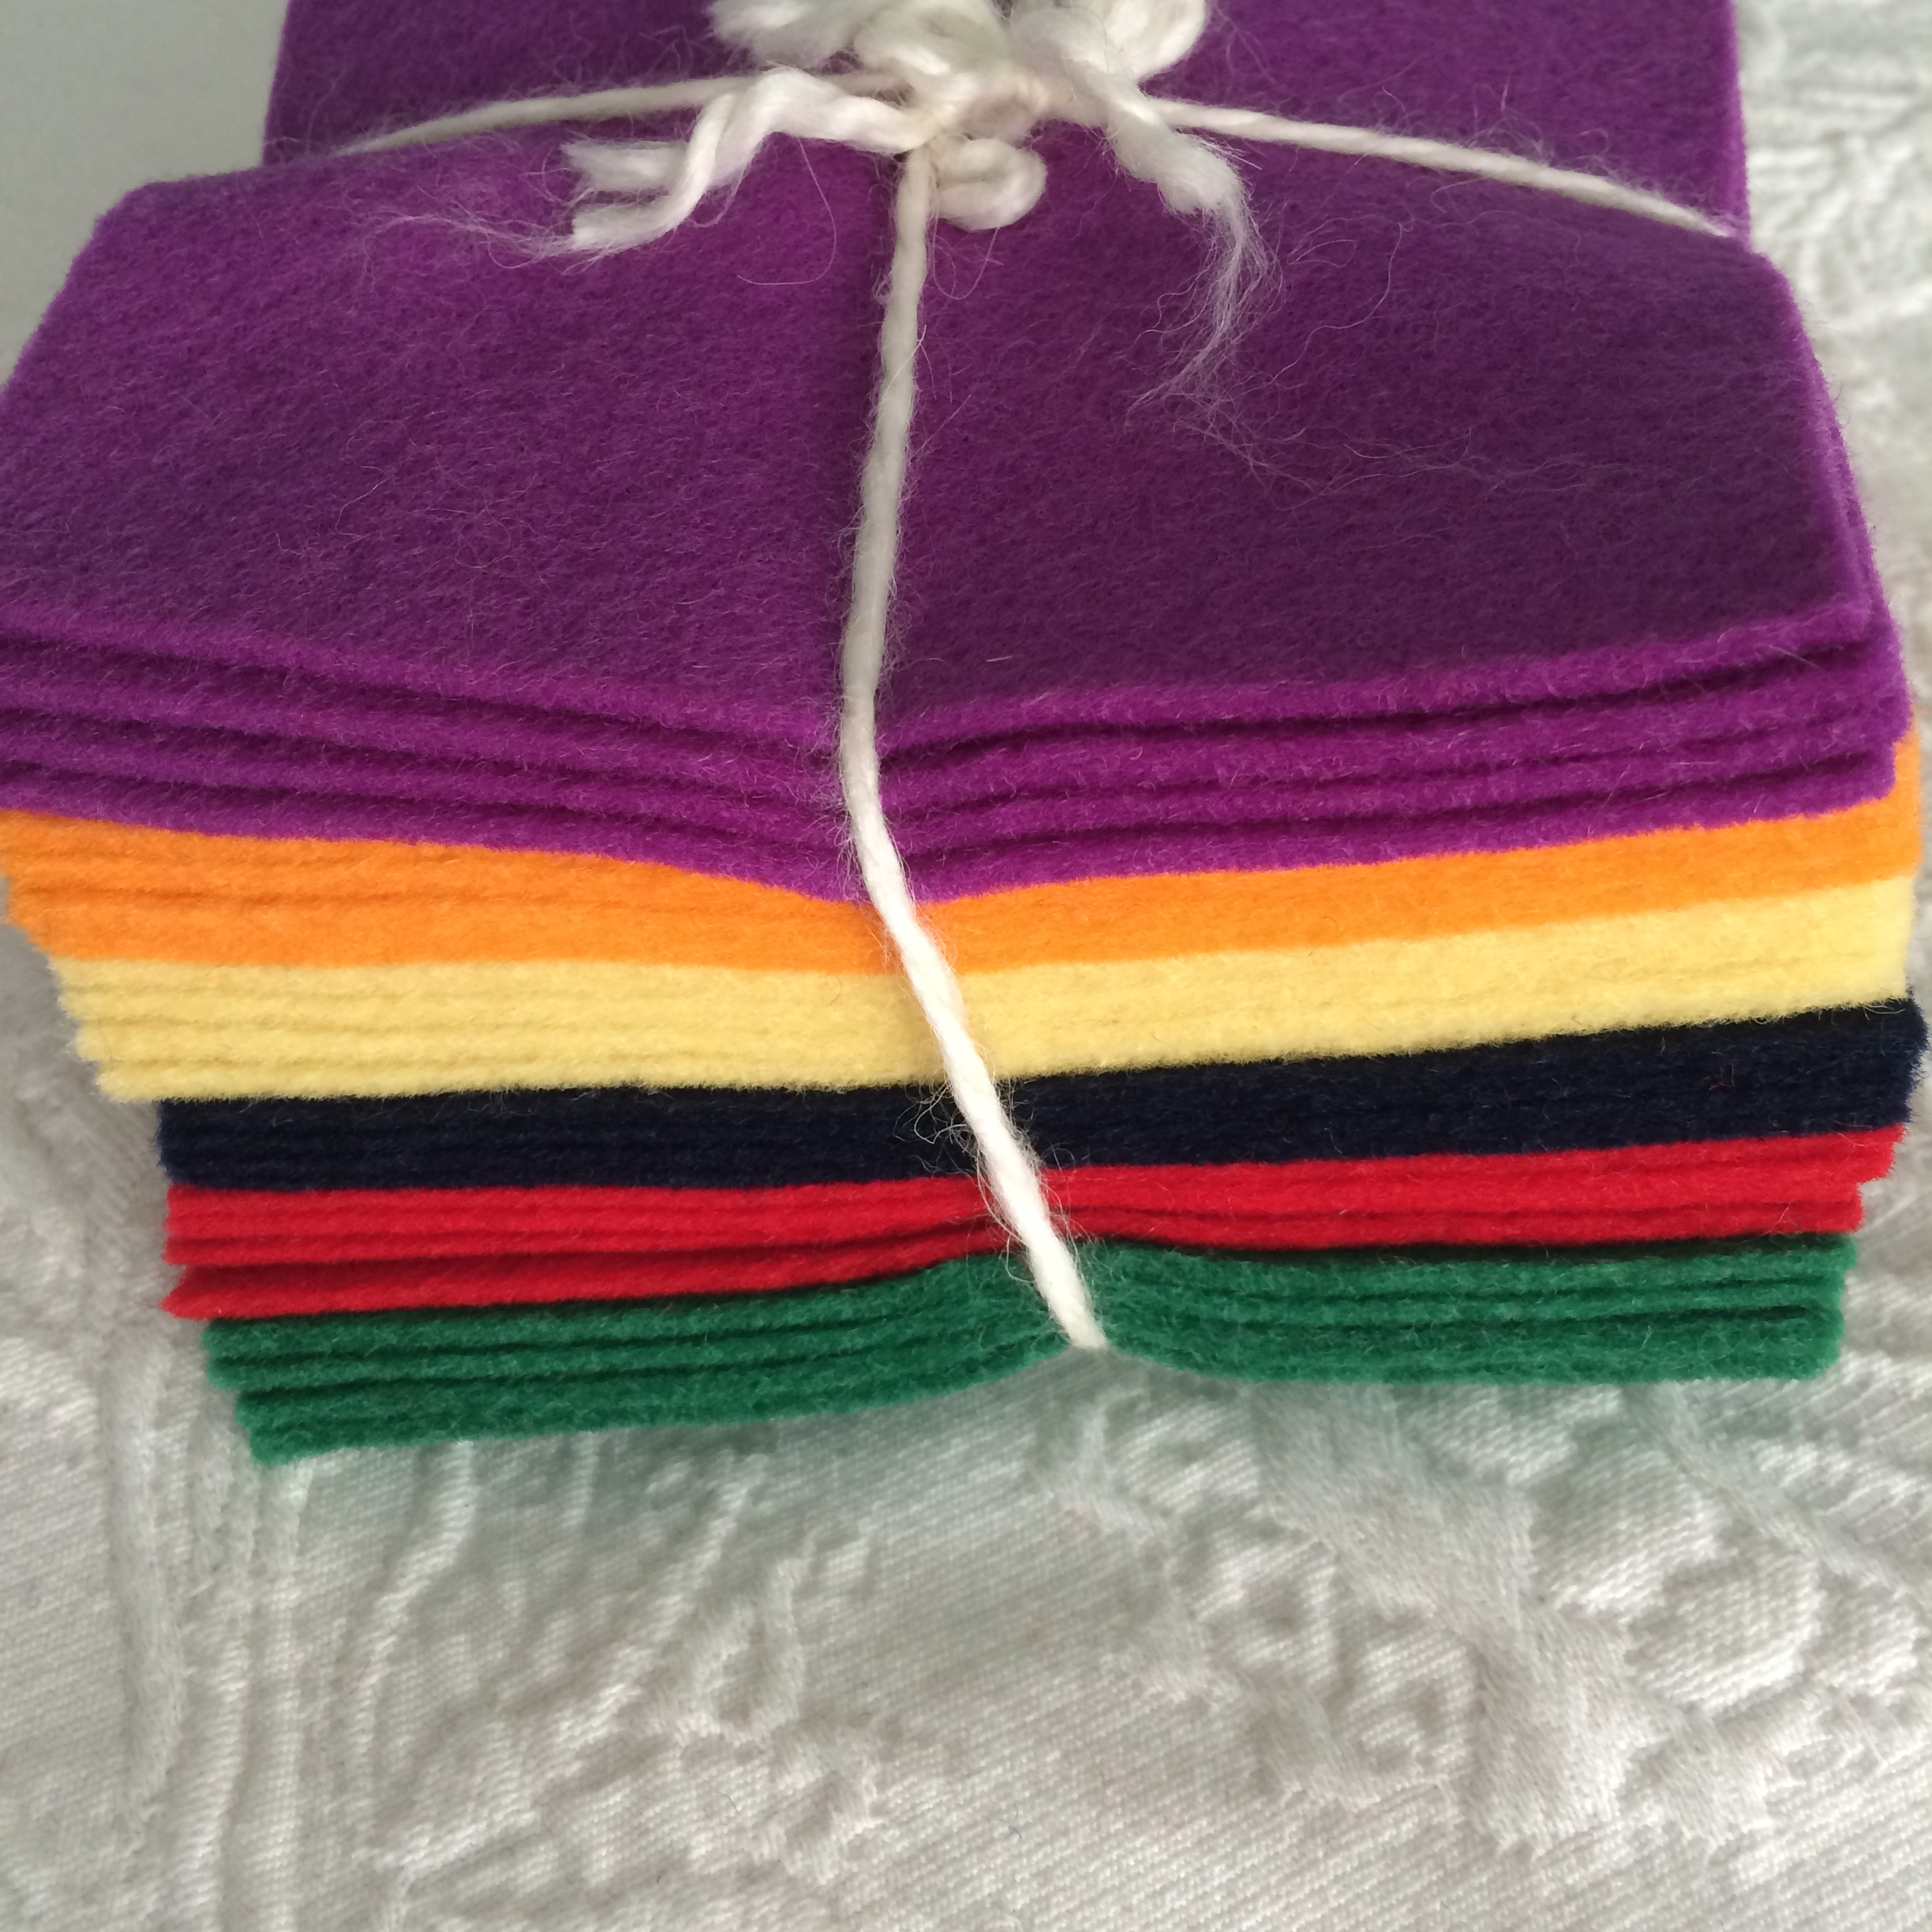
This first one is a charm pack with lots of colors of 100% wool felt, for those of you who are working on your tree (another one’s coming on June 2nd). The colors are beautiful:

It’s from National Non-Wovens, and they also donated some for our next Oh Christmas Tree post, just in case you don’t win this round. While this is a vendor, they will sell smaller quantities to us quilters at Commonwealth Felt.

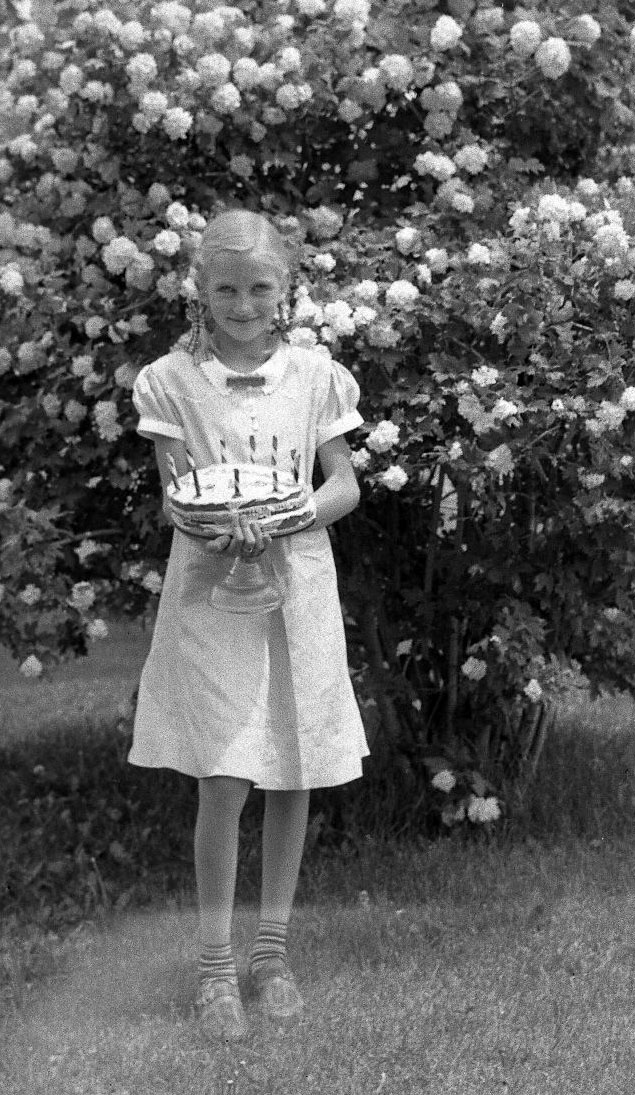
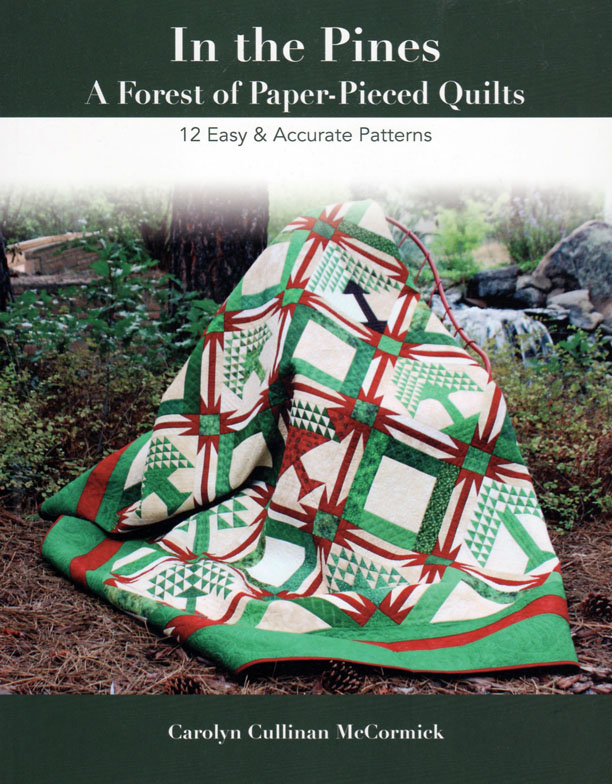
The other item I’ll throw into the giveaway is this book by Carolyn Culling McCormick, In the Pines, from Kansas City Star Quilts. This is a book of paper-pieced patterns so you can make the more traditional pine-tree quilts with tiny pieces. The paper-piecing makes is manageable. Leave a comment below and I’ll activate the Husband Random Name Generator and pick a winner (one winner will get both items). This will close on Saturday, May 29th, my mother’s 88th birthday. (Happy Birthday, Mom!)
NOTE: Comments now closed. Winner to be announced in next post.
Next Up: Day Two of Market


