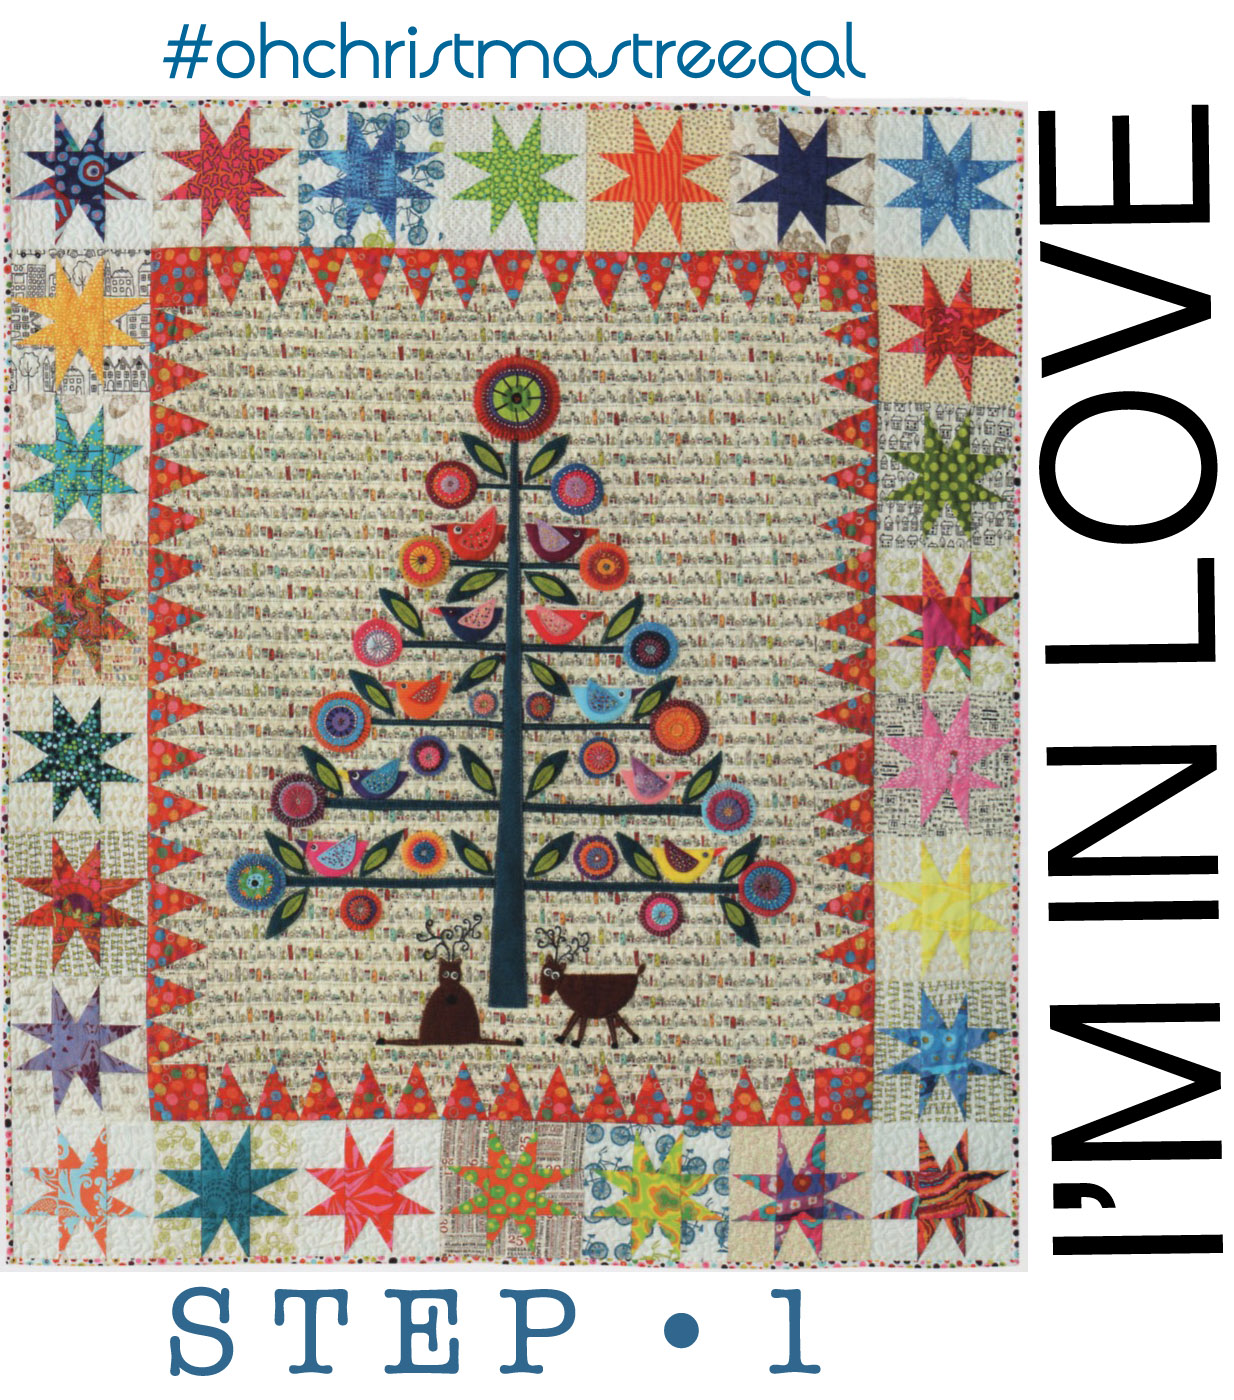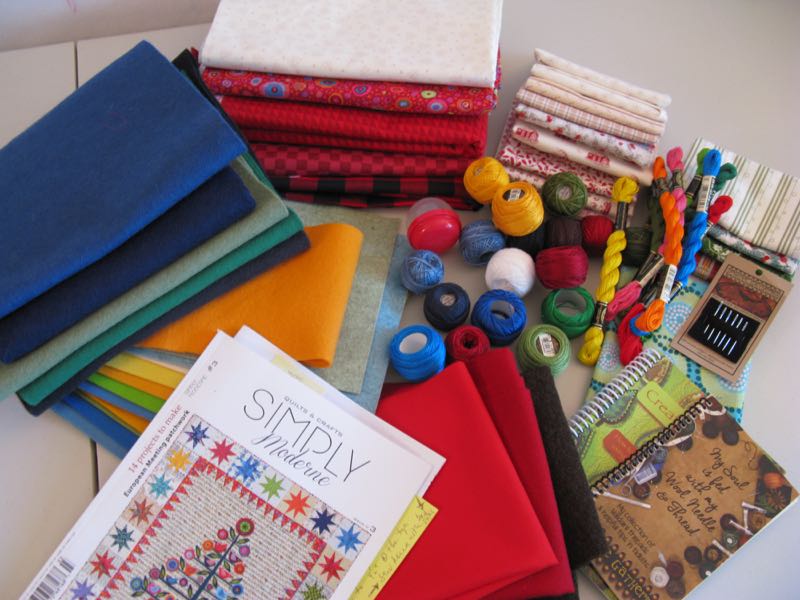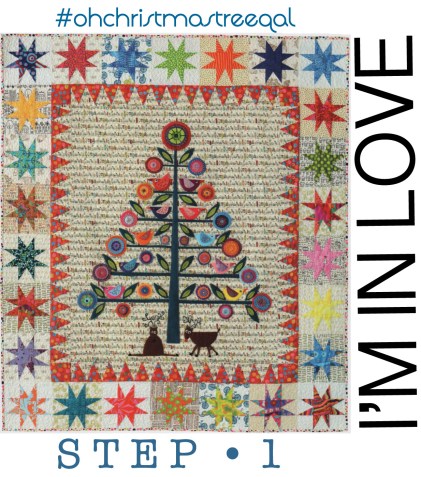
I’ve been busy shopping for wools, wool felts, felted wools and all combos in between. See below for an explanation of what they all are, although you’ve probably figured it out by now. For those of us just joining in, the first step we did was to prepare by purchasing the Simply Moderne issue #3, which has the pattern we’ll be using; we also purchased all our supplies of wools, threads and fabrics. It’s never too late to join, just look for the Oh Christmas Tree QAL tag at the bottom and click to locate all the posts on this blog (plus a wee giveaway to reward you for wading through all this). We are also on Instagram with the tag #ohchristmastreeqal.
Let’s talk about wool, specifically FELTED WOOL and WOOL FELT:
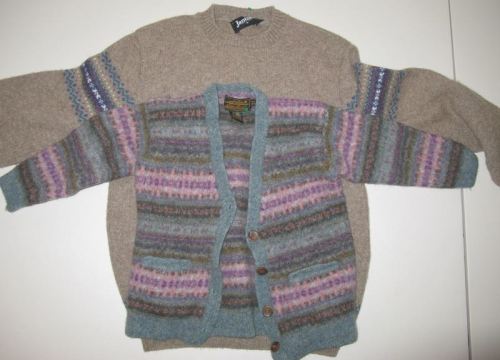
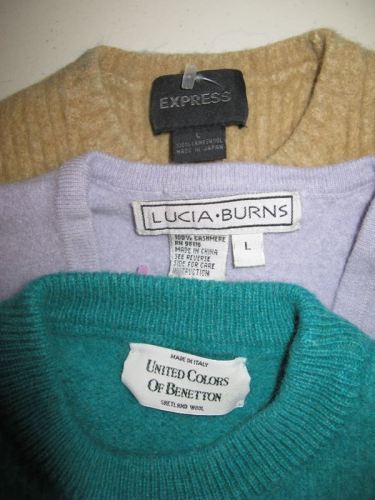
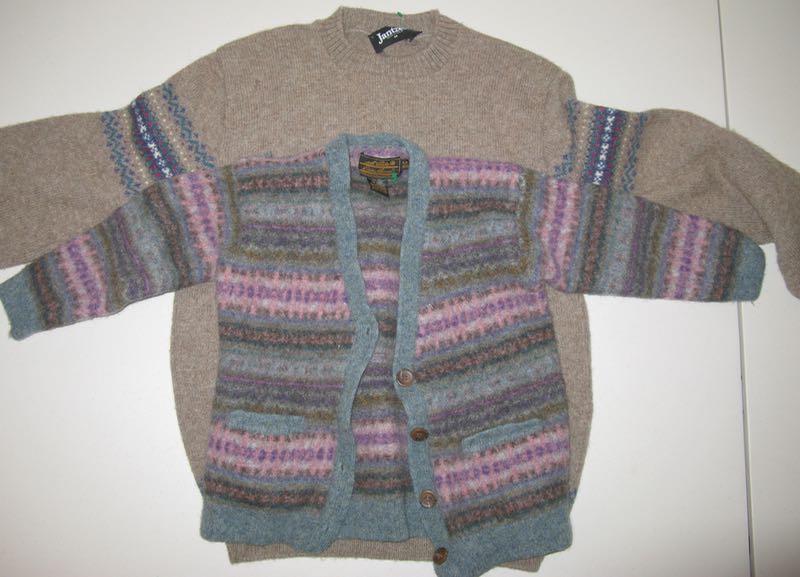
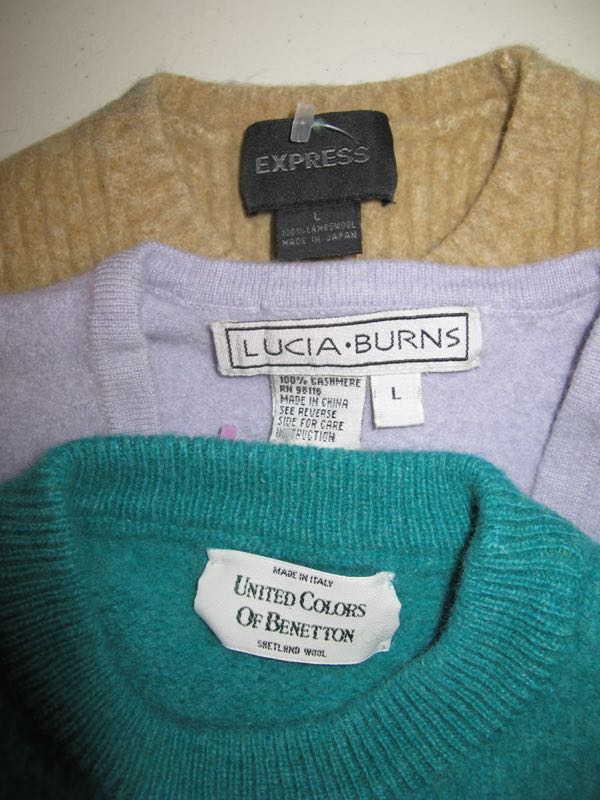
I found some 100% wool sweaters at the thrift store, threw them in the washer with three tennis balls and an old tennis shoe, then dried them. This process — using hot water, soap and agitation — is called fulling, with the result of felted wool. I did that twice. You can see in the top the difference between the two sweaters (they were originally the same size); however, one is called a “washable wool” so it won’t felt. Some felted more evenly and better than others, but all of them looked like they could fit a toddler, even though they started out as an adult-sized sweater. I plan to use some of this newly felted wool with my flowers and birds.
You can also do this with 100% wool woven fabric. You want it to felt down evenly so it is dense and won’t ravel. Many of you purchased already felted wool and are ready to go. Primitive Gatherings recommends using Steam A Steam 2 on the back to really stabilize the woven felted wool when you are working with it. If you have tips on working with felted wool, please leave comments on this post, where others can find the info. Many comments have already been left on the initial post on IG, if you want to look there.
I’m using what Wendy Williams recommended: 100% wool felt, which is that flat stuff your grandmother used to buy in the dime store to make toys, but is now available only in specialty shops (see previous Oh Christmas Tree post and the links below). Felt does not fray when cut and is extremely stable, although it does shed a bit on first cutting. It is wool fibers that have been felted together, and is not woven, nor knitted (as in the two examples above).
Try to keep these two terms separate in your mind: wool felt (which is what I’m using) and felted wool. There’s a few more links at the bottom of this post for more reading.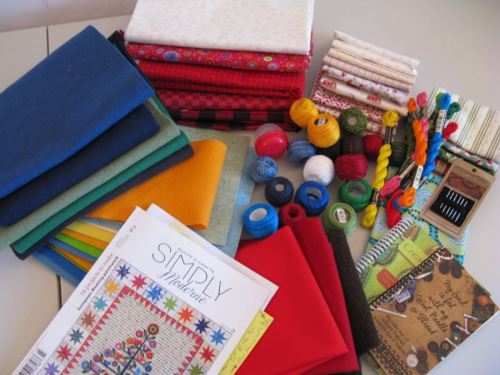

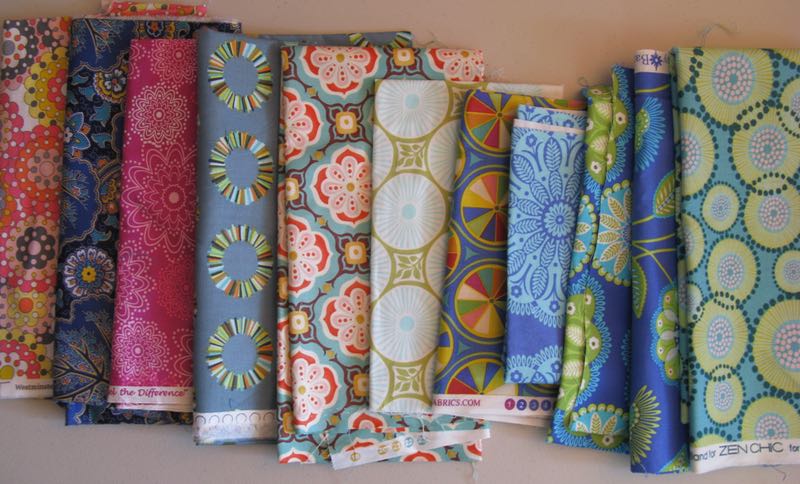
So these are my supplies (top) and some medallion fabrics (bottom). These fabrics have a circle pattern in them with fairly ornate decorative motifs inside. Wendy uses them with her wools to add some flair, especially when creating the circles.
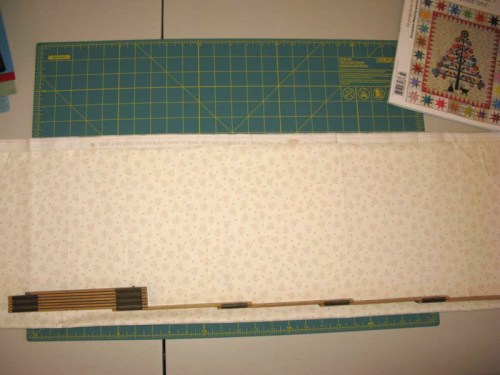
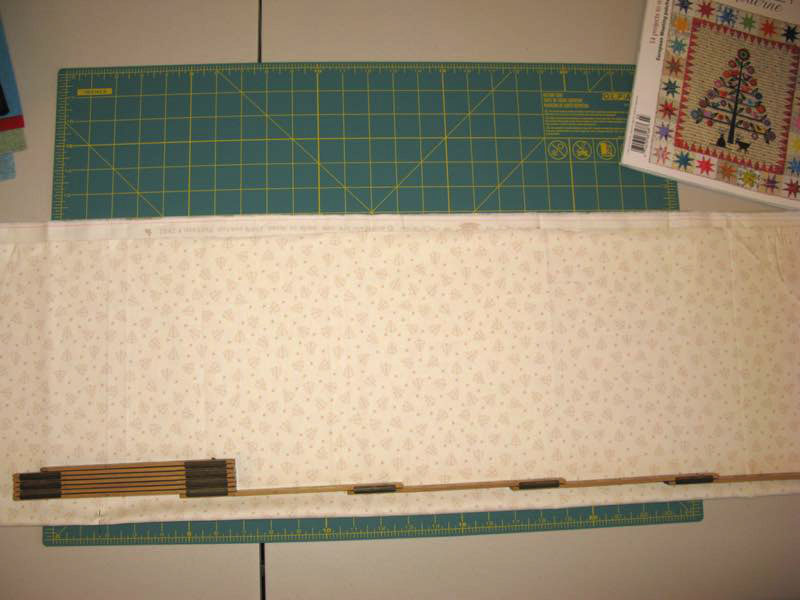
I cut my background fabric, and I added about 1 1/2 inches to the measurements because I’m a chicken about these sorts of things.
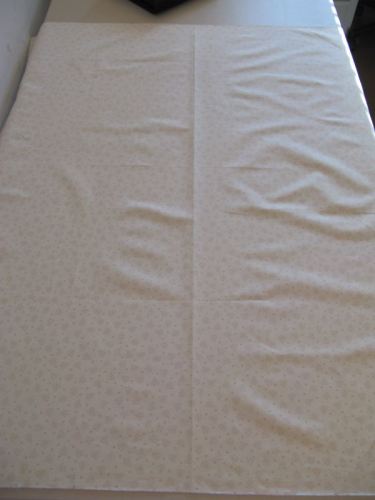
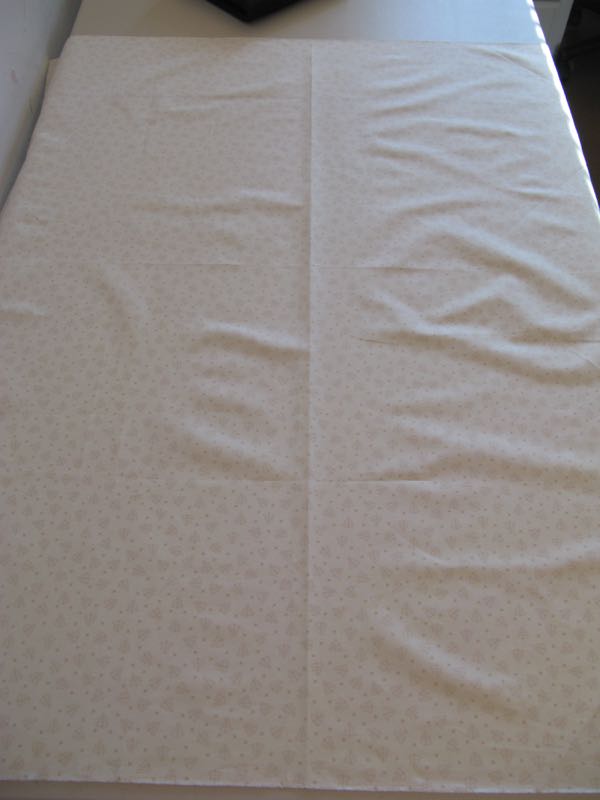
I took the fabric to the ironing board and ironed in a soft crease. Don’t overdo it.
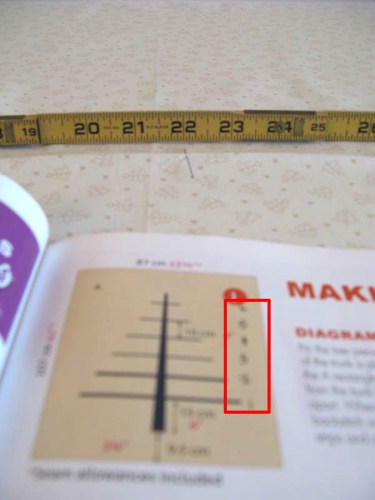
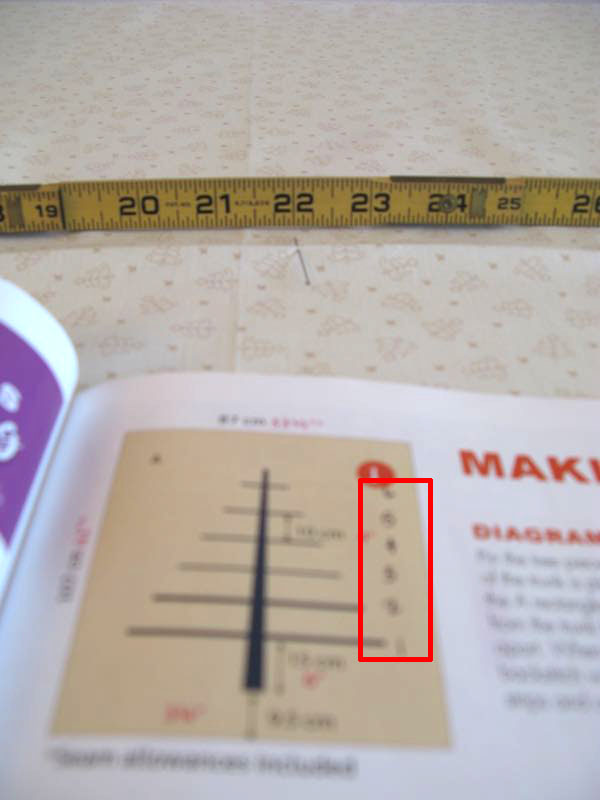
I labeled the crosswise branches on the feather tree in the right margin of the first diagram, which you can see in the red box, and following their directions, and put pins along that soft center crease to know where to place things.
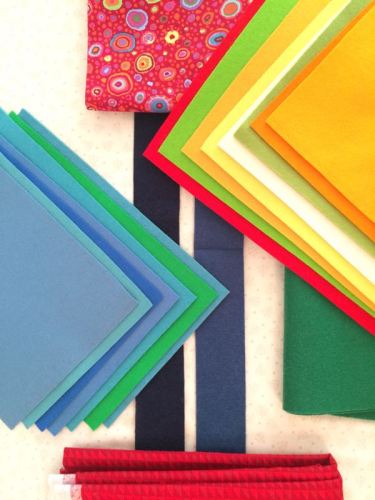
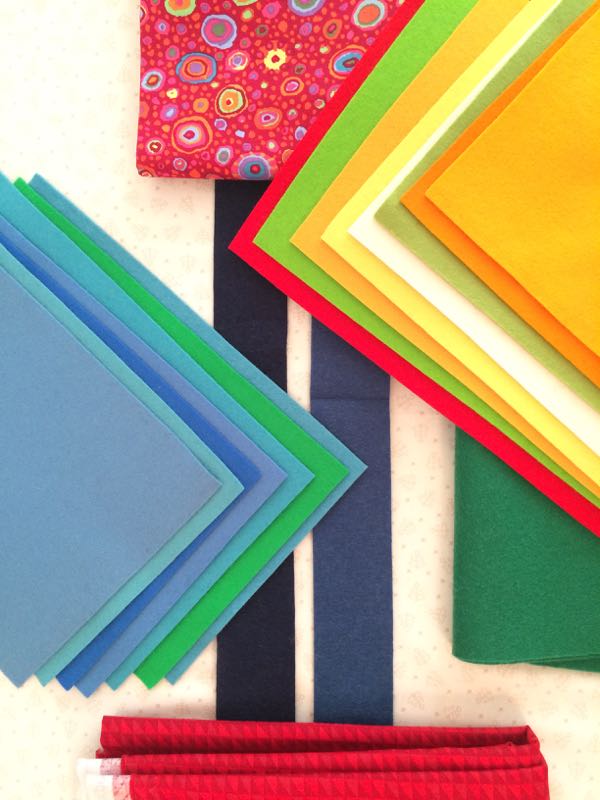
I cut first one strip of blue (lighter) and then the dark one, and couldn’t decide between the two for my tree. So I laid out all my supplies on top of the strips. I liked the country French blue, but decided, finally, that the darker would bring more contrast to the finished quilt.
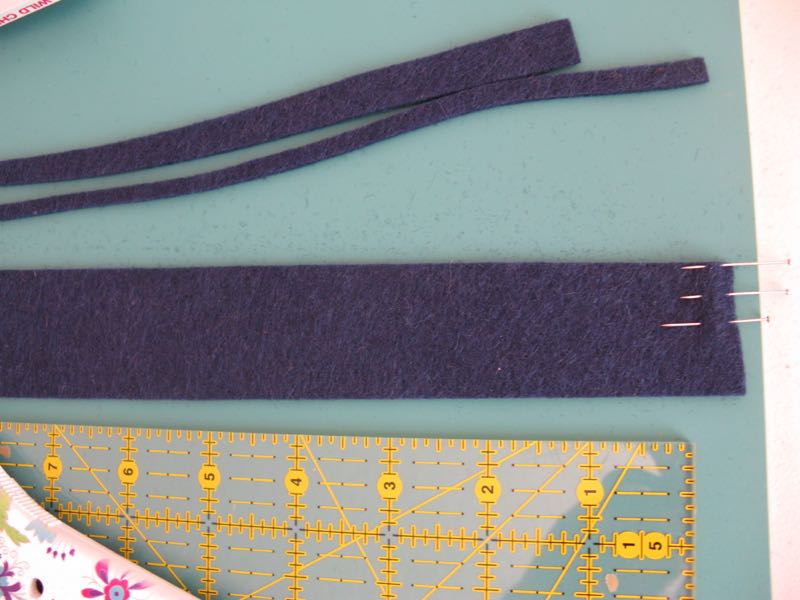
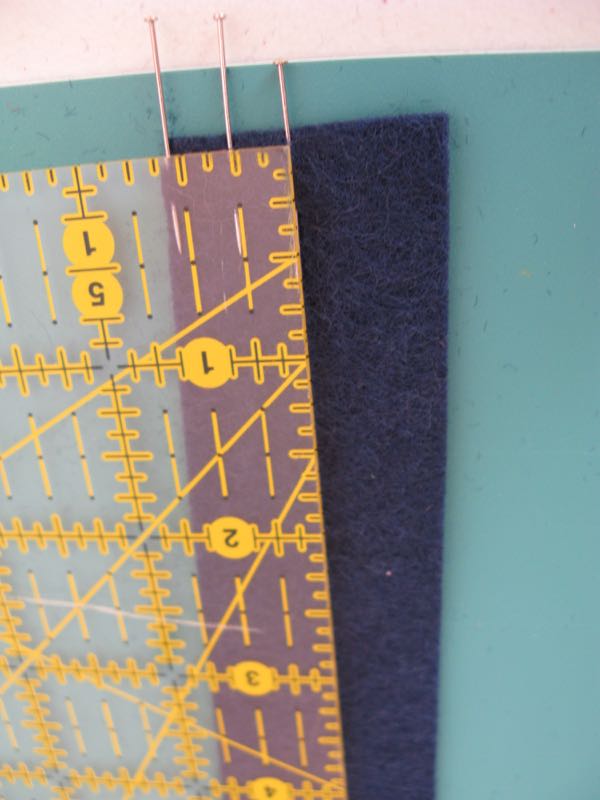
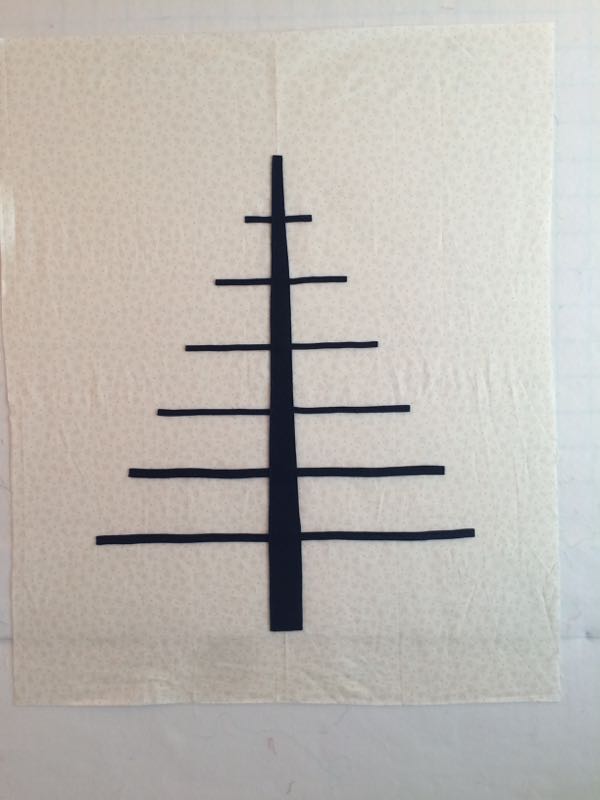
 I cut the long center strip, using the measurements in the pattern. She asks you to taper the wool at the top, so I put a pin in the middle, then measured and placed others. I angled my 24″ ruler from that middle pin to the outer edge of the center and cut away that wedge. I didn’t cut enough on the first time, so did it again. I also cut the top a wee bit larger than she asked –just a bit–as I like the look of it.
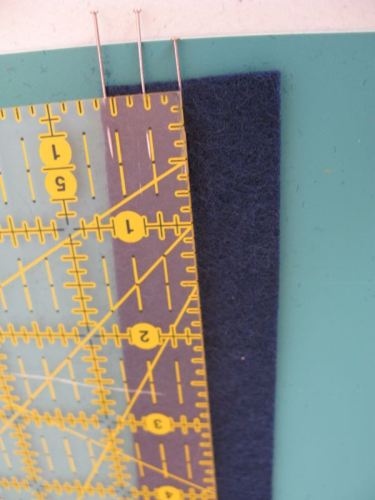
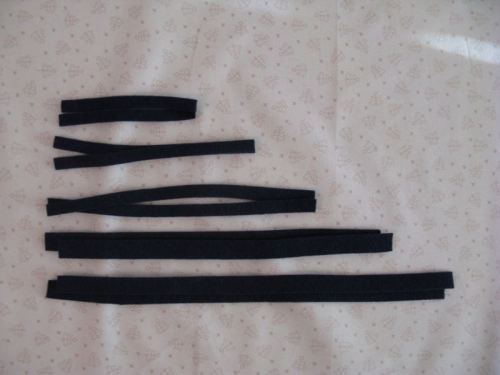
I also cut these crosswise branches a scant 1/8″ larger, especially on the top branches (I have one more set to go up above) and I’m glad I did.
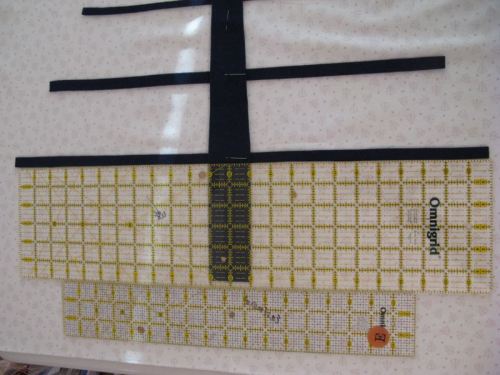
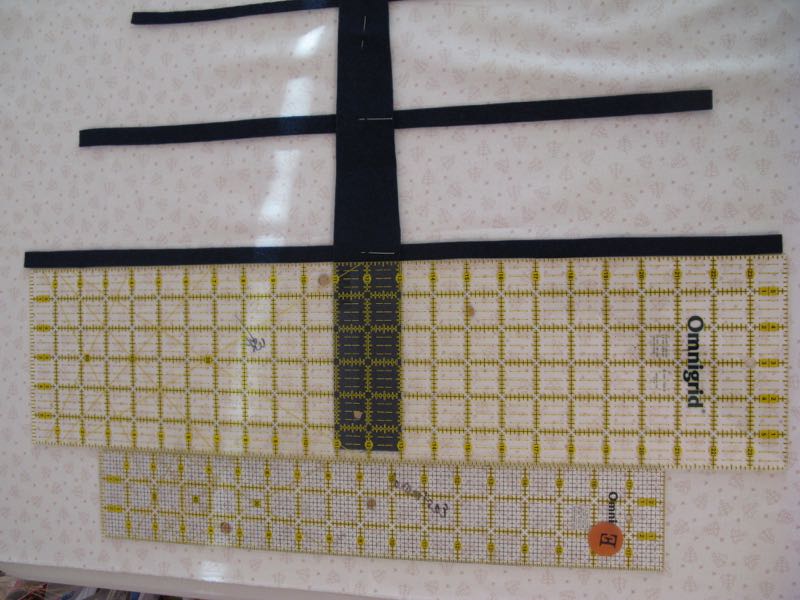
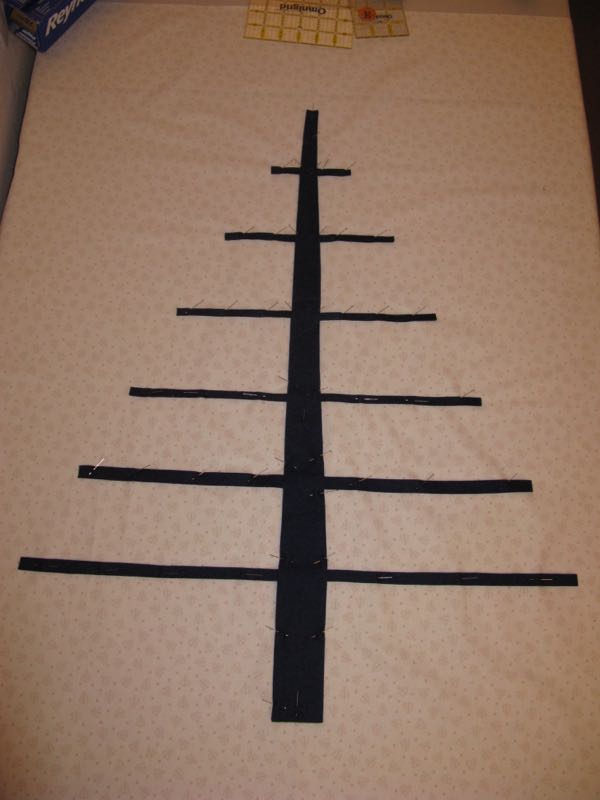
I laid them out on my fabric, using the soft crease and my rulers, in order to get them on the fabric straight. You don’t want a tipping Christmas tree! I also used the 24″ ruler as I pinned each set, as the wool will bump up against it, helping you get it on perpendicular to your tree trunk. I was able to get it on fairly straight that way.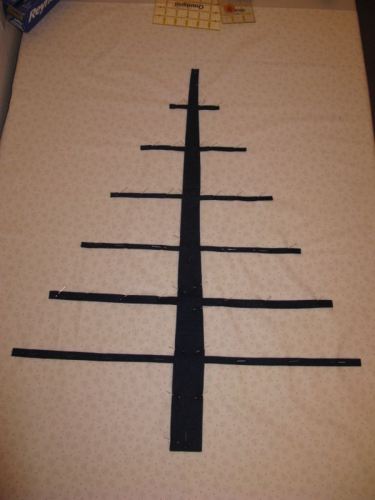
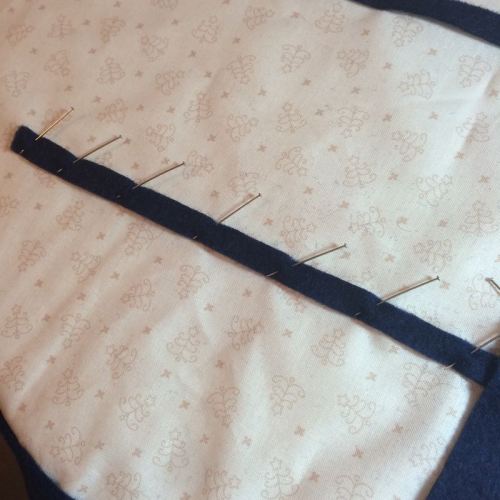
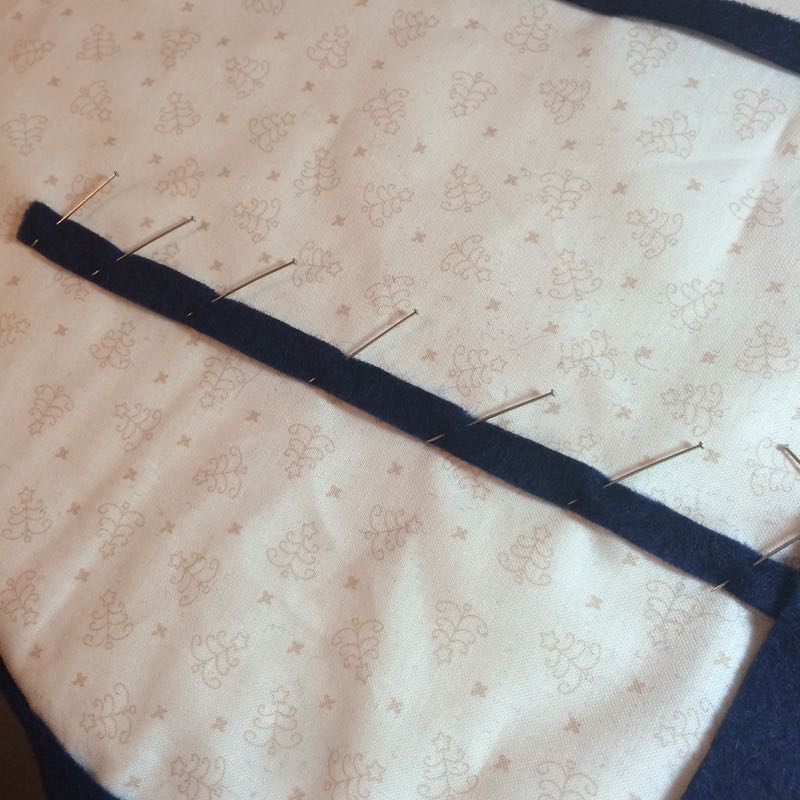
Although I initially pinned them by putting the pins parallel to the crosswise branch, I soon found that it made the wool and the fabric buckle, so I shifted to this method of pinning. Pin a LOT if you are using felt. If you’ve used the wool backed with Steam-A-Seam, it will be tacky on the back and it will be easily positioned. The felted wool people will then go to their ironing board after the first pinning step and press it down. As Primitive Gatherings notes: “Keep your iron moving at all times so you will not scorch your wools.” Wool is a natural fiber and can burn and scorch, but you might try using a lightweight pressing cloth in order to protect the wool and not give it a “shine” from too much pressing. (That’s my college Clothing and Textiles degree being put to good use–thank you, Mrs. Dimas, for your tailoring class.)
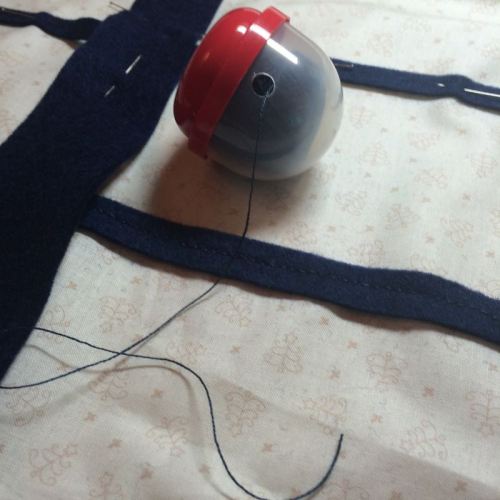
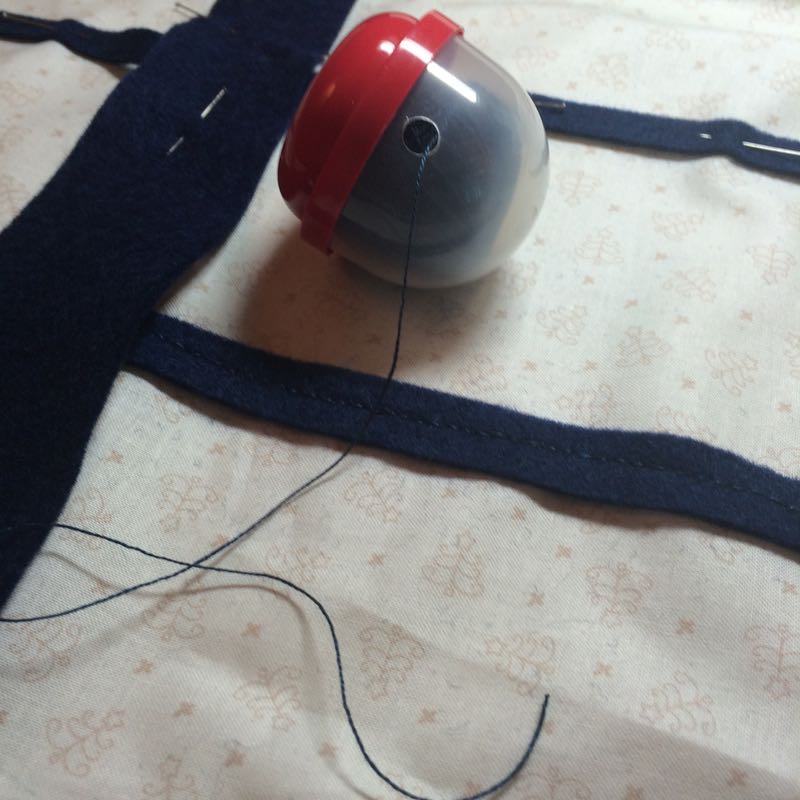
Now start stitching. I put my ball of pearl cotton in this little holder and boy was that handy. You can buy one from Bird Brain Designs. (See below for how you can win a couple freebies for yourself.)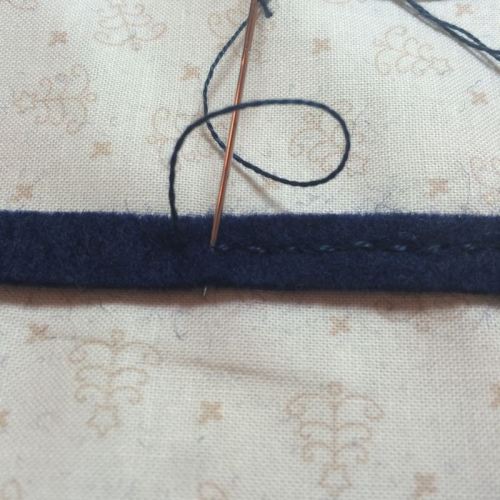
Start with the crosswise branches, and do a close backstitch on them. I did mine right close together along the branches, like the top example:
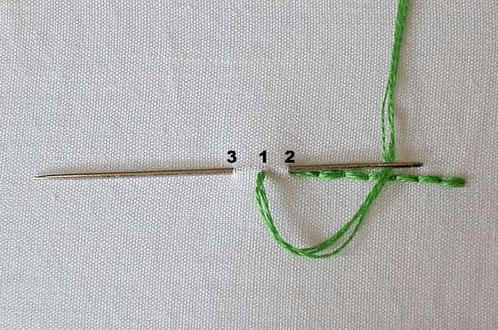
(from *here*)
You can do a search to find out how to do a backstitch, which is where I found *this* quick YouTube Tutorial.
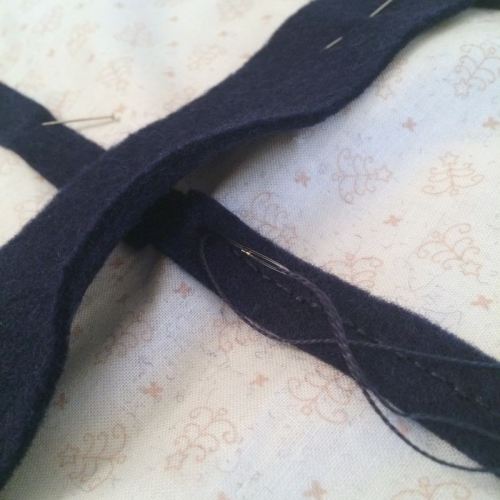
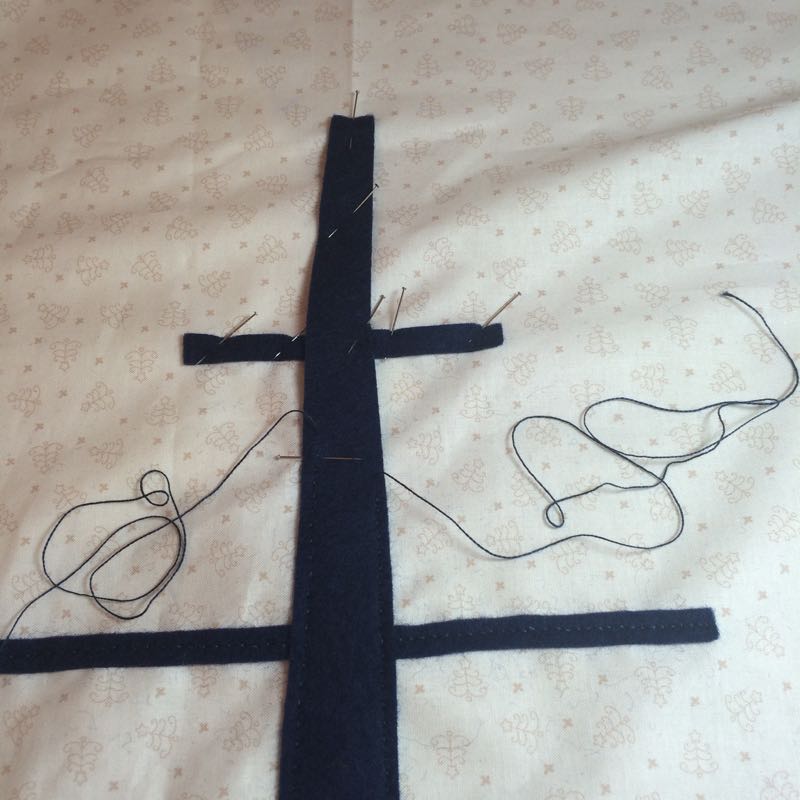
I butted my ends of the crosswise branches together under the main tree trunk and stitched, lifting the “trunk” as I went underneath. I also tried it with the edges just under the edge of the trunk, leaving a space between them, but felt it was more stable with the wool tucked in further.
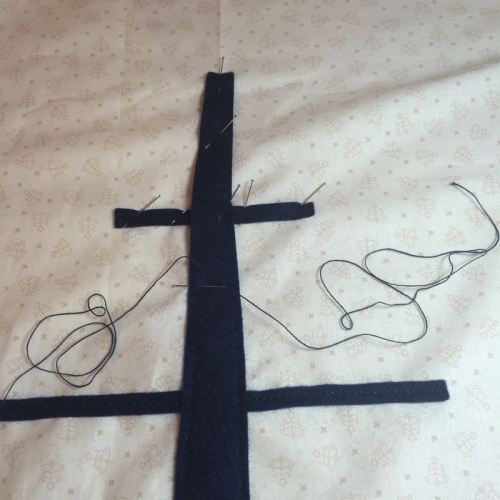 I did an expanded backstitch going up the side of the tree, leaving a space in between each stitch, using two separate threads (one for each side) as I went up. I decided to sew the tree trunk as I finished each branch, so it would feel quicker to me. The whole stitching down of branches and trunk took the better part of a morning.
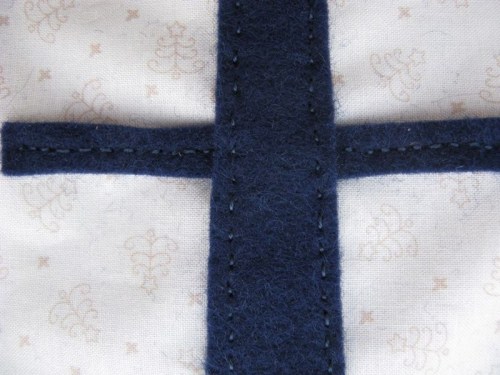
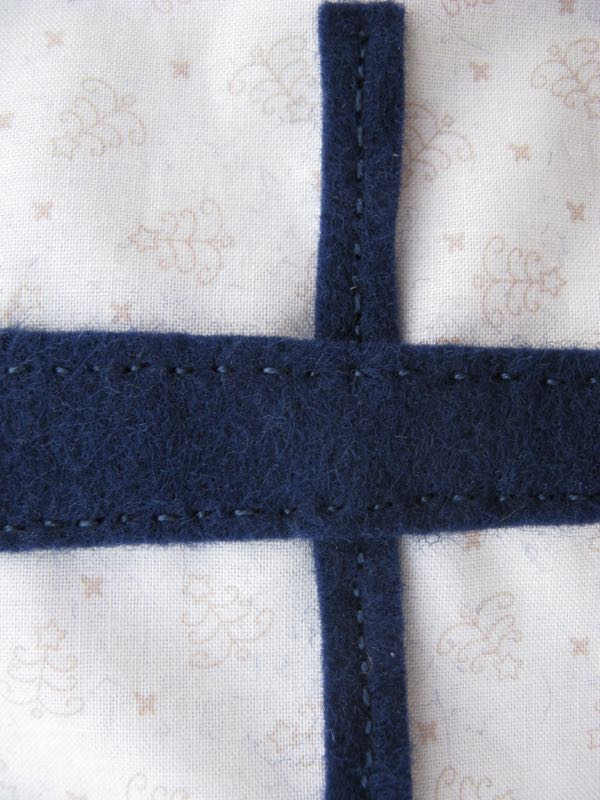
I have this on high-power magnification on my camera. I promise you NO one is going to look at your stitches this closely, so if you make a mistake or it’s not quite right, don’t fret. This whole tree is in the folk/rustic flavor so an imperfection adds to the charm. You can see that I did a closer backstitch on the crosswise branches and an expanded, or open, backstitch on the trunk. It was easy to stitch.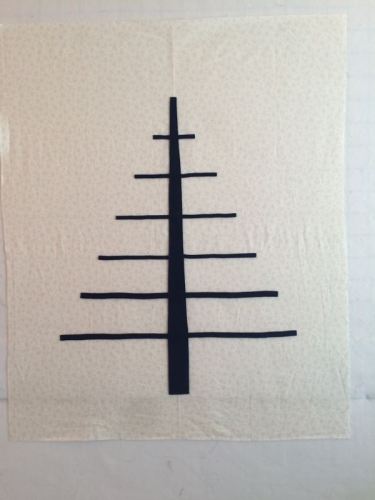
Ta-DONE!
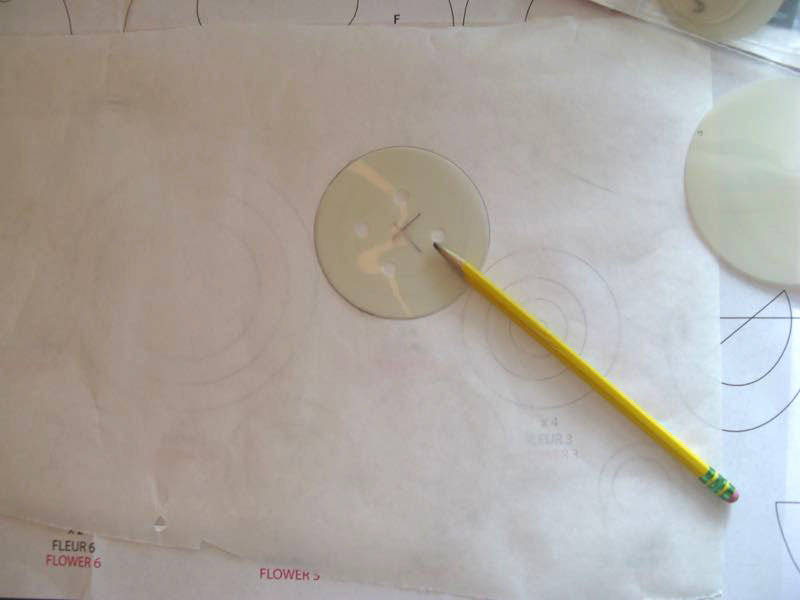
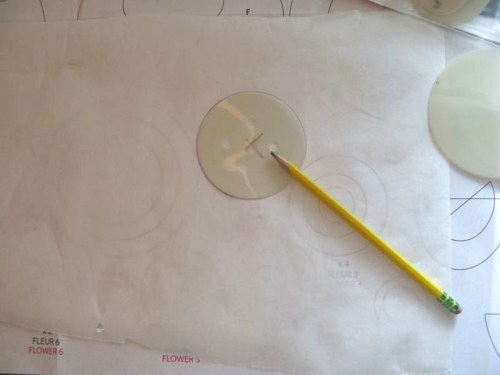 Since we always want to prep up for the next step before leaving our project, I’ve also added to this step the tracing-off the patterns for the flowers and the birds. I’m using freezer paper, as it can be ironed onto my felt and used multiple times. There are a lot of circles to cut out of your paper in order to prepare. I’m using Kay Buckley’s Perfect Circles, matching up to what’s on the pattern and tracing around them. (Yes, I punch holes in my bigger plastic circles so they won’t warp and buckle under the heat of the iron when I use them at the ironing board–the heat and steam can escape through the holes. I sometimes also mark the center, which is what you see here.)
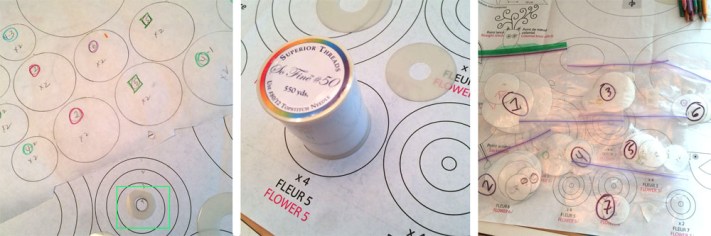
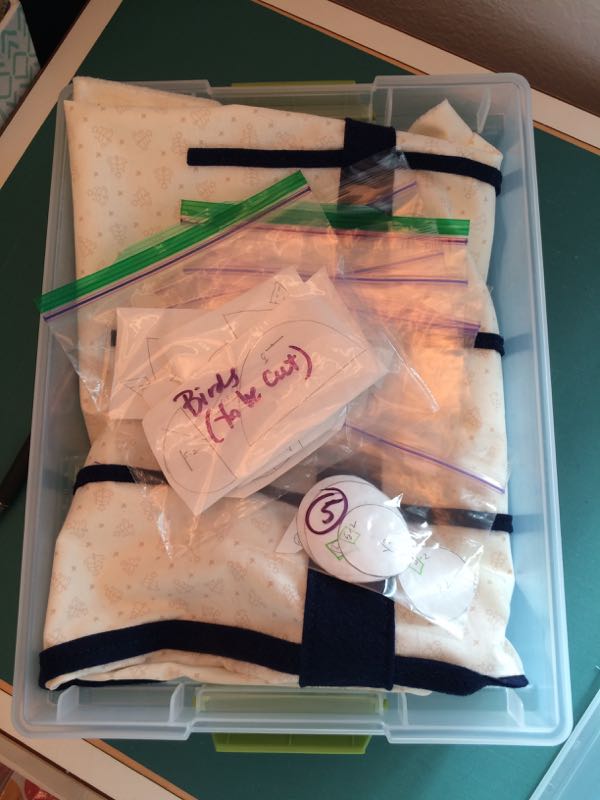
I can use the inside of a Perfect Circle to trace those teeny circles in the middle (inside the green square in the first photo), or a spool of thread, if there isn’t a Perfect Circle to match up with what you are doing. I labeled each circle on my pattern with a master number and an inner number, as in 1-1, 1-2, 1-3, 1-4 so when I cut them apart I know which goes where. I placed them all in plastic bags.
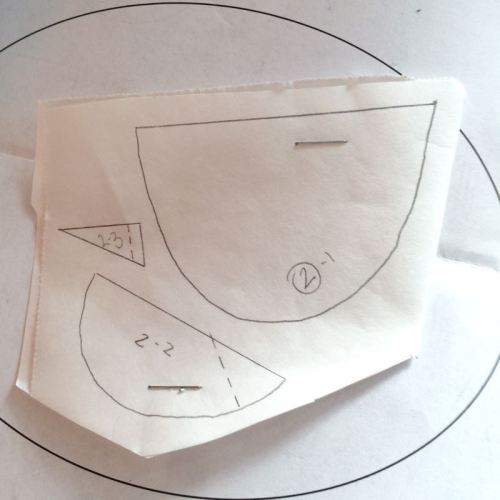
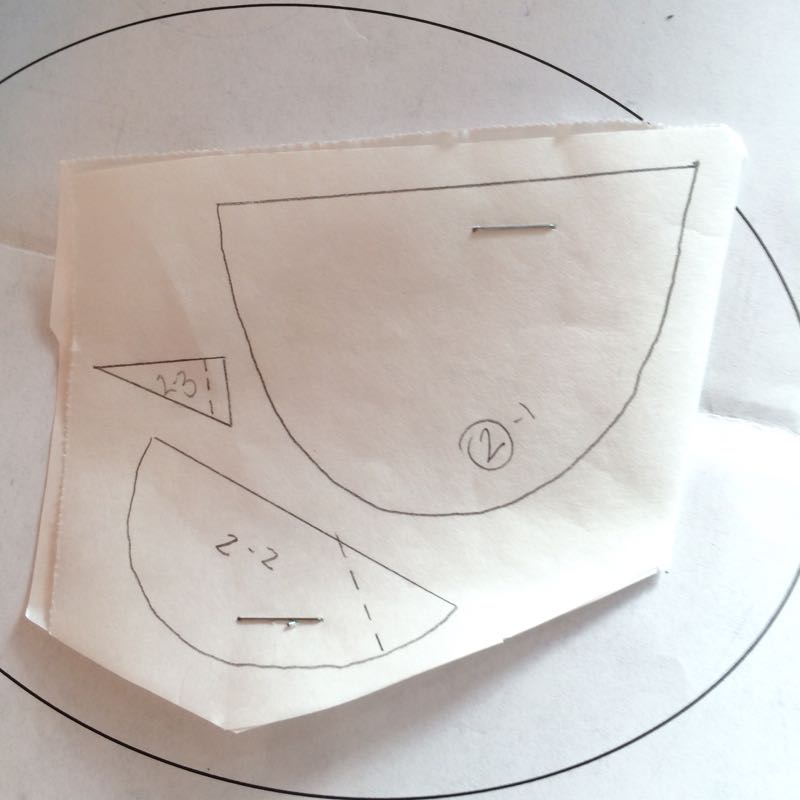
For the birds, I labeled them, drawing a dashed line where it crosses the main pattern piece (or is tucked under), added another piece of freezer paper to it with glossy sides together, and stapled them once in each major piece. I’m not ready to cut them apart yet, as I’ll do that in April, when we do birds. Pay attention to where she says to reverse the bird patterns. If you want to, you can also start cutting your circles out of your wools and felts and fabrics (if you are using fabrics). I realize that things often change as we start stitching the flowers and birds (the under-tree scene will come later), but it’s helpful to get going on this step.
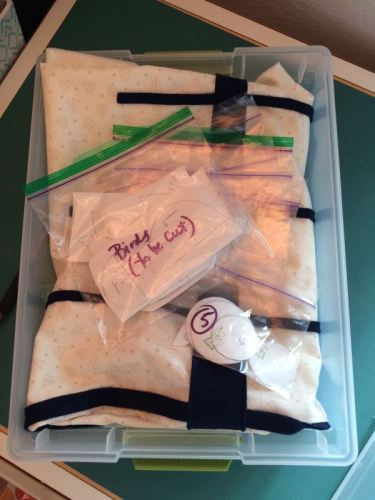
It’s all tucked away, waiting for next month’s step. Here are the steps again:
January, Step “prepare”: buy the magazine, gather your fabrics, buy the felt/wool, buy/find the pearl cotton. More about that in a minute.
February, Step 1: Make the tree on the background and stitch it down. If you use wool felt, she has an easy appliqué method. Prep up the circles by tracing them and organizing them together.
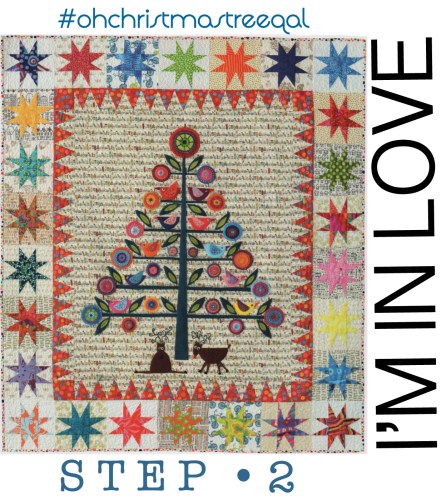
March, Step 2: Make 21 flowers.
April, Step 3: Make 10 birds.
May, Step 4: Make the scene at the bottom. Wendy’s pattern (IG: flyingfishkits) has two cavorting reindeer. I plan to switch mine out to a simple nativity. Your choice. (If I were you, I’d also start haunting her IG site as she has lots of great embroidery ideas for the flowers. I’d also consider buying her book, Wild Blooms and Colorful Creatures, for more tips and helps.)
June, Step 5: Appliqué down the flowers.
July, Step 6: Appliqué down the birds and the scene.
August, Step 7: Sawtooth border (reds).
September, Step 8 (finish up Quilt-A-Long): Make wonky star blocks, sew them together and attach border #2. Ta-Done! I just have to deliver you here. You are on your own for getting it quilted and bound.
We’ve done:
 and now
I’ll post Step Two on March 2nd. The second day of the month will be our regular posting day from now until we finish, and I’ll also put a reminder up on Instagram.
Some blogposts that have tips for working with wool:
Fresh Figs
Black Mountain Needleworks
American Pie Designs
Molly and Mama
To enter the giveaway for TWO perle cotton bubbles, leave a comment below. I’ll choose someone by Friday and get them sent out to you by next Monday, just as you are ready to start sewing your trees!