Quilts

Build a Medallion Quilt with Elizabeth and BlockBase+

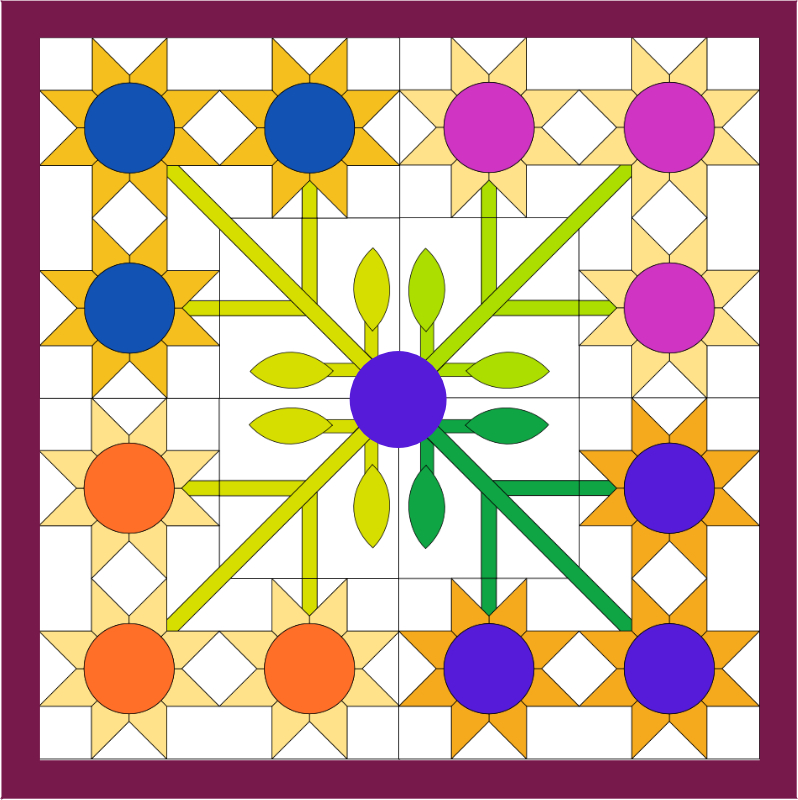
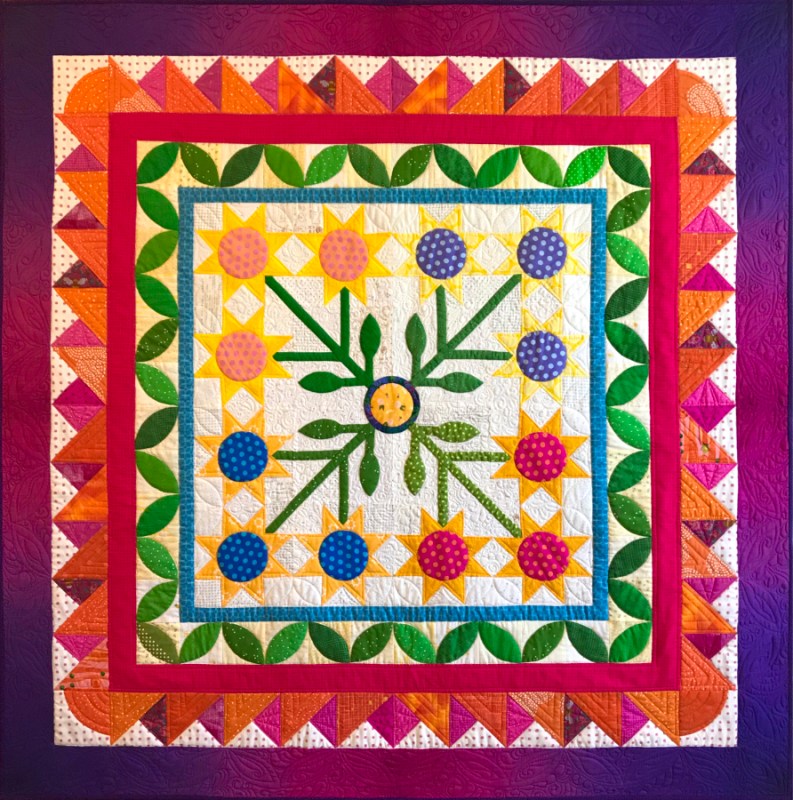
Sunny Flowers • quilt #246 • 54″ square

Welcome back to BlockBase+ Week! In this post, Post #2 of BB+ week, we’ll build a medallion quilt.

UPDATE: Giveaway Contest is closed. Thanks for entering!

Sunny Flowers was a fun quilt to make, but I think using BlockBase+ (BB+) enabled me to move a little faster on some of the borders, and I’ll tell you why: I could just decide what size I wanted a certain border, head into BB+ and choose a type of block, then re-size it easily.

Center

In many medallions, the center is where you start. A lot of moderns have been trying centers off to the side, but however its placed, usually there is a larger catch-your-eye-and-set-your-theme block to anchor the quilt.

I have a few more center ideas in my free TipSheet for Sunny Flowers Quilt (details in a minute).

Here are the two centers I mentioned in the kick-off post for BlockBase+ week: a spring/summer block and an fall leaves Autumn block. There are tons of possible centers, and since you can size them, your options are wide open. I begin my designing more easily in an illustrative digital program (Affinity Designer, if you want to know), so that’s where I start. But if you are a quilter who works in EQ8, all of these blocks are available to you in that program.
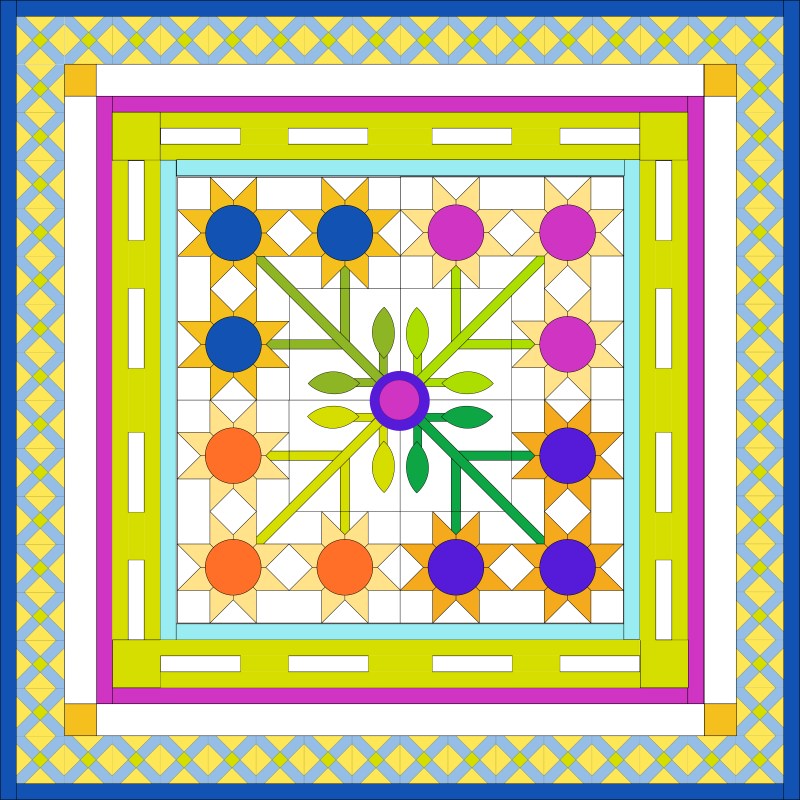
This was my first version, but it just didn’t work well. Cute, but in my world I like stronger colors and stronger contrasts. I give you my final measurements in the Tip Sheet, but I did keep track of how wide the plain strips were, so I could choose blocks that fit.

I refer constantly to the wide body of work that Melanie McNeil has posted on her blog Catbird Quilt Studio. The first page you should visit is a page listing all her topics, called Medallion Lessons. She has links to everything else on that page–a wonderul resource! She and I have corresponded for years, so when I hit this impasse, she had all sort of tips and tricks for me to try. Some of my angst is written about here.

Version Two. Remember, that I had determined what size all those borders were, and then went into BlockBase+ to find blocks I liked. I would then resize them, and make a sample or two or five.

I had been cleaning out photos and saw a quilt that had shapes I liked (we’re talking about the orangey-pink border). I found a similar block in BlockBase+ and since I wanted a four-inch block, I re-sized this Brackman ID 1194 block to print out at 8″ so that part in the aqua circle would be the correct size. I changed the corners from the photo, using a Drunkard’s Path block (again, from BlockBase+), written about in this post. Moral of this story: take photos at Quilt Shows, get ready for your future.

This was The Plan.

Yeah, okay, and this total wreck was The Plan, too, as I tried out different borders.
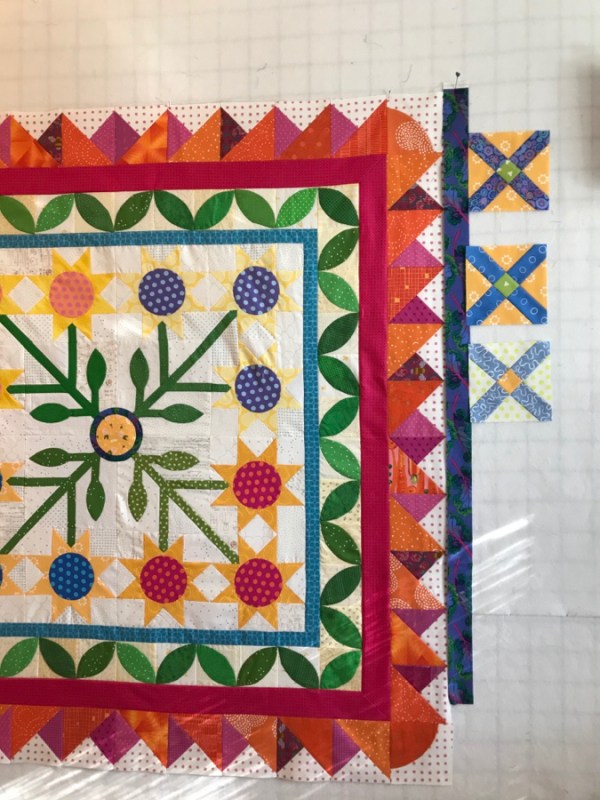
I kept trying to go farther with those crosses. I really really like them. But the bold orange-pink border was too strong, so it became the last pieced border. I had the brain flash to use violet in that outer border, so I stayed up one night searching online shops for violet; however, this is not the color this year.

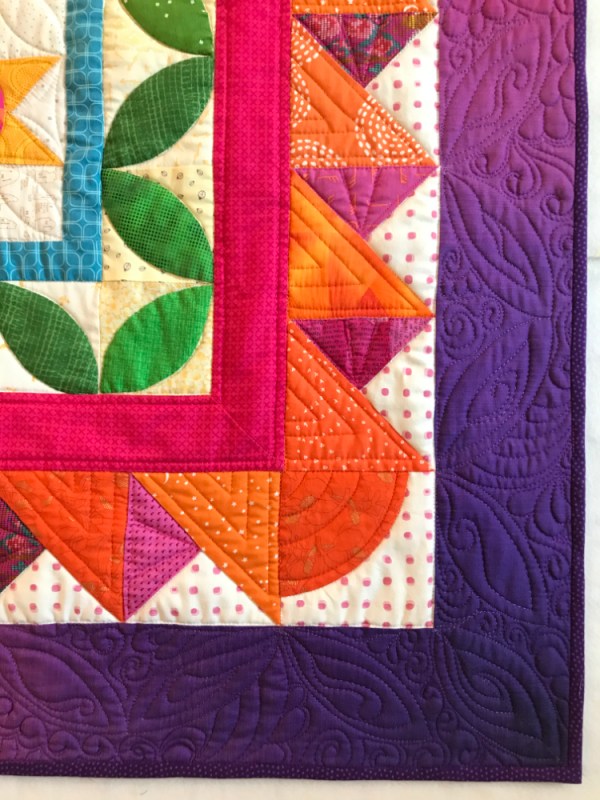
I was madly going through my stash one early morning, and had a stack of fabrics neatly lined up on the ironing board when my husband walked in. After explaining that I’d gone through everything, he reached over and pulled out a piece of fabric from the ombré bin. “You mean, like this?” he asked. I pieced it in the middle to get the darker outer corners, and it was done.

Get Your Tip Sheet for Free

I’ve compiled a little TipSheet for you for this quilt, which is free, if you use this coupon code:

Just enter it in at the checkout spot at PayHip, where I sell my patterns, and it will download for free to your email. I do have plans to make this a full-fledged pattern, but just like The Plan above, it may go awry. But for now, get your free tipsheet for Sunny Flowers.

UPDATE: Giveaway is now closed. Thank you to all who entered. Winner will be announced on Sunday, April 25, 2021.

Yes, the giveaway is still going strong. Please leave a comment below about how you will use BlockBase+: would its be a baby quilt for a new niece or nephew? Would it be a medallion quilt? Or do you need a fun picnic quilt for summer?

If so, maybe this Brackman ID 912 Mayflower is the one for you?

Leave me a comment below. I will be combining all the comments from everywhere before I pick the winner, so, I don’t mind if you leave one here, too!
Quilts · Shine: The Circles Quilt

Circles Blocks 17 & 18: Summer Day and Hip to Be Square

This post shows the general assembly order of two blocks:
#17: Summer Day • included in the SHINE: Finishing Pattern
#18: Hip to Be Square • included in the pattern SHINE: Nine More Blocks

Summer Day • Block 17

If you have not had a chance to look at the other blocks, please refresh your working knowledge of English Paper-Piecing and read through a few of the free tutorials on this website.

In addition, because this block is part of the Shine Finishing Instructions Pattern, this overview will be brief. All pieces and the block key are in that pattern are sold in my PayHip shop here.

In all cases, prepare your blocks. A good reminder for hand basting is found on the post for Shine Circles Block 2. A post to read for glue-basting (which is what I ended up liking the most) is on the post for Shine Circles Block 8.

In this block, prepare all the pieces by glue-basting, or thread basting down all the seam allowances around all the pieces.

Cactus Flower • Block 21

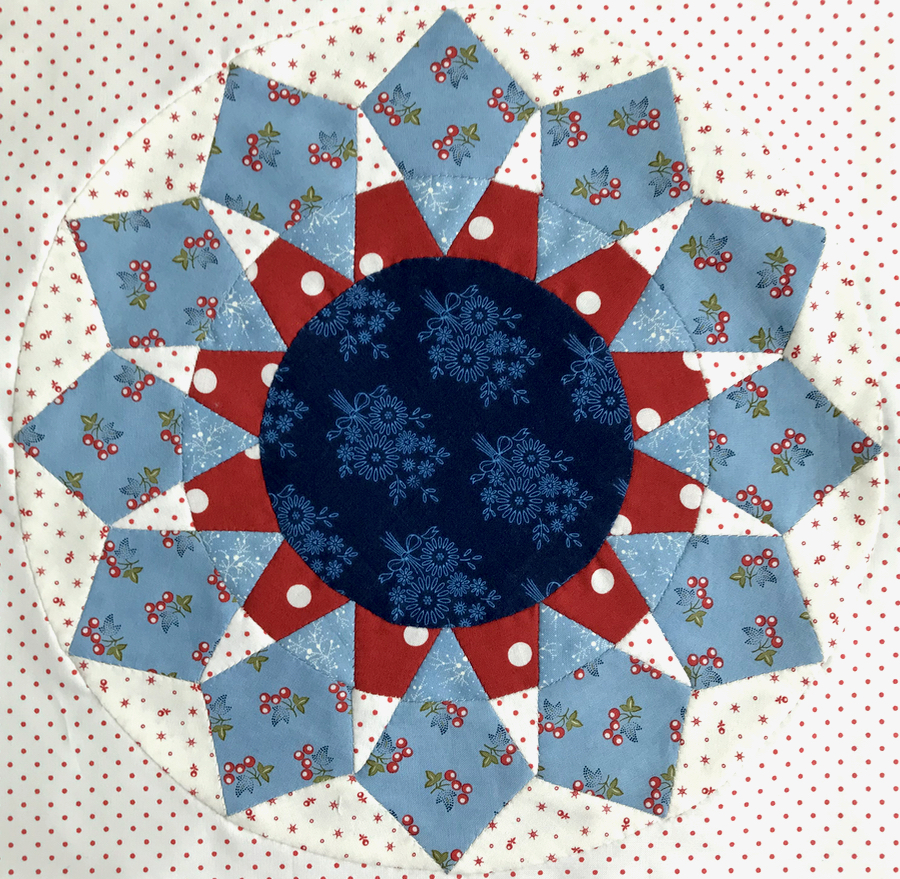
For block 17, found in the Shine: The Circles Quilt Finishing Instructions pattern, following the key printed there, stitch the Flower Petal to Flower Petal Base. Repeat until all units are complete.

Now stitch the Flower Tip C to Flower Tip Base B. Repeat until all units are complete.

Pair these up and stitch the Flower Petal Unit to the LEFT side of the Flower Tip unit. You should have 12 units, total. It will look like the illustration above. Join these together, again in pairs. You should have 6 units at that point. Join 3 of those units together, then repeat. It will be two halves of a circle.

Stitch in the outer wedges in between the flower petals. Shown below is one half of the circle with the wedges attached. Notice that how one wedge hangs over the edge at the top right, and how the lower left is absent a wedge. It will be attached to the other half, and overhang as in the existing example. From there, join those edges together to make a circle. Attach the center circle, and then attach the block to your background fabric. All instructions for those are either in the purchased patterns, or on the tutorials on this website.

And yes, I do swap out my thread colors to match my fabric if the contrast is high. For example, I would not use white thread on those sections where the red will be sewn to the blue.

After completing the EPP portion of this block, follow the instructions to appliqué it down to the background block, either in the pattern or on any of the free tutorials listed on the Overview Page.

Hip to Be Square • Block 18

This is basically a series of putting two pieces together, then two more, then adding the outer wedges and the center circle, then sewing it all to the background square.

In all cases, prepare your blocks. A good reminder for hand basting is found on the post for Shine Circles Block 2.

A post to read for glue-basting (which is what I ended up liking the most) is on the post for Shine Circles Block 8.

Most of the instructions for this block are found on the pattern, SHINE: Nine More Blocks, found at that link in my pattern shop.

Cactus Flower • Block 21

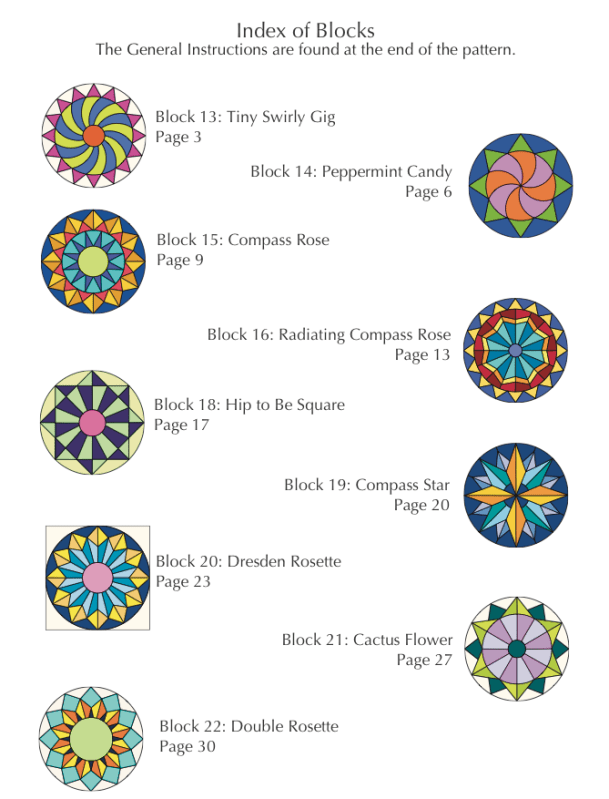
Here is the full index of blocks. Many are here on this website.

I offer two additional block patterns for sale in my pattern shop.

The first one above, Summer Day • Block 17 is a bonus block and is part of the pattern SHINE: Finishing Instructions.

The other pattern I offer as related to SHINE: The Circles Quilt is an additional set of blocks. It’s called SHINE: Nine More Blocks and is also in my pattern shop. Here’s the index:

Refer to the Overview Page on this website for all the free Shine Tutorials to make any blocks not listed here: An EPP Quilt: Circles.

300 Quilts · Patterns by Elizabeth of OPQuilt · Quilts

Criss-Cross Color • Quilt Finish

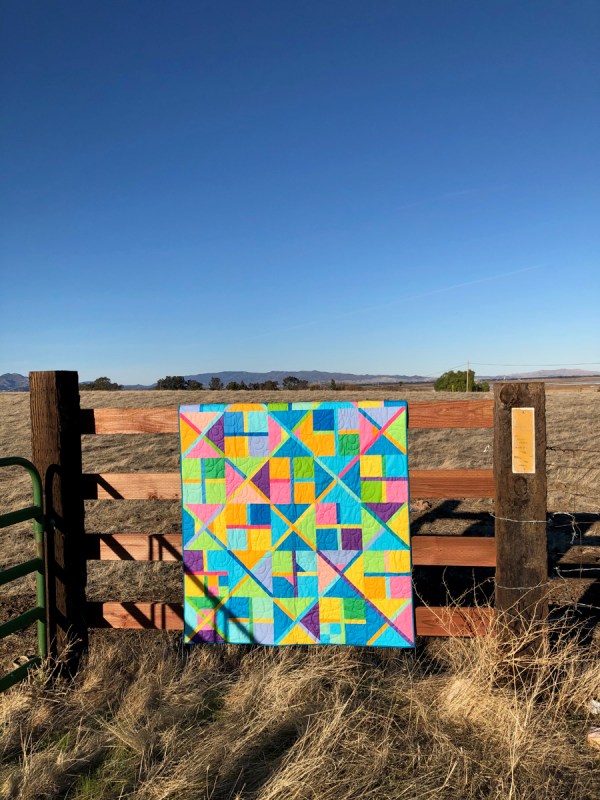
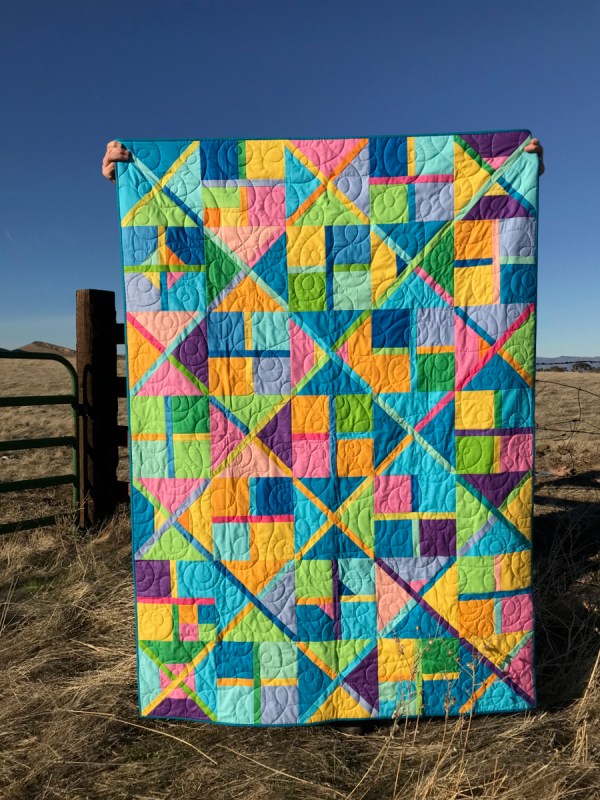
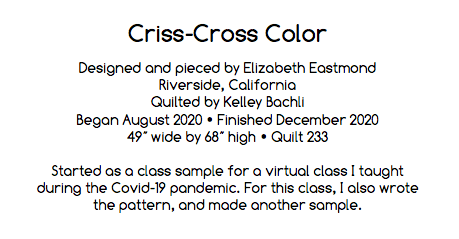
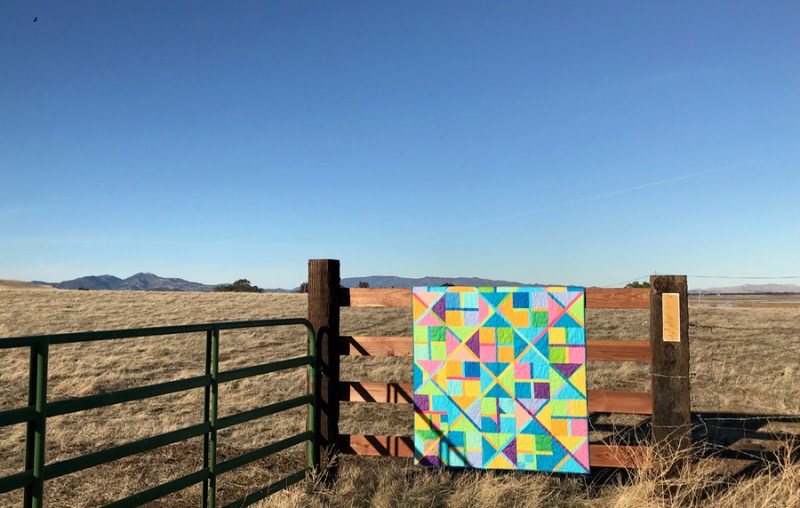
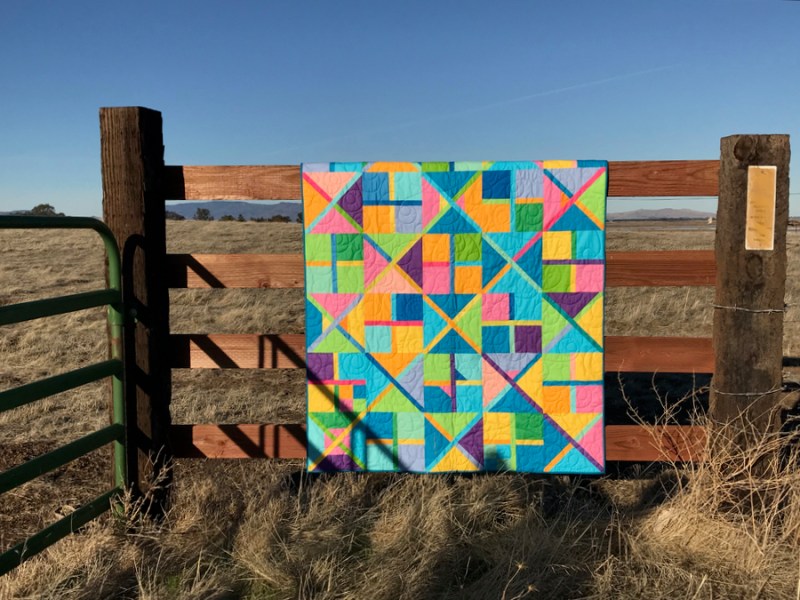
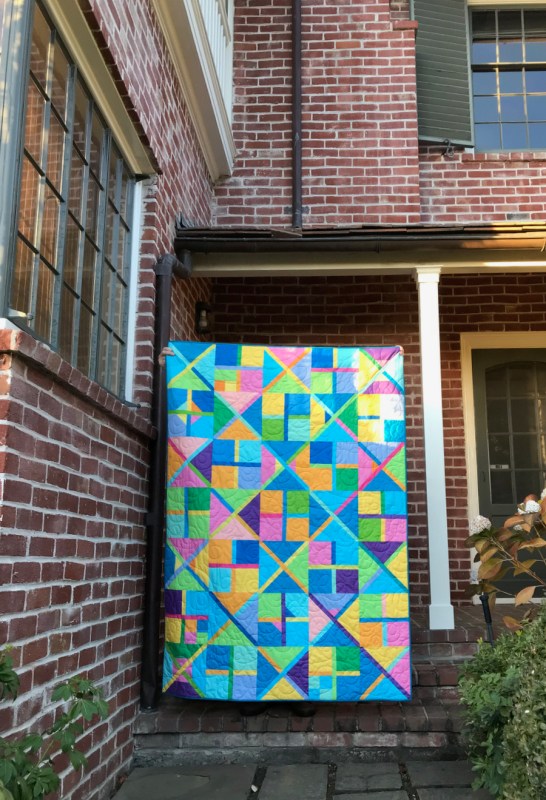
Criss-Cross Color, quilt no. 233
49″ wide by 68″ high

The quilting by Kelley of Wolf Girl Quilts really looks lovely in this light.

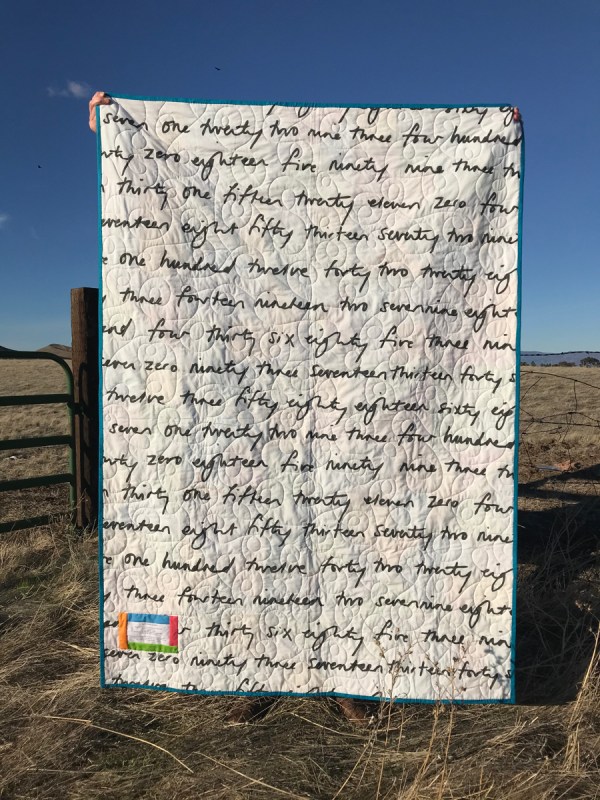
IKEA fabric, from back in the day: a series of numbers. It was what I had.

the label

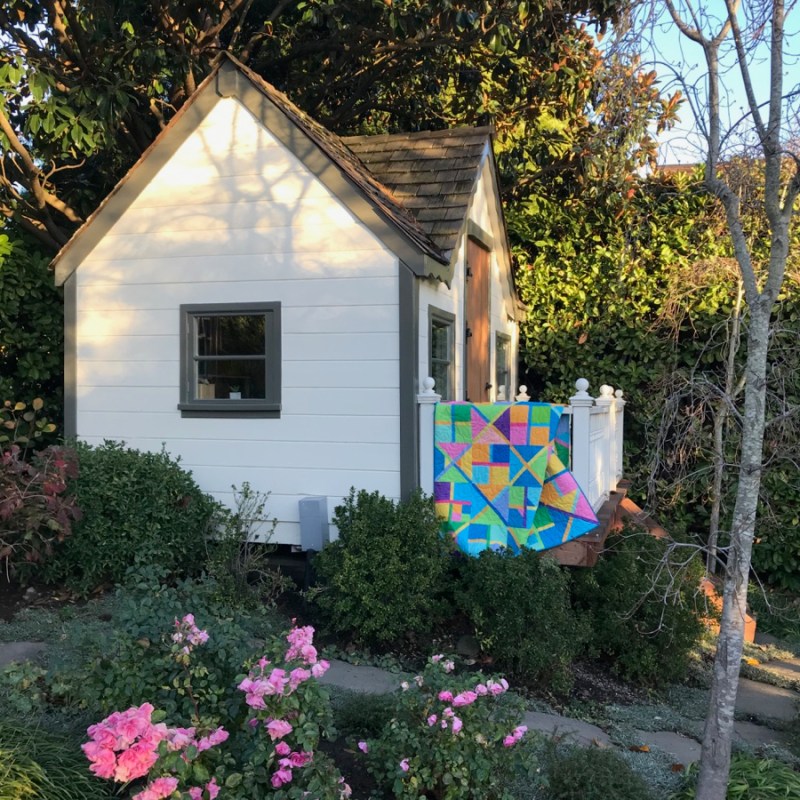
All photographs above by my husband or I, taken from a frontage road on the 680 freeway, to the west of Grizzly Bay and the Goodyear Slough, on Lopes Road near the Bay Area in Northern California. I like how the shadows are playing with the quilt in this image.

These last two photos were not taken on Lopes Road, but at my brother’s, as I knew they had a picturesque playhouse from when their girls were tiny.

I listed this as Quilt #233, as I got over-eager when the quilt top was done. Kelley, a long-armer friend, did the fabulous loopy quilting texture on the quilt. It’s been a good series for me, challenging me to think differently about color, texture and size.

The pattern is sold in my pattern shop on PayHip. There is a discount running on this pattern right now, until January 15th, if you are interested in purchasing it. Details are at the pattern shop.

Other Posts about the Criss-Cross series of quilts:
Criss-Cross Color, completed top, Criss-Cross Autumn, and the follow-up to the workshop
Criss-Cross Autumn
Christmas Criss-Cross, quilt finish
Criss-Cross, the genesis

300 Quilts · Covid-19 Times · Quilts

Repeat/Augment

Repeat/Augment
Quilt #230
47 1/2″ square

For some reason this morning, the fog cleared, the brain snapped to, I thought: “You have got to finish something today!” And so I did.

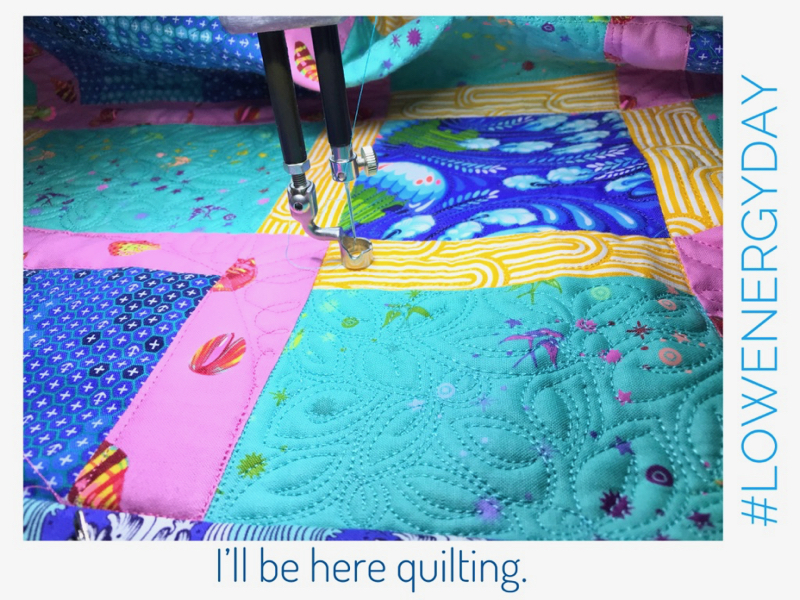
A low-energy-COVIDistraction-day back in May got me started on the quilting, although the quilt top itself was begun back in August 2019, in another galaxy far away from our lives now.

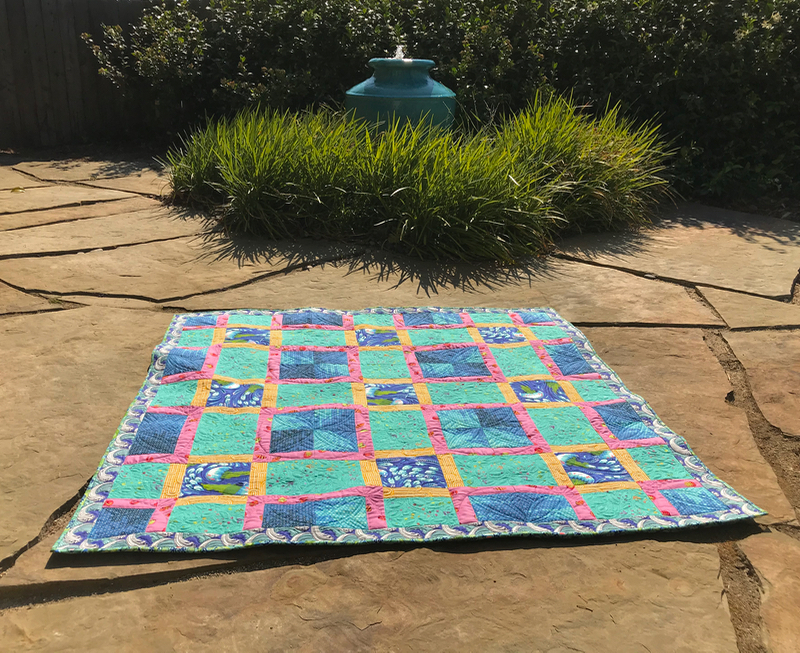
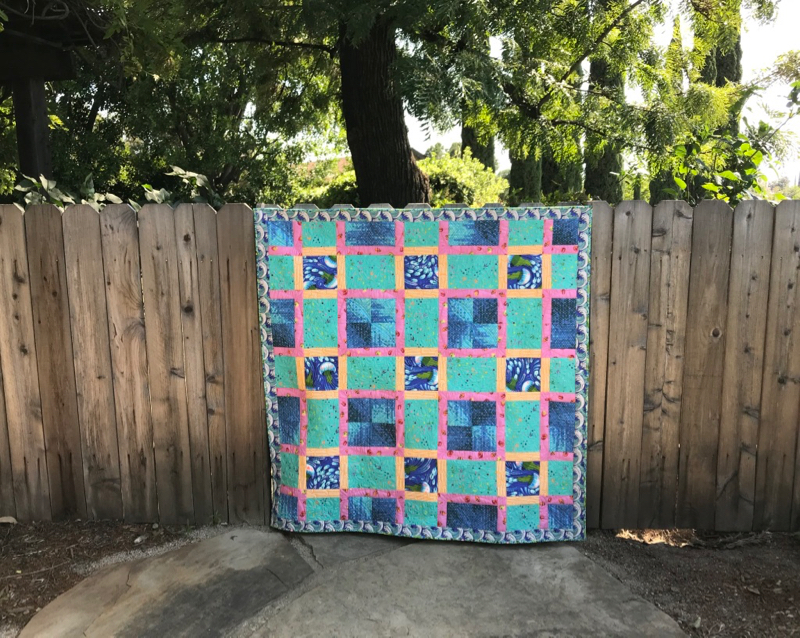
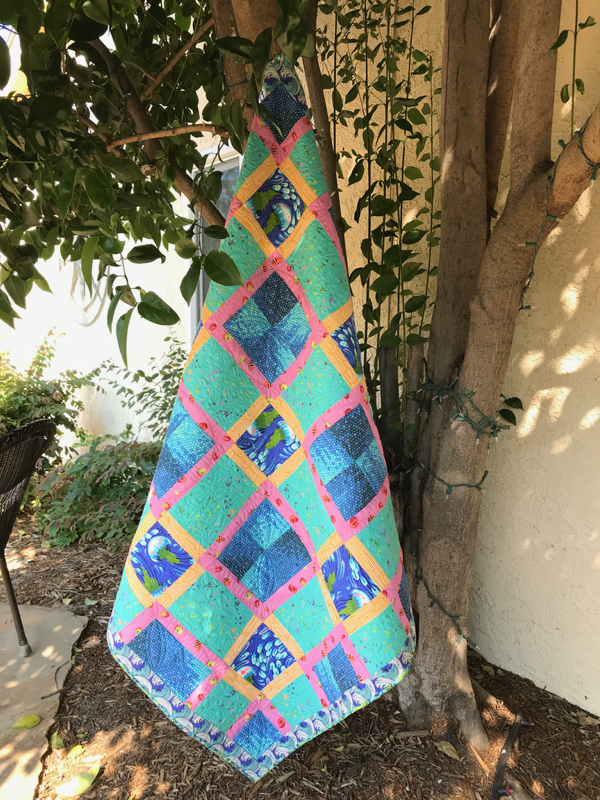
Shots from my backyard, in nearly 100 degree heat. We are both wilting, the quilt and I.

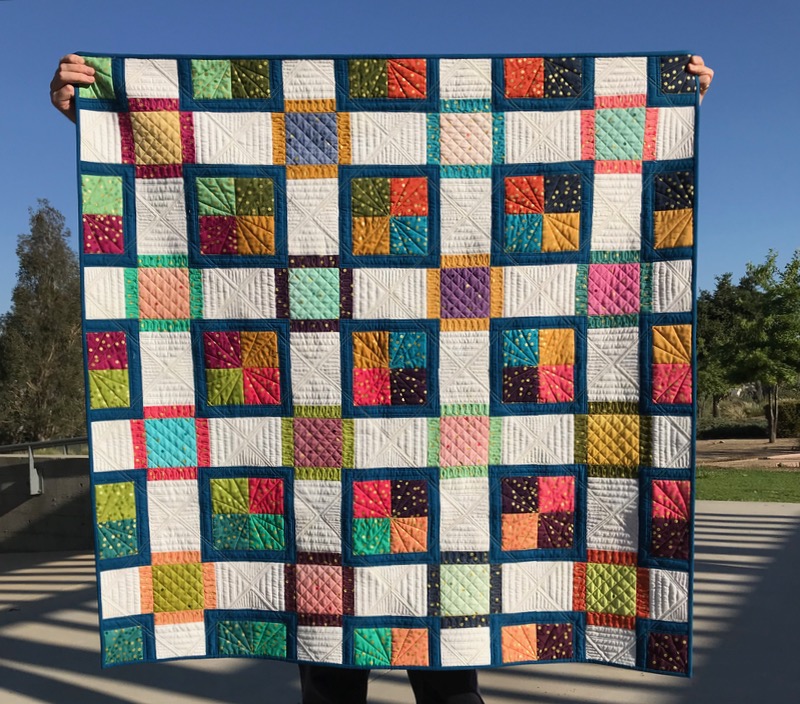
Why is it called Repeat/Augment? Because you’ve seen this City Streets pattern once before, in this quilt.

I decided it was Very Serious, all that gridwork in the quilting.

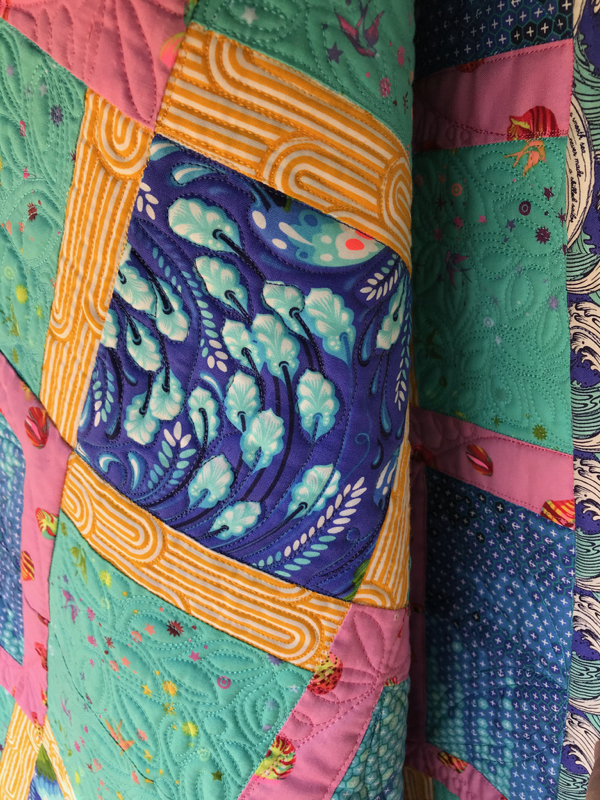
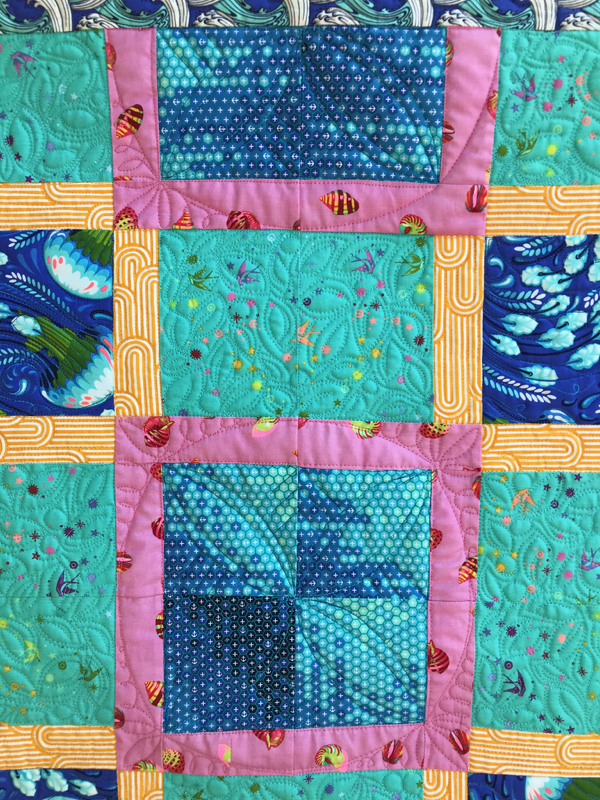
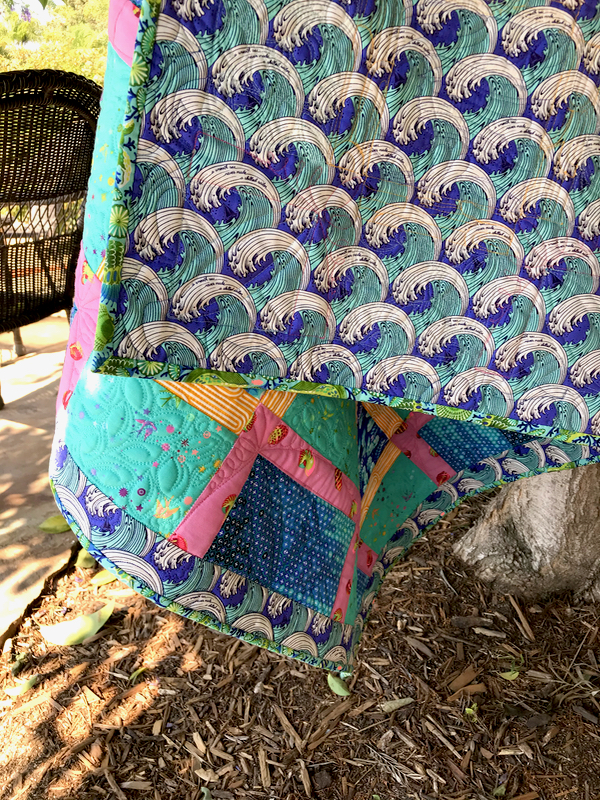
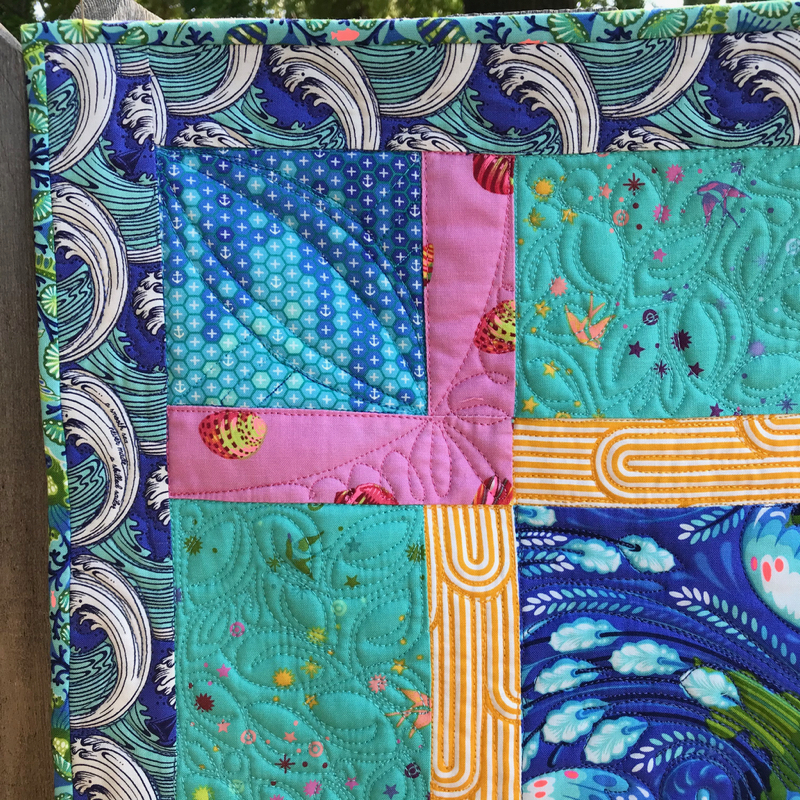
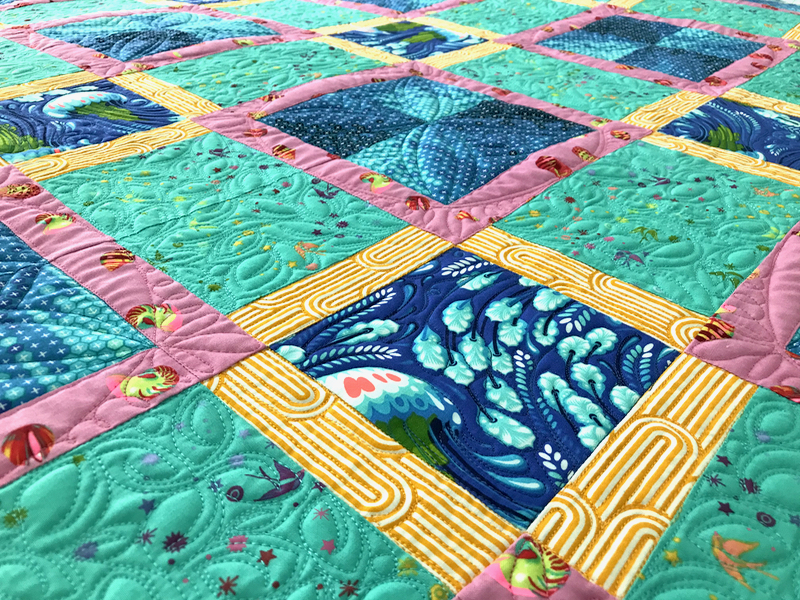
So I went natural this time, in as many places as I could. And used Tula Pink fabric in really saturated tones with curvy-swervy designs. Yes, definitely more playful.

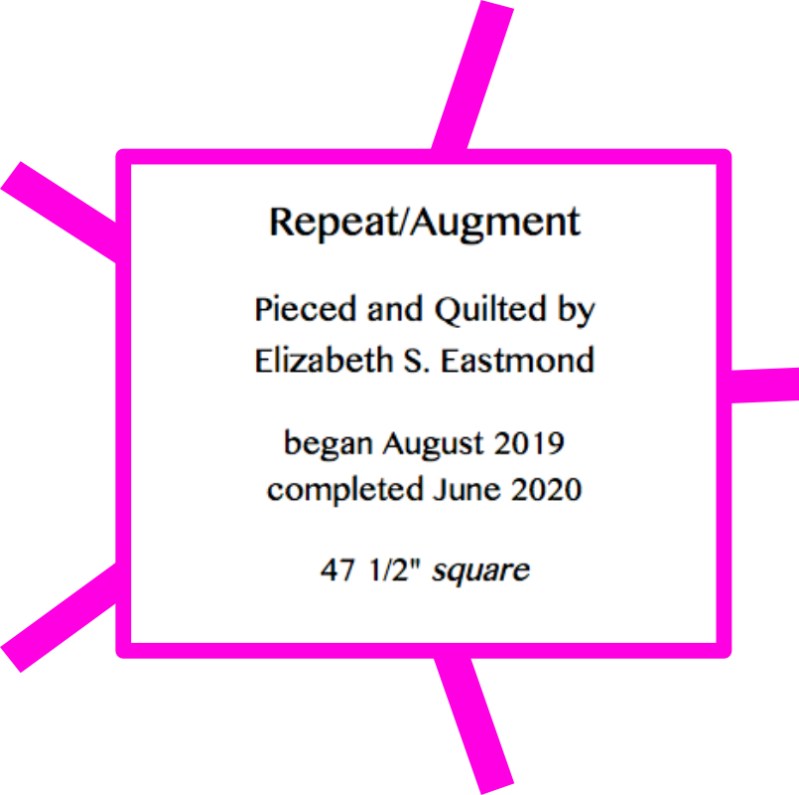
The label is coming, but here’s the mock-up.
Without the pink things sticking out everywhere.
(I was having fun with my Affinity Designer software.)

Our lives, now, unless you live in one of those places that is like the wild, wild west and has released you from Stay-At-Home. In our neck of the woods, it’s not yet, so it kind of freaks me out if I go outside and see people not wearing masks.

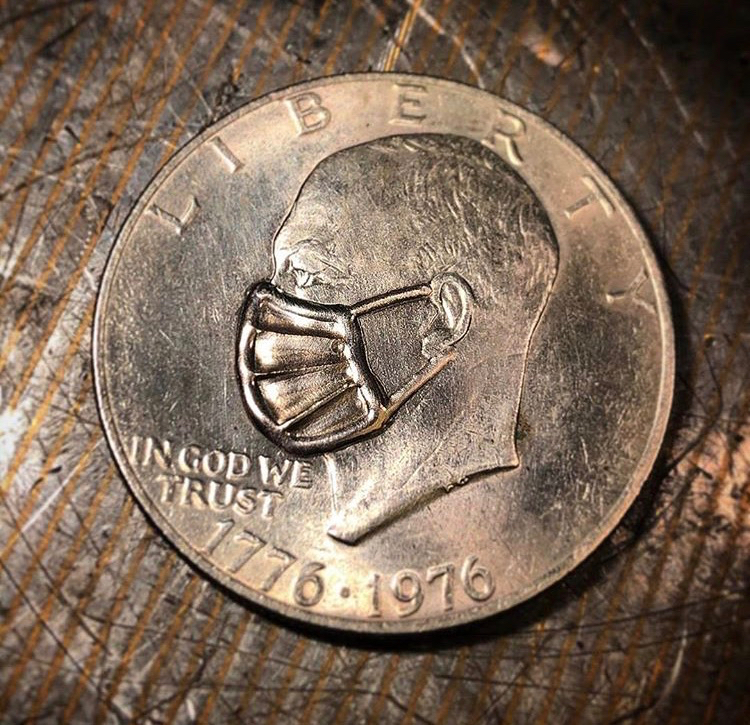
Hey, around here, even the quarters have them on!

Which reminds me, I need to cut out some more masks. My friend’s granddaughters are making holiday-themed masks (not shown here, but there are some fun types) and after the most recent news from Those Who Know, looks like the granddaughters were on to something. If you are keeping track, here’s my most recent favorite map, from Johns Hopkins. (I put it here so I can find it again.)

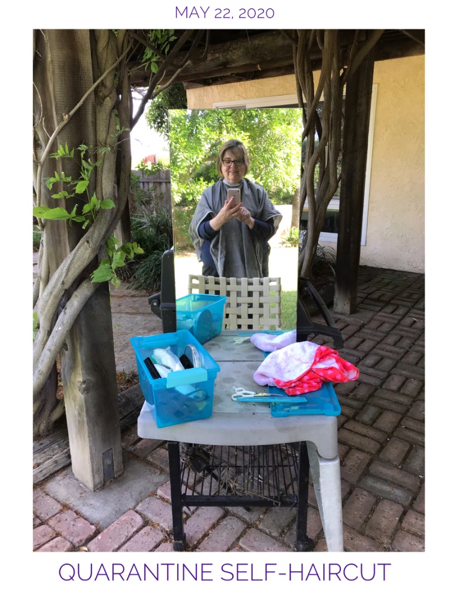
Last happy news is that my hair stylist has re-opened for the first time since March, so on Saturday I will get a real haircut. Not the kind where you set the mirror up on the barbeque, and try to cut your hair yourself. I am a little afraid of what he’s going to say when he sees the hatchet job that is living on top of my head. All I’ve got to say, it’s a good thing I’ve been in Stay-at-Home mode.

Happy Quilting!