Quilts

Quilt Sleeve

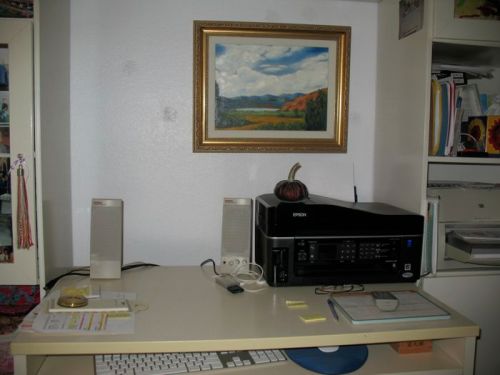
Notice no computer on the computer desk, although my father’s painting of a valley in Utah is still there.  I’m computer-dependent.  I like the web–it’s my friend and occasionally my enemy (Time-Sucking Enemy) but I like reading everyone’s blogs and getting new ideas.  And I love reading newspapers online, even though we subscribe to two already. (I’m doing my part for print media, trust me.)  This morning all I saw was the spinning ball of death (I have a Mac).  So, since I was computerless today, I worked on getting a very old quilt finished.

I began it in February of 2005 and the quilt is appliqued, pieced and I had already quilted it.  HAND-quilted it. Here we are in June 2011.  Time flies.  First up–the quilt sleeve.  I hope to enter this in a local show, and they require a 4″ quilt sleeve.  There are many fancy ways to do this but here’s mine:

Cut a single strip of fabric the width of the top of your quilt, minus 2 inches.  For a 4″ sleeve, it should be 9″ wide.

I usually try to do this on the length of grain, but if you are doing cross-grain, and need extra width, it’s okay to piece this.  If your quilt is more than 70″ wide, some people like to make it in two parts just in case the want to put a hook in the middle to help hold up the rod and support the weight.  But I rarely hang that size of quilt so I’ve never done it.

Fold in the short ends and stitch down.  Then fold it lengthwise in half and align the raw edges with the top edge of your quilt.  Pin.

Stitch on the binding.
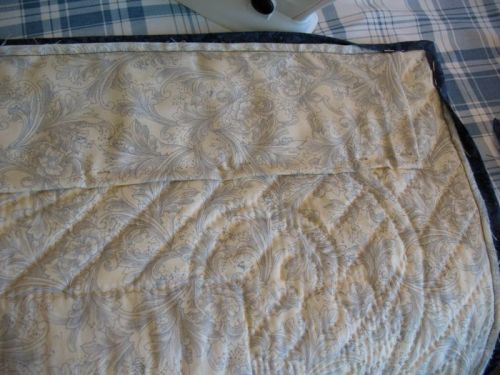
That brings us here.  The binding is stitched on, the corners folded into their miters and pinned down.  I used to use straight pins to pin down ALL the binding, then went to the clippie-thing.  My quilty friend Tracy convinced me to only do the corners and let the rest be.  So this is how I do it now–it’s much easier not having to fight all that equipment, and yes, the binding gets on straight, thank you very much.  Here’s the souped-up version of the above picture:
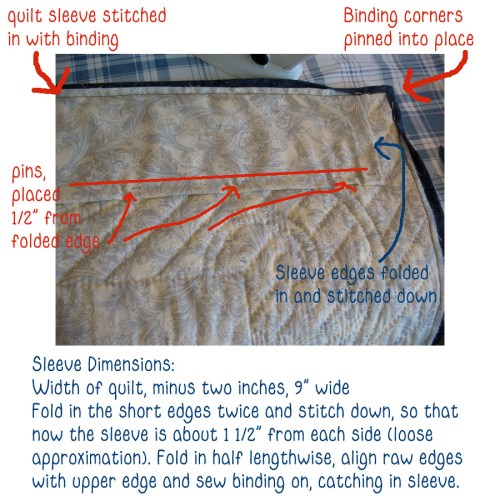
See how much work I’m getting done since I can’t surf the web?
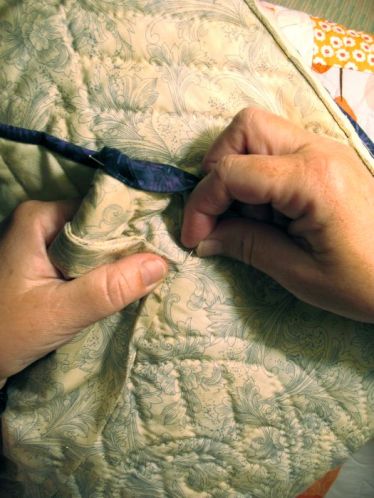
Now, pin down the folded edge of the sleeve, placing pins 1/2″ away from the edge.  When you sew down that sleeve, LIFT UP the folded edge, and stitch 1/4″ from the fold on the lower (closest to the quilt) part of the sleeve, catching only one layer of the fabric.  You are tacking this into place.  You don’t want to sew more than this, otherwise the sleeve will be visible above the binding.

All sewn.
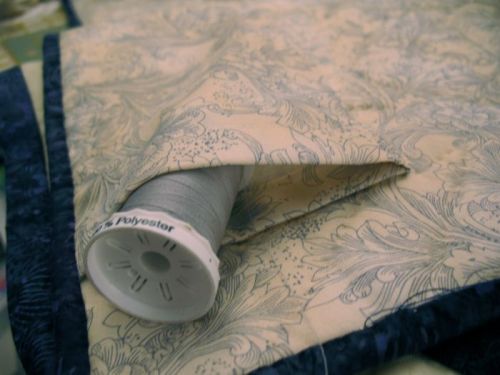
Spool of Thread in her undercover work posing as a Quilt Rod.

 But by doing it this way, you leave a little slack in the sleeve tube, so that the quilt show rods won’t distort your quilt from the front.

My version of a label is in the next post, as I have to go and stitch this all down while I watch Foyle’s War (we’re on Season Five) with my husband.

UPDATE!
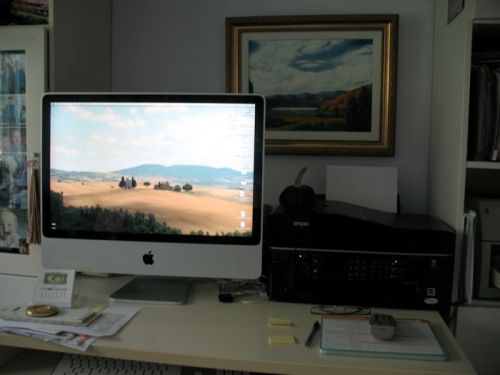
The computer came home!
It was a faulty partition in the skizzy-dingbat area of the software, which only cost me $85 and the computer guy shared with me that the hard drive could go at any moment.
Or not.
Creating · Quilts · Sewing

Red & White Challenge

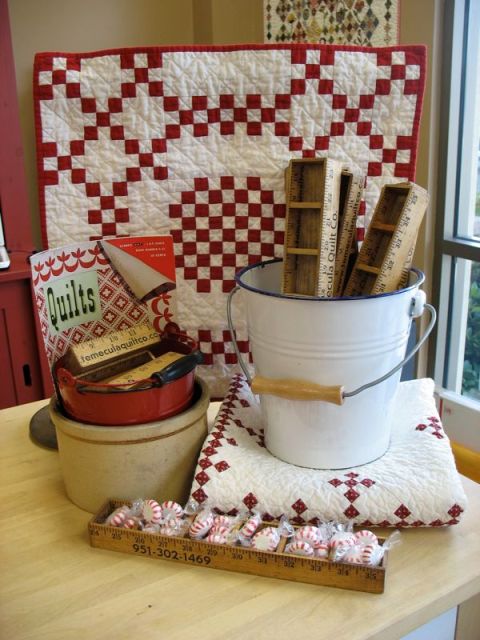
Yesterday I wrote about Temecula Quilt Co and how the owner has a Red and White Challenge going on. {Details are •here•}  Bring your Red and White Quilt into the shop by September 15th, or if you are too far away, send a photo.  Head to her page for more info.

BUT I WANT TO PLAY!

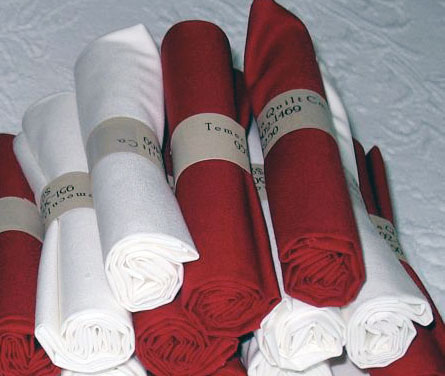
Do you? While I was there I purchased six fat quarters of red and six of Kona Snow white from her (she graciously wrapped them up for me in cute little papers).  I’d like to share with you, so we can get started on a quilt to show in October.  Sheryl has more red and white available on her website, but if you live far away–or already have your own stash–any of the deep reds will work for this exchange.  And yes, I prewashed all the reds for you.

So, I’m organizing my own little way for you and I to play together, no matter where we live.  What I propose:
• leave a comment in order to get a free fat quarter of red and a free fat quarter of white.  By signing up, you agree to finish your block and get it back to me by August 1st.  Pinkie Swear you will do this–please don’t sign up if you won’t complete it by the first of August.
• make an 9″ block (should measure 9 1/2″ so as to include the seam allowances) using only red/white fabrics; you may select your block pattern from the blocks below.  I’ll include the pattern when I send it to you.
• make another block for yourself (if you want)
• send me my block by AUGUST 1ST!!
• And as a thank you, I will send you a block in return.  So you get two free blocks for making one–and for taking the red and white challenge with me.  This should get you started, so you can participate in the Quilt Challenge. I only bought six, so don’t waste time!

About the blocks: I looked through a lot of quilts that were hanging up in New York City, and chose a few.  I drafted them using my software (I use QuiltPro), and have printed them out, paper templates included.  Choose the block you want to make and it will be in your little package of fun that will be coming your way.  Be honest with yourself.  If you are just a beginning quilter, choose one of the easier blocks.  I don’t mind if we have duplicates.  If you want something fun (you only have to make two), try one of the more complex blocks.

I will be making a 9-patch based block for you–a surprise!–but it will coordinate with yours.  If I have no takers by June 20th (because you are all traveling, or having a baby, or don’t feel like a red and white, or just want to relax this summer), I’ll withdraw the challenge.

I’ve already had some replies:
First participant: Rhonda, making Jacob’s Ladder
Second participant: Sara, making Churn Dash
Third participant: Leisa, who hasn’t said yet which block she wants (Flying Geese Nines?)
Fourth quilter is Lisa G, who wants to make Swirling Star
Fifth quilter is Sue, who has her eye on Double-X
Sixth quilt is Katie H, who wants to make Shoofly.
Thanks all–looking forward to seeing your blocks in a couple of months.  I’ve got my design all planned out, and hope to start slicing into the red/white fabrics tomorrow.

I took the Swirling Star block from this quilt.  It looks amazing all made up and put together, doesn’t it?
P.S.  I’m sure most of these have other names; I looked them up in Brackman’s Encyclopedia of Pieced Quilt Patterns.

Creating · Quilts

Cross and X Quilt Block

In my last post I talked about Zombie Quilt Night.  Well, at least that’s how I felt.

So, in exploring my really overwhelming list of blogs in my Google Reader, I began to see this block appear:

and

These two are made by a quilter in London, and these photos are from her blog.  I found the Flikr pool if you want to see some more.  I like these blocks because it’s obvious you can use scraps and whatever, so long as you use a bland background and differentiate the cross fabrics from the X fabrics.  The blocks together look like this:

and

These are from Stawberrylicious’ photo stream, but couldn’t locate her blog (I admit to being dumb untutored about Flikr, yessirree). It’s nice to feel some enthusiasm for a new idea–that always gets my hands into the fabric.  There’s lots of potential for novelty fabrics and word fabrics, and cool prints.

(Update: I found her blog.  You have to be invited to view it.)

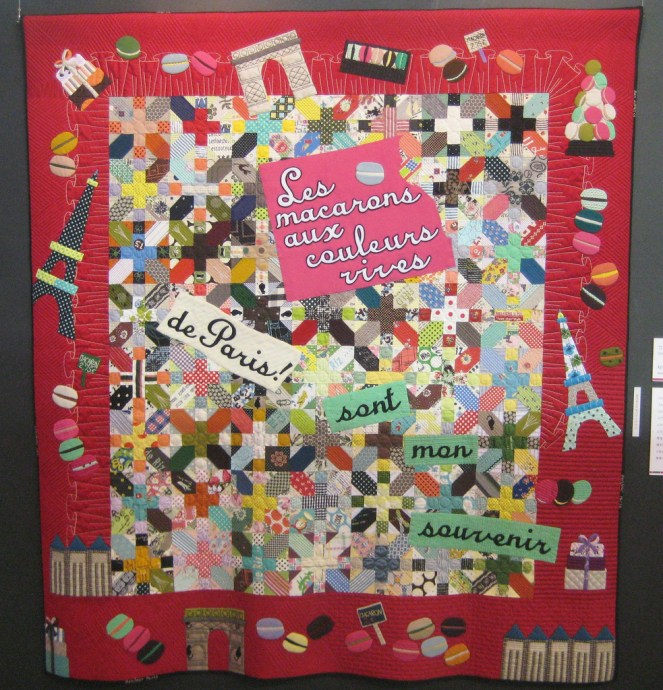
This interest in an old block by Nancy Cabot was apparently generated by Setsuko Inagawa’s quilt:

Somebody with a blog named Badskirt has developed a tutorial for this, and although the pictures are spot on, I am doing some wondering about the measurements. See below.

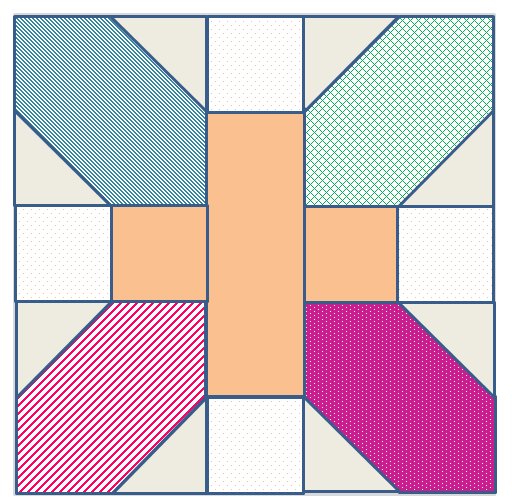
I kept looking at the blocks on Flikr and noticed that the angled wedge didn’t always line up properly into the cross in the middle.  I drew it up on my quilt program:

I realized part of the trouble many of the blocks I found on the web seemed to be a 7″ block.  But this is a five-segmented block, so the measurements are more true if they are done in units of five: 5″ block, 7.5,” 10″ block etc.   So, I checked her measurements–they are fine–so what I saw constructed may have been others not being careful, or using incorrect measurements.


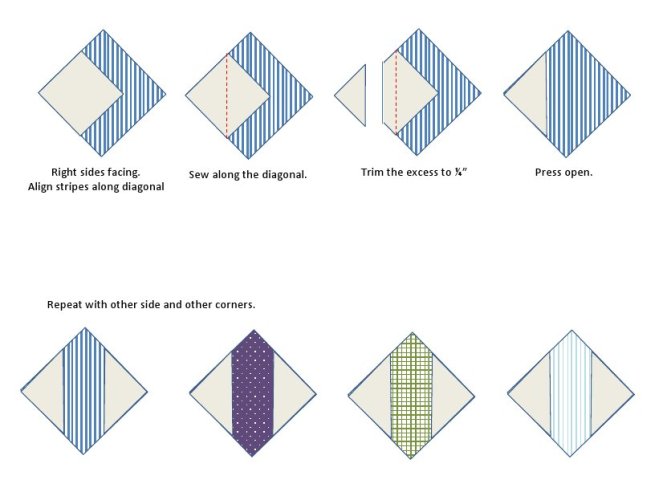
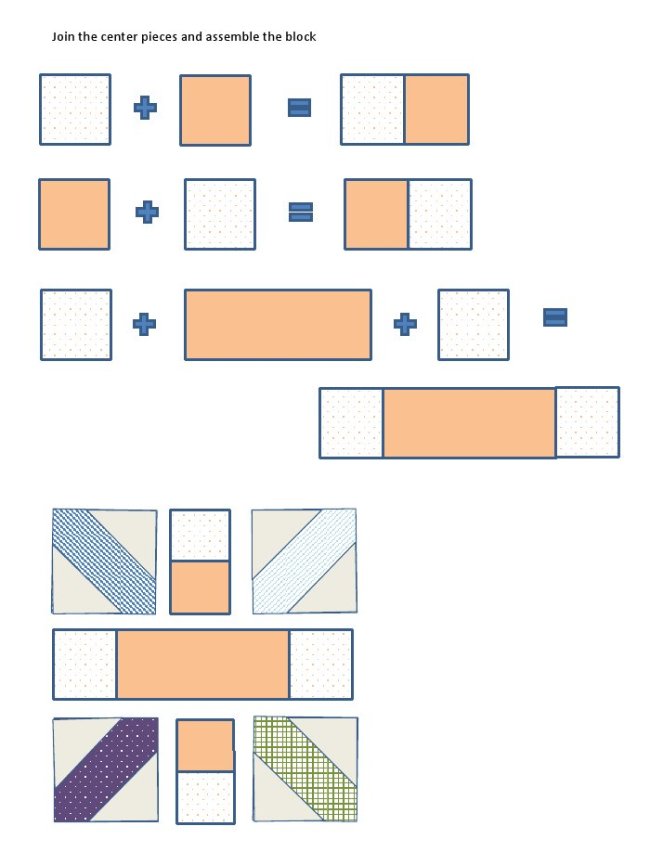
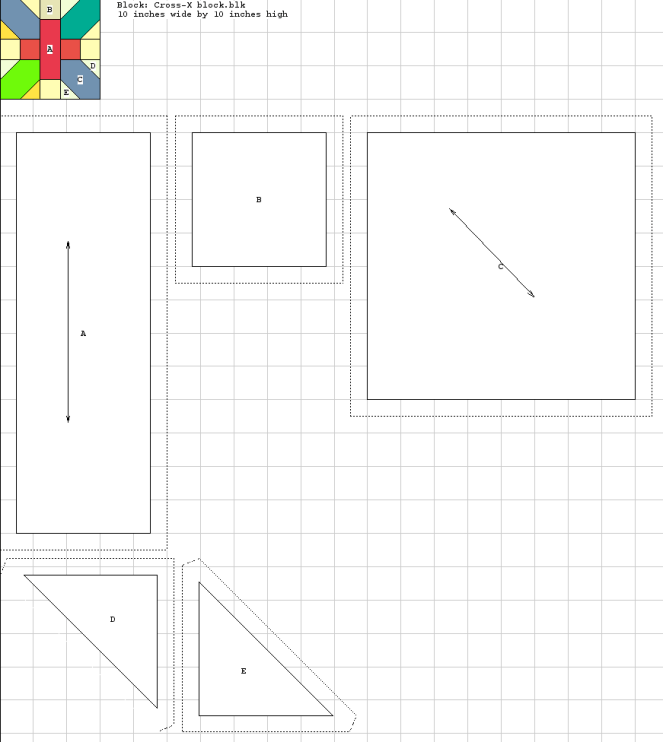
For a 10″ block, the templates (with seam allowances included) look like this, with that long center strip 2.5″ x 6.5″, the square measuring 4.5″ and the other small blocks 2.5.”  My program prints out the snowball blocks as two triangles, which I cut out and tape together to get the measurement.  Or–just just cut squares 2.5.”  I’ll probably stick with the 7 1/2-inch blocks because I like the repetition of the small blocks.

I wonder if anyone else is like me–that even when you’re working on a project, you need a spark now and again to keep interest.  I heard an interview with Andrew Zuckerman on Swiss Miss’ Creative Mornings series and he said “I hate every project three months in.  I’m exhausted.  I’m questioning whether it’s any good.  I’m unhappy.  [But] that’s just the process.  You have to get through that.  You have to commit. . . there’s no pulling out–it has to work.  And then it works out, because of the commitment.  There’s always failure when you don’t see it through fully.”

Just knowing I have Cross and X block possibilities in the back of my mind, will help me get through the Lollypop Trees process.  I hope.

Creating · Quilts

SewDay with Judy

Last week we had Quilt Night at our house, and yesterday (since all the tables and ironing stations were still set up), a friend came over to quilt since she couldn’t make Quilt Night.  We were working with the same stash of fabrics from Fabricworm (I love their bundles!); Judy purchased two in order to make quilts for her granddaughters and I liked it so well, I got one to make a Bento Quilt.

I’d been admiring Bento Box quilts for a long time, and when we were in Nova Scotia–Cape Breton’s small town of Mabou–I purchased a pattern at Fiddle Stitches, a quilt shop there in town.  Good memories while I stitch.  Here’s a slide show of our day of sewing.  I may yet cross off all my quilting tasks off my summer To Do List.

This slideshow requires JavaScript.

Some explanations:

Judy was making rail fence blocks.  We dangled little bits of her sets off the end of the table so she could initially keep track of what strips she had used, but later on, didn’t need them.  I thought they looked like a bunch of jewelry dangling there.

We made a mess of every surface in my living room: extra table, dining room table, piano–you name it.

When I was a young mother I used to read my children a poem about rainy days from a Richard Scarry Book.  The illustration had the children making blanket tents, arranging toys, emptying cupboards, while the rain pelted the windows.
Substitute “sewing days” in for rainy days, and you have:

On sewing days we stay indoors,
We have a lot of fun.
But there is so much work to do
When sewing days are done!