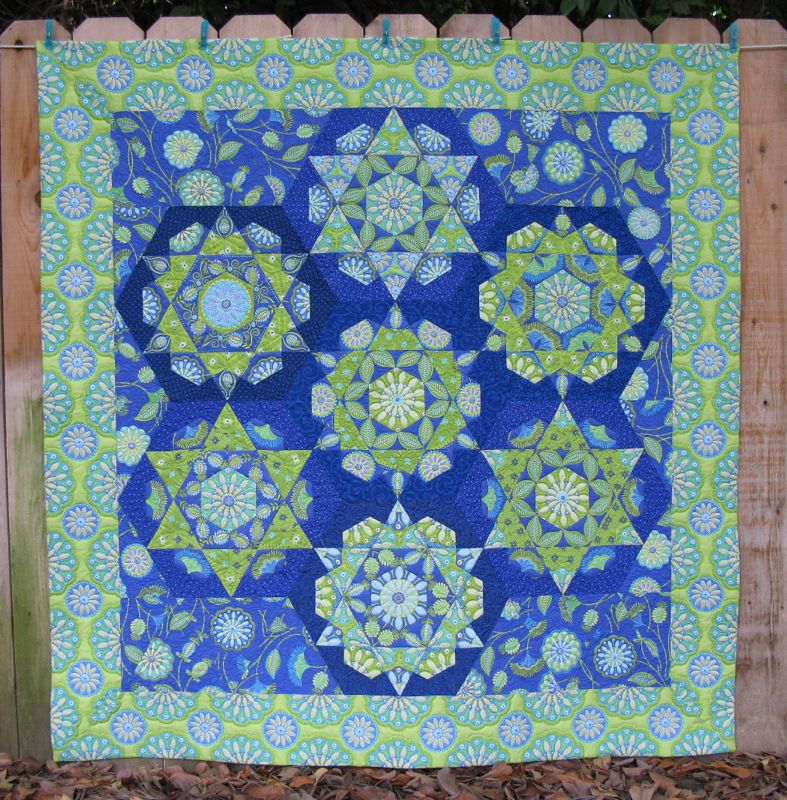
At long last, I have finished Kaleidoscope.

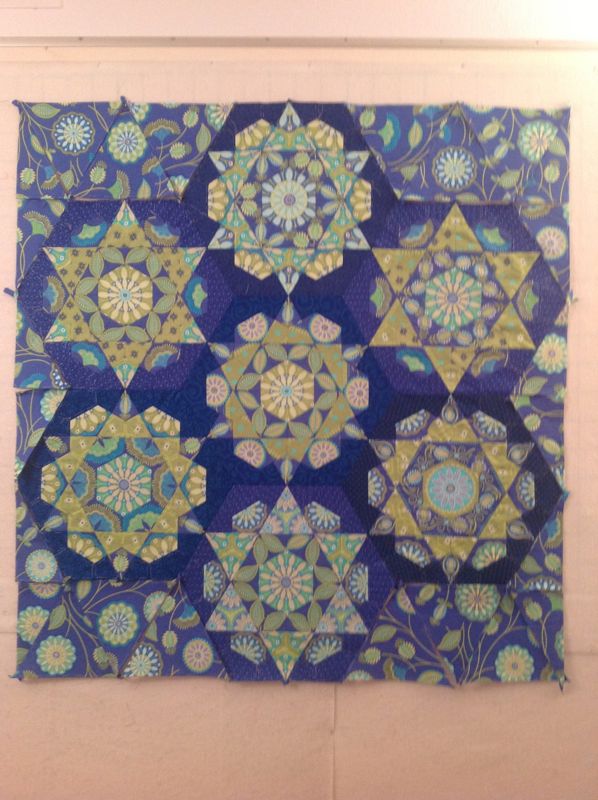
Here she is on the fence, all quilted and bound and ready to be hung up in our home. The first picture was merely the top, unquilted, but I like that image quite fine (it’s my home screen pix on my phone).
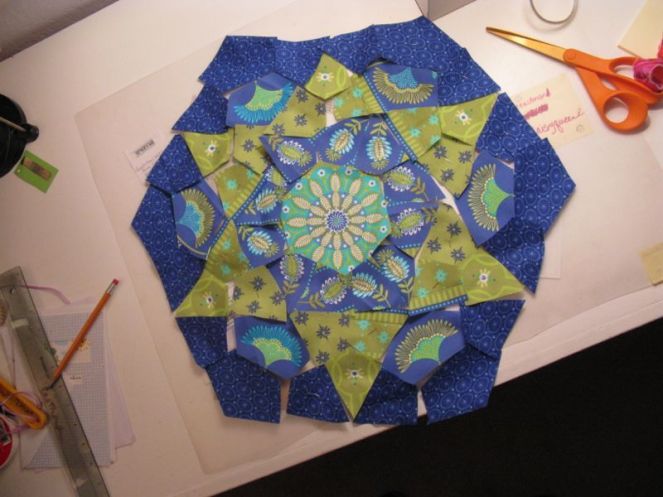
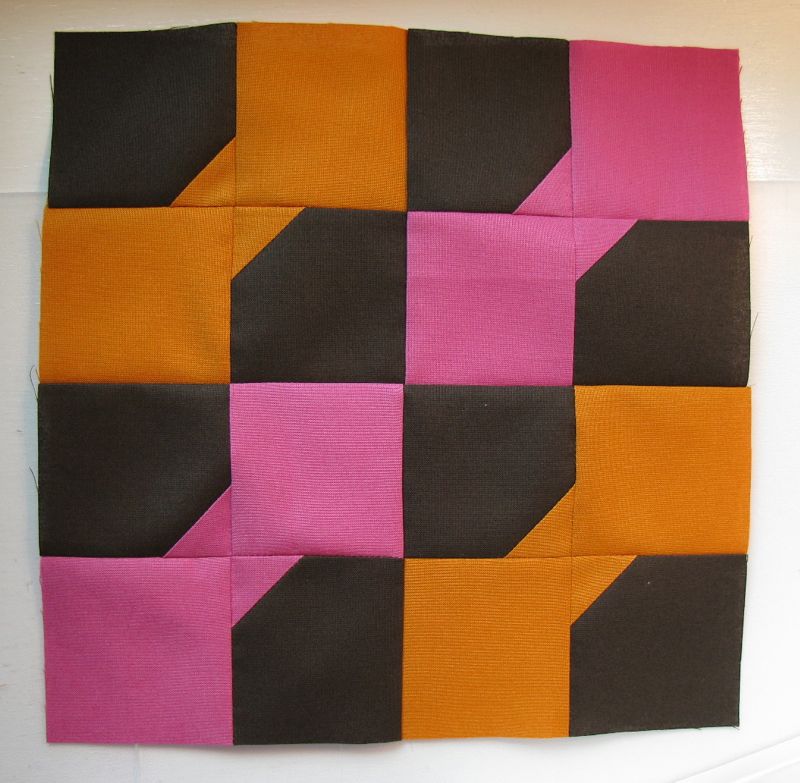
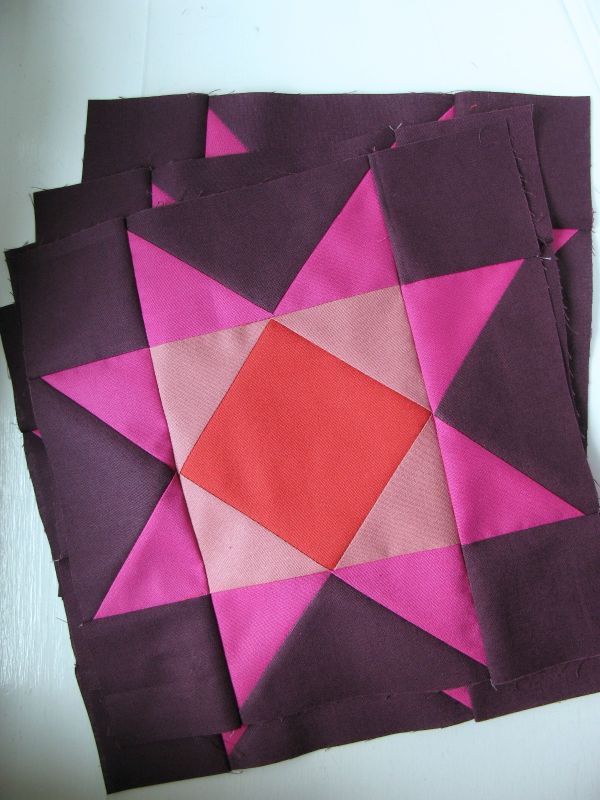
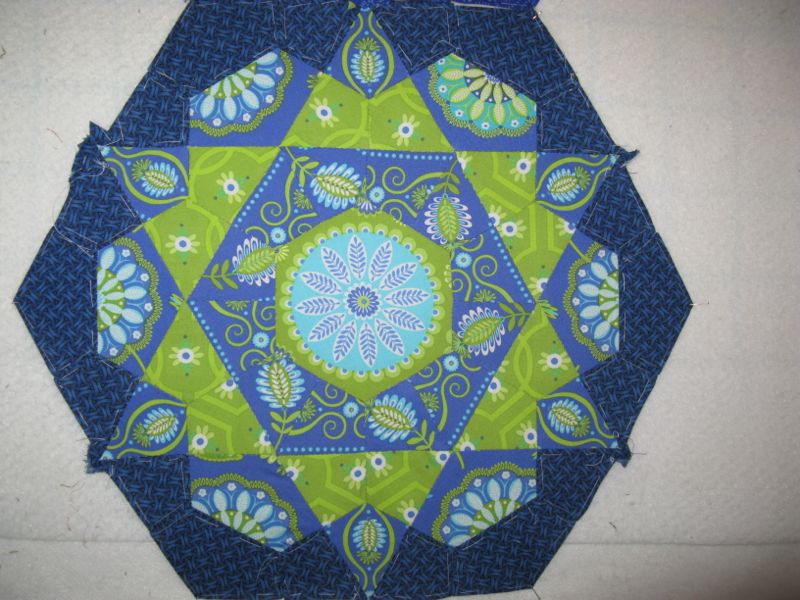
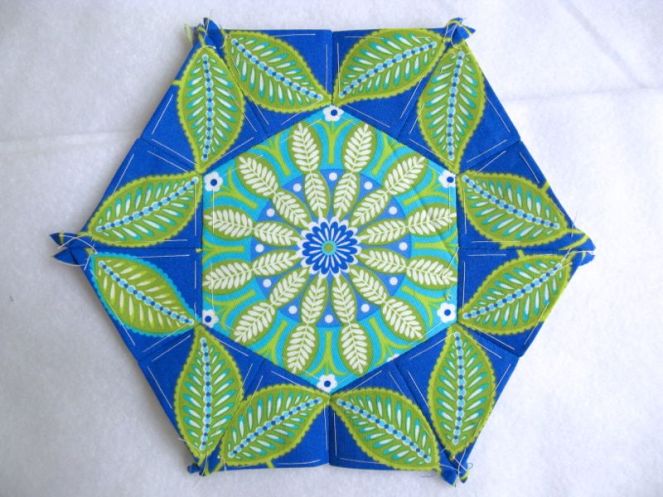
Krista got me started on this process and the above is a photo of my first block, blogged about *here* so I don’t need to redo the gory details (just do a search for “EPP” in my search box, if you do want the whole story).

I liked how I could sew bitsy pieces together into a new design and they could become something else.

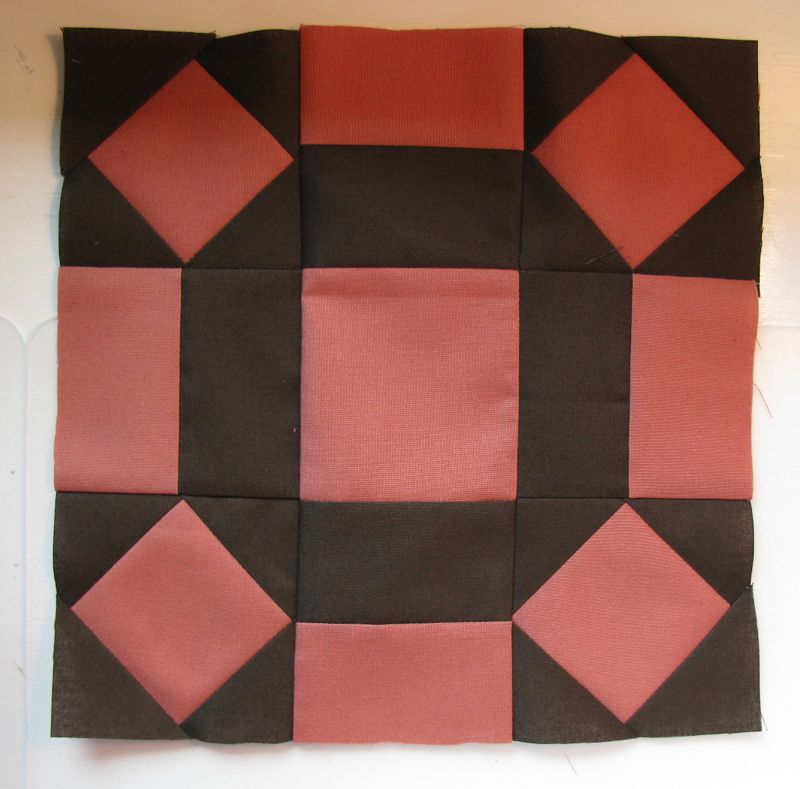
I finished my first block in February 2012, wrote about it *here,* using the completion as a sort of a milestone capping off a cancer experience. While I do like the quick quilts that sew up in a month, or whizzing through a bee block, there’s something gratifying about a longer quiltmaking experience, as it serves as a thread through many experiences and days and months and weaves in and out of other quilts.
I liked how every block was a puzzle, a mystery, waiting to be figured out, laying out the pieces to see what it should become and how to sew it together. I liked that it was portable, going to many doctor’s offices, on a road trip, and certainly while making my way through three seasons of watching Downton Abbey.

One center laid out on a computer laptop one night.

Photographed on a hotel chair, pieced while on a road trip to San Francisco.
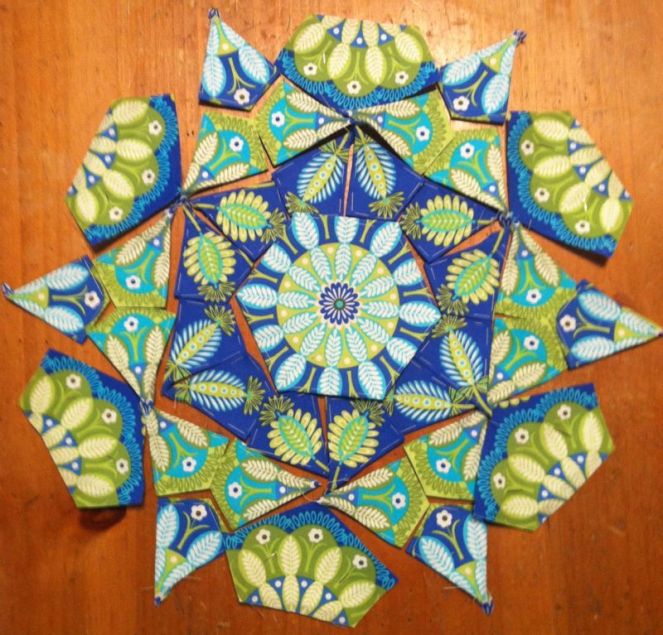
The way I cut and laid out the pieces was like a twist of the wrist on a childhood kaleidoscope viewing toy, the glass pieces tumbling into another design, another shape. So I started to think of the blocks as visions through a kaleidoscope. I didn’t know how many of these blocks to make–it was one of those things I just kept working on and I figured I would know when I was done.

There were three.
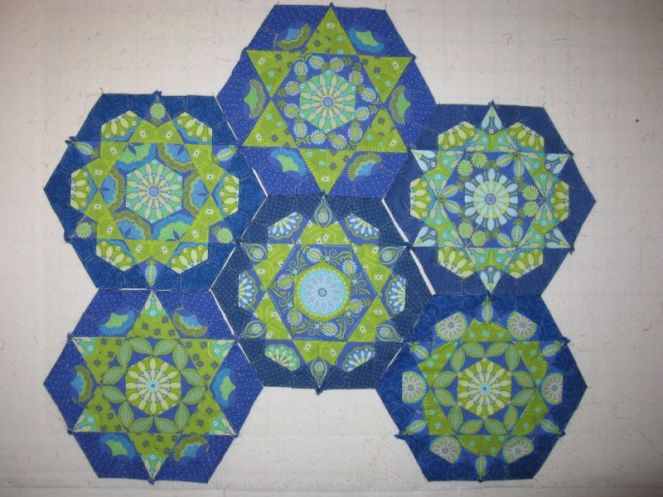
Then there were six.

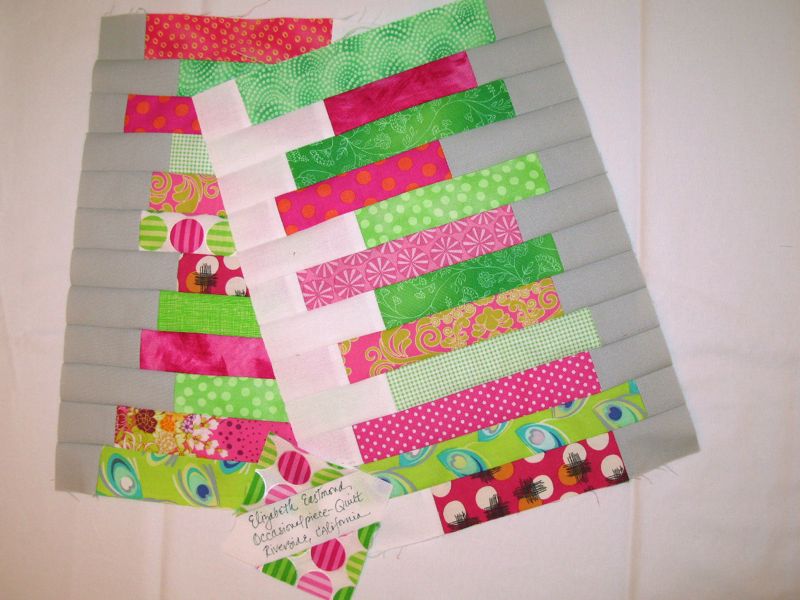
And then seven, and I was trying to figure out what to do. I ordered more fabric (bless the manufacturers who don’t yank their lines so quickly!). The small bits in the lefthand lower corner didn’t work. So I went with bigger triangles, trying to let the seven kaleidoscope shapes rise to the top.

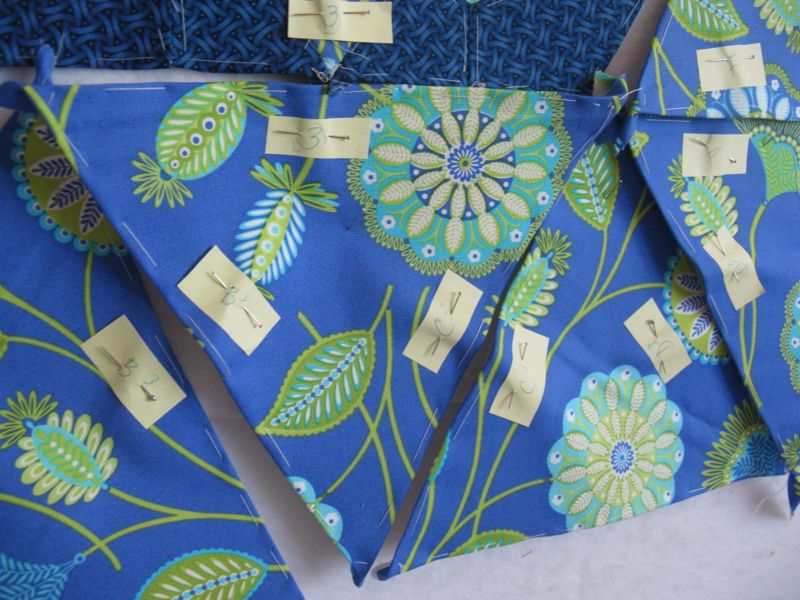
I labeled and sewed those together by hand as well. Then onto the existing top.

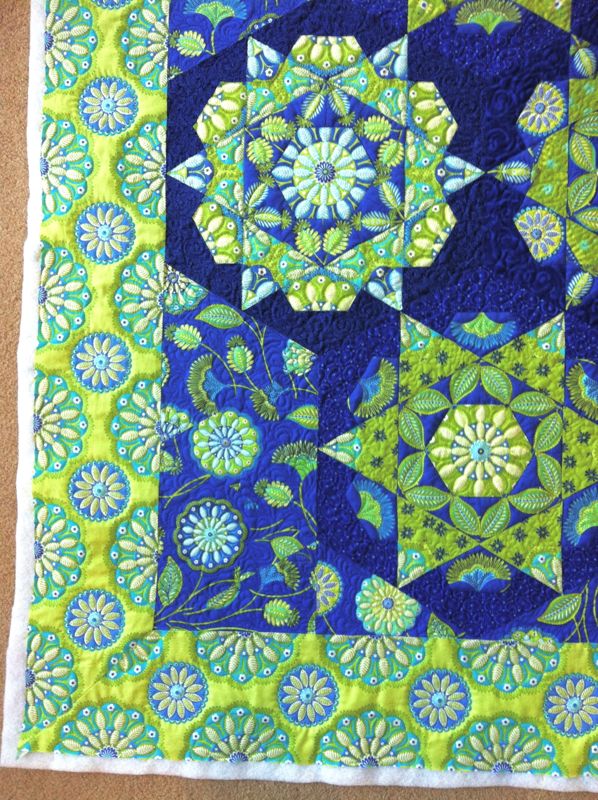
It sat on my pin wall and I just didn’t know what to do–wasn’t really sold on it. Then I thought about the border, chose the bright lime, auditioned it for placement: large medallions going down the middle of the border, or small ones? Again, trying to make the quilt center the star, I went with the latter.
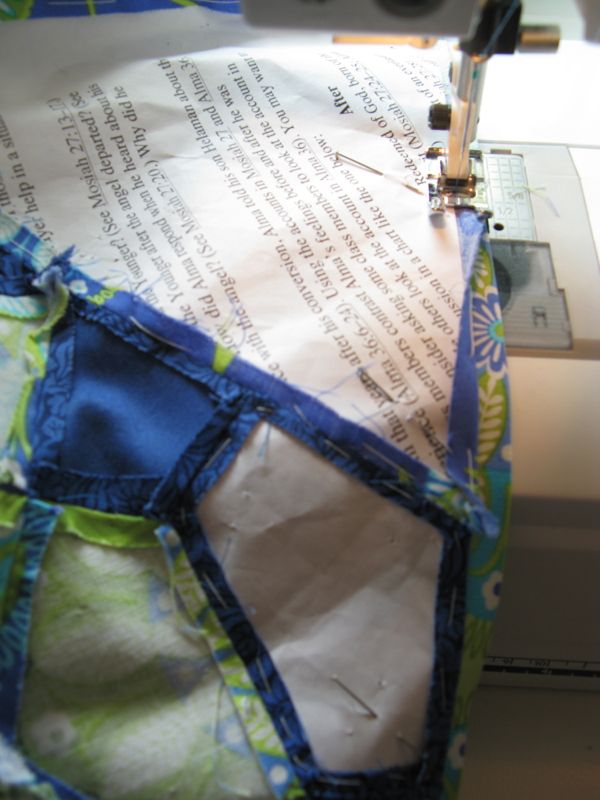
Sewing the top to the borders–the only time I used machine piecing on this quilt top. I decided to leave in the papers until it was all sewn, so they could stabilize the edges. One thing about the edges in this quilt–none were placed with regard to straight of grain, so the top was very flexible, and needed careful handling.

Once those borders were sewn on, the whole top began to sing together again. And now the next puzzle–how to quilt it? I let it sit some more, until I worked up the courage to move forward.

Cut and sewed together more of that second batch of fabric, trying to match medallion to medallion. It worked well enough.

I stretched out the back on my living floor, taped it down, then the batting, then the quilt and pinned it all together. Still didn’t know how to quilt this thing, so it sat for another spell. Finally, I realized it was never going to get done if I didn’t get going on it, and I had three days free–all in a row–so found the perfect thread in my bag from the last run to Superior Threads and got going.

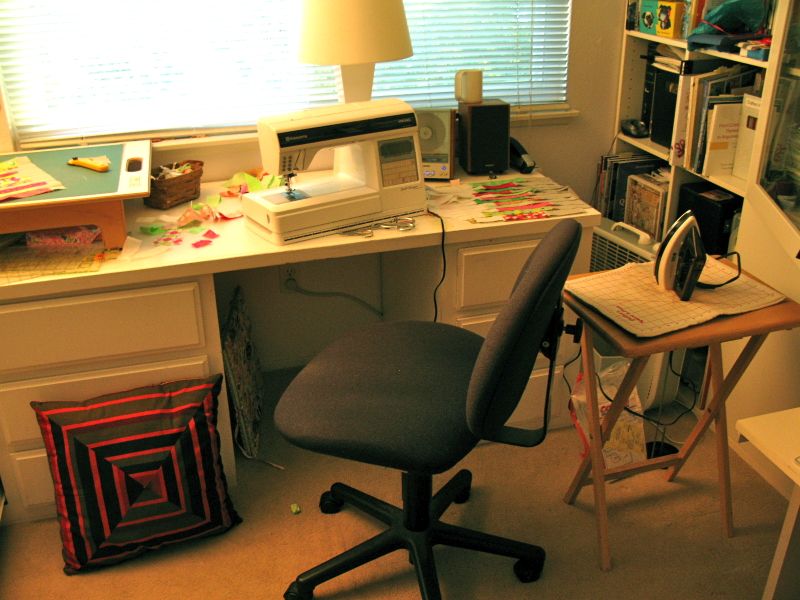
I like to sew on my dining room table. I put down a placemat for my sewing machine and notions, and let the quilt slip-slide all over as I work.

To grip the quilt because I’m not a fan of quilting gloves, I use that stuff you can buy at an office supply store on my fingers (one brand is SortQuik–don’t know what mine is).

After two and half days and sixteen bobbins of thread, I wanted to be done. Really, I did, but the border was a little ripply, so it needed some more. Final tally? Seventeen bobbins of thread. The quilt is 53″ wide by 54 1/2″ long, so that’s fairly dense quilting. I used a polyester thread with little bit of sheen for the top, as well as Masterpiece, a cotton thread. I used Bottom Line for the bobbins–it holds more; I did loosen the top tension to get the stitch balance correct.


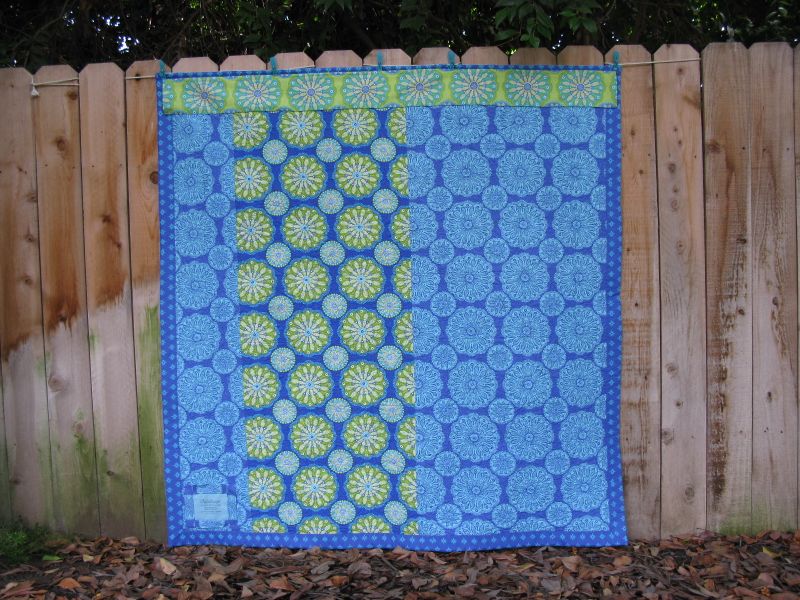
The back of the quilt, with the two colorways of the medallions. I came to really love this fabric: Michael Miller’s Gypsy Bandanna.

I had decided I didn’t want a narrow border to show on the top, so went with a faced binding. This label was the last thing to be sewn on, last night as I lay in my bed with my foot propped up on two pillows, recuperating from another surgery (this one not life-threatening, a planned event). But still, for those of us who like to keep busy, like to be doing, this forced idleness is really hard to deal with. I plan to try to figure out how to do some quilting this afternoon, my good foot on the sewing machine pedal and my gimpy foot propped up on a pillow on a drawer. I figure I can get 30 minutes in before I say “uncle,” and head back to bed.
*********************************
This is the 116th quilt I’ve made in my life, and the quilt is also part of the Finish-A-Long, quarter two.

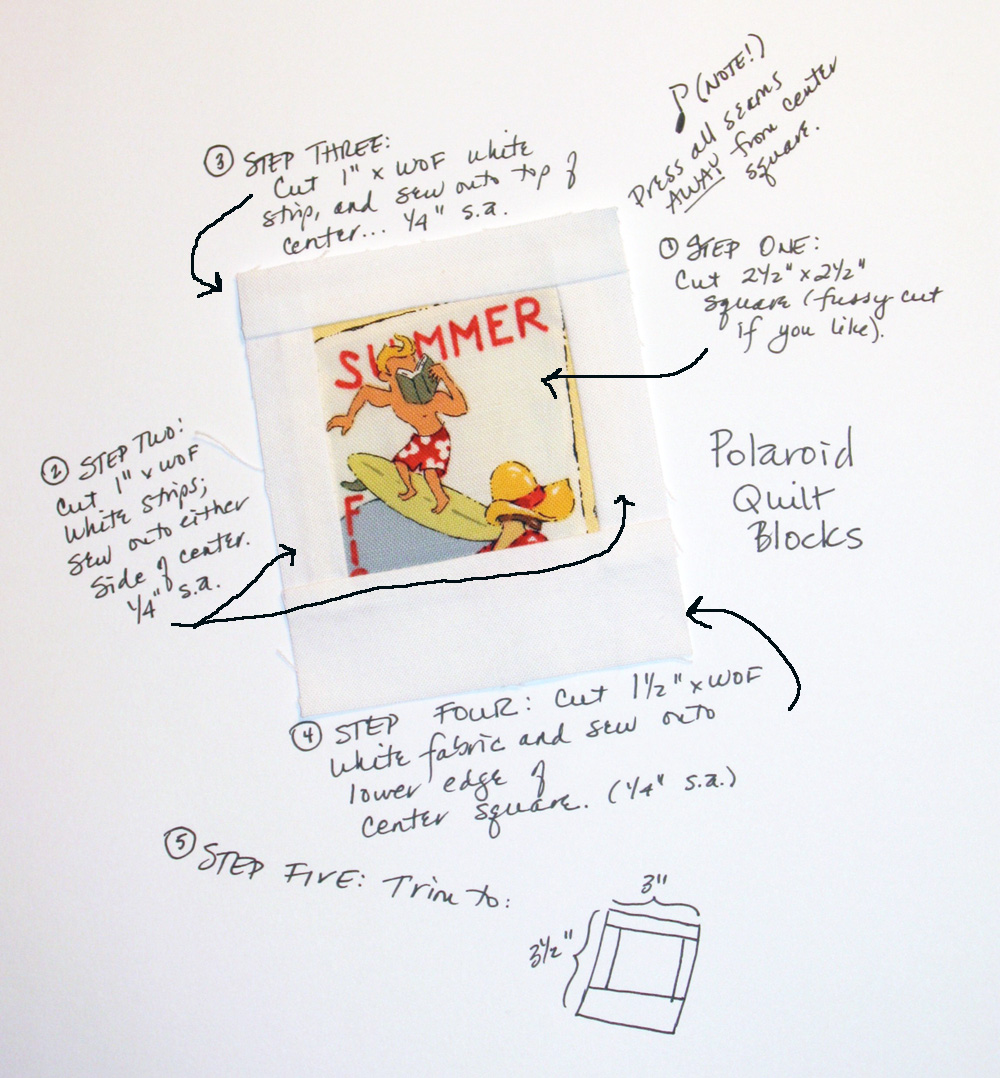


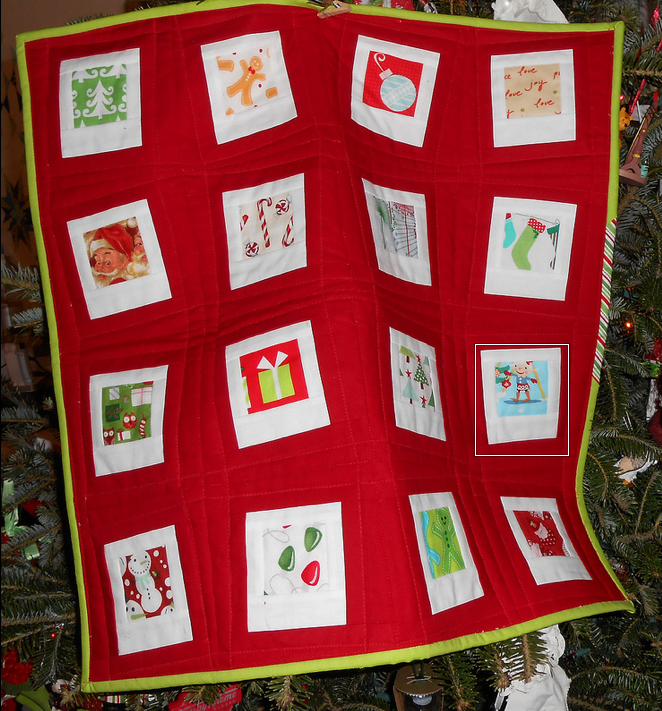
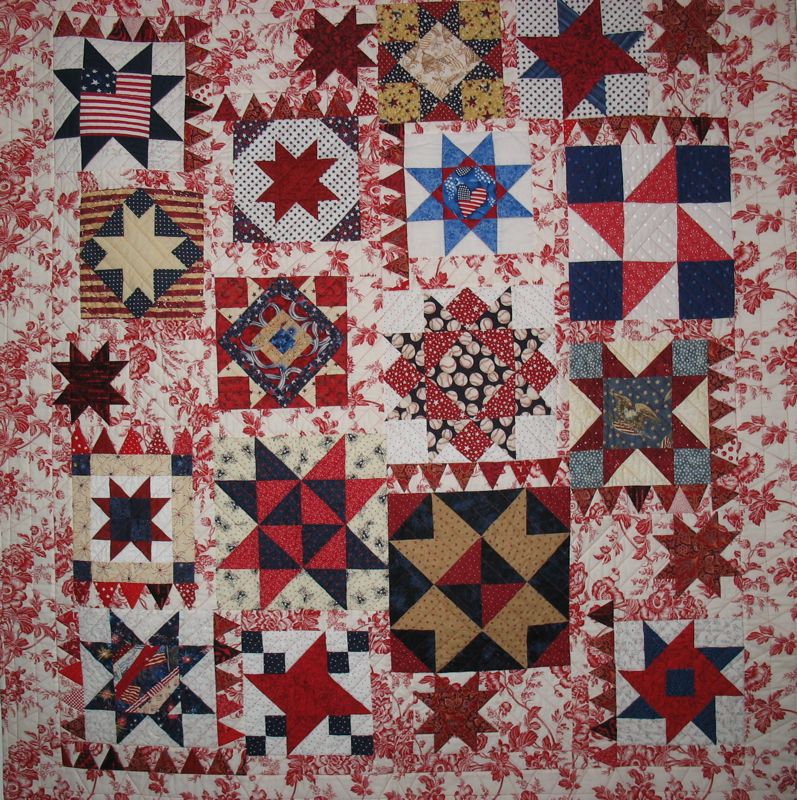
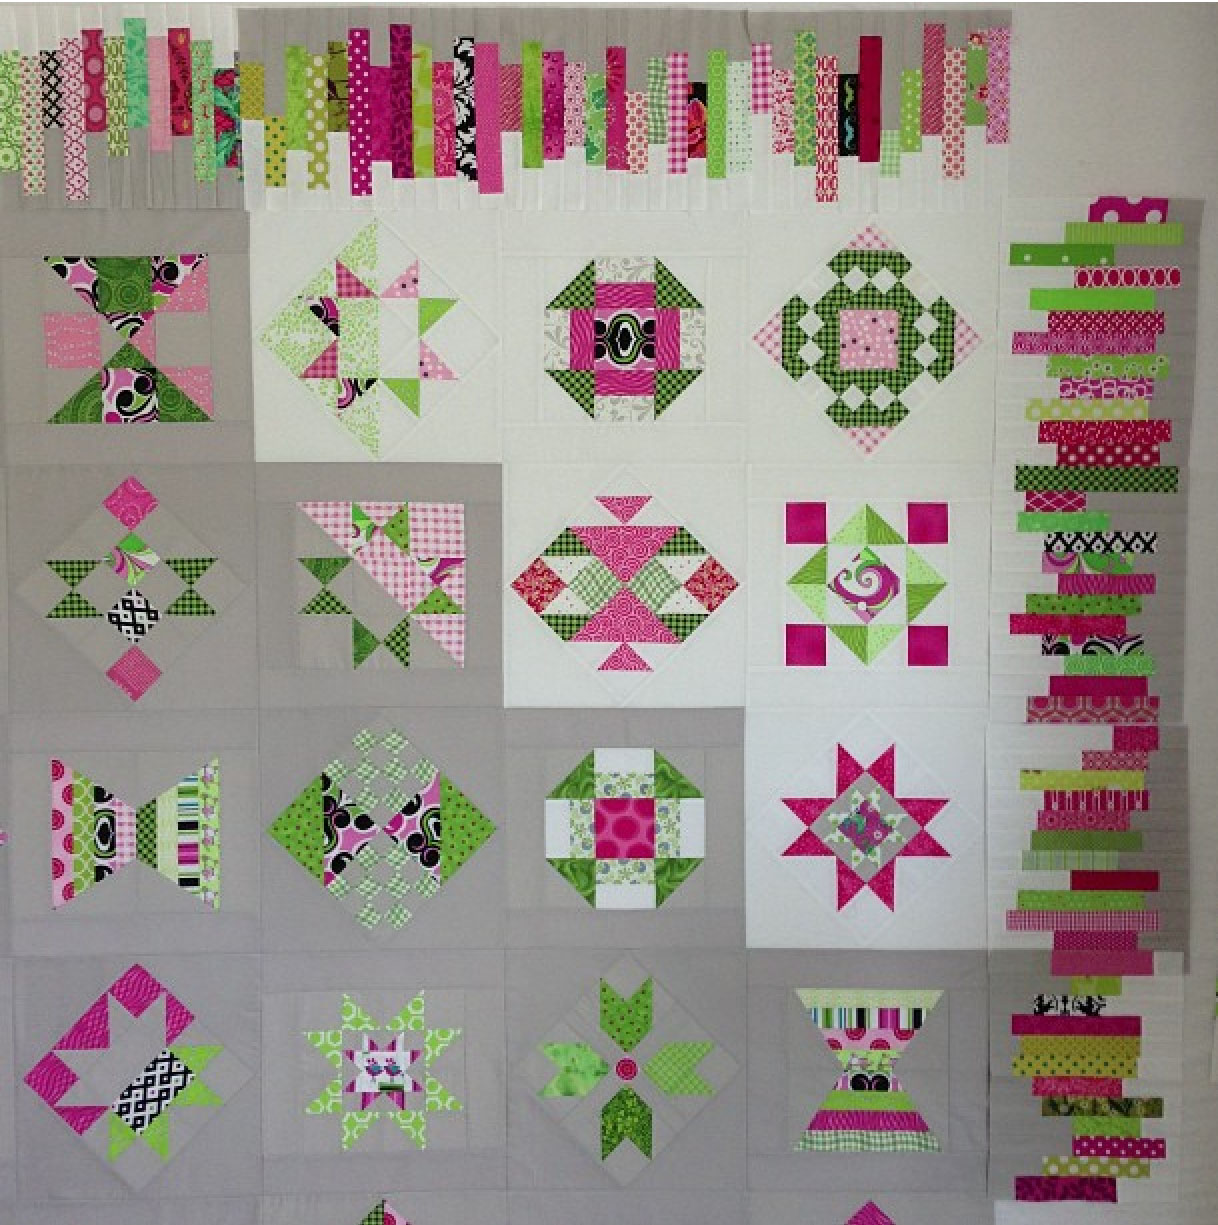
 And here is my quilt, Snapshot!
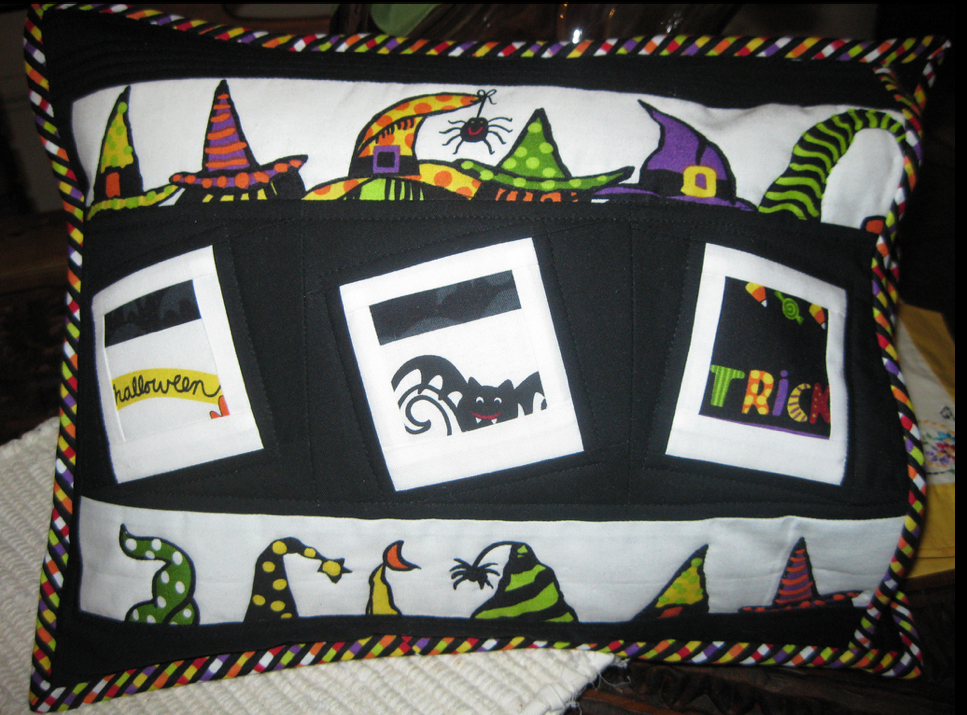
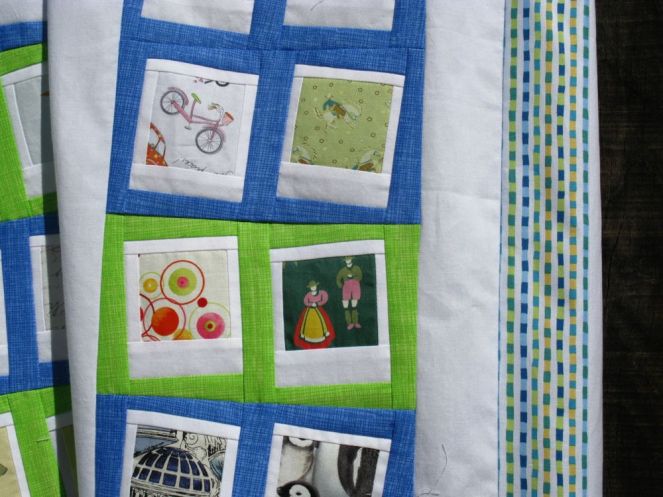 I’ve also pulled some photos from Debbie’s Flickr site with ideas for using your Polaroid Blocks. Enjoy them here, or head over to her Flickr site to see some more.