To kick off the month October, I’m offering up a coupon for 31% discount on anyone pattern in my PayHip shop until the 31st. Those of you who hang out here know I rarely do sales, so figure out which pattern you want and get a Halloween treat. Get the code at the end of the blog: good on one item only.
(My website media files when I type in the search term “Halloween.”)
Given that I am no longer nine years old, don’t these major holidays seem to be pretty quick on the return these days? I have set up a Links List below that has all my Halloween stuff (finishes, progress reports, freebies, etc.) so enjoy a Halloween Parade.
All Hallows Eve, a Quilt-A-Long I ran on this blog. Pattern info (not mine) is found on the links, but alas — it’s out of print. I think you can draw yourself a pumpkin, and cat and moon, but I did a complete post on making of wonky pieced stars, complete with free download for the stars.
Crossed Lilies (pillow) which isn’t technically a pumpkin or Halloween-themed, but it does have the pumpkin colors.
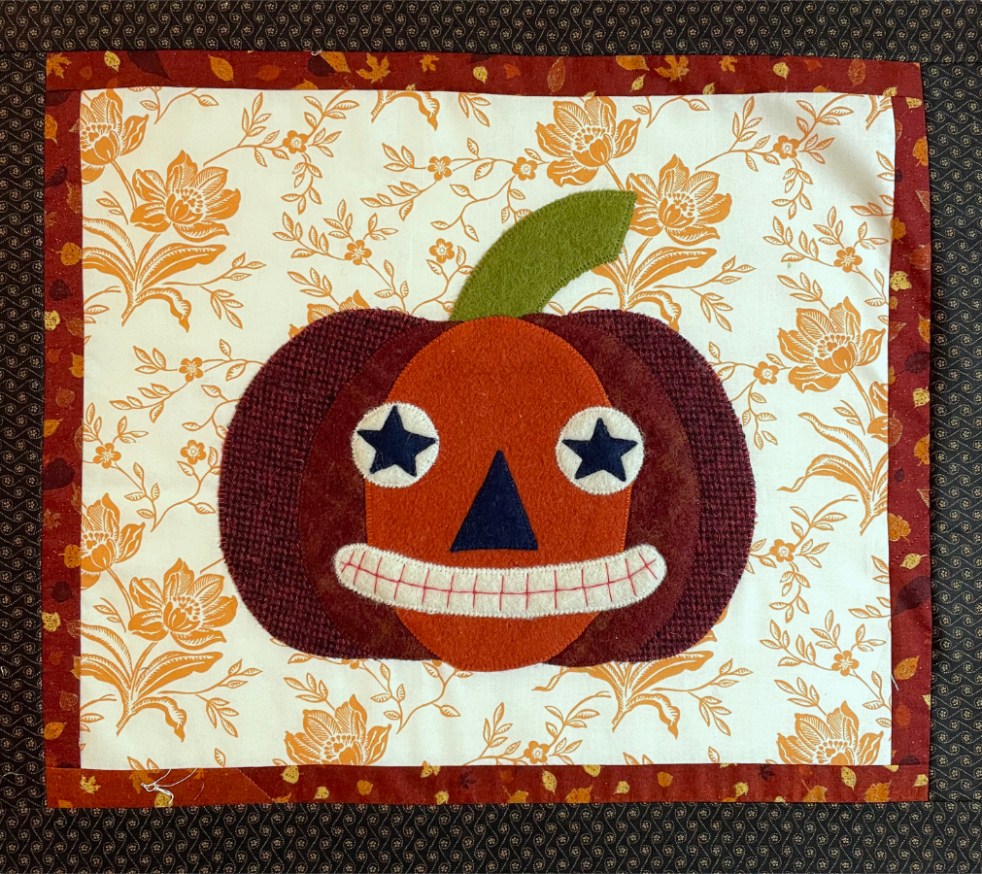
Make yourself a Tiny Quilt with a free downloadable pumpkin.
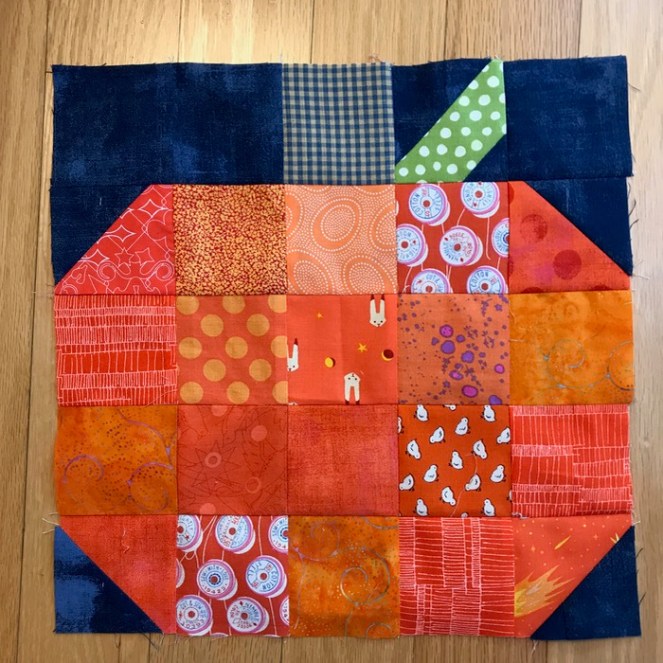
Pumpkin Block for our online bee, The Gridsters, with free pattern.
Pumpkins –– a race to the finish with Carol (a commercial pattern).
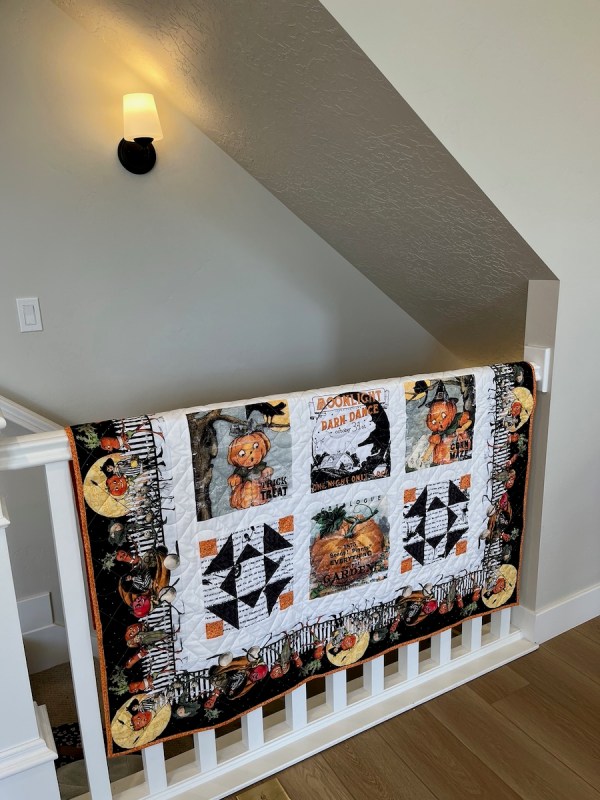
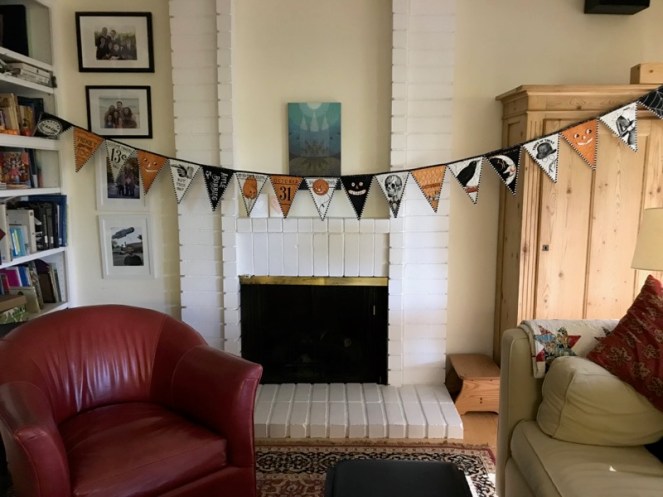
And the one I finished last month from a kit, Halloween in the Vegetable Patch. Here is it, draped over my sister’s stairwell railing.
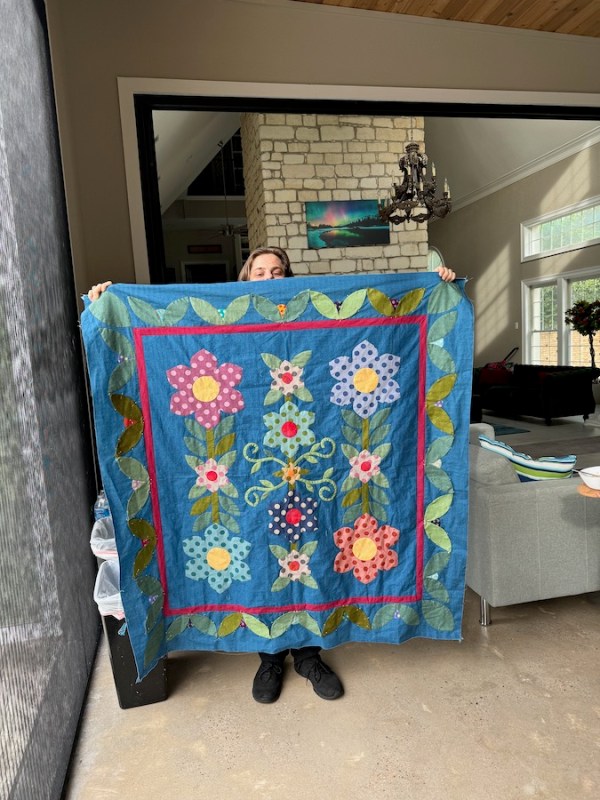
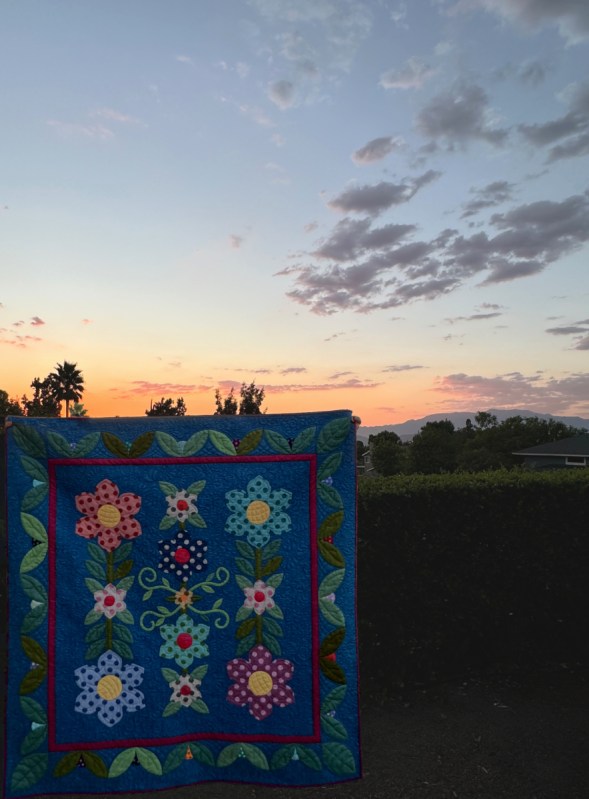
One summer night when we were sitting out in the garden, the year before all the mosquitoes arrived, we watched the bats dip and speed away, the tiny bird dash in to alight on the fountain. The night was calm, the sunset was unfurling in the background. We lingered, talked, until the stars blinked on and the twilight had slid into night. This quilt is about that kind of night, that feeling of letting the chatter of children, and friends, and a loved one float around you, when time is…timeless.
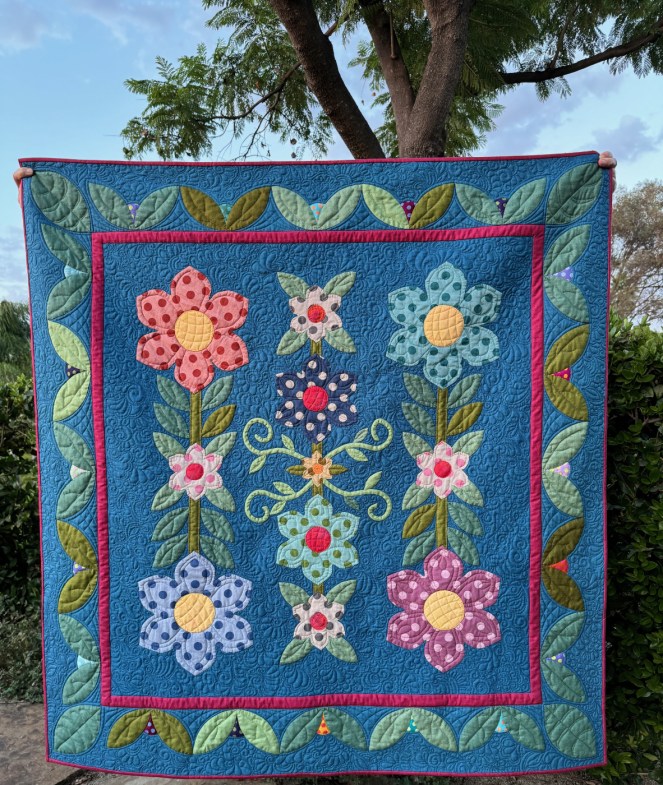
Sometimes ideas have to percolate a while in my brain. I’ve learned you can’t hurry them, anymore than you can recapture your sew-jo, as quilters like to say. Creative time comes on its own schedule. (This is Quilt #292 on the Quilt Index, above.)
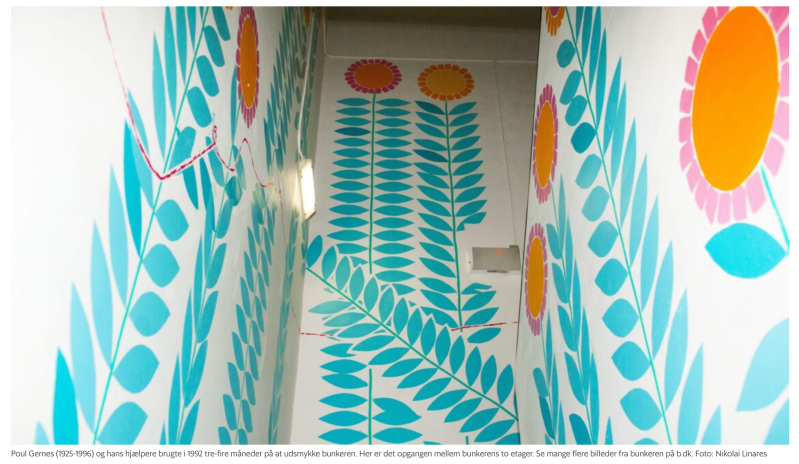
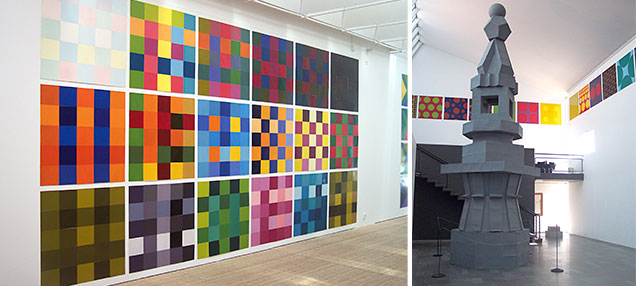
I was also inspired by a trip in 2016 to Copenhagen and Stockholm, where I learned about the art of Poul Gernes, an artist who used strong colors, and simple shapes that expressed a wild traditionalism, if there is such a term.
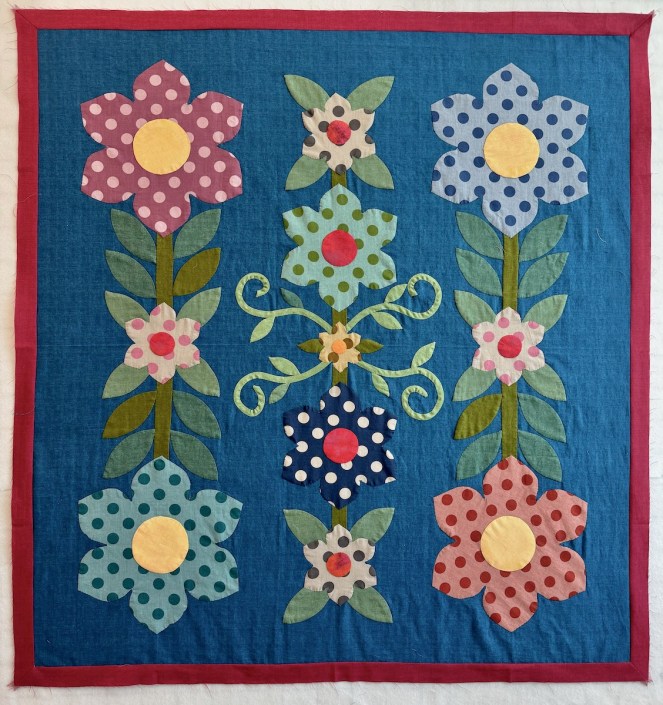
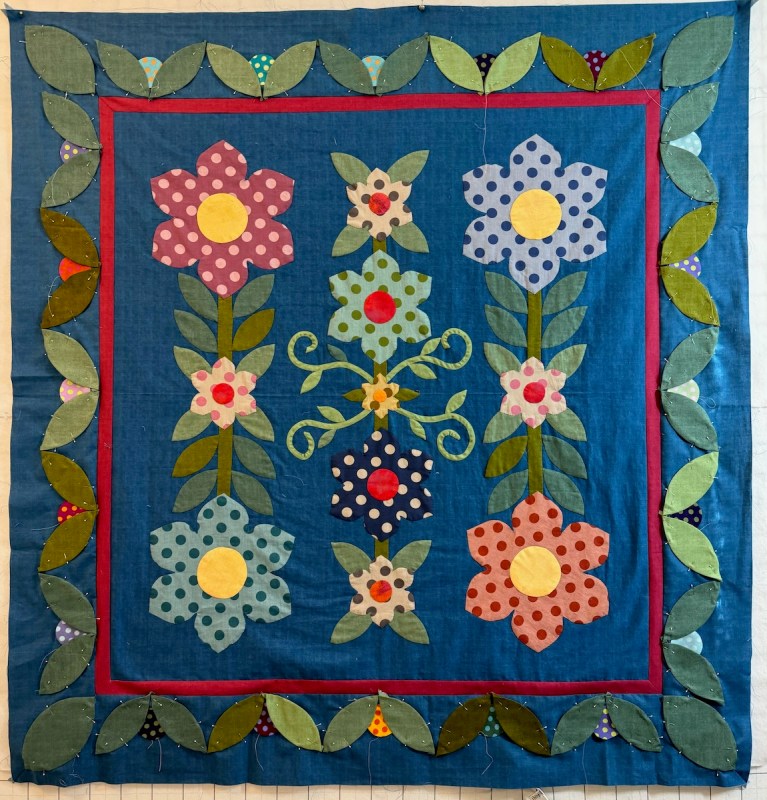
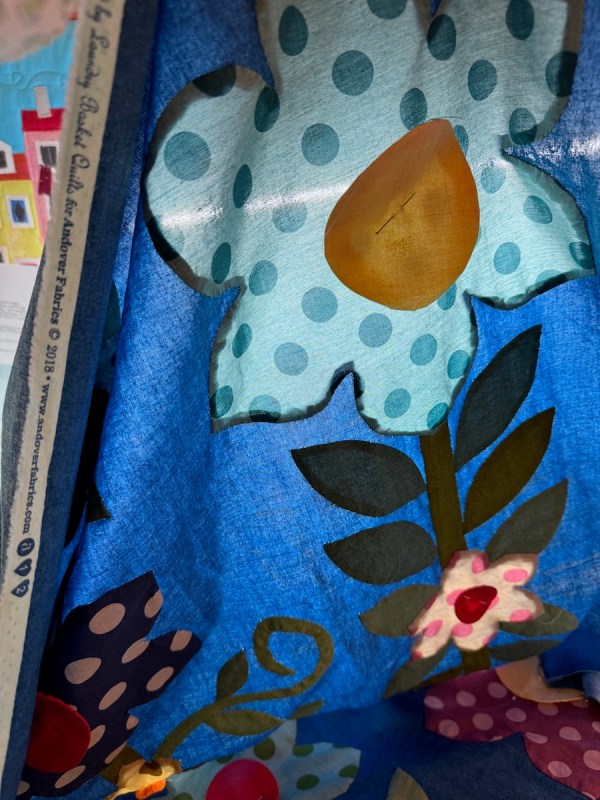
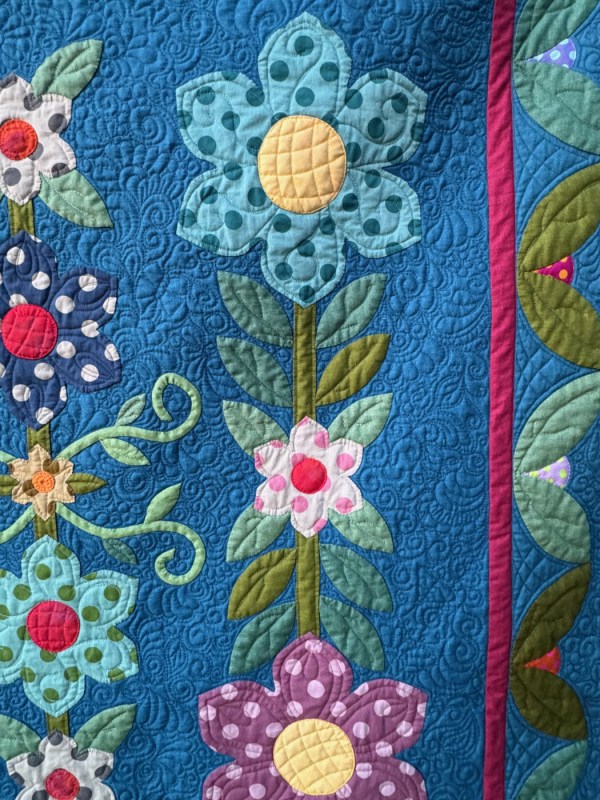
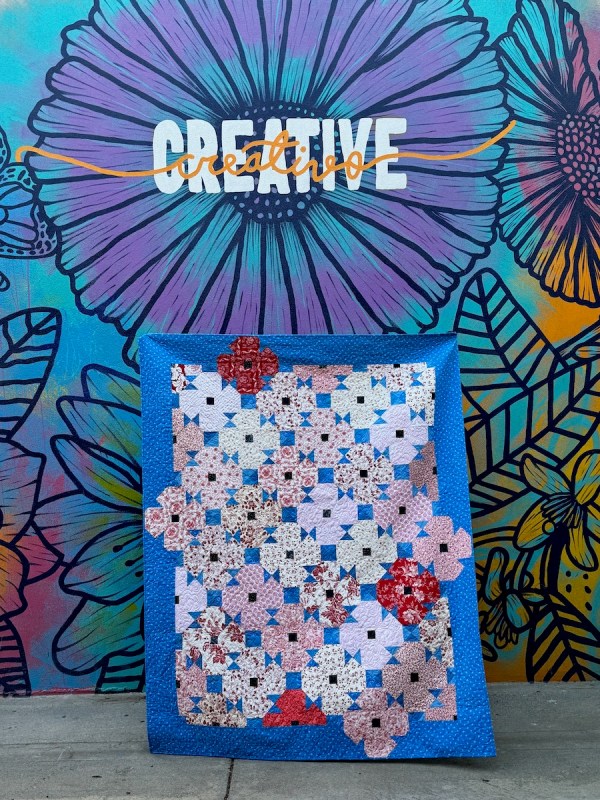
So somewhere between a summer night and a trip long ago, I started playing around with flowers on strong stems, then threw in the center tendrils to focus the eye. I’d been given a stack of Tilda’s polka dot flowers, which are not a typical palette, and I found some linen-look fabric for the background and leaves.
This was all I’d envisioned, but it just didn’t look “done.” So I ordered up more fabric–difficult to do when designers don’t label their colors (well, Kaffe does…)–and got to work.
It was during my New York Beauties project, so I kept going back and forth between the bright saturated solids of that quilt, to these inviting, musky deep colors of twilight.
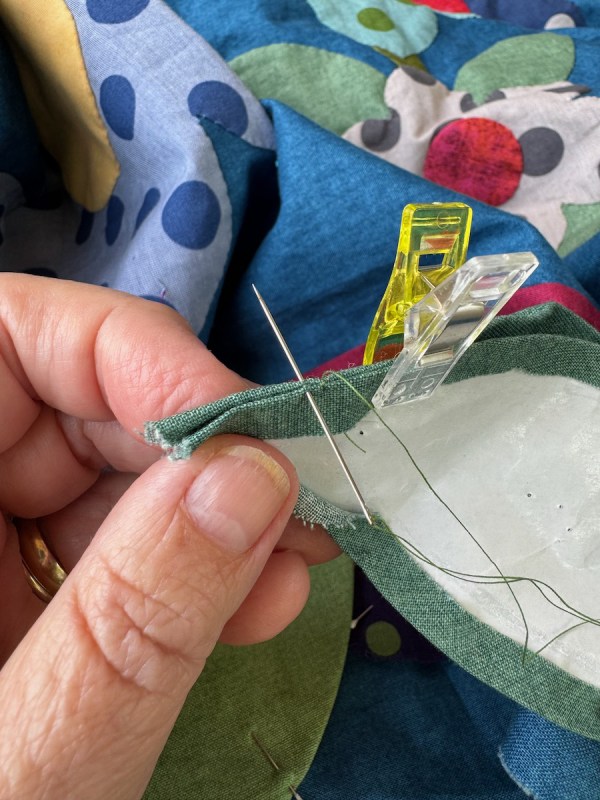
I pinned everything together with short appliqué pins, and took it on the road — traveling to see grandchildren and the total eclipse in Texas.
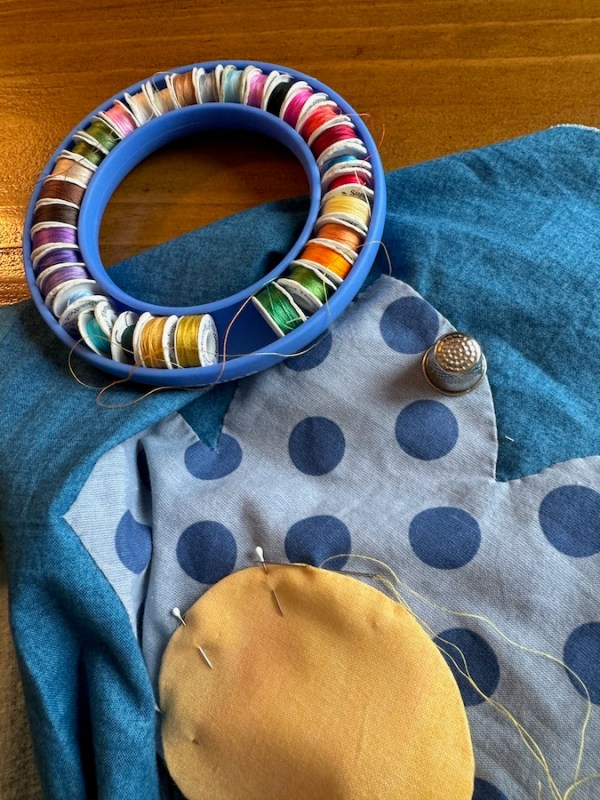
Yes, I cut out the background of the flowers, and lined the centers of the flowers for a flat, solid look. (I glue-dotted the lining into place, to hold it until I would get it quilted.)
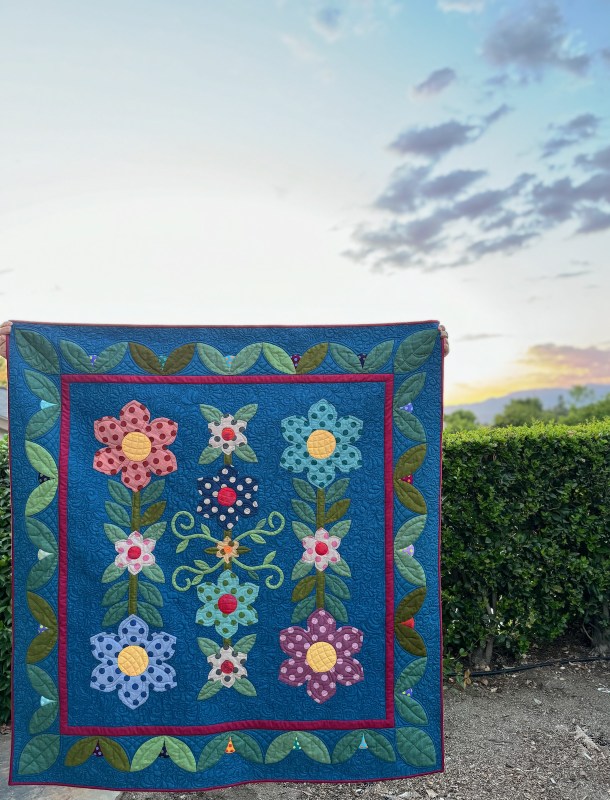
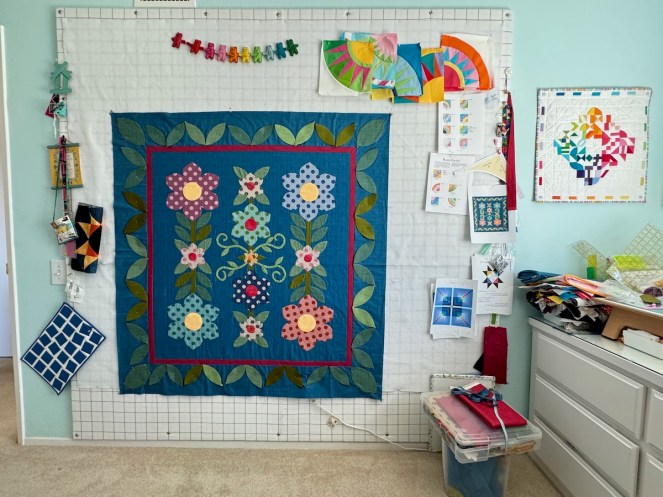
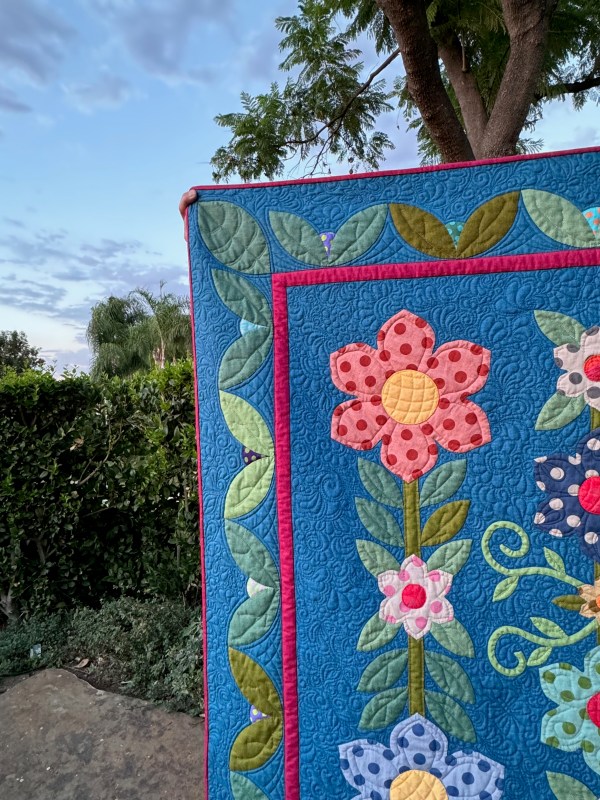
A couple of nights ago, I grabbed Dave and we went out to the side garden just as the light was dimming, so as to photograph the quilt. This light makes the details soft, the dense quilted foliage falling into the deep blue background, letting those simple Danish-inspired flowers rise to the front.
I wrote the pattern as I made this, and decided to add in three different sets of instructions, in case you were making it with raw-edge appliqué or needle-turn or machine appliqué. And then I added that outside border, so it’s thorough, with lots of patterns and words. But hopefully you’ll find your own design when you make it, and will add another garden to our world.
I went back and forth between Intermediate or Experienced Beginner, but in the end, decided that if you knew something about appliqué, it would go better. But other than that, it’s not a difficult quilt. I do have an extensive guide for laying it out, but it’s okay if you just want to use your own eye. I do reference a couple of quilters in the pattern, who I thought explained things well. One is Gladi Porshe, who writes about making vines and mixing appliqué styles.
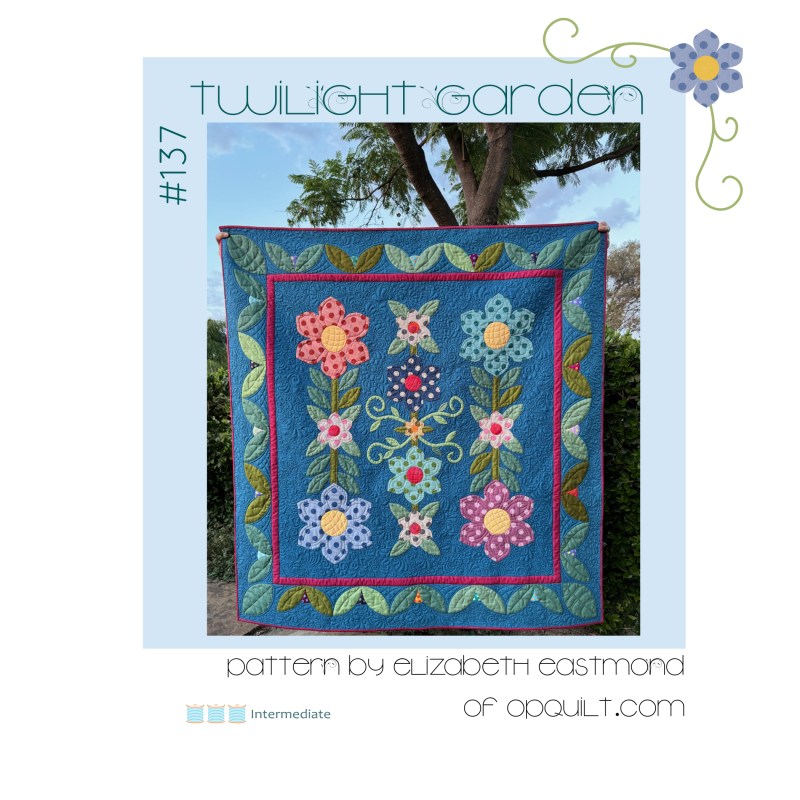
Pattern is in my PayHip Shop here. Usually my patterns are $12 US, but I decided we all need more flowers so I have it for an introductory price until mid-November. Sometimes I post a coupon for a percentage off when I put up a new pattern, but this way, you won’t have to enter in a code, and can just grab the deal if you want it. All my patterns are downloadable PDFs.
Sometimes we like giant things, like big spaces, big bowls of our favorite desert, big travel trips that include The Very Large Array. Other times, we don’t: huge messes that we have to clean up, massive surprise expenses, big insects, a huge amount of bumper-to-bumper traffic, or hurricanes. It’s like we know that some leaps of fancy and expressive gestures bring exuberance, excitement, joy, like standing next to a really tall sunflower in a field of yellow in the south of France. This big, we like.
Standing next to the heap of stuff we just dragged out of the garage and now have to sort and put it back in? Or the downed trees and aftermath of a storm system on our corner of the world? Or a task we’ve been putting off and putting off that has gotten ginormous in our imagination? Maybe not so much.
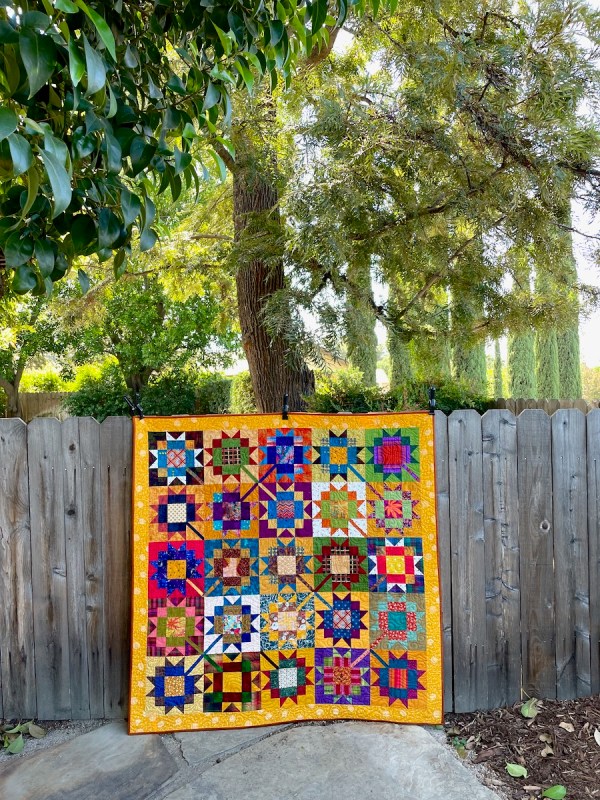
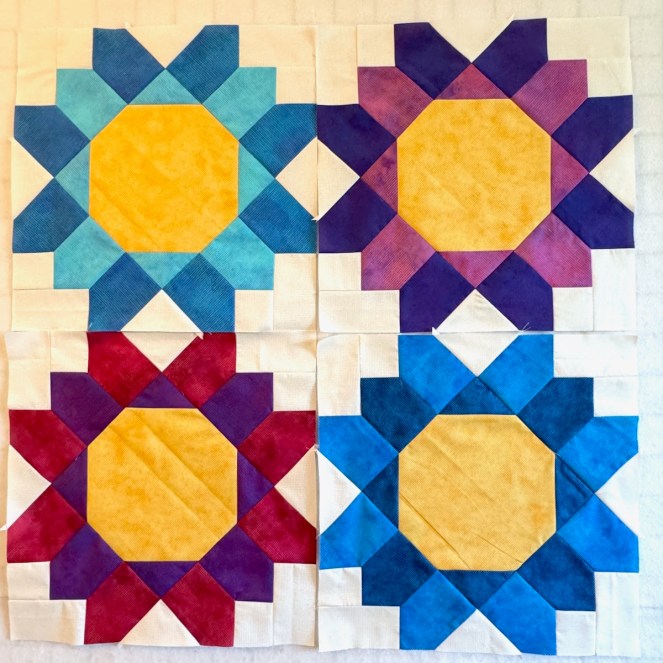
The Very Large Quilt Blocks
We like Big that we choose. We like Big that takes our breath away, like the Grand Canyon, or a sunset that stretches for miles across the New Mexico desert. We like Big where we can stand on our own solid ground and meet that idea or sight or brilliance, while not being swept down a canyon in life-threatening rushing water. As Arash Javanbakht and Linda Saab note “When our “thinking” brain gives feedback to our “emotional” brain and we perceive ourselves as being in a safe space, we can then quickly shift the way we experience that high arousal state, going from one of fear to one of enjoyment or excitement.”
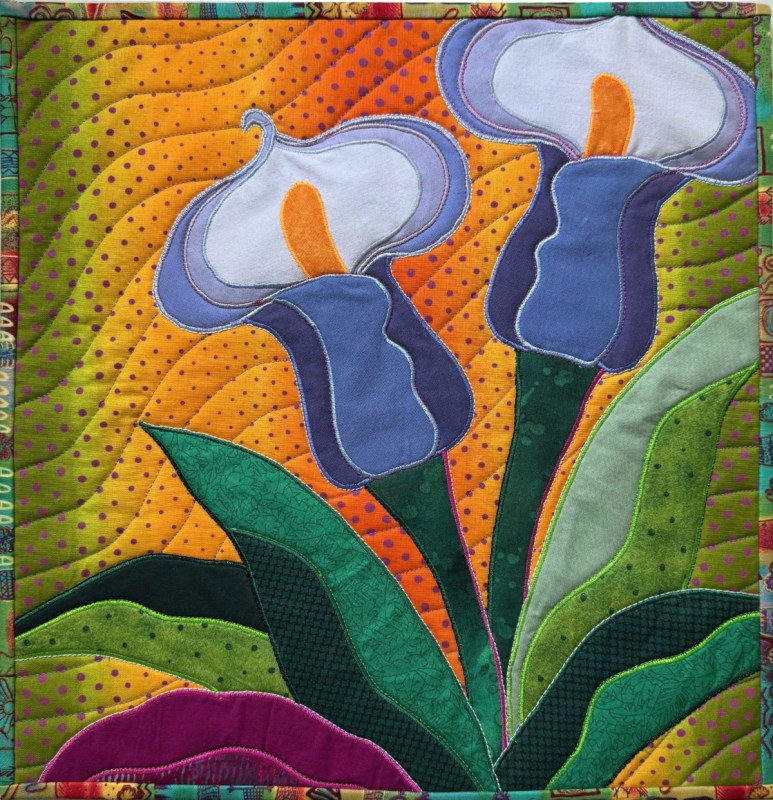
Consider The Lilies of the Front Yard, quilt number 51 • March 2003
However, I’m more interested in the brain shift needed to think Big. I remember taking a class with Jane Sassaman once at a guild retreat, and she was encouraging and lovely. I have always done better with small-scale projects, but in Sassaman’s class I got busy creating the wildest thing I could, as I greatly admired her quilts. She strolled around the class and came to help, when I raised my hand, stuck as I was on the design in front of me.
“Can you go bigger?” she asked. “Really make that lily jump out of its place? Get those leaves to look slightly menacing?” I’ll try, I said. Alas, I could not. Did not.
One website offers up that large-scale art is a way for the artist “to express themselves in a way that is unique and personal” and that “[l]arge scale art follows the tradition of monumental masters like Botticelli, Rembrandt, Monet, Picasso, and Klimt. Especially popular in the 18th century, it was used to depict scenes of history on large scale wall art. Thus, for its sheer size and themes, this type of painting was considered “more important” than portraiture, still life, and landscape.”
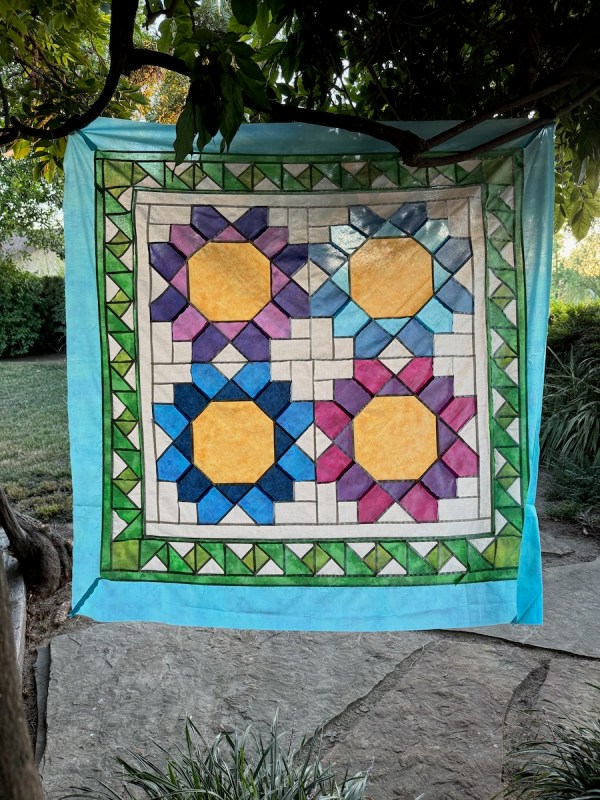
stained glass effect
Well, I don’t know about all that, but I did make a few giant flowers, gave them a latticework frame and a blue-sky border.
So maybe all I have to say today is to do something big. You might surprise yourself.
“What’s odd about commencement is that so many people think of it as the end of something, the end of high school or college—but that’s not what the word means at all. It means the beginning, the start of something new.” Will Schwalbe, (from The End of Your Life Book Club: A Memoir)
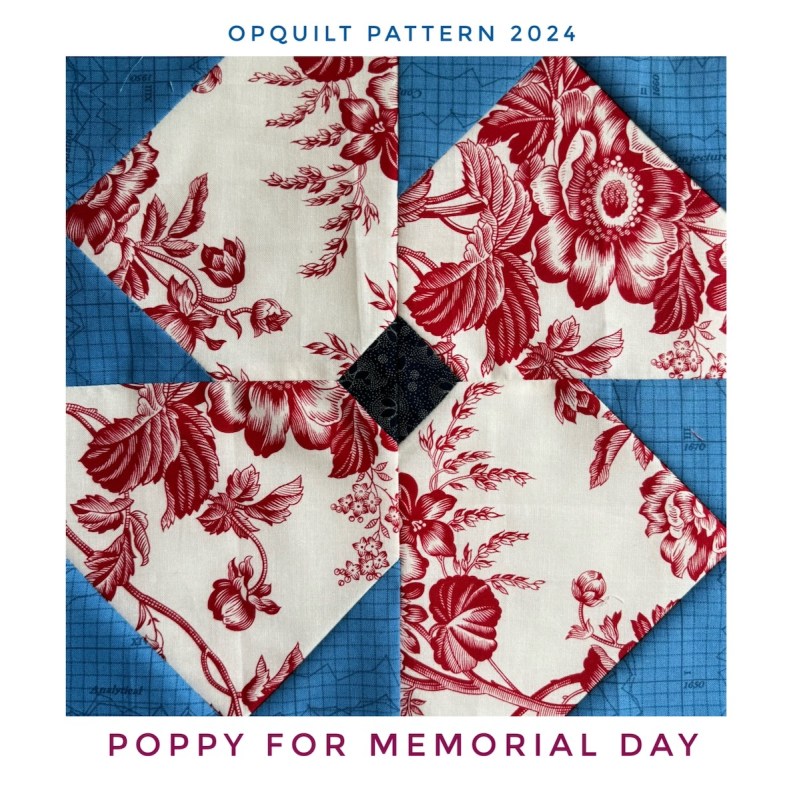
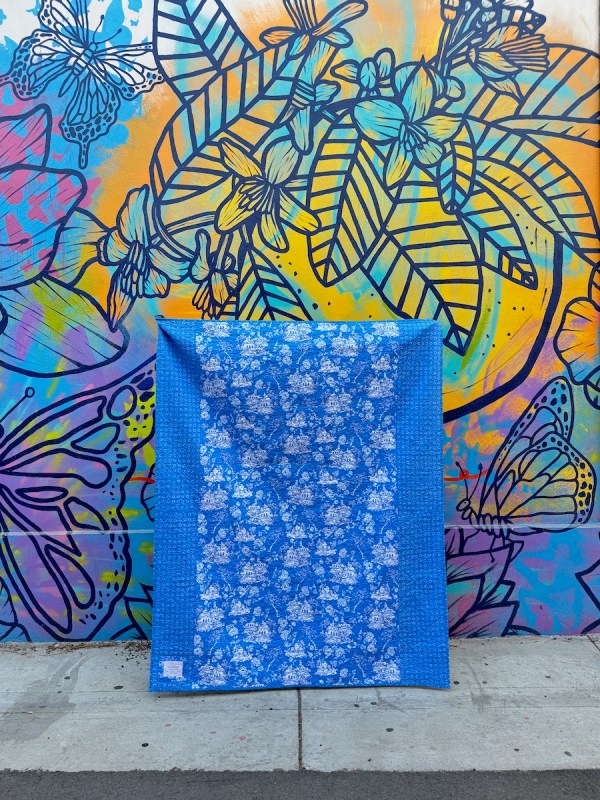
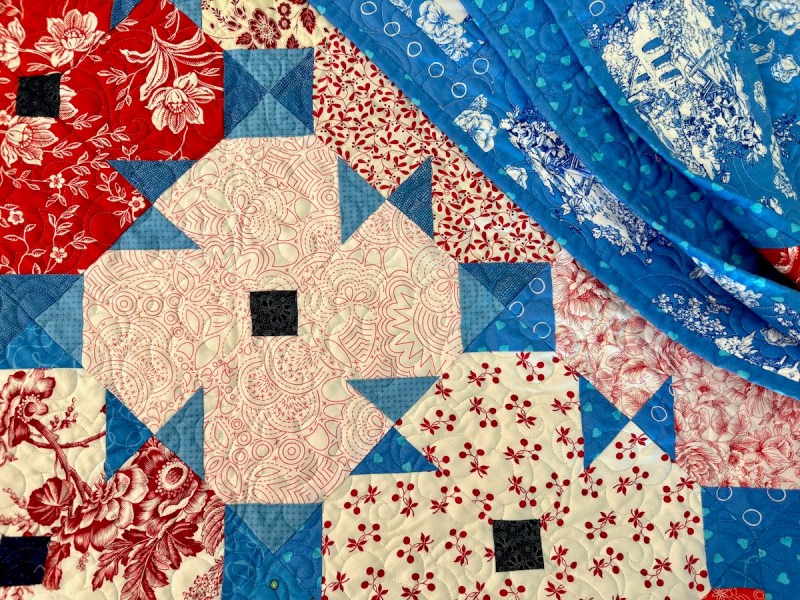
So is there a commencement for quilts? We celebrate their ending, their finishing, the last stitch. But are we really celebrating the ritual of folding away of a set of squares (or in this case) poppies, and moving it out of the way? Those unique blues that I collected all one year, that particular dye lot and color which was found everywhere, and now, nowhere — so I hoard and treasure and measure the pieces of it I am using. For when it is gone, it is gone. Is this the same as the ending of a high school education? The finishing of a quilt? The end of a season?
And from the same book:
“David K. Reynolds, who had, in the early 1980s, come up with a system he called Constructive Living, a Western combination of two different kinds of Japanese psychotherapies, one based on getting people to stop using feelings as an excuse for their actions and the other based on getting people to practice gratitude. The latter therapy has its roots in a philosophy called Naikan, developed by Ishin Yoshimoto. Naikan reminds people to be grateful for everything. If you are sitting in a chair, you need to realize that someone made that chair, and someone sold it, and someone delivered it—and you are the beneficiary of all that. Just because they didn’t do it especially for you doesn’t mean you aren’t blessed to be using it and enjoying it. The idea is that if you practice the Naikan part of Constructive Living, life becomes a series of small miracles, and you may start to notice everything that goes right in a typical life and not the few things that go wrong” (ibid, 211-212).
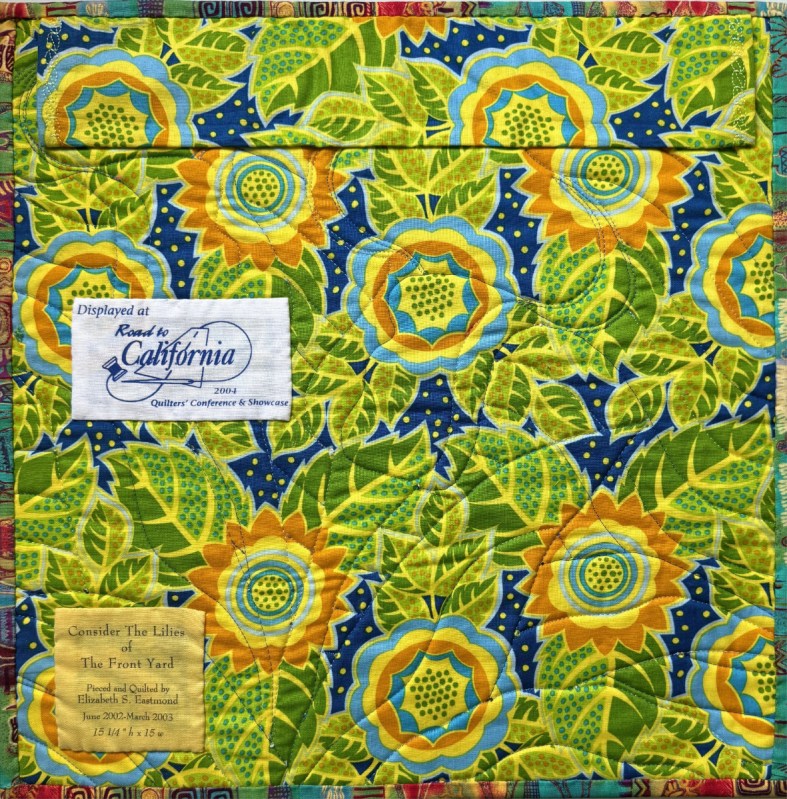
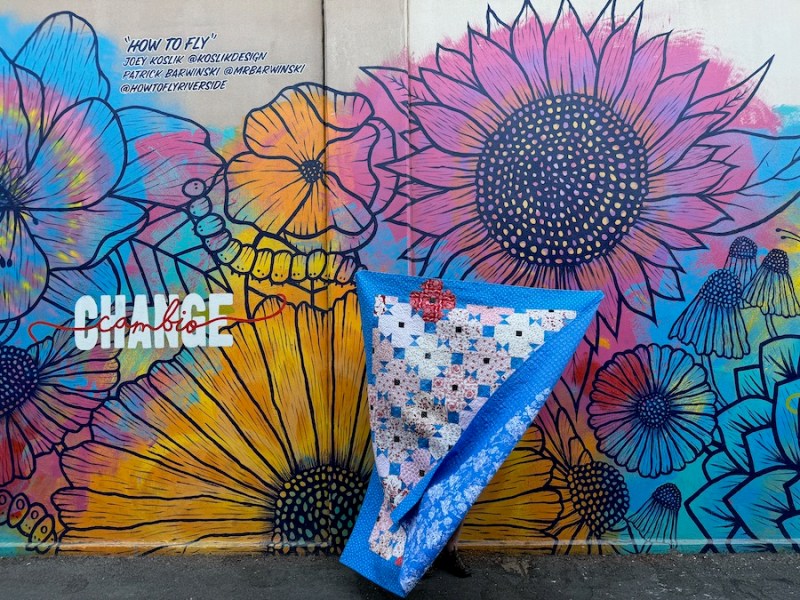
So as my husband (chief Quilt Holder) and I took the quilt down to be photographed at what we call the Butterfly Alley, we repeated a few rituals: get the quilt-holding sticks with the clamps, determine if the light is right, find a parking place and watch people’s faces as we unfurl a hand-made quilt in an urban setting, wait for the wind to die down, and take the photos (with lots of “up on the left — the other left!”).
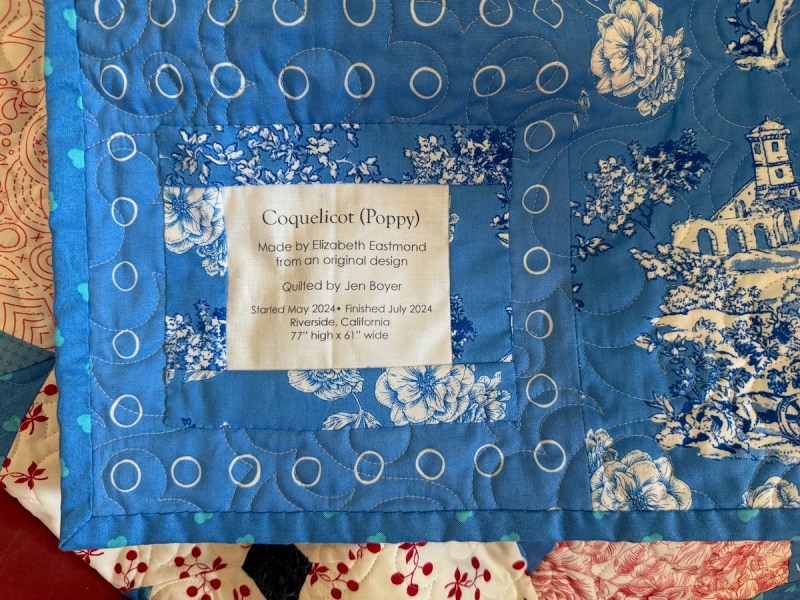
So maybe the commencement of a quilt is a beginning of sorts. We have our rituals for this process: labels, photos, blog post. We fold up the extra blocks and tuck them away. We clean up the cutting area, and perhaps, as Yoshimoto intimates (above) that we find stray moments of gratitude. We are grateful for our tools. We are grateful for the colorful cloth. We are grateful that we have a wonderful community of quilters, of friends, of people who understand the need for quilt stores, quilt shows, and quilts. My quilting life has been a series of small miracles, full of so many things that have gone right.
Like a quilt of poppies in a field of French blue–