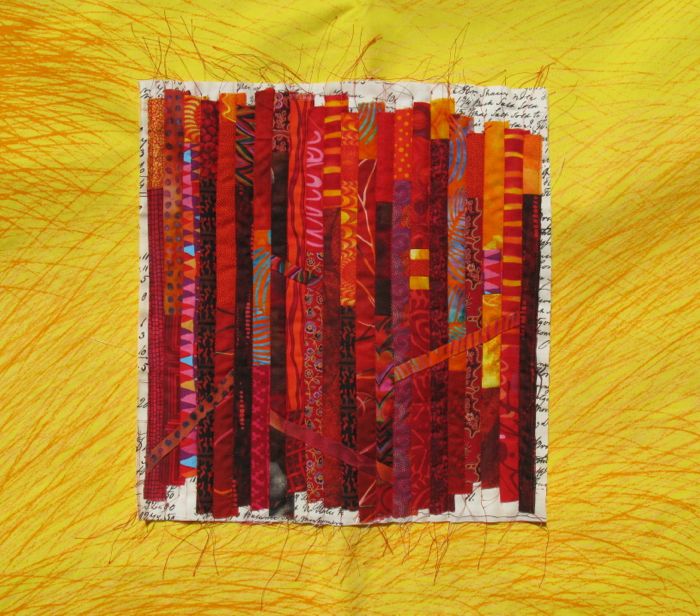
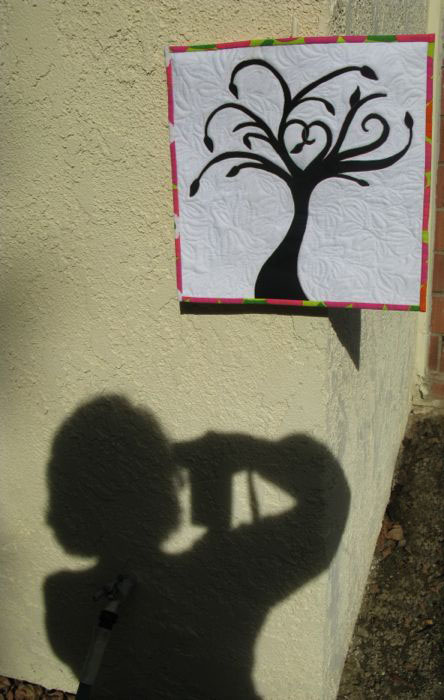
Inspired by Betty’s photos, I took One Black Leaf outside to be photographed by her sister trees, because of course, with those curves, it’s evident this quilt is feminine.
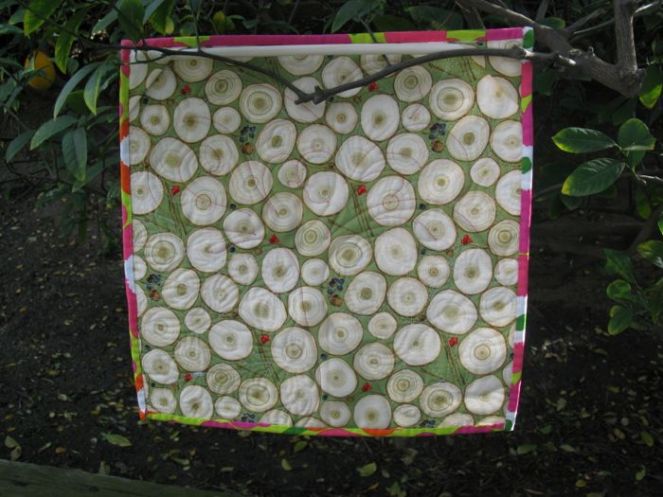
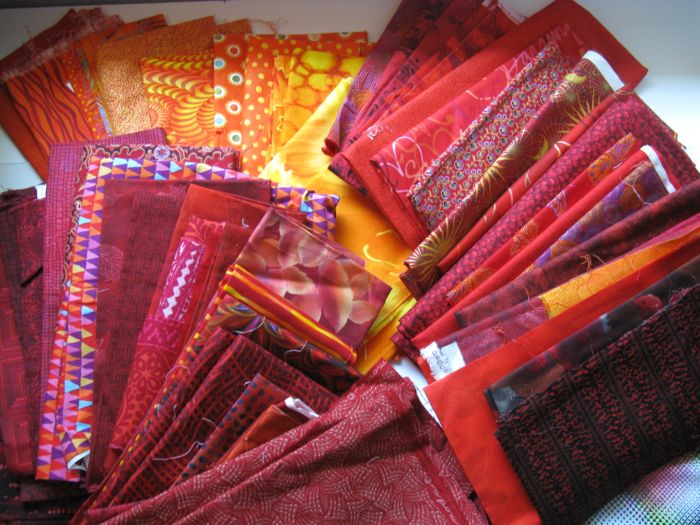
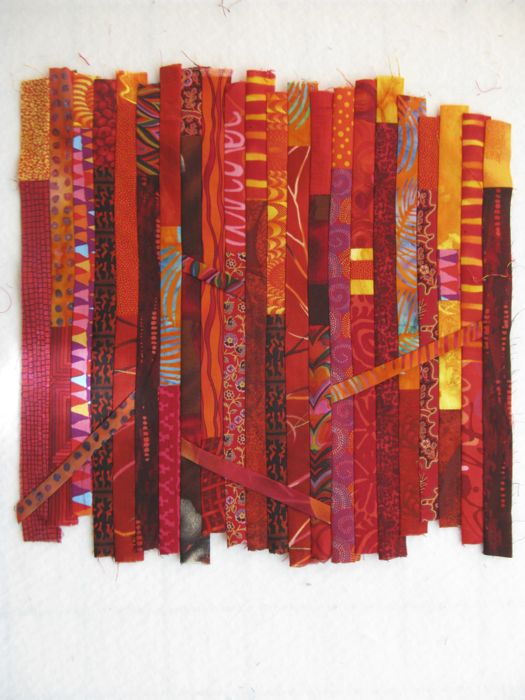
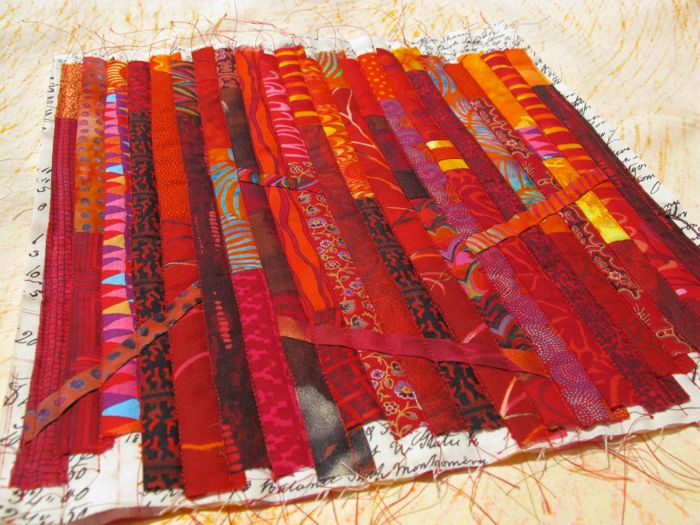
And just like Betty and Rachel’s quilts share a commonality, this one too shares something with Betty’s–we both used the Martha Negley slices of wood print; Betty’s was in the blue colorway and on the front, and mine’s the green on the back. The binding is from that half-yard of Marimekko I purchased while in New York City last summer with my husband. So far it’s been in two projects and I still have a scrap or two more. This post is picture heavy, as I’m talking about the approach I took to creating One Black Leaf, including technical aspects, false starts and home runs.

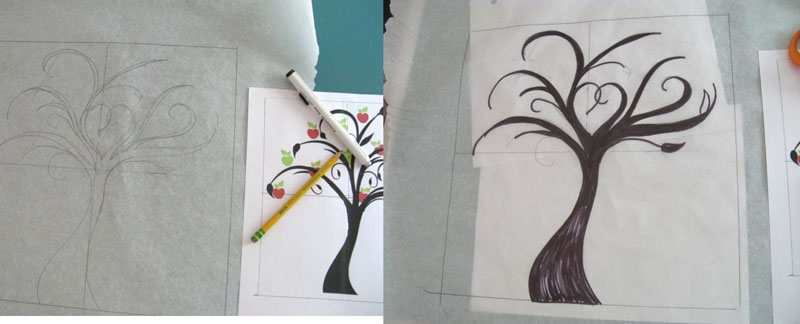
So the poem is ringing in my head: one black leaf, one black leaf so I know it has to be a tree with bare branches. I start by ripping off a piece of paper from the roll of doctor’s examining room paper I got a while back. It’s great paper — it holds up to erasing, and is thin, flexible and cheap. Try a medical supply house for yours. I draw a 12-inch square because that’s one of our group’s parameters, and like what we did in high school art class, I draw a grid both on my square and on the illustration I found that I want to mimic.

I draw as best I can (not my strong suit), using the grid to guide me, yet I kept thinking of the espaliered tree I’d seen on the web (last post) and even though death comes around for us all, at the heart of it, I know that love survives even mortality. I color it in with black marker. Because I’m working on thin paper, I protect my cutting mat with scrap pieces of white paper so no bleed-through. I flip it over and color it in on the back, too, because I want to fuse this onto my fabric and know it has to be backwards.

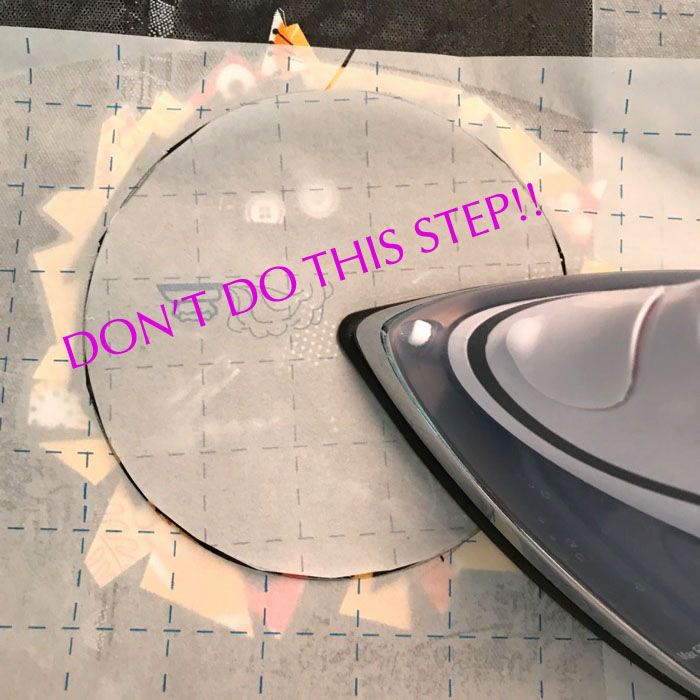
I lay the Steam A Seam down, figuring out which of the papers should be taken off first completely ignoring their instructions to determine which is the pressing paper and which paper is to come off first. I got lucky. Reminder to fuse the whole design down onto the black fabric before you start cutting. (Of course I did that. Not.) Sigh. I fused the design to the Steam A Seam, then started cutting it, before I remembered you aren’t supposed to do that. So I stopped, laid out the traced design on the Steam A Seam onto the black fabric, THEN cut it out.

I had some problems. Turns out (after a quick search on the web) that Steam A Seam “wears out” or loses its ability to adhere after it has been in your drawer for a while. Since I know this batch is at least 10 years old, I’m in a world of hurt. Who wants to cut out those teensy branches again? So I call the Quilt Rescue squad. . .

. . . and first try placing the paper release sheet from the other part of the Steam a Seam and pressing it lightly to make it stick back on the teensy branches. Worked okay, but there were still some spots that needed some help. Then I remembered that once, in a class with Elinor Peace Bailey, she used a plain old glue stick to put things in place, giving it a press to disperse the glue. I did this. I had a few problems getting the tree back into place, so I laid my white fabric down onto my design, and arranged the branches until they matched the original design. And by the way, it took me longer to describe all of this than it did to do it.
Your takeaways from this section:
1. Read the directions.
2. If your Steam A Seam is older, first fuse it back onto their release paper with a warm iron and light touch. And from now on, store it in a plastic bag.
3. Use your design paper to help you get the arrangement into place.
4. Use a glue stick if you still need some sticking down. Press with a warm iron to disperse the glue.
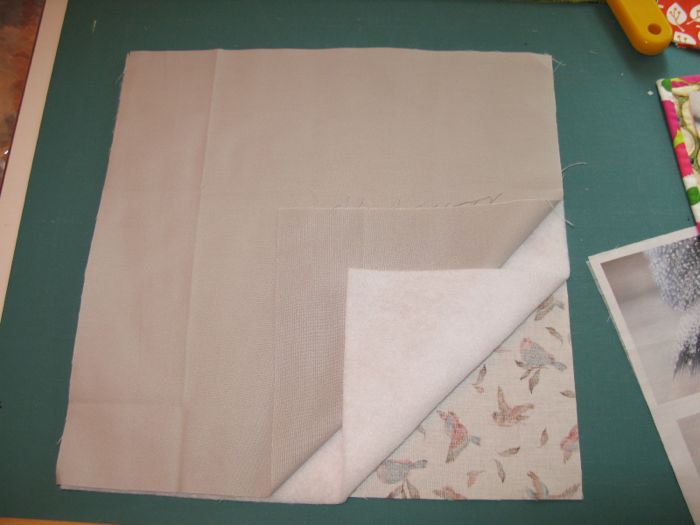
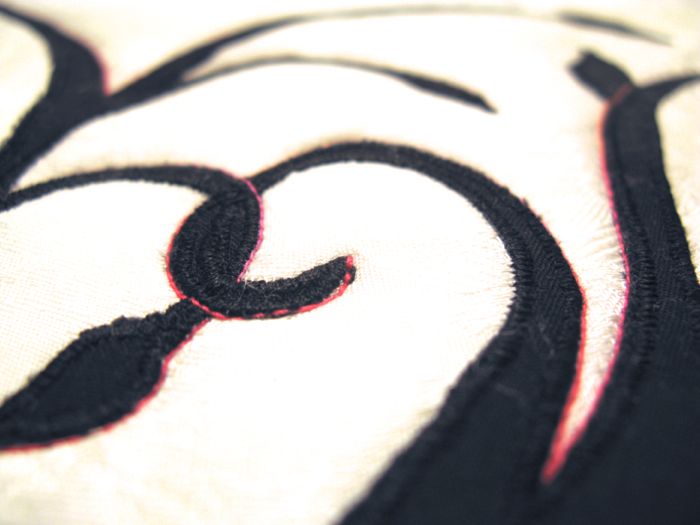
I decided the block needed a bit more stability, so I ironed on some lightweight interfacing on the back of the entire piece (I did this also for the last art quilt I made, as I had seen it mentioned time and again in the Twelve by Twelve book. If you don’t have this book, you should.) Then I set my zig-zag stitch for a narrow satin stitch, then went all around my tree in black thread. I referred to my Jane Sassaman book where she talks about if you have it really close, it frames it, and if you have the zig-zags slightly loose, it blends more. I was somewhere in the middle.

She also cautioned the quilter to “take it slowly” and to take our time when doing stitching. I need to have that tattooed on my forehead. I think if my Steam A Seam had been fresh, and I had been more careful about getting it to stick, I may have averted some of those sticky-outy bits of fiber from the edges. But because this tree is going every which way, I think some was inevitable. Small scissors took off most of them.

Jane Sassaman also outlines her pieces with heavy thread. I decided to use green for the inside curves and pink for the outside curves. Here’s the pink. There was a ton of tying off on the back (as I pulled all threads to the back, tied and buried them), but I like how it gave a little pop to the quilt. I used pinkish King Tut (from Superior Threads) and their Poly-Quilter in green, which I understand is being discontinued (but I still love it). Use a size 16 topstitch needle which has a larger eye, go slowly and you should be fine. I use their Bottom Line in my bobbin — it’s my personal recipe for quilting success — and used what was close in color as I occasionally I like to use what I have.

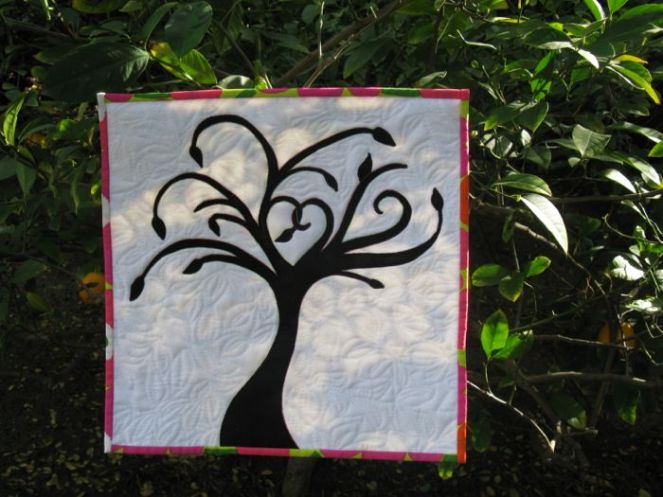
(Another view, after the quilting was finished)

I had used some white fabric from one of my trips to Germany. It has a heavy damask woven design of flowers and I didn’t want to completely obliterate it with the quilting. I laid some wax deli sheets over the tree and using a Flair pen (it won’t go through the paper with its soft tip), I auditioned some quilting ideas. I’m not a really fabulous FMQ (free motion quilter) but I can do some. I decided on leaves.

I liked the idea that while the black leaves on the tree are for us, there are others that have gone before who are still around us. I can’t bear the thought that we all just go “poof” at the end of life, and judging from the memorial quilts I see, others feel the same. Of course, a lot of these ideas are informed by my personal spiritual/religious beliefs as well. I went at the quilting–doesn’t take long if you are doing a small quilt (another reason why I like this size) and in no time I was done. And yes, it kind of obliterated the design in the fabric.

Next big hurdle, which you wouldn’t think would be a big deal, is to trim. It’s really a decision on how to frame it. That blotch in the lower right-hand corner of the untrimmed piece? Where I tried out my zig-zag stitches and also left a burn mark with my iron. Luckily it was cut off.

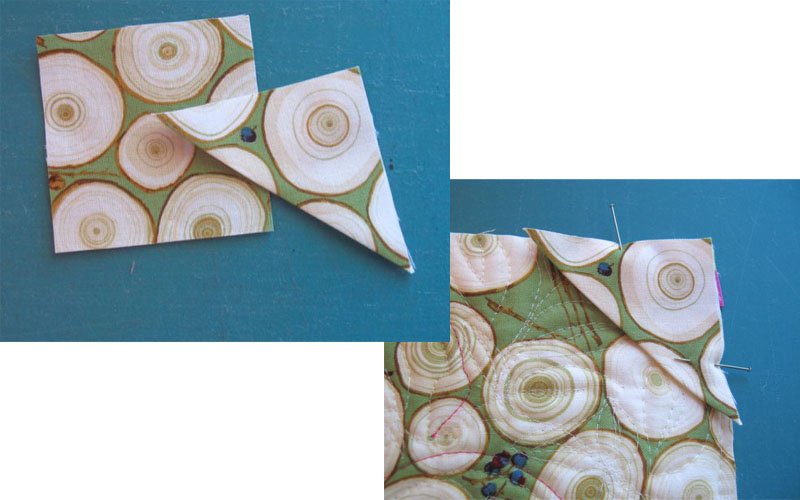
I have a method for hanging these small quilts which involves a dowel (photo at the end) but I have to put in corners to hold the dowel. That square is about 2 1/2″ in dimension; fold it in half and pin it to the upper right and left corners.
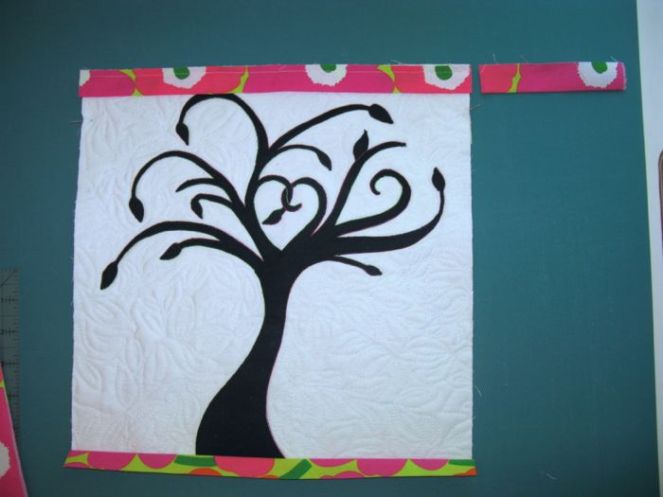
My standard small-quilt binding: 2″ strips, folded in half, sewn to the upper and lower edges. Trim even with the edges and press out away from the quilt.

Repeat with sides, but be careful as you trim even with those sides. Press away from quilt.

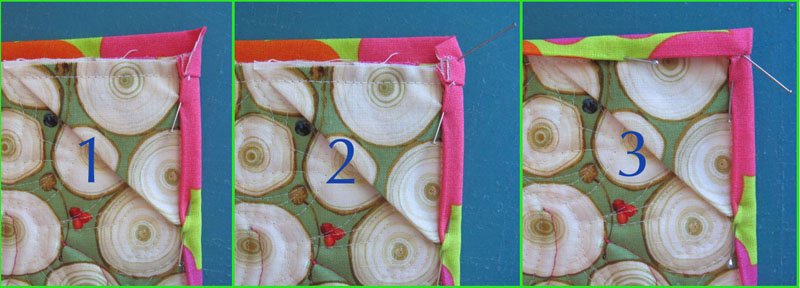
You’ll need to remove any bulk you can in a binding this tiny, so trim off a little of the corner and the bits of seam allowance as shown. When I say not to cut anything off the binding strips, I mean the business part of the strips–the stuff you’ll need to fold over. Just follow the diagram as I think my written description is confusing.

Then since my assistant left for the day, I had to use pins to hold things in place. Fold in the sides (1), give a little push to the upper edge to fold in the bulk (2), then fold down the remaining strip (3). If you go in this order, you’ll always enclose your raw edges. If your raw edges are still showing after the folds, you’ve reversed it and folded in the top/bottom first. You’re smart. You’ll figure it out.

My friend Tracy taught me ages and ages ago that I didn’t need to pin or clip around the whole quilt, that I could just do the corners and fold in the rest as I stitch down the binding. I do that even on my larger quilts.

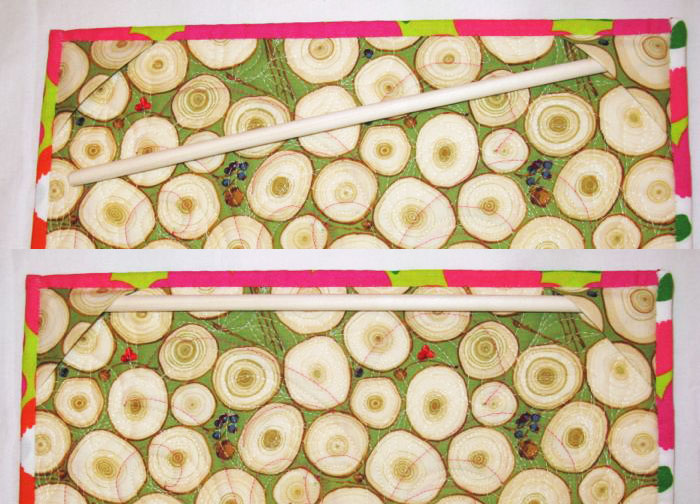
Cut a dowel the size of the back, minus a scoonch of room, then sand the cut edges. Slip into place. It will balance on a push pin nicely.


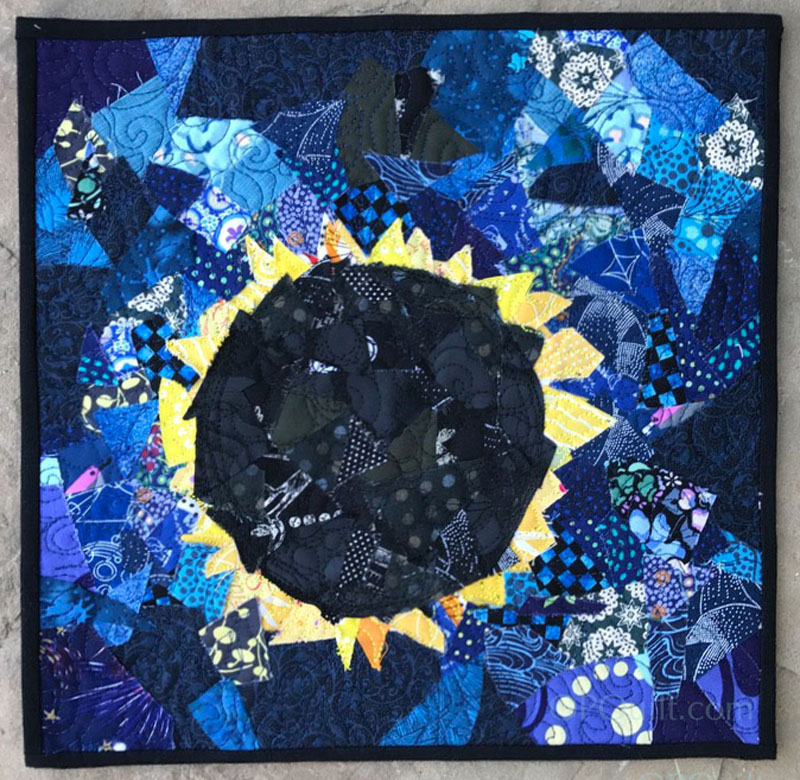
Self-portrait
February 1, 2013
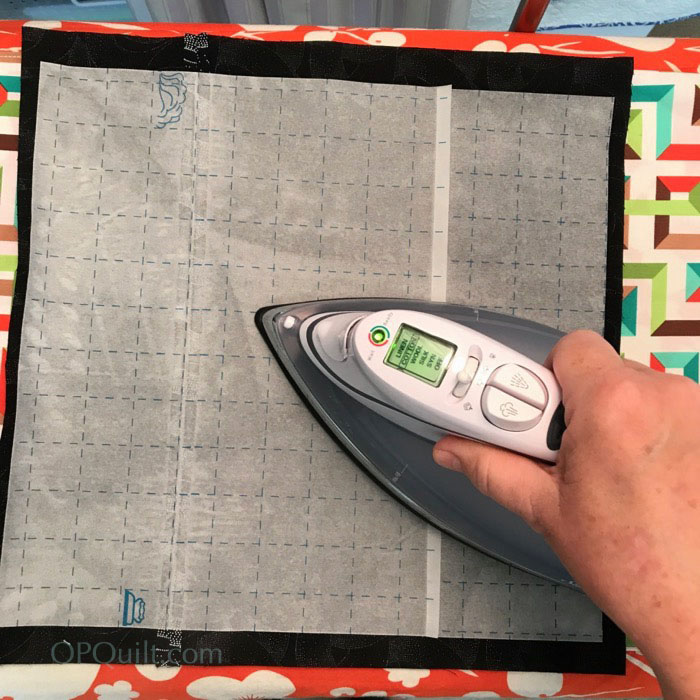


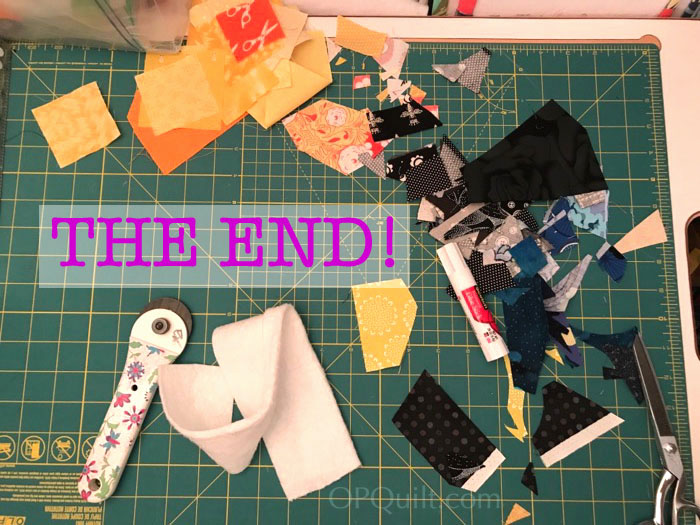
 Add in your bits and pieces, filling up the background in a random, organic way.
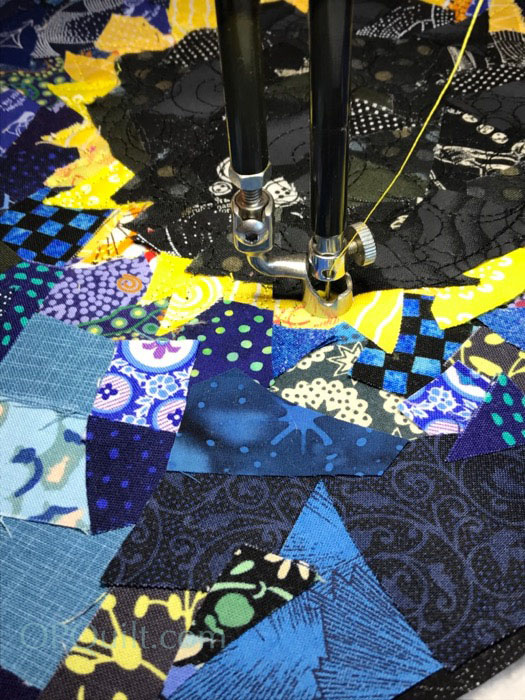
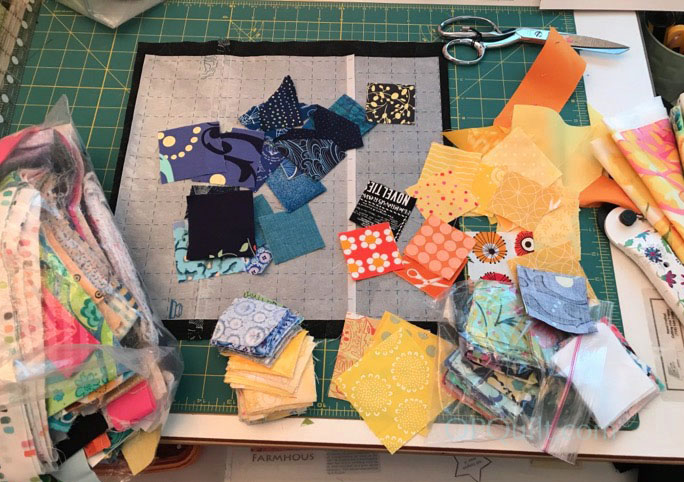
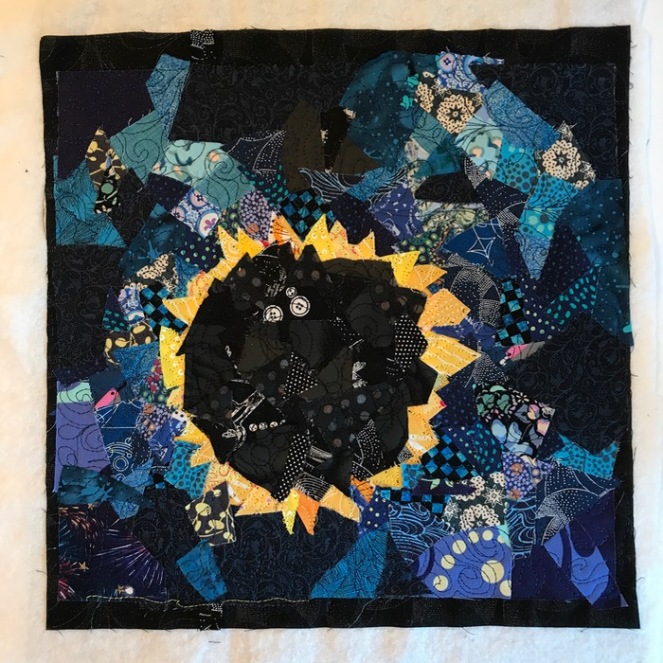 This is where I notice that the moon has two eyeballs staring right at me. And this is where I go get some more scraps, use a regular old-school glue stick and paste more fabric scraps over the eyeballs (you don’t see it in the first one, do you?). Quilt, again. And then I thought that the moon looked more like a black lump of coal than the moon (even though it does have a mountain-y horizon…it’s not THAT bumpy). More scraps glued on, more FMQ. I finished up by going in giant circle around the perimeter of the moon, to reinforce that Orb in the Sky thing.