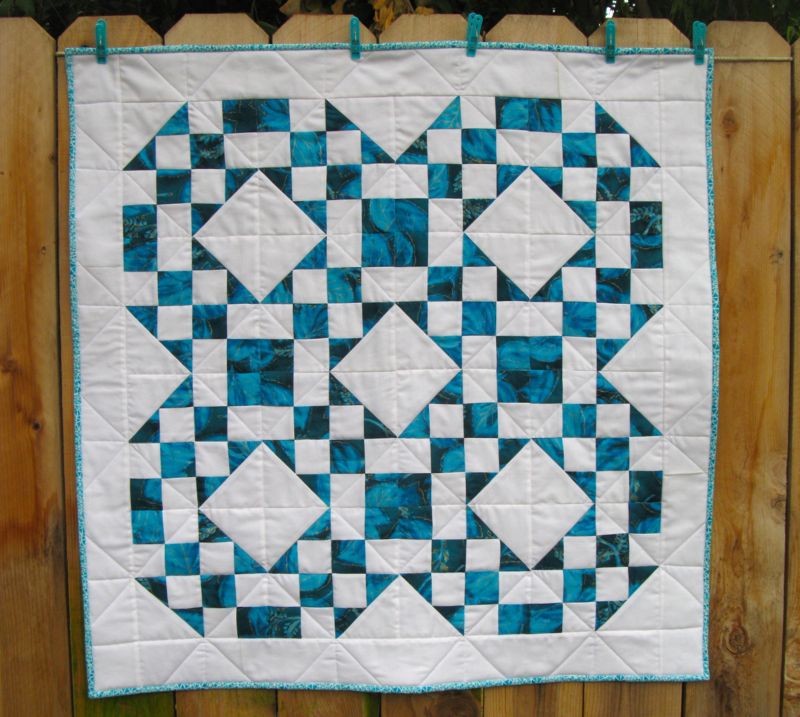
Oh, yes, you’ve seen this before, but only (as the Australians say) as a flimsy, a quilt top. So I needed to get a few projects done and finished and this was next on the list. I was originally going to name it Sand and Sea, but changed my mind to keep it fresh.
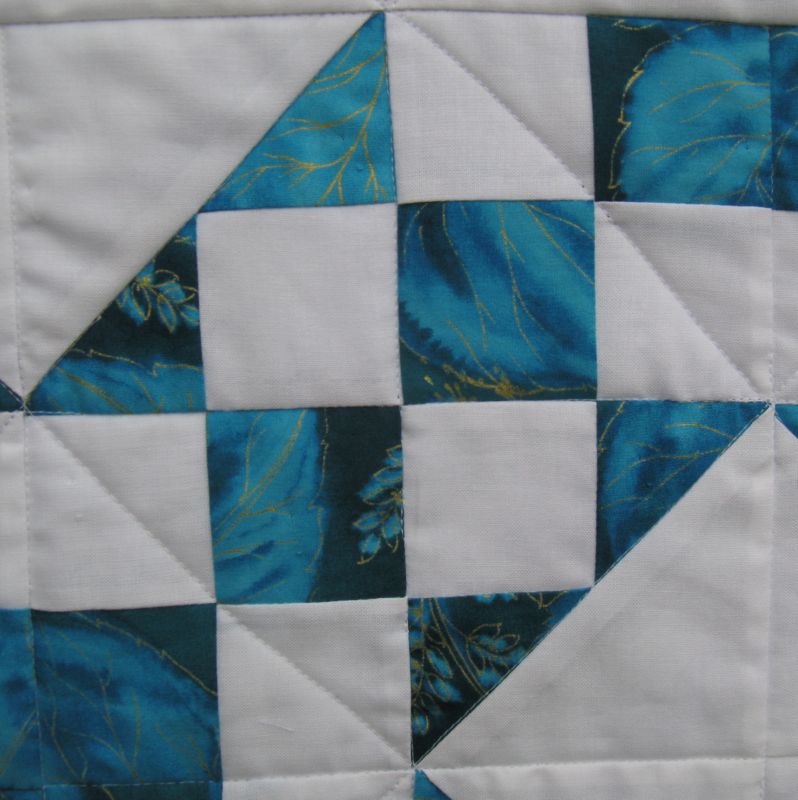
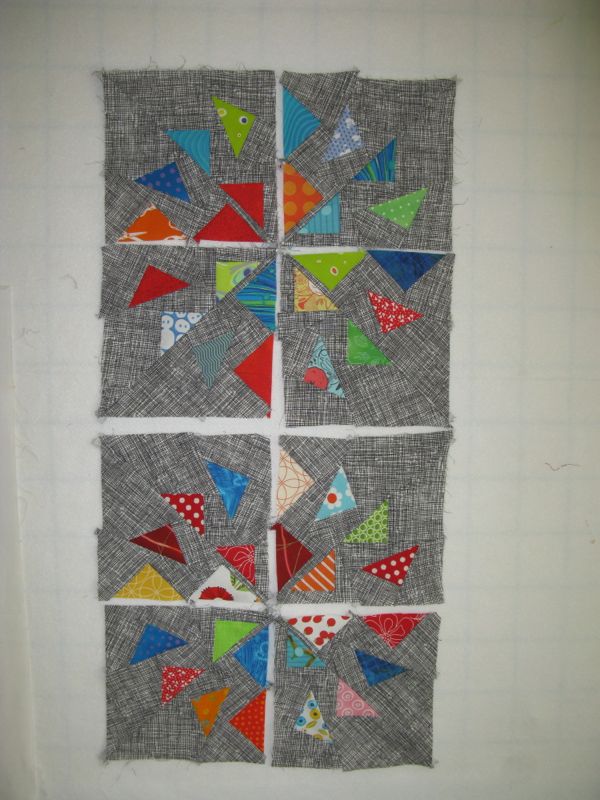
This is the block, made in fours and arranged into the quilt. The original post has more information about the pattern, if you’re interested.
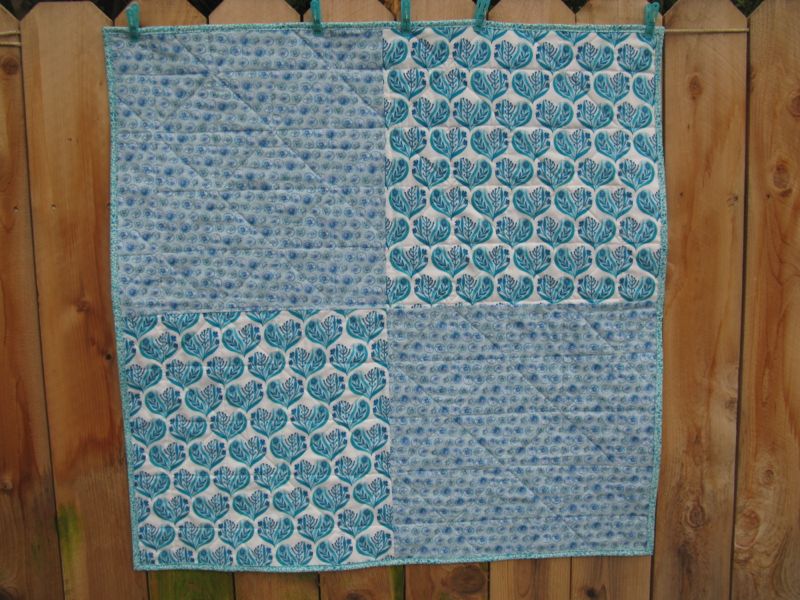
I call it Pacific Grove Blues, because of the time we spent in Northern California last month walking along the coastal path in that very interesting town. I don’t have the label for this quilt finished yet, but will, soon. Of course, I visited the fabric store that was there, Back Porch Fabrics; look for the review of that in an upcoming post.

It also hearkens back to an earlier quilt, titled The Blues of Carmel, made from a fat quarter purchased there, and homage to my mother’s blue blue eyes.
We watched these waves every morning, trying to get to the walking just before sunrise. A peak experience, as my Dad would say.

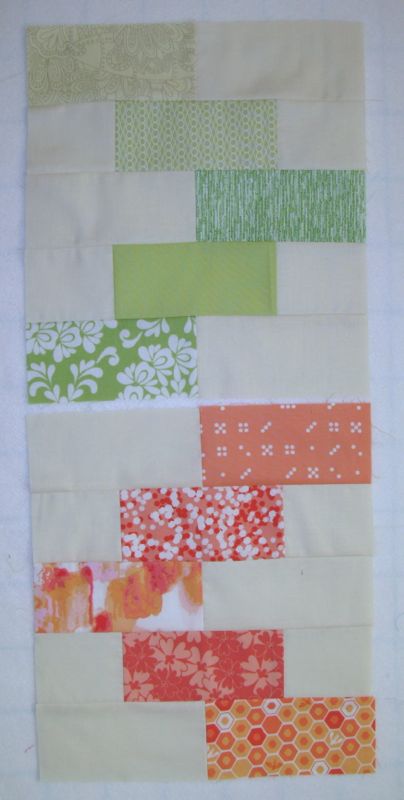
It can now join my growing stack of Schnibbles on top of the guest room armoire. My husband keeps asking me what I’m going to do with all of these little quilts. I really have no idea. Table toppers for holidays (especially the last one, that’s all patriotic)? Doll quilts for the granddaughters? (But I’ve already made them all doll quilts.)
What would you do with a bunch of little quilts? Any ideas, besides stack them up and enjoy them? We’ve all heard quoted a million times that factoid from the book by Malcolm Gladwell about how it takes 10,000 hours of practice to get really good at anything. I figure by cranking these out, I’m keeping those 10,000 hours of practice alive and going. I don’t really know how much longer I will continue to do these Schnibbles, but I have to say that Carrie Nielson of Miss Rosie’s pattern company always has solid designs and colorations, and I can always keep learning something new about how to piece something, or put a combo together, or be exposed to a new block and its possibilities. I like keeping my options open.
∆∆∆∆∆∆∆∆∆∆∆∆∆∆∆∆∆∆∆∆∆∆∆∆∆∆∆∆
This is one completed project from Finish-A-Long, hosted by Leanne of She Can Quilt, Quarter 4 of 2014’s goals.
This is quilt number 123, on my 200 quilts list.