Gridsters · Quilt Bee

Gridsters Bee • January 2017

gridsters-250-buttonx

IG: #gridsterbee

gridsters-january-2017_2

Susan of PatchworknPlay starts off our new year of our Gridsters Bee with having us make her some New York Beauty blocks.

gridsters-january-2017_2b

She sent us to a webpage (Ulas Quiltseite–it’s German) that had ten different New York Beauty blocks on it, and we could pick two different ones (if we were making two).

gridsterbee-january-blocks
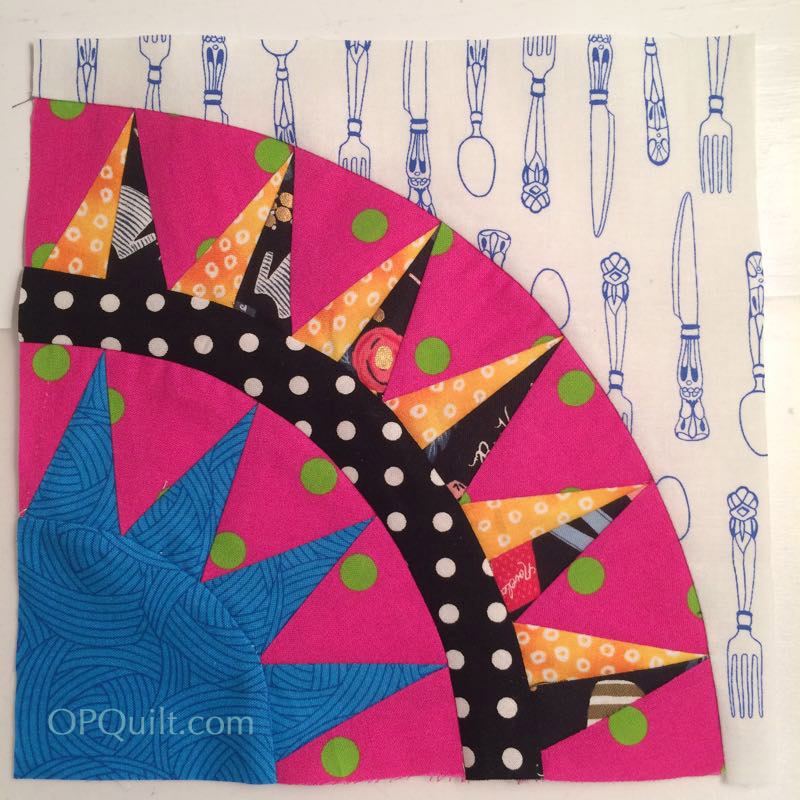
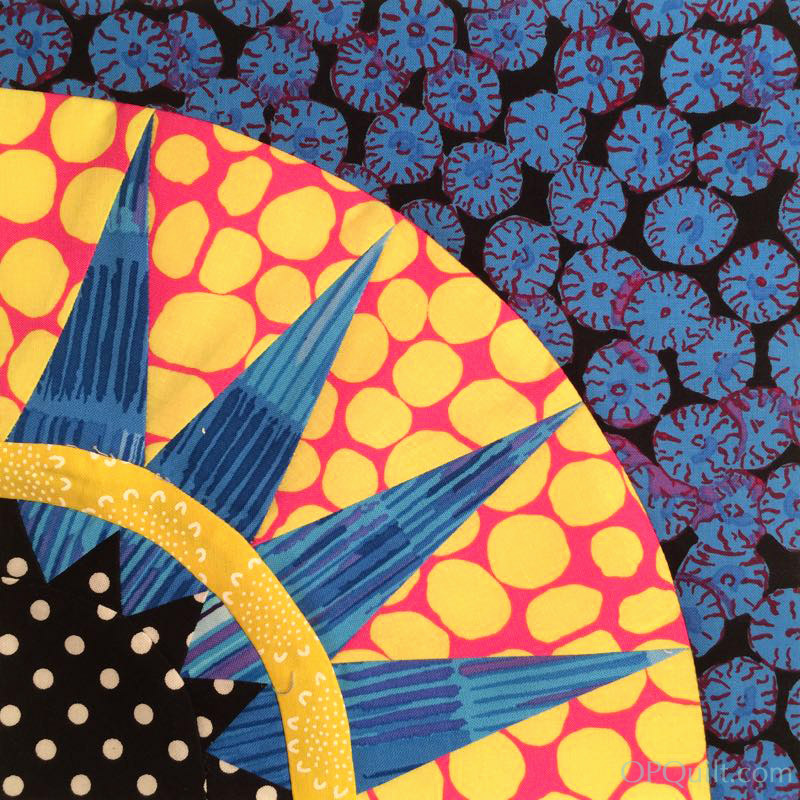
There was even a block for beginners.  I chose Block #1 and Block #6.

gridsters-ny-beauty-instructions

Helpful tip: These words mean that she split them to get them printed.  You may want to join the outer pieces together so there is no seam.  You’ll see what I mean.

gridsters-january-2017_2a

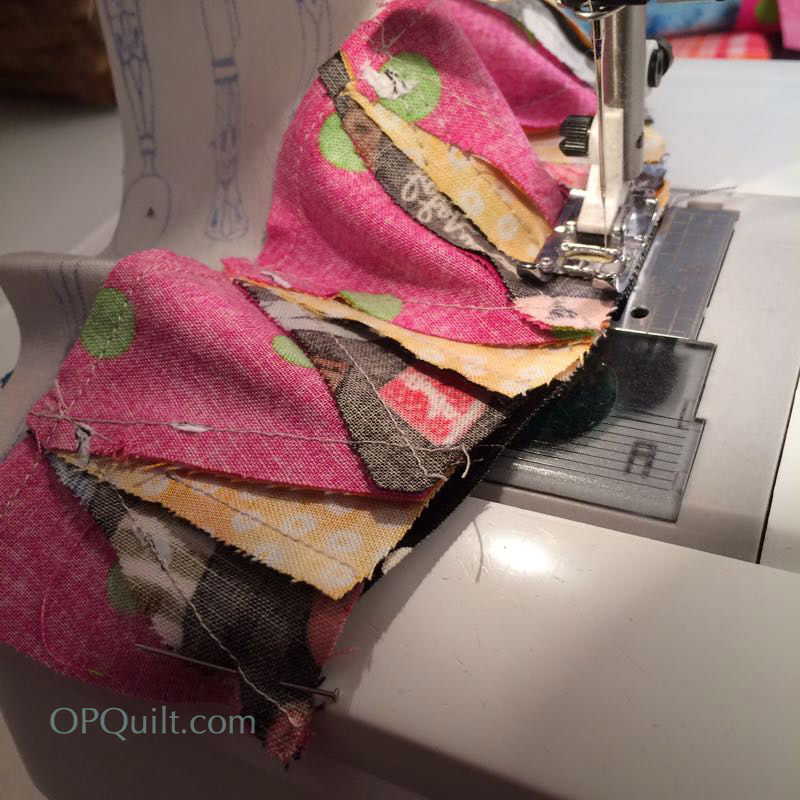
I always remember Leann’s tips for sewing curved edges together (her quick video *here*): it’s best to put the concave piece on top, and the convex piece on the bottom.  But since I had a curved shape with gazillions of pieces, I reversed it.  Don’t know if that made it harder or easier.gridsters-january-2017_3

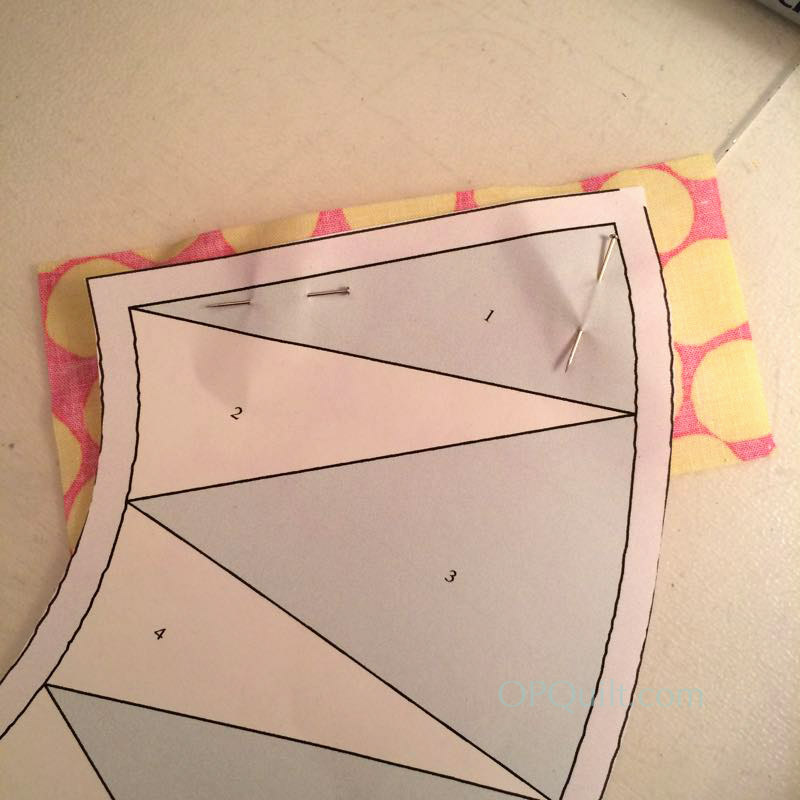
The second block had another challenge.  If you go and look at it, you can see I was using striped material, and I didn’t want that stripe to tilt.  First piece on (above), and I don’t glue my foundation paper piecing, I pin.gridsters-january-2017_4

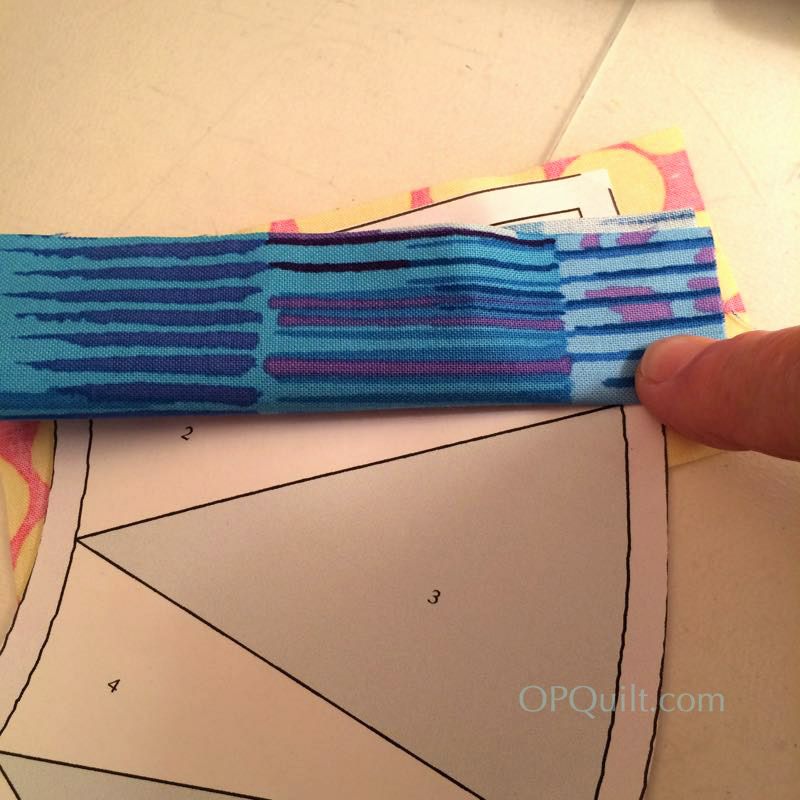
I marked the center of the lower edge of the piece (opposite its point).  I folded my fabric scrap in half lengthwise and line it up with both centers.gridsters-january-2017_4a

Keeping it in place, I fold back one side, mimicking the slanted edge that needs to be sewn.  I finger-press it.gridsters-january-2017_4c

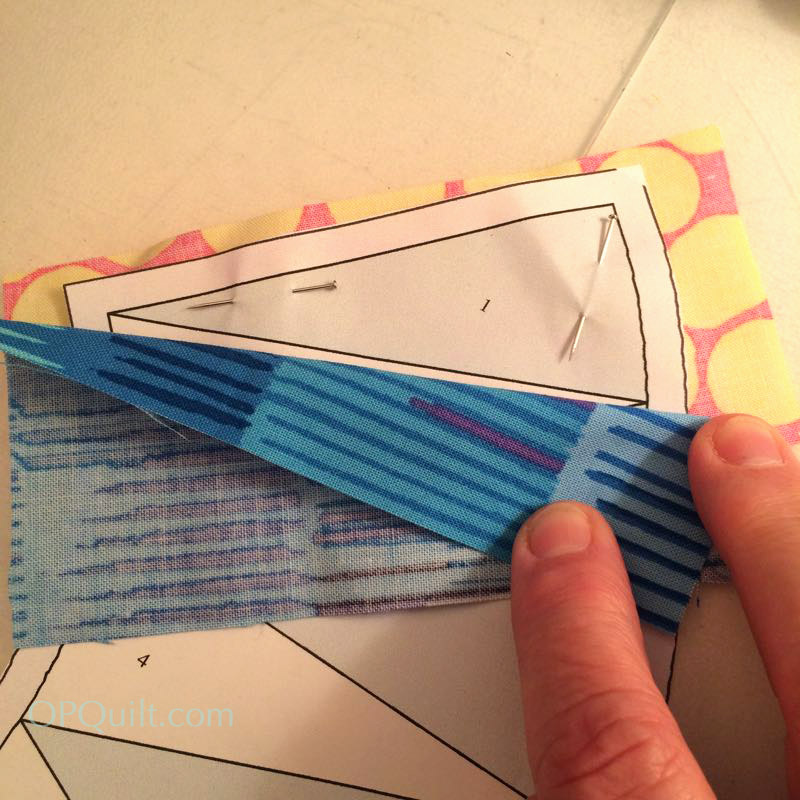
Then using all my skills, I move this carefully to the other side of the unit, holding it up to the light to line up that folded edge where it needs to go.  Sometimes it’s easiest to note where the edges are and adjust from there.

Unfold it, being careful not to move it.  gridsters-january-2017_4d

Stitch on that line, trim seam allowances and continue on.  They all line up nice and vertical.gridsters-january-2017_6a

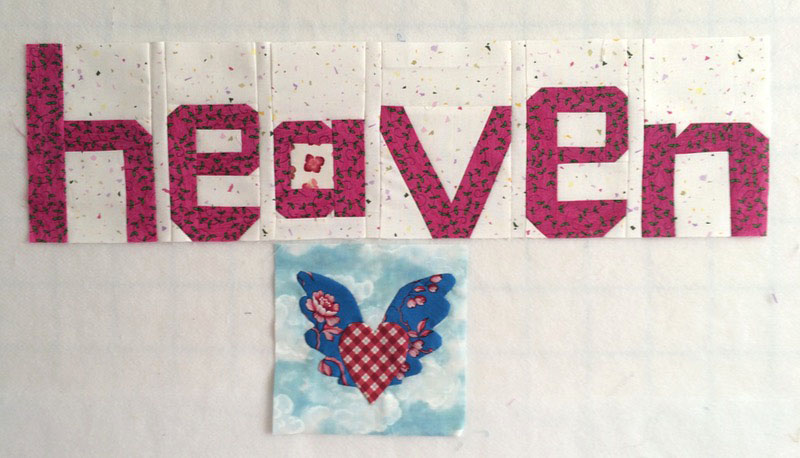
We make each other signature blocks, using a white 3 1/2″ square and snowball on two 2-1/2″ squares on either corner, using fabric from the blocks we made. (Click on the link to see a how-to, as well as how we’ve used our signature blocks: sometimes on the back and sometimes on the front of the quilt!)

The key to success:  IRON ON A SCRAP OF FREEZER PAPER to the back before writing, as it stabilizes the fabric.  I use a Pigma 08 to write.

gridsters-january-2017_6b

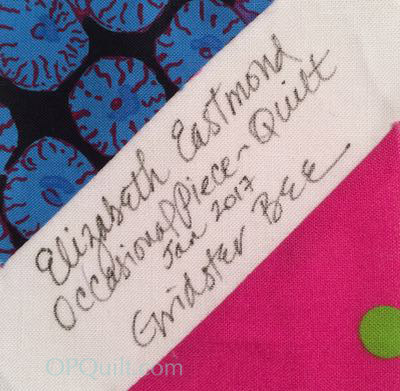
We always write our name, but other things to write could be:

  • IG/blog name
  • month/year
  • hometown
  • name of the bee or why you made the quilt

Looking forward to the rest of year with my Gridster Beemates!

Quilts

Spelling Bee Begins • January 2016

Making Words_4

Sometime ago, I hatched an idea of making letters and words and ideas up in cloth.  Not a new idea, but just one that emerged from the morass to capture my attention, I’d say.  Getting a few friends to join me in this endeavor was the easy part.  I set up a blog, Quilt Abecedary, where I experimented with making letters free-form, teaching myself as I went, failing and succeeding, jumping off my comfortable quilty cliff.  That done, I wondered what to choose for a theme.

woman cooking_2

My first thought, and the one that lingered the longest was to do a series of words around the theme of “Someone’s in the Kitchen with Elizabeth” — verbs like bake, roast, chop, sauté and so forth.  I have a recipe blog, Elizabeth Cooks, so thought to add that blog address to the mix.  But somehow it just didn’t seem satisfying, as I couldn’t just settle into it.

Saying w:o names

I made my parents an embroidered sampler some years ago with a lovely saying celebrating their marriage:

When the one man loves the one woman and the one woman loves the one man,
the very angels leave heaven and come and sit in the house and sing for joy
The interesting thing about deadlines is that they force you to a decision, whether or not it’s the “perfect” one. And this idea–of making a Valentine’s quilt — resonated with me.  For better or for worse, my marriage is the key to my happy life, and I wanted to celebrate that idea with a Valentine’s quilt.
Spelling Bee Fabrics
I chose a range of reds to dark pinks in all shades, with minimal patterning, with creamy whites to light pinks to serve as the background.  I’ll mark our progress as we move through this one-year commitment (the bee will disband at the end of the year).  My beemates will choose their words and I’ll make the rest.  We’ll pop up now and again on Instagram at #spellingbeequilt.  We have no blog or Flickr site as it is only a year-long project. If this idea piques your interest, drop me an email with a photo and I’ll share your words on here, too.
Happy New Year
Since tonight is New Year’s Eve, I thought it was a good way to celebrate the New Year by trying something I hadn’t tried before.  I was quite struck by something my nephew’s wife posted today on Instagram.  She wrote that she’d seen babies born, a friend’s wedding, job losses, and sadly, buried a brother; she summed it up by saying “So much great that I want to remember forever and so much heartache I hope I never know again.  Goodbye 2015, you have made your mark.  And now on to 2016, I have so much to tell you.”
She echoed my feelings exactly.  I’ve learned a lot this year, working through my Lost Summer of surgery, continuing health problems and had to come to grips that every time I look in the mirror I think of more of my grandmother than I do those pictures of me as a young woman. But I’ve had the sweetness of my husband’s company during this time, good friends who rallied round, lovely readers of this blog (many of who have become good friends) and lots of new quilting opportunities to enjoy.  So, to echo Casey’s words: Goodbye 2015, you have made your mark.  And now on to 2016, a clean slate, full of hope and plans and big challenges.
Happy New Year, everyone!